-
Programming the ATmega328P
08/27/2023 at 06:32 • 0 commentsHey there, folks! So, I totally get it, I promised this post for Friday, but hey, cut me some slack, it's only been a couple of days! Time flies when you're, um, "planning," right?
But enough with the excuses, here's the post I've been talking about!
I had switch to an ATmega328P IC in order to make the radio more compact and power efficient. However, programming this IC did present its own set of challenges.
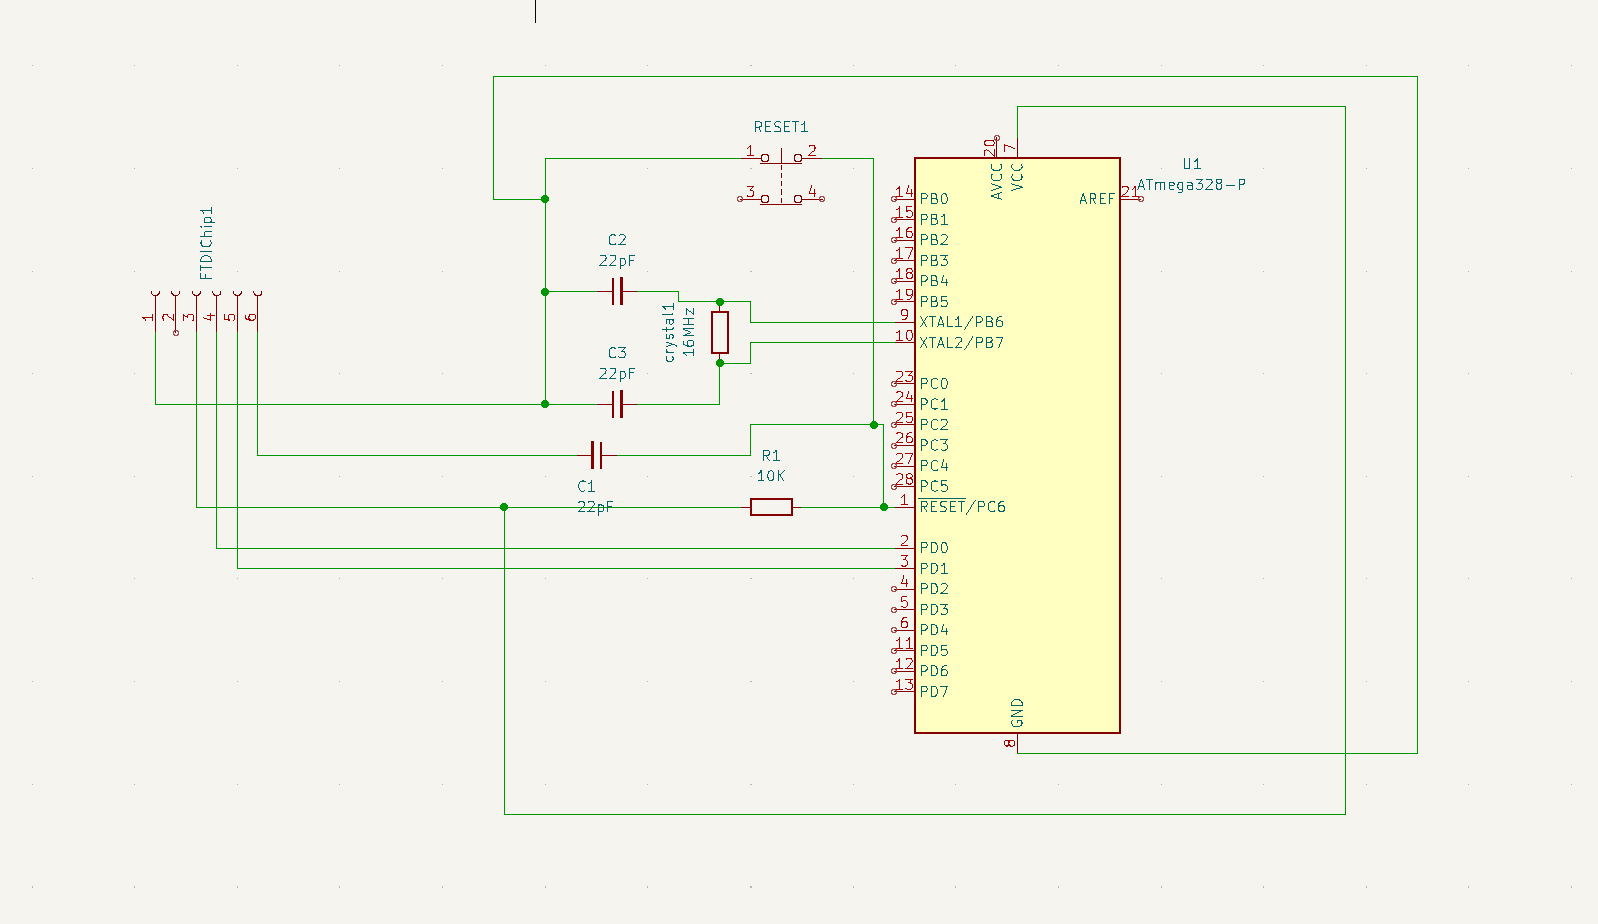
In order to program this board using your laptop you will have to make the following connections :
![]()
Here pin 1 of the FTDI chip is the GND pin Once connected the circuit would look somewhat like this :
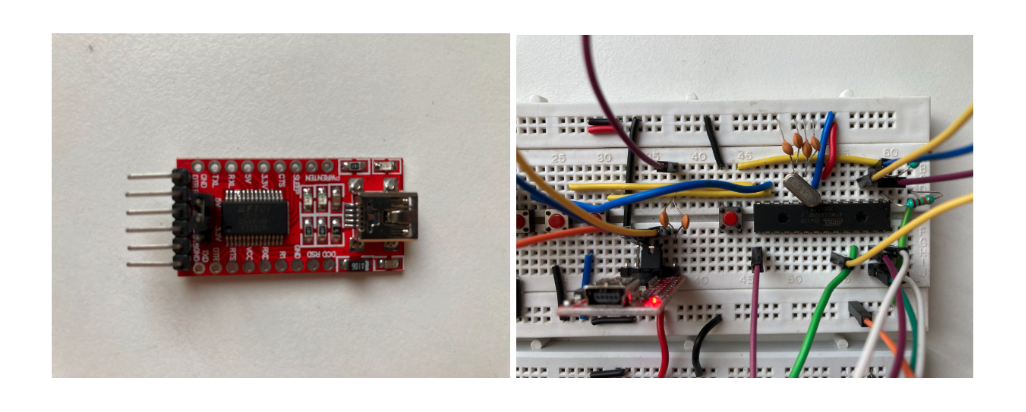
![]()
Left : FTDI FT232RL USB to TTL board Right : ATmega328P connections Now it's time to upload your code. So open your Arduino IDE and make the following changes :
1. Tools > Board > Select "Arduino Uno"
2. Tools > Processor > Select "ATmega328P (Old Bootloader)"
3. Tools > Programmer > Select " Arduino as ISP (ATmega32U4)"
4. Tools > Port > Select the Appropriate Port
Next connect the above circuit to your laptop through a USB 2.0 A to USB 2.0 Mini B (same cable you would use to connect an Arduino nano to your computer). Now, here comes the most important part : uploading the code.
Once you click the upload button wait for the compiling to finish. As soon as it says "Done compiling" and the "Uploading..." message arrives, immediately press the reset button for 1 - 2 seconds. Within a few seconds a "Done uploading" message should arrive which indicates that your code has been successfully uploaded to the IC.
Despite all this if the code errors out with the message "avrdude: stk500_recv(): ... " , then disconnect the USB cable and try again. It may take a few frustrating attempts but your code will get uploaded eventually.
Bonus :
Now that you got your code running on the ATmega328P you may be wondering (at least I did) "Do I have to go through this wild connection process every single time I want to upload an update?".
Guess what? Not anymore!
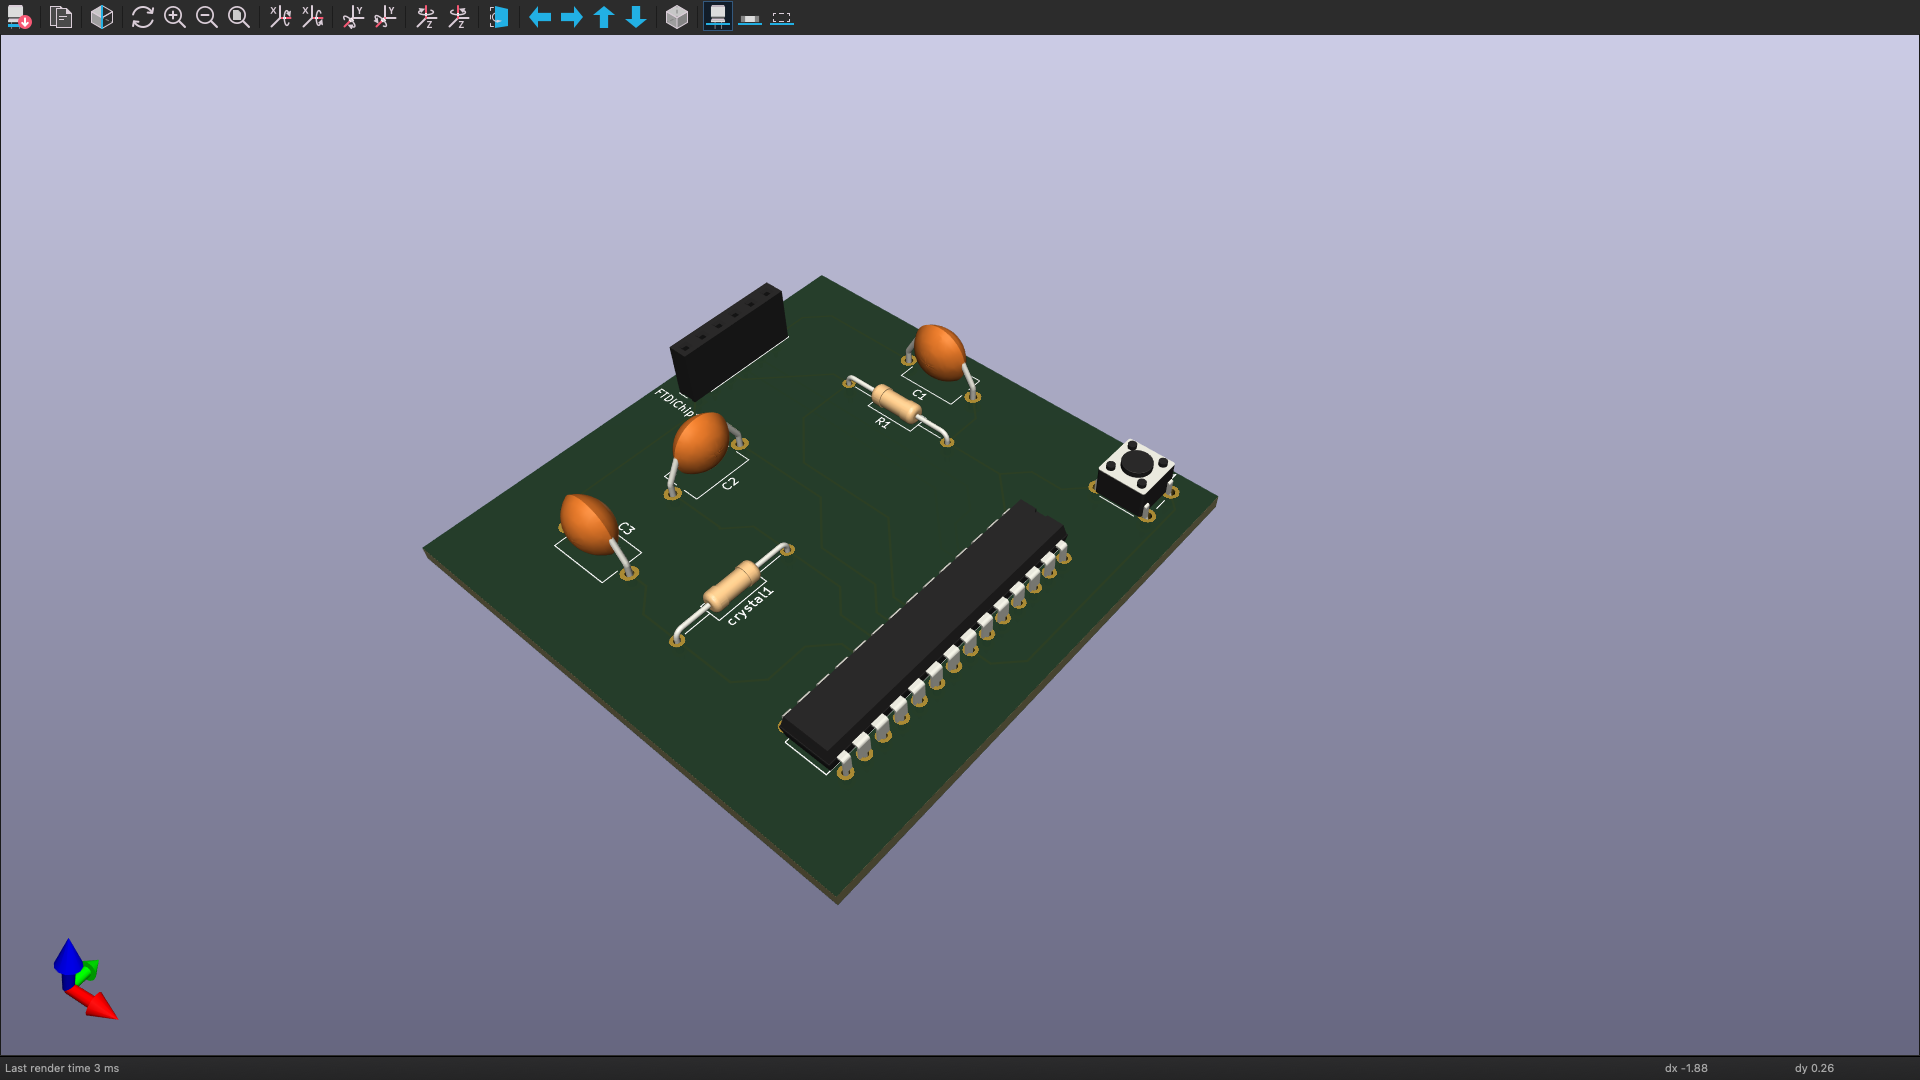
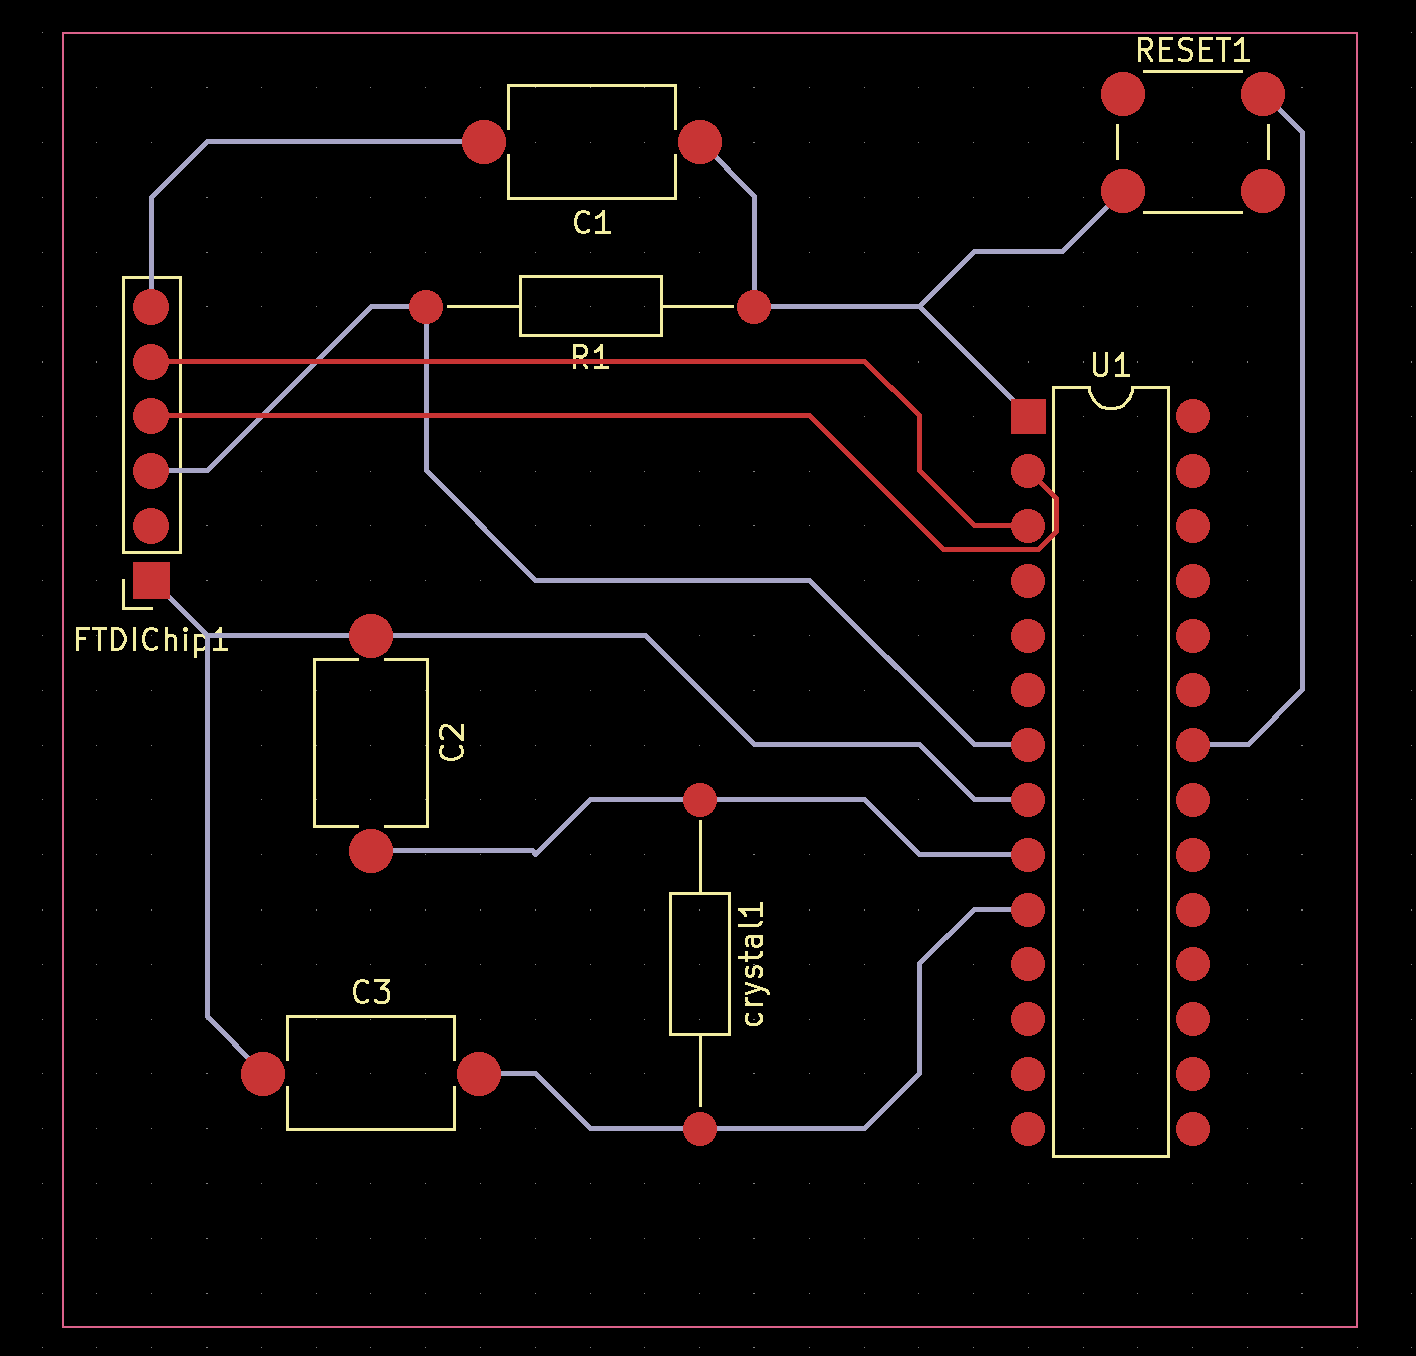
I've designed a PCB to handle all that for you instead!
![]()
3D view of PCB (note : the horizontal resistor is actually the crystal oscillator, I have just used the same footprint as the resistor) ![]()
Zip file of PCB viewed through Gerber Viewer I whipped up this PCB using KiCad. If any of you are itching to get your hands on it for printing, just drop a comment down below, and I'll hook you up with the zip file !
And that's a wrap for this week, my friends!
As for the next post, well, it might take a little longer because I'm knee-deep in designing the PCB for the radio. But don't worry, I'll be back with more electrifying content soon! Until then have a great day and keep innovating !
-
My Radio is Portable !
08/16/2023 at 14:06 • 0 comments![]()
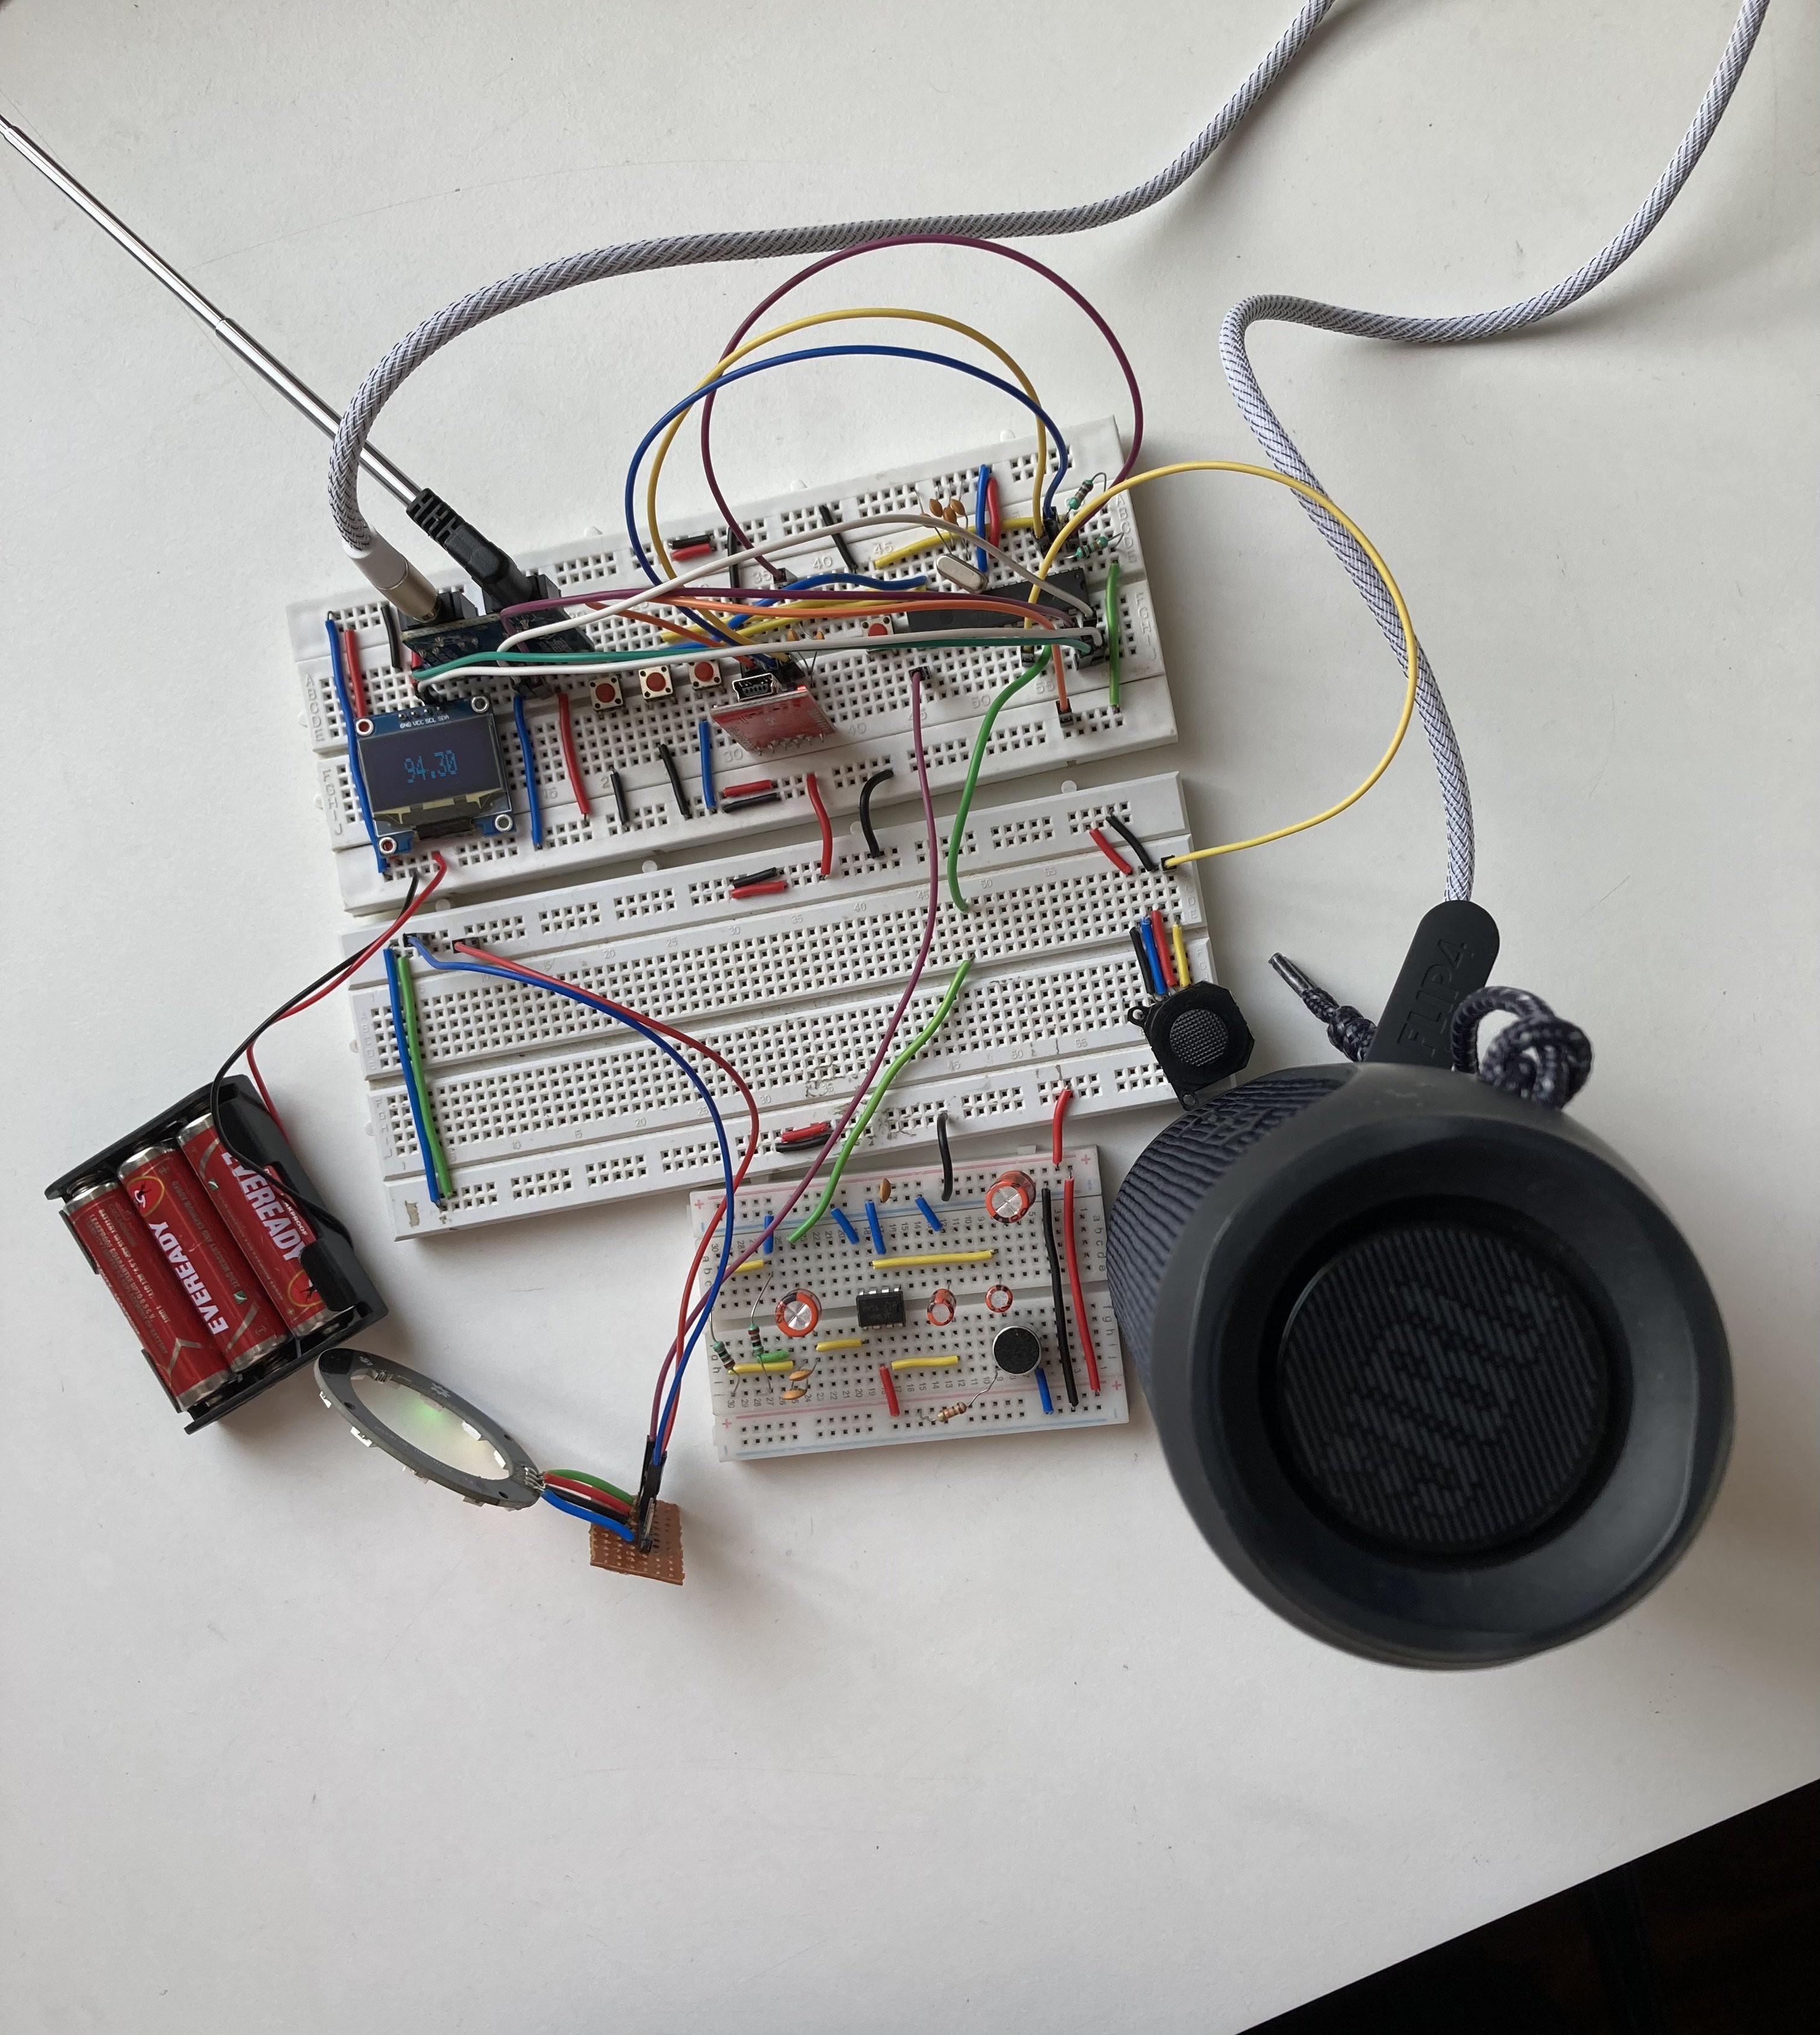
After a brief break, am thrilled to bring forth the latest developments in my ongoing radio project. I apologize for the suspense, but the wait has been well worth it. It brings me immense pleasure to reveal that my radio is now not just a device but a portable companion (that is if you are ready to walk around with 3 breadboards and a speaker, although I intend on making it a pcb soon).
In this blog post I will elucidate the exciting enhancements that made this possible.
1. The Power Source
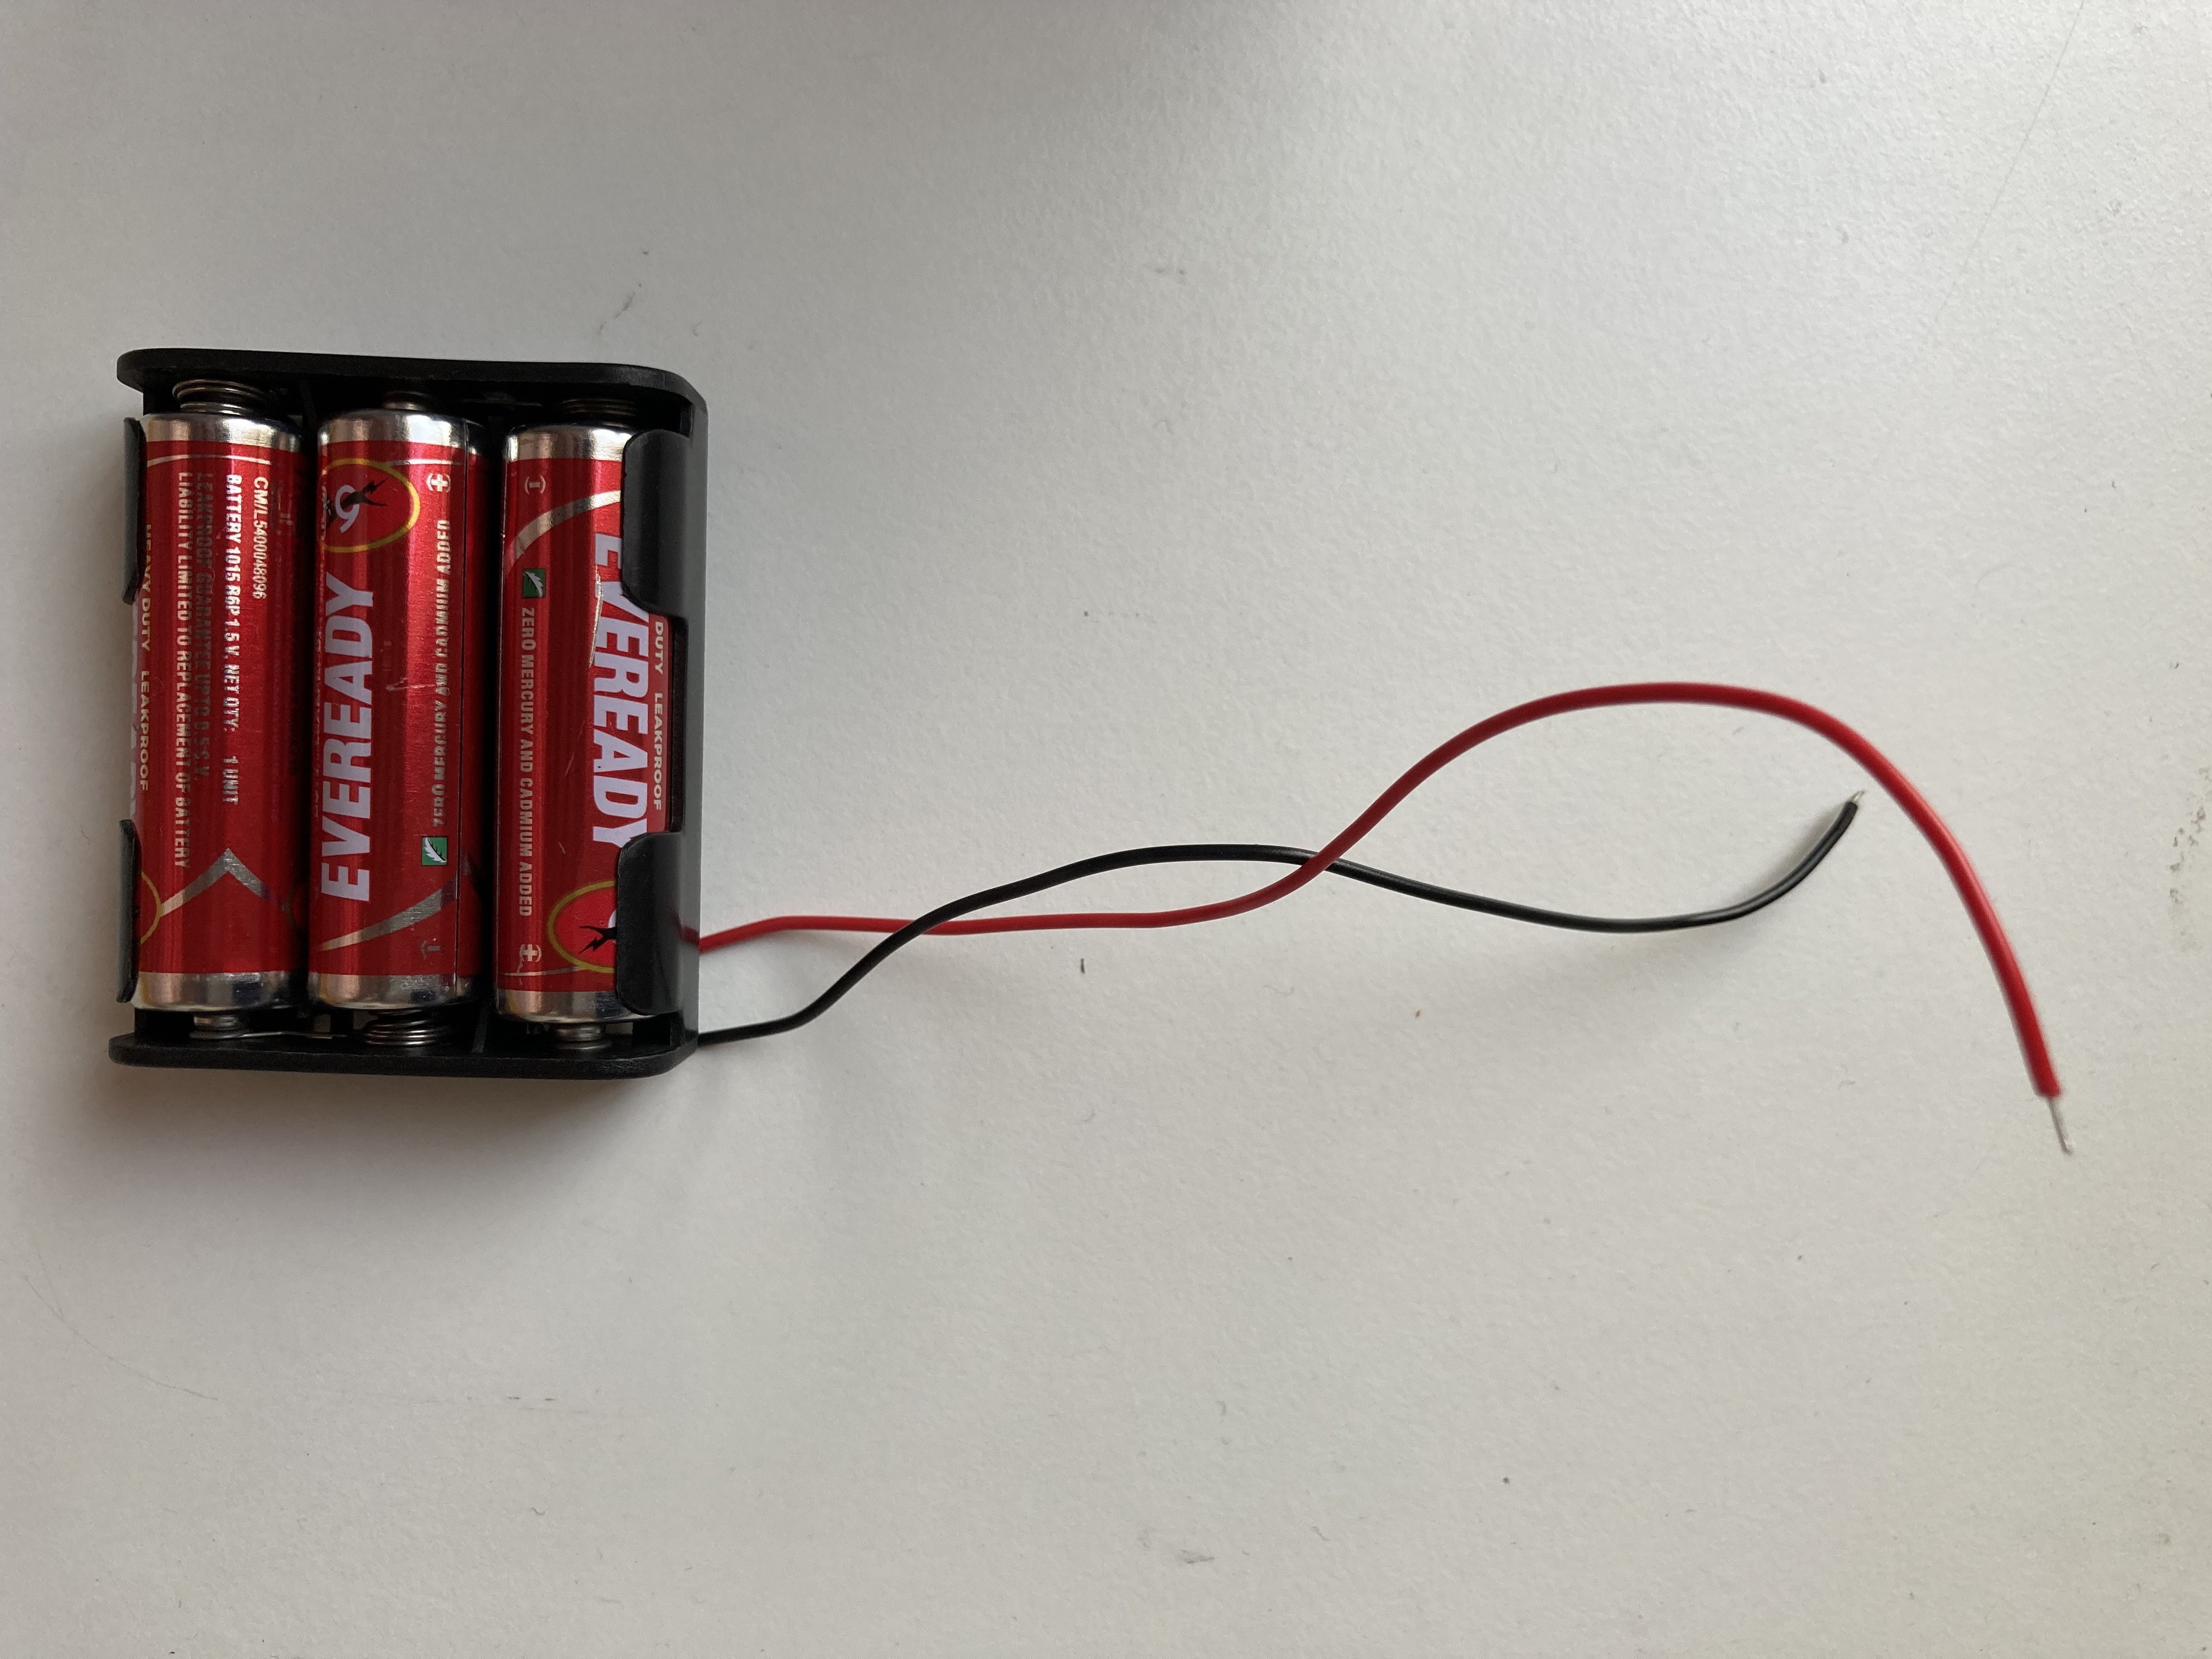
Previously, the radio was powered via USB cable connected to my laptop. However, this was not a feasible option in the pursuit of making my radio portable. Hence, the radio currently operates at 4.5V (3 AA batteries) which not only promises convenience but also the freedom to explore and enjoy radio waves on the go.
![]()
3 AA batteries 2. The Processor
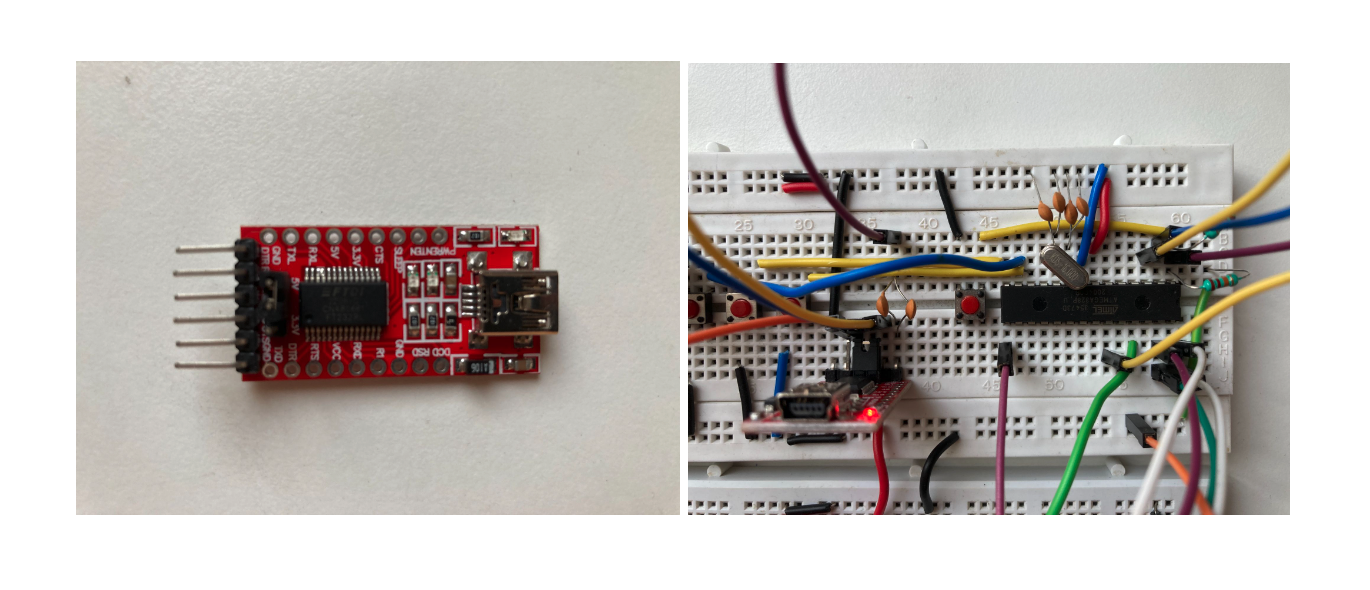
I have switched from using the Arduino nano board to using the ATmega328P 16MHz IC. I decided to make this switch in order to make this gadget more power efficient and lighter in weight. I have utilised an FTDI FT232RL USB to TTL board in order to program the IC from my computer.
I will release a detailed blog post next Friday explaining how I programmed the ATmega328P IC and will include steps for anyone interested to follow.
![]()
Left : FTDI FT232RL USB to TTL board Right : ATmega328P 16MHz IC
3. The Code
The underlying code has been meticulously refined to enhance efficiency and reduce static.
4. The Joystick
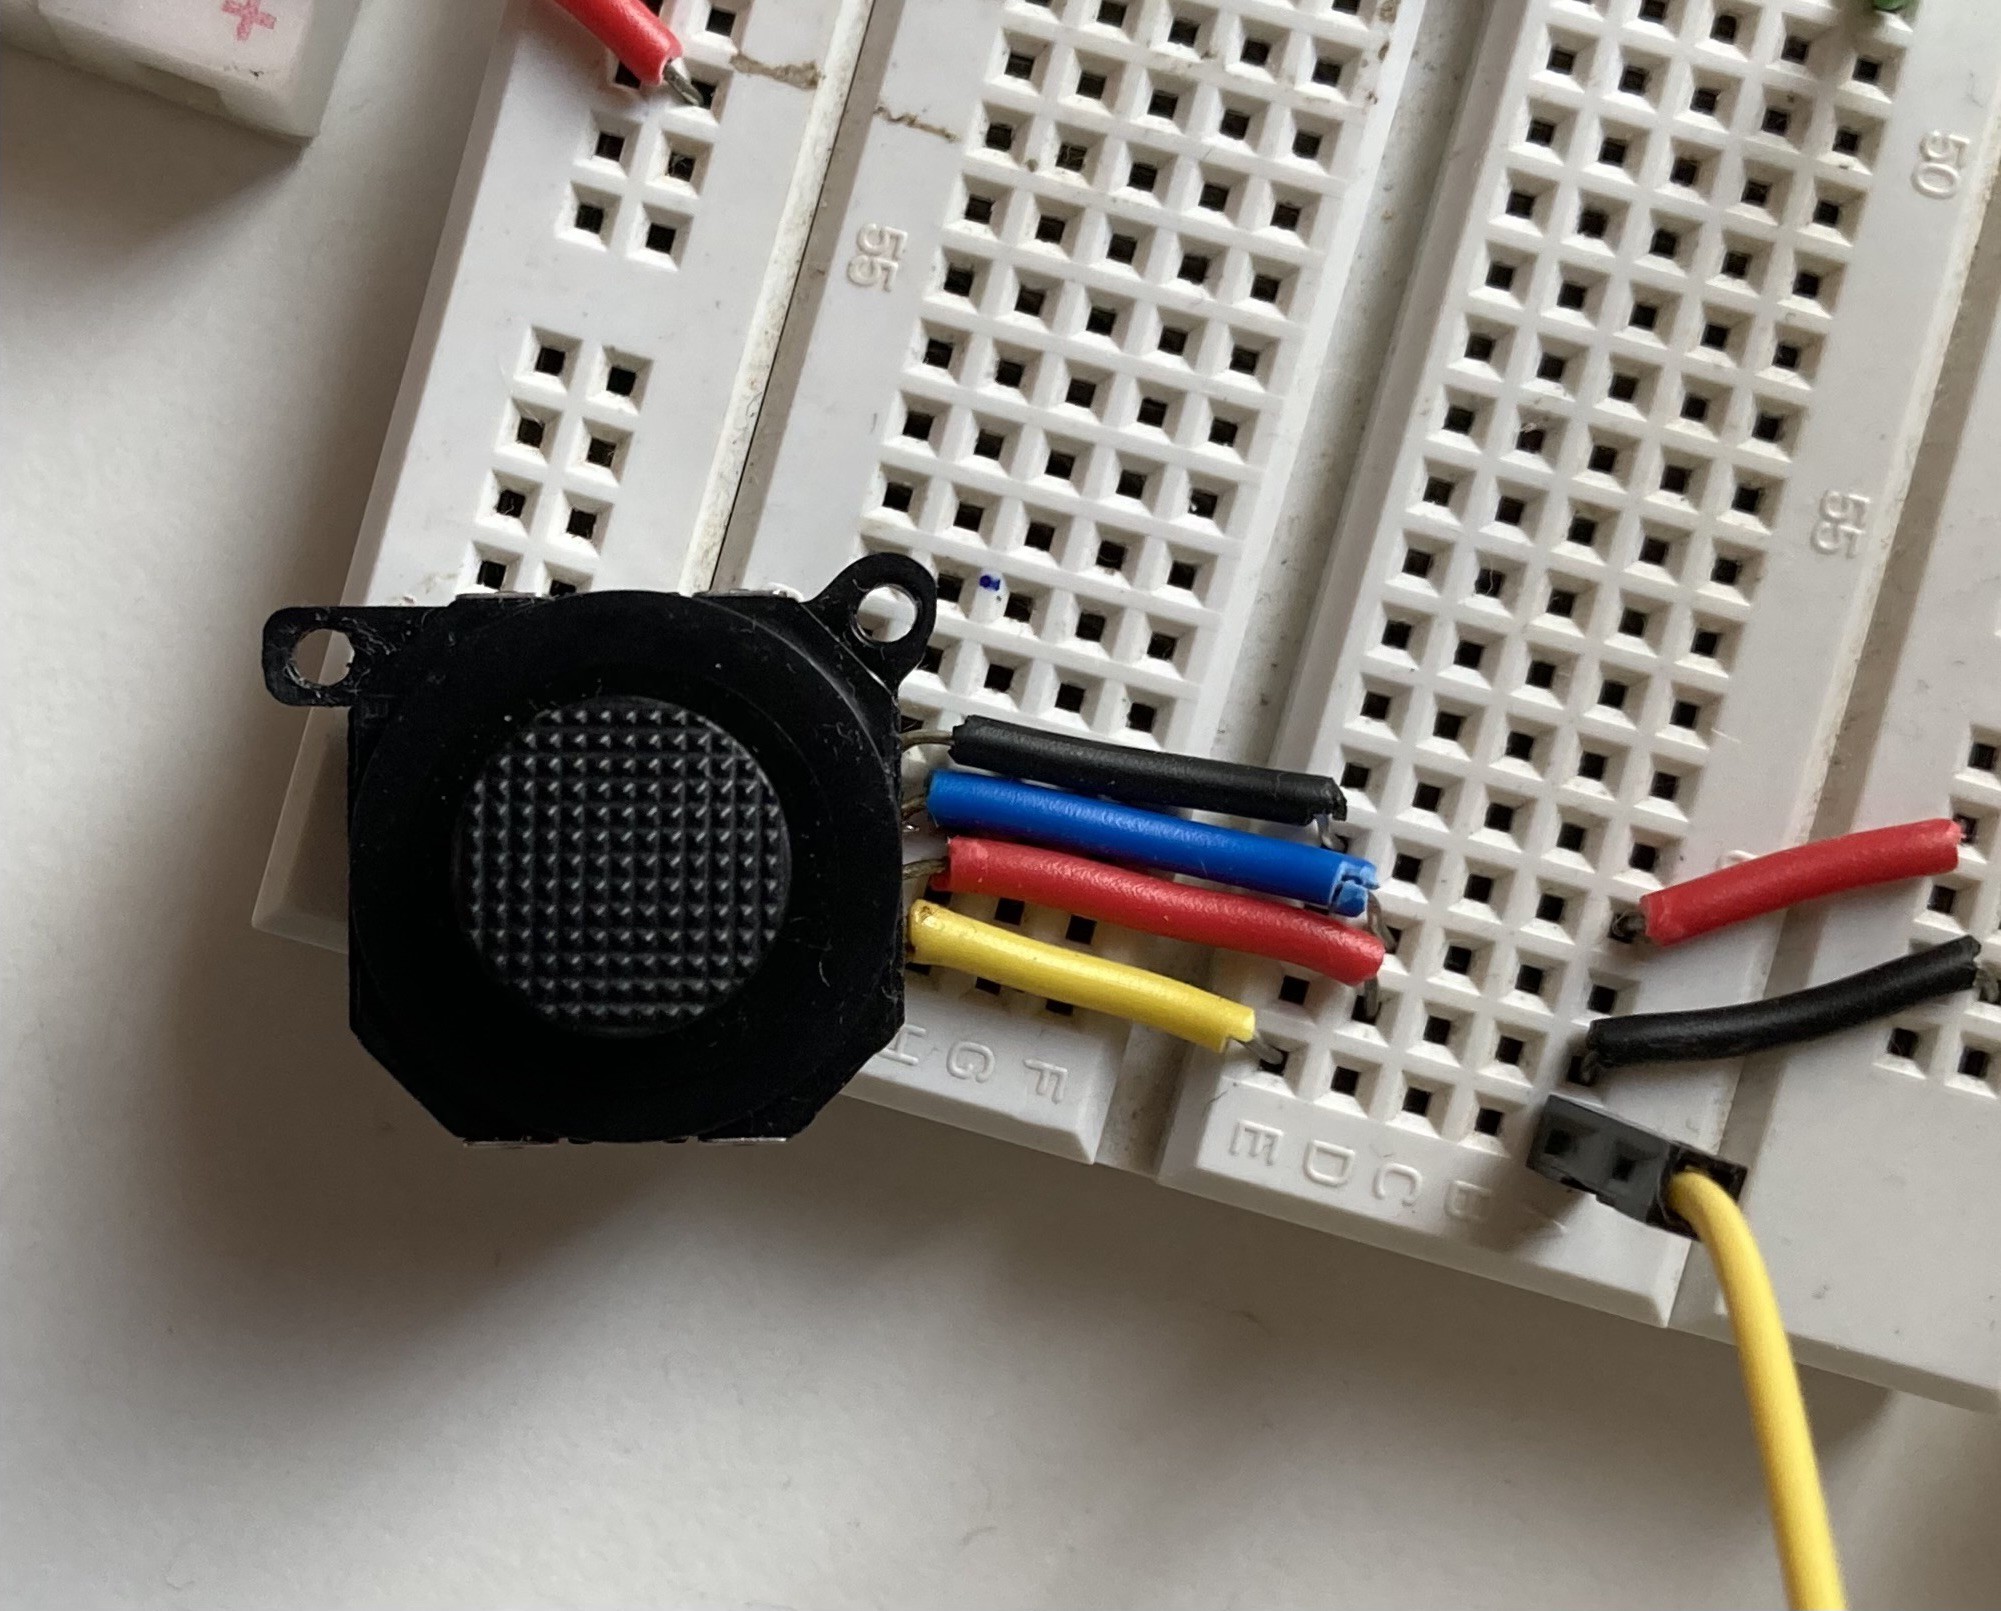
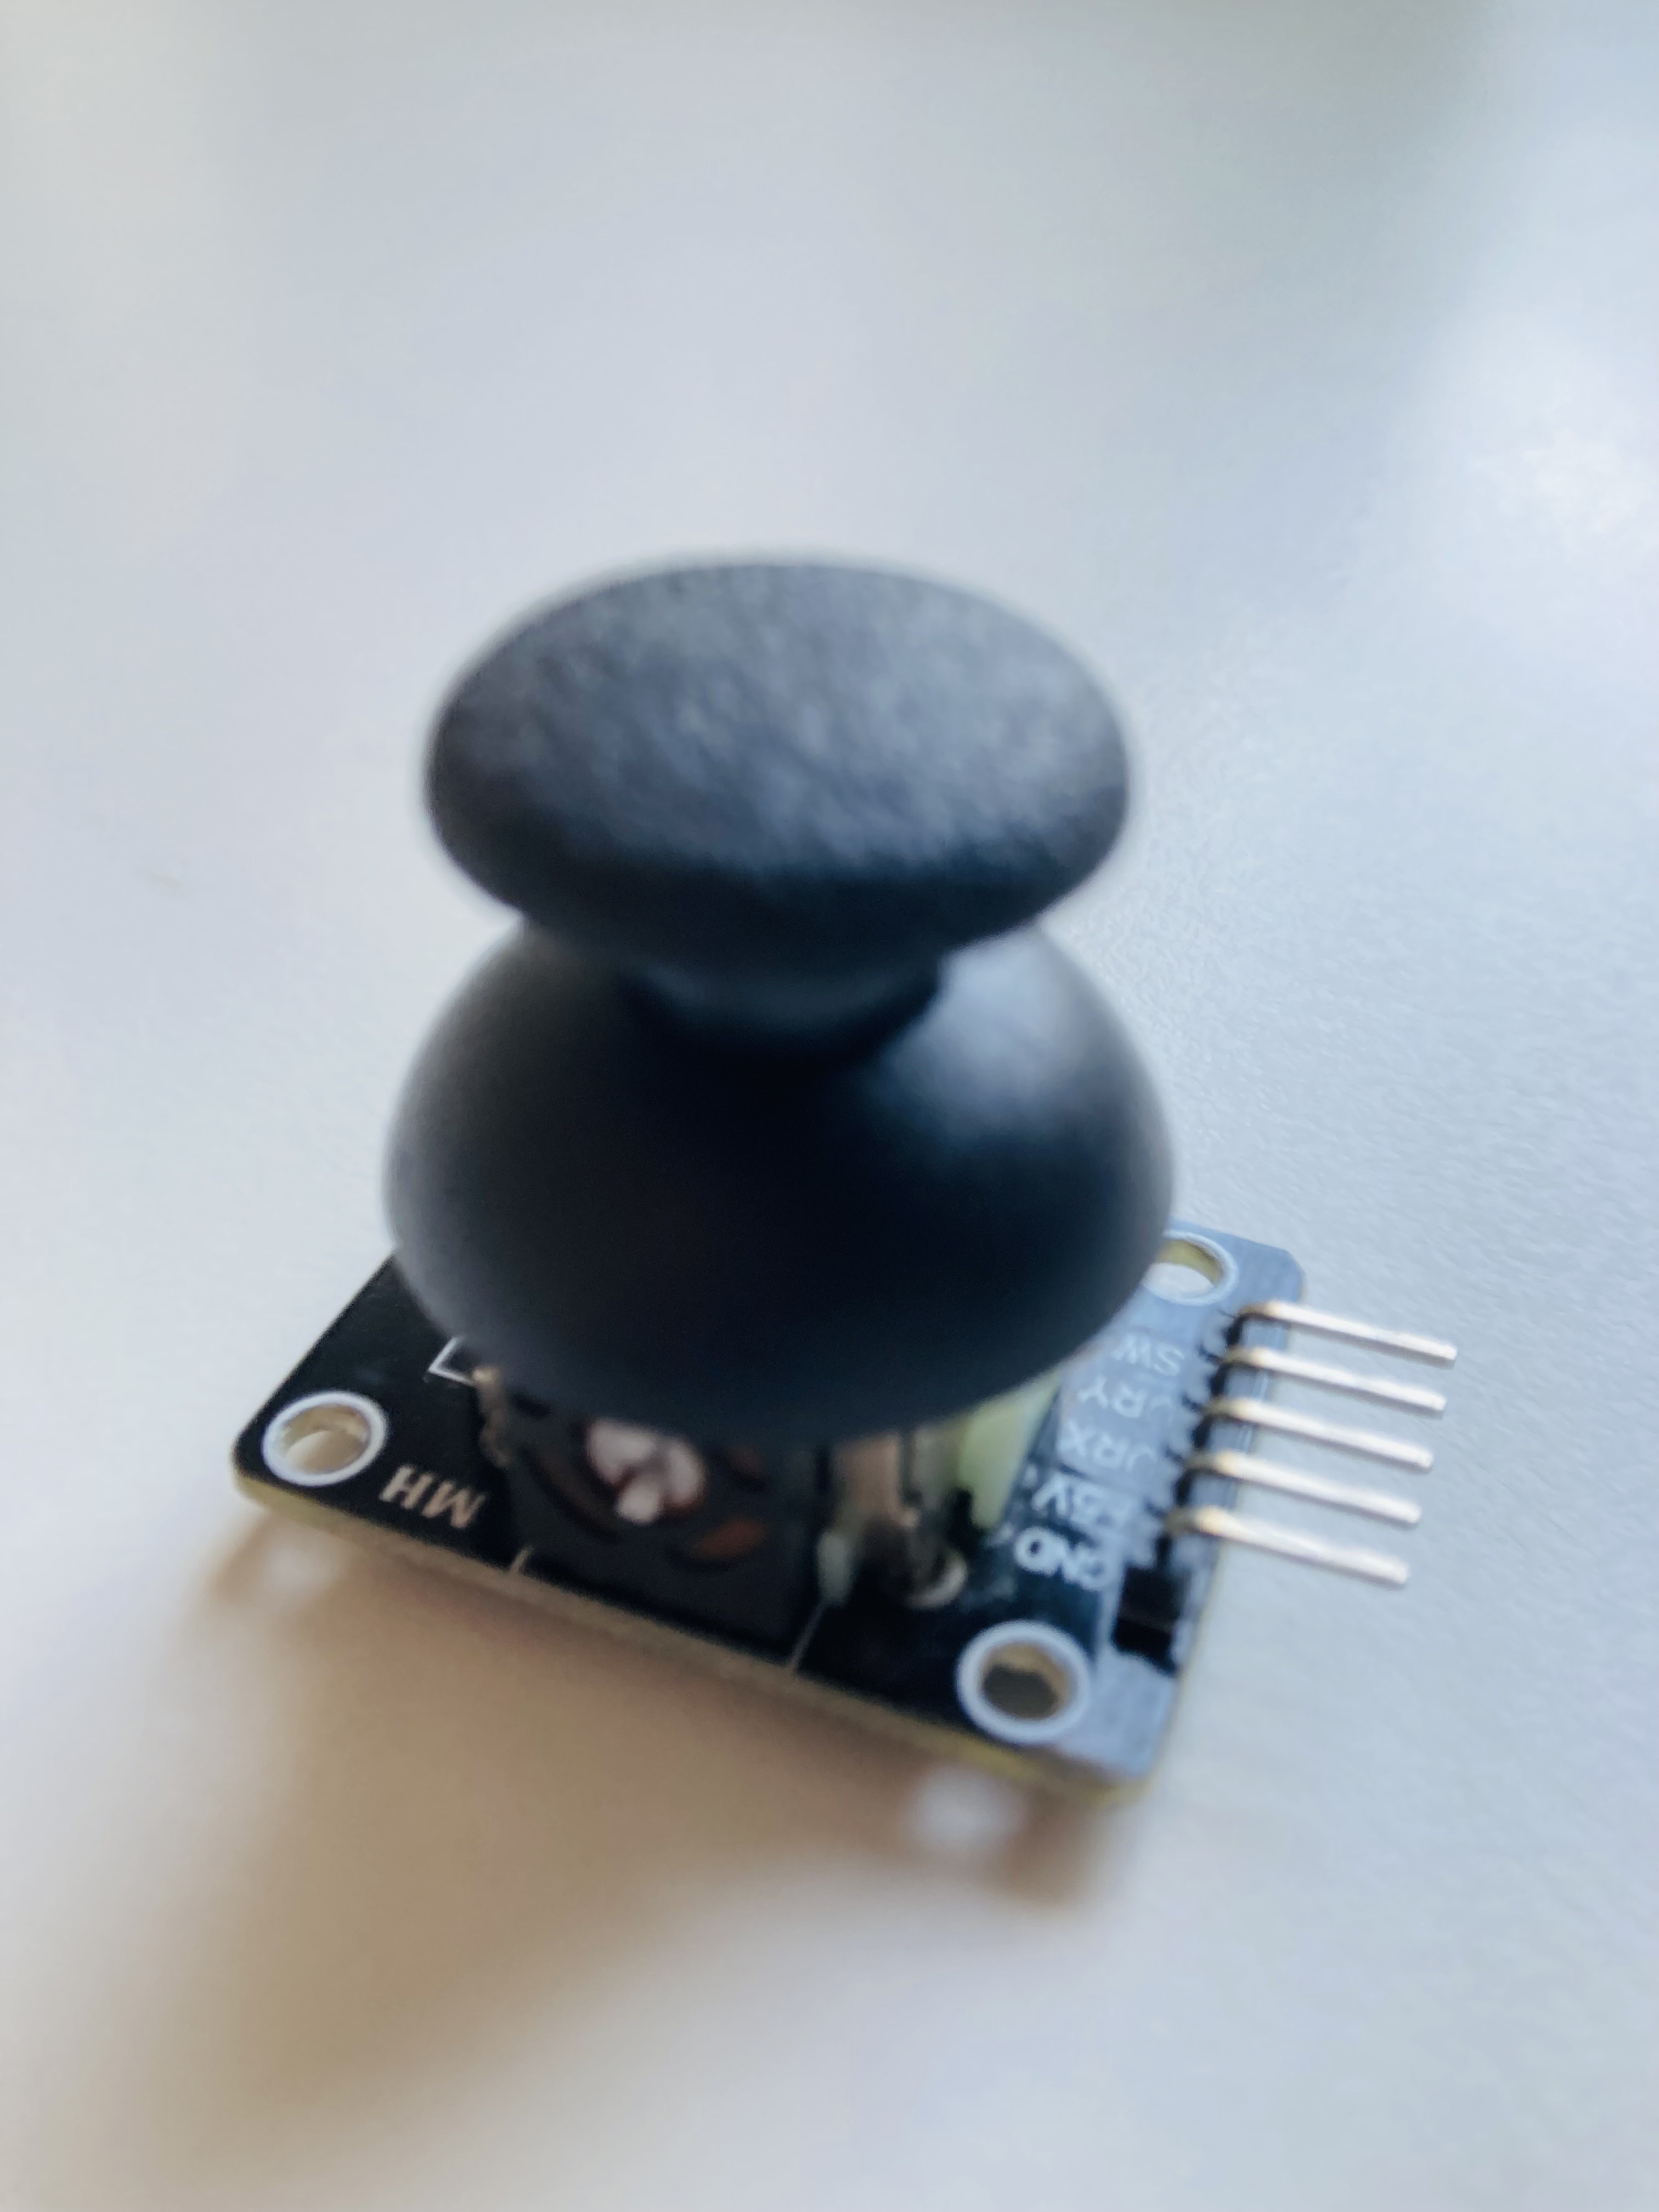
I have changed the joystick from the PS2 joystick to a PSP joystick. While this does not affect the radio's core functionality, I went ahead with this change in order to elevate the ease of channel-switching for users and to reduce the overall weight of this gadget. Although, I must warn you that the PSP joystick introduced its own set of challenges during the soldering process, making it much harder to solder.
![]()
PSP Joystick
Now that this radio is portable, it opens up a whole new ocean of opportunities for improvements and upgrades. Nevertheless, my first intent would be to make a PCB for this radio. Until then have a great day and keep an eye out for a blog post coming out - and this time I mean it - soon !
-
Audio Visualiser Part 2 : The NeoPixel Ring
04/16/2023 at 05:20 • 0 comments![]()
In my previous blog post, I talked about building the pre-amplifier circuit to measure the sound level changes in the environment. However, the real excitement begins with the LED display, which is the next component of my audio visualiser. I have used a NeoPixel ring which consists of 12 colourful LEDs.
![]()
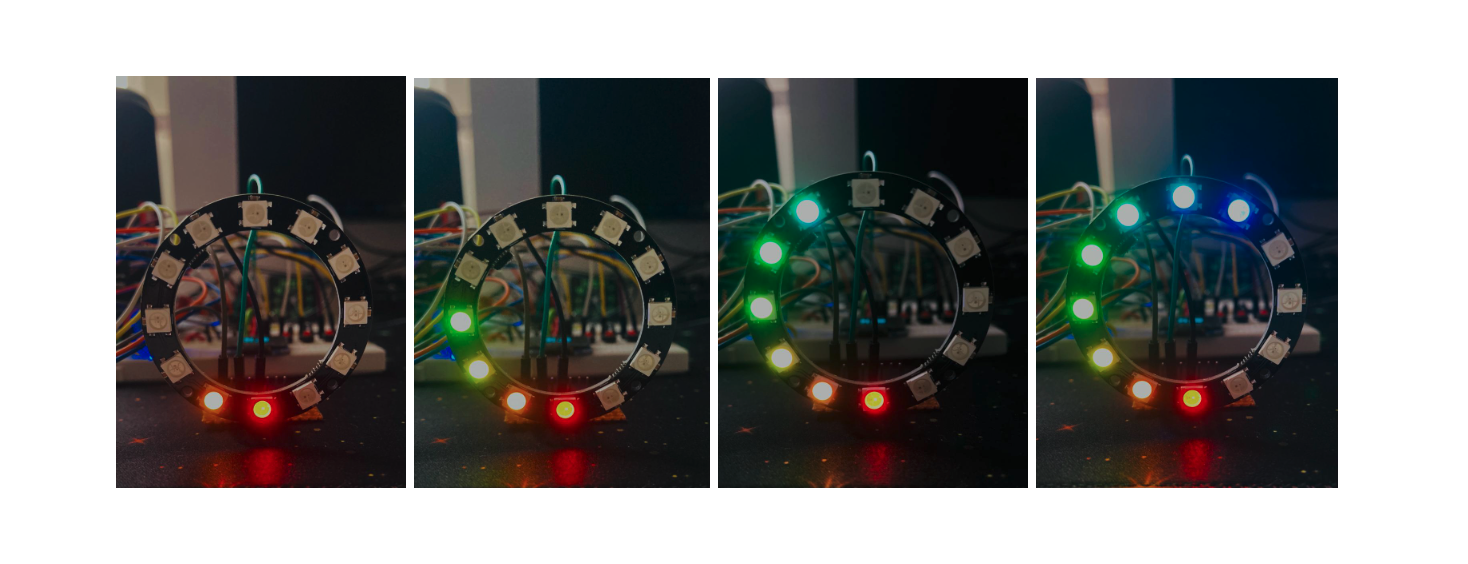
Using an if statement, I was able to control the NeoPixel. For example, if the sound level rises above 600, the code triggers 10 of the NeoPixel LEDs to light up in response. The greater the sound level, the more LEDs light up, providing a dynamic visual display that reacts to the environment in real-time.
With the addition of this new component, my Audio visualiser is complete. From my perspective, an audio visualiser is a must-have component for any music enthusiast. Besides from being a fun build, the visualiser introduced a new dimension to music by creating a personalised visual experience.
Until next time, I hope you have a great day and stay tuned for more exciting updates on this project!
-
Audio Visualiser Part 1 : The Microphone Pre-amplifier
03/27/2023 at 06:04 • 0 commentsThe radio is almost done - but nothing is really complete without LEDs right ?
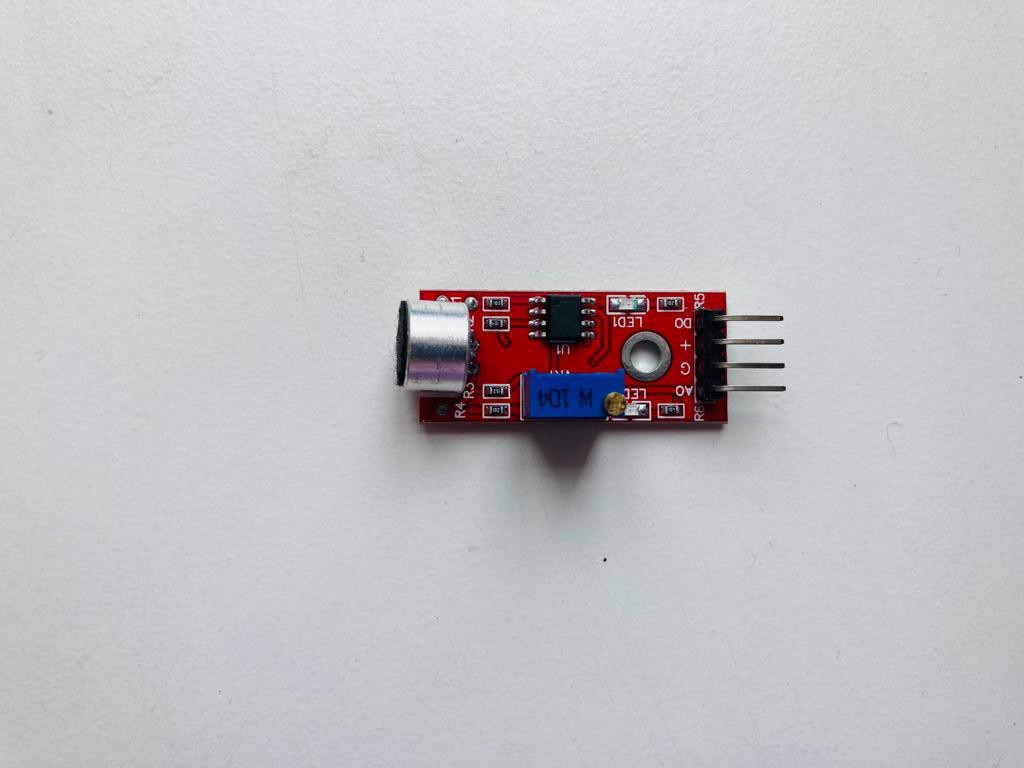
As someone who loves both music and LEDs, I'm always on the lookout for ways to combine the two and recently I came across the idea of an audio visualiser. I started out by purchasing a sound detection module which made use of the LM393 IC and an electret microphone.
![]()
Sound detection module However, after multiple tests, I realised that for some reason this module was not able to detect the noise levels in the environment. This left me with no choice but to search for alternatives. After extensive research I came across this circuit :
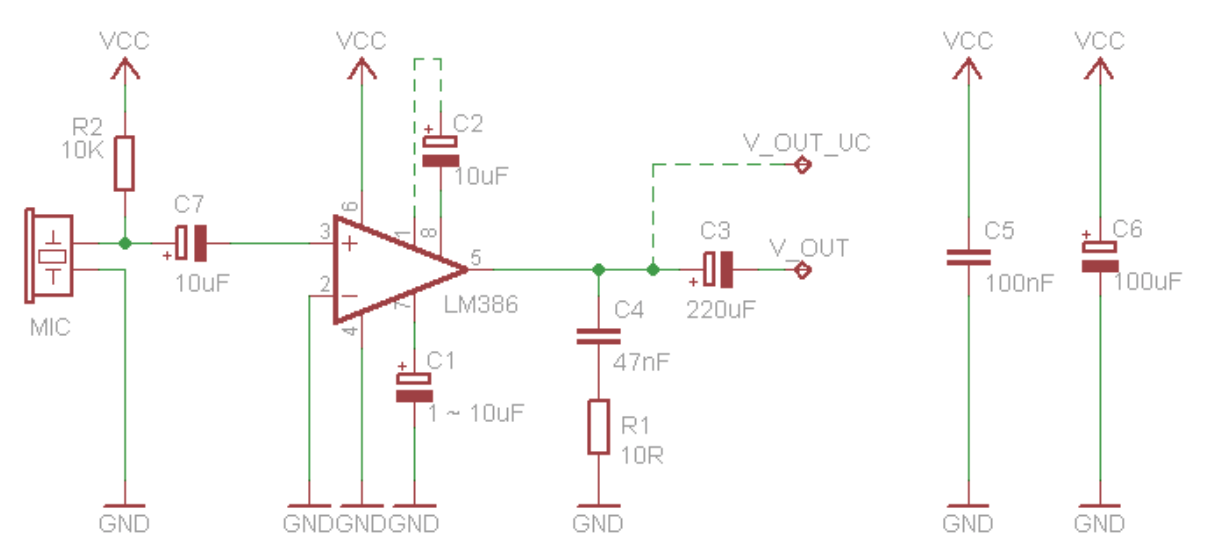
![]()
Source : https://lowvoltage.wordpress.com/2011/05/15/lm386-mic-amp/ This is a microphone pre-amplifier circuit which makes use of the LM386 amplifier. Excited by the prospect of finally getting my LED visualiser up and running I procured the required parts I began building the circuit. However, due to unavailability of parts, I had to make some substitutions :
1. instead of a 47nF capacitor I used two 100nF capacitors in series.
2. instead of a 10 ohm resistor I used two 22 ohm resistor in parallel.
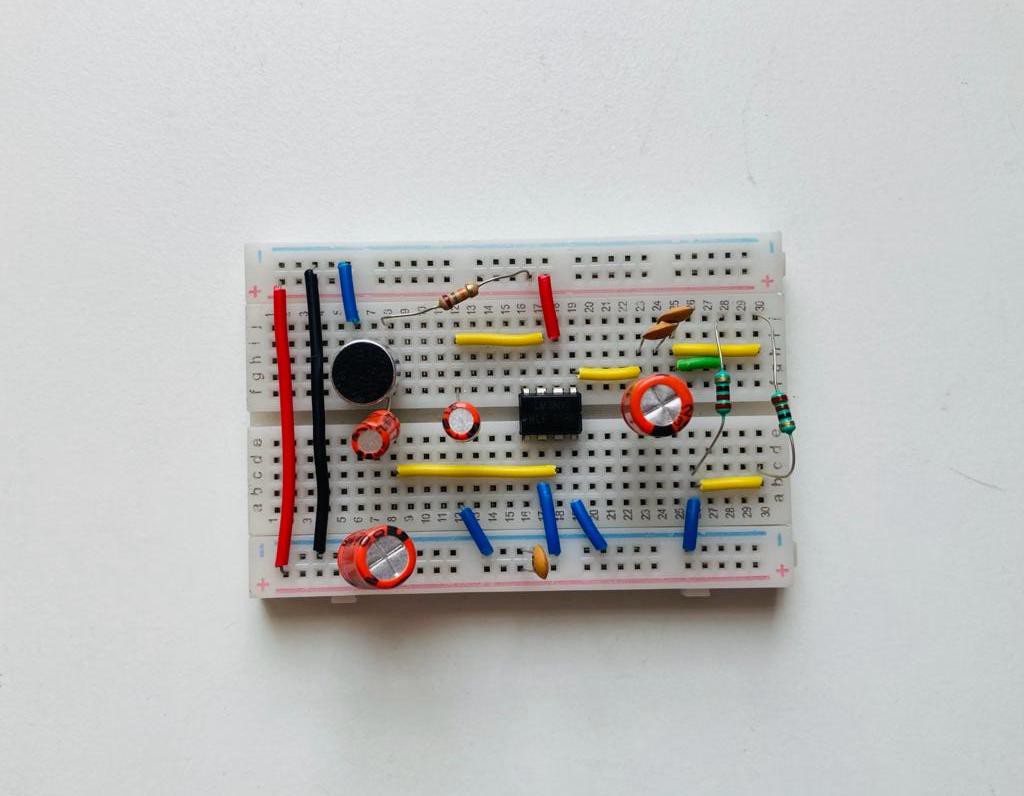
After about an hour of building, this is how my circuit turned out :
![]()
Anxious but at the same time hopeful I connected this circuit to the Arduino nano board and ran my test code. The analogue values ranging between 0 to 100 began to pop up on my screen but the biggest question was will it detect noise ?
Clap ! 749. That was the value which appeared on my serial monitor when I made a loud clap above my electret microphone. It was able to detect the change in sound levels. I tested the circuit with songs and once again it worked flawlessly.
My next step would be to add a NeoPixel ring to this project and sync the music with the lights using the circuit I have constructed above. Until then, I hope you have a great day and keep an eye out for the next blog post which will be coming out soon !
-
Adding a speaker
01/22/2023 at 11:43 • 0 comments![]()
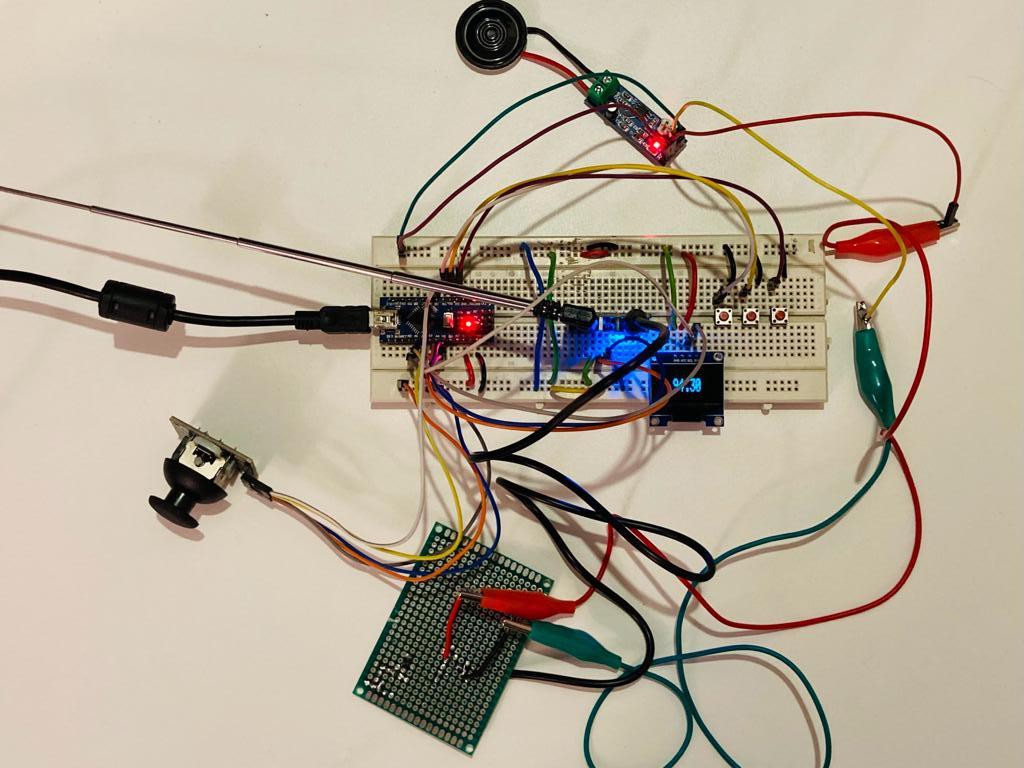
Till now I have been using earplugs or an external speaker to listen to music from my radio. So, I decided to build a speaker extension module.
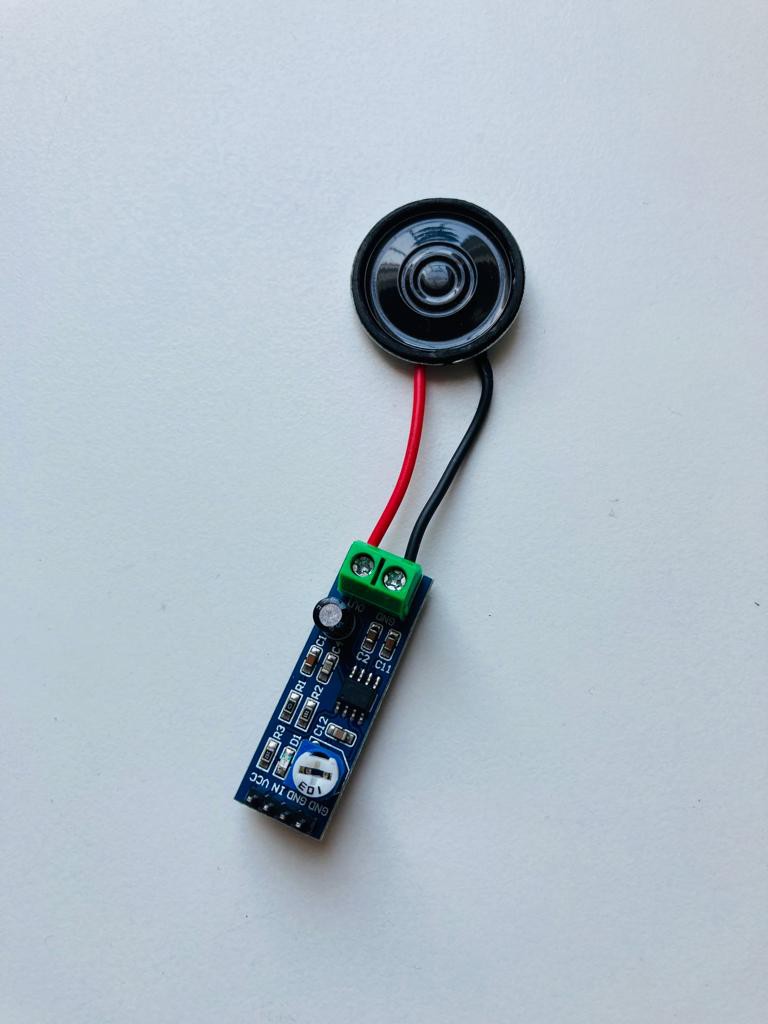
Using an aux cable I routed the audio signal into an amplifier (LM386 amplifier module) to which a small speaker was connected. The volume of the audio can be controlled by the potentiometer on board the LM386 module.
![]()
The LM386 Amplifier Module
I was actually quite surprised by the sound quality from this speaker. I had not expected the audio quality to be any good at all but after adjusting the volume, the quality was not so bad. Of course, commercially available speakers do offer much better audio quality and hence I have kept this speaker extension module as an optional attachment to the radio.
-
Joystick Radio !
01/03/2023 at 11:47 • 0 comments![]()
So instead of adding a rotary encoder to change frequencies, I added a joystick. However, I coded the joystick in such a way that the user does not have to move it multiple times to switch from, for instance, 91.0 to 93.7.
Instead, as soon as the user pushes the joystick to the right once, a loop will begin and the frequency will increase by 0.1 every second. Then, by pushing down on the joystick button, the user can stop at the specific frequency. Similarly, if the user pushes the joystick to the left then the frequencies will start decreasing by 0.1 every second.
![]()
The frequency control only uses the x-axis and button of the joystick. This leaves me with the y-axis which I intend on using for volume control in the future.
-
Adding A Few More Features
11/24/2022 at 17:10 • 0 comments![]()
I have added a few more features to my radio. Firstly, I added and coded 3 buttons which have fixed frequencies. This makes it easier and faster to switch between preferred stations. However, currently I can not access any other station besides these 3 fixed stations. So, eventually I intend on adding a rotary encoder or joystick to move between all stations.
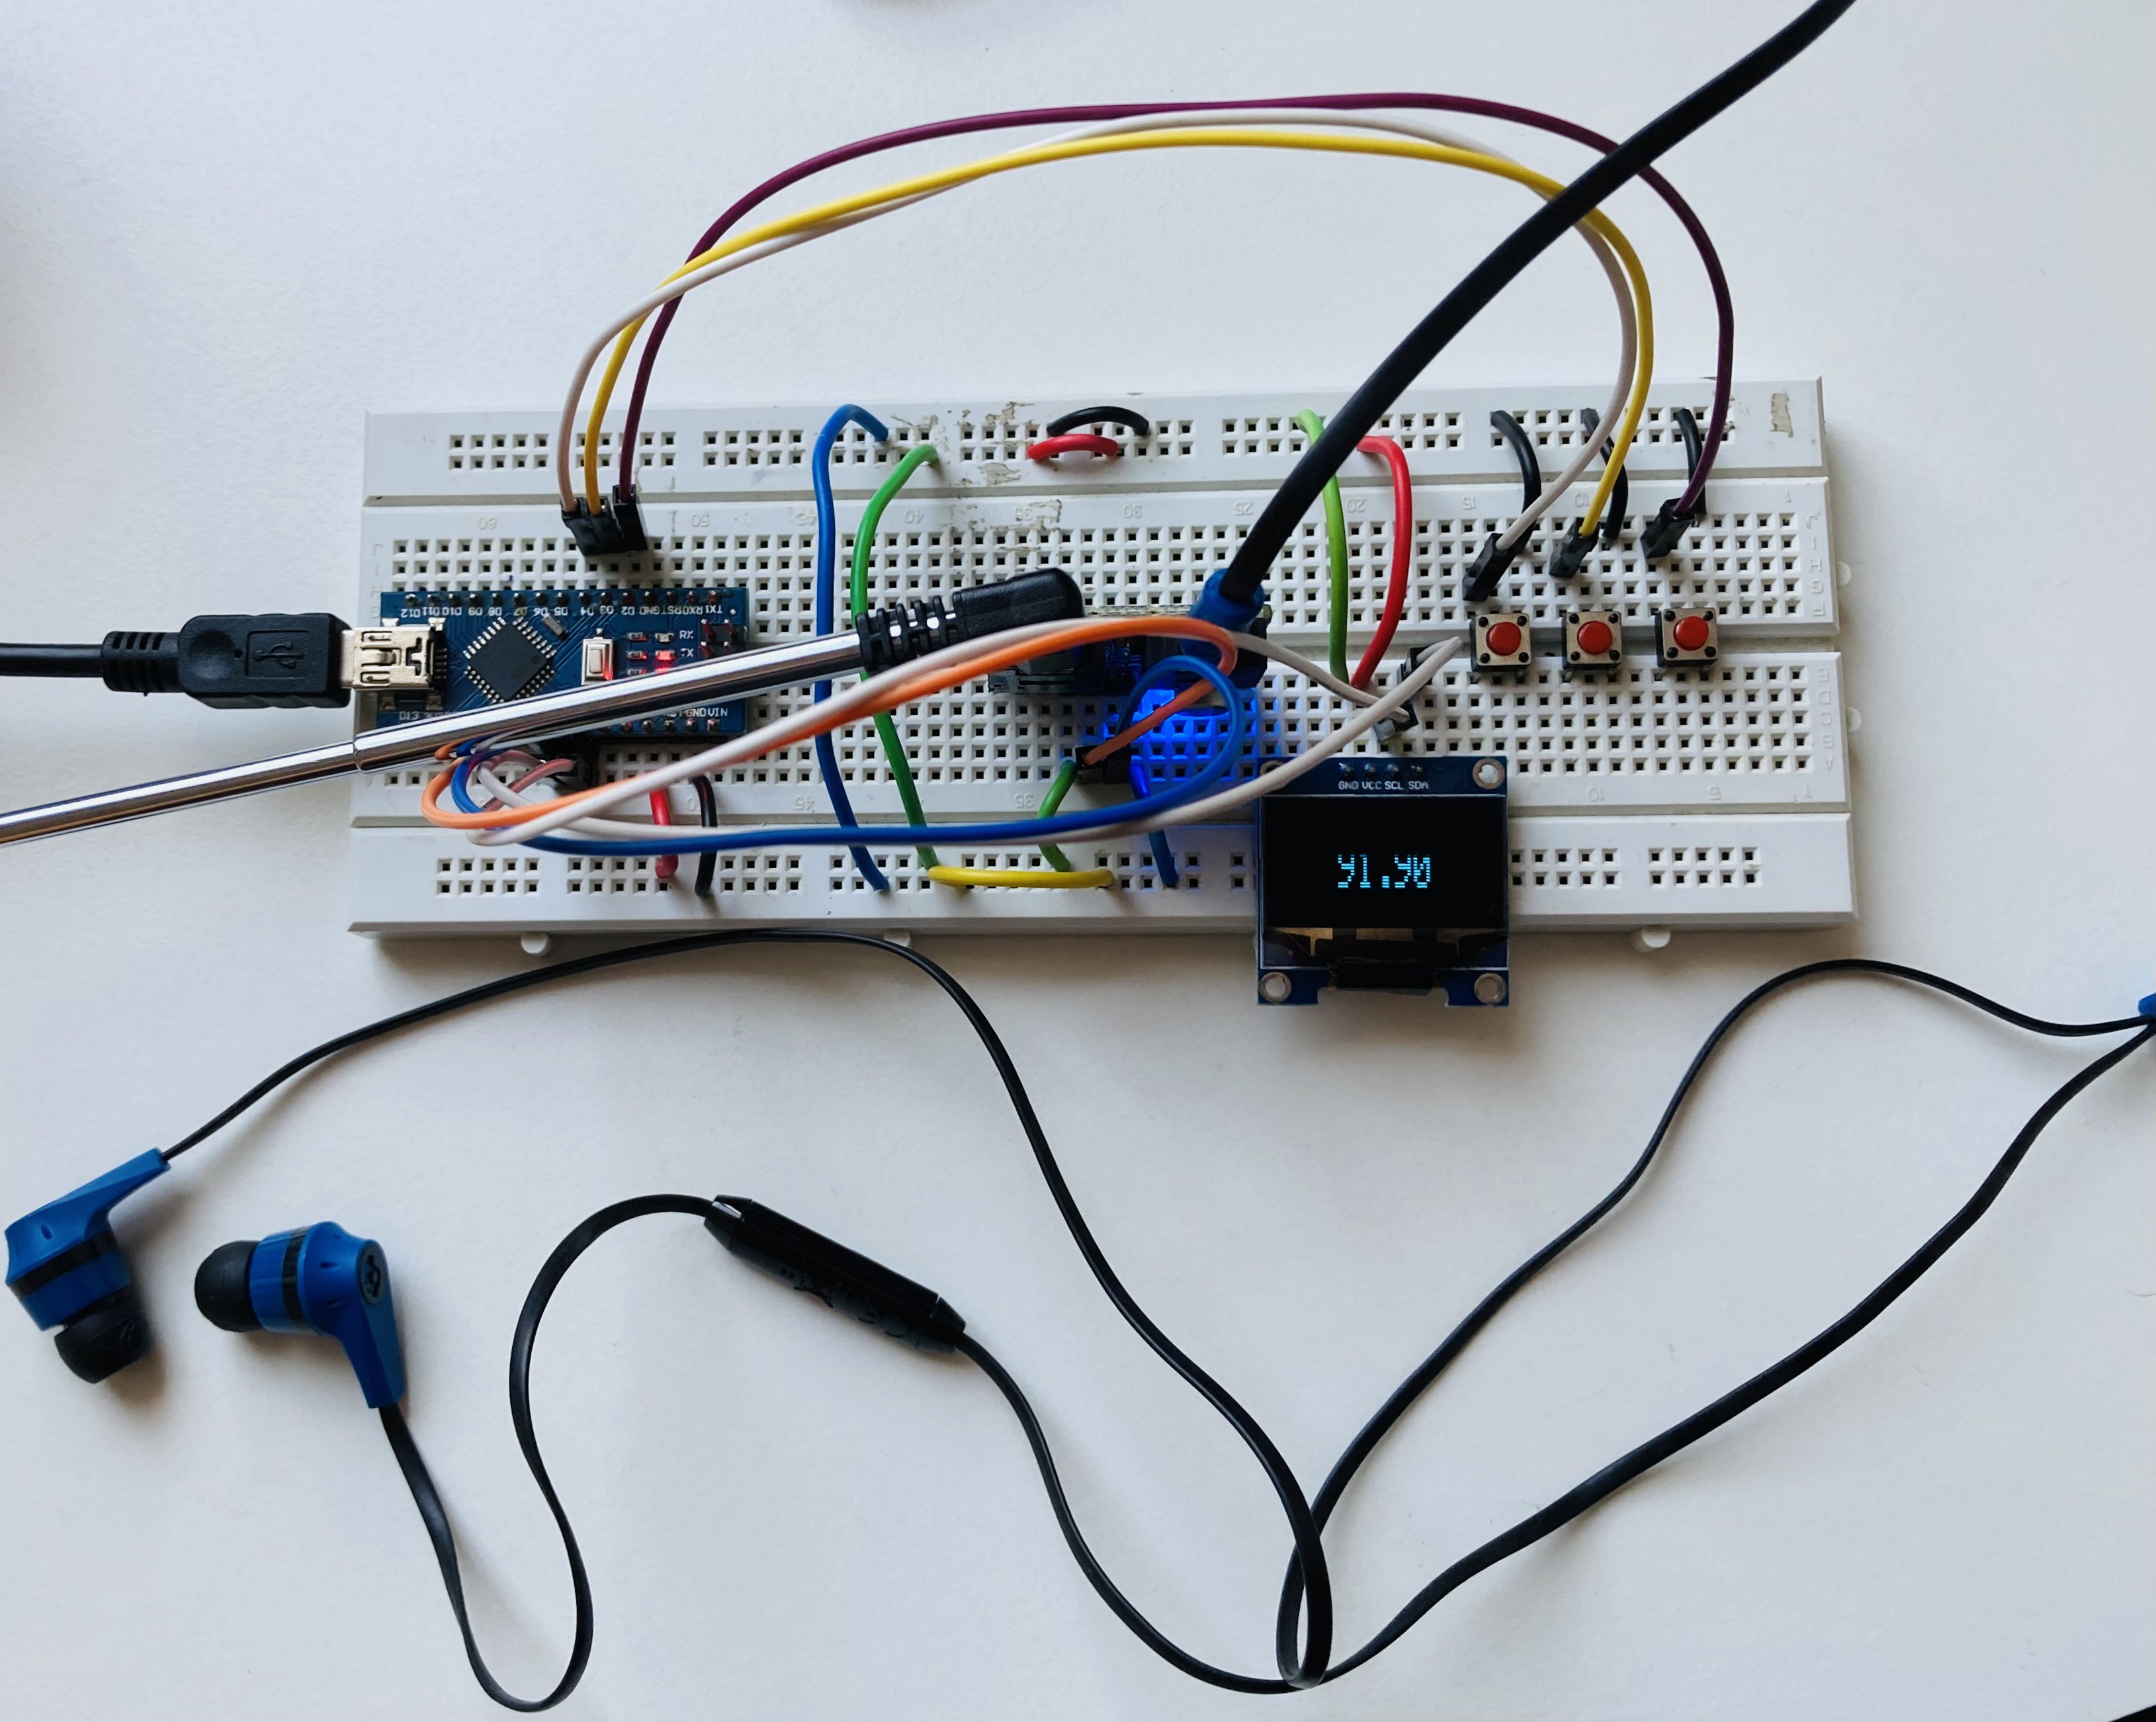
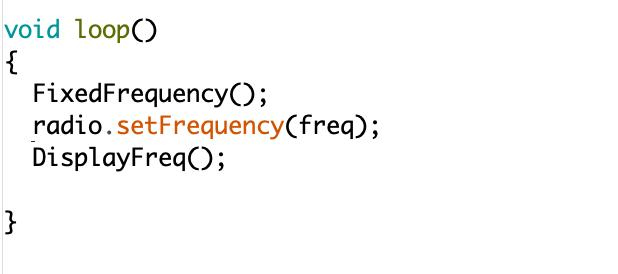
Next, I have added an OLED screen. This screen displays the station which the radio is playing. Oddly, I faced an issue while coding this display. When I put DisplayFreq() (my display function) in the void loop(), I heard a continuous static noise along with the music from the earplugs but when I put DisplayFreq() under the if statement outside the void loop() then the static noise was only briefly heard when the button was pressed.
![]()
DisplayFreq() inside void loop() - causes continuous static ![]()
DisplayFreq() in if statement - causes brief static only when button pressed I am not sure what is causing this static noise but I was able to overcome this problem by calling the DisplayFreq() function only when a button is pressed.
-
First Model
11/07/2022 at 12:51 • 0 comments![]()
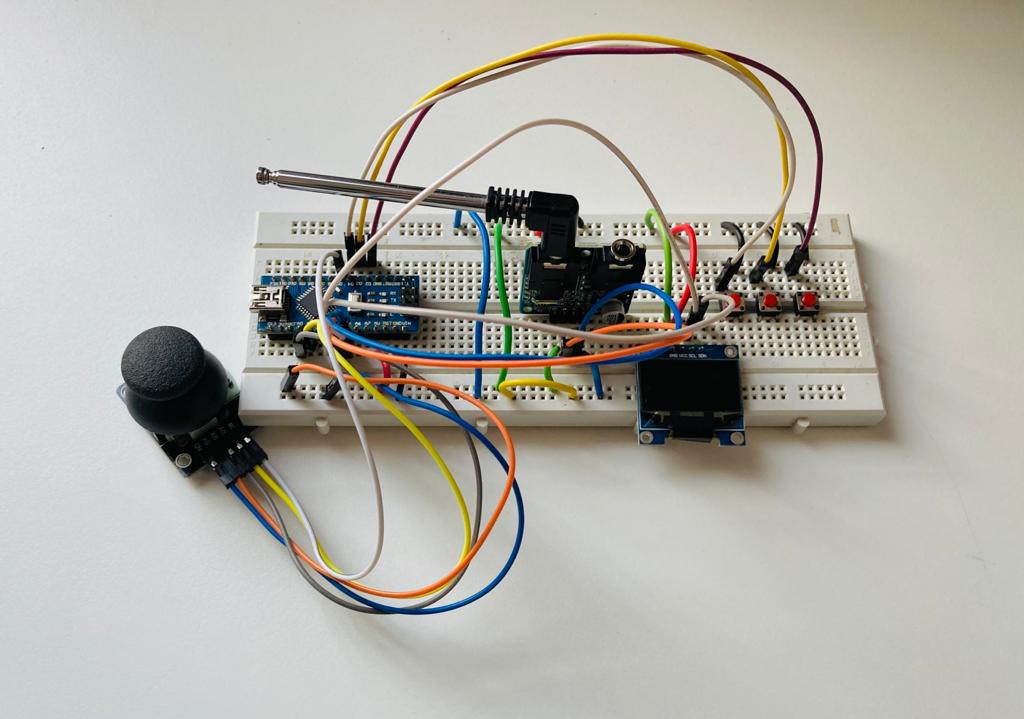
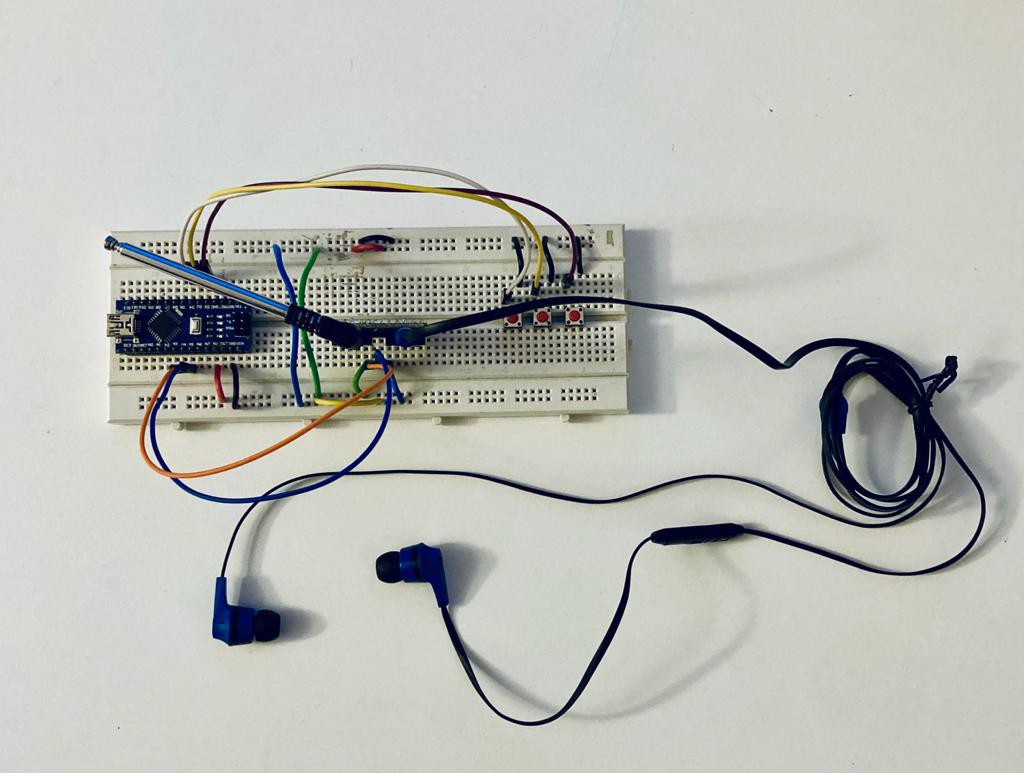
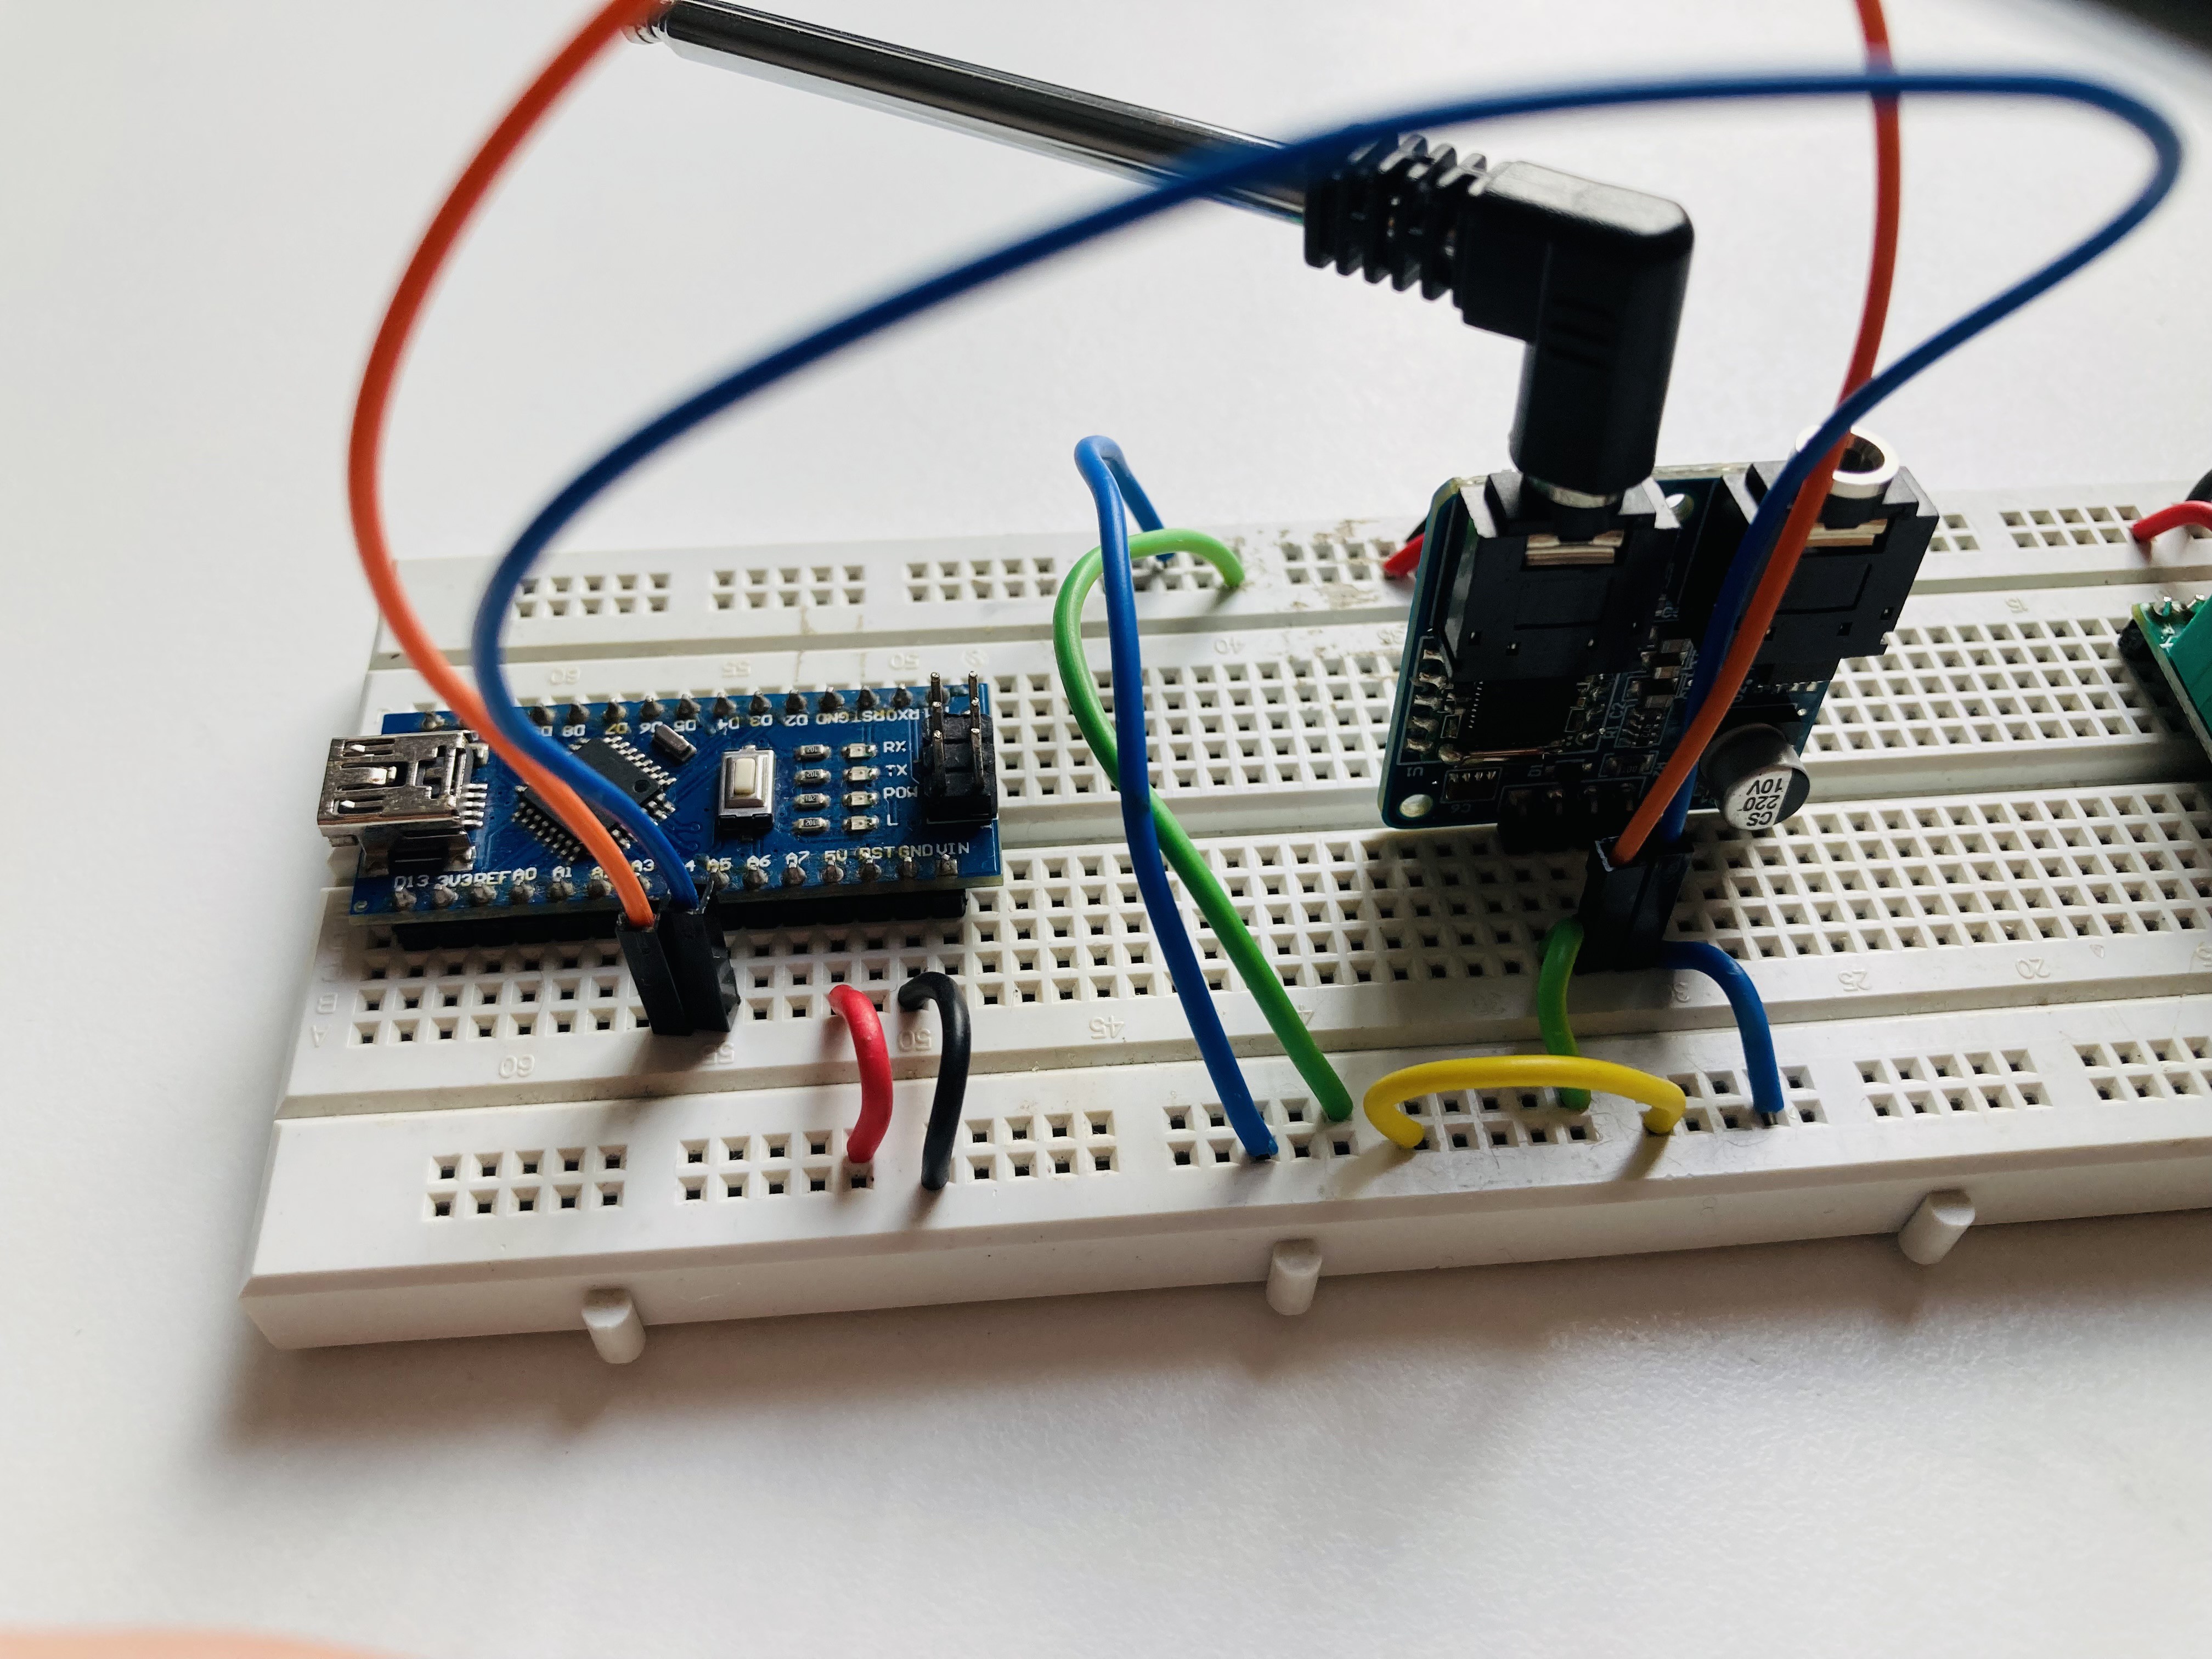
This is the first model of my radio. The main components of this project are the Arduino Nano board and the TEA5767 FM Radio Module.
One of the biggest issues I faced while building this was that the TEA5767 FM Radio Module does not work with the Arduino Mega board. However, it works extremely well with the Arduino Nano board. So, I would recommend using an Arduino nano. The Radio module does not have an inbuilt speaker, so I had to connect an external speaker (earplugs will also work).
![]()
 Xtreme Tech