 Filip Mulier
-
11Layer the carpet padding into the cavity of the microphone enclosure
Cut rectangles of carpet padding that fit snugly in the cavity. Scraps can be used as long as they don't move around. Cut slits in each side of the rectangle to allow the cables to pass through. With each layer bring the cables closer to the exit point. Note that the exit point for attaching the Raspberry Pi recorder is not in the center. See the last picture below.
![]()
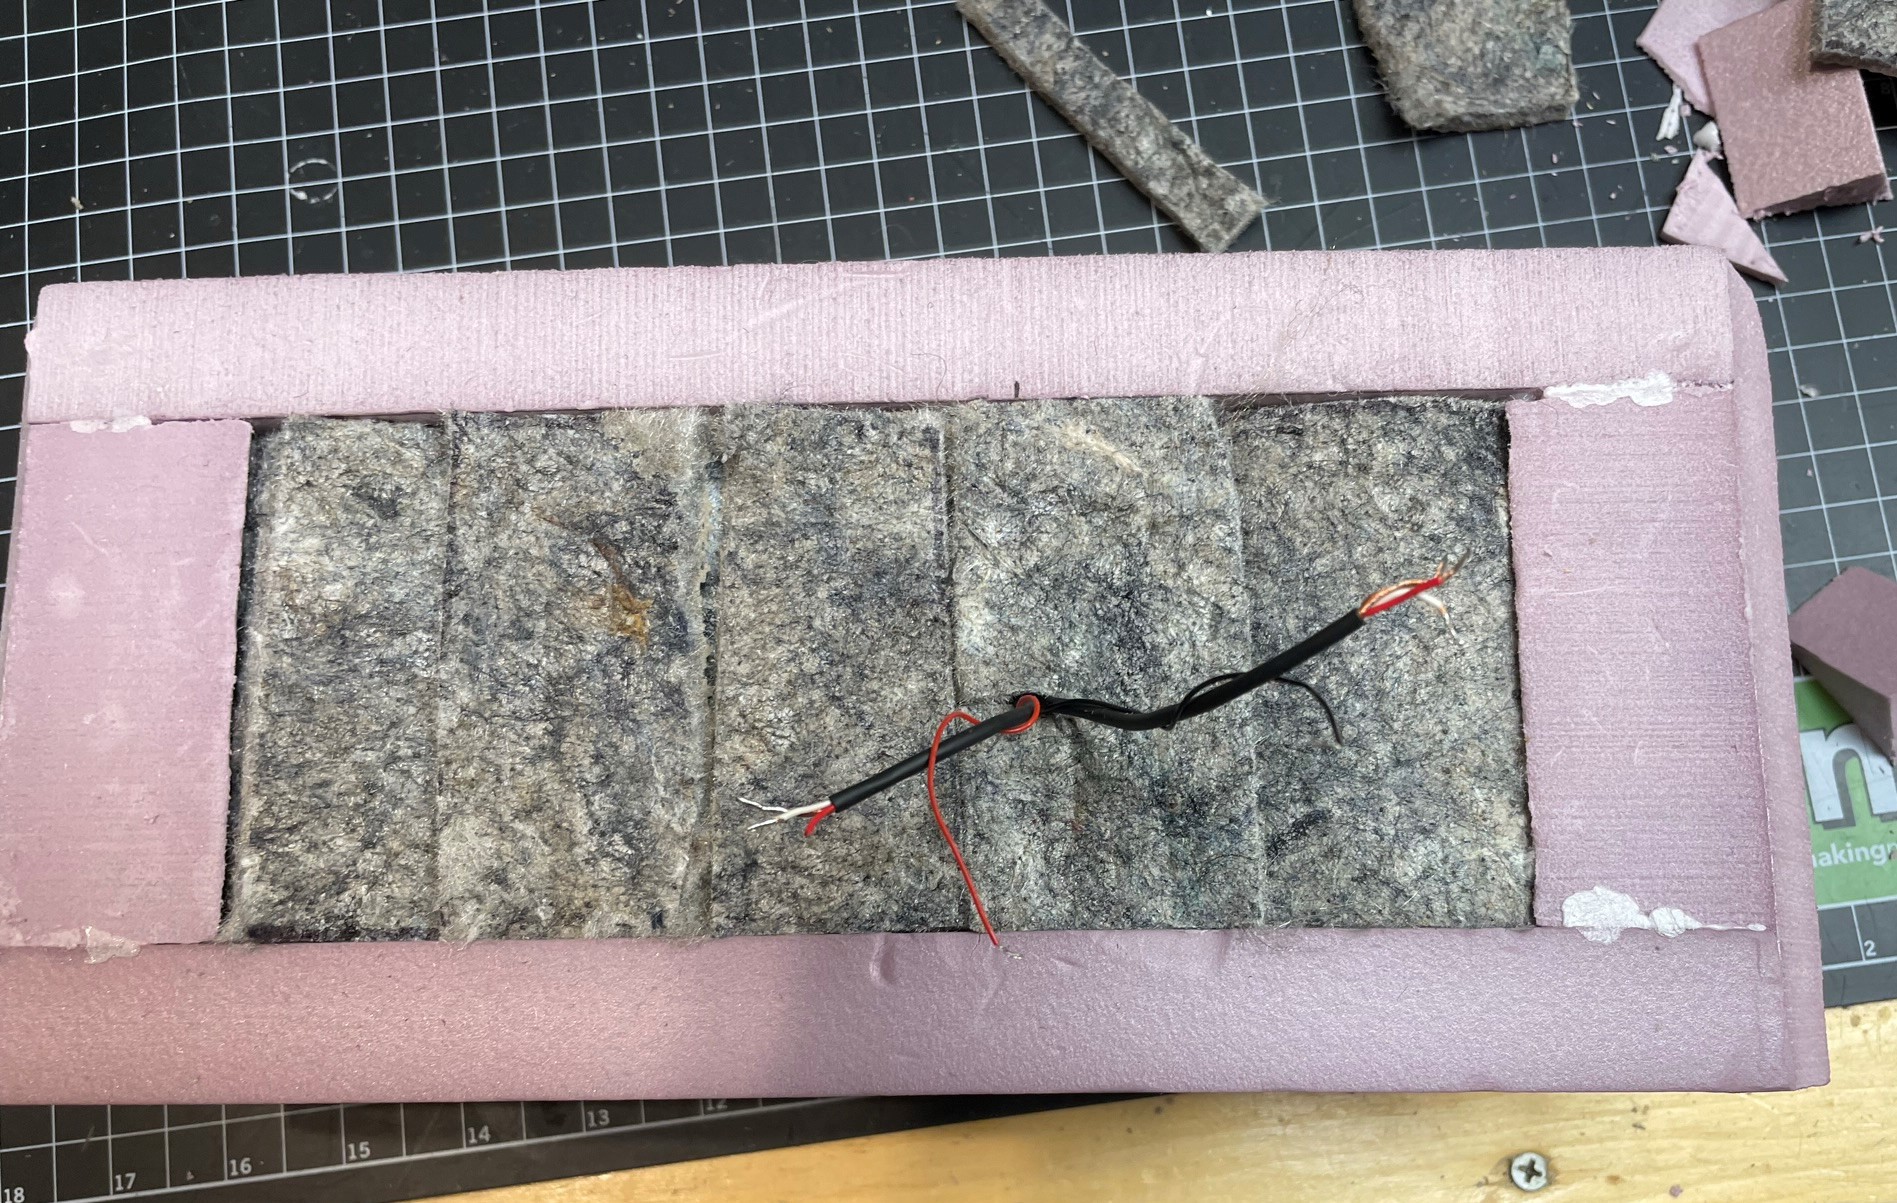
Fill the cavity flush to the top with carpet padding.
![]()
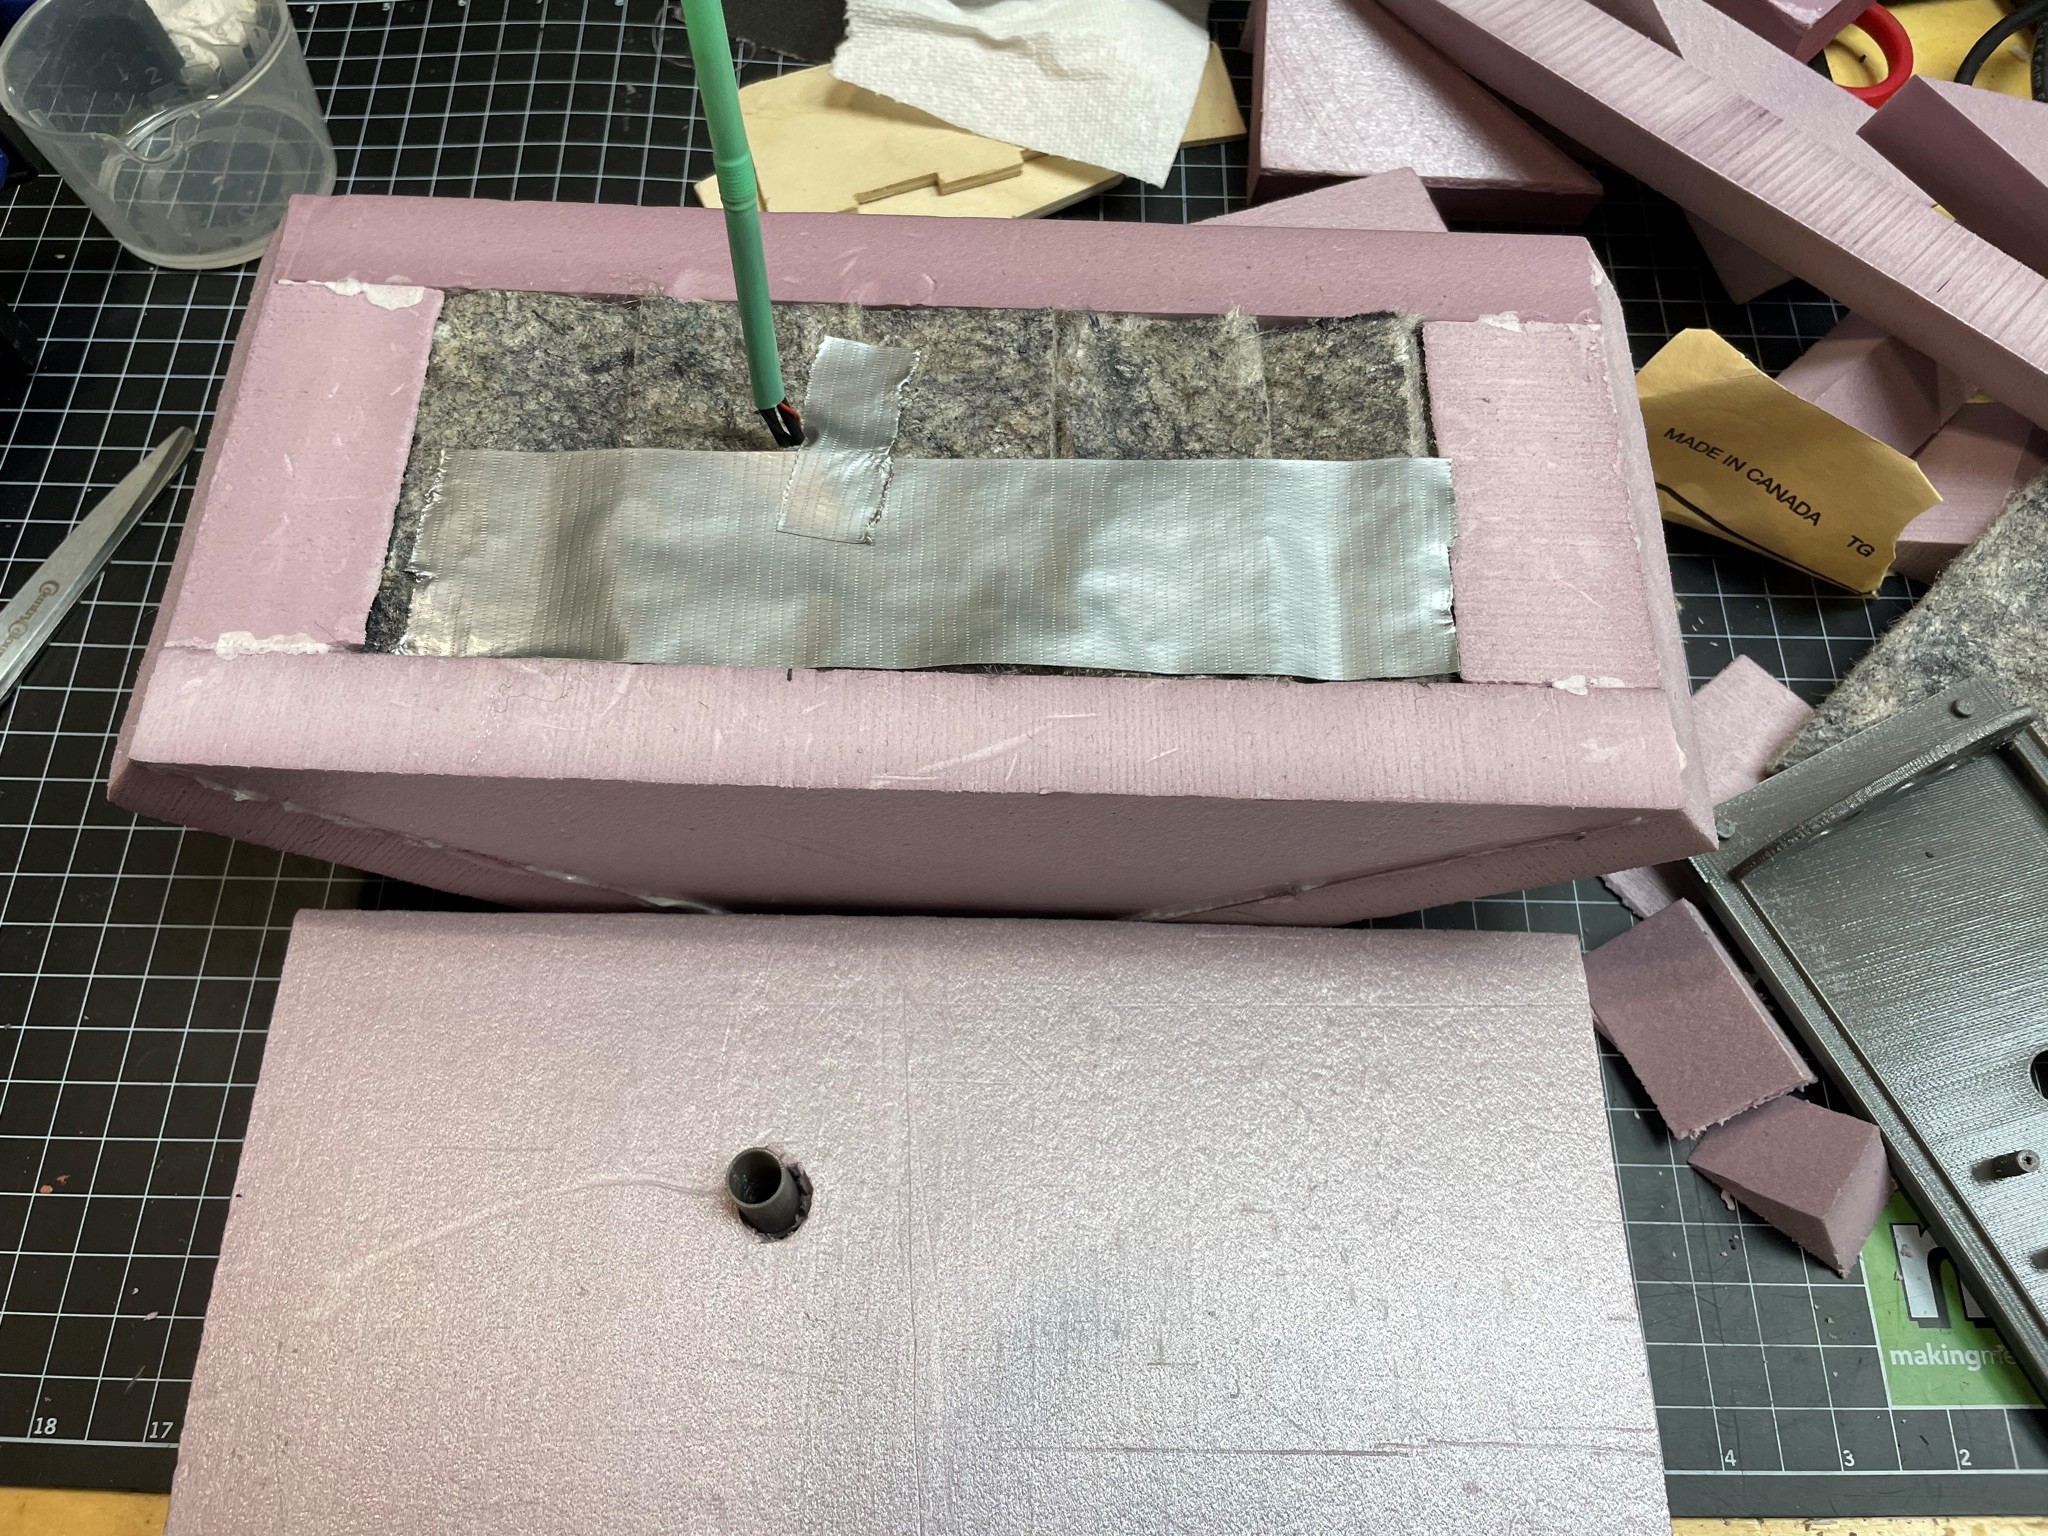
Notice that the cables are exiting off center so that they line up correctly with the Raspberry Pi Recorder. Use duct tape to make sure padding stays put.
![]()
This picture shows a 3D printed tube that is part of the Raspberry PI recorder design. The tube passes into the recorder and is therefore sealed. It ensures no insects get into a gap between the cables and the foam. To help pass the cables, using a drinking straw.
-
12Attach the Back of the Microphone Enclosure.
Make a hole in the back of the enclosure where the cables should exit. Use the white urethane glue to attach the back of the enclosure. Be sure to clamp the back with equal pressure to make a good seal.
-
13Tripod Mount
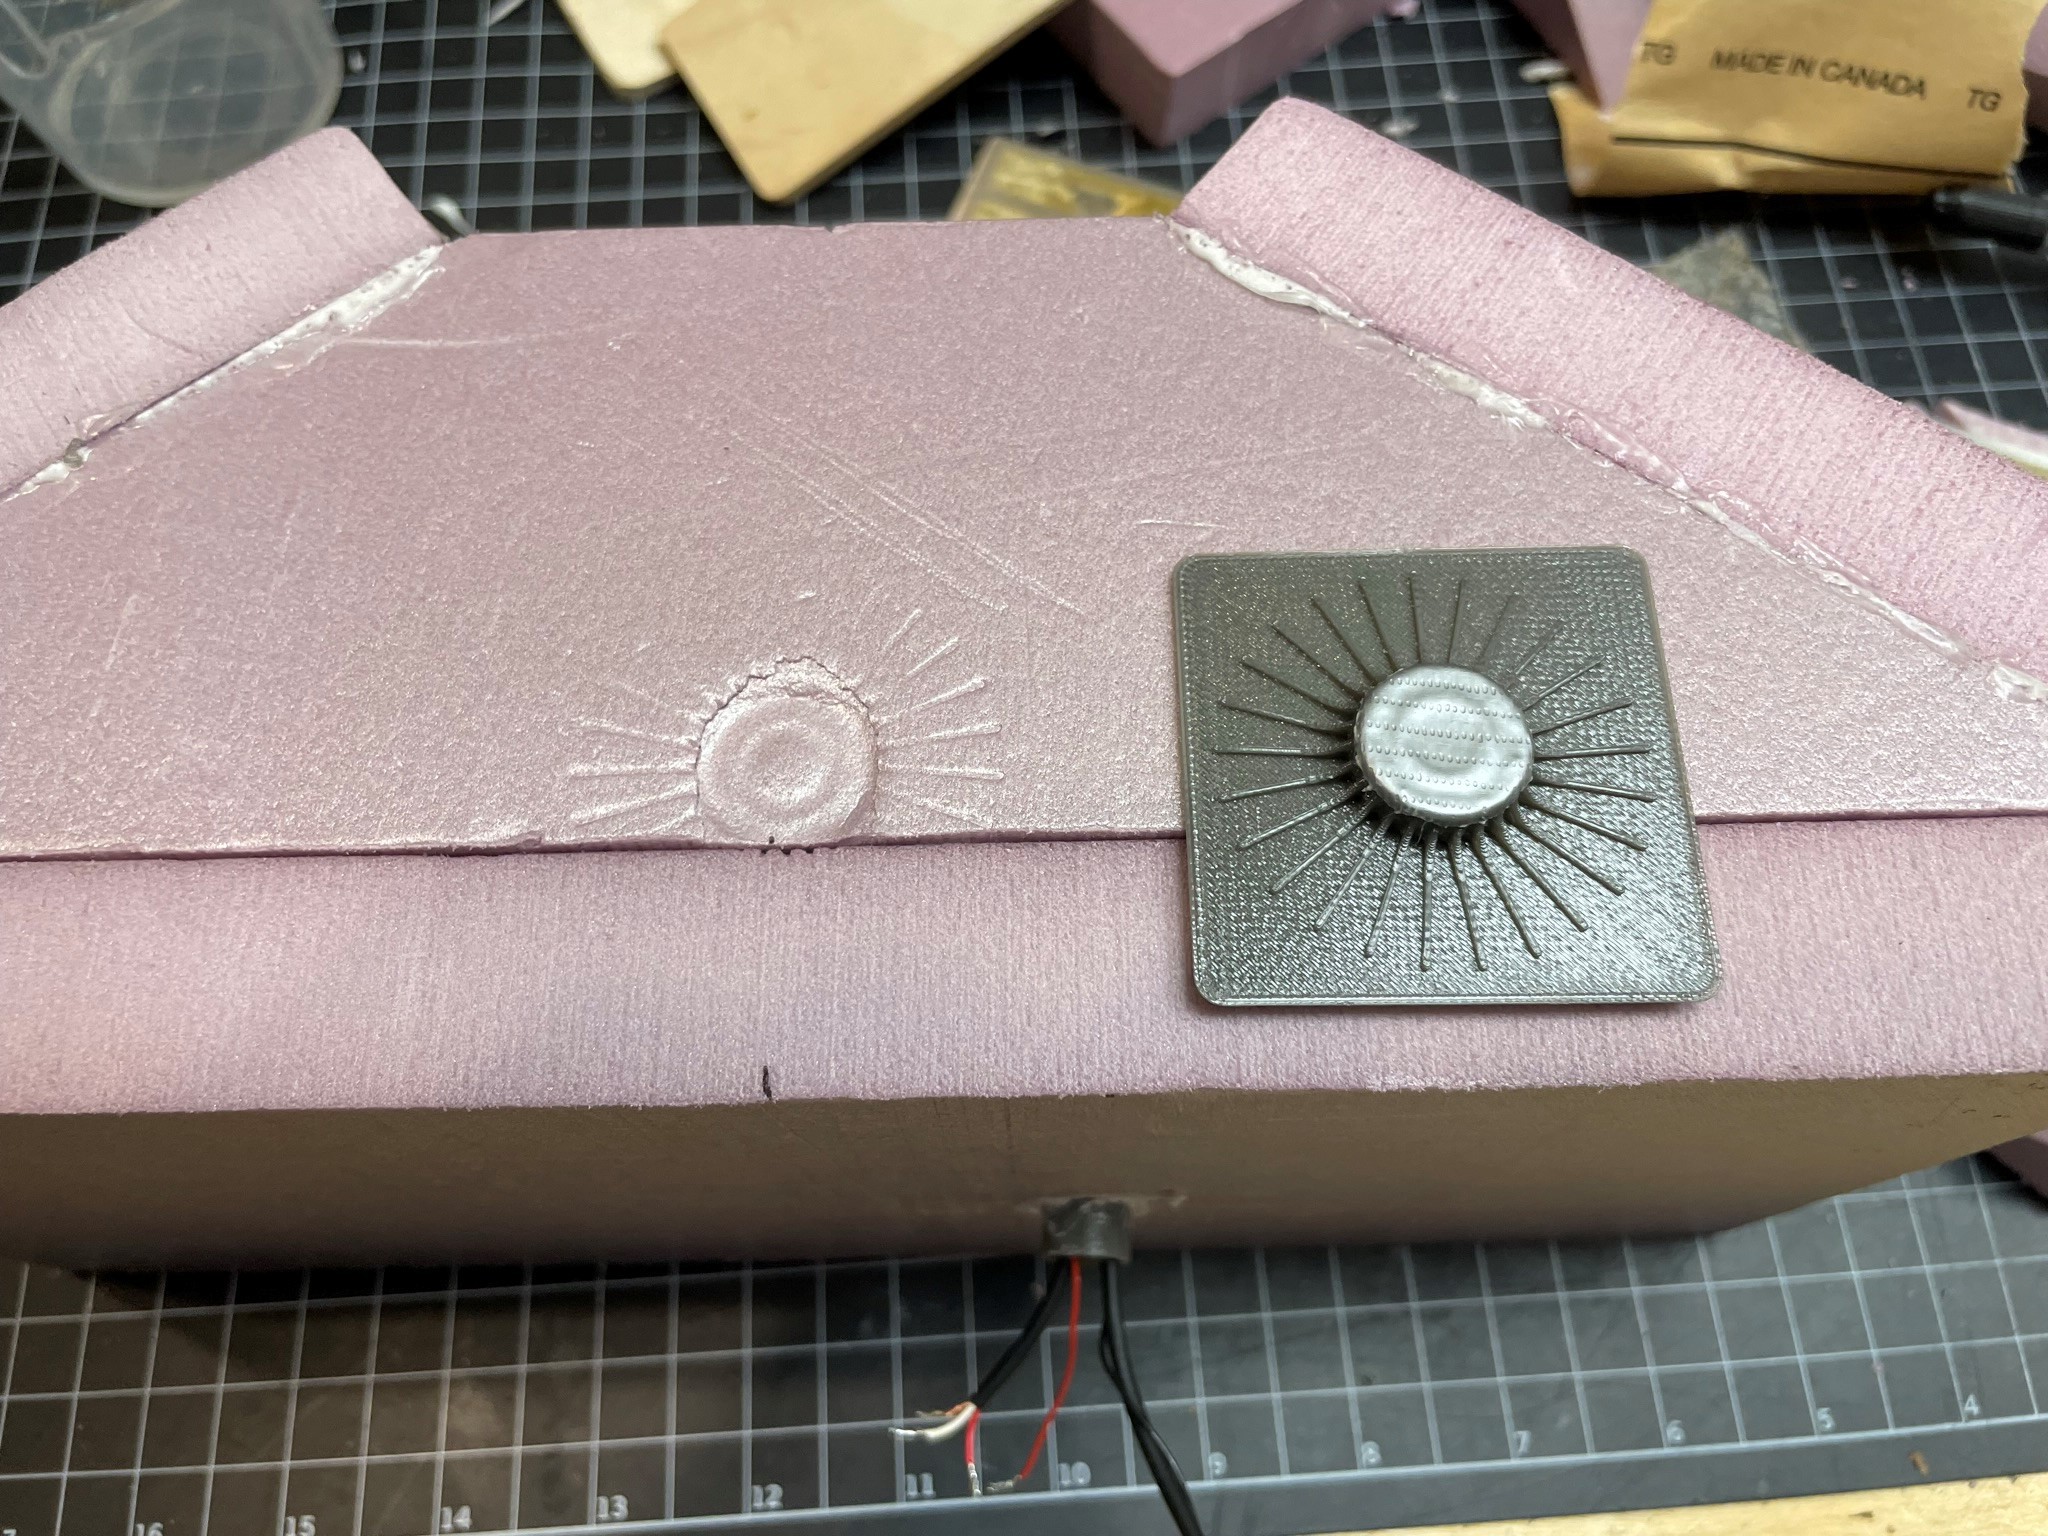
The 3D Printed Tripod Mount with the 1/4-20 nut is pressed into the foam to indent it, marking where to cut out clearance for the mount.
![]()
As shown in the picture above put a circle of duct tape over the nut so that glue does not seep into it.
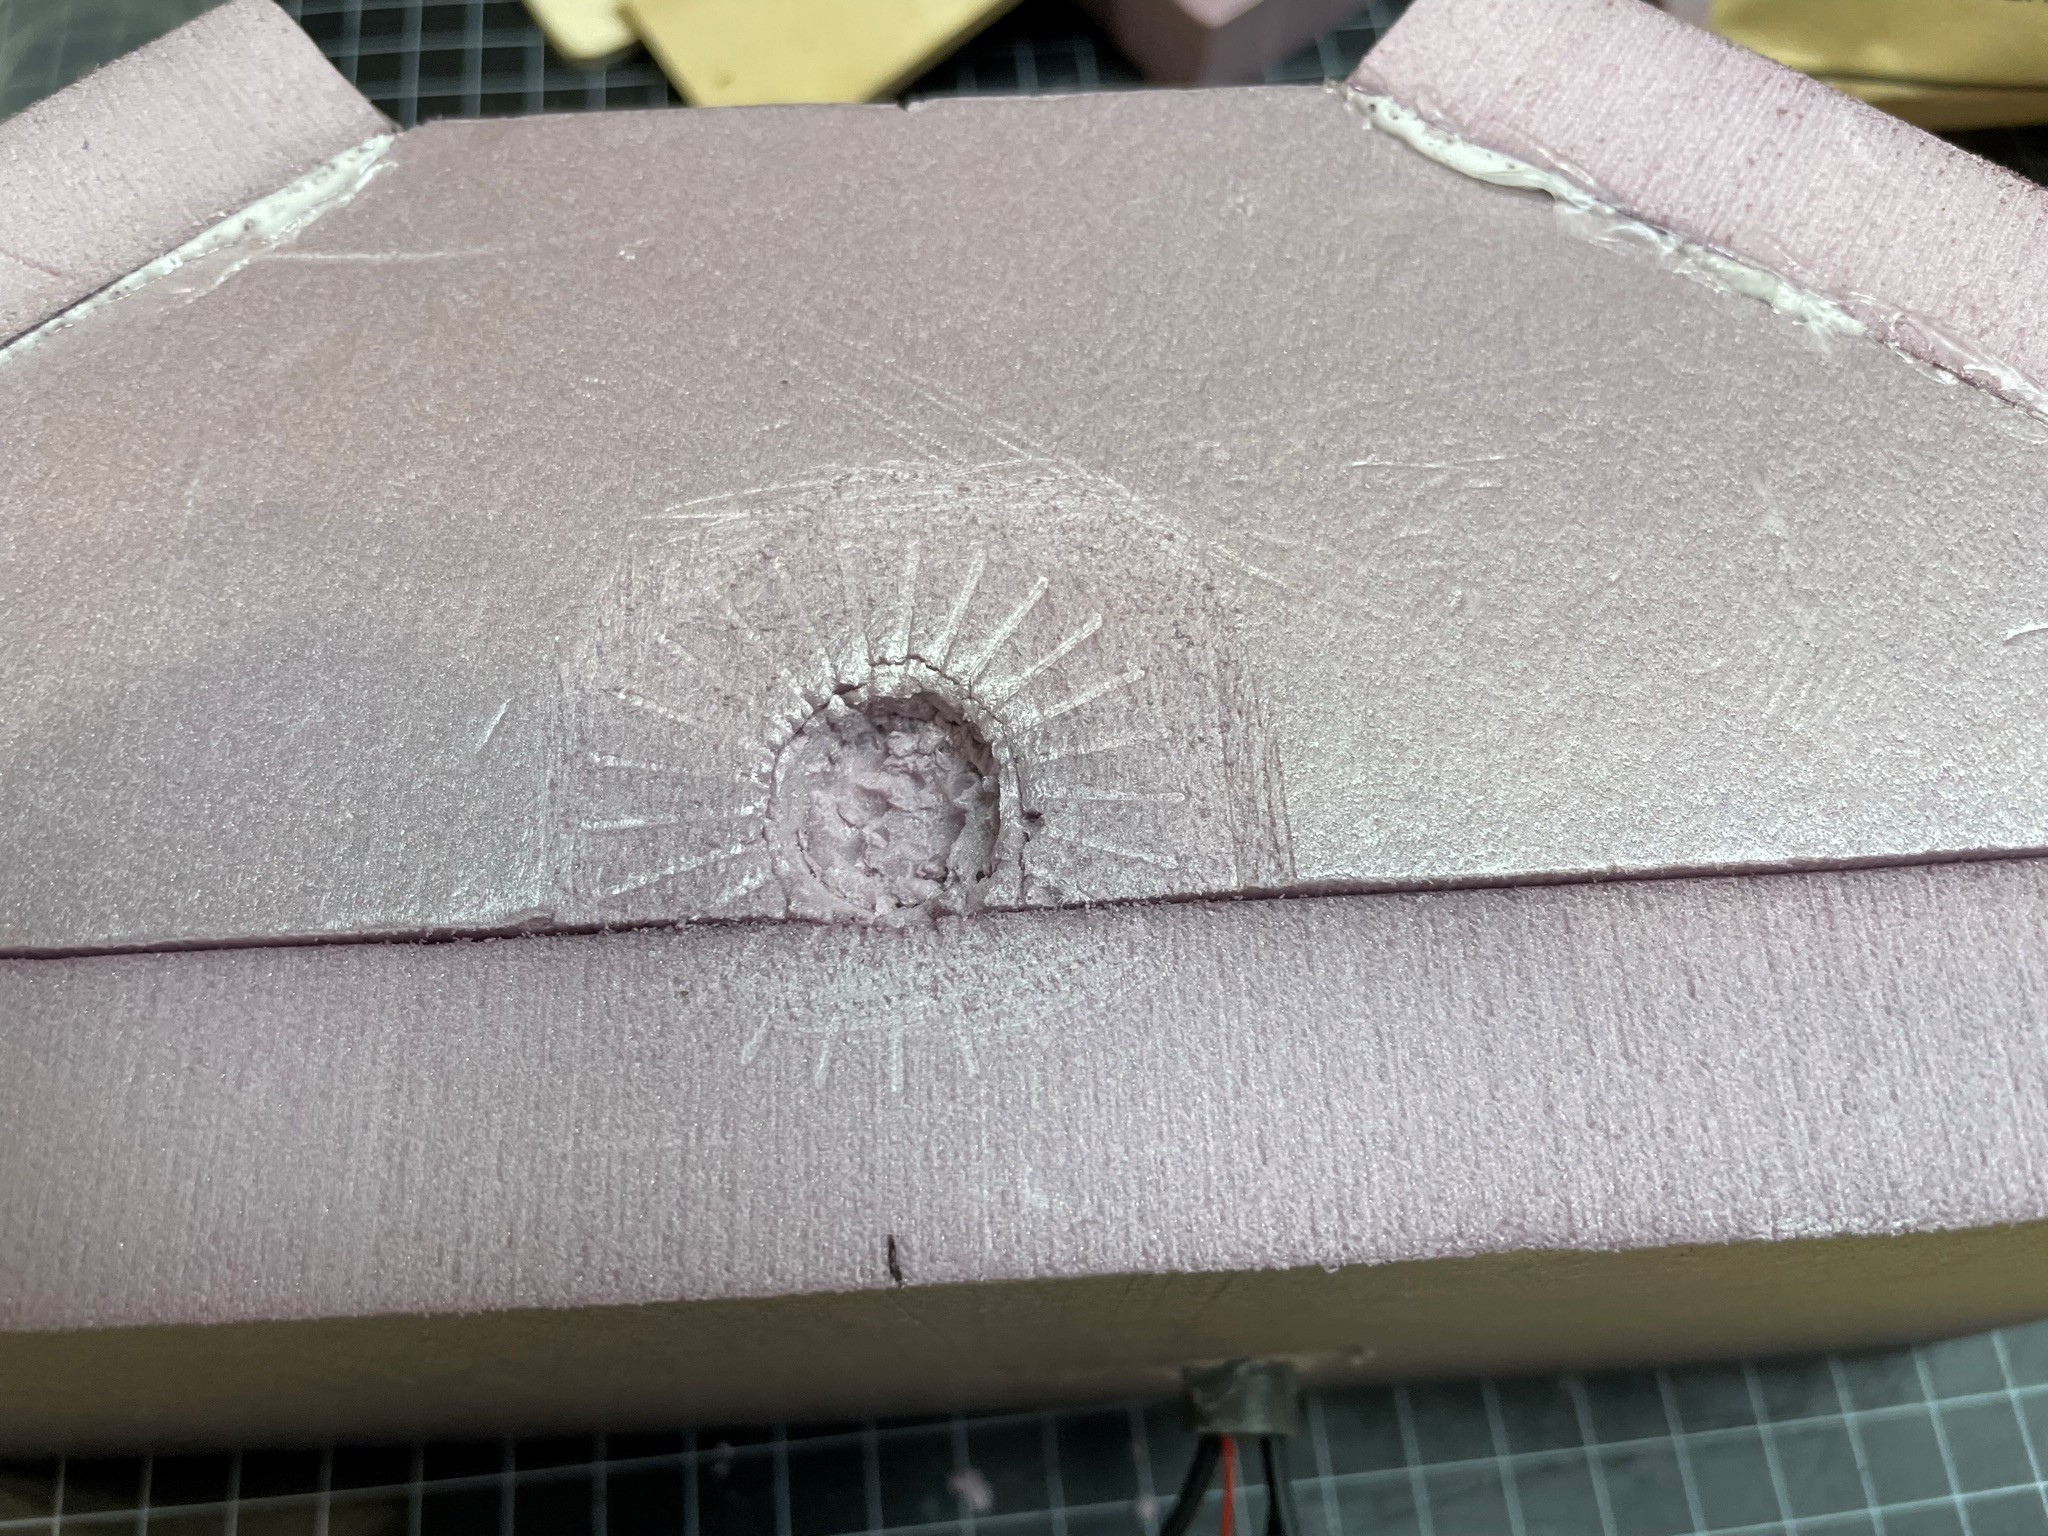
Now hollow out the location of the nut and roughen up the styrofoam to increase the surface area for the glue to grab. Make sure the mount fits mostly level to the styrofoam and then glue with white urethane and clamp it.
![]()
-
14Create the sponge foam 'Nose' of the microphone
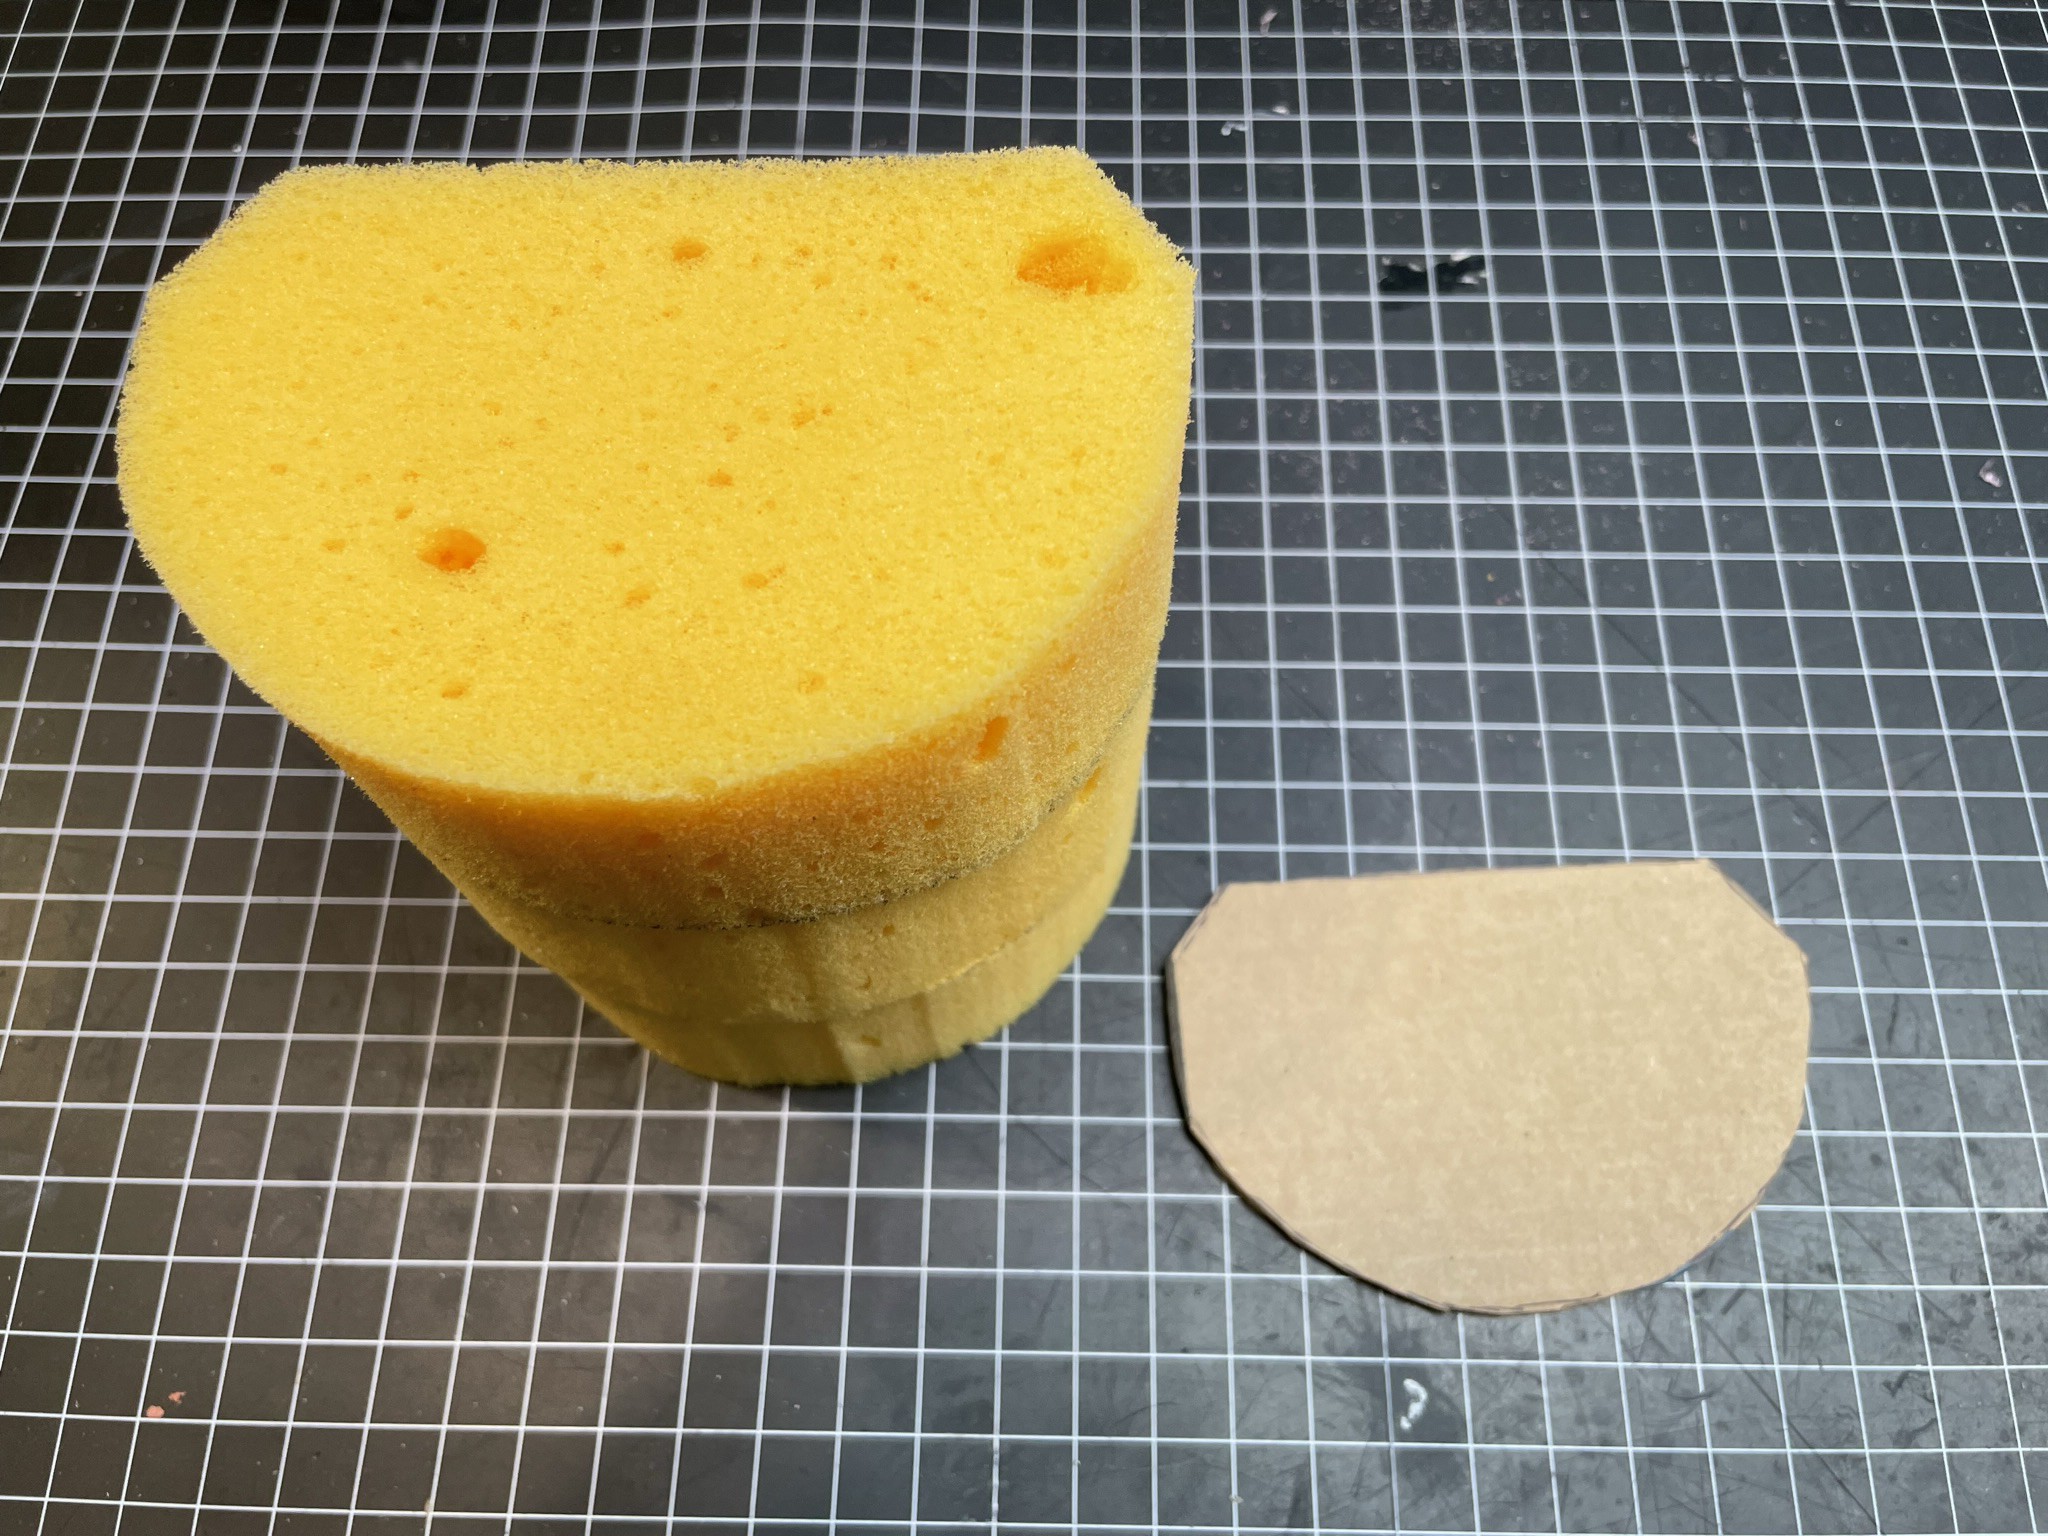
Wash your sponges in some water with a bit of bleach and let them soak overnight. Then rinse and dry. This will hopefully help deter bears from chewing on your microphone. 3D print the foam stencil and use it to mark the sponges to make 3 semicircular parts. If the sponges are large enough you can fit 2 parts to a sponge.
![]()
Use a band saw to carefully cut out the sponge pieces. Glue them together with some spray contact adhesive. Spray each side and then stick them together so they match. Let it dry and then cut to the proper height (5.5 inches) with a band saw. If your sponges have a different thickness, use more or less of them to achieve the height.
-
15Attach the Sponge 'Nose' and velcro for wind shields.
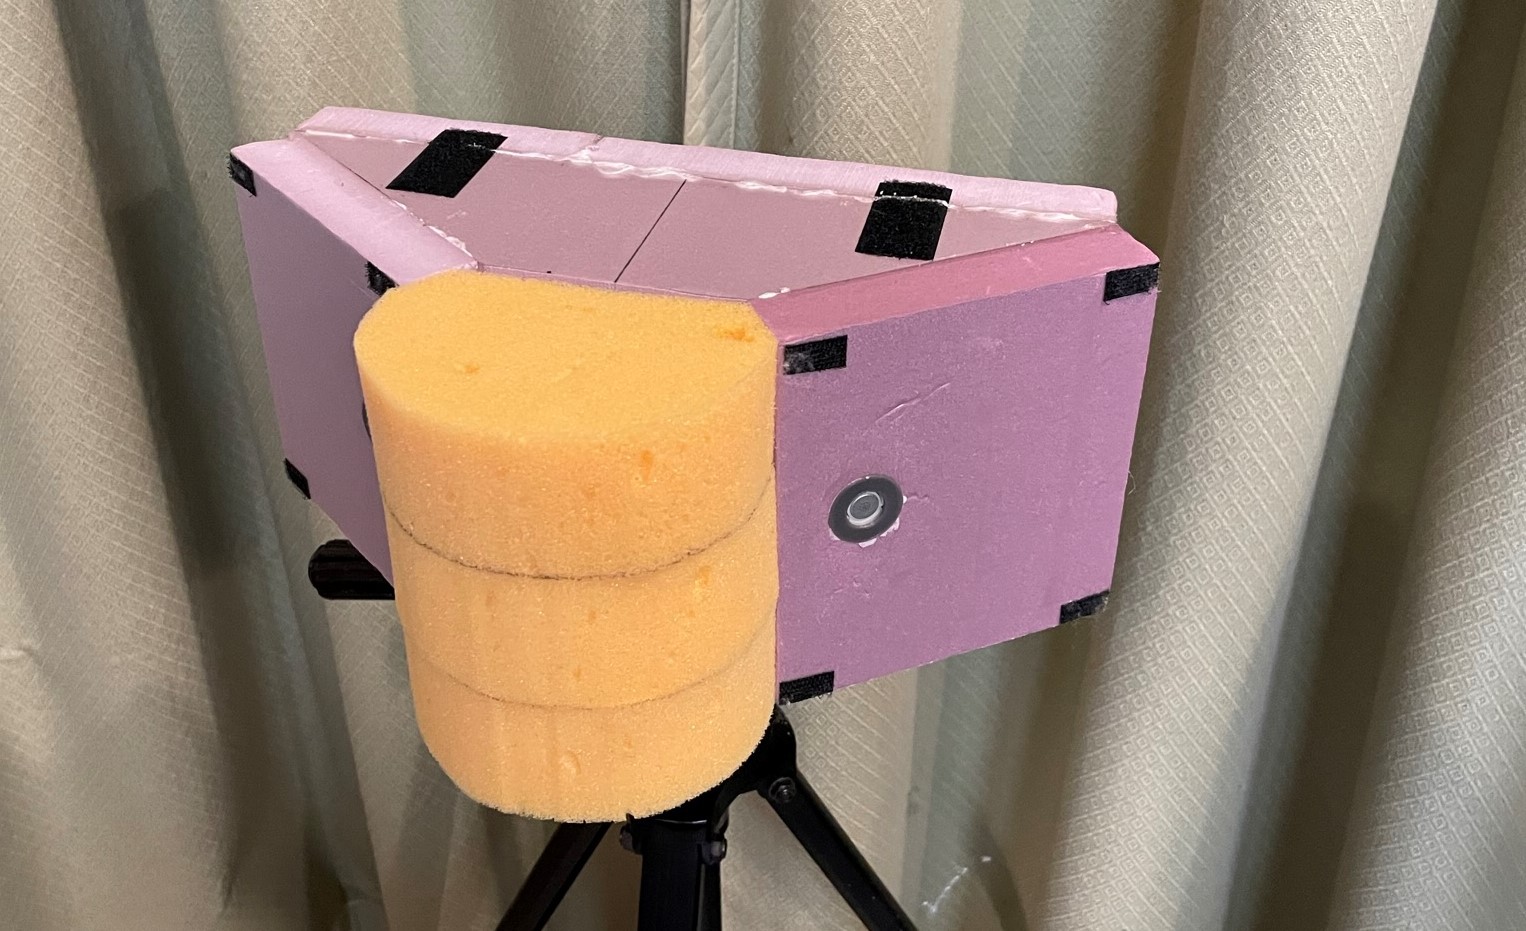
Attach the sponge 'nose' by gluing it directly using white urethane glue, or using some velcro if you want to experiment with different sized or different compositions of noses. Attach velcro hook patches to the front face of the microphone to hold the 'Swiffer' nonwoven fabric (wind screens) No loop patches are needed because the nonwoven fabric has enough loopyness to attach. Also attach two strips of velcro loop to the top. These will be used for attaching the rain roof.
![]()
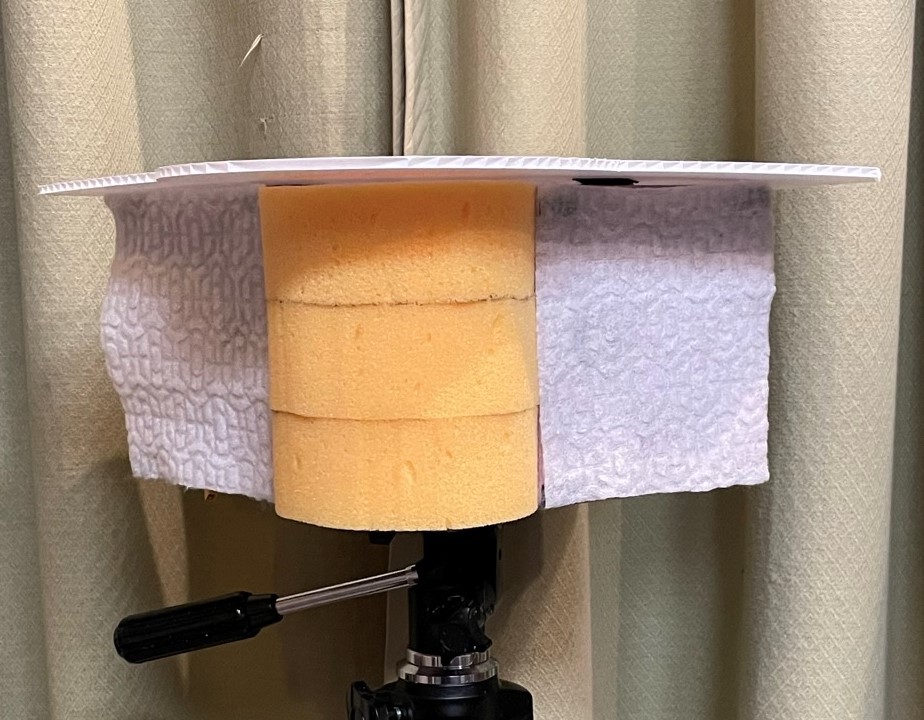
Here is how the parts will attach to the velcro.
![]()
-
16Cut Out the Coroplast Rain Roof
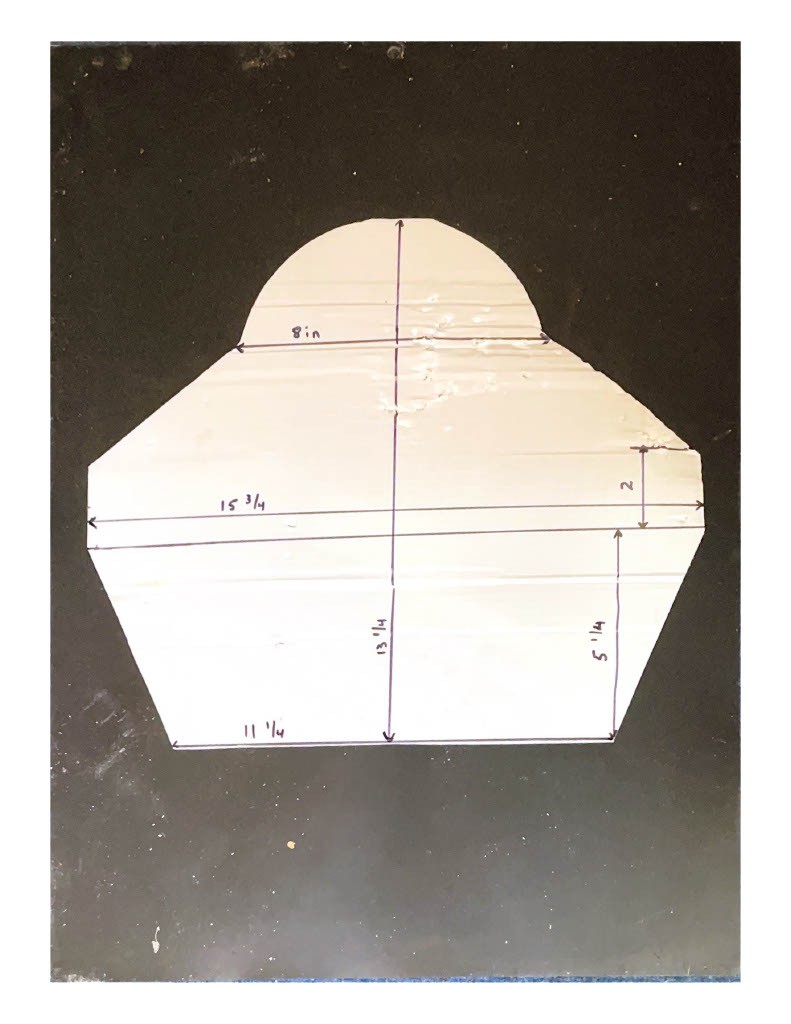
Using the coroplast sheet (18x24) cut out the roof for the microphone. Dimensions are shown in the image below.
![]()
By the way, the teeth marks in the template are from a black bear that chewed up a microphone.
-
17Make the Outer Wind Screen
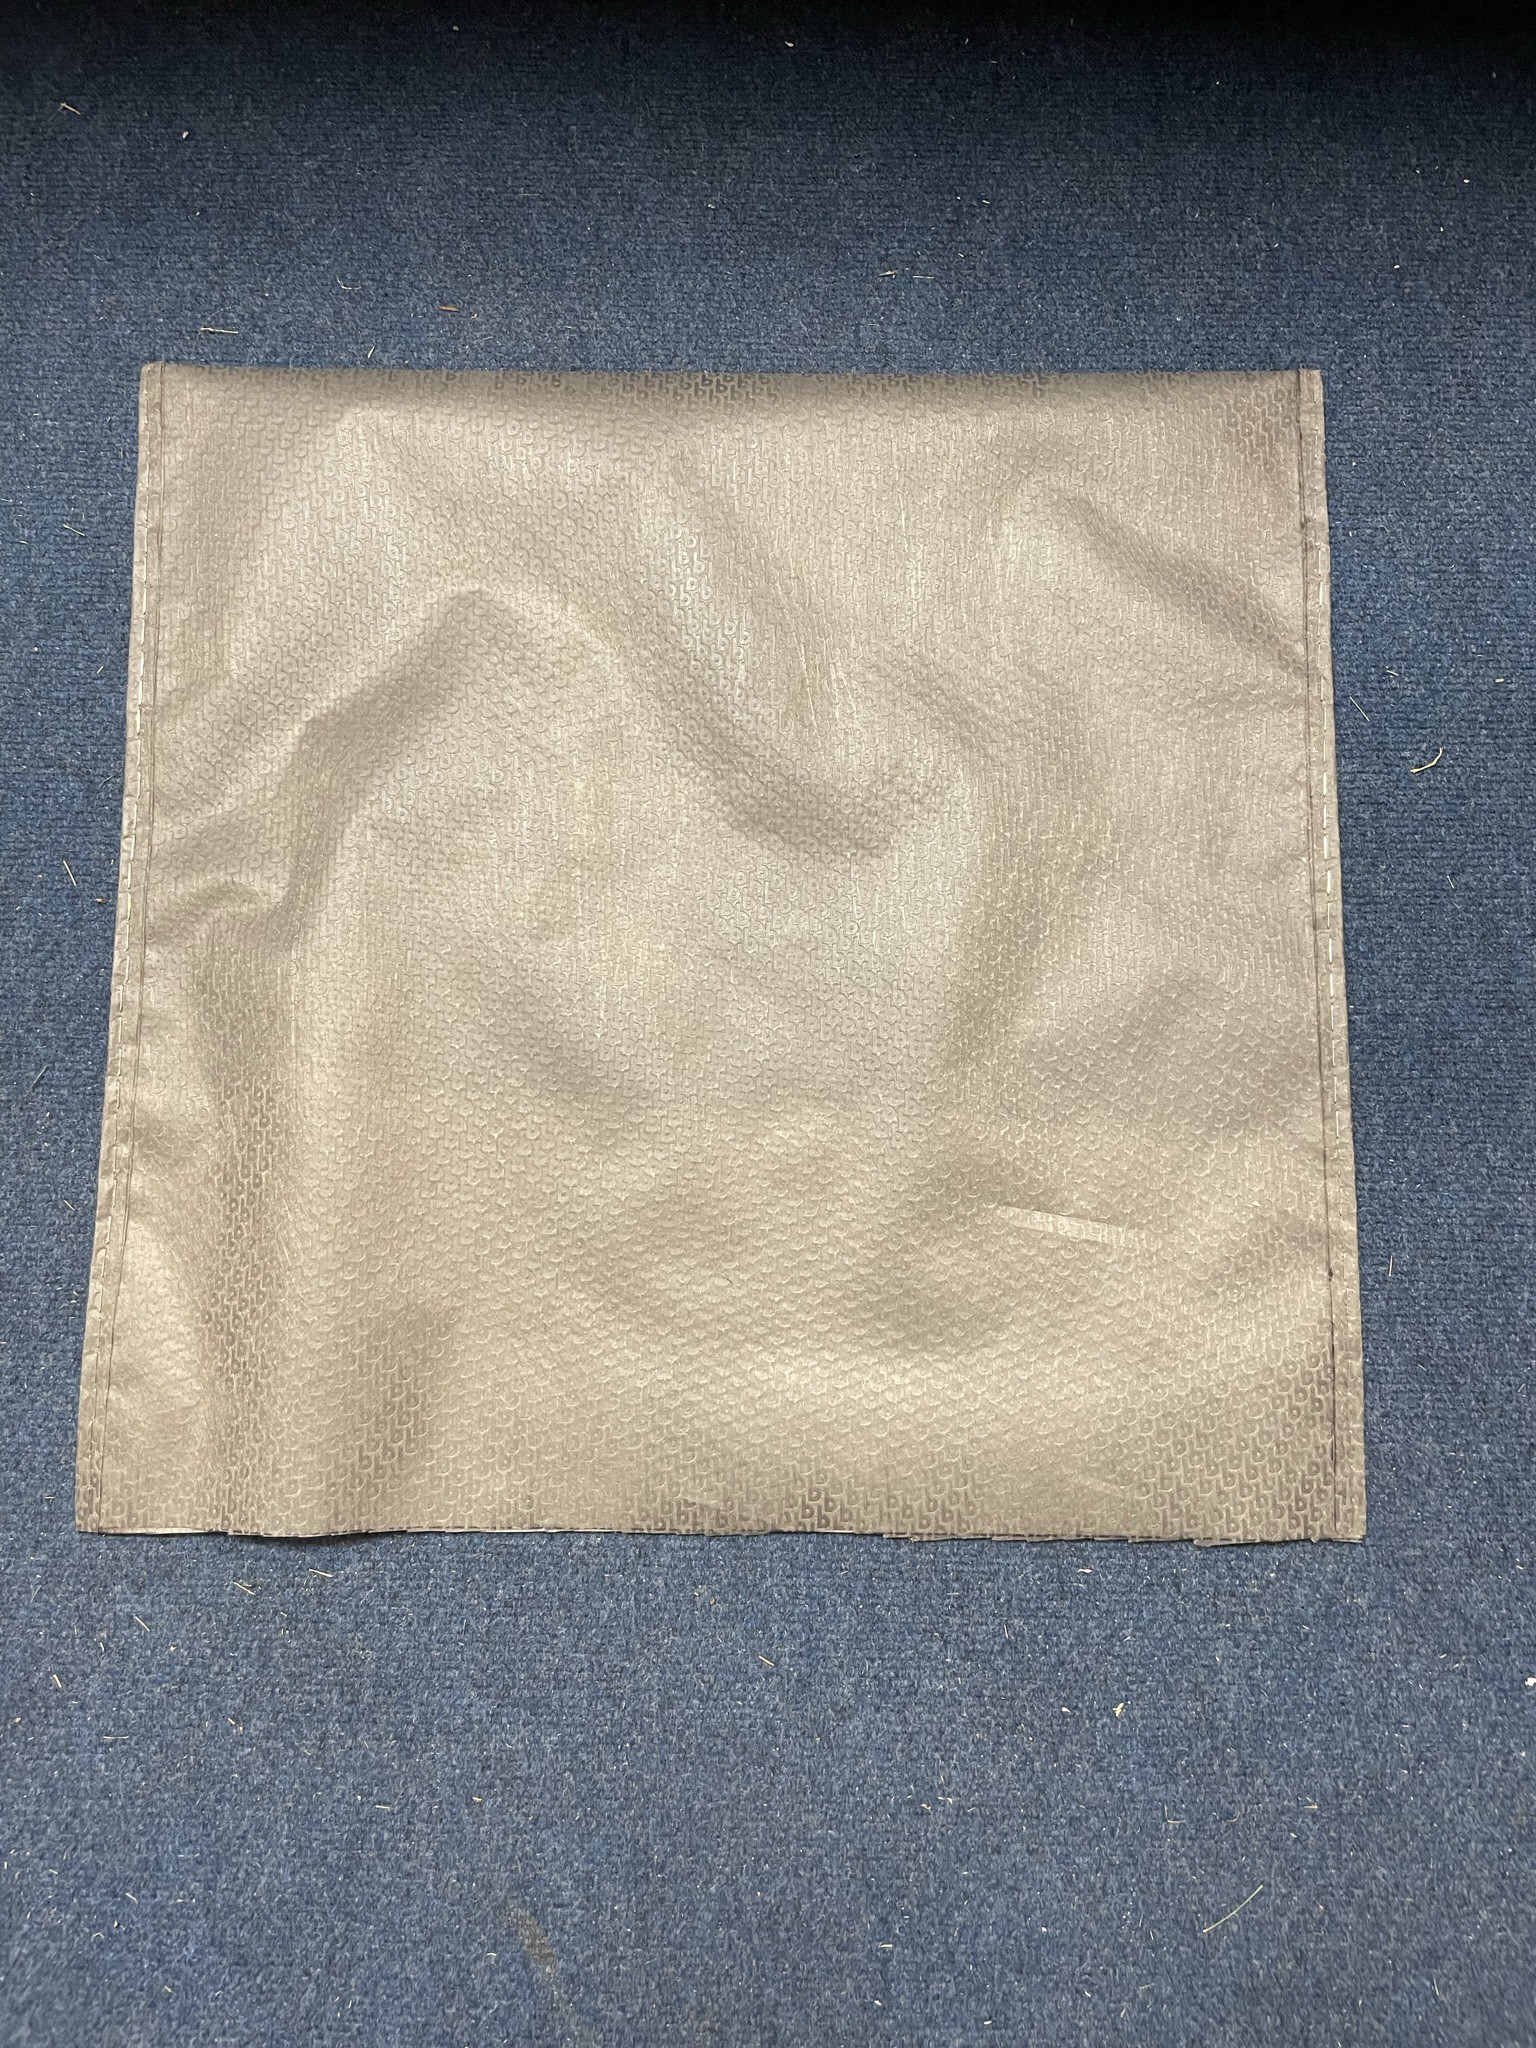
Use the landscape fabric to make the outer wind screen 'envelope'. Its a rectangular piece of landscape fabric that is folded and then stapled (or glued) on two adjacent edges. The last edge is open allowing insertion of the microphone.
Start with a sheet of landscape fabric that is 24 in x 48 in.
![]()
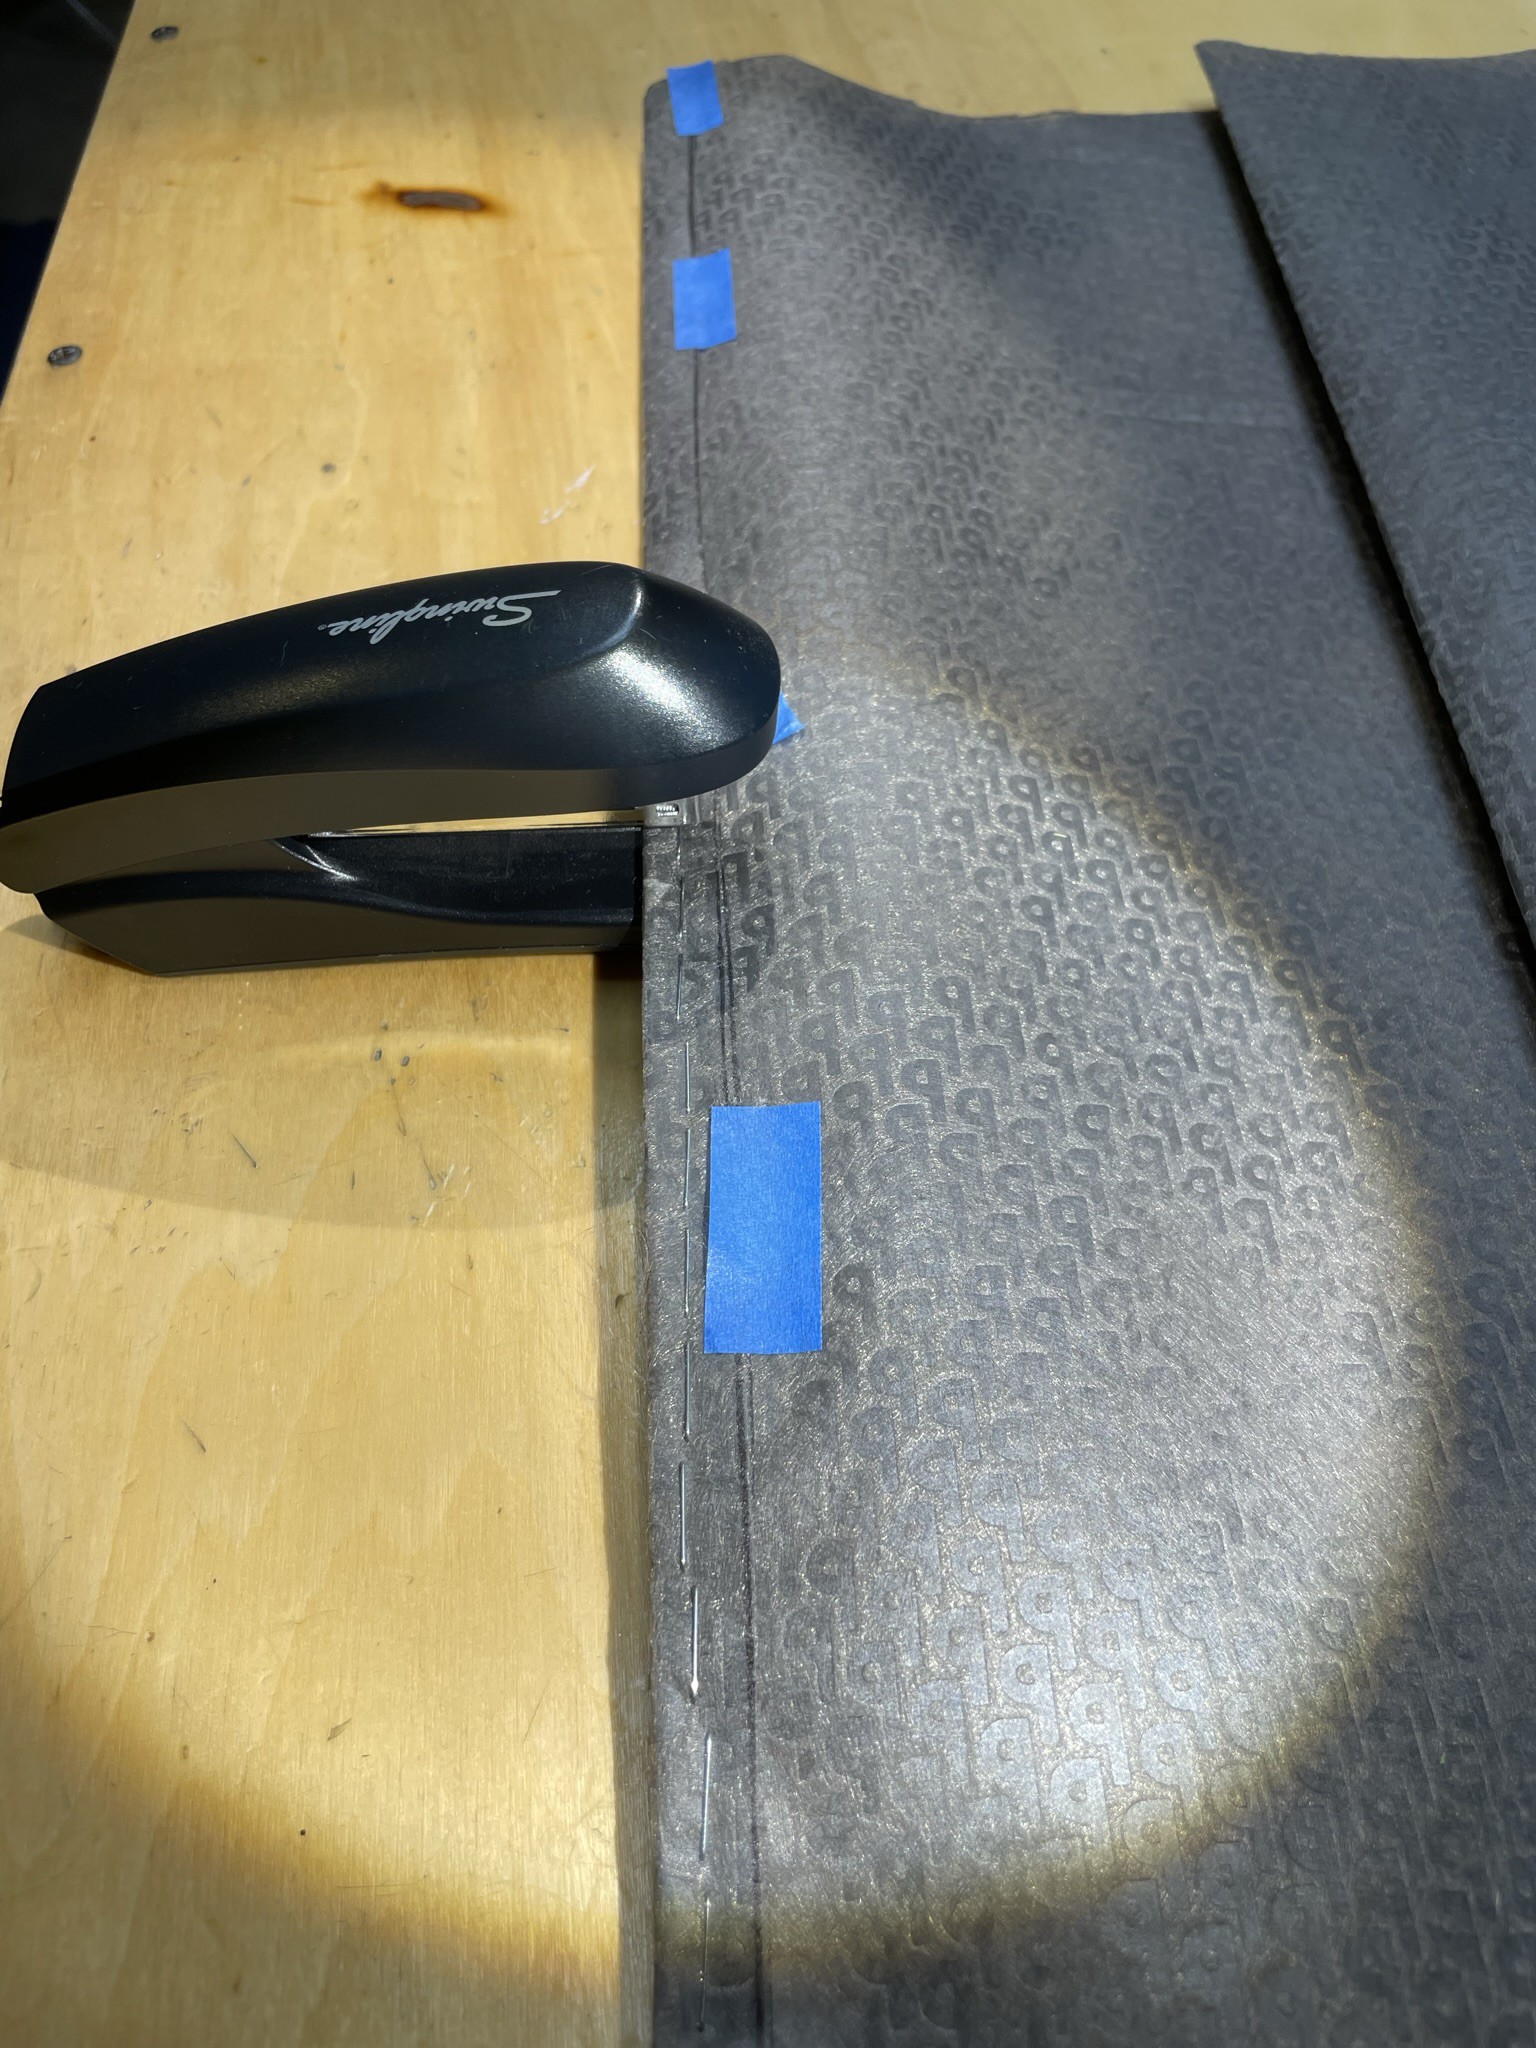
Final 'envelope' should be 23 x 24. The edges are folded over by 1/2 inch and then stapled.
![]()
-
18Sealing the Outer Wind Screen Once the Microphone is in it.
The microphone with Swiffer windscreens and the coroplast roof goes in the landscape 'envelope'. A hole needs to be made near the center of the landscape sheet to allow the tripod bolt through. The easiest way to do this is to situate the microphone in it and then stick a square of duct tape where the PETG tripod mount is. With the microphone removed stick another square on the opposite side of the landscape fabric, making a sandwich. Then cut a hole in the tape large enough for the bolt. The tape on both sides will keep the landscape fabric from fraying.
Other holes for cabling, etc can be made the same way.
Finally the open end of outer windscreen should be closed up. Here are two ways of doing that:
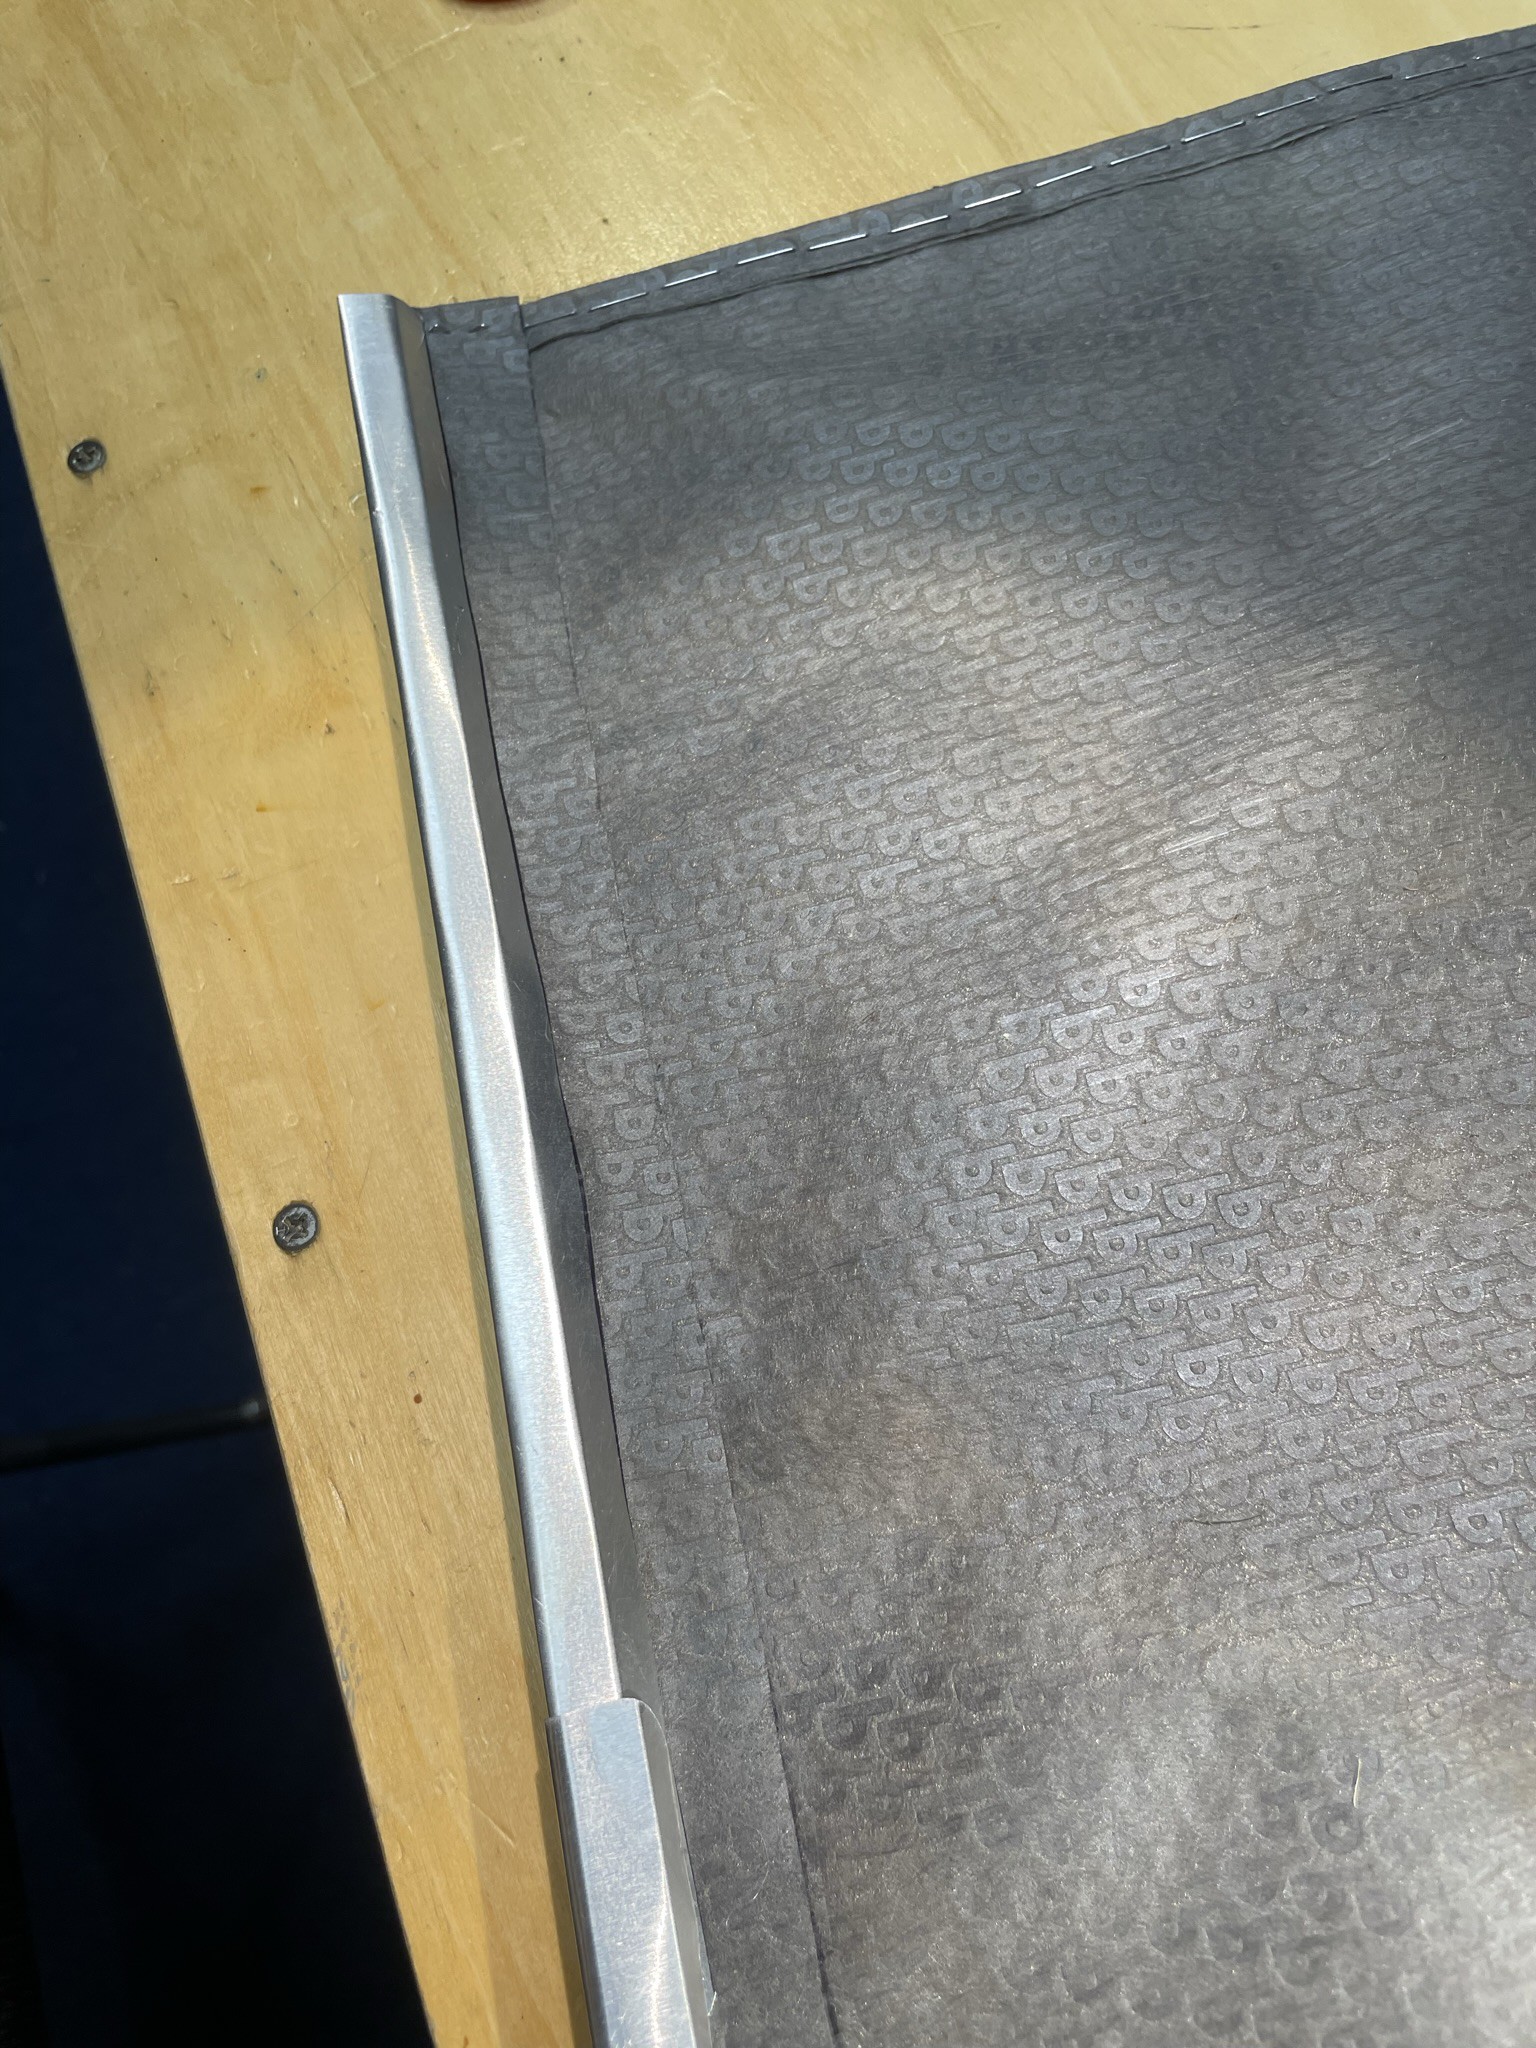
1. Using some aluminum flashing, shape a long 'C' shaped piece that can slide over the folded edge. Make sure the edges of the aluminum are filed down so they don't catch the fabric. You may want to put a wooden dowel in the fold of the fabric before sliding on the 'C' clamp.
![]()
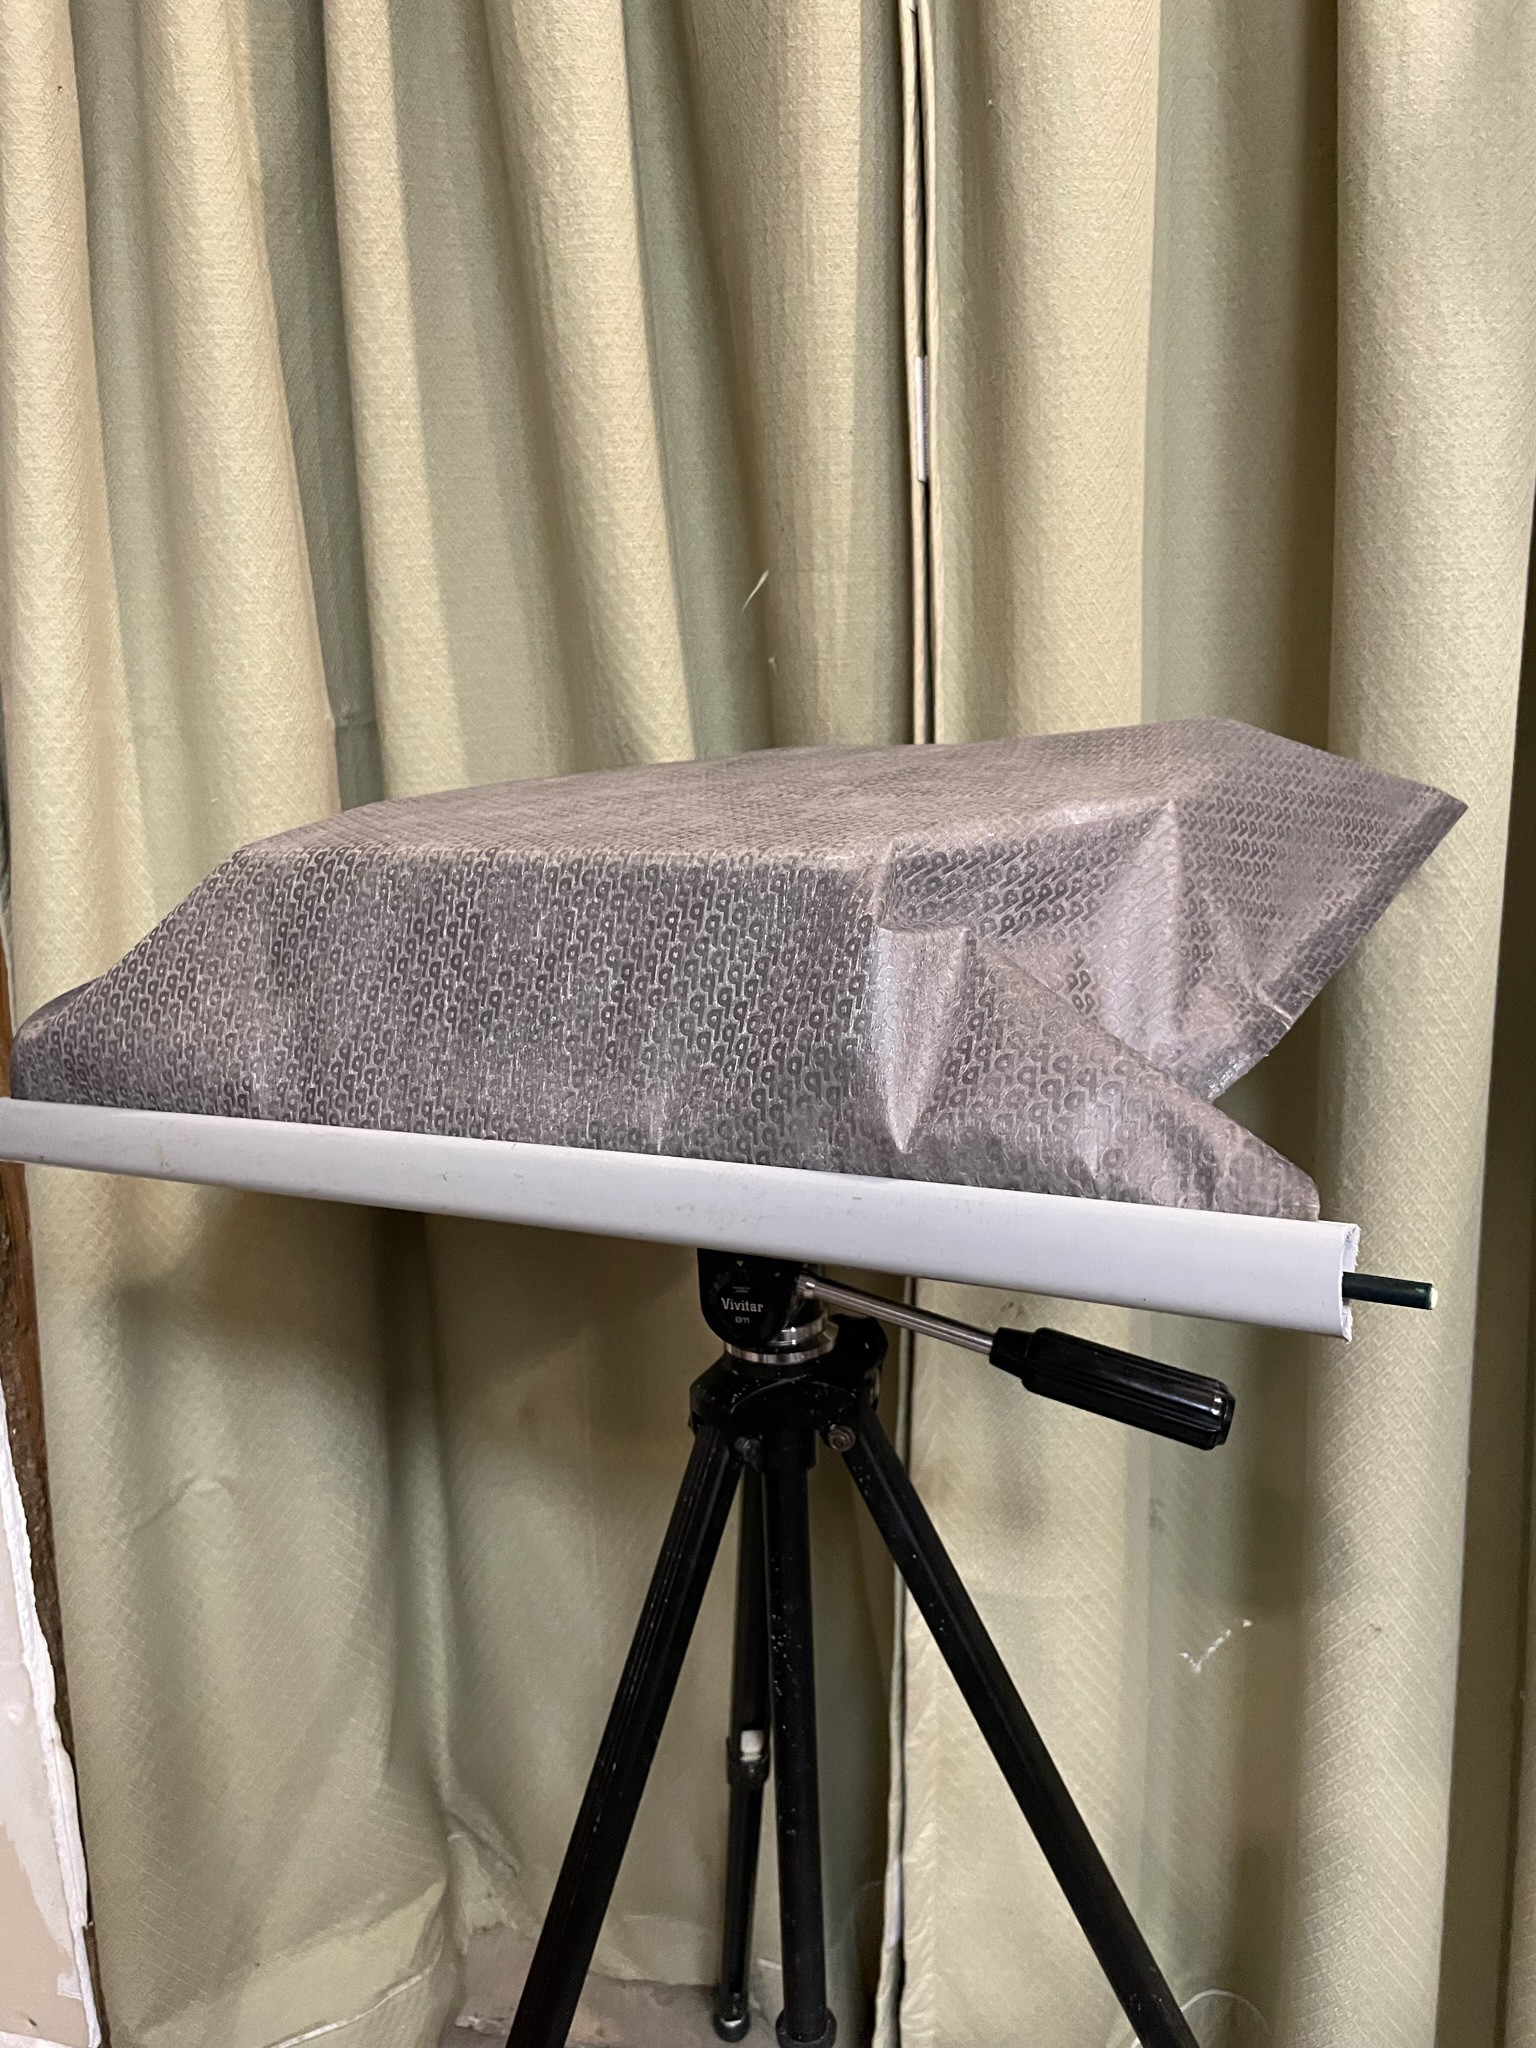
2. Find some plastic trim at a big box store that serves the same purpose. The picture below shows a grey plastic trim over the fabric with a bamboo landscape stick.
![]()
-
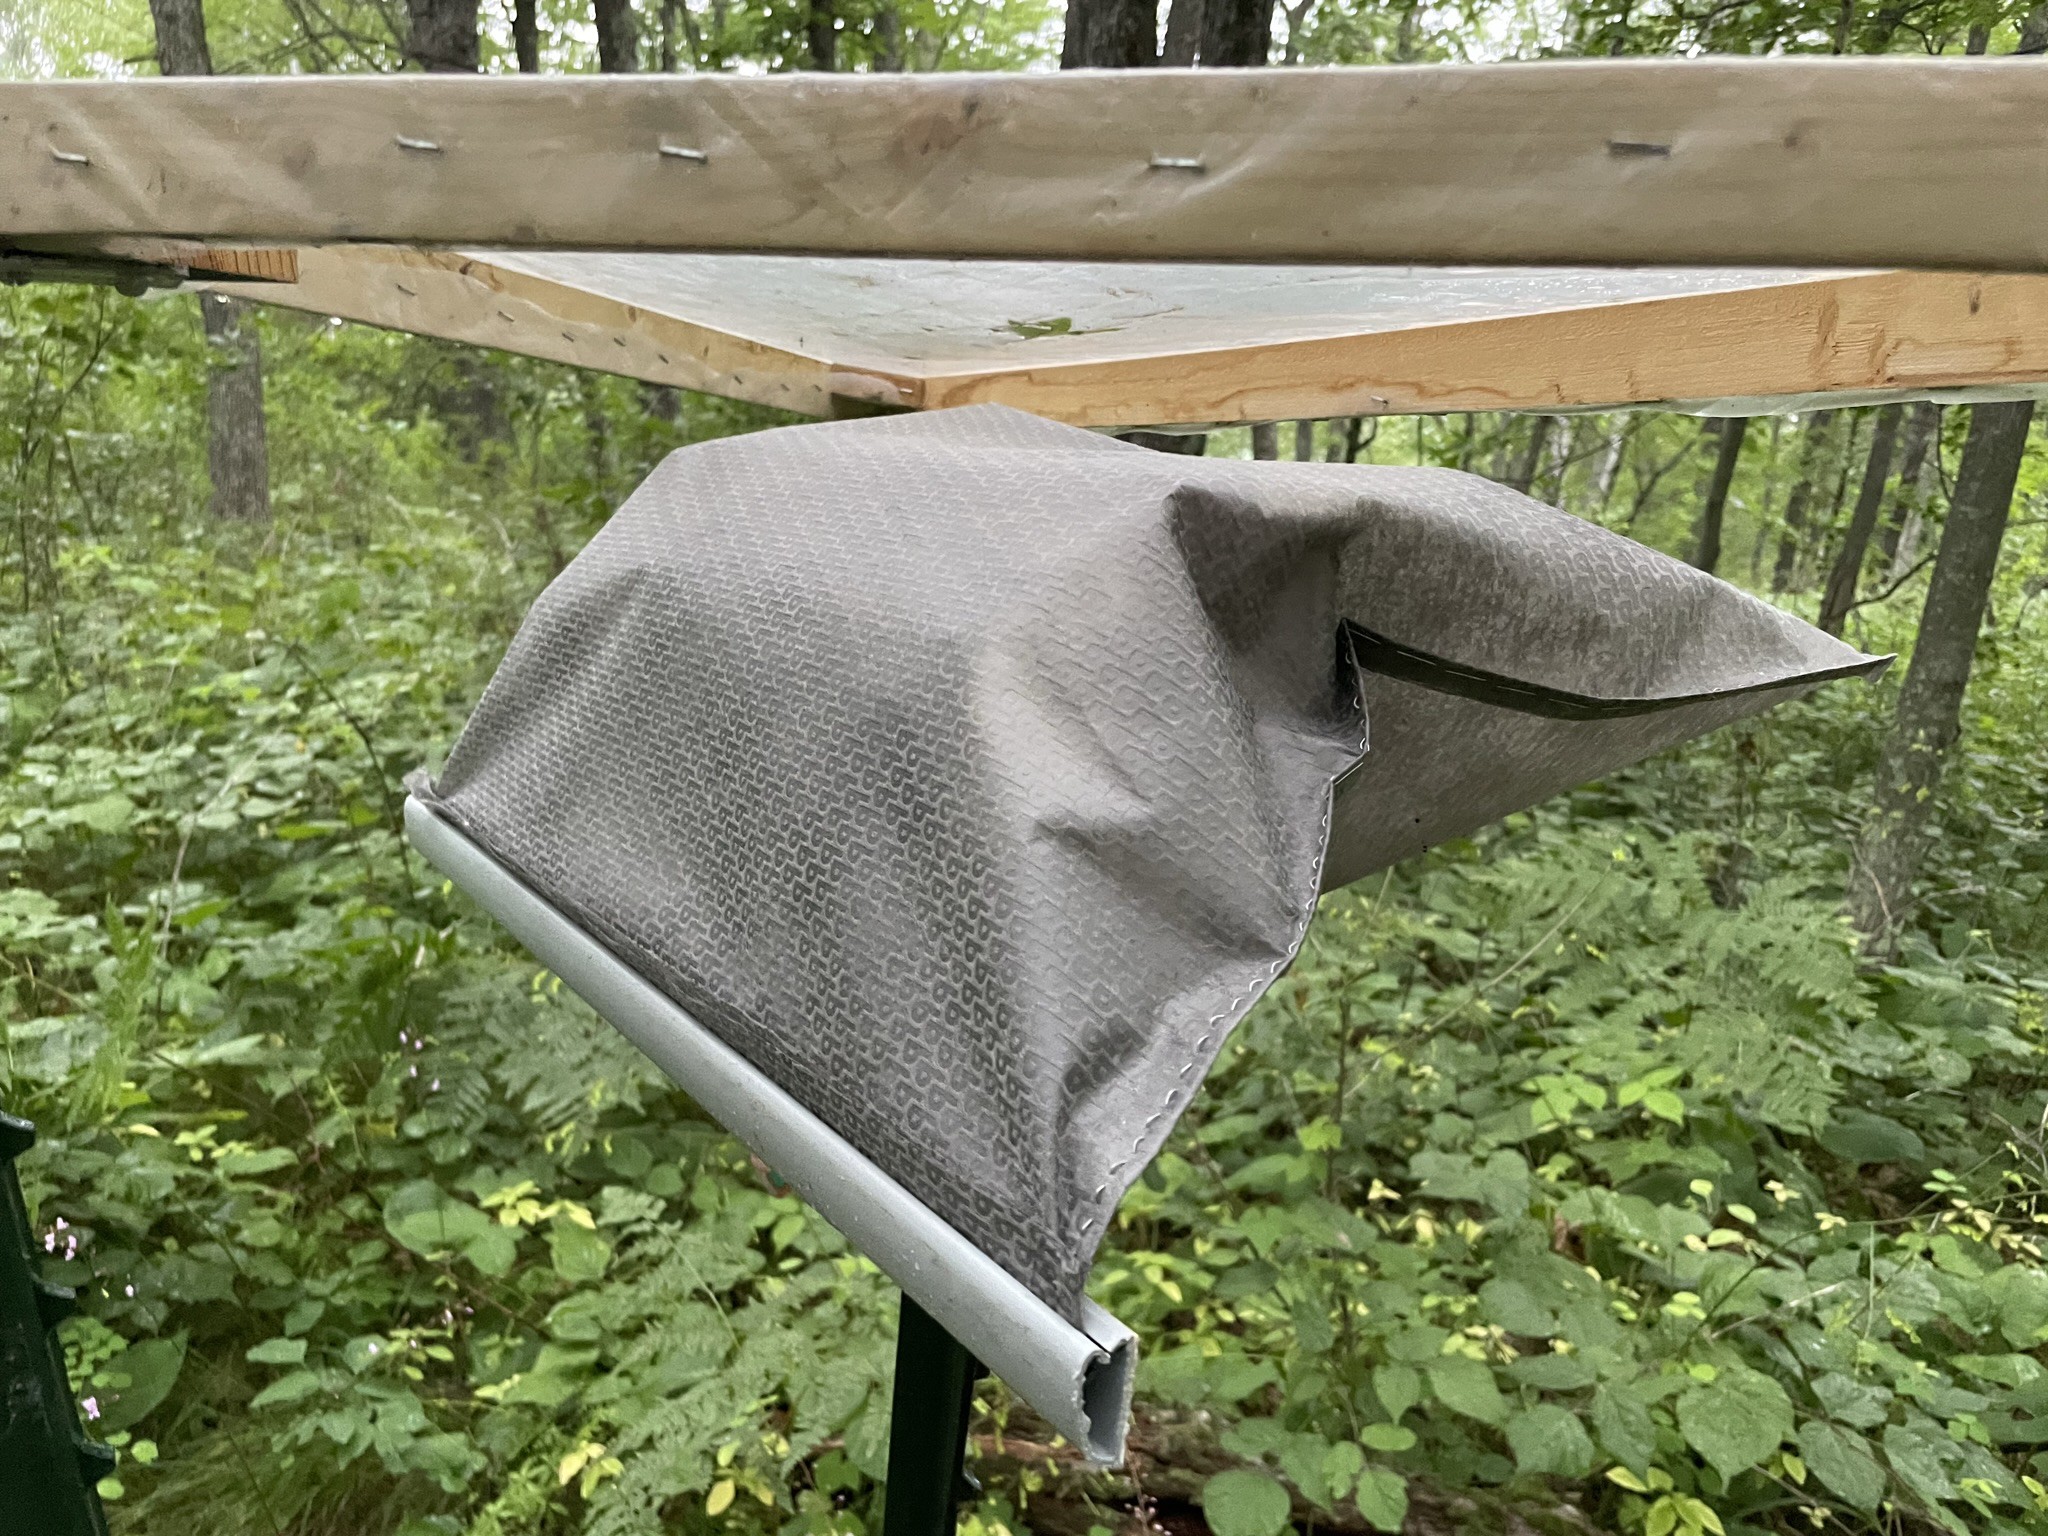
19Example Outdoor Mount
Here is a picture of the microphone mounted outdoors. It's mounted on a steel fence post and also has some extra rain protection in the form of a plastic sheet stretched over a triangular wood frame. The frame is attached to a second longer fence post. I am not sure it really needs the extra protection but I wanted to be safe as its in a place unattended for multiple months.
![]()
SASS-style Stereo Microphone for Nature Recording
A high quality weatherized microphone for stereo recordings outdoors.

Discussions
Become a Hackaday.io Member
Create an account to leave a comment. Already have an account? Log In.