 SexyCyborg
-
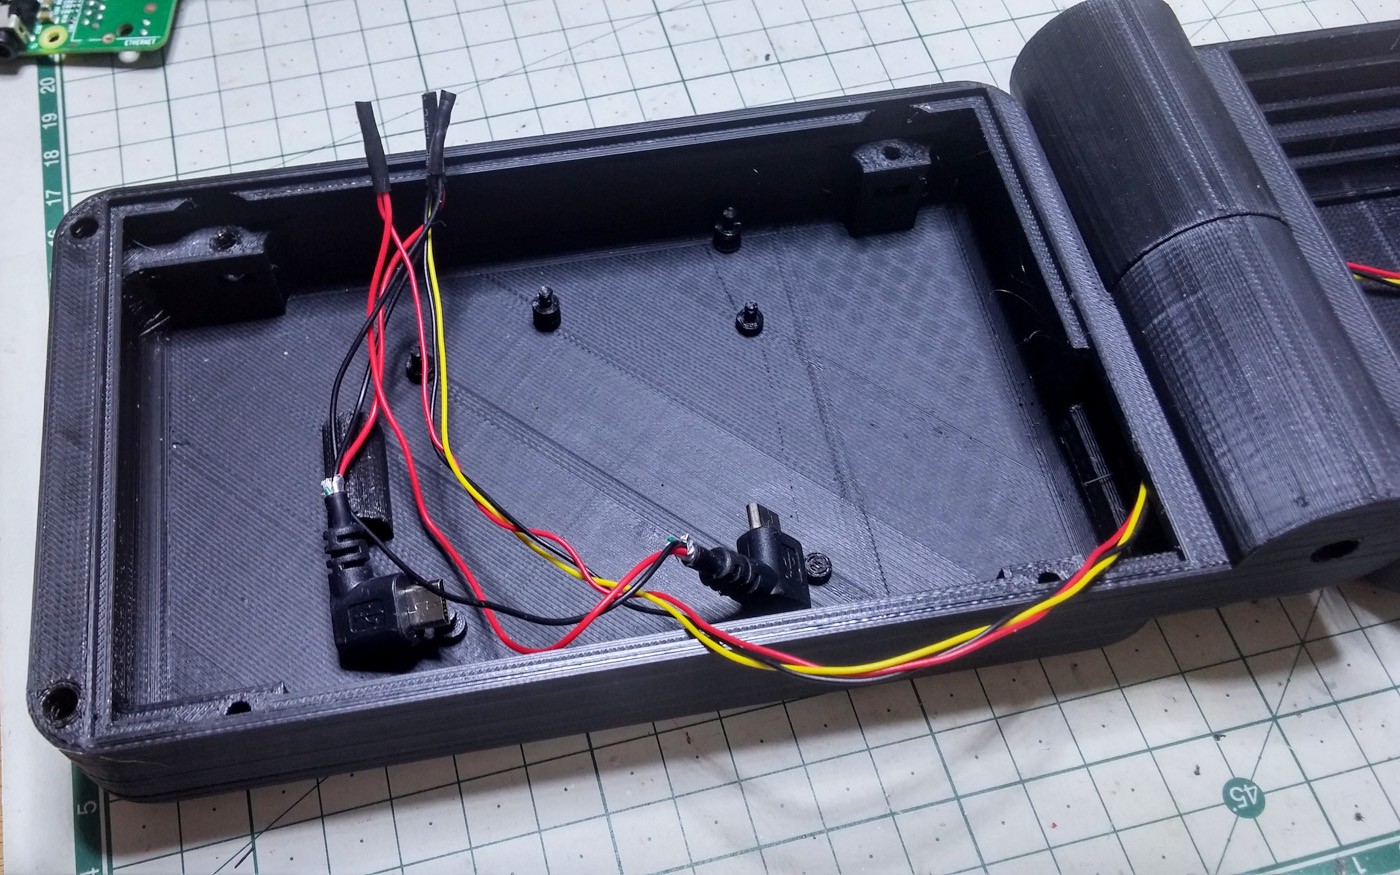
11Step 11
![]()
Trimming the back of angled jacks and removing the first insulating layer saves a lot of space and makes them much easier to route.
-
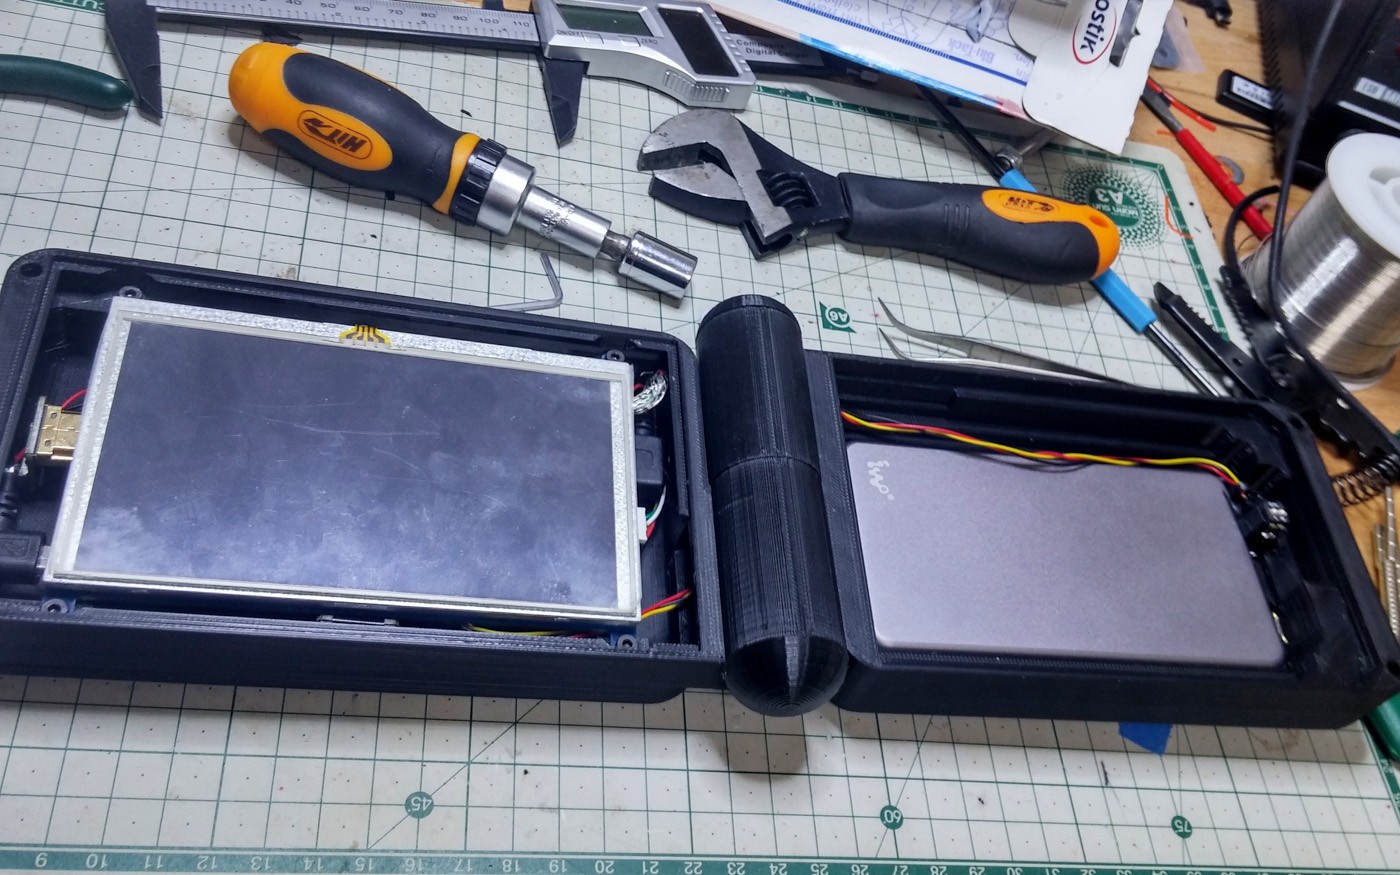
12Step 12
![]()
All the cables in place and the screen screwed down.
-
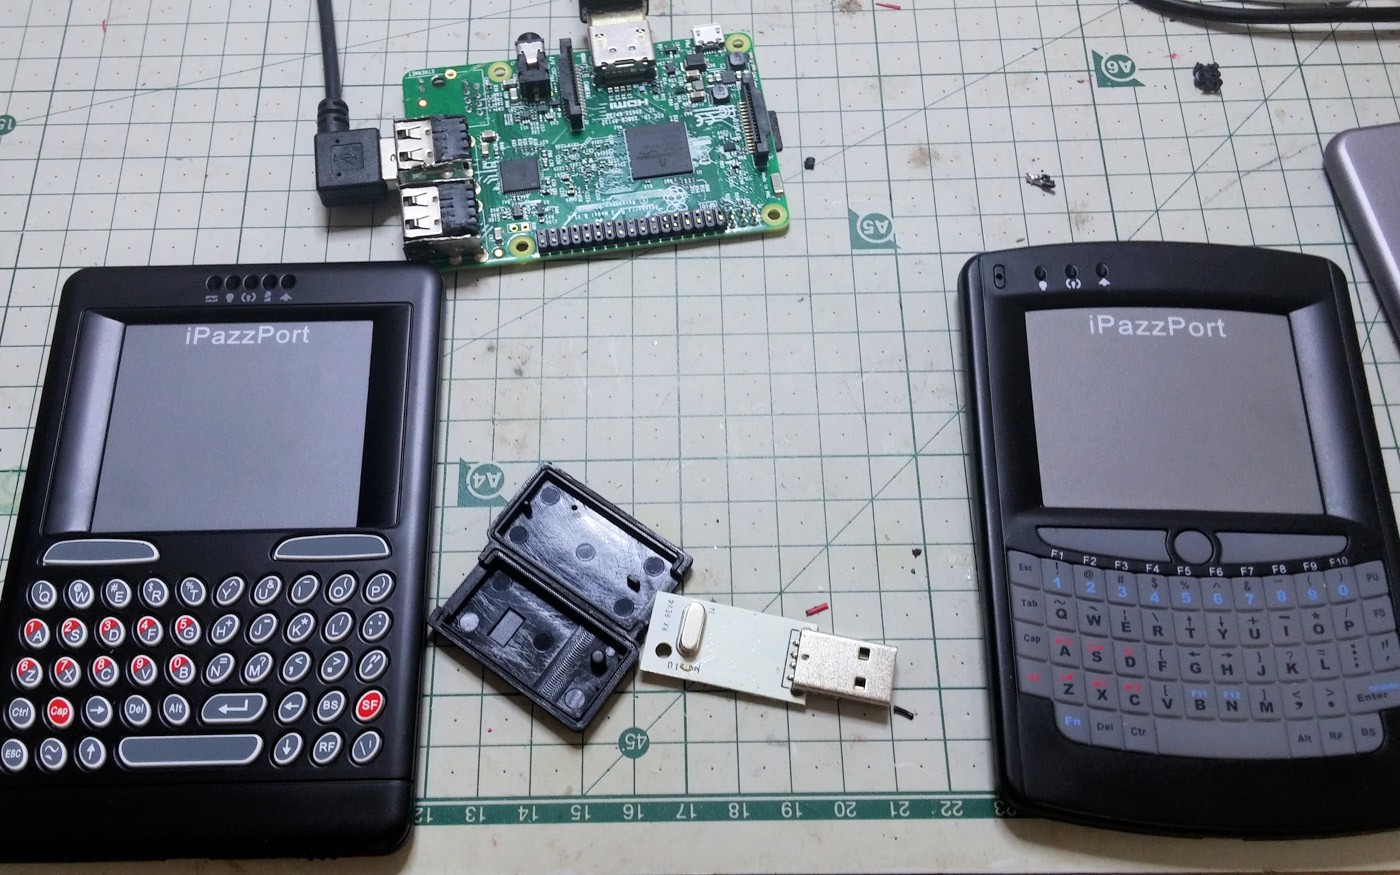
13Step 13
![]()
The two keyboards I've been working with side my side. Except for the top and bottom curve they are the same size so only minimal changes were needed.
-
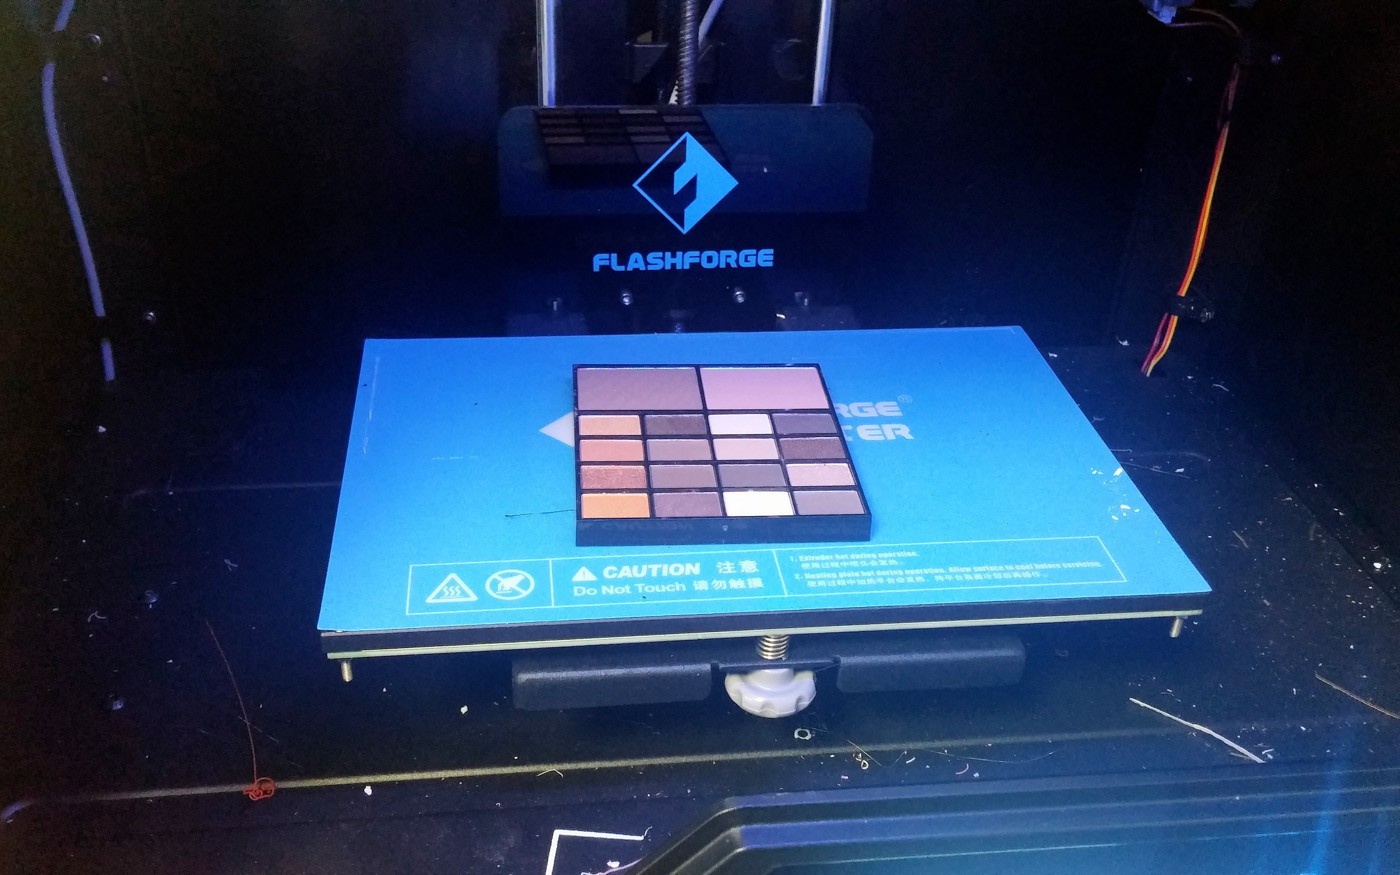
14Step 14
![]()
The process of removing makeup from it's original case, so you can put it in a new one is called depotting. If you have a 3D printer you can set the heat bed to 90ºC and it will soften the glue enough to let you pry them out. Practice on cheap stuff first though.
-
15Step 15
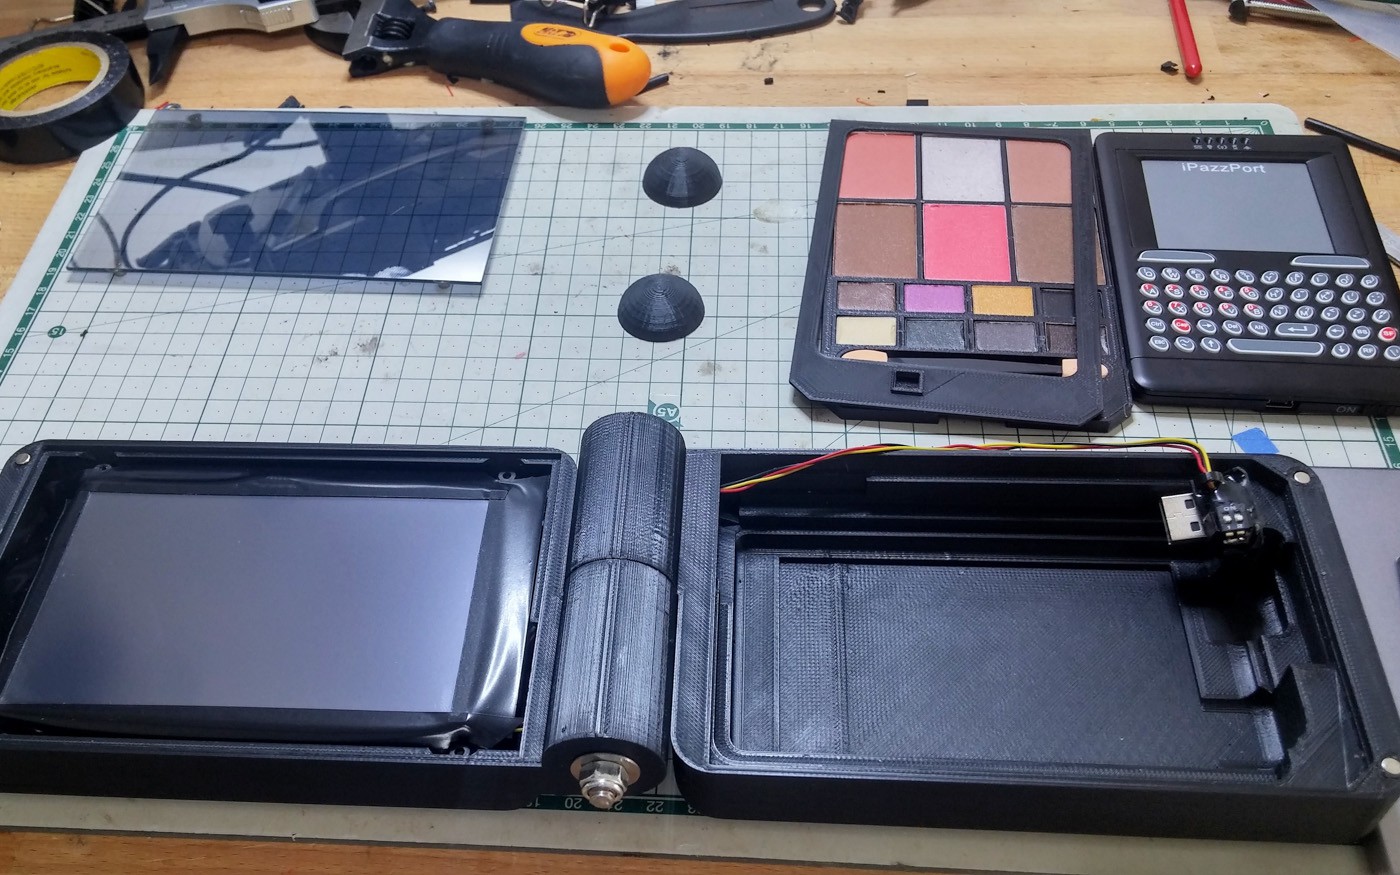
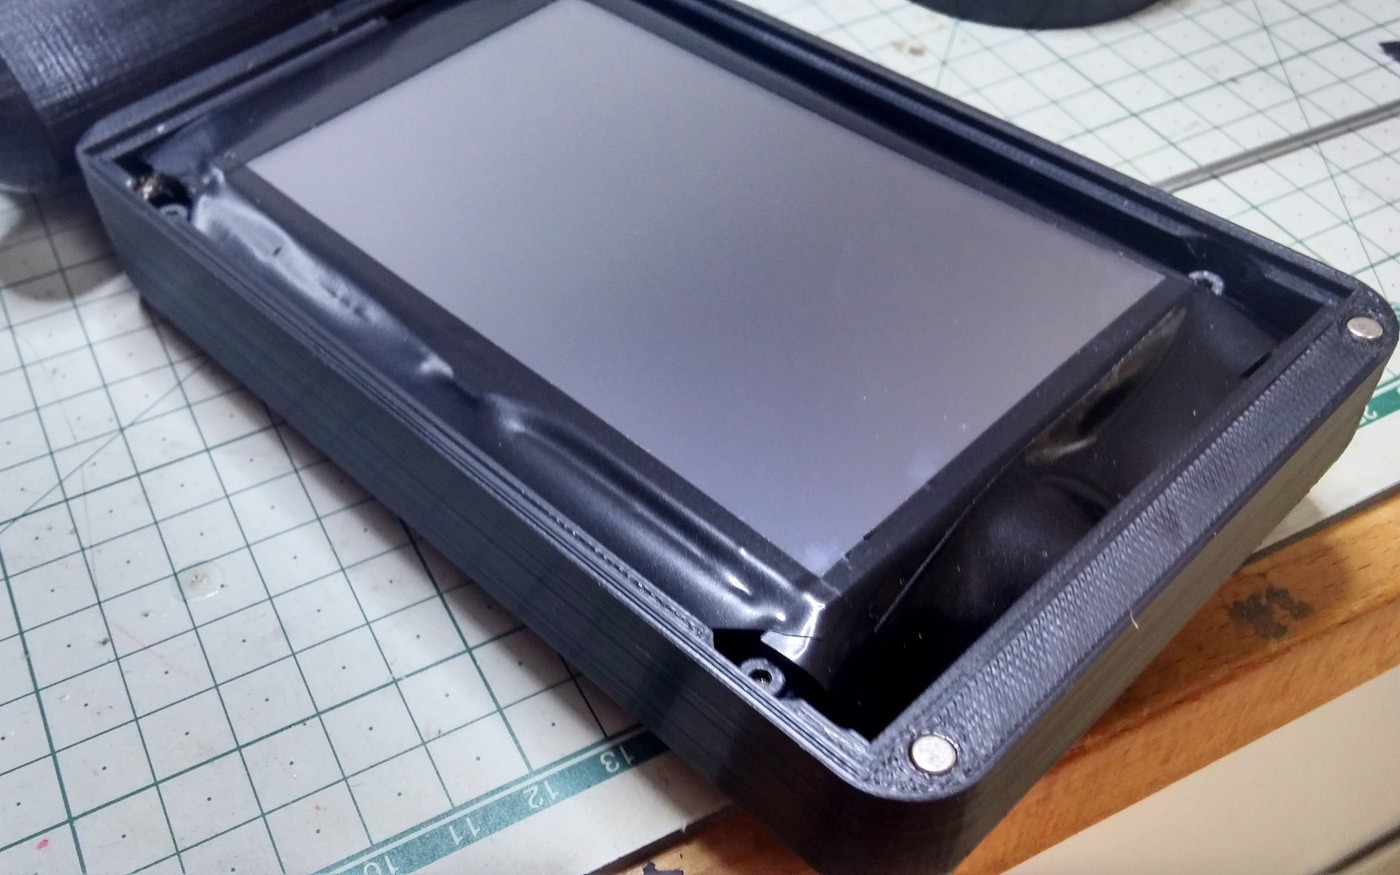
![]()
![]()
I applied electrical tape around the edges of the screen. The care metal reflection could be seen through the semi-transparent glass.
-
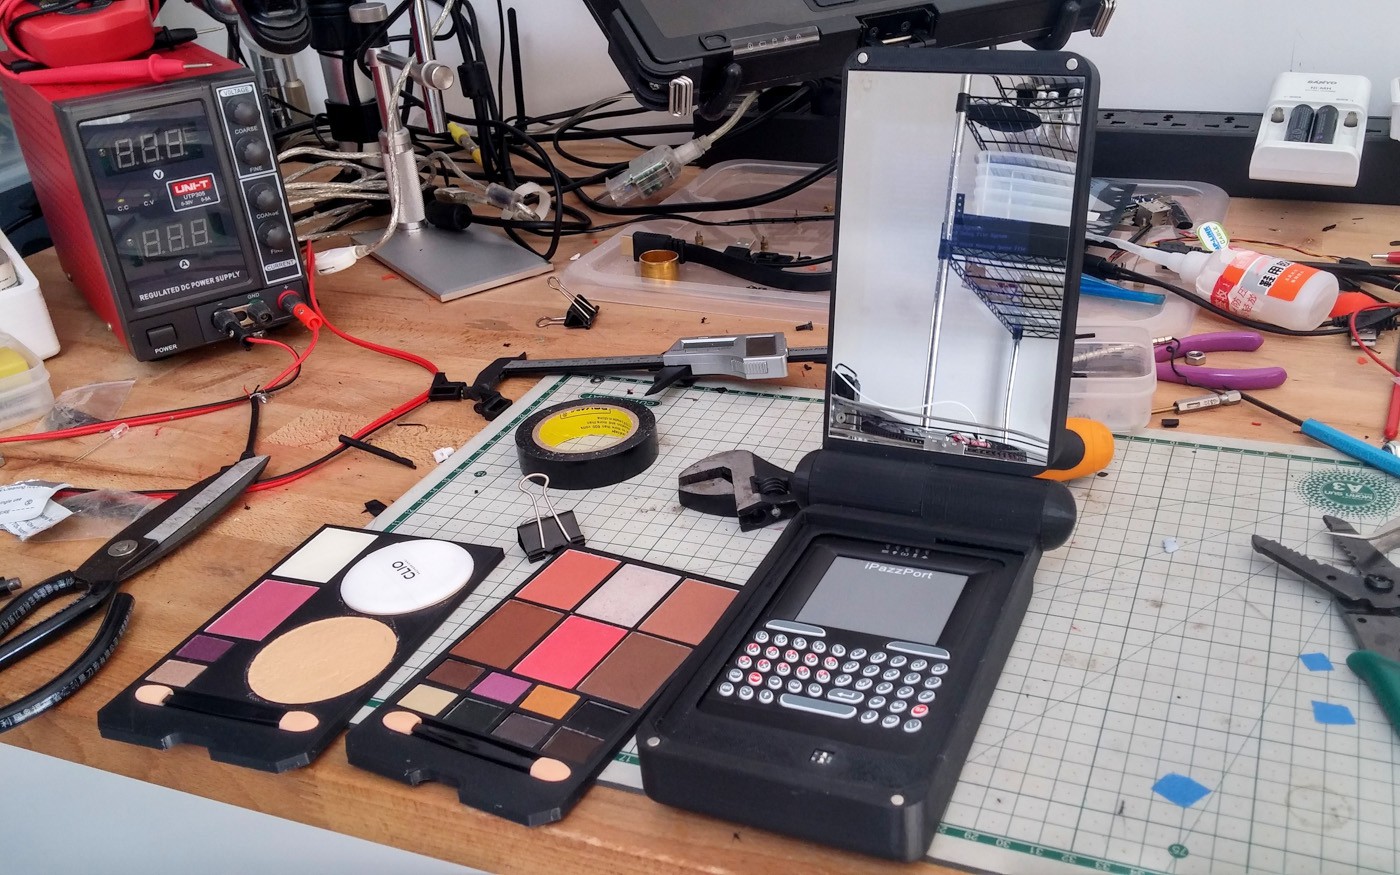
16Step 16
![]()
![]()
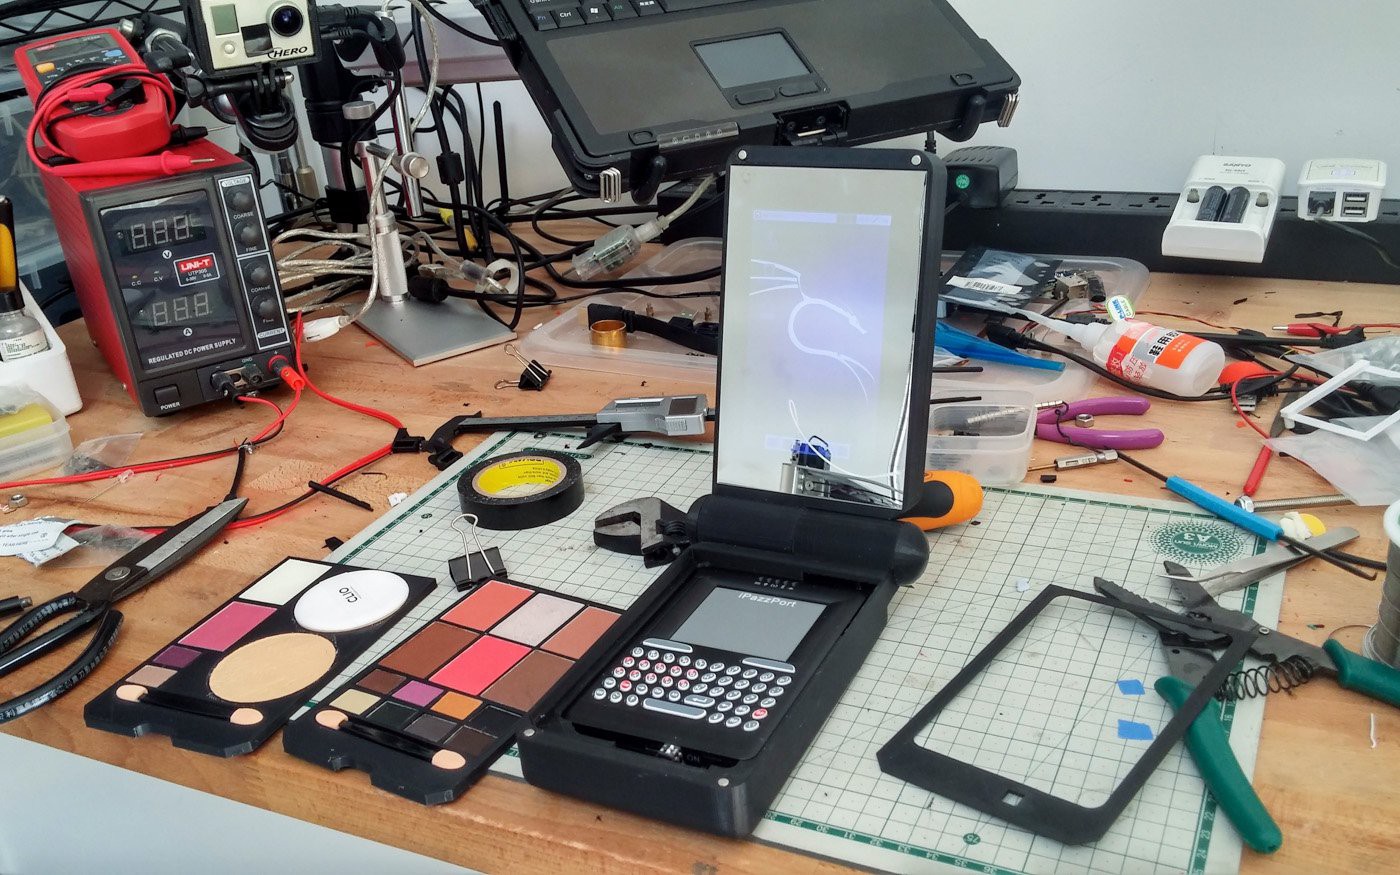
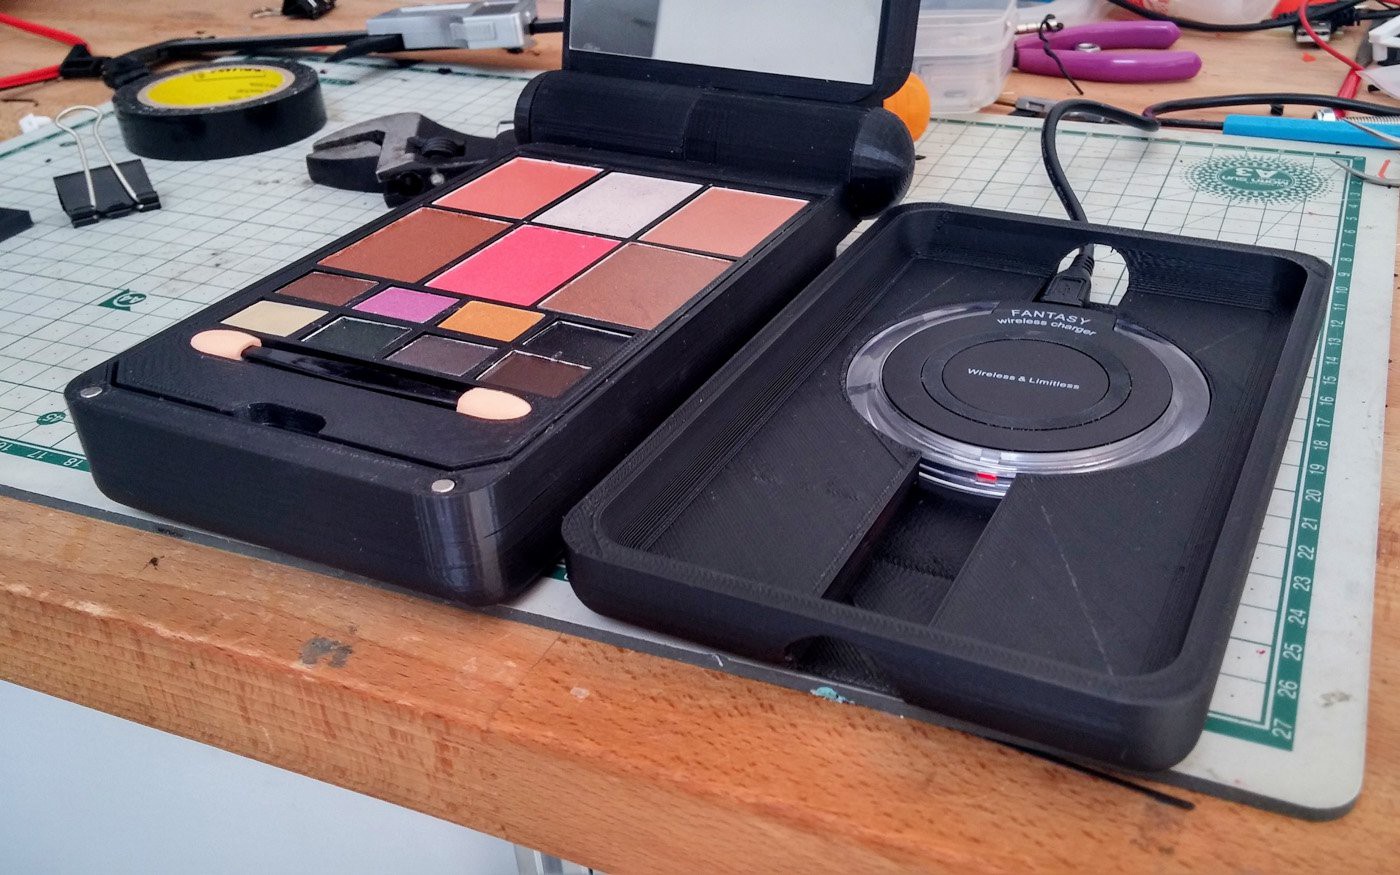
Final assembled build. The eye makeup, and alternate foundation and minimal eye makeup tray. You can make trays to fit whatever you like though.
-
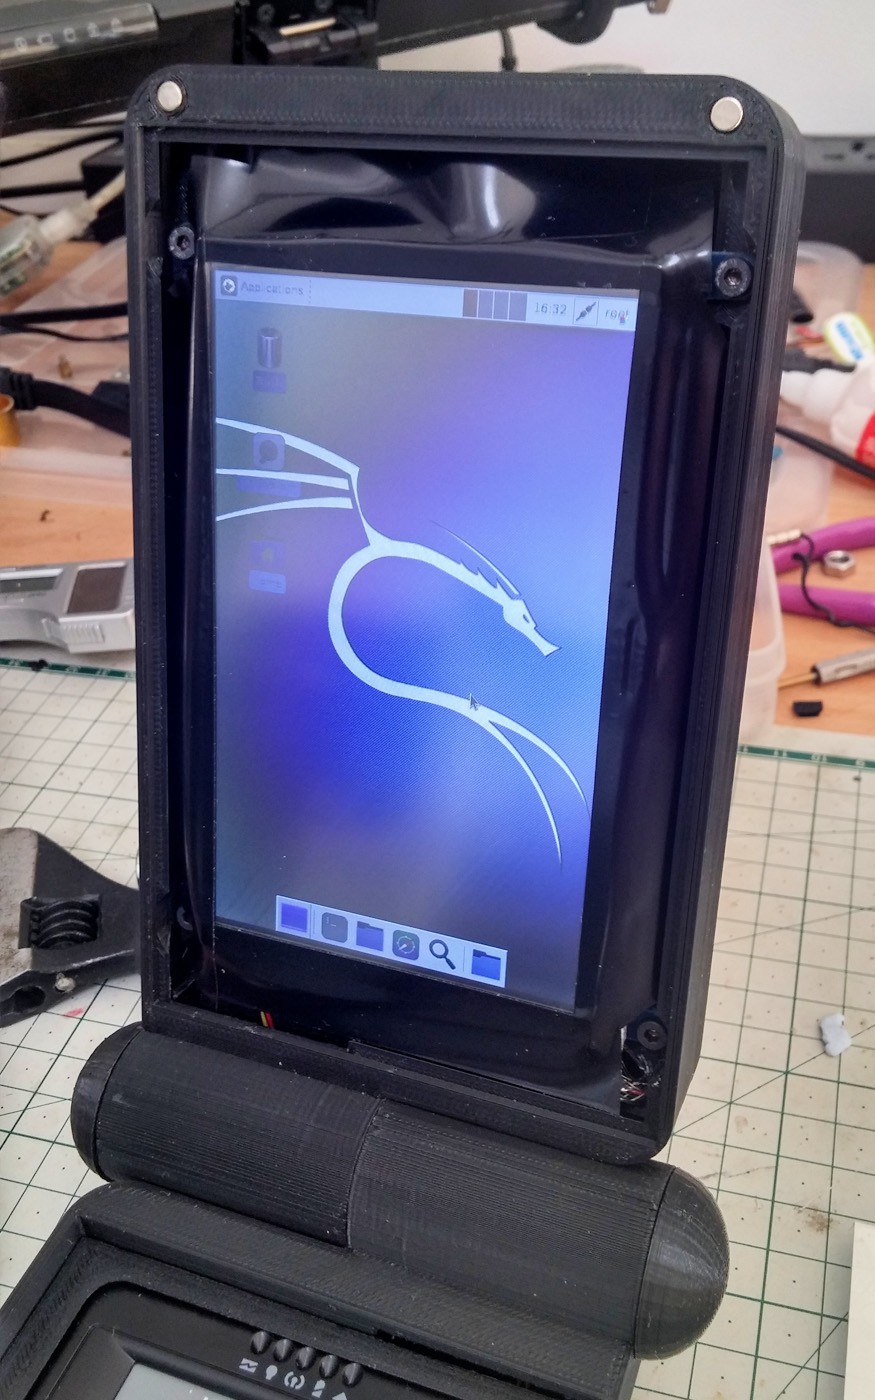
17Step 17
![]()
![]()
The Kali desktop. It's really quite peppy on the Raspberry Pi 3.
-
18Step 18
![]()
The wireless charging cradle.![]()
-
19Step 19
![]()
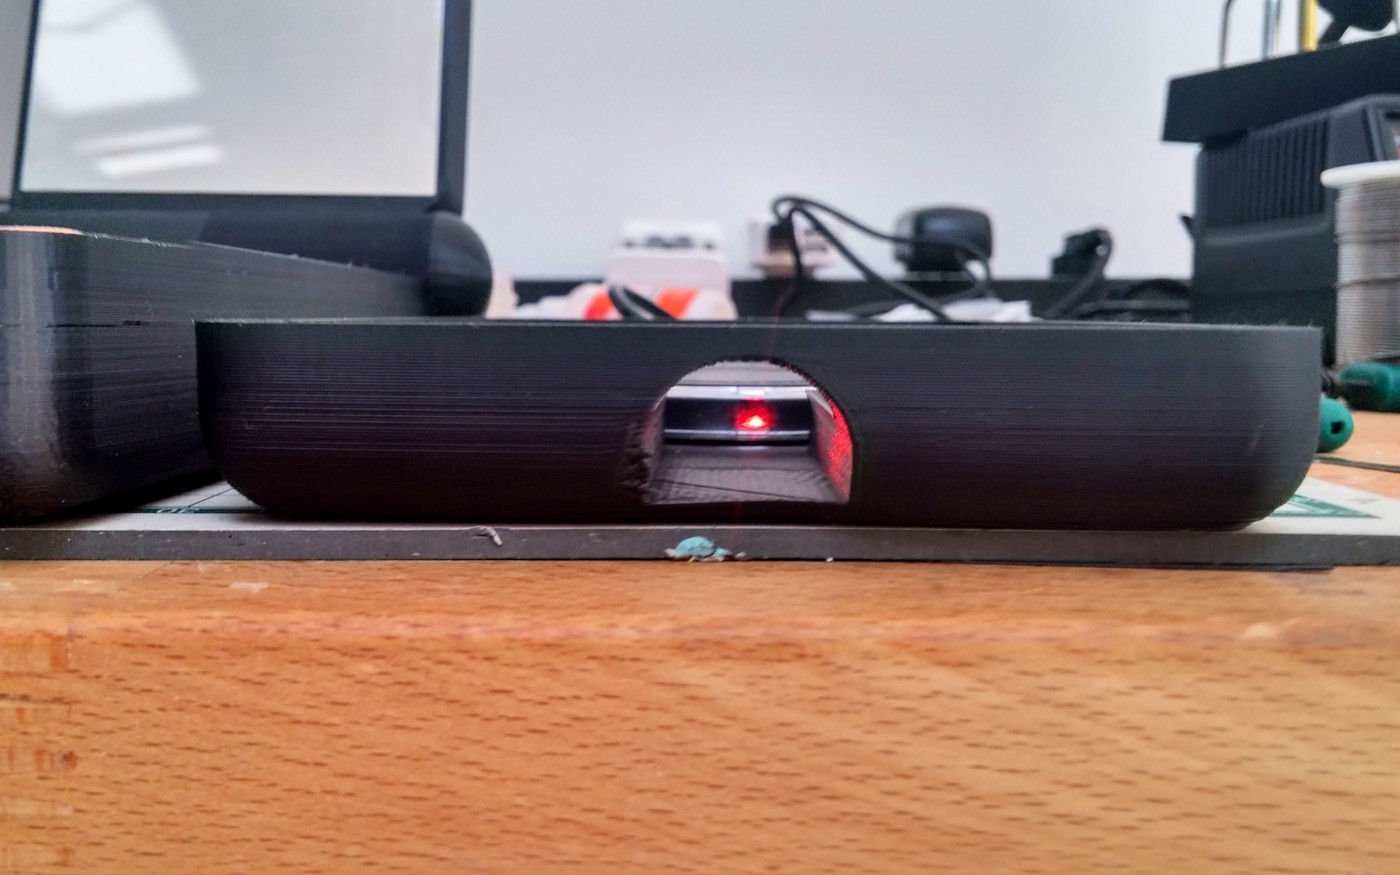
LED is red when it's not charging.
![]()
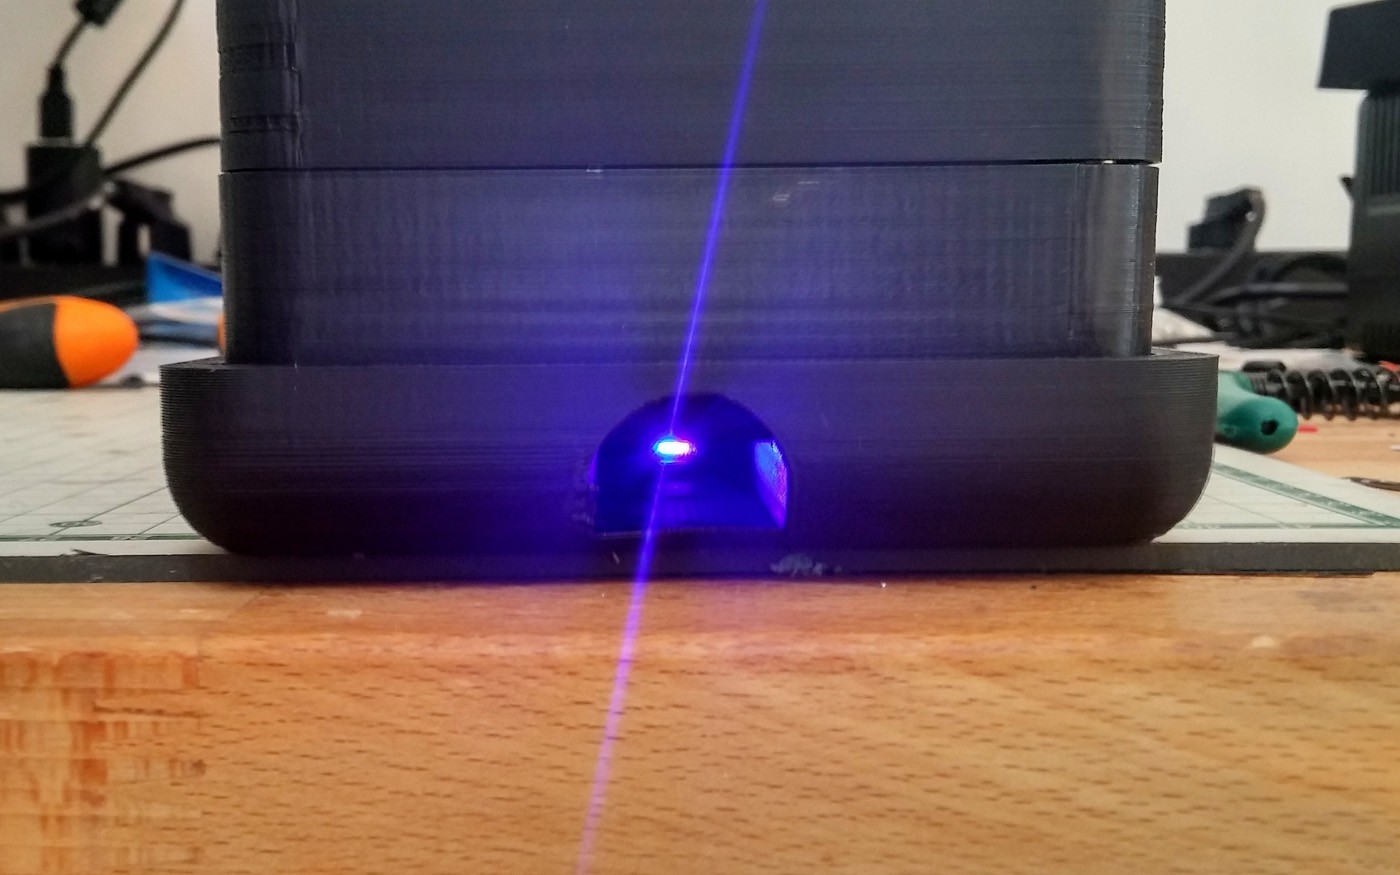
...and blue when it is charging.
Pi Palette- Hacker's Cosmetic Case
The "Pi-Palette" is a pentesting computer concealed in a cosmetic case.


Discussions
Become a Hackaday.io Member
Create an account to leave a comment. Already have an account? Log In.