-
1Step 1
![]()
The basic components of the computer. The full BOM is in the "Files" section.
-
2Step 2
![]()
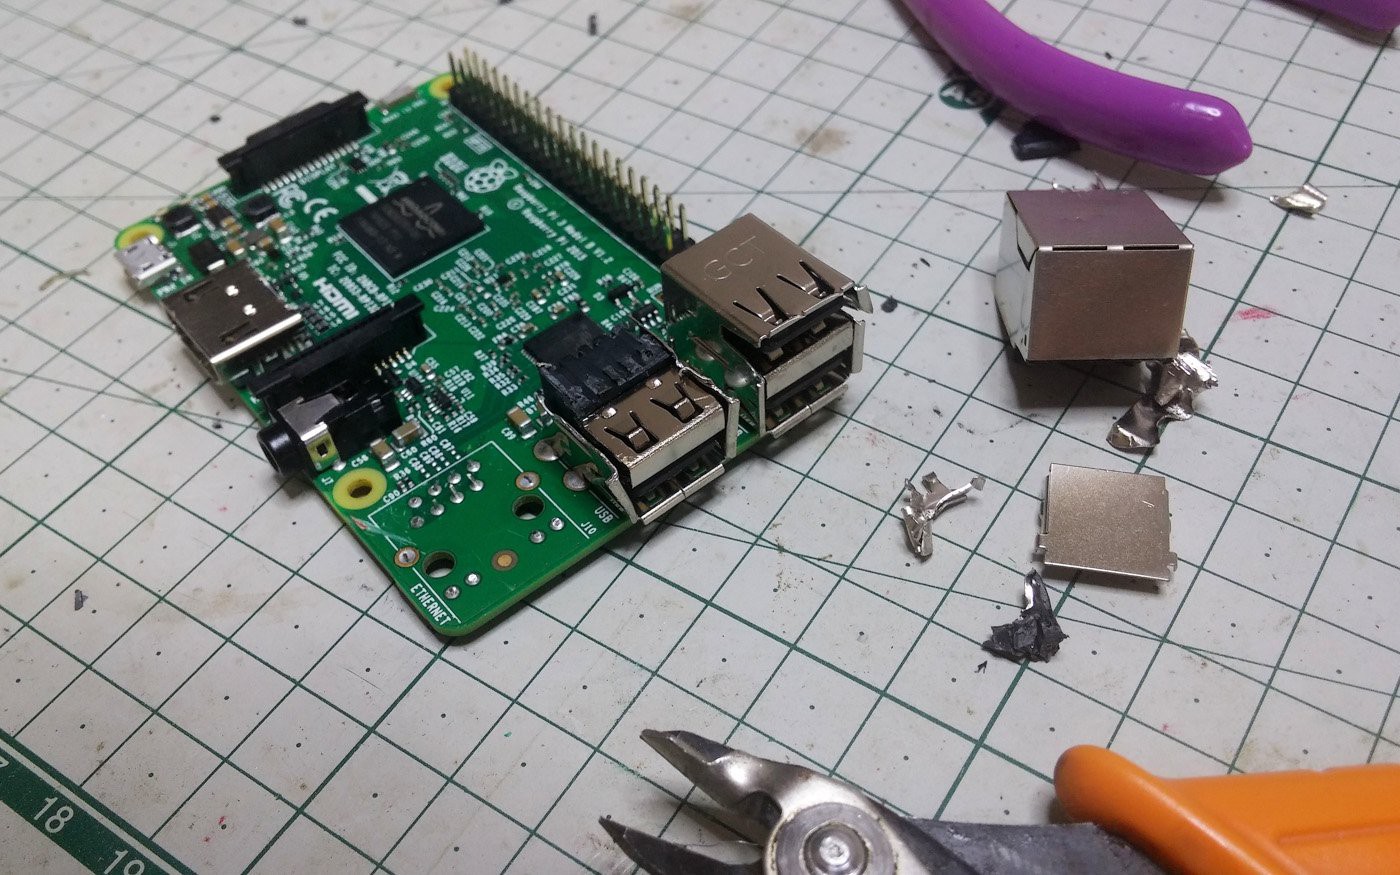
The size could be reduced by at least a third if we remove the plugs and jacks entirely in favor of soldering directly to the PCBs, but it then requires quite a bit of delicate work with any mistakes being rather costly. I chose to just remove the top two USB jacks (carefully) with nippers.
I rather keep the project easy and have it be a bit thicker. It's still plausible because there are makeup palettes with stackable trays: http://www.sephora.com/color-wonderland-eyeshadow-palette-P412573 (the small makeup you might have seen in a purse are compacts, different thing).
Using the Pi Zero is also an option but processing power and usability would take a significant hit. The Raspberry Pi 3 is, for most purposes a fully functional computer and generally as quick as a low end laptop for any reasonable tasks. I didn't really want to sacrifice that.
-
3Step 3
![]()
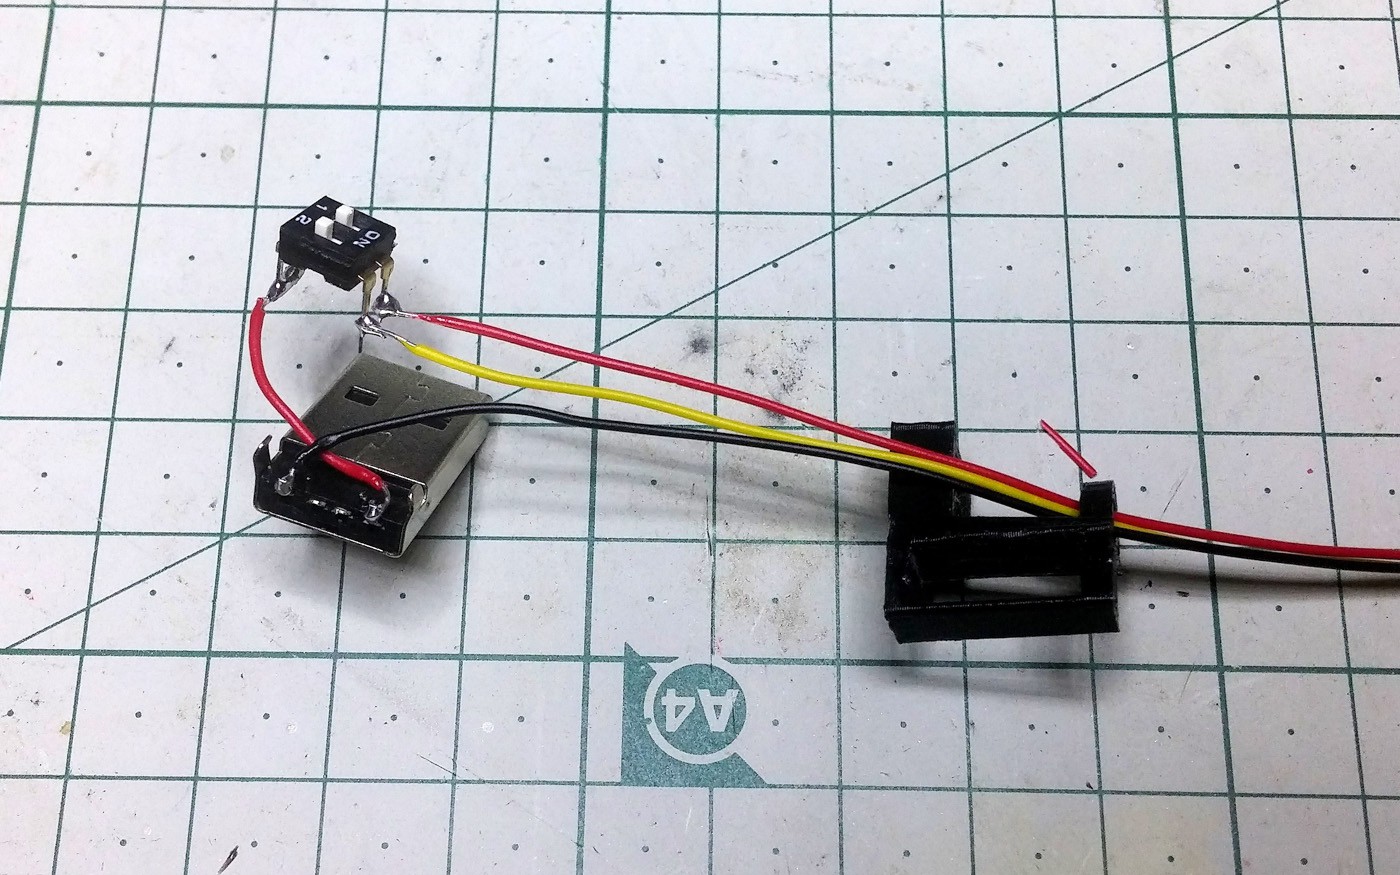
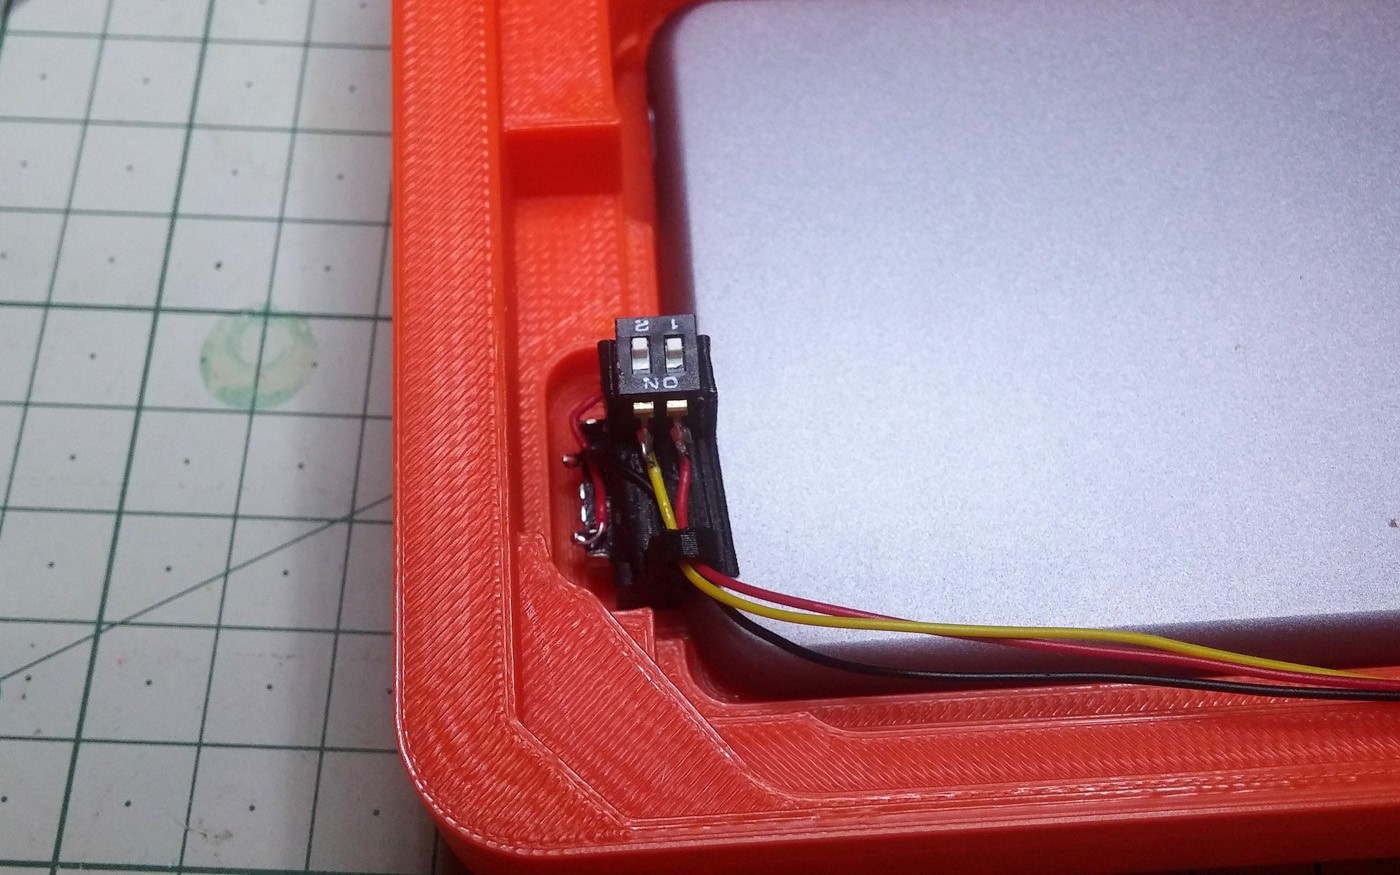
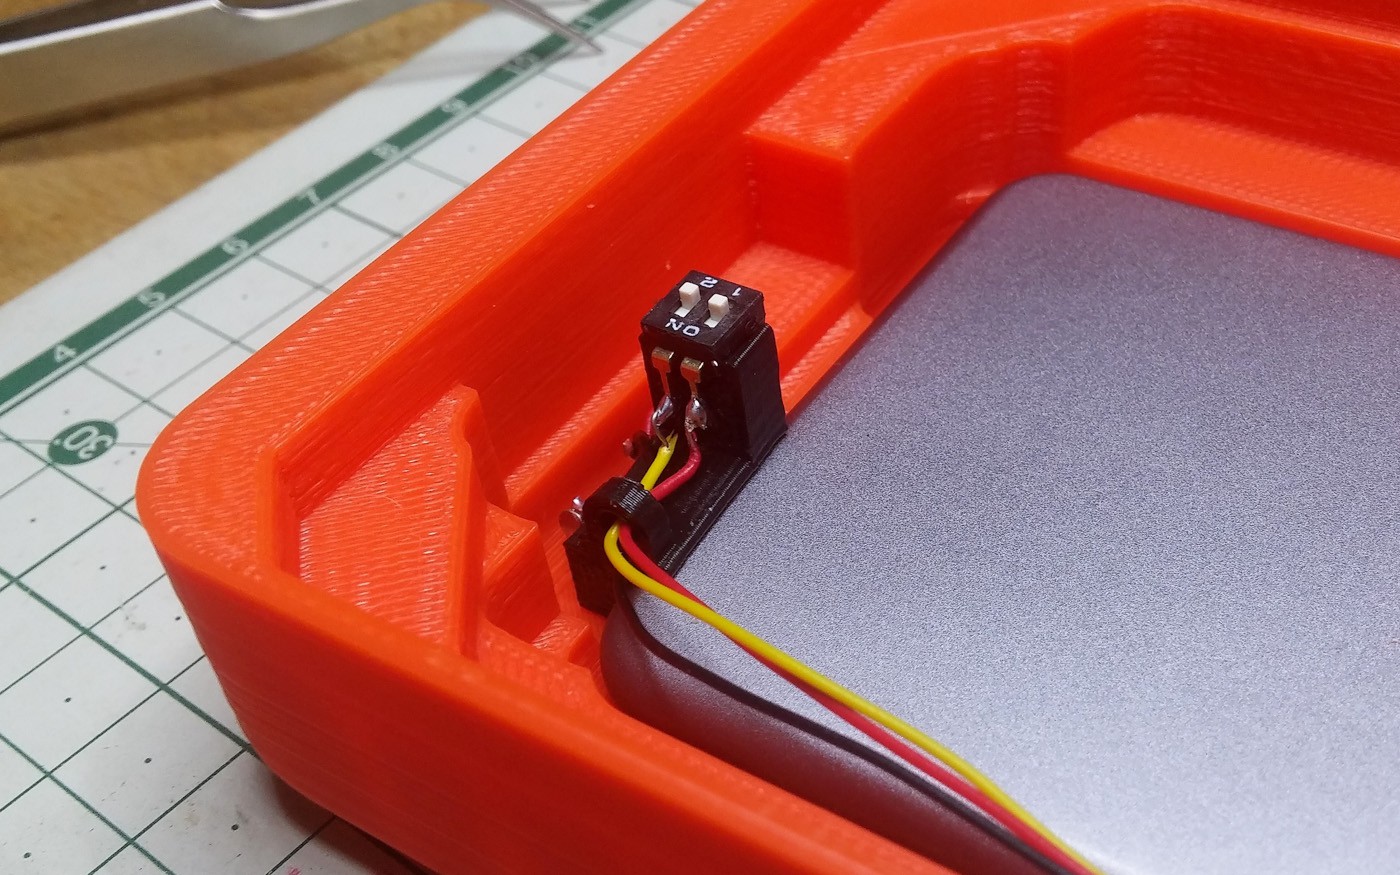
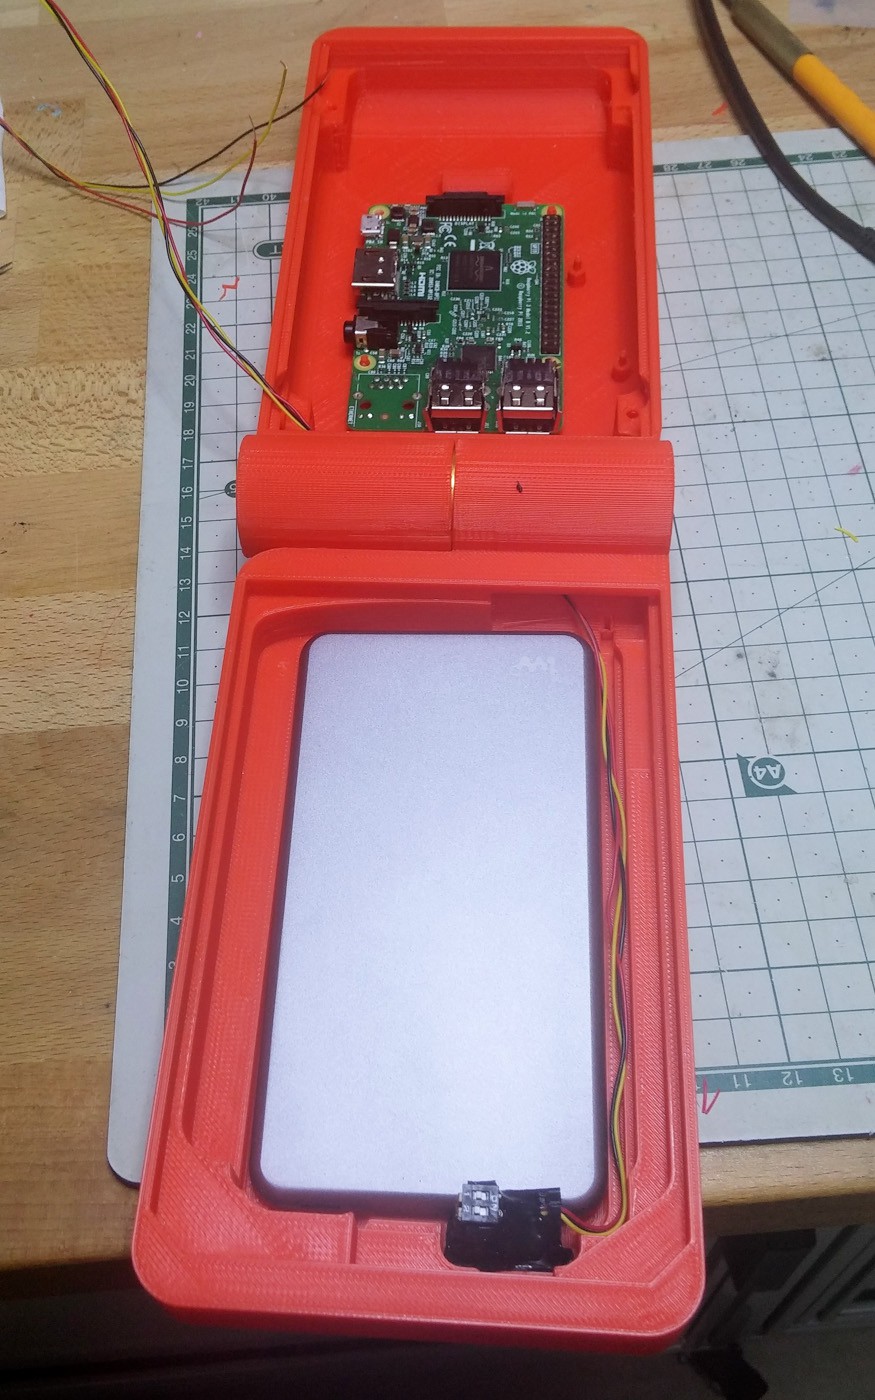
I tried to make the build as easy to follow as possible, the one slightly tricky bit is the power switch. You can see above how it's wired. Red for the Raspberry Pi, yellow for the display.
-
4Step 4
![]()
![]()
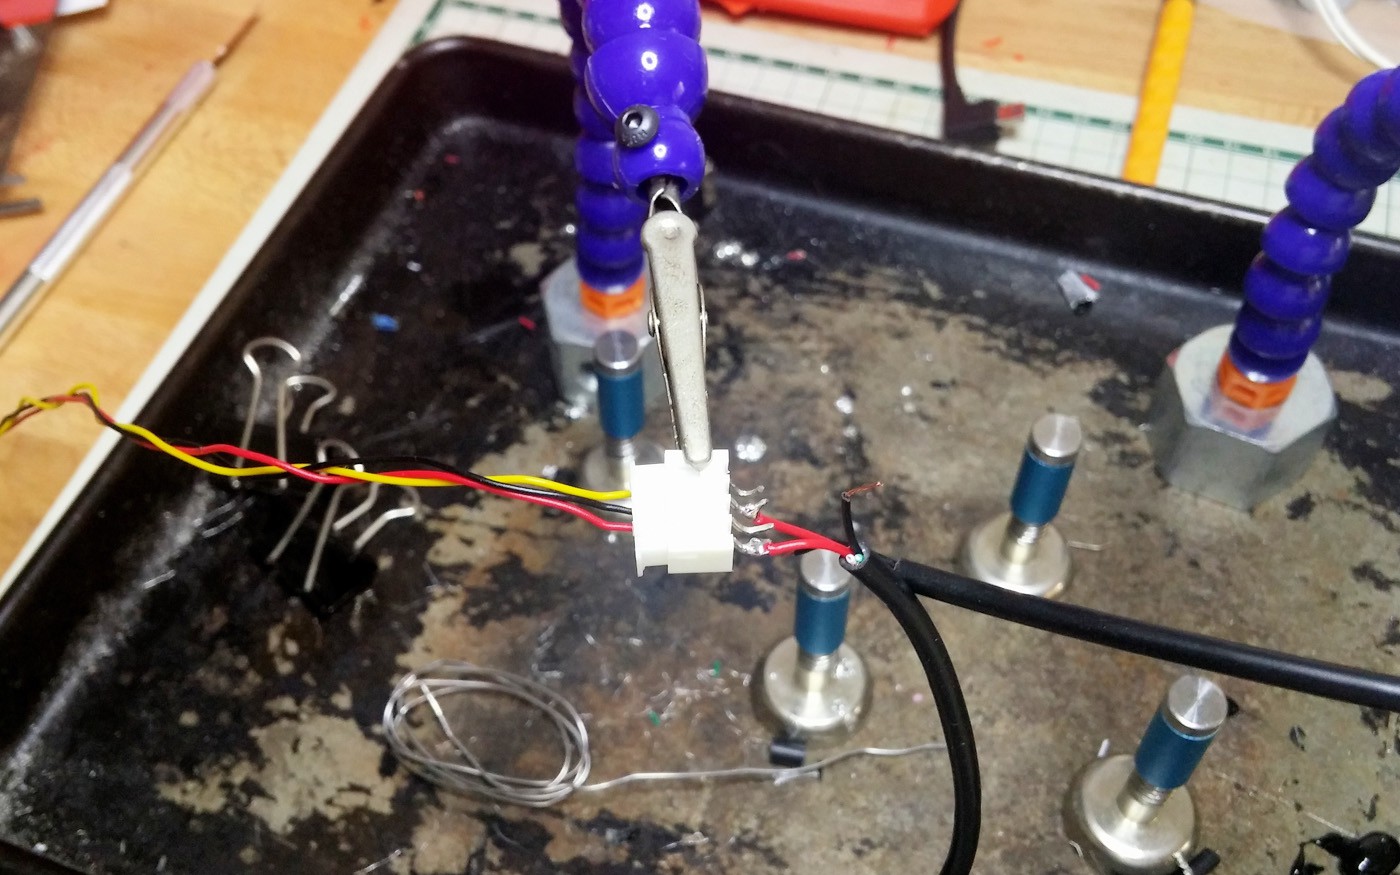
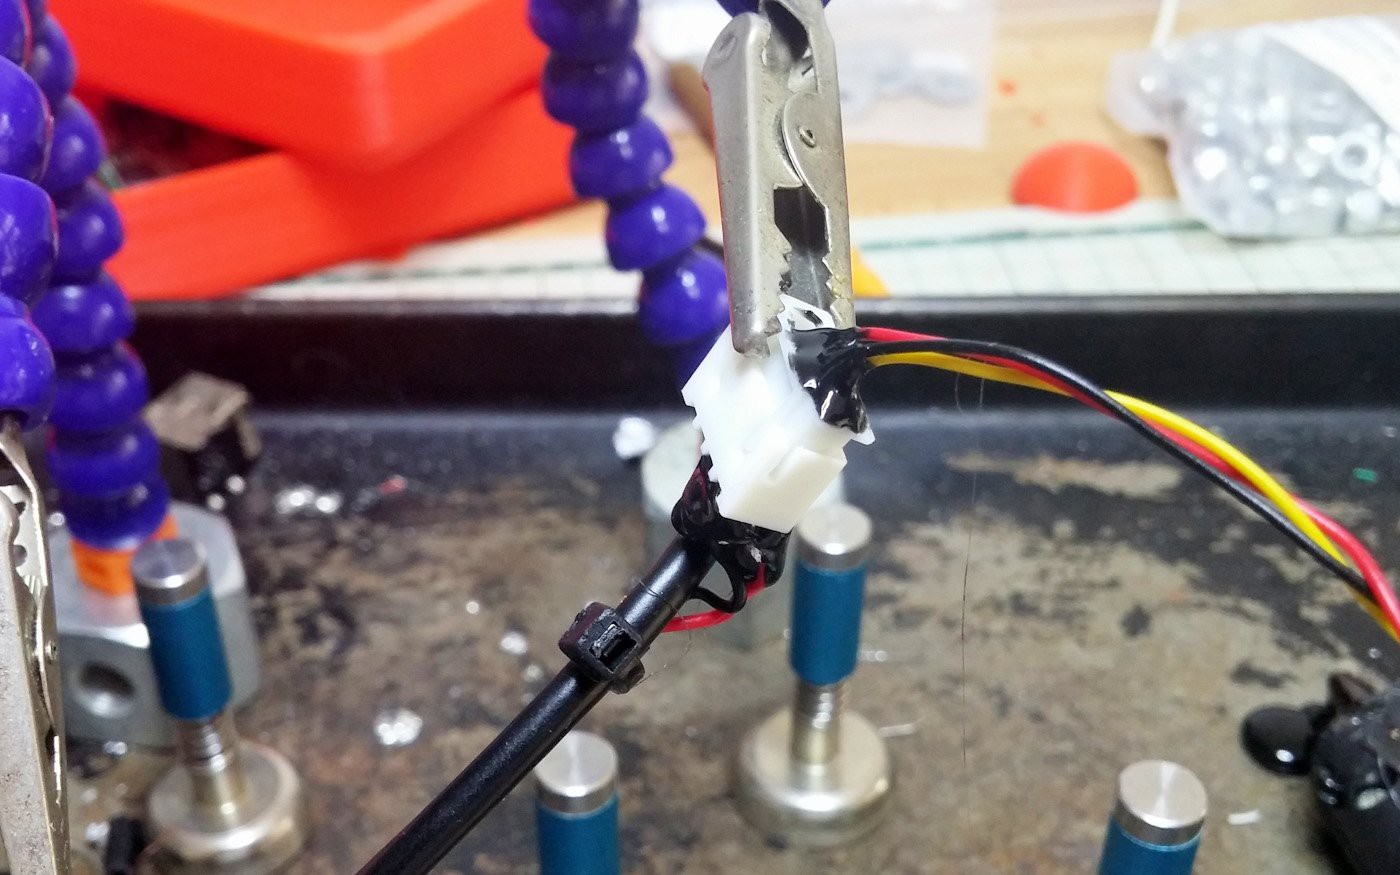
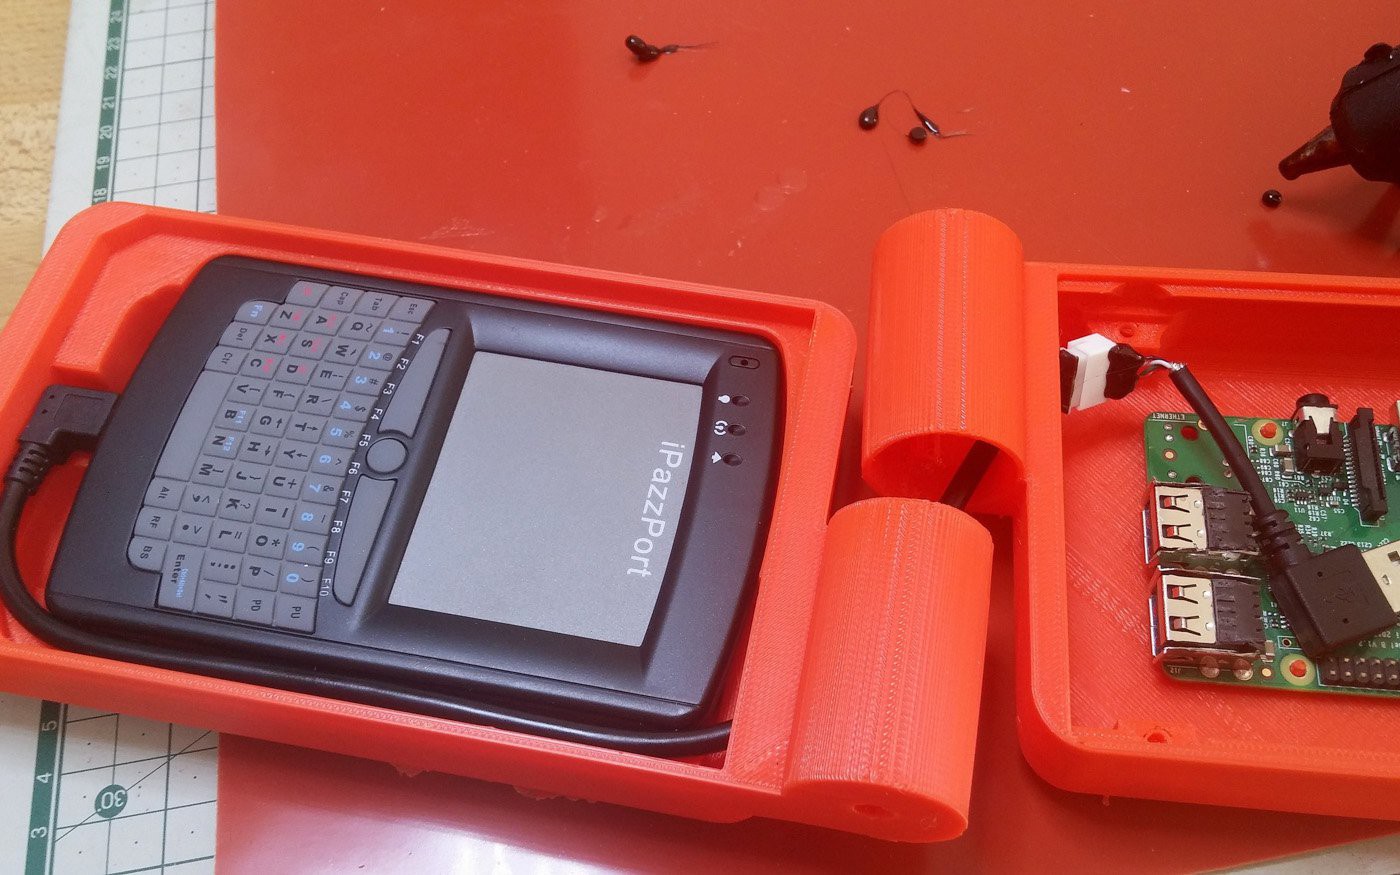
When I was working on this and taking it apart and pitting it back together repeatedly it made sense to put a connector in rather than have to keep threading wires through the hinge. It's entirely optional and in the current version I just soldered the wires directly so there is less to wiggle loose.
-
5Step 5
![]()
![]()
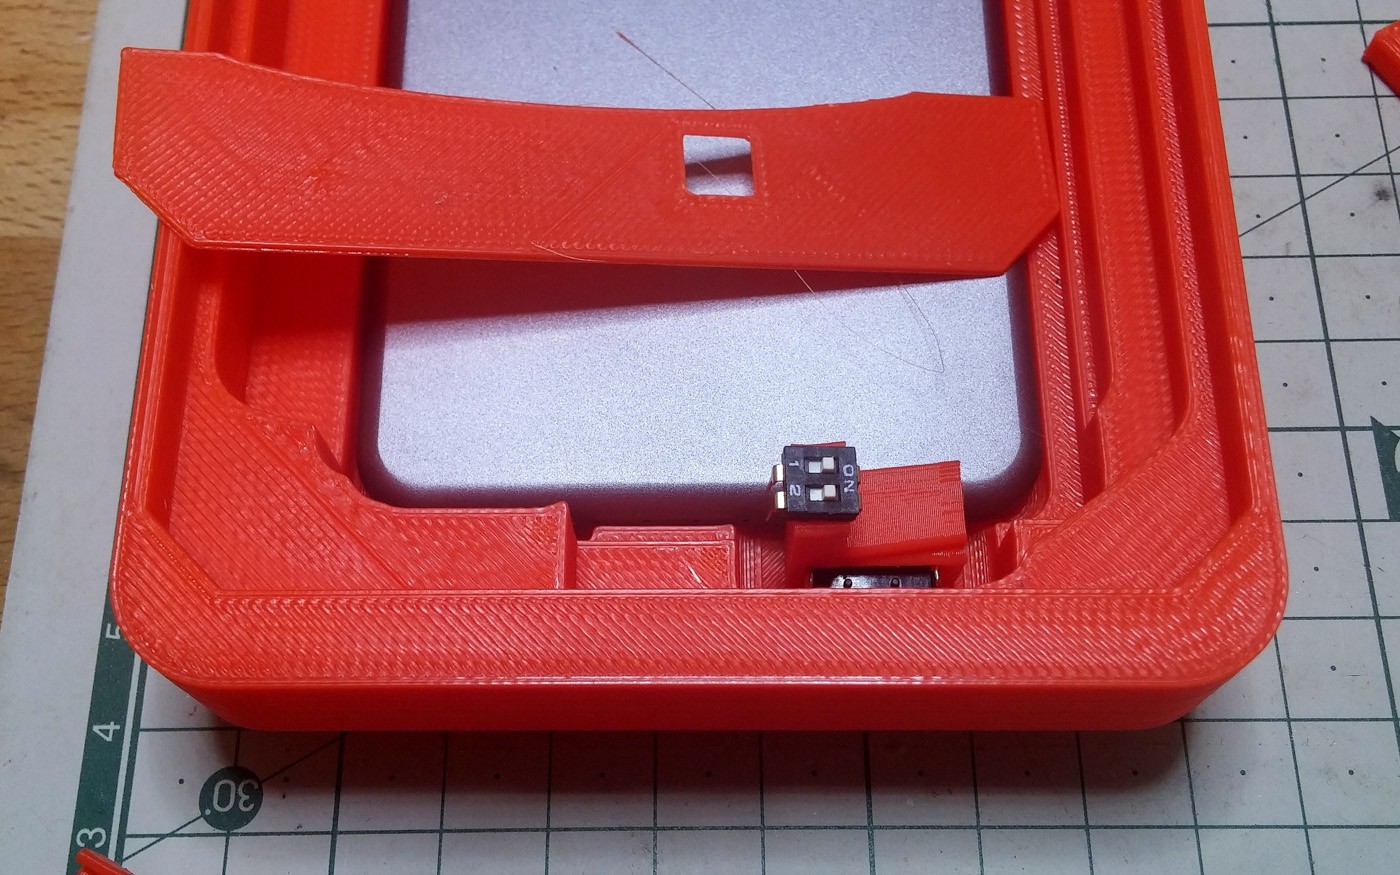
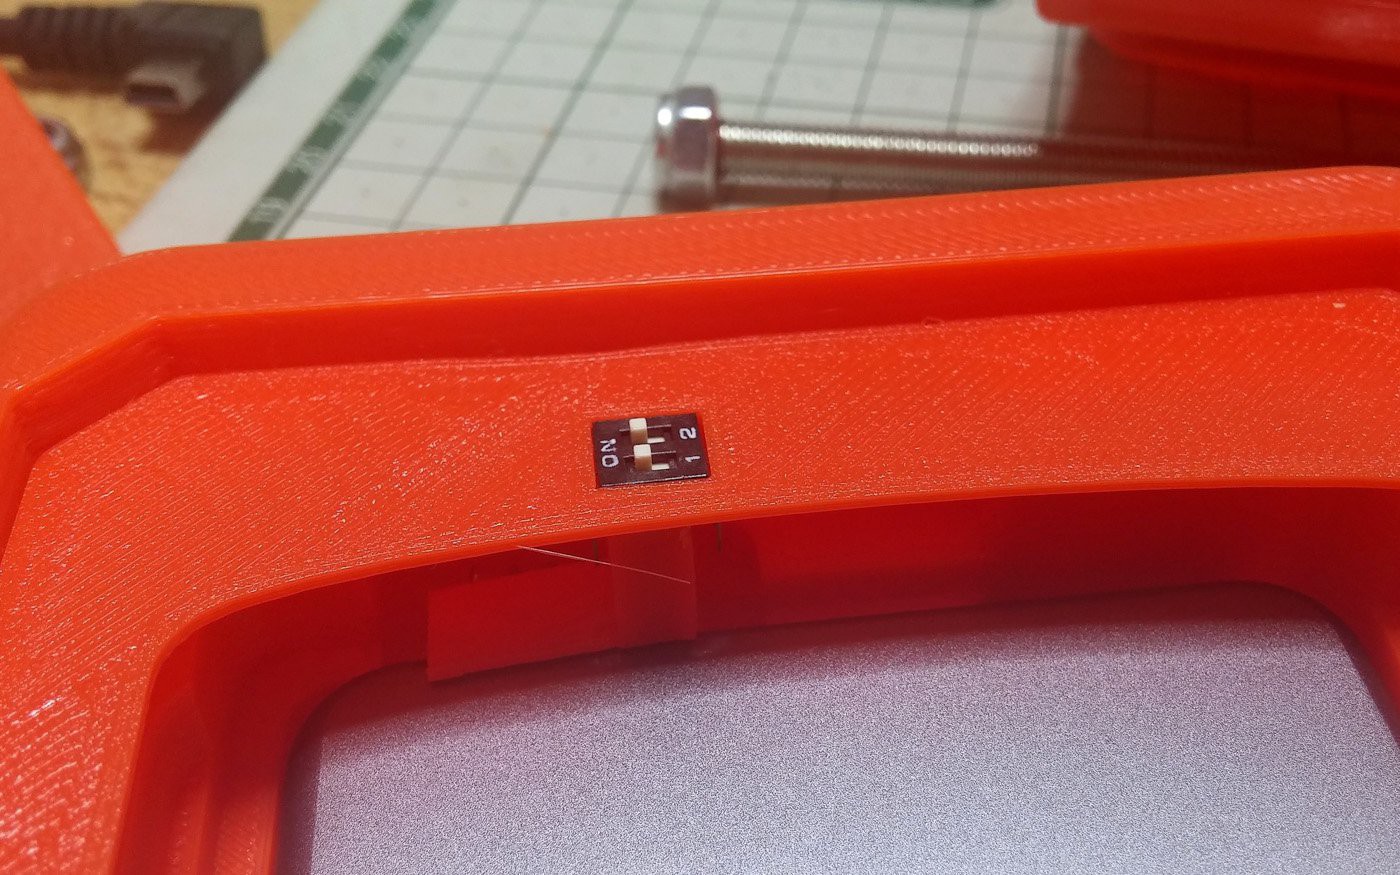
The DIP switch Is positioned by the keyboard cover.
-
6Step 6
![]()
![]()
The video shows how everything goes together. I coated the cavity around the plug with a thin layer of Vaseline and then squirted hot glue in. The cooled and hardened glue sticks to the plug and wires but not the Vaseline. Saw that trick in a video, can't remember where now.
-
7Step 7
![]()
![]()
Plug with the hot glue molded around it.
-
8Step 8
![]()
Version with the wired keyboard. It has some problems I have not been able to pin down so sticking with wireless for now. Many thanks as usual to Adafruit's Tony DiCola for the troubleshooting advice.
-
9Step 9
![]()
![]()
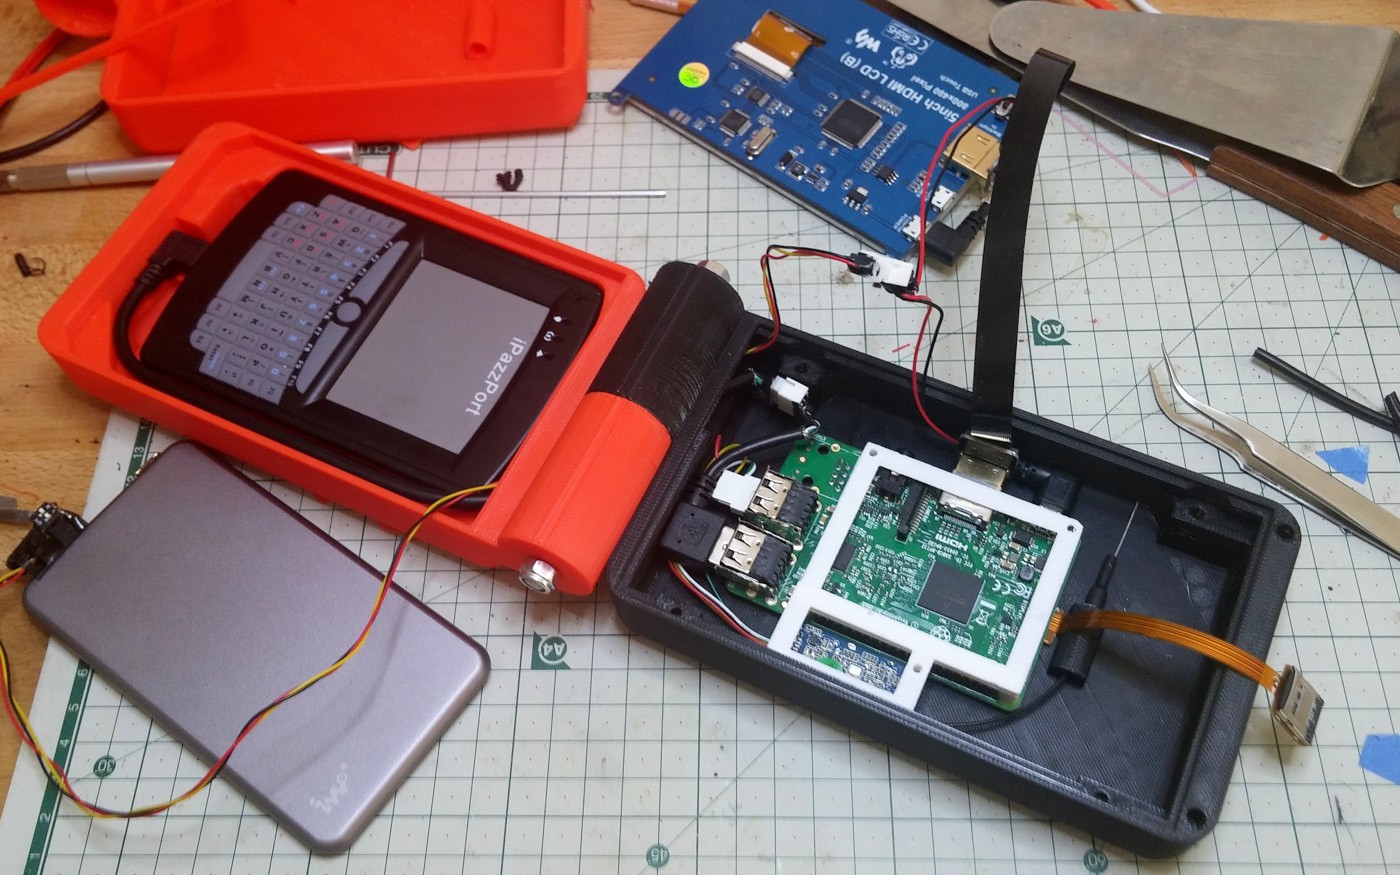
The white bracket shown holds the rPi and WiFi adapter in place. The MicroSD extension is really handy since it lets you reload the OS without having to take everything apart or have a hole in the case.
-
10Step 10
![]()
Battery with induction charging attachment. It's a little underpowered- the little low power rainbow icon stays lit on the Pi. But it seems to work fine for a few hours anyway.
Pi Palette- Hacker's Cosmetic Case
The "Pi-Palette" is a pentesting computer concealed in a cosmetic case.
 SexyCyborg



Discussions
Become a Hackaday.io Member
Create an account to leave a comment. Already have an account? Log In.