 ThunderSqueak
-
1Step 1
The first step was to decide what number I wanted to go up too, in my case I chose 159, this meant that the outer ring would need to be numbered from 0 to 15 and the inner ring from 0 to 9. After marking on the old hard drive platters with a pencil, I used an xacto knife to scribe the numbers in. This served two purposes, the surface is so smooth that pencil will just wipe off, and gave the rotary tool that I used something to follow. Sorry about not having a picture of this step, I didn't think to take one :(
-
2Step 2
After I marked out the layout, I sat down with my rotary tool with an engraving bit. Be sure to wear safety glasses, there will be small bits of metal flying off :)
-
3Step 3
I used the rotary tool to cut a small center point for the drill bit. If you do not do this and are using a hand drill, there is a chance that the bit will walk across the surface of the platter, permamently marring it.
-
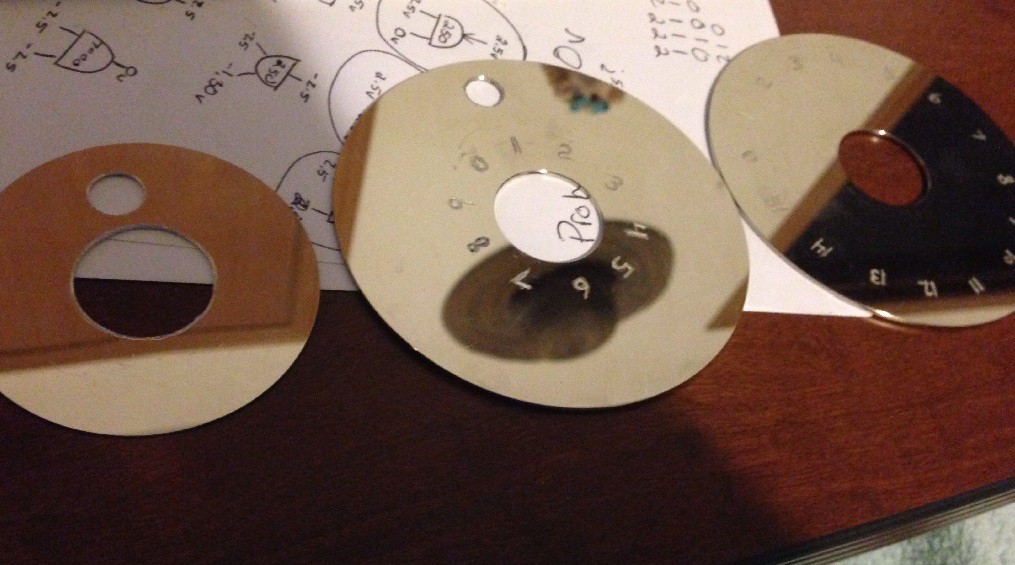
4Step 4
This is the result after you do the careful engraving and drill the two holes. I chose to use a 3/8ths inch drill bit as it seemed to be a good size. On the small platter, which is from a laptop hard drive, I used a rasp and enlarged its hole size to match the other two platters. It may look larger in the photo but they are the same size :)
![]()
-
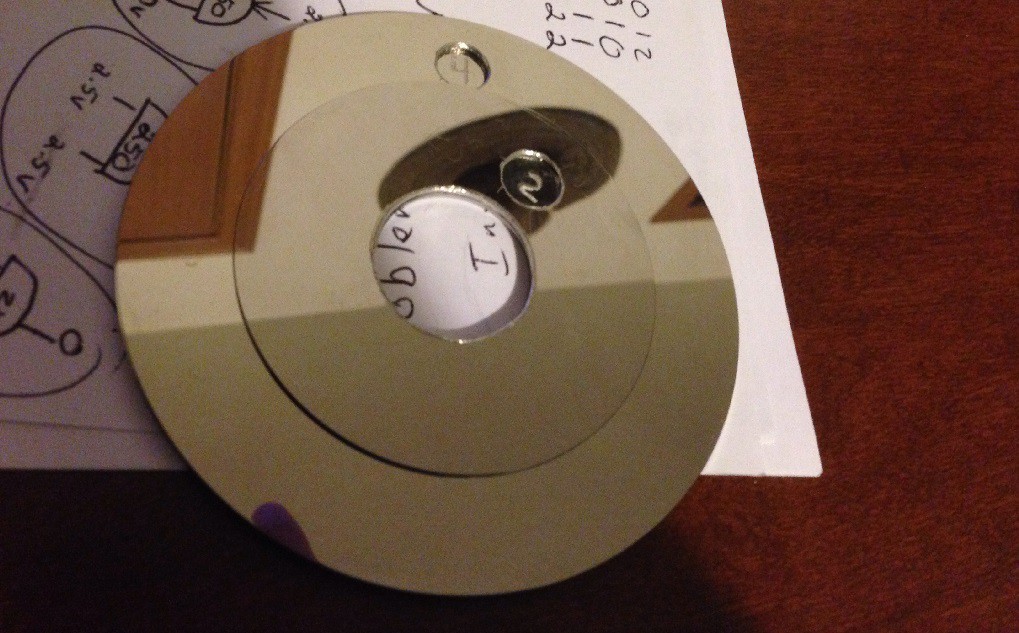
5Step 5
I put some masking tape on the backside of the small platter and the middle one to keep them from forming a vacuum when they were stacked.
![]()
-
6Step 6
The next step was to pick out a center peice. These hard drive platters all had a 1 inch hole. I went to the hardware store and picked up some small rubber feet and a pipe cap from their "small parts" bin. When I got home, using a rasp I fine tuned the small platters hole for a good fit, then pushed the cap through all three of them.
Then I turned the whole thing over, and with needle noses, bent the teeth of the cap outward. Look at the picture for the part number of the cap and feet that I used :)
![]()
-
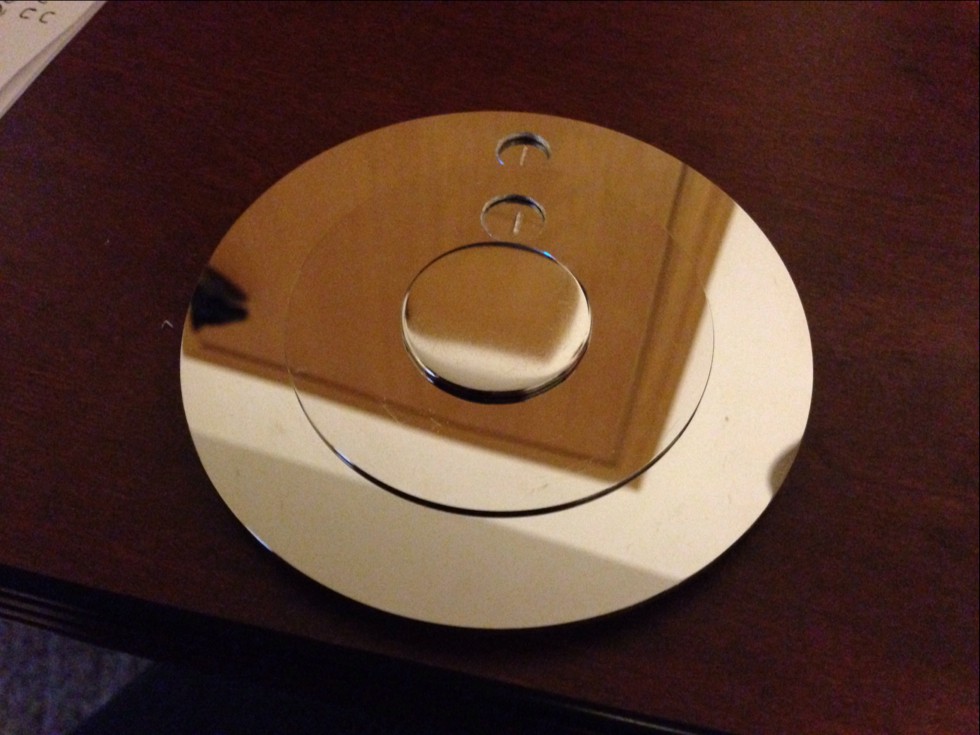
7Step 7
Then I flipped it all over and done! :) If I had anything to do over with this project it would be to take a bit more time with the engraving and/or filling them in before assembly with some black epoxy or paint. In a pinch a crayon might work too :) Their is just enough friction to let me change the bottom platter and the top stays in place, and if I want to change the top I lightly hold the edge and turn that.
Now to go play some MtG with my new super shiny custom life counter. Hope you enjoyed this! If you want to see any more of my more crafty projects, let me know in the comments below! :)
![]()
Collectible Card Game Counter
I had old hard drive platters sitting around, a bored evening, and wanted to keep track of a MtG score.... :)

Discussions
Become a Hackaday.io Member
Create an account to leave a comment. Already have an account? Log In.