-
1Step 1
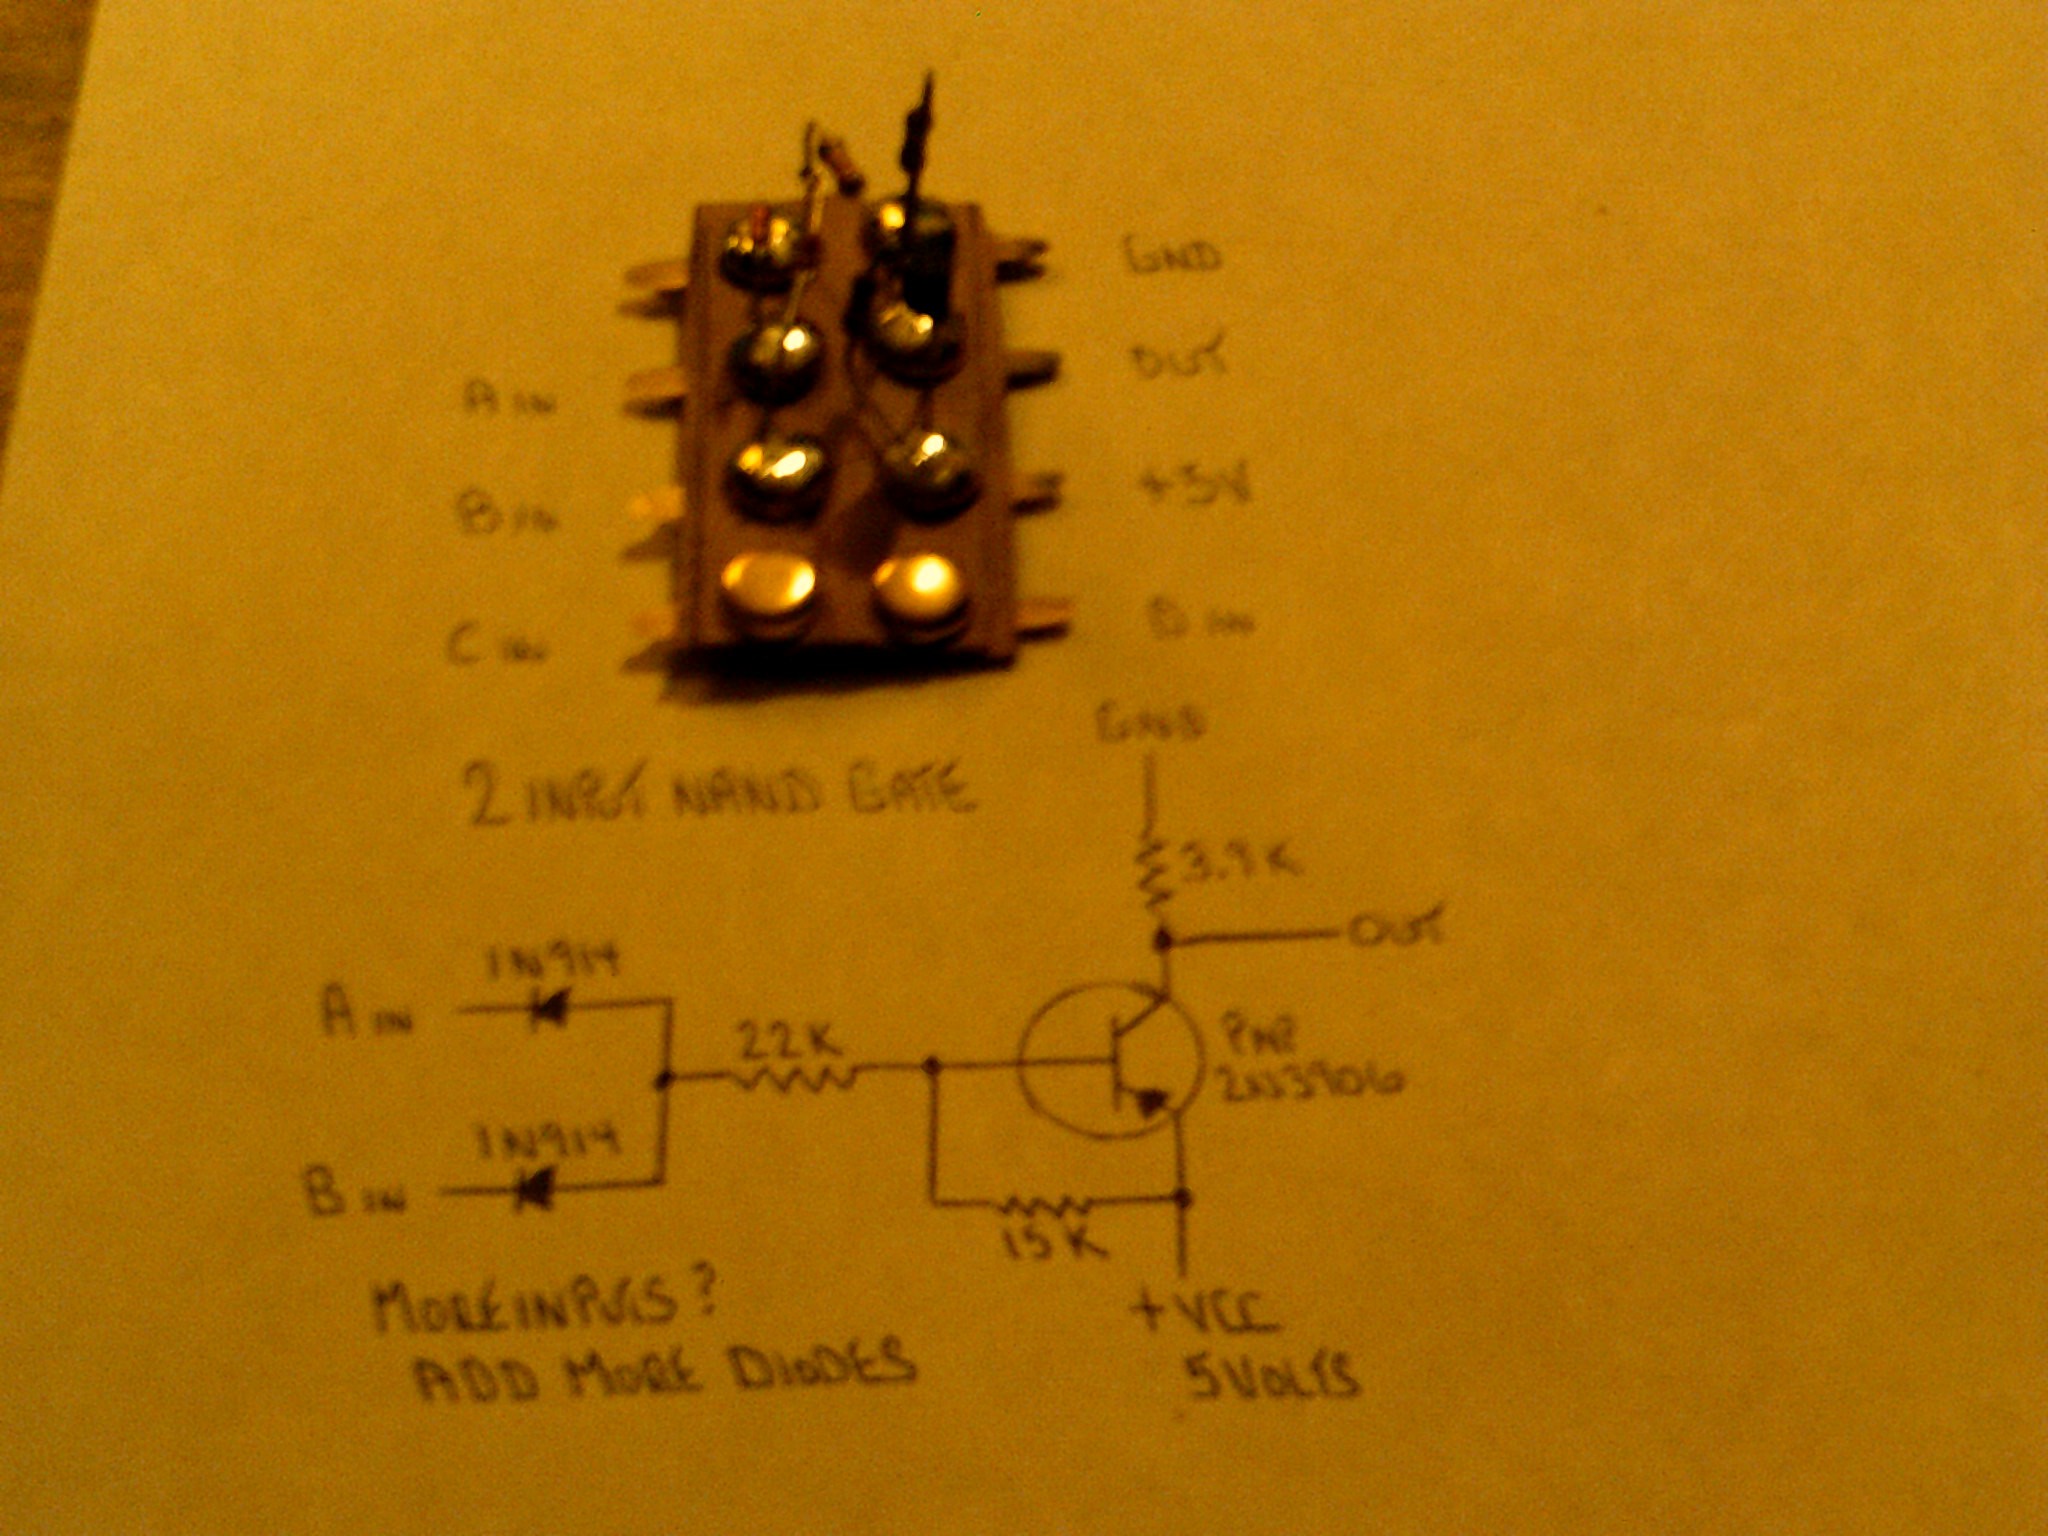
My basic nand gate
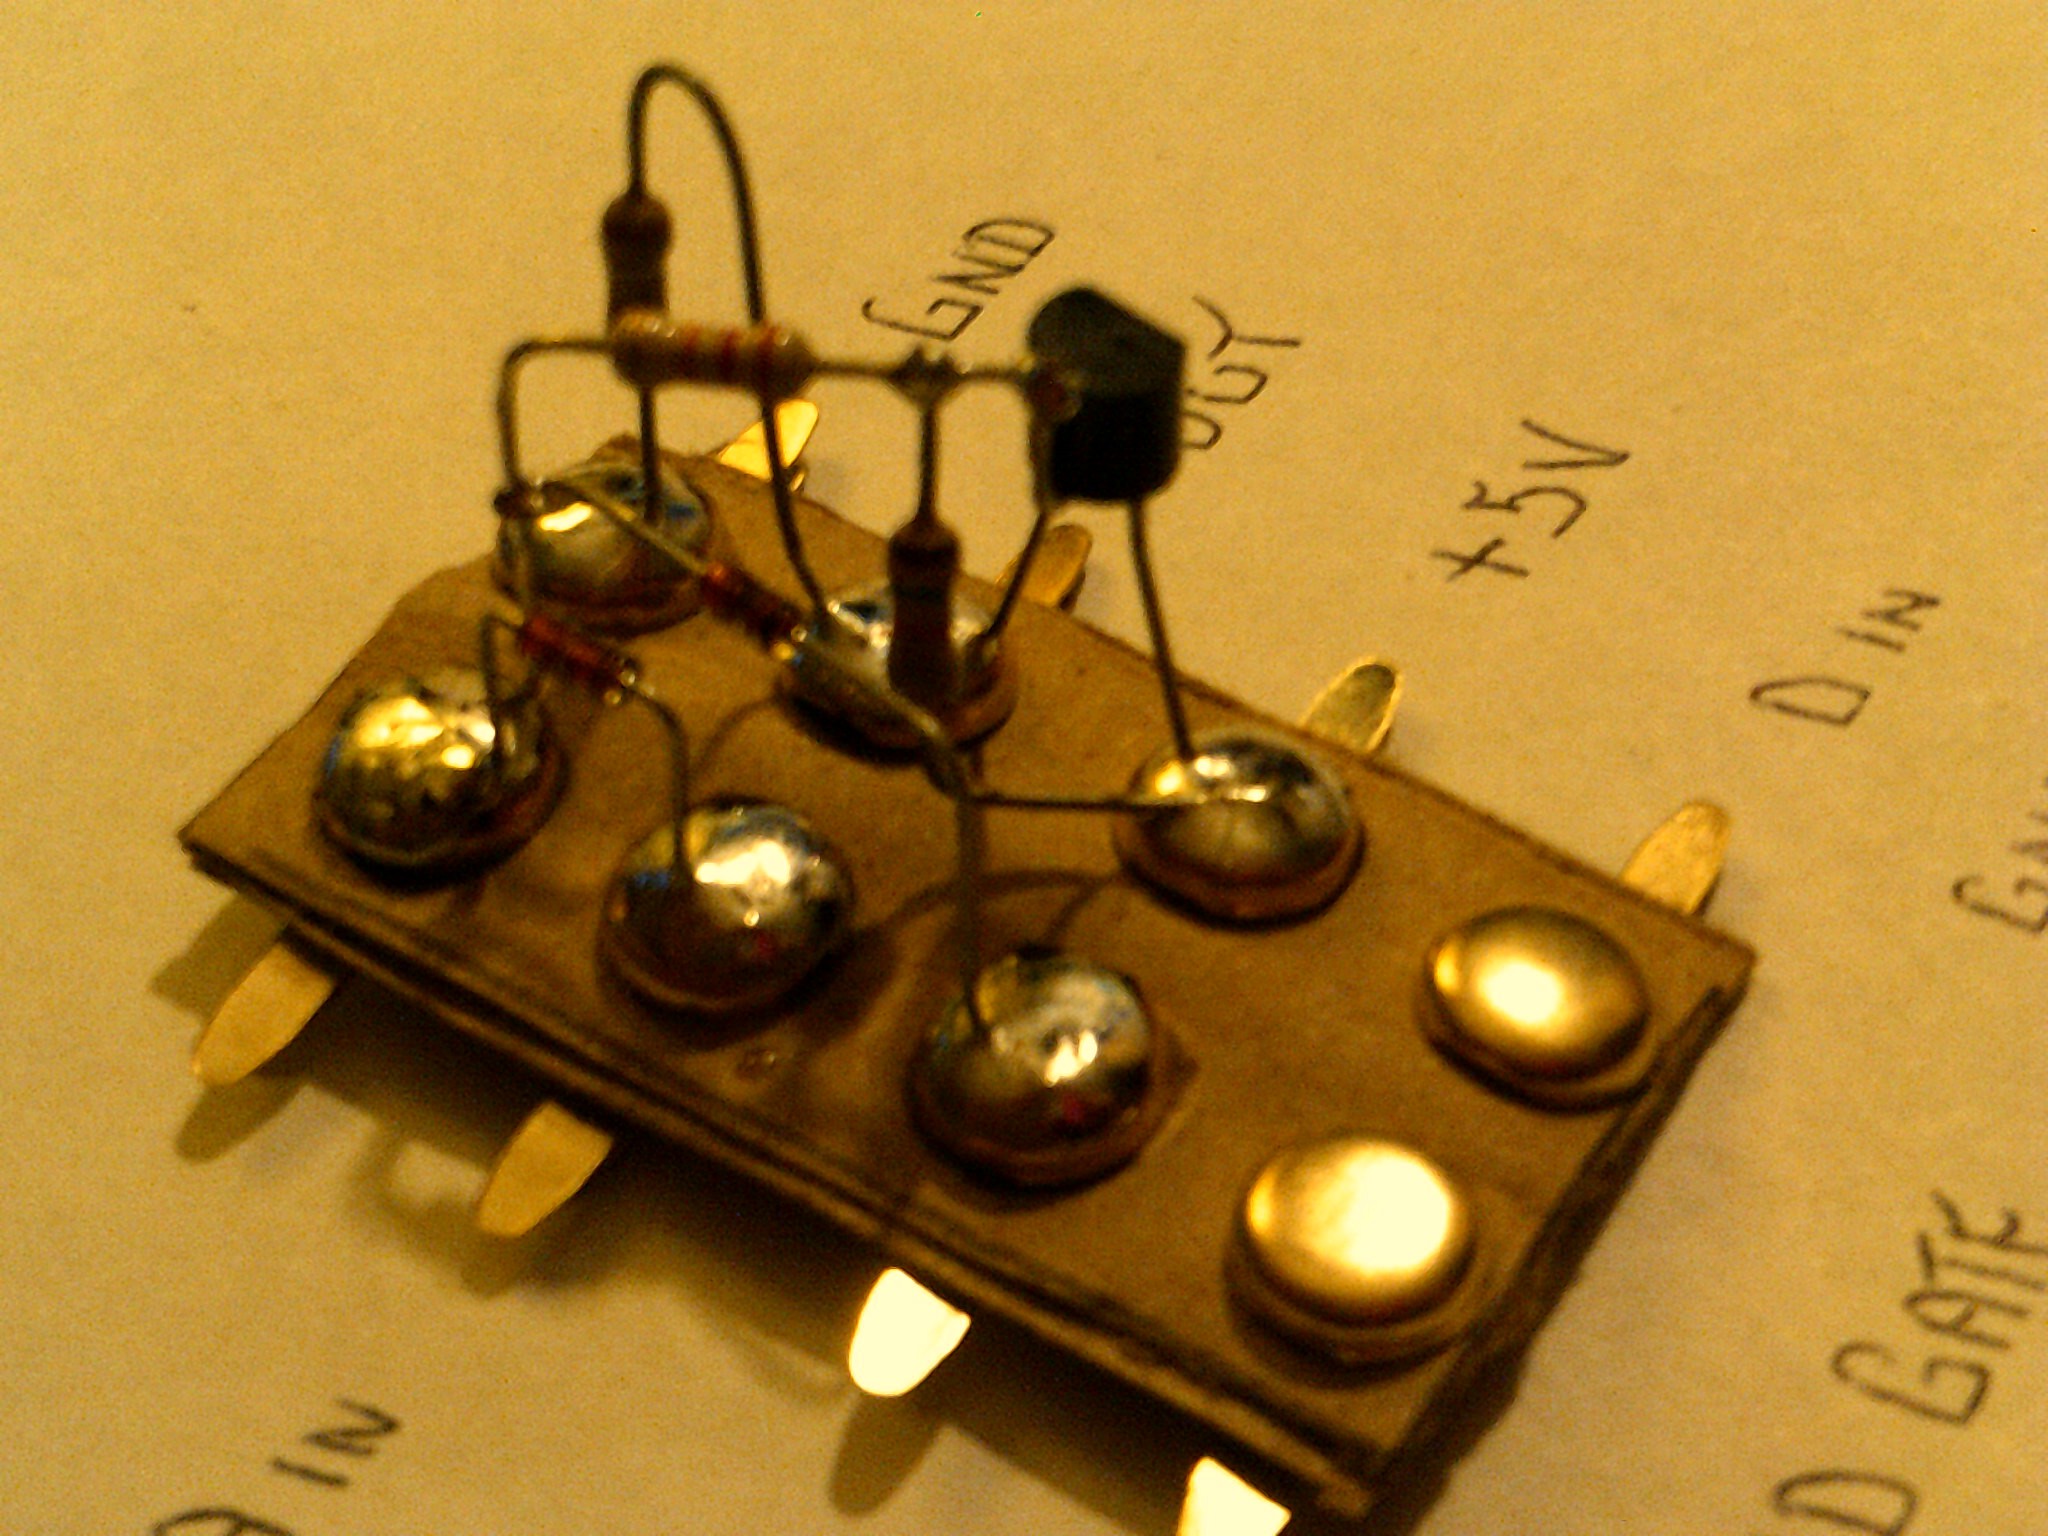
I guess that this could be called a single 2 input nand gate IC . Just very large scale.
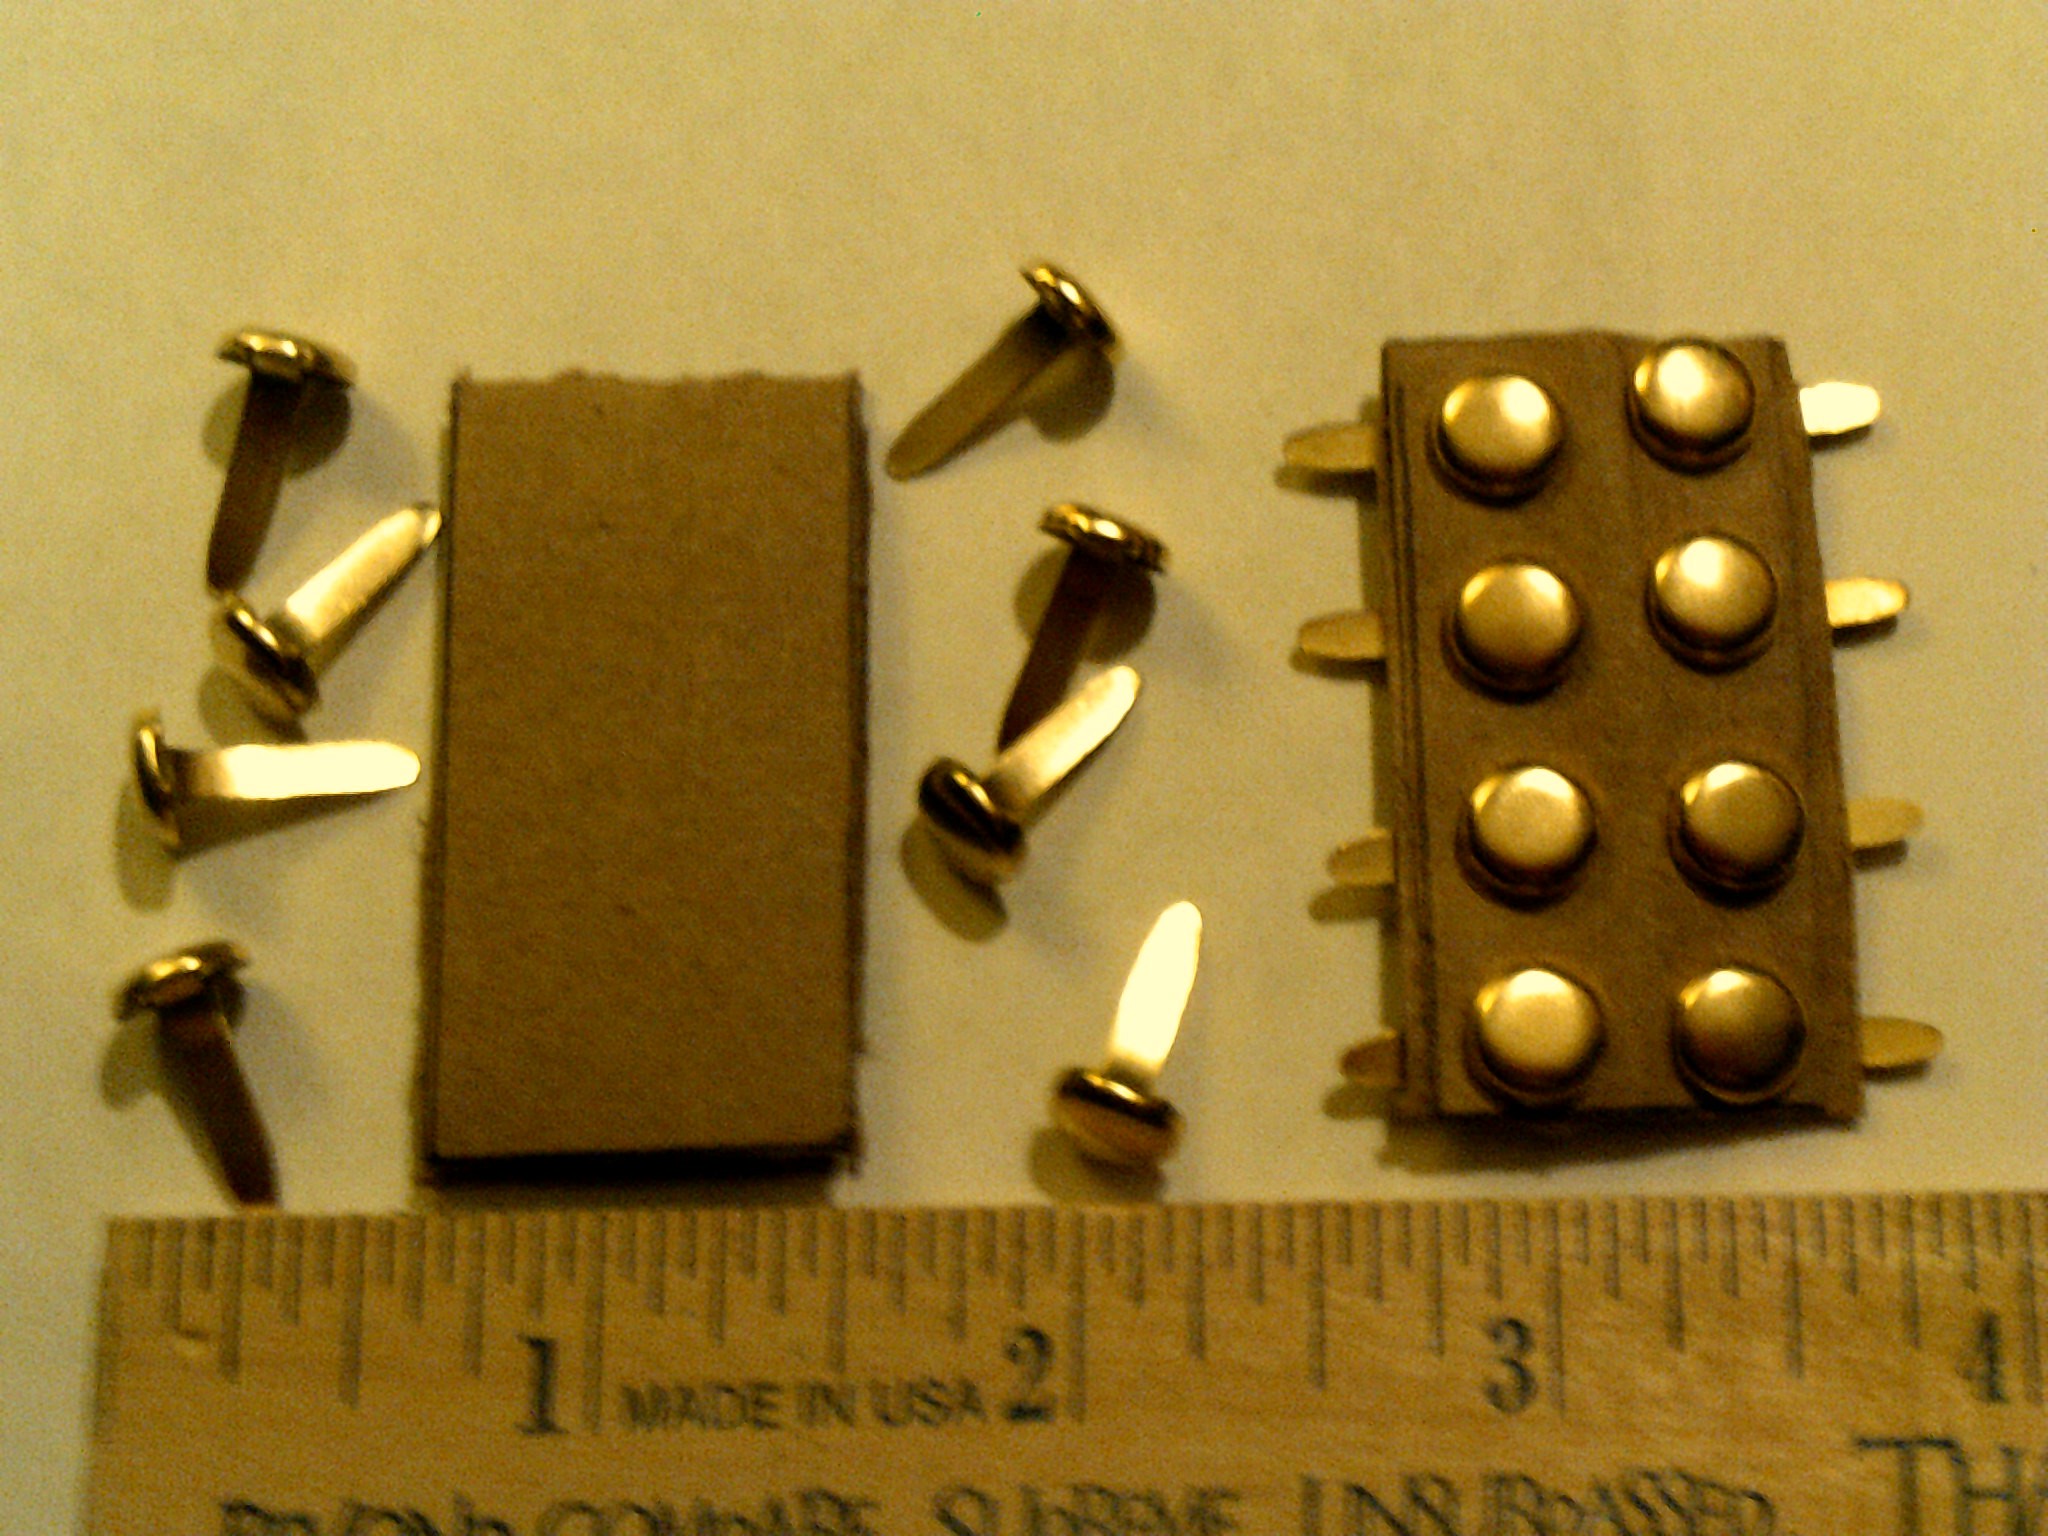
Start with cardboard and brass fasteners
-
2Step 2
Layout the parts needed.
-
3Step 3
Solder the parts to the cardboard base
-
4Step 4
The final product
-
5Step 5
The Cardboard Computer - IO is my name
My goal is a 4-bit CPU using recycled cardboard substrate and Diode Transistor Logic. This is an educational platform for me.
 Dr. Cockroach


Discussions
Become a Hackaday.io Member
Create an account to leave a comment. Already have an account? Log In.
love lt!
Check out my cardboard computer on myYouTube channel gort59
Are you sure? yes | no
Your Minivac601 is great :-) I wanted to do a relay computer but ended up with a large stock of transistors so went that route :-) These projects keep us both out of trouble Lol
Are you sure? yes | no
I really needed something like that when I was young :) how difficult to solder components to those caps? Do you use regular solder and flux? Any special tricks?
Are you sure? yes | no
Hello Shaos, nothing special, just 60/40 rosin core. the fasteners take the solder very well. Just have to heat sink the transistor and diode leads while soldering.
Are you sure? yes | no
Great! I've decided to do something very similar, but with "Goldtone Thumb Tacks" - see here https://hackaday.io/project/10724-germanium-calculus
Are you sure? yes | no
I love your calculator project idea :-) I have used silver and gold tone and the gold took the solder a bit better. Thank you for the link.
Are you sure? yes | no
Thanks!
Are you sure? yes | no
Wow, ok. So it's just a larger Cardboard NAND gate. I just like how it's cardboard, makes everything better.
Are you sure? yes | no
Good evening coletonn, not sure if better but sure is cheaper. Looks strange but then so am I for trying this project. Have learned from a lot of web sites so not inventing anything new but it is all new for me.
Are you sure? yes | no
I should start calling my cardboard cutouts VLC's or very large chips :-)
Are you sure? yes | no