-
Efficientdet with no detections
07/01/2023 at 23:17 • 0 commentsAfter copying the example C++ version
https://github.com/NobuoTsukamoto/tensorrt-examples/blob/main/cpp/efficientdet/object_detector.cpp
lite4 went at a miserable 2.5fps. Lite4 + face detection went at 2fps. Lite4 + face detection only used 2GB of RAM.
Buried in the readme was a benchmark table confirming 2fps for this model.
https://github.com/NobuoTsukamoto/benchmarks/blob/main/tensorrt/jetson/detection/README.md
It wasn't very obvious because his video showed a full framerate. The inference must have been done offline.
It did show 320x320 lite0 hitting 20fps so it was back to a windowed lite0.
truckcam/label.py was rerun with 1280x720 output.
Then convert to tfrecords in automl-master/efficientdet
PYTHONPATH=. python3 dataset/create_coco_tfrecord.py --image_dir=../../train_lion --image_info_file=../../train_lion/instances_train.json --output_file_prefix=../../train_lion/pascal --num_shards=10
PYTHONPATH=. python3 dataset/create_coco_tfrecord.py --image_dir=../../val_lion --image_info_file=../../val_lion/instances_val.json --output_file_prefix=../../val_lion/pascal --num_shards=10
Then download a new starting checkpoint
https://storage.googleapis.com/cloud-tpu-checkpoints/efficientnet/ckptsaug/efficientnet-b0.tar.gz
Make a new output directory
mkdir ../../efficientlion-lite0
Then make a new training command for lite0
time python3 main.py \
--mode=train_and_eval \
--train_file_pattern='../../train_lion/pascal-00000-of-00010.tfrecord' \
--val_file_pattern='../../val_lion/pascal-00000-of-00010.tfrecord' \
--model_name=efficientdet-lite0  \
--model_dir=../../efficientlion-lite0/ \
--backbone_ckpt=efficientnet-b0  \
--train_batch_size=1  \
--eval_batch_size=1 \
--eval_samples=100 \
--num_examples_per_epoch=1000 \
--hparams="num_classes=1,moving_average_decay=0,mixed_precision=true" \
--num_epochs=300
Create the efficientlion-lite0.yaml file in ../../efficientlion-lite0/
---
image_size: 320x320
num_classes: 1
moving_average_decay: 0
nms_configs:
     method: hard
     iou_thresh: 0.35
     score_thresh: 0.
     sigma: 0.0
     pyfunc: False
     max_nms_inputs: 0
     max_output_size: 100
Inside automl/efficientdet/tf2/ run
PYTHONPATH=.:.. python3 inspector.py --mode=export --model_name=efficientdet-lite0 --model_dir=../../../efficientlion-lite0/ --saved_model_dir=../../../efficientlion-lite0.out --hparams=../../../efficientlion-lite0/efficientlion-lite0.yaml
In TensorRT/samples/python/efficientdet run
time OPENBLAS_CORETYPE=CORTEXA57 python3 create_onnx.py --input_size="320,320" --saved_model=/root/efficientlion-lite0.out --onnx=/root/efficientlion-lite0.out/efficientlion-lite0.onnx
/usr/src/tensorrt/bin/trtexec --fp16 --workspace=2048 --onnx=/root/efficientlion-lite0.out/efficientlion-lite0.onnx --saveEngine=/root/efficientlion-lite0.out/efficientlion-lite0.engine
The original windowing algorithm scanned 1 cropped section per frame & hit 7fps on the raspberry pi. It had enough brains so the window followed the 1st body it detected. If it didn't detect a body, it cycled window positions.
The only evolution with the jetson is going to be face recognition on the full frame. If it matches a face, that always positions the body tracking window. If it detects a body with no current face, go for the body closest to the last face match. If it detects bodies with no previous face, position the tracking window on the largest body in the window. Only if there's no face & no body does it cycle window positions. The hope is 2 models give it a higher chance of getting the right hit.
Efficientdet-lite0 window + face detection ran at 7fps. Efficientdet-lite0 ran at 19fps on its own. Sadly, the custom trained model didn't detect anything while a stock efficientdet-d0 worked. Stock efficientdet-d0 was just as bad as lions remember. Retraining with 1 category was the key but lions believed changing the number of classes was causing it to detect nothing.
There was also a warning from create_onnx.py
Warning: Unsupported operator EfficientNMS_TRT. No schema registered for this operator.
Another attempt with efficientdet-d0 began
time python3 main.py \
--mode=train_and_eval \
--train_file_pattern='../../train_lion/pascal-00000-of-00010.tfrecord' \
--val_file_pattern='../../val_lion/pascal-00000-of-00010.tfrecord' \
--model_name=efficientdet-d0  \
--model_dir=../../efficientlion-d0/ \
--backbone_ckpt=efficientnet-b0  \
--train_batch_size=1  \
--eval_batch_size=1 \
--eval_samples=100 \
--num_examples_per_epoch=1000 \
--hparams="num_classes=1,moving_average_decay=0,mixed_precision=true" \
--num_epochs=300
This training process suffered from a serious memory leak, limiting it to 10 epochs between restarts if it was lucky. A 32 gig swap space bought it more epochs but it still got slower & slower until it ground to a stop at around 20GB RSS. It took many days to train. It might do better with a wrapper script, but it already does a full reload of the model during every epoch as if someone already knew about the memory leak.
A wrapper script would have to compute a new num_epochs argument from the directory contents or poll the directory contents until 10 epochs were complete. It also takes forever for python to start up. A wrapper might do 10 epochs at a time to reduce the python restarts.
The trained efficientdet-d0 yielded another no detection. Something in the training caused all the models to fail.
Another hit said delete moving_average_decay=0.
time python3 main.py \
--mode=train_and_eval \
--train_file_pattern='../../train_lion/pascal-00000-of-00010.tfrecord' \
--val_file_pattern='../../val_lion/pascal-00000-of-00010.tfrecord' \
--model_name=efficientdet-lite0  \
--model_dir=../../efficientlion-lite0/ \
--backbone_ckpt=efficientnet-b0  \
--train_batch_size=1  \
--eval_batch_size=1 \
--eval_samples=100 \
--num_examples_per_epoch=1000 \
--hparams="num_classes=1,mixed_precision=true" \
--num_epochs=300
Noted this command creates a config.yaml inside ../../efficientlion-lite0/ which a previous hit missed. The inspector command becomes
PYTHONPATH=.:.. python3 inspector.py --mode=export --model_name=efficientdet-lite0 --model_dir=../../../efficientlion-lite0/ --saved_model_dir=../../../efficientlion-lite0.out --hparams=../../../efficientlion-lite0/config.yaml
This somehow got to a .engine file without the previous ExponentialMovingAverage error. The .yaml file might have fixed it. Still no detections. -
Training automl efficientdet-lite4
06/29/2023 at 09:11 • 0 comments1 idea was running efficientlion-lite4.onnx in the 32 bit tensorflow backend, extracting the computed value of K & using graphsurgeon to insert it back in. If there was a way to precompute K, polygraphy should have already done it.
1 idea was using the pretrained efficientdet-lite4 checkpoint from
https://github.com/google/automl/tree/master/efficientdet
https://storage.googleapis.com/cloud-tpu-checkpoints/efficientdet/coco/efficientdet-lite4.tgz
with cropping. This was the only one which made it to tensorrt. The problem is efficientdet-lite was already shown to not do the job unless it was trained specifically on lion/human hybrids.
Checking the ONNX dump, automl was a radically different model with no topK operator.
Another idea was creating another model quantized to INT8 so https://github.com/zhenhuaw-me/tflite2onnx could get to the next step, but they might all use the same topK operator.
Another hit introduced the concept of making tensorrt plugins for the offending operators. Source code for tensorrt would be nice, but it's an nvidia-only program.
Another go at training the automl model seemed like the easiest idea. There's not much on training it besides a whitepaper. There's an example command in a ponderously long tutorial.ipynb
python3 main.py \
--mode=train_and_eval \
--train_file_pattern='../../train_lion/pascal-00000-of-00010.tfrecord' \
--val_file_pattern='../../val_lion/pascal-00000-of-00010.tfrecord' \
--model_name=efficientdet-lite4  \
--model_dir=../../efficientlion-lite4/ \
--backbone_ckpt=efficientnet-b4  \
--train_batch_size=1  \
--eval_batch_size=1 \
--eval_samples=100 \
--num_examples_per_epoch=1000 \
--hparams="num_classes=1,moving_average_decay=0,mixed_precision=true" \
--num_epochs=300
model_name: efficientdet-lite0-4 num_examples_per_epoch: is the number of training images
eval_samples: is the number of validation images
train_batch_size, eval_batch_size: are the batch sizes, limited by RAM
model_dir: is the destination directory
num_classes: is the number of object types
backbone_ckpt: directory with the starting checkpoint.
train_file_pattern, val_file_pattern: shortpaw notation for a range of files in a data set directorynum_epochs: the README shows all the efficentdets using 300
He downloads the starting checkpoint from
https://storage.googleapis.com/cloud-tpu-checkpoints/efficientnet/ckptsaug/efficientnet-b4.tar.gz
There's an efficientnet-b* file for each efficientdet model.
He downloads the training & validation images from
http://host.robots.ox.ac.uk/pascal/VOC/voc2012/VOCtrainval_11-May-2012.tar
Then runs a program to create the tfrecord metadatamkdir tfrecord
PYTHONPATH=. python3 dataset/create_pascal_tfrecord.py --data_dir=VOCdevkit --year=VOC2012 --output_path=tfrecord/pascalIt's important to specify the PYTHONPATH.
The VOC dataset has a really complicated structure. The tfrecords are binary files containing metadata + JPEGs.
There's also a create_coco_tf_record.py which takes a JSON file. Run it twice to make the train & val data sets.
PYTHONPATH=. python3 dataset/create_coco_tfrecord.py --image_dir=../../train_lion --image_info_file=../../train_lion/instances_train.json --output_file_prefix=../../train_lion/pascal --num_shards=10
PYTHONPATH=. python3 dataset/create_coco_tfrecord.py --image_dir=../../val_lion --image_info_file=../../val_lion/instances_val.json --output_file_prefix=../../val_lion/pascal --num_shards=10With the training function ingesting this data, there's not much verbosity. It saves every epoch in model_dir & loads the last saved epoch from model_dir when it starts. It burns 8 minutes per epoch for efficientdet4.
Then it's about repeating the successful tensorrt conversion on the same computer which did the training.
Create the efficientlion-lite4.yaml file in ../../efficientlion-lite4/
---
image_size: 640x640
num_classes: 1
moving_average_decay: 0
nms_configs:
     method: hard
     iou_thresh: 0.35
     score_thresh: 0.
     sigma: 0.0
     pyfunc: False
     max_nms_inputs: 0
     max_output_size: 100
num_classes worked around a mismatched layer size
moving_average_decay worked around a missing ExponentialMovingAverage operator
The warn= bug fixes still applied, but it didn't fail on eager execution.Inside automl/efficientdet/tf2/ run
PYTHONPATH=.:.. python3 inspector.py --mode=export --model_name=efficientdet-lite4 --model_dir=../../../efficientlion-lite4/ --saved_model_dir=../../../efficientlion-lite4.out --hparams=../../../efficientlion-lite4/efficientlion-lite4.yaml
Then copy the efficientlion-lite4.out/ directory to the jetson nano. Enable the swap space. Inside TensorRT/samples/python/efficientdet run
OPENBLAS_CORETYPE=CORTEXA57 python3 create_onnx.py --input_size="640,640" --saved_model=/root/efficientlion-lite4.out --onnx=/root/efficientlion-lite4.out/efficientlion-lite4.onnx
Finally comes the trtexec command
/usr/src/tensorrt/bin/trtexec --fp16 --workspace=1024 --onnx=/root/efficientlion-lite4.out/efficientlion-lite4.onnx --saveEngine=/root/efficientlion-lite4.out/efficientlion-lite4.engine
That worked. It was the lion kingdom's 1st end to end trained object detector in tensorrt format. Very important to specify --fp16.
-
Training efficientdet-lite4
06/24/2023 at 06:30 • 0 commentsThe next step was training it on animorphic lion video. The tool for scaling to 640x640 & labeling the training images is truckcam/label.py. The tool for running tflite_model_maker is truckcam/model_maker2.py
Efficientdet_lite4 is a lot slower to train than efficientdet_lite0. On the lion kingdom's GTX970 3GB, 300 epochs with 1000 images is a 60 hour job. 100 epochs is a 20 hour job.
There's 1 hit for pausing & resuming the training by accessing low level functions. The idea is to save a checkpoint for each epoch & load the last checkpoint during startup. It also shows how to save a tflite file in FP16 format.
Based on the training speed, efficientdet-lite may be the only model lions can afford. Having said that, the current upgradable GPU arrived in July 2017 when driver support for the quadro FX 4400 ended. It was around $130.
![]()
Anything sufficient for training a bigger model would be at least $500. This would become the only GPU. The GTX970 would be retired & rep counting would go back to a wireless system. The jetson nano is not useful for rep counting.
3 days later, the 300 epochs with 1000 training images finished.
Converting efficientlion-lite4.tflite to tensorrt
The trick with this is inspector.py takes the last checkpoint files rather than the generated .tflite file. Sadly, inspector.py failed. It's written for an automl derivative of the efficientdet model.
.tflite conversion came up with 1 hit
https://github.com/zhenhuaw-me/tflite2onnx
Doesn't support FP16 input. Most animals are converting INT8 to tensorrt.
Another hit worked. This one went directly from .tflite to .onnx.
https://github.com/onnx/tensorflow-onnx
OPENBLAS_CORETYPE=CORTEXA57 python3 -m tf2onnx.convert --opset 16 --tflite efficientlion-lite4.tflite --output efficientlion-lite4.onnx
/usr/src/tensorrt/bin/trtexec --workspace=1024 --onnx=efficientlion-lite4.onnx --saveEngine=efficientlion-lite4.engine
Failed with Invalid Node - Reshape_2 Attribute not found: allowzeroAnother hit said use different opsets. Opset 12-13 threw
This version of TensorRT only supports input K as an initializer.Another hit said fold constants
OPENBLAS_CORETYPE=CORTEXA57 polygraphy surgeon sanitize efficientlion-lite4.onnx --fold-constants --output efficientlion-lite4.onnx2
Gave the same error.
Opsets 14-18 gave Invalid Node - Reshape_2 Attribute not found: allowzero
A new onnx graphsurgeon script was made in the truckcam directory.
OPENBLAS_CORETYPE=CORTEXA57 python3 fixonnx.py efficientlion-lite4.onnx efficientlion-lite4.onnx2
/usr/src/tensorrt/bin/trtexec --workspace=1024 --onnx=efficientlion-lite4.onnx2 --saveEngine=efficientlion-lite4.engine
Making onnx graphsurgeon insert the missing allowzero attribute made it fail with
This version of TensorRT only supports input K as an initializer.So obviously opset 13 was already inserting allowzero. Sadly, the input K bug afflicts many animals & seems insurmountable. It's related to the topK operator. It's supposed to take a dynamic K argument, but tensorrt only implemented the K argument as a constant.
-
Converting tflite to tensorrt
06/21/2023 at 07:04 • 0 commentsAs far as lions can tell, anything running efficientdet-lite on a jetson nano is upscaling INT8 weights from the lite model to FP16. It's always been a last resort if nothing else works, but it might be the only supported use case for the jetson nano.
https://github.com/NobuoTsukamoto/tensorrt-examples/blob/main/cpp/efficientdet/README.md
This one seems to be upscaling INT8 to FP16.
A final go with
https://github.com/zylo117/Yet-Another-EfficientDet-Pytorch
entailed downloading efficientdet-d1 as a checkpoint & specifying 1 as the compound_coef which might be required for a 640x640 input size.
Download the checkpoint to the weights directory:
https://github.com/zylo117/Yet-Another-Efficient-Pytorch/releases/download/1.0/efficientdet-d1.pth
The training became:
python3 train.py -c 1 -p lion --head_only True --lr 1e-3 --batch_size 8 --load_weights weights/efficientdet-d1.pth --num_epochs 50 --save_interval 100
The ONNX export needed a hack to accept a -c option & became:
python3 export.py -c 1 -p lion -w logs/lion/efficientdet-d1_49_6250.pth -o efficientdet_lion.onnx
But tensorrt conversion ended in once again
Error Code 4: Miscellaneous (IShuffleLayer Reshape_1935: reshape changes volume. Reshaping [1,96,160,319] to [1,96,160,79].)
In the interest of just making something work, a conversion of efficientdet_lite to tensorrt seemed like the best move. It was also appealing because the training process was known to work.
Converting tflite to tensorrt involves writing a lot of custom software. Everyone has to write their own TFlite converter from scratch.
A test conversion began by downloading an example efficientdet-lite4 which supports 640x640. The example models are unlisted files.
wget https://storage.googleapis.com/cloud-tpu-checkpoints/efficientdet/coco/efficientdet-lite4.tgz
This was decompressed into /root/efficientdet-lite4
It has to be converted into a bunch of protobuf files, then to an onnx file, & finally to the tensorrt engine. You have to download a bunch of repositories.
git clone --depth 1 https://github.com/google/automl
git clone --depth 1 https://github.com/NVIDIA/TensorRTInstall some dependencies:
pip3 install tf2onnx
Then you have to create a /root/efficientdet-lite4/efficientdet-lite4.yaml file describing the model.
---
image_size: 640x640
nms_configs:
     method: hard
     iou_thresh: 0.35
     score_thresh: 0.
     sigma: 0.0
     pyfunc: False
     max_nms_inputs: 0
     max_output_size: 100
Inside automl/efficientdet/tf2/ run
OPENBLAS_CORETYPE=CORTEXA57 python3 inspector.py --mode=export --model_name=efficientdet-lite4 --model_dir=/root/efficientdet-lite4/ --saved_model_dir=/root/efficientdet-lite4.out --hparams=/root/efficientdet-lite4/efficientdet-lite4.yaml
The protobuf files end up in --saved_model_dir. It needs a swap space.
inspector.py needs a hack to access hparams_config.py
import sys
parent_directory = os.path.abspath(os.path.join(os.path.dirname(__file__), '..'))
sys.path.append(parent_directory)
It needs another hack to get past an eager execution error, but this too failed later.
import tensorflow as tf
tf.compat.v1.disable_eager_execution()
Another stream of errors & workarounds reminiscent of the pytorch errors followed.
TypeError: __init__() got an unexpected keyword argument 'experimental_custom_gradients'
Comment out experimental_custom_gradients
TypeError: vectorized_map() got an unexpected keyword argument 'warn'
Remove the warn argument
RuntimeError: Attempting to capture an EagerTensor without building a function.
Try re-enabling eager execution & commenting out the offending bits of keras
#      ema_var_dict = {
#          ema.average_name(var): opt_ema_fn(var) for var in ema_vars.values()
#      }
#      var_dict.update(ema_var_dict)
This eventually succeeded, leaving the conversion to ONNX. Inside TensorRT/samples/python/efficientdet run
OPENBLAS_CORETYPE=CORTEXA57 python3 create_onnx.py --input_size="640,640" --saved_model=/root/efficientdet-lite4.out --onnx=/root/efficientdet-lite4.out/efficientdet-lite4.onnx
This too needs a swap space. This worked, as it did with pytorch.
Then comes the tensorrt generator.
/usr/src/tensorrt/bin/trtexec --onnx=/root/efficientdet-lite4.out/efficientdet-lite4.onnx --saveEngine=/root/efficientdet-lite4.out/efficientdet-lite4.engine
The 1st error was
Error Code 4: Internal Error (Internal error: plugin node nms/non_maximum_suppression requires 165727488 bytes of scratch space, but only 16777216 is available. Try increasing the workspace size with IBuilderConfig::setMaxWorkspaceSize().
Try setting a workspace size
/usr/src/tensorrt/bin/trtexec --fp16 --workspace=2048 --onnx=/root/efficientdet-lite4.out/efficientdet-lite4.onnx --saveEngine=/root/efficientdet-lite4.out/efficientdet-lite4.engine
This successfully created a tensorrt engine. Very important to include the --fp16
-
Padding tensors
06/18/2023 at 19:22 • 0 commentsThere was an attempt to manually upgrade some of the broken python dependencies.
python3 -m pip install 'onnx>=1.8.1'
All pip commands failed with a broken protobuf dependency. You can get all the dependencies fromhttps://pypi.org/project/protobuf/4.21.1/#files
https://pypi.org/project/onnx/1.8.1/#files
& manually install them with python3 setup.py install
OPENBLAS_CORETYPE=CORTEXA57 polygraphy surgeon sanitize efficientdet_lion.onnx --fold-constants -o efficientdet_lion2.onnx
Another go with this command worked.
/usr/src/tensorrt/bin/trtexec --onnx=efficientdet_lion2.onnx --saveEngine=efficientdet_lion.engine
Still threw
IShuffleLayer applied to shape tensor must have 0 or 1 reshape dimensions: dimensions were [-1,2]
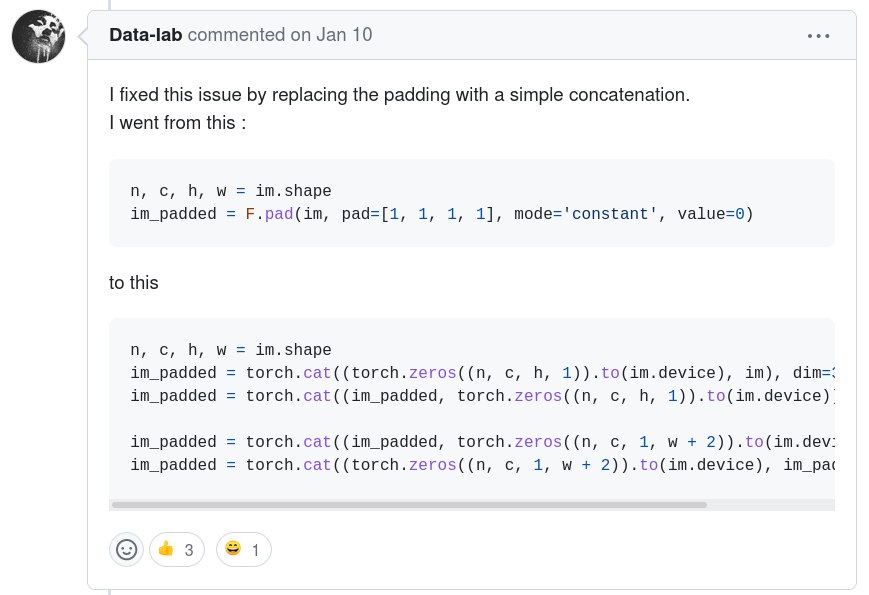
The next hit was a very cryptic replacement of the pad operator with cat statements.
#        x = F.pad(x, [left, right, top, bottom])
# add 0 to sides
        x = torch.cat((torch.zeros((n, c, h, left)).to(x.device), x, torch.zeros((n, c, h, right)).to(x.device)), dim=3)
        x = torch.cat((torch.zeros((n, c, top, w + left + right)).to(x.device), x, torch.zeros((n, c, bottom, w + left + right)).to(x.device)), dim=2)
cat takes a tuple of a bunch of matrixes to concatenate. The general idea is they're adding 0's to the left, right, top & bottom of an image. The X & Y axis is dimension 3 & dimension 2 of the image. There's no explanation of which side of the tuple is left, right, top or bottom.
This failed with
Assertion failed: (axis >= 0 && axis <= nbDims) && "Axis must be in the range [0, nbDims].
![]()
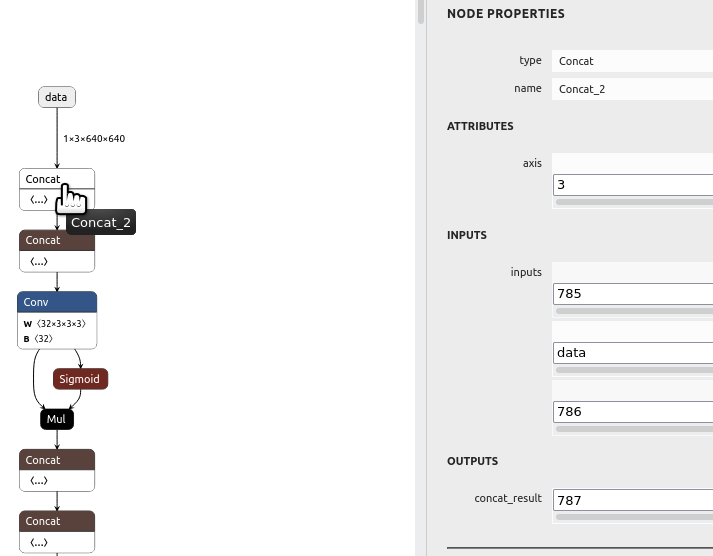
The ONNX modifier showed the offending operator getting a 4 axis input. Doing it in 4 cats instead of 2 yielded the same error. Interestingly, the polygraphy surgeon sanitize command expands 2 cat statements to 4.![]()
The number of likes for the offending answer makes lions wonder if anyone actually tried the code or if they're just studying for job interviews. All forums related to tensorrt die off in Feb 2023, right when chatgpt got big.
Chatgpt showed a way to copy a small matrix to an offset in a bigger matrix. They specify a destination range for each axis.
padded = torch.zeros((n, c, h + top + bottom, w + left + right)).to(x.device)
padded[0:n, 0:c, top:top+h, left:left+w] = x
x = padded
This actually got past the padding step & failed on a reshape step.
[6] Invalid Node - Reshape_1315
[graphShapeAnalyzer.cpp::analyzeShapes::1285] Error Code 4: Miscellaneous (IShuffleLayer Reshape_1315: reshape changes volume. Reshaping [1,96,160,319] to [1,96,160,79].)The chances of all these workarounds working without any way to incrementally test were pretty small. At this point, lions wondered what anyone ever used the jetson nano for if it couldn't import a basic object recognizer or if this efficientdet model was a dead end. Maybe everyone used the FP32 version inside pytorch to learn the concept but no-one bothered optimizing it for tensorrt. It was pure luck that body_25 ported to tensorrt & the face recognition was ported by someone else.
The next hit was a conversion of efficientdet-lite to FP16:
https://github.com/NobuoTsukamoto/tensorrt-examples/blob/main/cpp/efficientdet/README.md
The goog previously couldn't find any efficientdet-lite model except INT8, so this was another step to try.
-
Creating an efficientdet for FP16
06/11/2023 at 19:55 • 0 commentsIt's still believed running a big model on the jetson is going to be too slow. Last year's efficientdet_lite model went at 7fps on a CPU while facenet went at 11fps on the jetson so having the 2 models on the GPU is a better bet for speed.
There were some notes on creating the efficientdet_lite model.
https://hackaday.io/project/183329/log/203124-training-an-efficientdetlite0-model
That created a tflite file using the tflite_model_maker module. Past lion automated the efficientdet training in a single file: truckcam/model_maker.py
Sadly, there's no way to convert efficientdet_lite to efficientdet. There's no model_maker script for efficientdet. The lion kingdom went searching for an efficientdet model for tensorrt with a 16x9 aspect ratio. The trick with tensorrt is you want an ONNX file which trtexec can convert to a tensorrt engine.
Training efficientdet is a very common process, but there's a lot of keyword searching & dead ends involved.
This one is pretty hard to read, but is the most documented process, providing an example training set & training command. The mane bug is it runs out of memory. --batch_size 8 seems to be the maximum for a lion budget.It still has a square input size.
https://github.com/rwightman/efficientdet-pytorch/tree/more_datasets
This one says it supports 16x9 inputs. It requires a multiple of 128 for dimensions, so it's not a trivial process. Lions might be stuck with tiling or stretching the training data.
As described previously, the journey begins by entering the python environment for training. The lion kingdom has all the training stuff in /gpu/root/nn/
source yolov5/YoloV5_VirEnv/bin/activate
The example training command is:
python3 train.py -c 0 -p shape --head_only True --lr 1e-3 --batch_size 8 --load_weights weights/efficientdet-d0.pth --num_epochs 50 --save_interval 100
It outputs the weights for every epoch in a .pth file in logs/shape/. Getting an ONNX out of this requires more keyword searching. There's 1 hit.
The example export command is
python3 export.py -p shape -w logs/shape/efficientdet-d0_9_9000.pth -o efficientdet_lion.onnx
This fails with the dreaded Couldn't export Python operator SwishImplementation
It looks like the swish operator is another thing no-one could agree on a python API for. The only way around it was to manually replace every reference to MemoryEfficientSwish() with Swish() in every model.py file. The set_swish call is broken.
https://github.com/google/automl/tree/master/efficientnetv2
This one is for efficientnet2. For some reason, they called it efficientnet2 instead of efficientdet2. There wasn't enough documentation to do anything with it but lions are intrigued by any improvements on efficientdet.
The next step was stretching the original lion training set to 640x640. The original data was 1280x720 with annotations in XML. It was labeled by a big YOLO model. The big YOLO model was in /gpu/root/nn/yolov5 There was a note about the labeling process:
The labeling program was label.py. Another note said stretching the image size didn't work, but left open the idea of using a bigger input layer.
The most efficient path was reconfiguring layer.py to output 640x640 & the current annotation format. It looks like Cinelerra generated the training & val images from a video file.
python3 label.py --weights yolov5x6.pt
Interestingly, the yolo detector operates on a 640x640 image with letterboxing down to 640x384 & seems to take it.
Then, all the bits from yolo have to be moved to the Yet-Another-EfficientDet-Pytorch-Convert-ONNX-TVM locations.
mv instances_train.json instances_val.json /gpu/root/nn/Yet-Another-EfficientDet-Pytorch/datasets/lion/annotations
mv ../train_lion/* /gpu/root/nn/Yet-Another-EfficientDet-Pytorch/datasets/lion/train
mv ../val_lion/* /gpu/root/nn/Yet-Another-EfficientDet-Pytorch/datasets/lion/val
Yet-Another-EfficientDet-Pytorch-Convert-ONNX-TVM requires a nasty .yml project file in the projects directory, but it trains on the lion images.
python3 train.py -c 0 -p lion --head_only True --lr 1e-3 --batch_size 8 --load_weights weights/efficientdet-d0.pth --num_epochs 50 --save_interval 100
The ONNX conversion uses
python3 export.py -p lion -w logs/lion/efficientdet-d0_49_6250.pth -o efficientdet_lion.onnx
This brings us to creating the tensorrt model.
/usr/src/tensorrt/bin/trtexec --onnx=efficientdet_lion.onnx --saveEngine=efficientdet_lion.engine
Which brings us to the dreaded
IShuffleLayer applied to shape tensor must have 0 or 1 reshape dimensions: dimensions were [-1,2]
Another round of onnx editing begins. The internet recommends this:
OPENBLAS_CORETYPE=CORTEXA57 POLYGRAPHY_AUTOINSTALL_DEPS=1 polygraphy surgeon sanitize efficientdet_lion.onnx --fold-constants -o efficientdet_lion2.onnx
But it's a sea of crashes & broken dependencies. Tensorrt for the jetson nano was abandoned in an unfinished state. They continued improving tensorrt for x86 & newer jetsons but the jetson series is only intended for teaching & they abandon each iteration after a few years. There might be a way to do ONNX conversions on x86.
-
Face tracking 2
06/09/2023 at 08:07 • 0 comments![]()
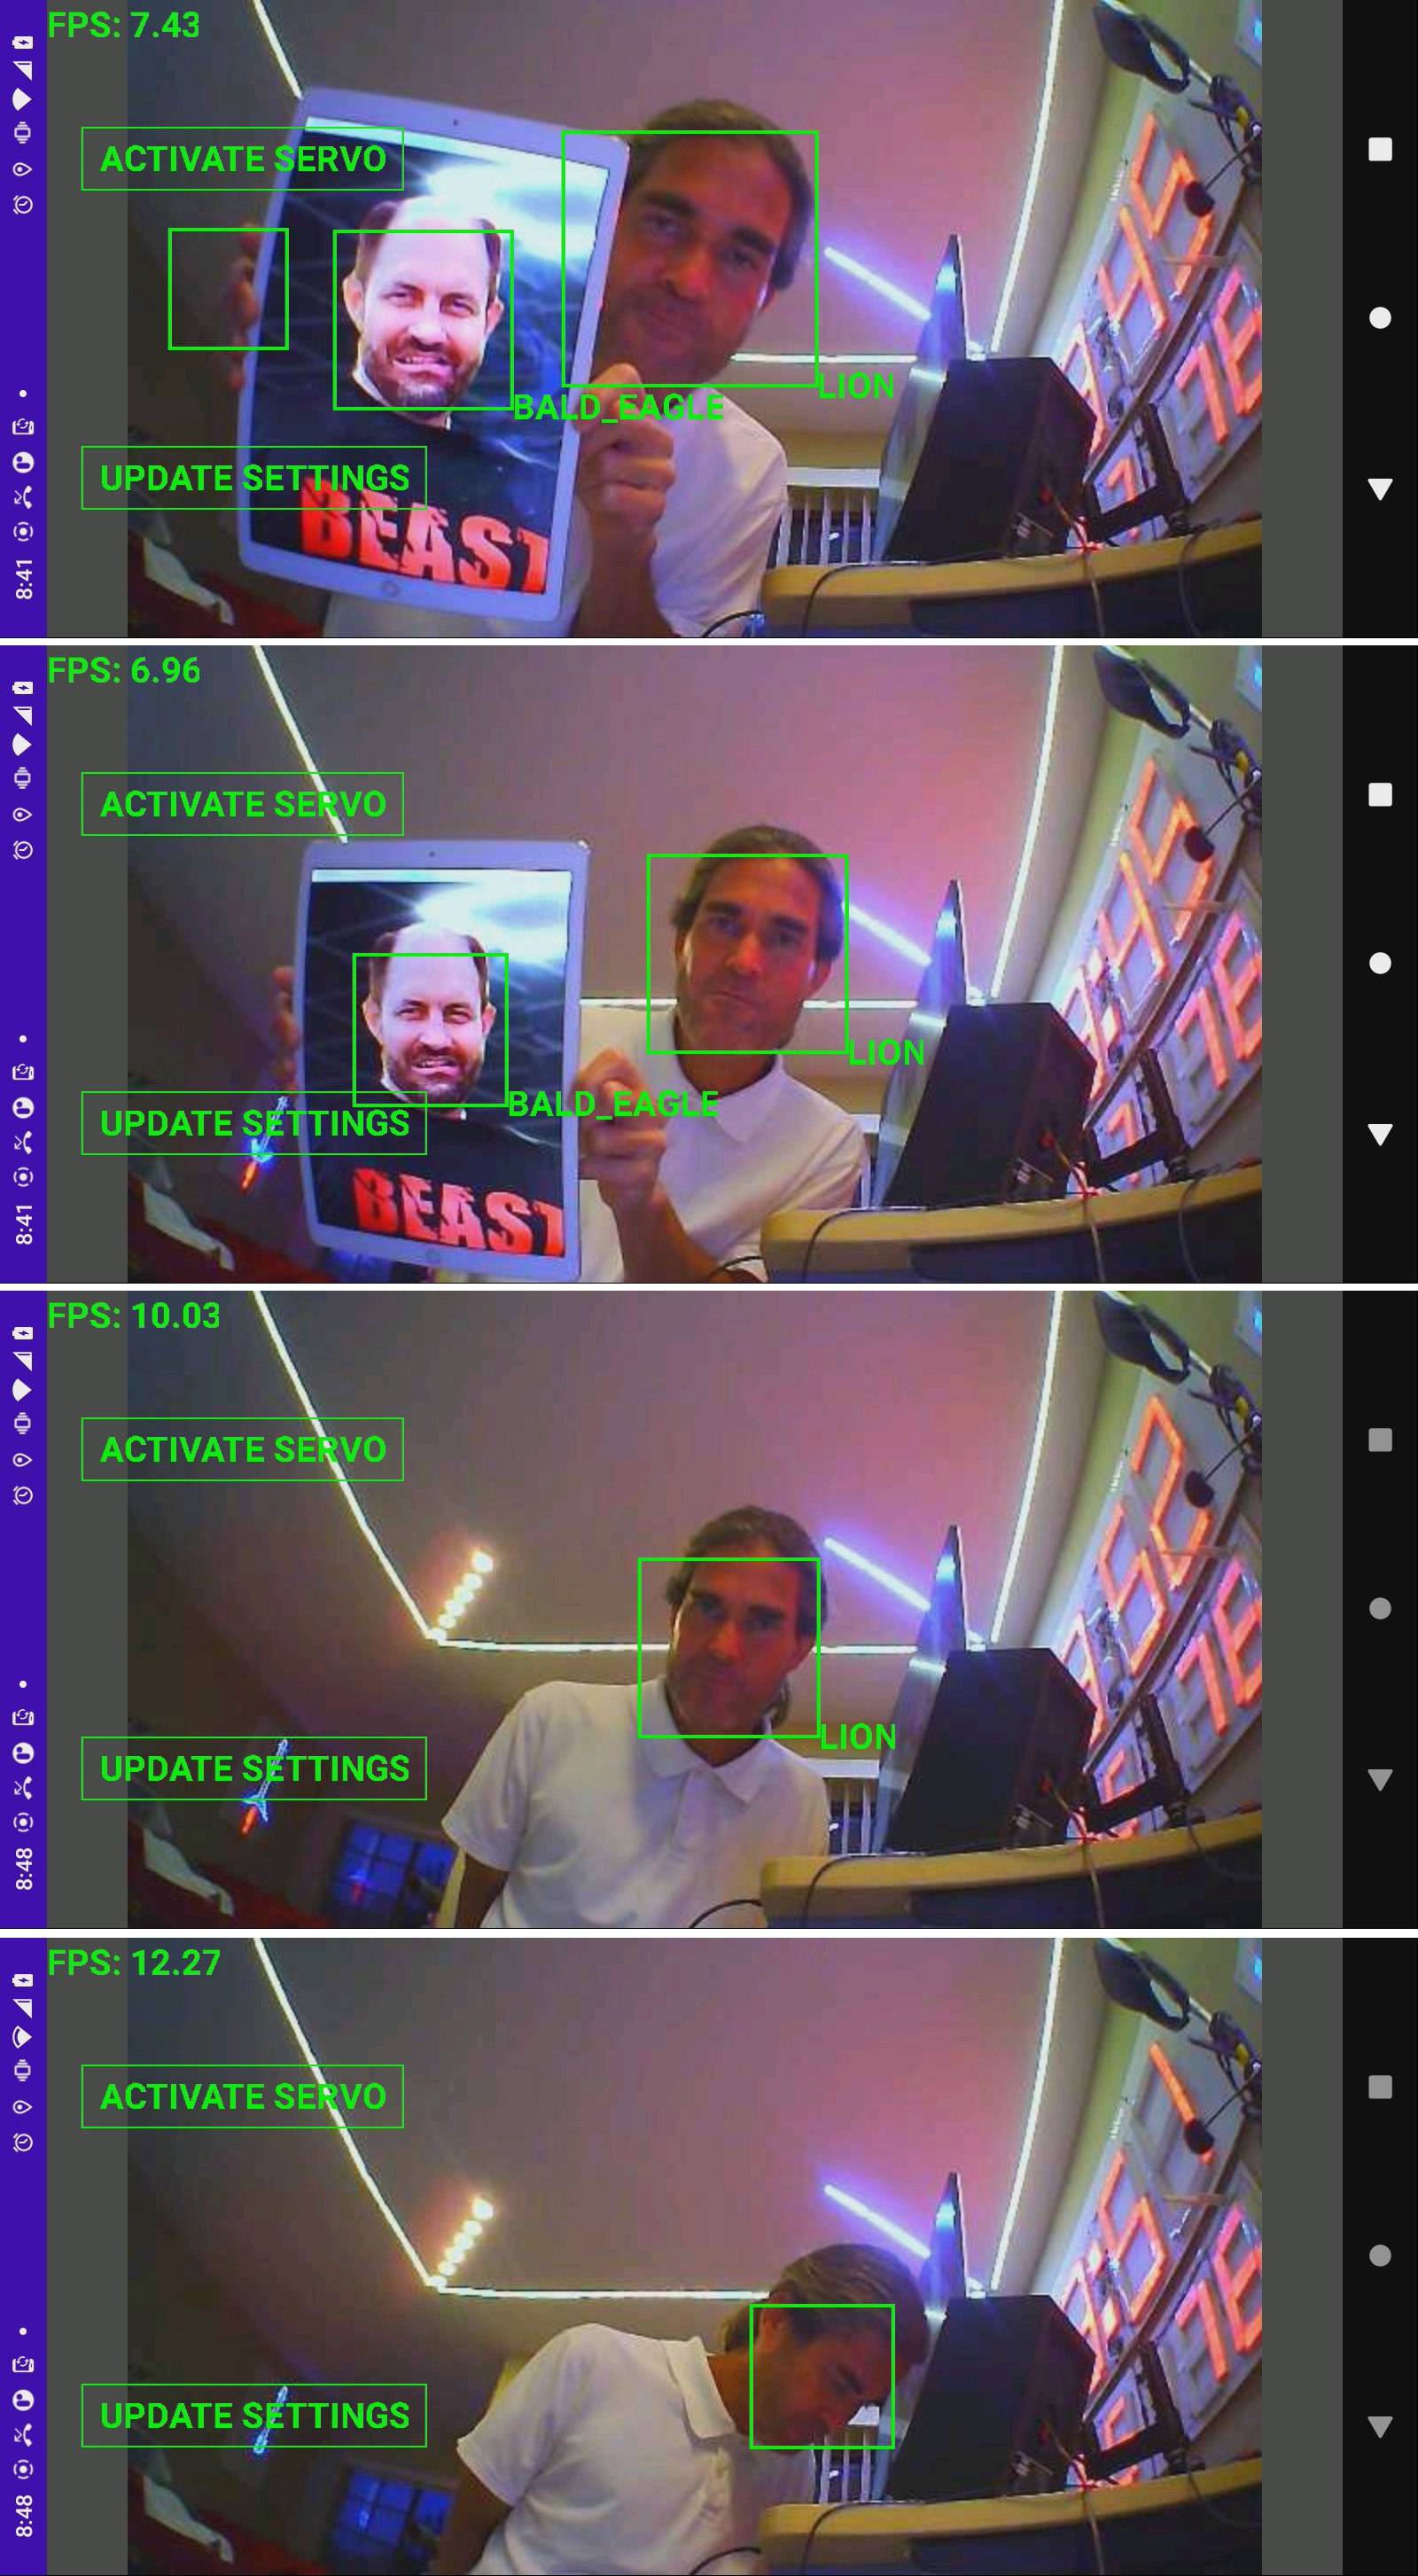
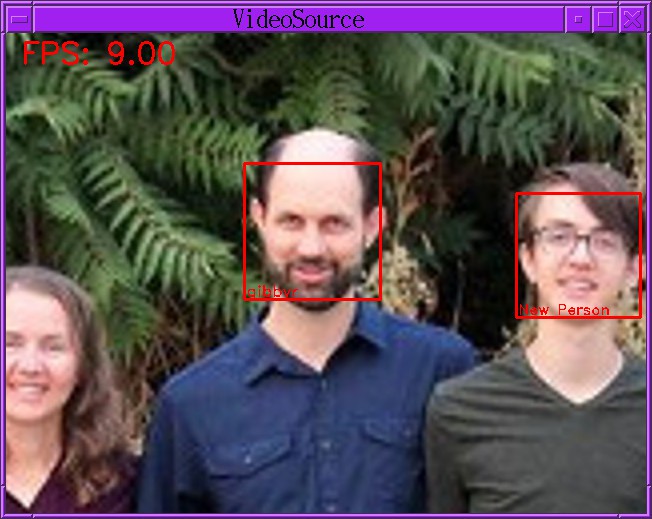
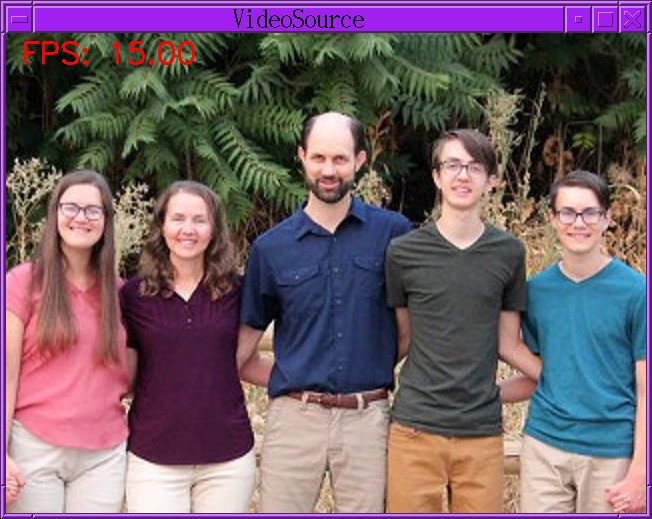
Mtcnn on the jetson nano did much better with 1280x720 & no changes to the original parameters. The 2nd problem was the byte ordering. It expects BGR. The amount of upscaling doesn't matter. It's quite robust, using FP16. Frame rate with full face matching depends on how many faces are visible & the shutter speed. With 1 face in indoor lighting, it goes at 11fps. The raspberry pi went at 3fps.
https://hackaday.io/project/176214/log/202367-face-tracker
The original notes said color gave better results than B&W, but changing the saturation or brightness had no effect beyond that.
https://hackaday.io/project/176214/log/202565-backlight-compensation
![]()
Much effort went into migrating the phone app to the jetson codebase. The key feature is landscape mode being synthetic. The phone has more screen space in portrait mode with the app drawing synthetic landscape widgets than it would in auto rotate mode.
With face tracking working, the next step was moving the efficientdet model trained on lions to the jetson.
-
Jetson nano face detection
05/30/2023 at 02:46 • 0 comments![]()
![]()
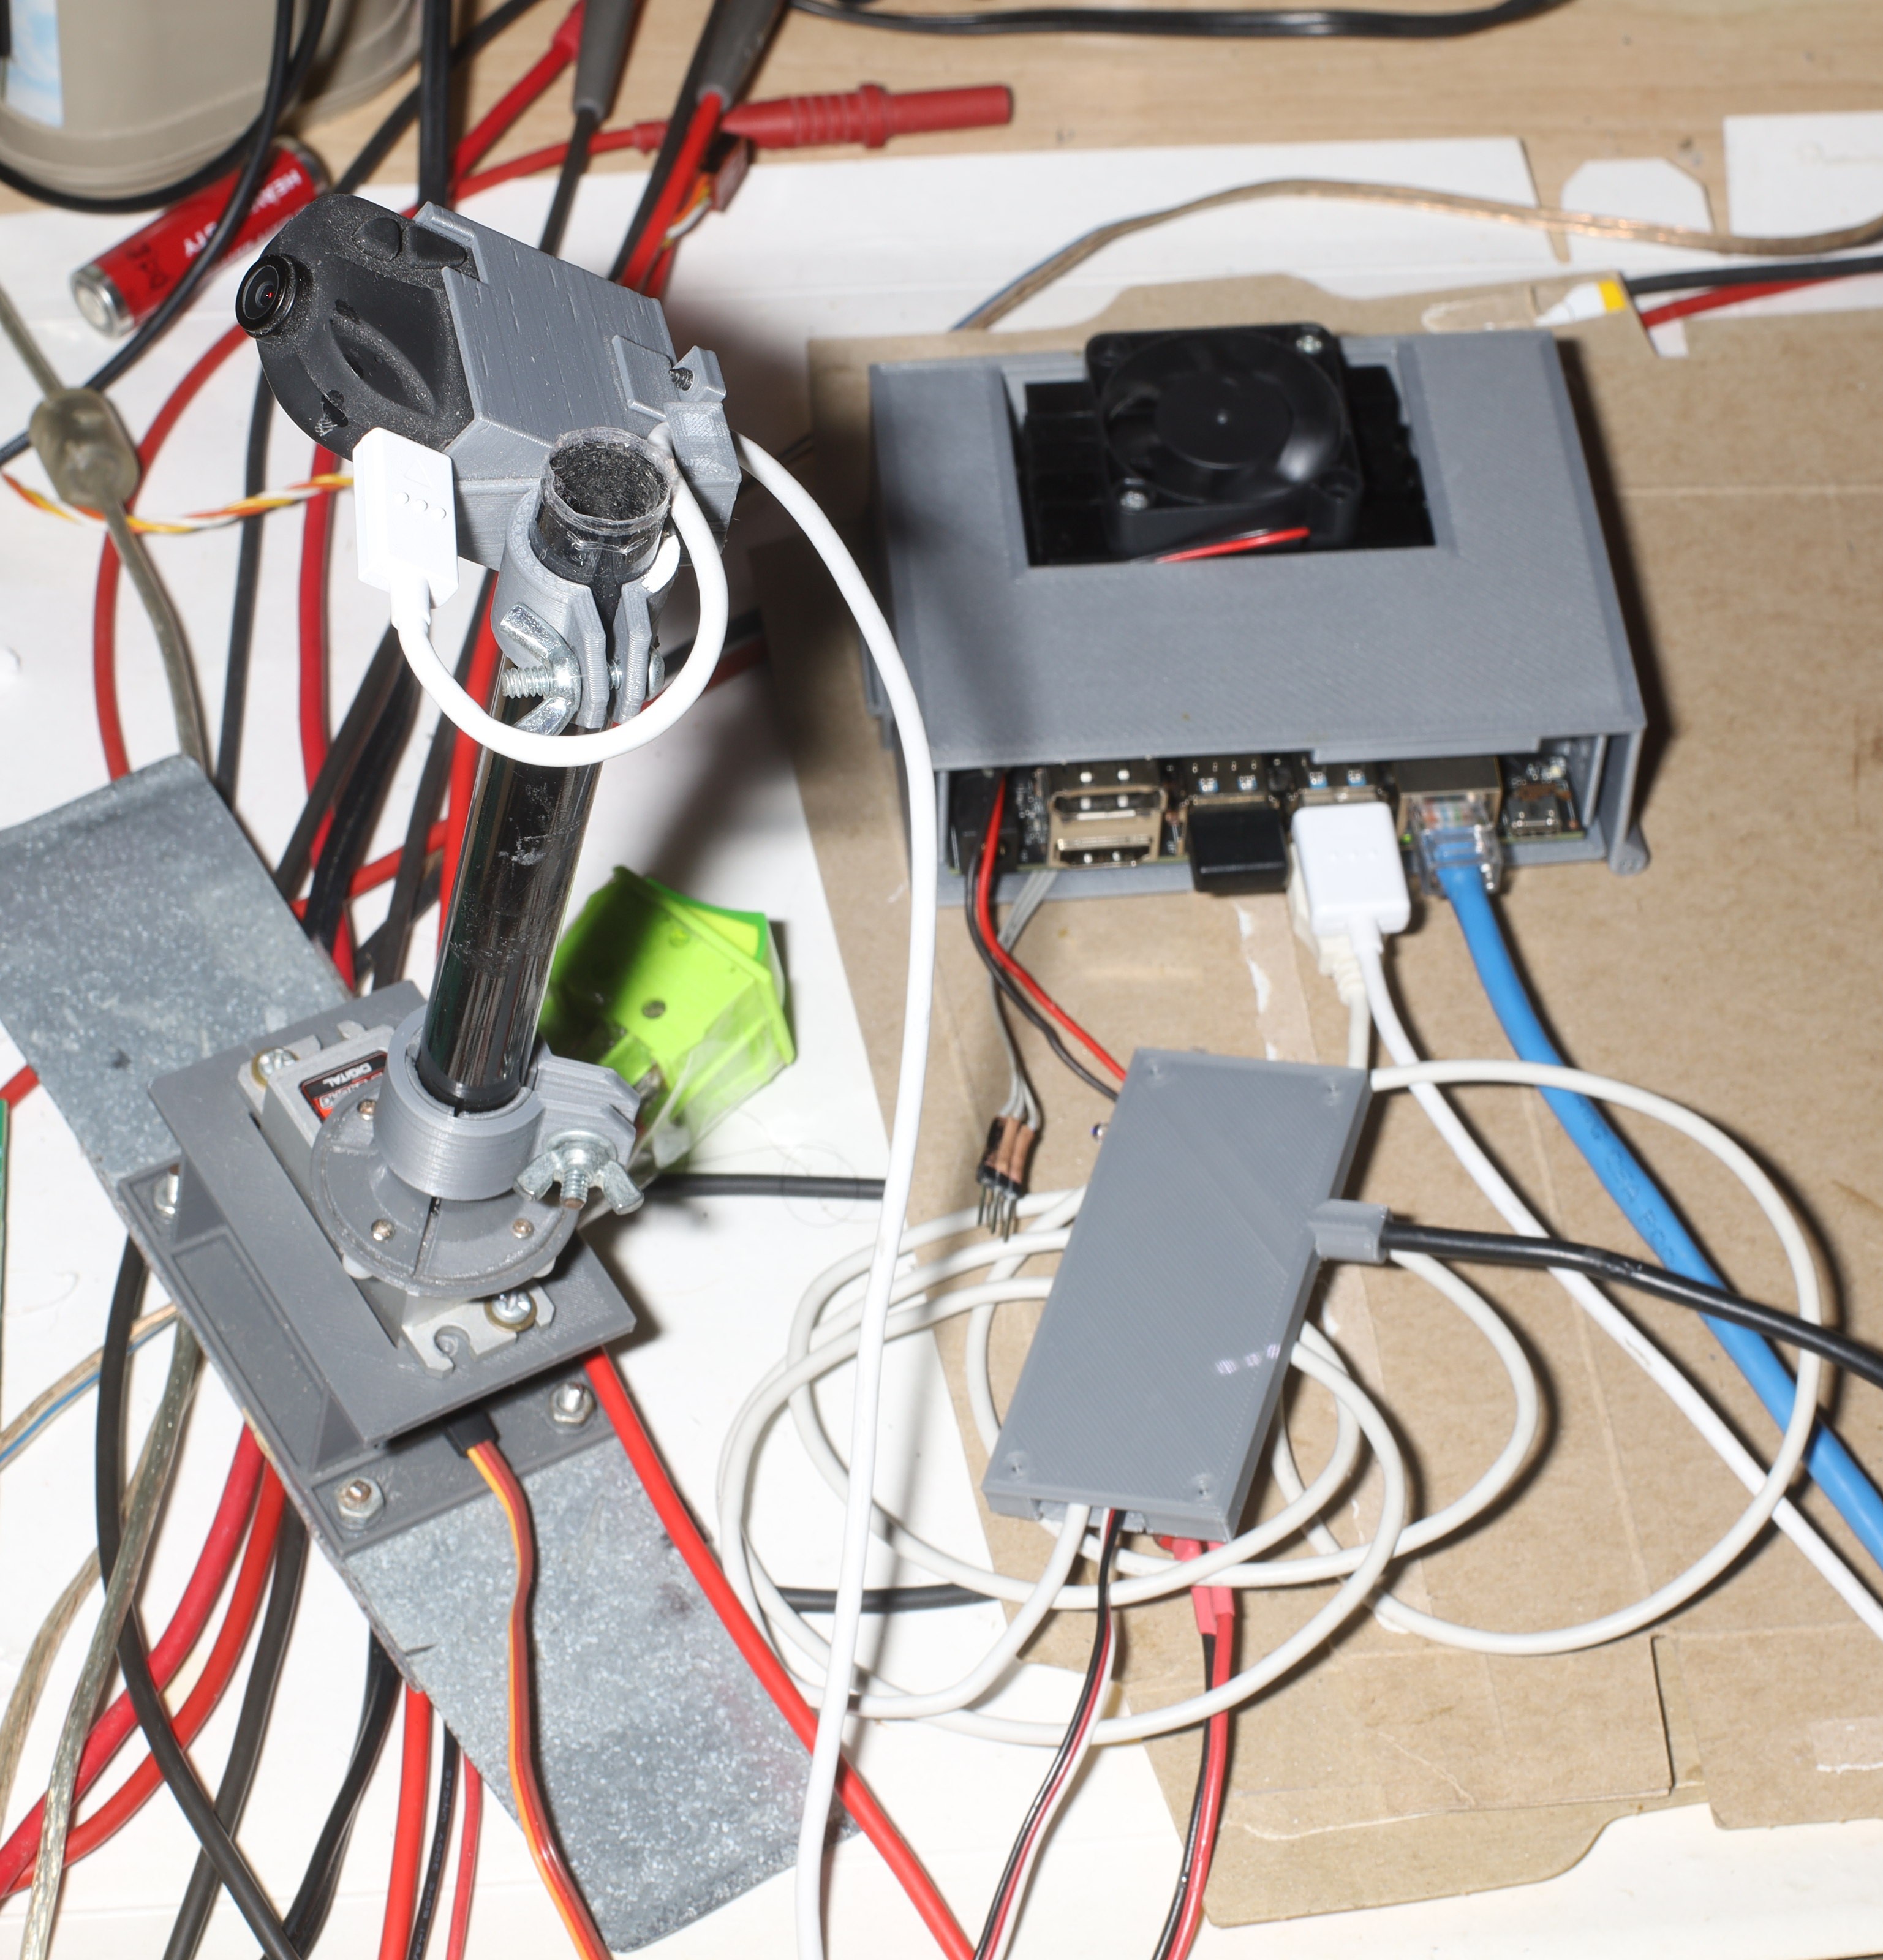
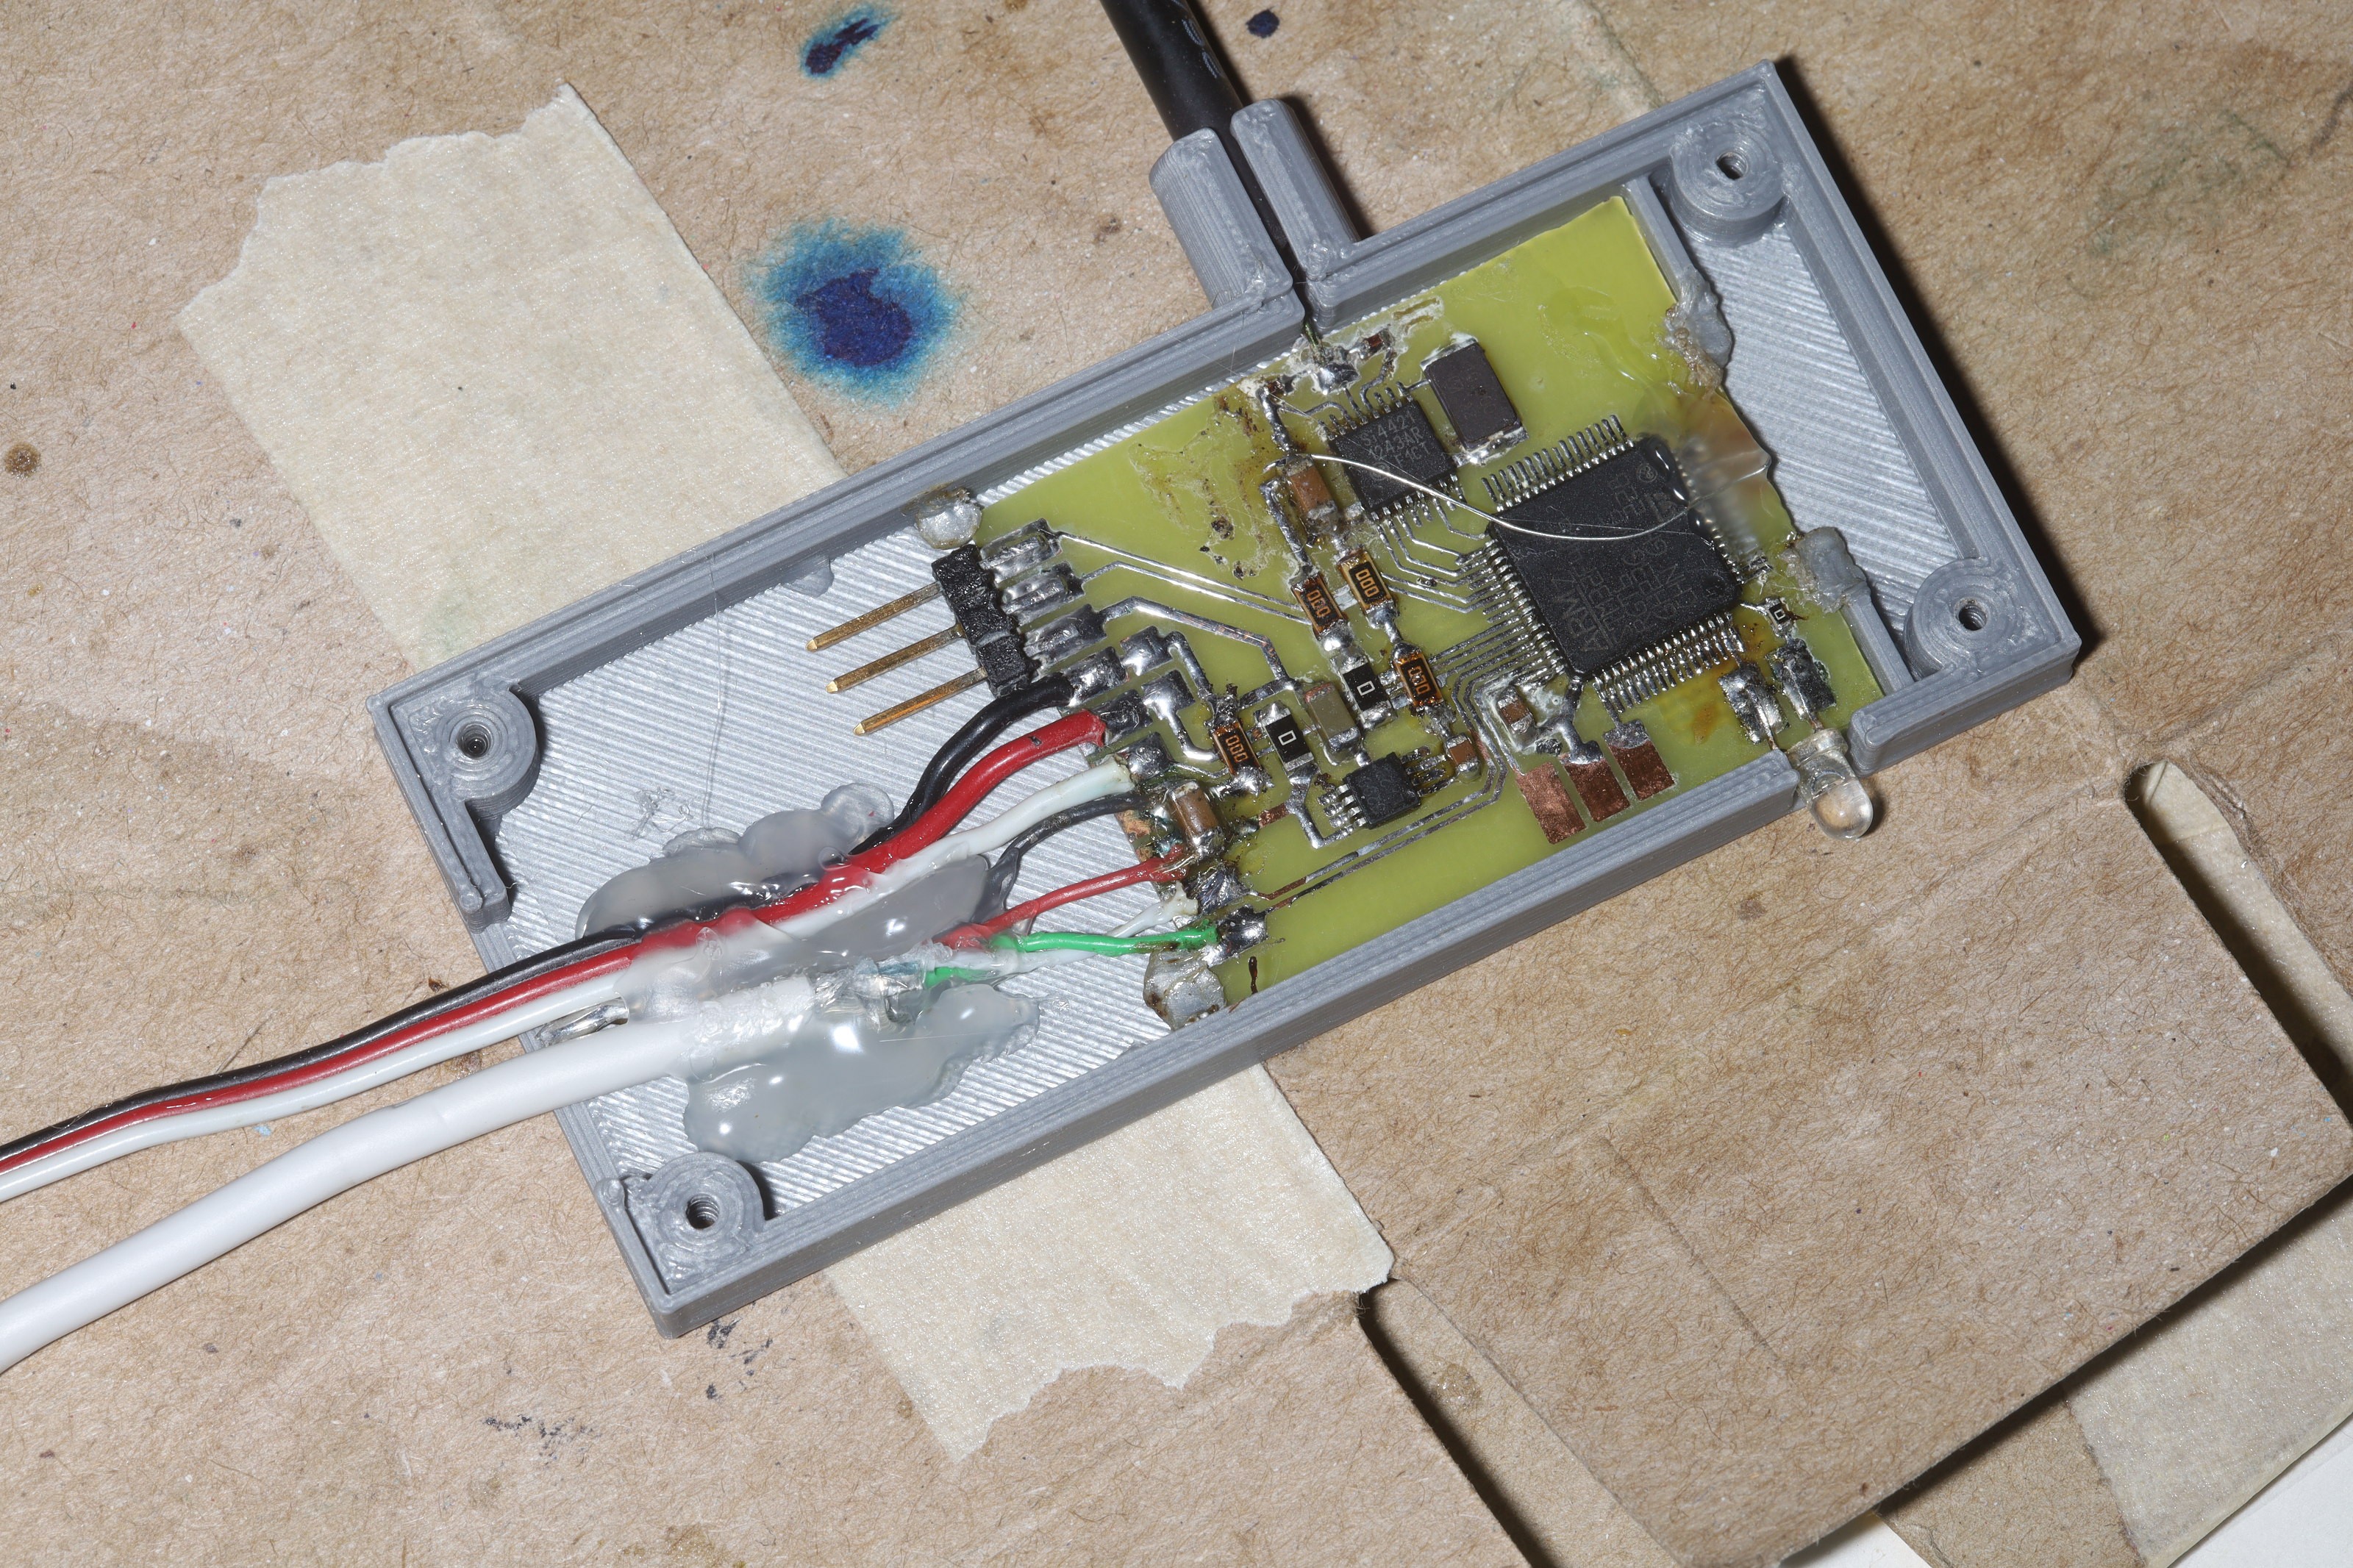
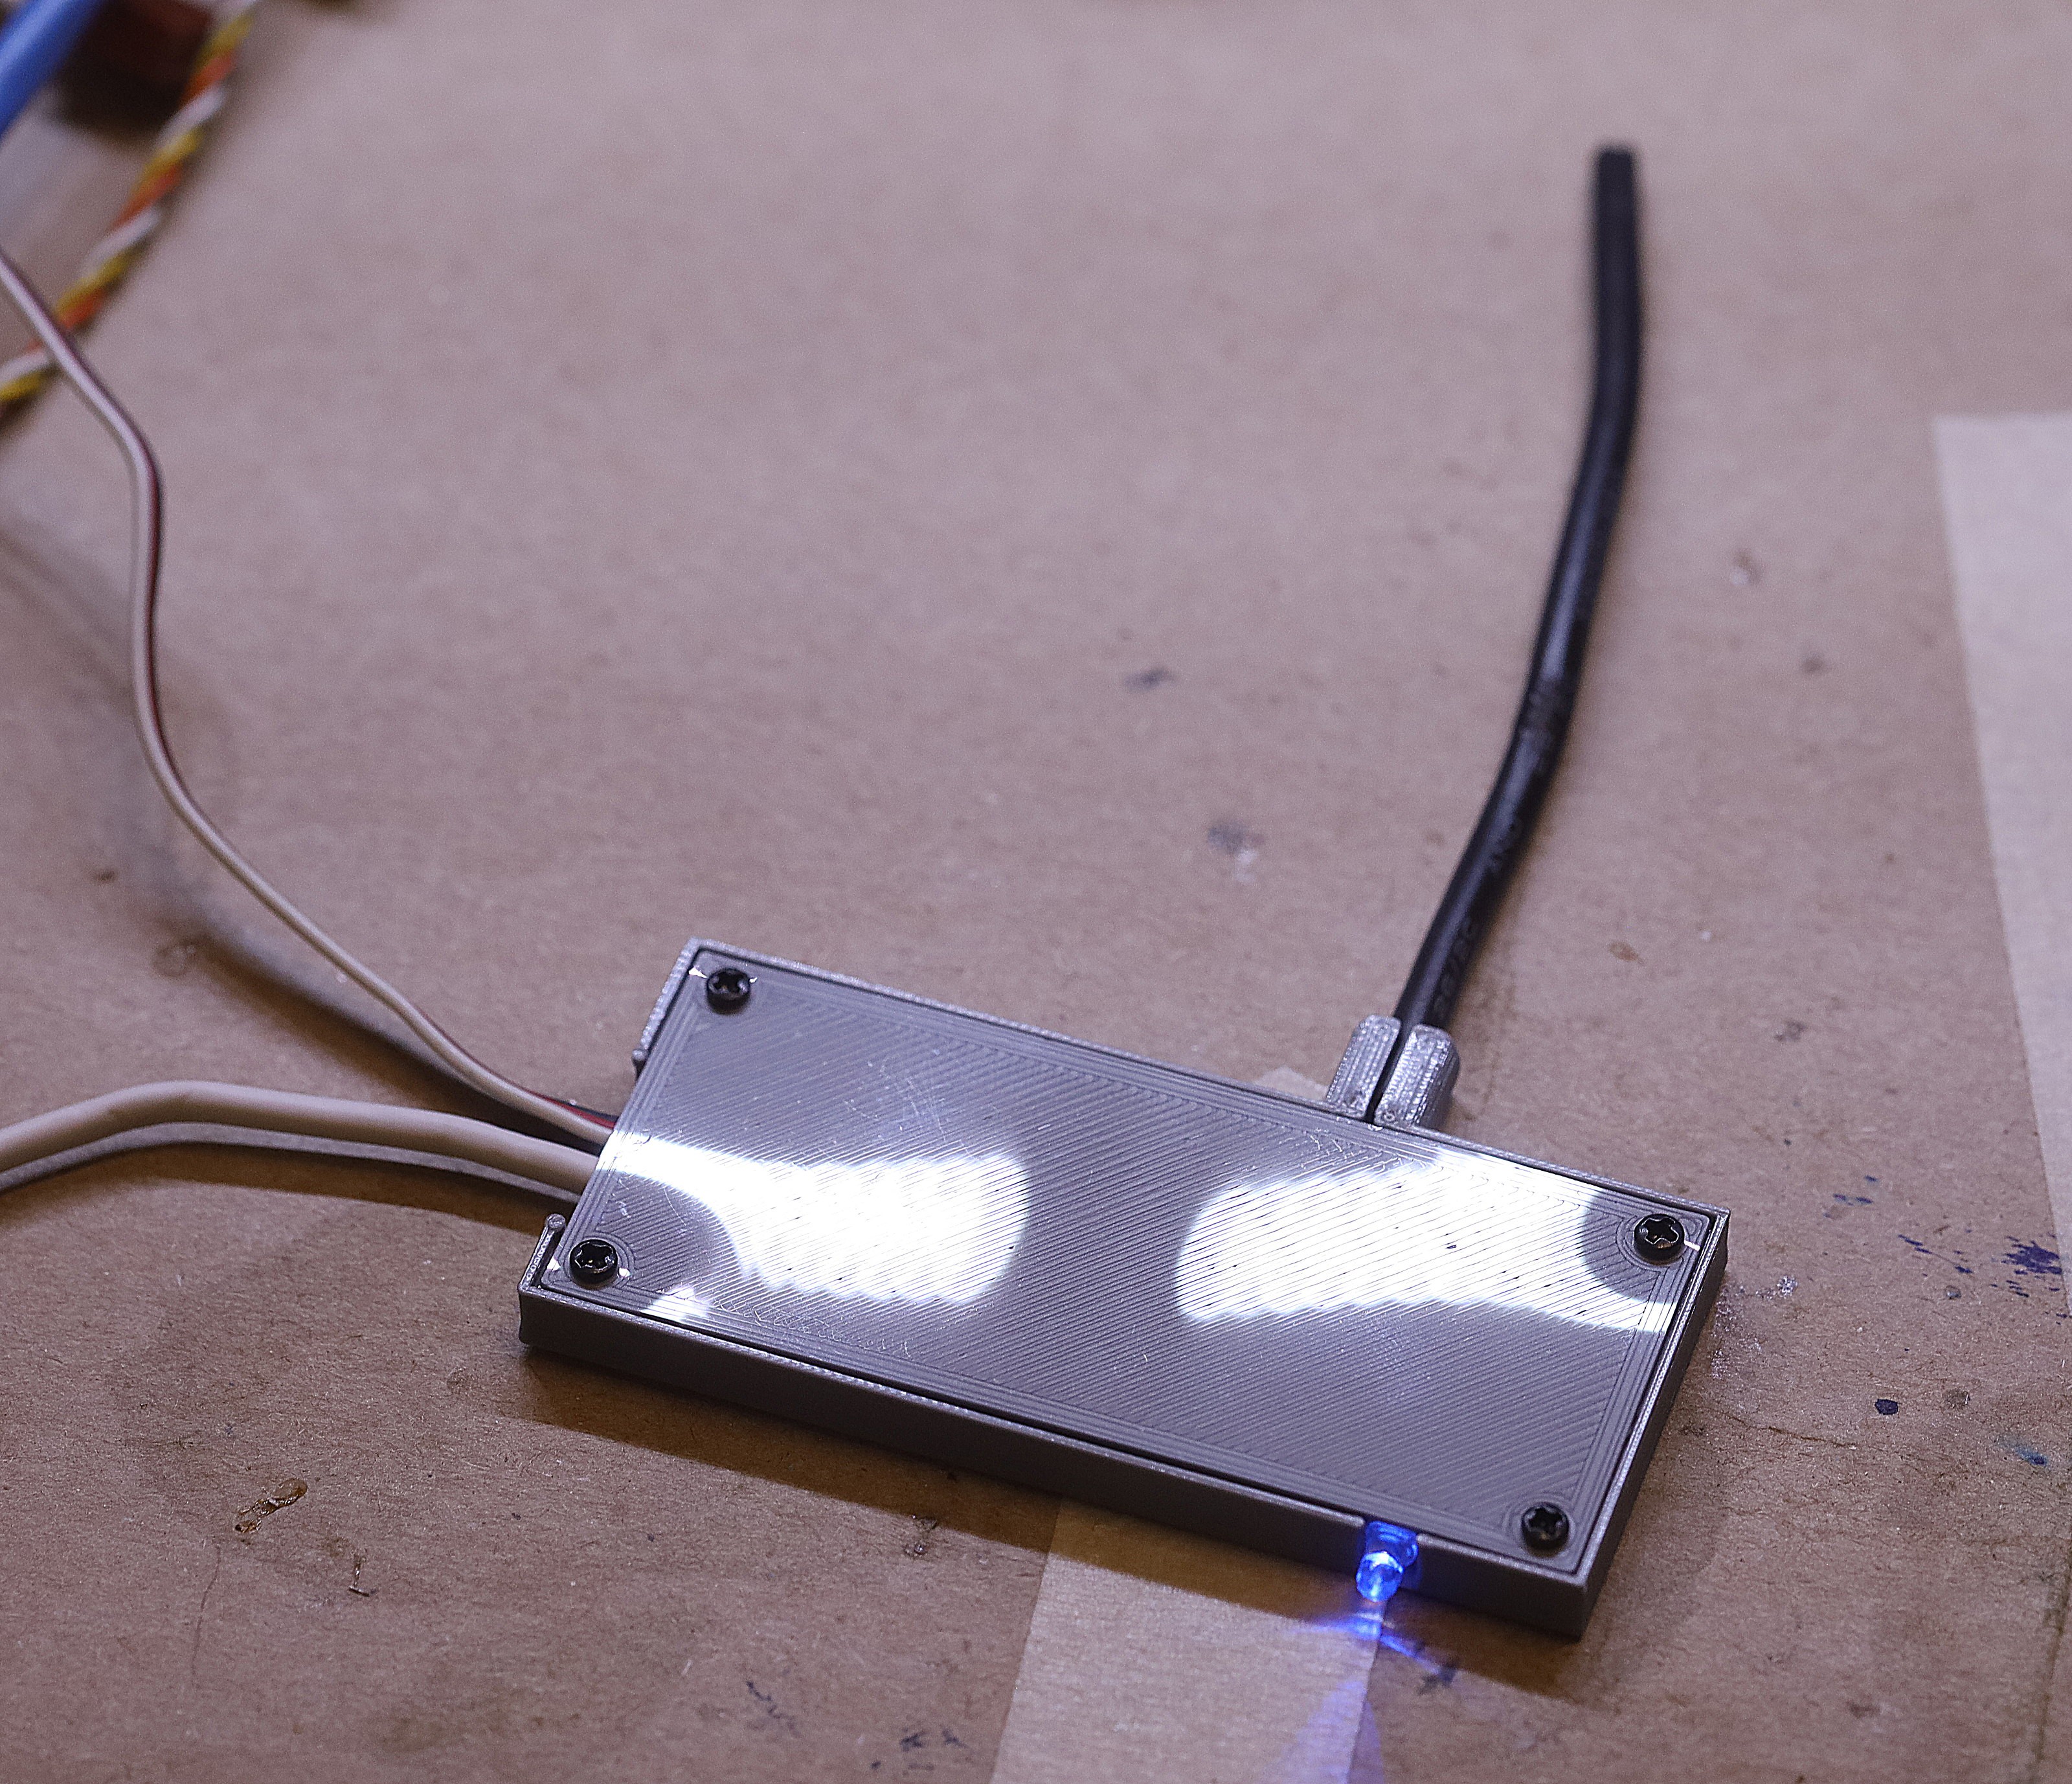
A very simple hot snot enclosure emerged for the servo board, but it's better than what was possible 15 years ago.
![]()
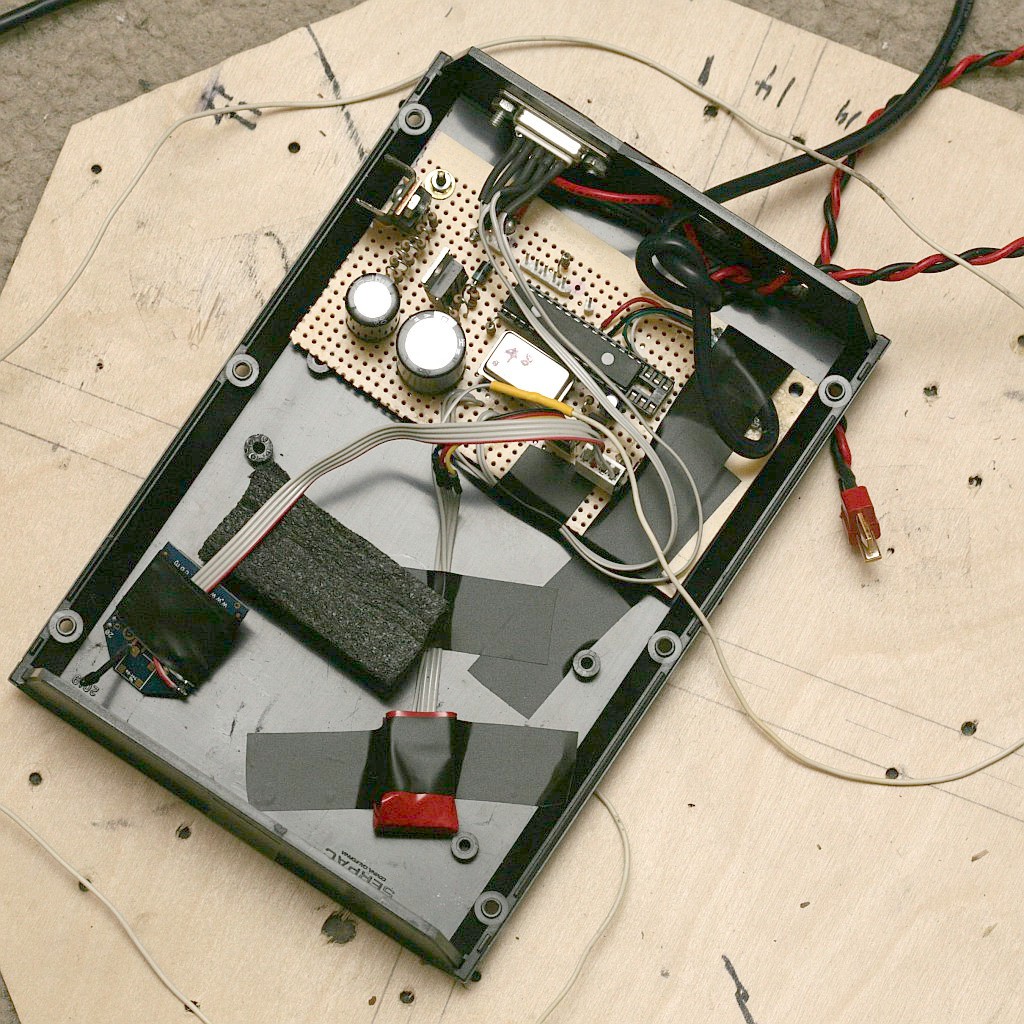
15 years ago, it was a big deal to break USB out into 2.4Ghz & 72Mhz. Those were the days, but the USB speed was the same as a modern RP2040.
![]()
![]()
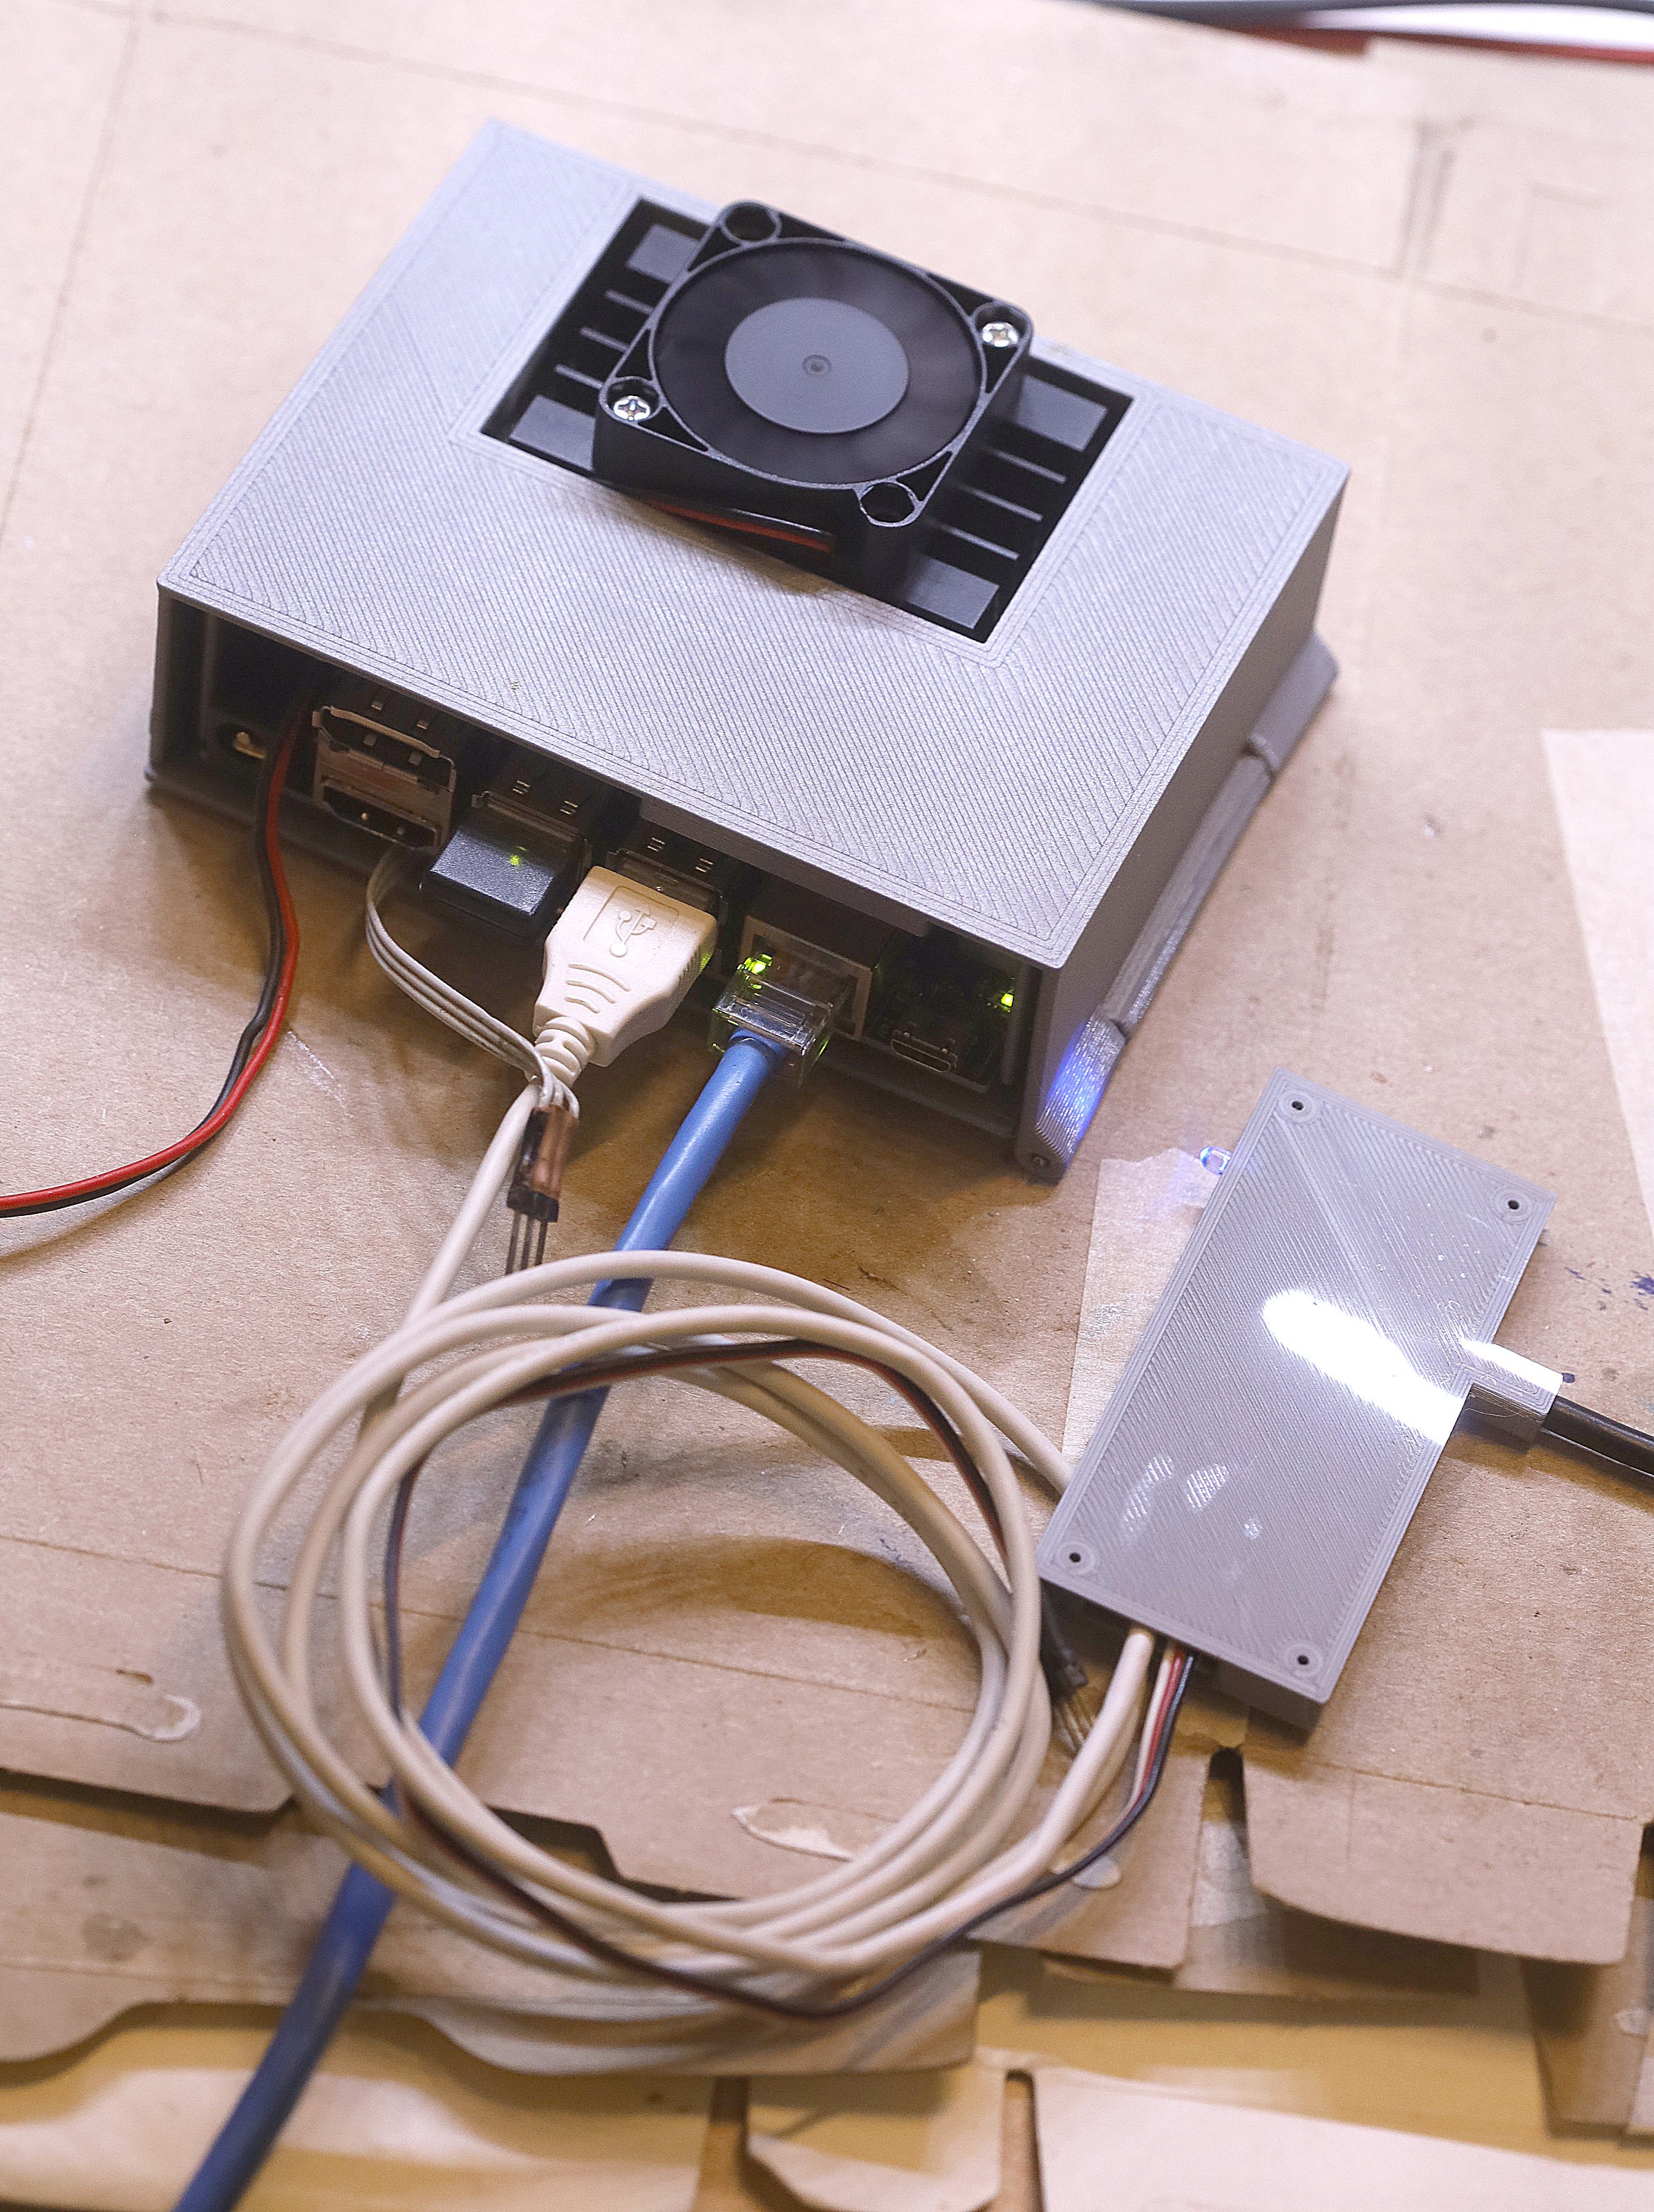
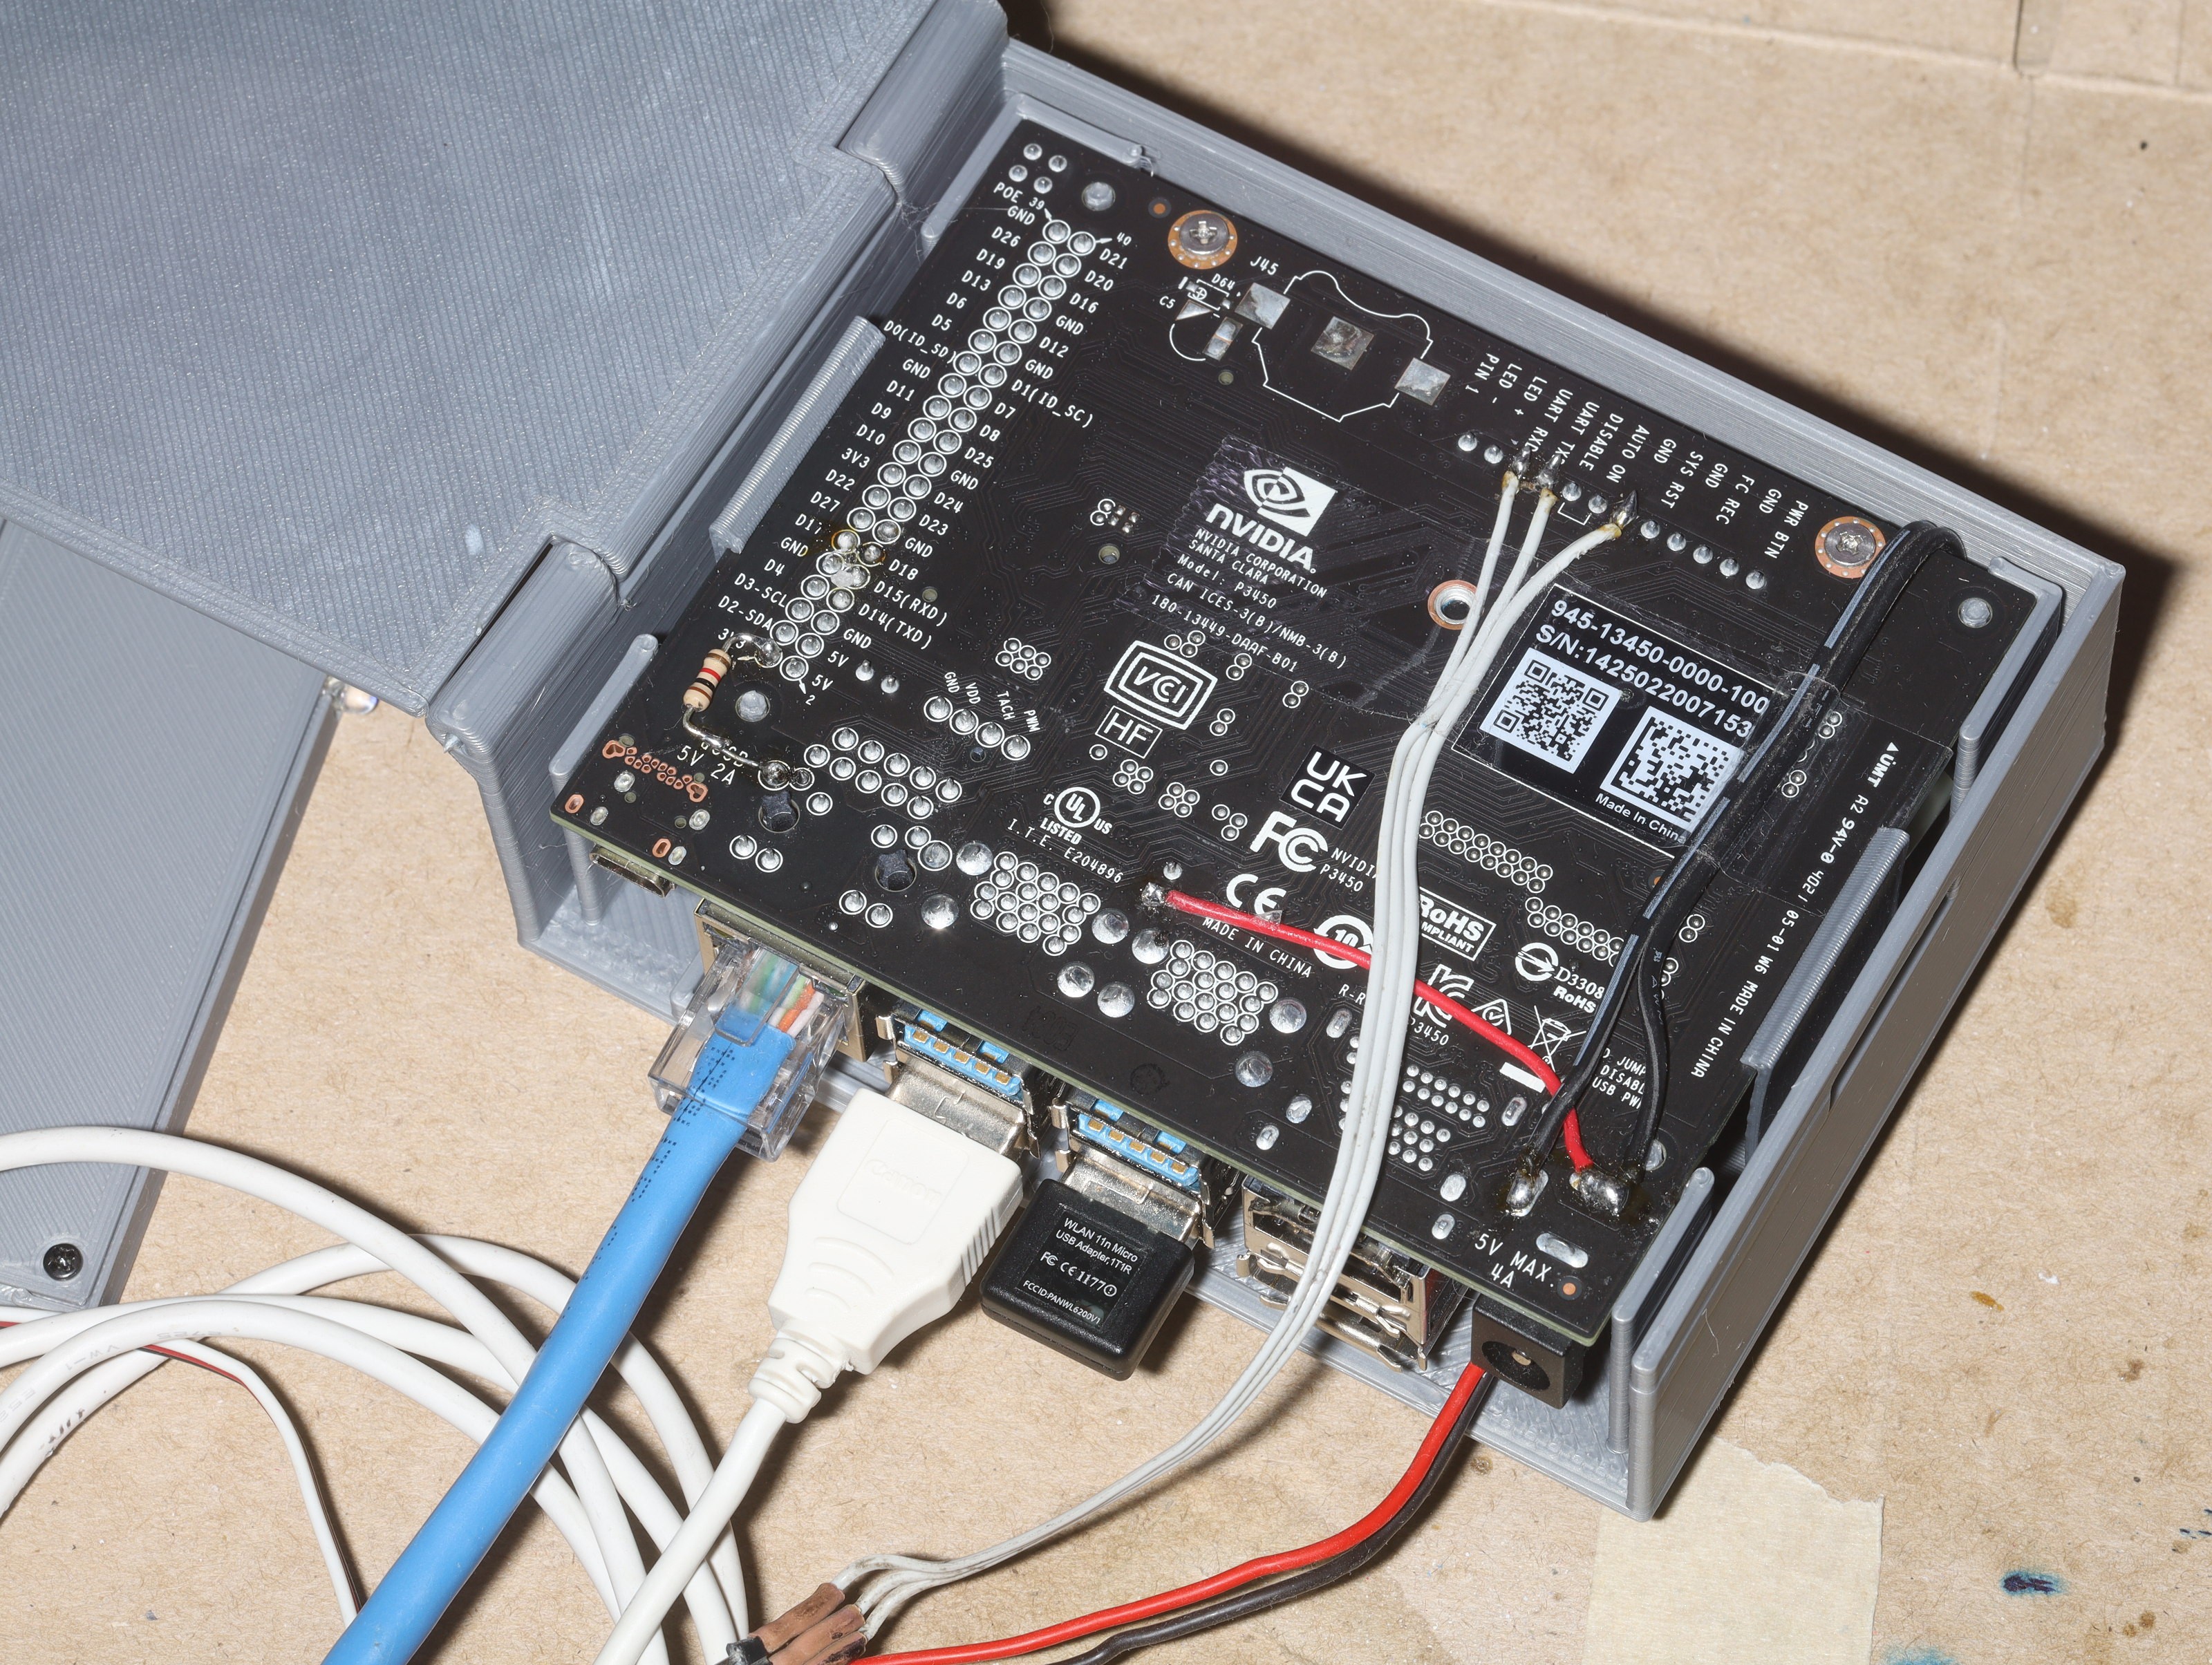
Jetson enclosure for the truck ended up pretty bad. There's no airflow through the heat sink. It needs a fan just when idling. The heat sink actually self taps with M3's. It doesn't sit flat. The hinge should be on the side. It's not the most efficient use of space. The side tabs should be the side panels of the case. The buck converter ideally wouldn't be right next to the heat sink.
https://www.amazon.com/dp/B08HXZYQKJ
These fans fit, but don't throttle. It's back to the days of CPU fans which always ran at full speed.
https://www.dfrobot.com/product-2034.html
There are fans specifically for the netson nano but more expensive. Helas, with Bezos it ends up being 1 for the price of 2 anyway.
The lion kingdom now has 3 code bases for various camera trackers. Truck cam, tracking cam & countreps are a sea of replicas. Much effort was spent trying to rectify the issue, but the solution continues to be replication.
Sadly
https://github.com/RainbowLinLin/face_recognition_tensorRT
was bad at detecting faces. You can get it to read .jpg files instead of requiring a supported webcam by replacing the videoStreamer calls with cv::imread(. The input image has to be 640x480.
You can lower all the threshold variables in onet_rt.cpp, rnet_rt.cpp, mtcnn.cpp, pnet_rt.cpp to make it more sensitive to face hits, but it picks up a lot more junk. You can set float m to 1 in mtcnn::mtcnn to get it to create higher resolution scaling levels. This gets it to pick up more faces, but it does all that scaling in the CPU. The biggest improvement comes from upscaling the source images even though it doesn't add any more information.
The higher scaling levels slow it down to 9fps on 640x480 or just about as bad as software on the raspberry pi. Frame rate decreases as the number of hits increases. Faces have to be 1/3 of the frame to be detected. There might be other ways to decrease the required dimensions. Scaling could be done in CUDA to speed it up.
![]()
![]()
-
New camera panning board
04/19/2023 at 04:54 • 0 commentsThe jetson was originally envisioned as the minimum required to get useful results. The problem is efficientdet was optimized enough on the raspberry pi 4 that a straight port to the jetson would now not make any difference. It needs to run another model in addition to animal detection.
In the interest of improvement, the journey begins with face recognition. The 1st goog hit was
https://github.com/nwesem/mtcnn_facenet_cpp_tensorRTThe mane problem with this setup is matching the commands with your version of jetpack. It seems nvidia stopped manetaining jetpack for the jetson nano since the last nano version was 4.6 & jetpack after version 5 is only for the orin. 1st, tensorflow isn't preinstalled on the jetson.
pip3 install --pre --extra-index-url https://developer.download.nvidia.com/compute/redist/jp/v46 tensorflow
2nd, the step01_pb_to_uff.py program gives the dreaded AttributeError: module 'tensorflow' has no attribute 'AttrValue'
The funny thing about github is every repository has hundreds of forks. Some of these forks have fixes for various bugs. Another forkhttps://github.com/RainbowLinLin/face_recognition_tensorRT
gets through the step01_pb_to_uff.py conversion. After that 1 step, the instructions in this fork seem to work. You put jpg images of faces in the imgs directory & run build/face_recogition_tensorRT It dies expecting the nvargus-daemon to provide video frames. Of course, lions don't have a supported camera.
Helas, a port of the truckcam system to the jetson nano using this source code is very platform specific. The days of POSIX & write once run anywhere are long gone. Maybe it could be more modular.
https://github.com/NVIDIA/TensorRT/tree/main/samples/python/efficientdet
Fitting face recognition, efficientdet, & pose estimation on the jetson would best be done with a 64 gig card. To get it into 32 gig, a lot of junk on the jetson has to be deleted.
/usr/lib/libreoffice
/usr/lib/thunderbird
/usr/lib/chromium-browser
/usr/share/doc
/usr/share/icons/
There's still some belief a jetson with a screen could be practical, so the X stuff remaned. The screen was abandoned when pose tracking proved not good enough for rep counting.
The next decision was the board for controlling the servo from either jetson commands or RF commands.
When the camera panner was on the raspberry pi, it took commands from SPI since it was easy. A single USB cable with servo power & commands would be simpler. The lion kingdom never ported a ttyACM driver to stm32 but did have a raw libusb driver. There were a few ttyACM projects on a PIC. The mane advantages with ttyACM were no need for libusb, simpler initialization & no funky URB callbacks. TtyACM devices are a lot easier to access in python.
The advantage with libusb was being able to identify the device from its USB ID & distinct packet boundaries but that took a lot of code. Multiple ttyACM devices can't be distinguished as easily as under libusb. We're not dealing with multiple devices now.
![]()
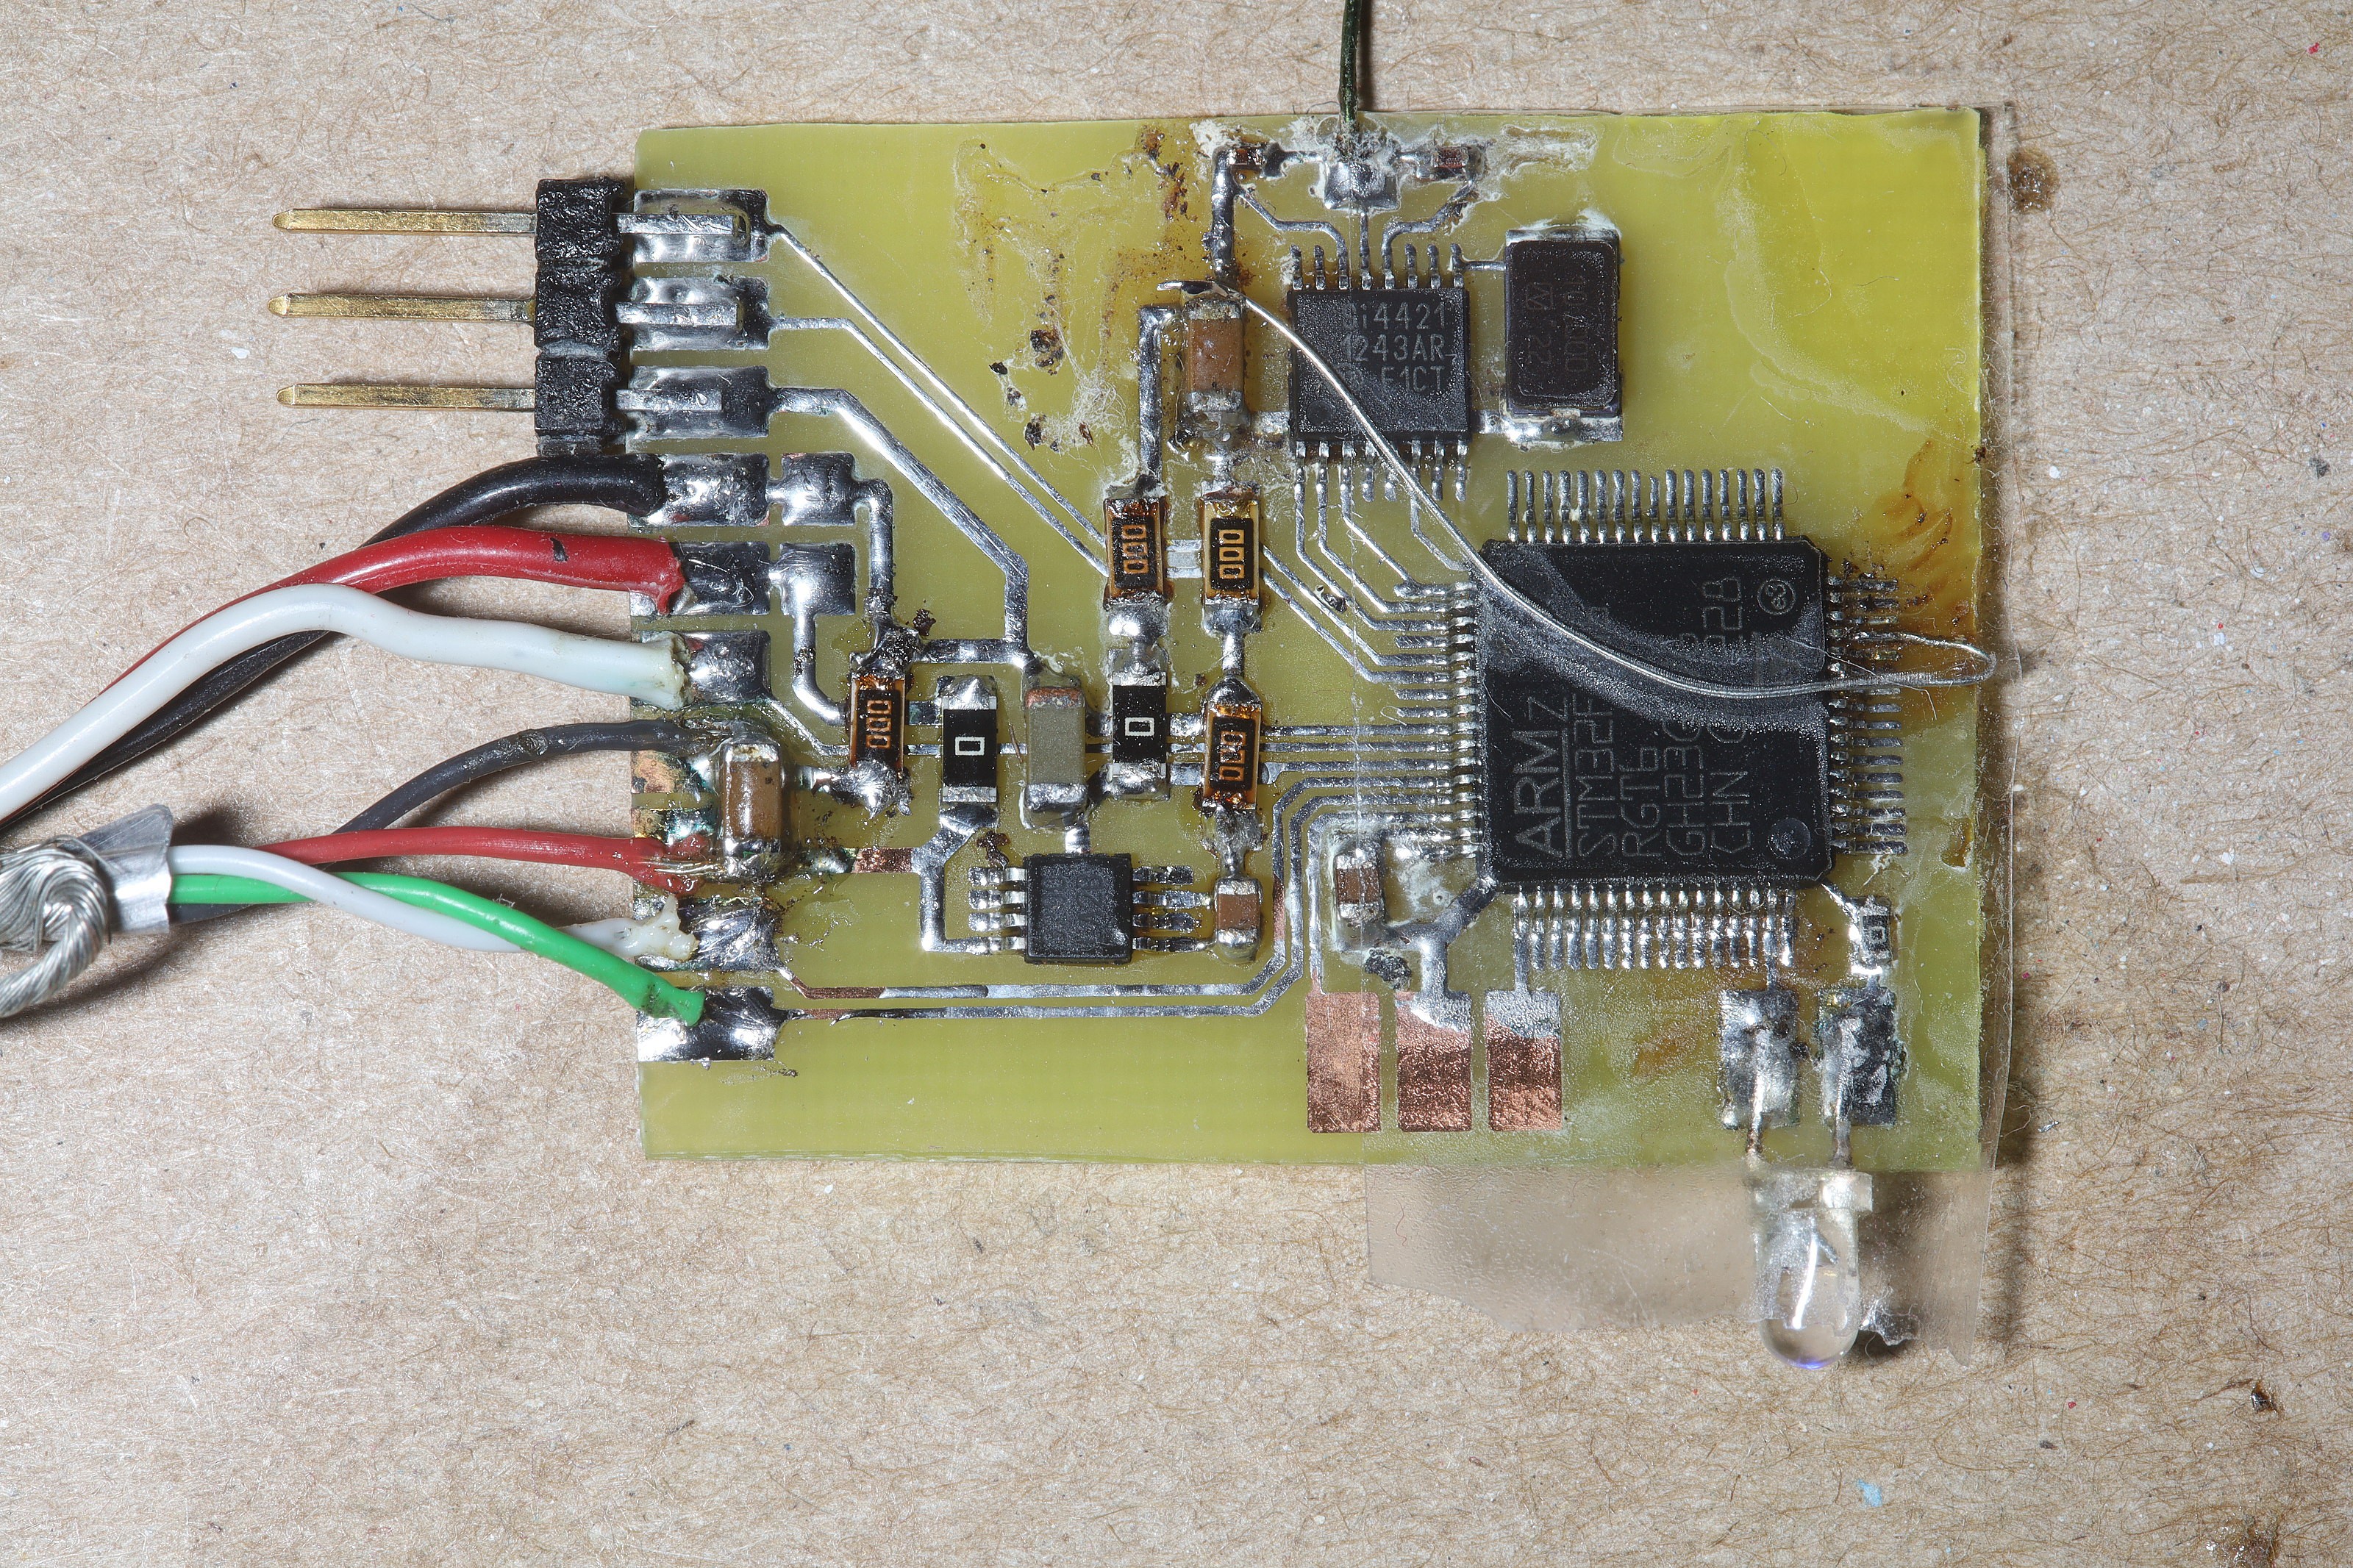
Kicking off the new servo board was the rediscovery that VDDA is required on the STM32. The redesigned board didn't shrink as much as hoped, so a new jetson nano enclosure is required. The space for the L6234 was filled up by the voltage regulator & all the jumpers.
To use the ttyACM device, /usr/sbin/ModemManager must be disabled or it'll clobber the servo commands. Implementations of a ttyACM device on an STM32 abound. There's an automatic code generator in the IDE which generates a ttyACM device. Nevertheless, it took some debugging to get it to work since the lion kingdom codebase has many artifacts from years of other projects.
 lion mclionhead