-
More Improvements
06/30/2023 at 21:07 • 0 commentsSome improvements for our project are:
- Applying for FCC certification and CE certification
- Buying components in bulk
- Identify manufacturing facilities
- Labor+Shipping cost
- More Aesthetic design
- Waterproof
- More comfortable to wear
-
Fourth VIsor + Fourth PCB Iteration
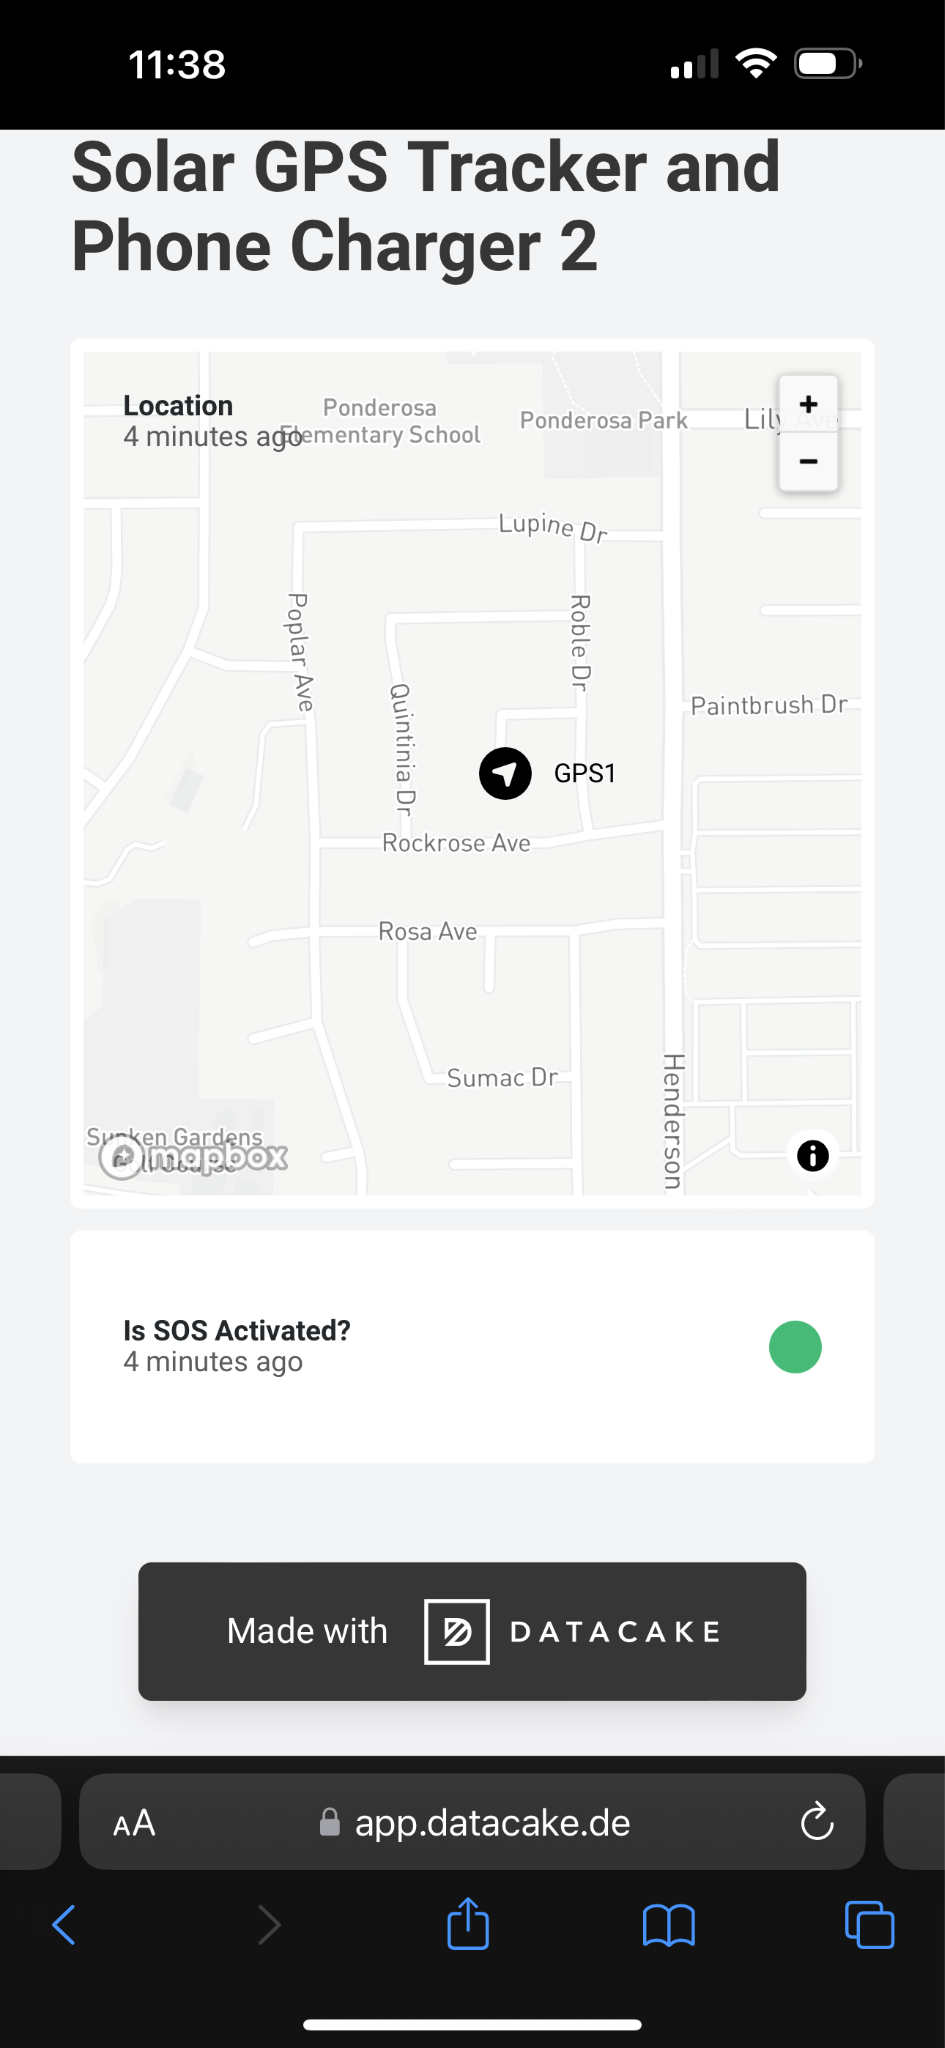
06/29/2023 at 23:44 • 0 commentsFor our fourth and final design, we added a lot of new features like GPS tracking, and an SOS button. We also found a solar panel that could generate enough power, so just stuck one big solar panel instead of 2 smaller ones. We built an enclosure for the PCB and left a hole for the SOS button.
Once the SOS is turned on, it will send an SMS message to your phone or any contact that you put in the code, with a link to the Datacake website.
The Datacake website will show a map with the location of the visor and if the SOS is still activated or not.
-
Third PCB Iteration
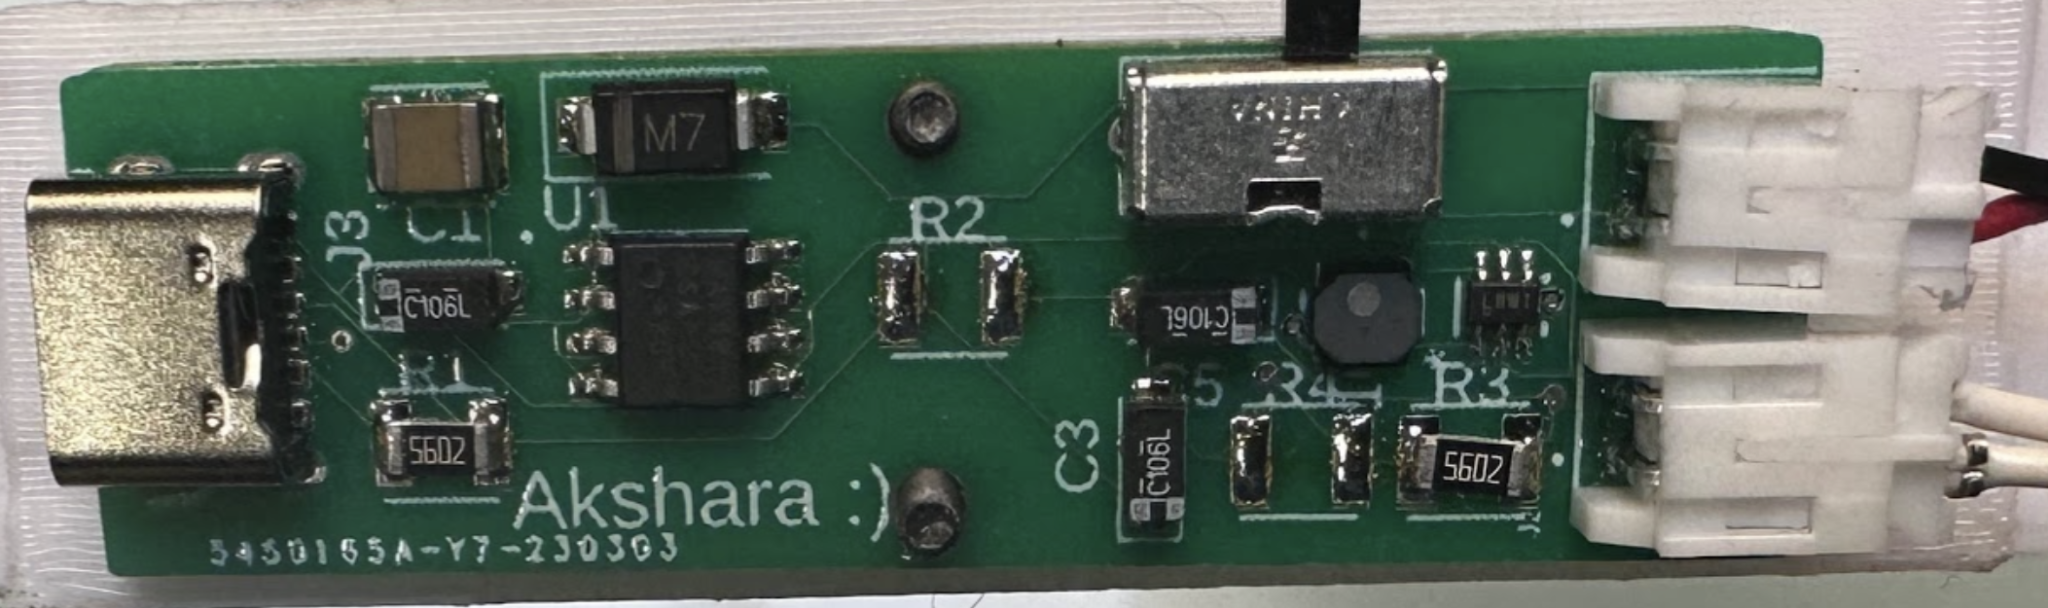
06/29/2023 at 22:22 • 0 commentsOur third PCB iteration used SMD components and was a smaller size, and used the same battery as the second iteration. It was able to charge a Samsung phone, Airpods, and an iPhone!
We figured out how to solve the data line issues that were stopping us from charging an iPhone by adding voltage dividers. We also used different regulators for this iteration because we needed to get 1 A from the circuit.
-
2nd PCB Iteration
06/29/2023 at 22:19 • 0 commentsOur second PCB iteration was medium-sized and used SMD components. We decided to use a small lithium-ion battery, (100mAh), to store charge for nighttime use. It was able to support Samsung charging, but we still needed to figure out how to charge an iPhone.
This PCB was a bit smaller than the first, so it was easier to add to the design and looked more aesthetic on the visor.
-
Third Visor Iteration + First PCB
06/29/2023 at 21:46 • 0 commentsOur third visor iteration used PETG plastic and was much more stable, which meant we could finally attach the solar panels and PCB. The PCB used through-hole components and was very noticeable, and the wires from the solar panels also stuck out. It didn't look the most aesthetic, and we got some feedback from our community after sending out a survey about maybe covering up the solar panels and PCB to make it look like a normal hat.
Some more cons were that the two solar panels were not secured properly, and fell out quite easily. This is a big problem because people should be able to walk around on long hikes with our visors. We also had a PCB enclosure, but it was very flimsy and we needed to improve the design of it.
However, this was our first working design and we were extremely happy about it! It was able to charge a Samsung phone and Airpods, but not an iPhone due to data line issues.
We decided to make a list of future improvements, and this included:
- adding iPhone charging support
- making the design more comfortable + aesthetic
- adding a battery for nighttime use
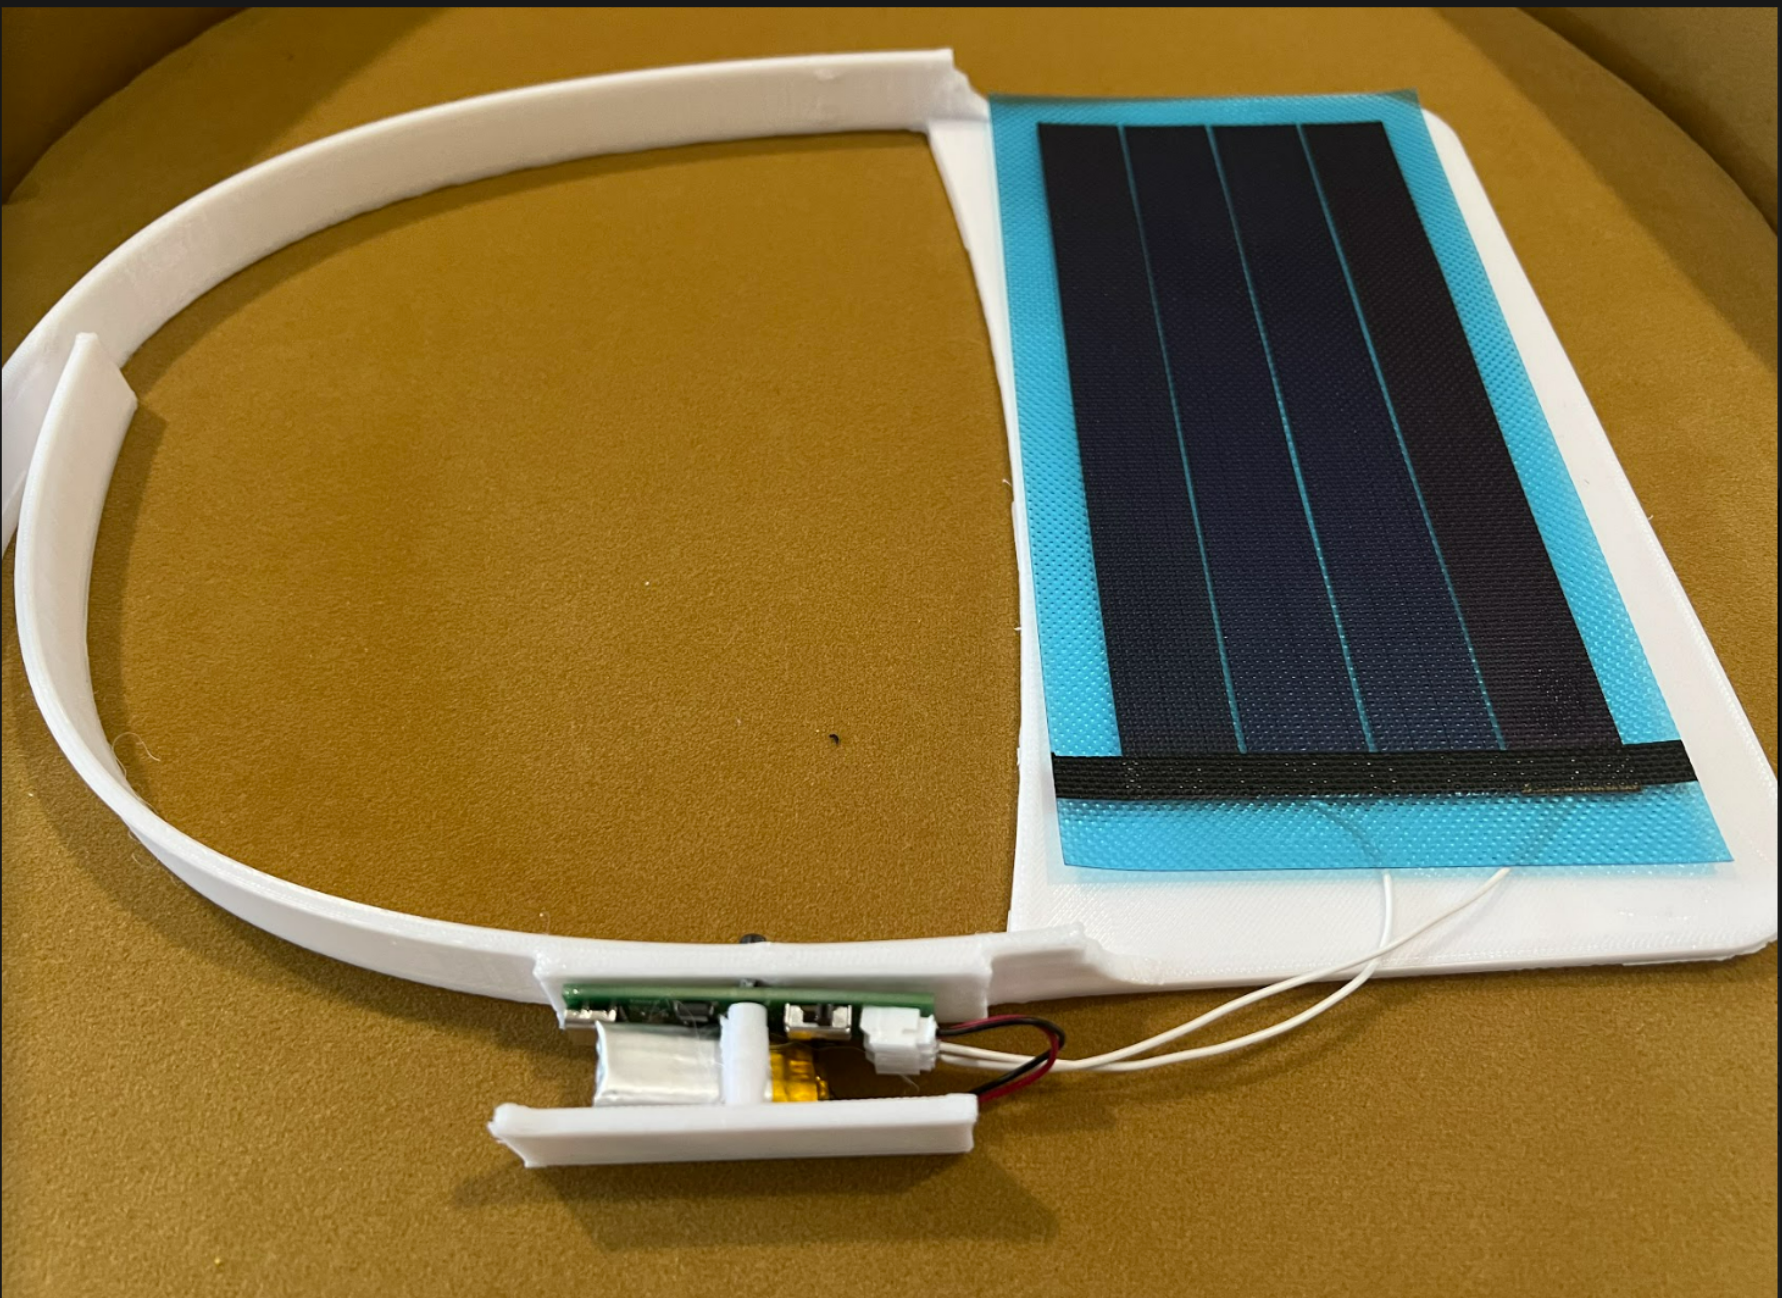
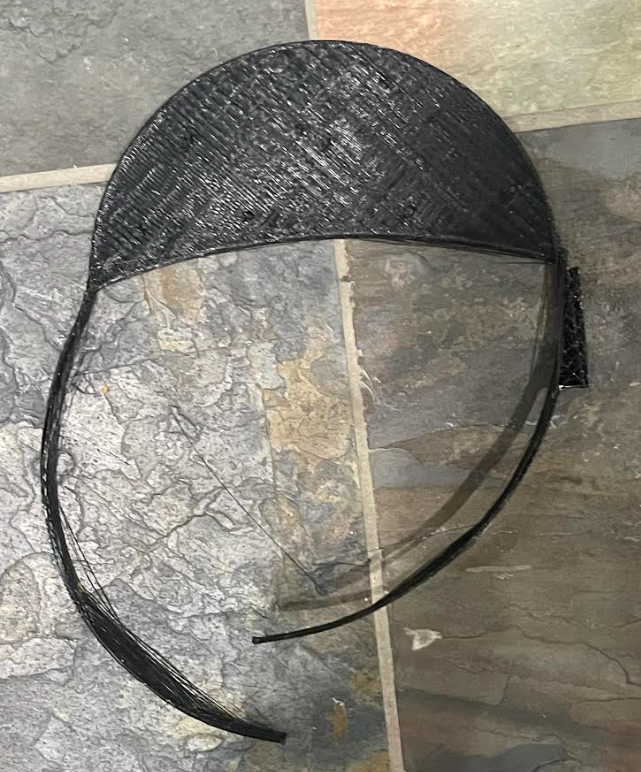
We decided that our final visor design would look like this since we wanted the area of the visor to be longer a wider so it could fit a more powerful visor. We also chose a rectangular design so less area would be lost due to the curve:
We made a video to show how to use this model:
-
Second Visor Iteration
06/29/2023 at 21:40 • 0 commentsOur second visor iteration also used PLA plastic, but the straps did not print out well and came out flimsy and with strings. It was not wearable. After this we realized that we definitely needed to use a different material.
-
First Visor Iteration
06/29/2023 at 21:39 • 0 commentsOur first visor iteration had two solar panels in it and used PLA plastic. There was no PCB enclosure, and we used grooves to attach the solar panel. However, the grooves were very flimsy, the straps broke very easily because the PLA plastic filament for 3D printing wasn’t strong enough. Due to these issues, we decided to look for other 3D printing materials that would be more stable and tried designing a PCB enclosure in Fusion 360.
-
Finding the Components + First PCB
06/29/2023 at 21:23 • 0 commentsWhen we started researching parts for the solar-powered visor, we weren’t able to find any flexible, small solar panels that could generate enough power, so we decided to use two solar panels that could each generate 5 volts in series. We decided to put notches on the top of the visor to hold these solar panels in place, and to put the PCB on the side.
For our PCB, we took a lot of time and consideration to find components on Digikey that would match our needs. For example, we needed a voltage regulator that could generate a 5v output, so we put many filters on the website by voltage, cost, size, and more. For our first iteration, we ended up using a 7805 voltage regulator. We also decided on using through-hole components for our first PCB to make it easier to solder and build.
-
Deciding on our Project
06/28/2023 at 21:10 • 0 commentsWe brainstormed and made a list of projects that would be environmentally friendly and sounded interesting. This list consisted of many silly as well as really cool ideas:
- Solar-powered phone charger
- Human Powered phone charger
- Electricity storing flying pigeon
We decided on Solar powered visor because solar power would be available everywhere outdoors, and most people need phone chargers when they are outdoors.
We also related to this problem a lot because all of our team went on a hike pre-pandemic, and we lost our way. Some of us hadn't brought our phones, and the other phones had run out of charge. It was a frightening experience, but we were luckily able to ask someone for help and found our way back.
After deciding on using solar power, we wanted to think of where to put the solar panels on. We started brainstorming different ideas, like the top of your shoes, a hat, a backpack, a jacket, sunglasses, and more. However, we decided to just use a hat because it has the most flat area surface, and has the most exposure to the sun.
Solar Powered LoRaWAN GPS tracker + phone charger
An environmental friendly visor using solar energy to charge handheld devices and supports GPS tracking/SOS through Helium LoraWAN network.
 Our third PCB iteration used SMD components and was a smaller size, and used the same battery as the second iteration. It was able to charge a Samsung phone, Airpods, and an iPhone!
 Our second PCB iteration was medium-sized and used SMD components. We decided to use a small lithium-ion battery, (100mAh), to store charge for nighttime use. It was able to support Samsung charging, but we still needed to figure out how to charge an iPhone.
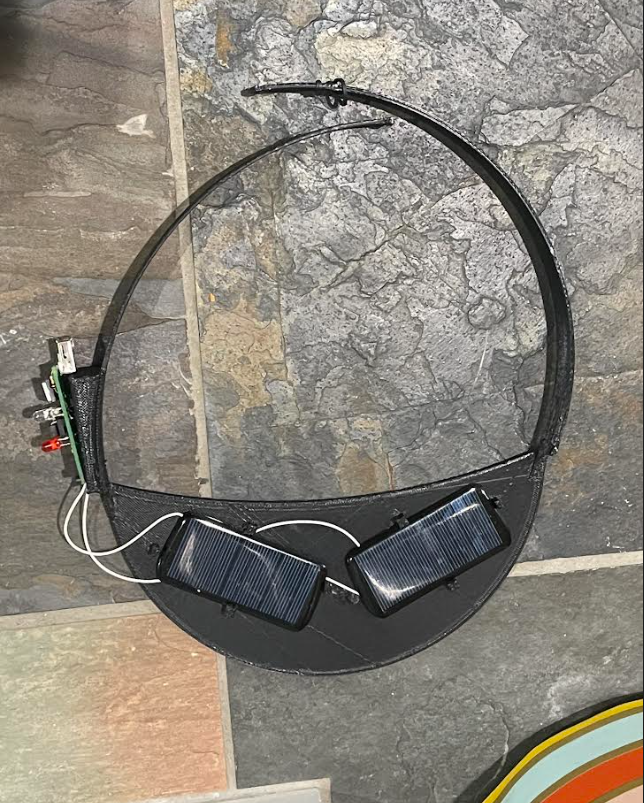
 Our second visor iteration also used PLA plastic, but the straps did not print out well and came out flimsy and with strings. It was not wearable. After this we realized that we definitely needed to use a different material.
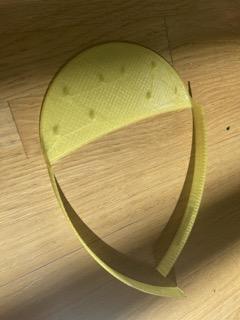 Our first visor iteration had two solar panels in it and used PLA plastic. There was no PCB enclosure, and we used grooves to attach the solar panel. However, the grooves were very flimsy, the straps broke very easily because the PLA plastic filament for 3D printing wasn’t strong enough. Due to these issues, we decided to look for other 3D printing materials that would be more stable and tried designing a PCB enclosure in Fusion 360.