-
Latest Updates
6 hours ago • 0 commentsSo after a lot of inactivity with some sporadic instances of occasional activity, I have come to the following design decisions and scope changes.
I've reimagined the this build as a Self Contained Field Ready Compute Resource & Ground Station. Since the focus has slightly shifted, the features have as well. Some of those tweaks include:
- Integrated Faraday cage descoped - my approach for addressing this scope item was just too difficult to execute effectively and affects the rest of the build. I have found some great faraday cage solutions and have resolved to build a separate purpose built faraday storage container which will store this and other sensitive devices offloading that requirement from the deck to a separate support element.
- Larger Plastic Hard Case - I decided to go with a larger Olympia case I found cheap, new outer dimensions are L10.47”xW9.68”xH6.87”
- Battery Pack . I had a rarely used 294Wh Solar generator (power pack) for camping which has a BMS, In/out ports and controller with a Lithium battery. I am going to repurpose that hardware and battery for this build.
- My primary screen is now a 10.5 In Touch Screen, up from the previous 7In
- I have decided on a more modularized approach opting for more internal storage to House a Flipper Zero, M5 Stack Cardputer and a Finrisi Component identifier/tester/Oscilloscope/Function Generator as stand alone test gear as a starting point. Storage will also hold antennas, adapters, cables and other items TBD.
- I have added an analog FPV RF Video Receiver to the RF feature set
- The ethernet port shall be placed on the front panel primarily to allow for offline LLM Coprocessing with a helper x86 machine but also for wired connectivity when needed/available
- The GPIO will be exposed on the front panel and HATS in the internal storage to be swapped out as needed, this minimizes the potential for simultaneous HAT collisions
- Sense HAT
- GPIO Breakout with status LEDs
- Adafruit Crickit Robotics interface
- SD Card Slot will be extended from the internal housed Raspberry Pi and surfaced on the front panel providing persistent SD card access. This will allow for quick, on the fly swap out/replacement of the OS SD depending on the need
- Internal physical storage for multiple pre-configured SD's (and copies) with loadouts supporting both operational diversity and recovery/redundancy.
- Software Dev loadout (Debian)
- Drone Ground Station loadout (iNav)
- Robotics & Prototyping Loadout
- RF Bench Loadout (SDR, ADS)
- Offline/Survival Loadout (Kiwix)
- Entertainment Loadout (RetroPie)
- Offline LLM Loadout
I'll update the log with my updated (target) feature list in a few days and start to update the panel layouts next week. I'm also thinking about supporting a second screen either as a peripheral or integrated into the case since the Pi4 has native multi screen.
See you soon!
-
Resistance is futile
05/03/2024 at 20:06 • 0 commentsHowdy All,
As the lack of updates probably suggests, I have not made much progress on this build. I'm trying to proritize this in my daily scheme...I've pulled that project in from the outside work area to inside my house so its closer to "work on" in my free moments.
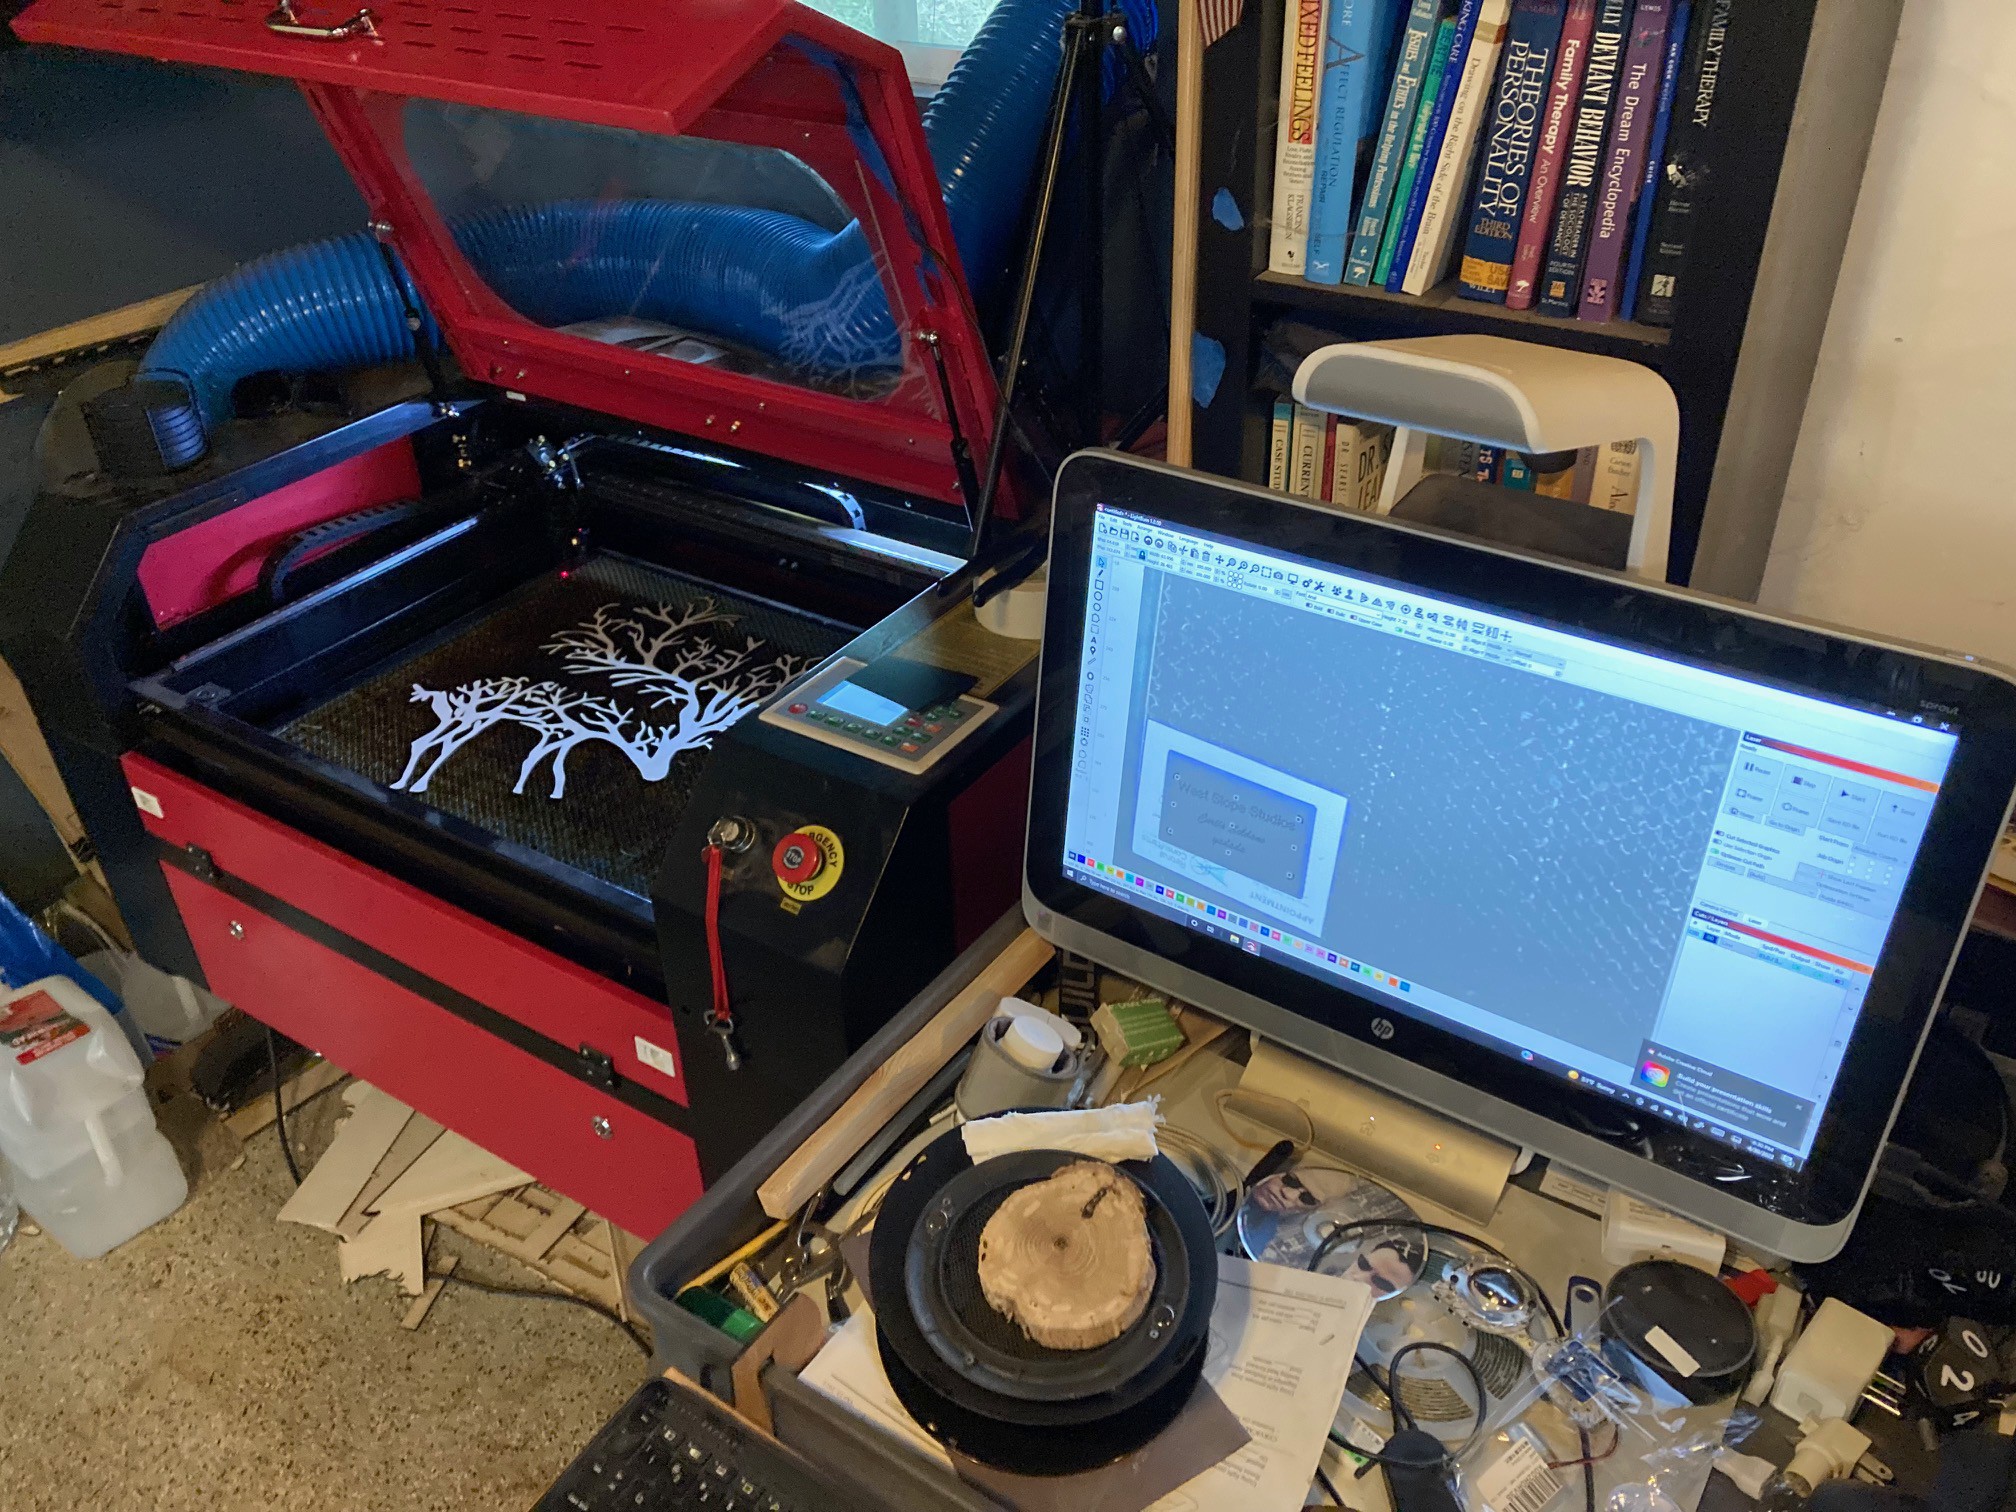
One of the last things I completed was the laser cutting of the EMF cloth which didnt go as planned, I might be able to use some of it but I'm going to have to manually trim the pieces to fit which is a bummer beacuase I was aiming for one contiguous piece of material. If I have to cut pieces
I've seen a few projects since I've started that have inspired a few changes/adoptions. I plan to integrate an electronic component tester/identifier. I'm also considering potentially building the internal frame out of wood or a wood/3D printed hybrid but I like the idea of using basic materials in an item that might need to be repaied in the field and I imagine that wood is available post apocalypse, 3D printers maybe not...also I've seen a few builds that are super feature/hardware dense and at the risk of extending things out, I am tempted to assimilate some of those ideas.
Thanks for following my project. I'm shooting to have it done August timeframe assuming that's then the next cyberdeck challenge will be. I'm open to feedback, let me know what you think.
Curtis-
-
Getting tricky...
09/16/2023 at 17:10 • 0 commentsAs I have been thinking through how to execute on the shield fabric application, I've put a bit more thought into it and decided to get a little tricky with this part. I am going to leverage some of my specialized design and CNC tools to customize the fitting with precision.
My goal is once I have a line pattern, I can use my laser cutter to cut the cloth. The shielding cloth is polyester based and the early research I've done suggests this is OK to laser cut. I happen to have a 700x900mm laser cutter so I can easily fit this entire piece into my cutter.
![]()
I have already hand cut a proof of concept pattern but realized I could do a much more precise cut with my fabrication and design skills. I was already planning to use my laser cutter to cut the front panel I just hadn't thought far enough ahead to realize I could laser cut this as well.
And as a further thought, this material is more effective in layers, I 'm now thinking of cutting multiple layers and bonding them together into a thicker shielding then applying that thicker shielding to the interior of the case.
I'll provide more updates on the shielding as I get further along.
-
EMF Shielding cloth application prep
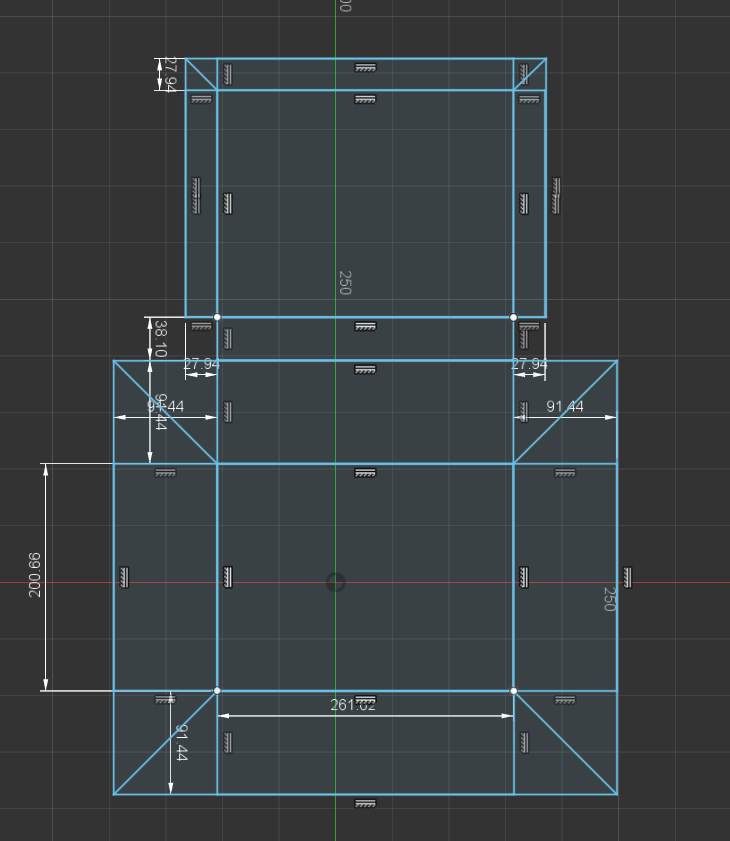
09/16/2023 at 05:38 • 0 commentsI'm currently working on a template pattern for the EMF shielding cloth to line the inside of the deck. This is in addition to the copper shielding that has already been applied. This consists of a contiguous piece of fabric that ensures electrical conductivity between the lid and case pieces of the shield without having to bond them with conductive tape or some other method of physically connecting the two pieces together. This layer will be applied on top of the kapton layer with a low VOC spray adhesive.
I put the 45* lines in there so I can get overlap instead of butting the edges of the cuts together, I am hoping this increases the overall shielding potential by minimizing leaks.
![]()
-
Shielding Plan
08/13/2023 at 19:26 • 0 commentsSo, I think I have settled in on an approach for shielding. I plan to apply 3 layers.
- Copper Foil Tape as a base
- Kapton Insulating Tape in between layers as an insulator
- Silver Infused EMI Fabric as the top layer
The lid and the deck will be separate so my goal is to bond them electrically. I am going to do some controlled testing of soldering directly to the EMI cloth. Otherwise I might use some kind of alligator clip connecting the two.
The copper tape is self adhering and the adhesive is conductive so I'll run some tests but I plan to do a 50% overlap when applying the strips to get good coverage but also a good electrical bonding.
The Kapton tape is also self adhering so I'll apply that directly onto the copper foil tape to provide an insulated barrier on top of the copper foil.
The EMI fabric is a bit more of a challenge but my thought is to spray with adhesive and then lay it into place and fit the fabric to the inner contours. I plan to do some testing but I am hoping I can solder a bond between separate pieces.
I might also add a grounding terminal to the deck to ground the shielding to whatever ground is available.
-
Shielding Fabric
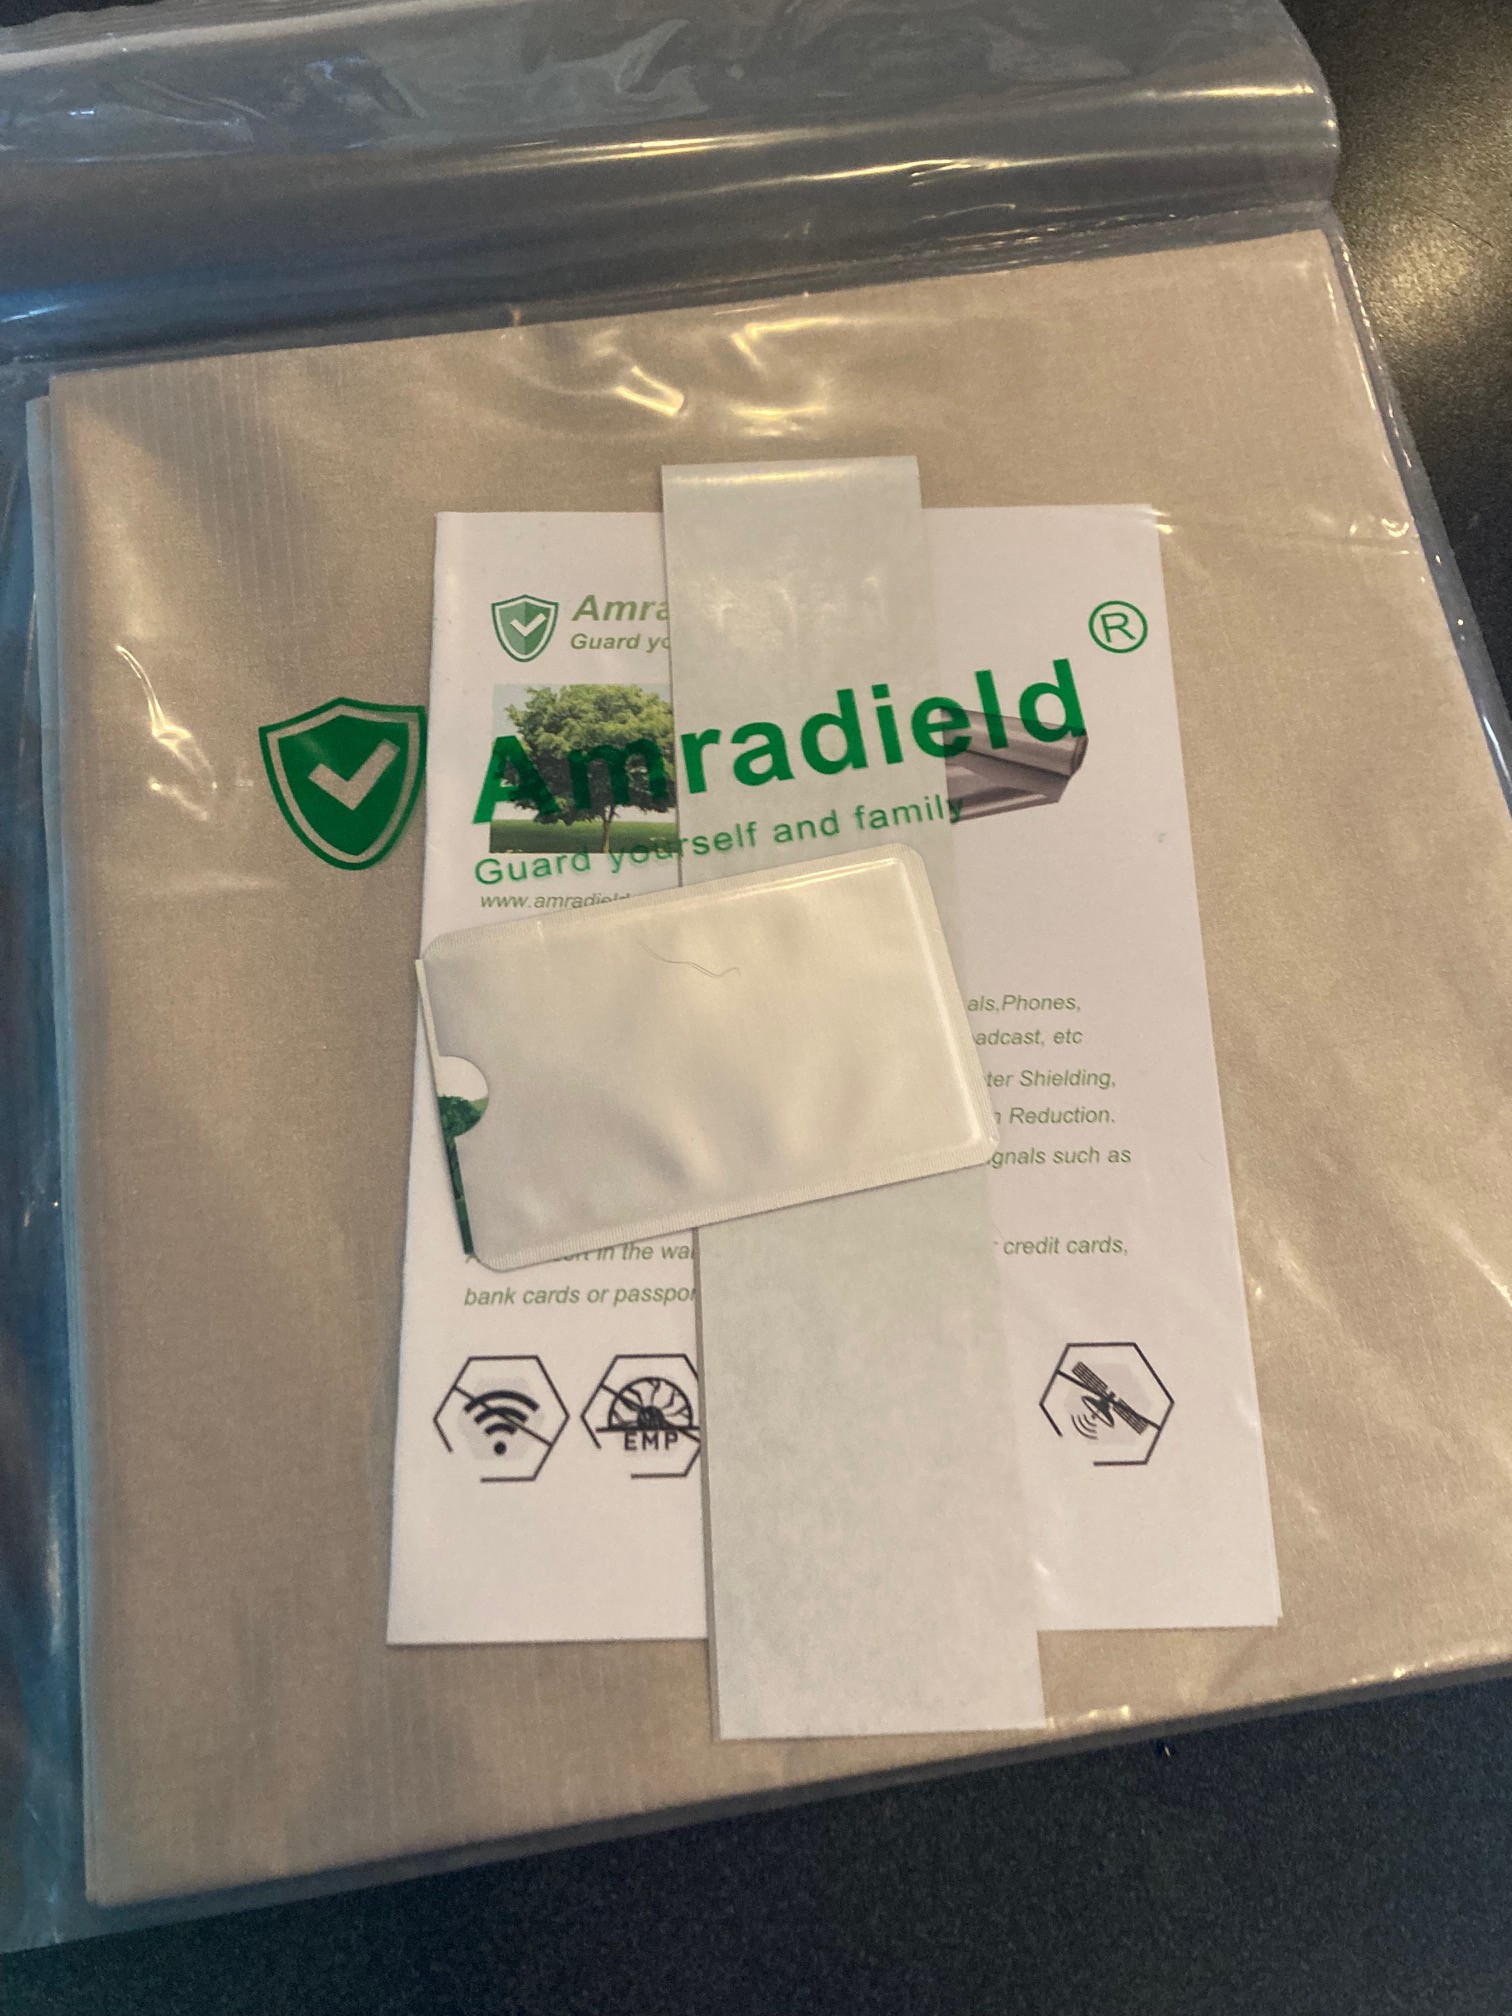
08/13/2023 at 12:55 • 0 commentsJust received this, going to begin the process of shielding the deck soon.
![]()
-
Updated panel design
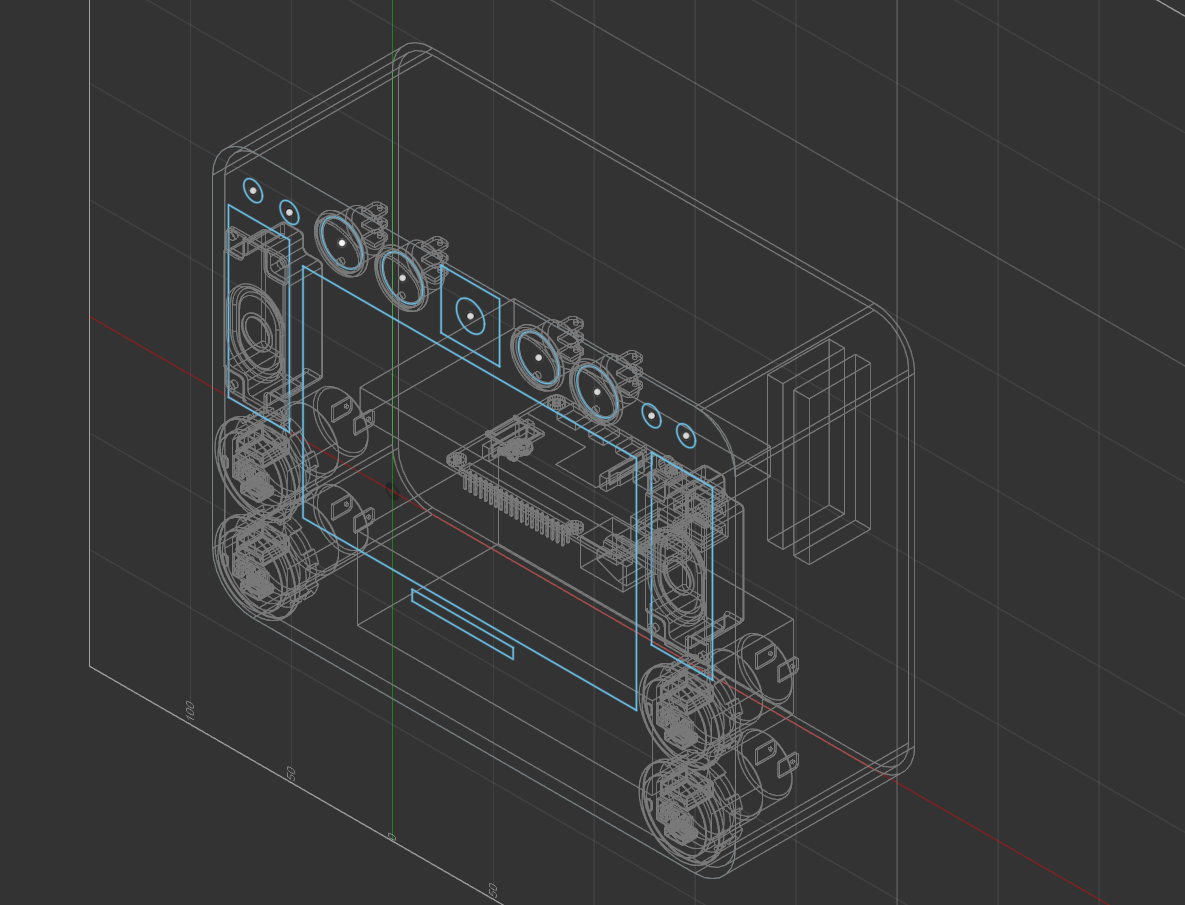
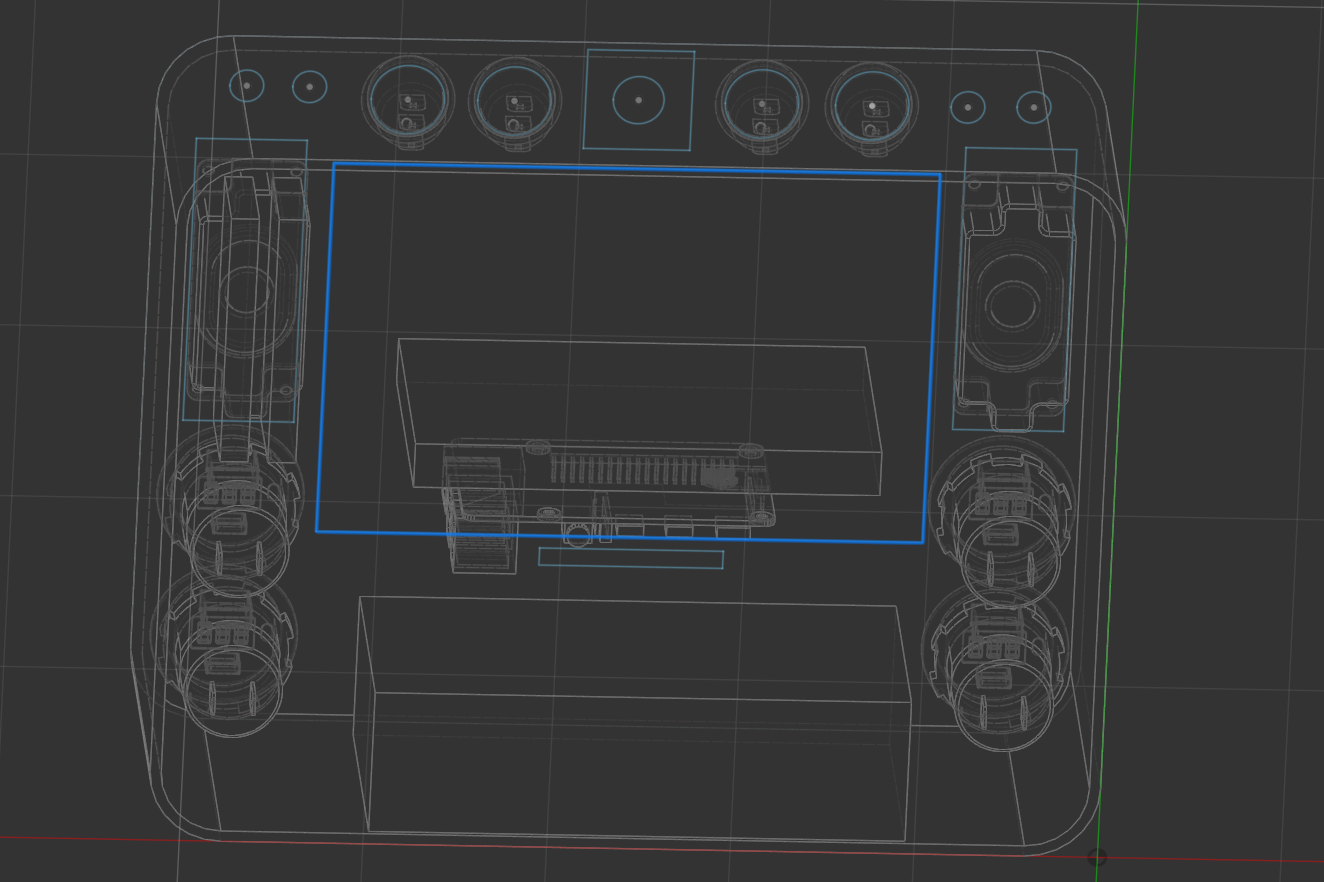
08/12/2023 at 23:44 • 0 commentsI started to add some models to the interior of the deck to determine orientation, spacing, available room, etc...
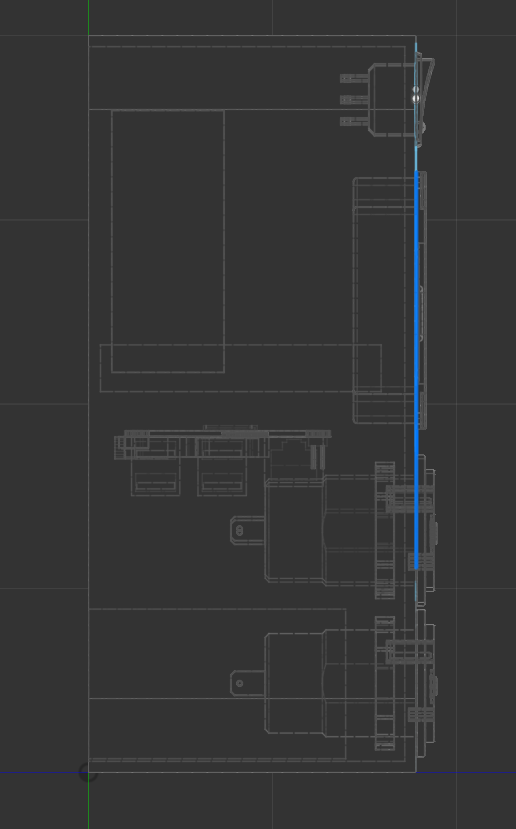
So far I've added two blocks to represent the USB hubs which are based on the advertised dimensions. I've added a block for the battery pack I have based on my measurements. I've added a placeholder block for the HackRFone card based on my measurements and a fully realized 3D model for the actual Pi. The USB ports are approximated with a model I found that had the same footprint, so I replaced the arcade button assemblies with those. I've reduced the number of rf/antenna ports to just what is needed for the sdr dongle and the hack rf one and placed those near the top assuming antennas will want to be higher and the connections usually lead upwards.
I was thinking of just leaving the cubby hole for the battery pack open and just slide the battery in and out. I also need to add power ports to the front panel still.
I've also accounted for the pi camera board size and sketched that in. I still have hope in include the 2nd monitor so I am brainstorming how I can make that happen.
So far I'm feeling good about the space but I haven't modeled any wiring so it could get ugly fast.:)
![]()
![]()
3/4 view
![]()
Rear view slightly askew
-
Dialing some ideas in
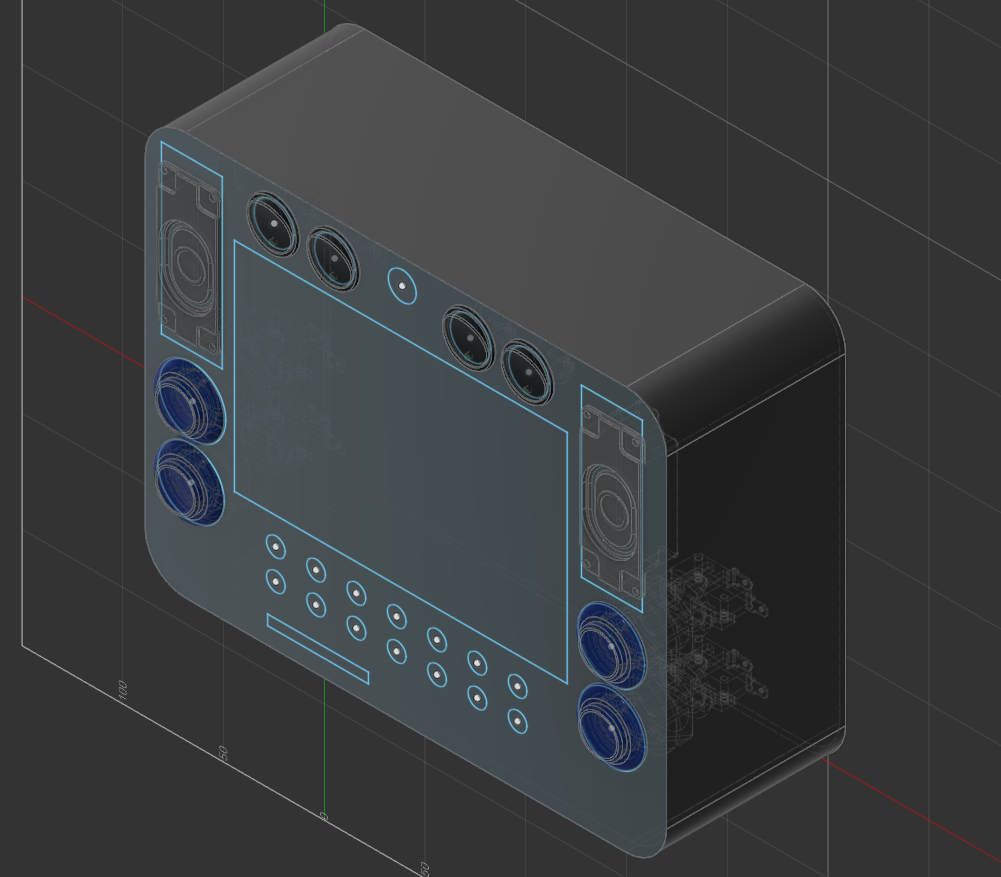
08/08/2023 at 08:17 • 0 commentsI've modeled out a rough 3D case interior in Fusion 360. I didn't want to go too far into the 3D design at this time since I am still settling on some equipment and hardware details but I did get started on two things.
1. I did a first draft sketch of the front panel using my placeholder interior.
2. I began the process of arranging both panel and interior components that I knew I needed or wanted to include.
Taking stock, Inside I need to accommodate need a minimum of 2 usb hubs (one for 2.0, one for 3.0) , the pi, the SDR's, power pack, port and patch connections, cable guides. On the panel I have an ambitious layout with lots of patch ports.
My desire to have 2 screens is fading as I am bringing certain details together and the realization of the limited space that is available. I have started to gel on a bracket system idea for the solar panel that I would have to design and 3D print. The panel would ride inside the case and add a bracket as a mod to the case exterior. I think I can integrate it in a way that's super low profile and doesn't compromise the case, i.e. no penetrations. Since that is a novel design element, I'll keep logs on the various stages of development.
Also potentially on the chopping block is a way to slide my additional battery pack into the deck. The product I am considering is the Geekworm Raspberry Pi 4B/3B+/3B X735 V3.0 DC 6V-30V Width Voltage Input Power Management with Safe Shutdown
A mockup made up of other mock ups. The round blue items are arcade buttons that have the same dimensions as the ports I am considering so I had the model and just threw that ion there to give me a general sense of size, Also, the speakers are from Adafruit but are slightly smaller than the ones I have, so I just threw those in there too. The small circles at the bottom are RG6 connectors for an amp, 3 different attenuators, antenna ins and outs and HackRF One clk in and out.
![]()
-
Day 3 - a few new discoveries and some decisions
08/08/2023 at 01:22 • 0 commentsI did some research on EMP's and learned about the E1, E2 and E3 phases of an EMP.
Started modeling the interior of the deck then got distracted with other shiny cool things. I saw something in the background whilst browsing Ham radio stuff and it stuck in the back of my brain so I did a few searches and found this retractable short wave antenna. Goes to like 23 feet long and fits in your pocket. That is going to be an accessory if I can't fit it into the core case somehow.
On the subject of space, although I like the idea of the imbedded hard wired network switch that you see on a lot of the earlier cyberdecks, I am not sure that is needed with improvements to BT, Wifi and other data over RF options. You still have the option to attach one later as I will expose the one RJ-45 port on the front panel but that leads my to my next idea.
I envision an EMP shielded bug out bag to go along with the core deck but would not be needed to make the deck work, just enhancement items and backups. It would protect and carry accessories like a network switch, extra mouse, antenna's, battery packs, hacking components, meters, radios, GPS modules, replacement parts, etc...I am doing my best to fit in all the core functionality into the deck and include this for add on items that could be useful but not necessary.
That being said, the Network Switch hardware is not something I plan to integrate into my deck. My initial idea is to create a slot where the network switch would have been that allows a USB battery pack to be attached and placed into the slot then swapped out as needed. I envision this being in addition the a smaller, UPS backup battery inside the deck.
So at this point my design choices are being predicated on the deck being operated while open, it is not intended to operate when closed and sealed. Because of this I am focusing on providing ports on the front panel as opposed to the exterior of the case.
-
Seek and ye shall find
08/06/2023 at 21:16 • 0 comments
Everything but the kitchen sink cyberdeck
My cut on the iconic project build. I have the case, I have the PI, I have a vision. Let's see if I can get it done.
 Curtis Soldano