-
1UV printing on PCBs
Clean the PCB surface with fine-grain sandpaper or another abrasive material and wipe it with isopropyl alcohol. Apply UV-curable soldermask and spread it evenly with a rubber roller.
![]()
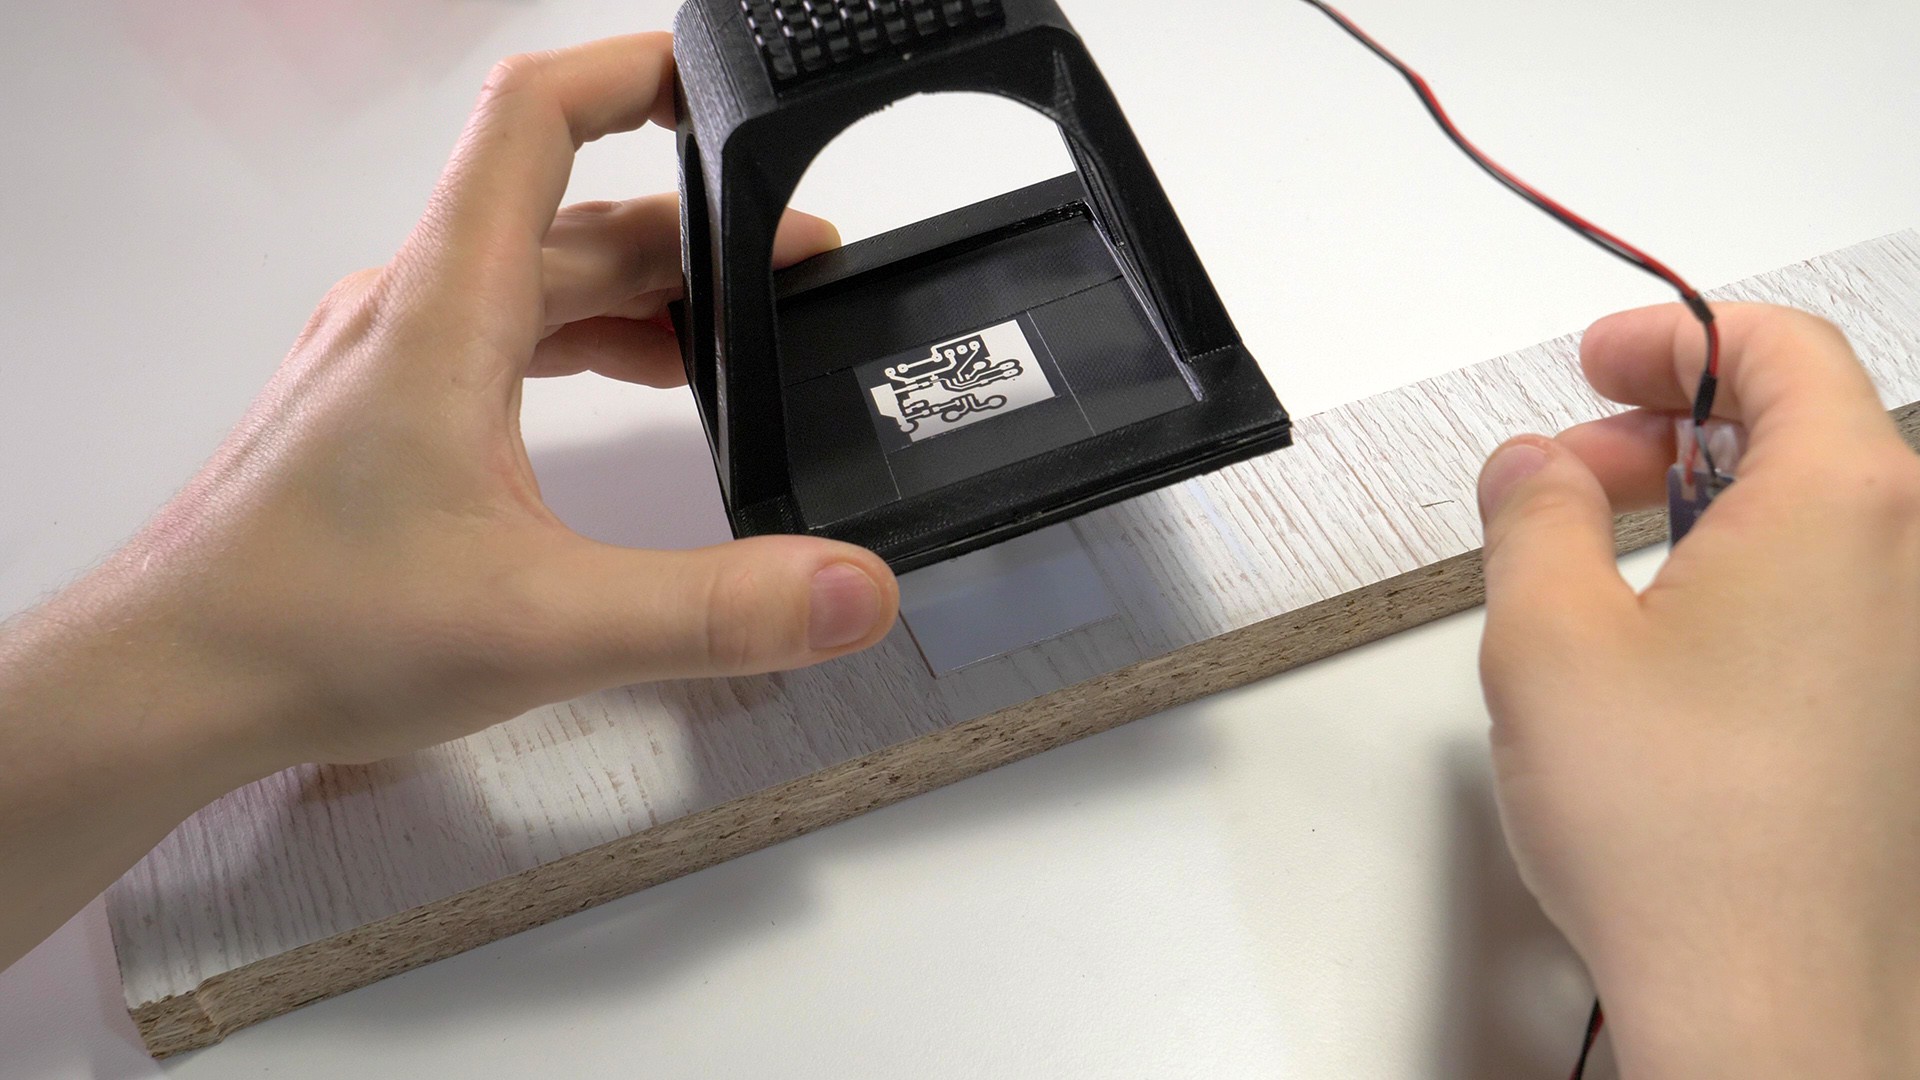
Clamp the transparency film in the magnetic frame of the tool and position the tool over the piece of PCB painted with uv-paint. If the transparency film is smaller than the frame, you can extend it using few pieces of tape.
![]()
Expose the image for around 25 minutes (the time can vary depending on the power of the LED, transmittance of the transparency film and thickness of the paint; it's generally better to over-expose the image rater than under-expose it).
![]()
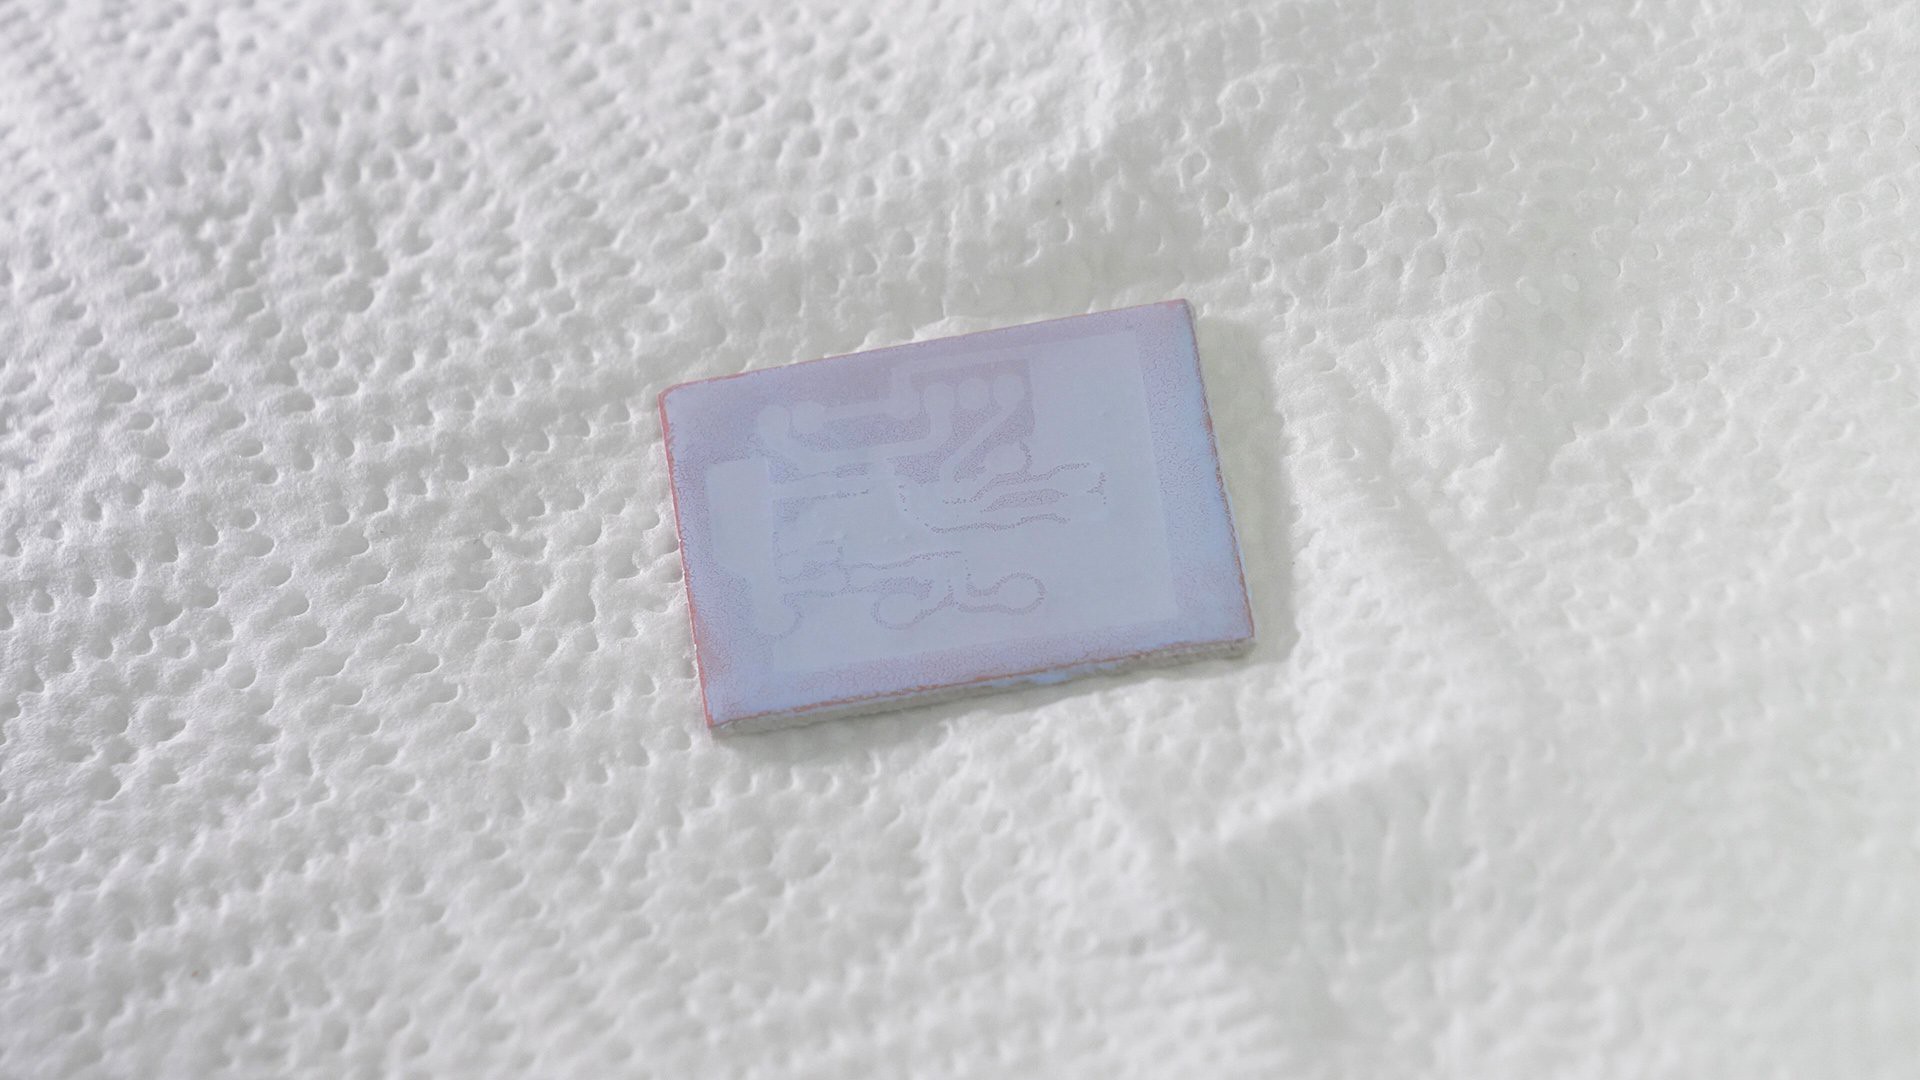
Now clean the unexposed paint with isopropyl alcohol:
![]()
![]()
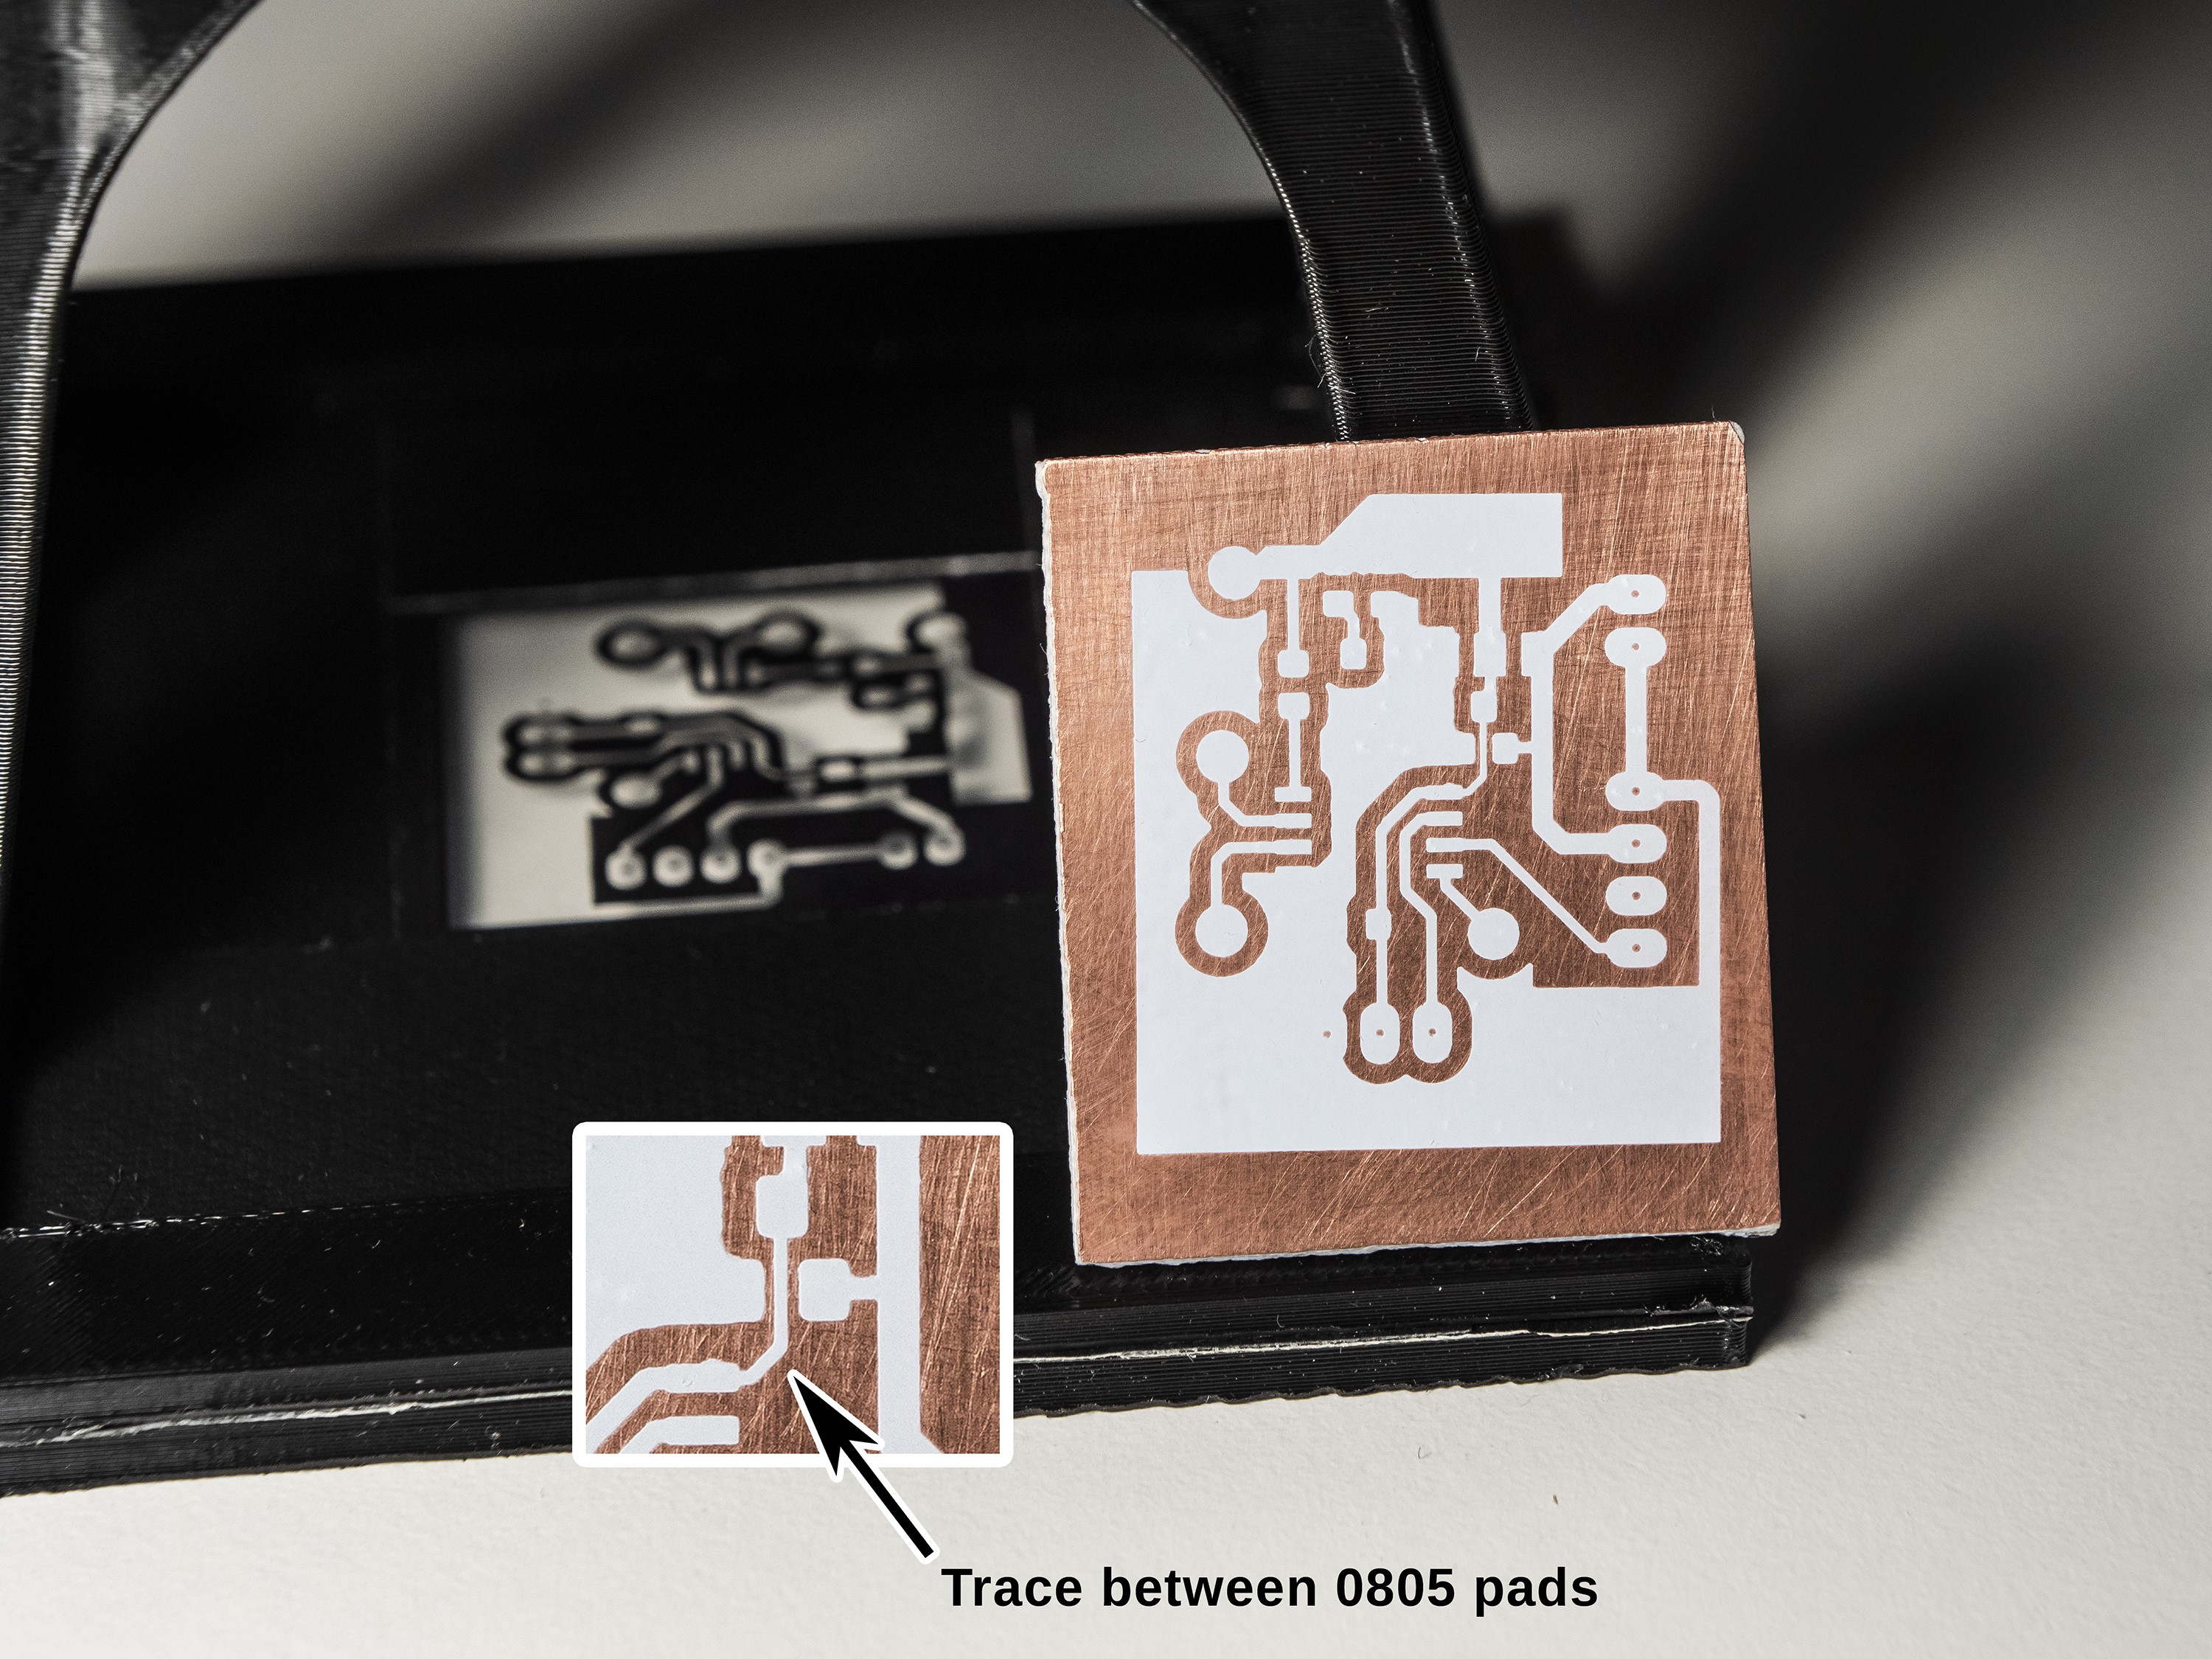
Final result should be good enough even for SMD components. I was able to route a trace between 0805 pads in my test piece, which is a fine result for hand-made prototypes.
![]()
Now the PCB can be etched using typical methods, eg. sodium persulfate or ferric chloride.
The mask can be then removed, depending on the type of paint that was used, with acetone or mechanically (sandpaper or scraping off).The same method can also be used to print an actual soldermask, or even text on the PCB.
-
2UV printing on other items
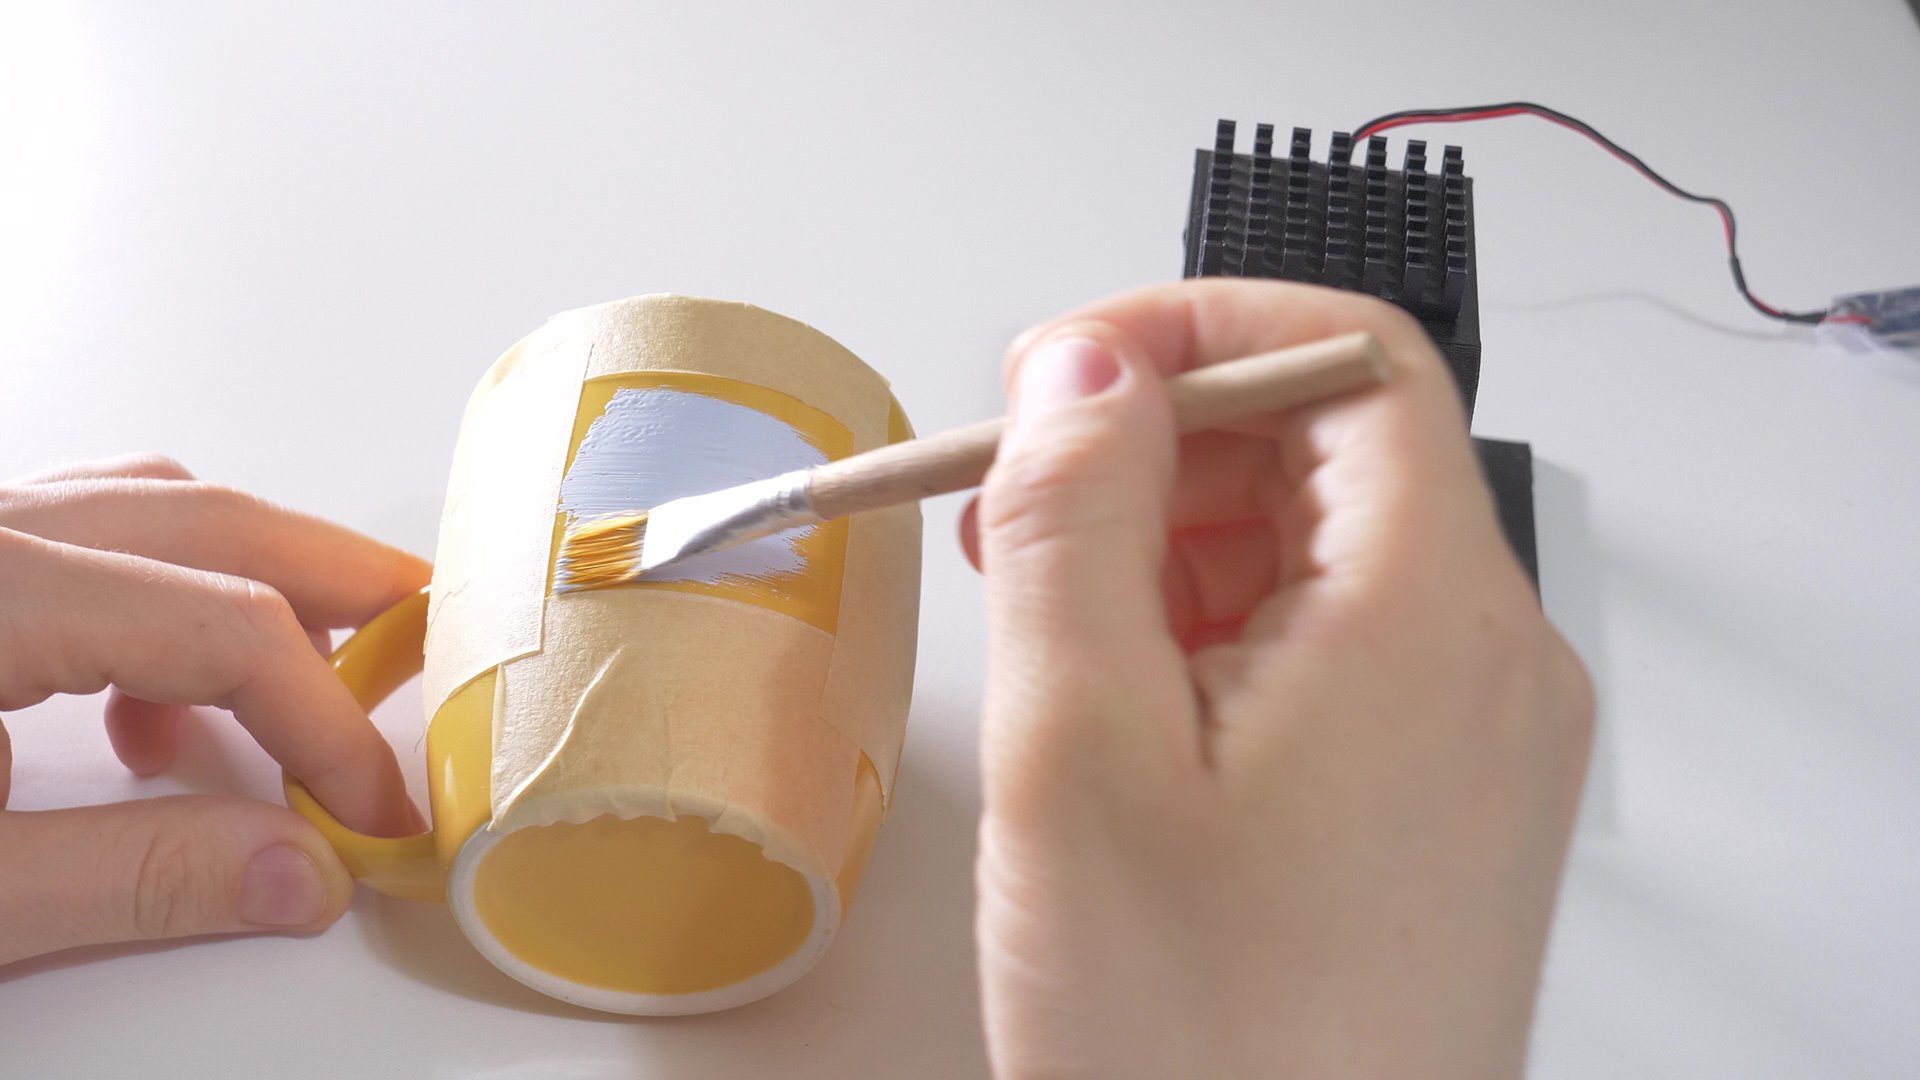
It is possible to print on various objects, as long as they have surface from which the excessive paint can be wiped off (eg. 3D printed parts, cases, panels, household items). A mug will be used as an example in this instruction.
The surface of the object needs to be cleaned with isopropyl alcohol. A layer of UV-curable paint then needs to be applied with a brush. I'm using white UV soldermask, which has pretty thick structure and spreads easily on the objects, without leaving large brush marks.
![]()
![]()
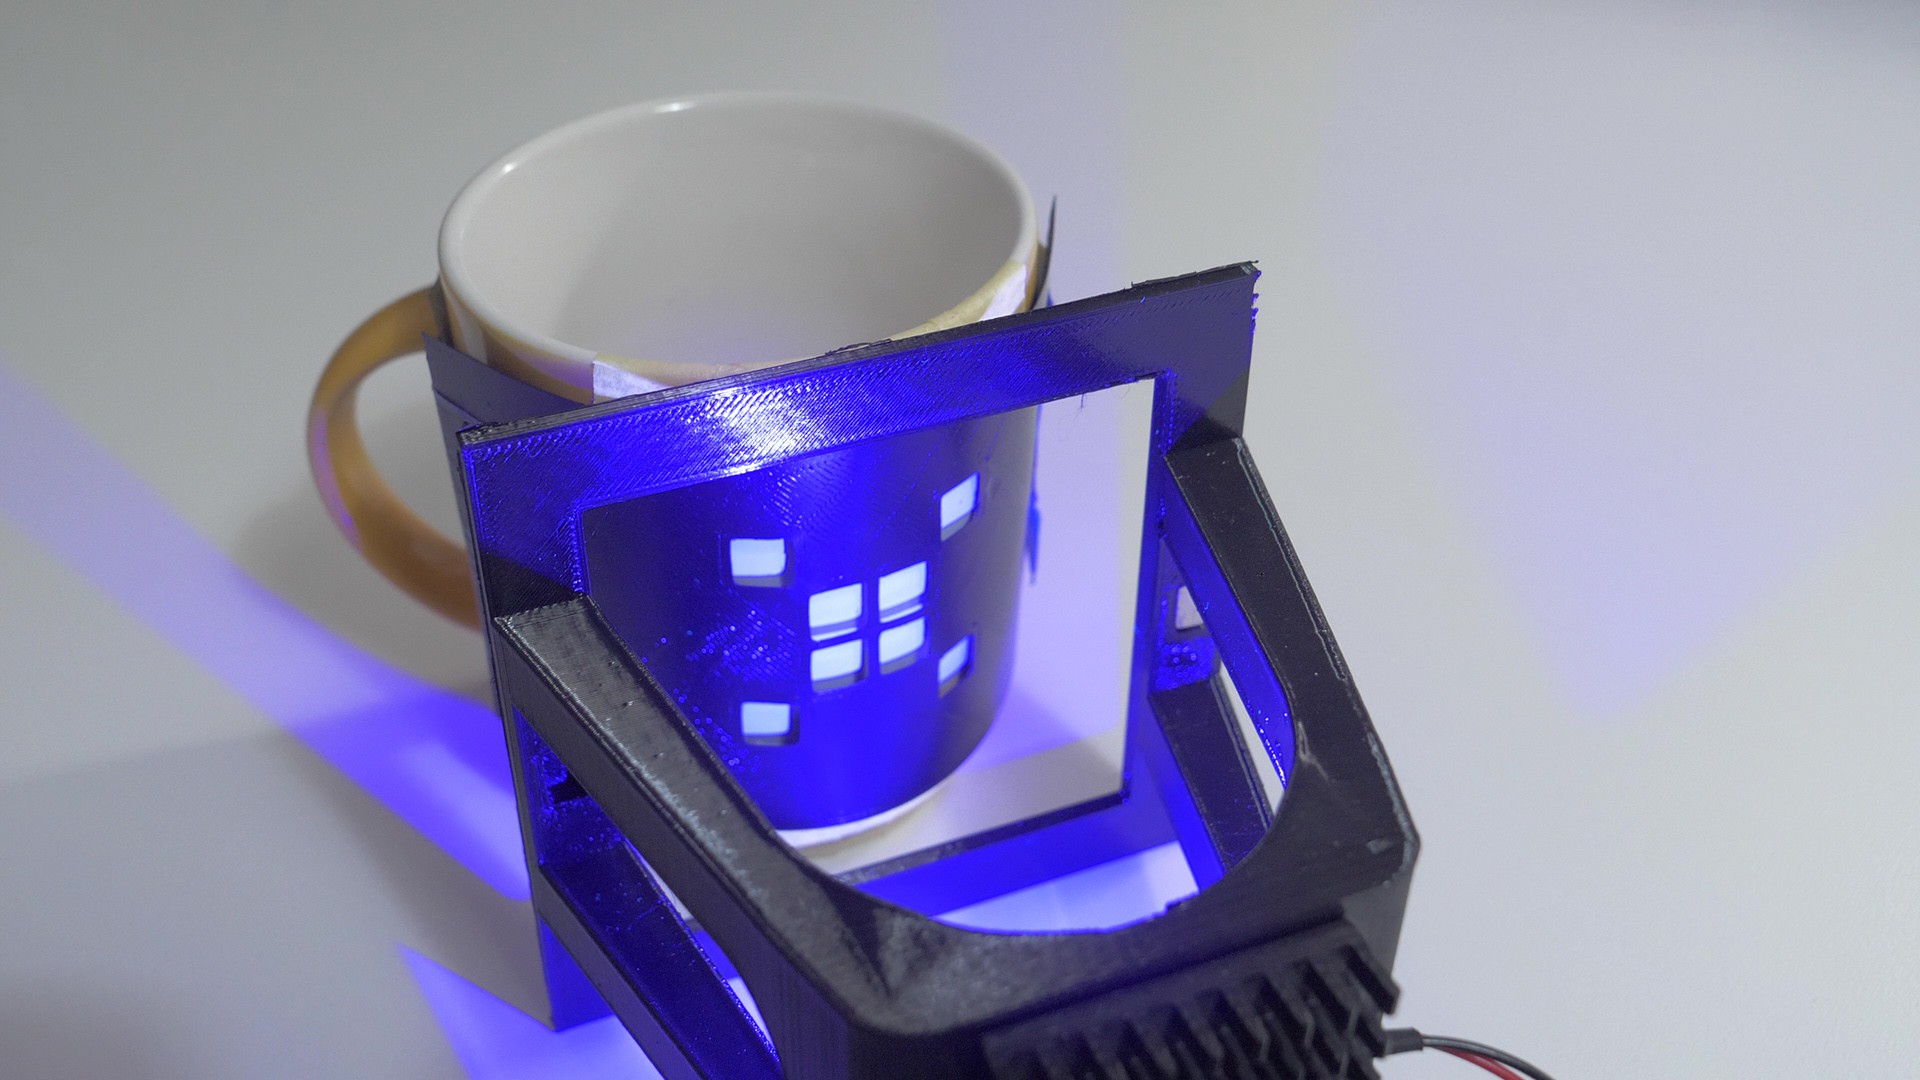
Now the mask needs to be attached. In case of flat objects, the process would be the same as with PCBs, and the mask would be attached to the magnetic frame. However in this case the object is curved, and the easiest method is to bend the mask and attach the sides with pieces of tape, leaving an airgap of few milimeters.
Now it's time to expose the mask. This time I used a 3d-printed mask, which has perfect transmittance of UV light (unlike transparency films, which cause some losses), so the exposure time can be slighty shorter. Around 15 minutes should be fine.
![]()
After exposing the mask can be removed, and the unexposed paint can be wiped off with isopropyl alcohol.
![]()
![]()
UV projection printer for PCBs and item marking
This tool can project UV mask and cure paint on various objects, including PCB prototypes, 3D prints, panels and household items


Discussions
Become a Hackaday.io Member
Create an account to leave a comment. Already have an account? Log In.