 Timo
Timo-
1Get a kit.
![]()
You get a piece of wood with the schematic engaved into it. The Electronics and wires as well as a box, dividers to prevent crosstalk between the leds and two overlays for the wordclock. The firmware only works for the word clock, so that decision is easy.
-
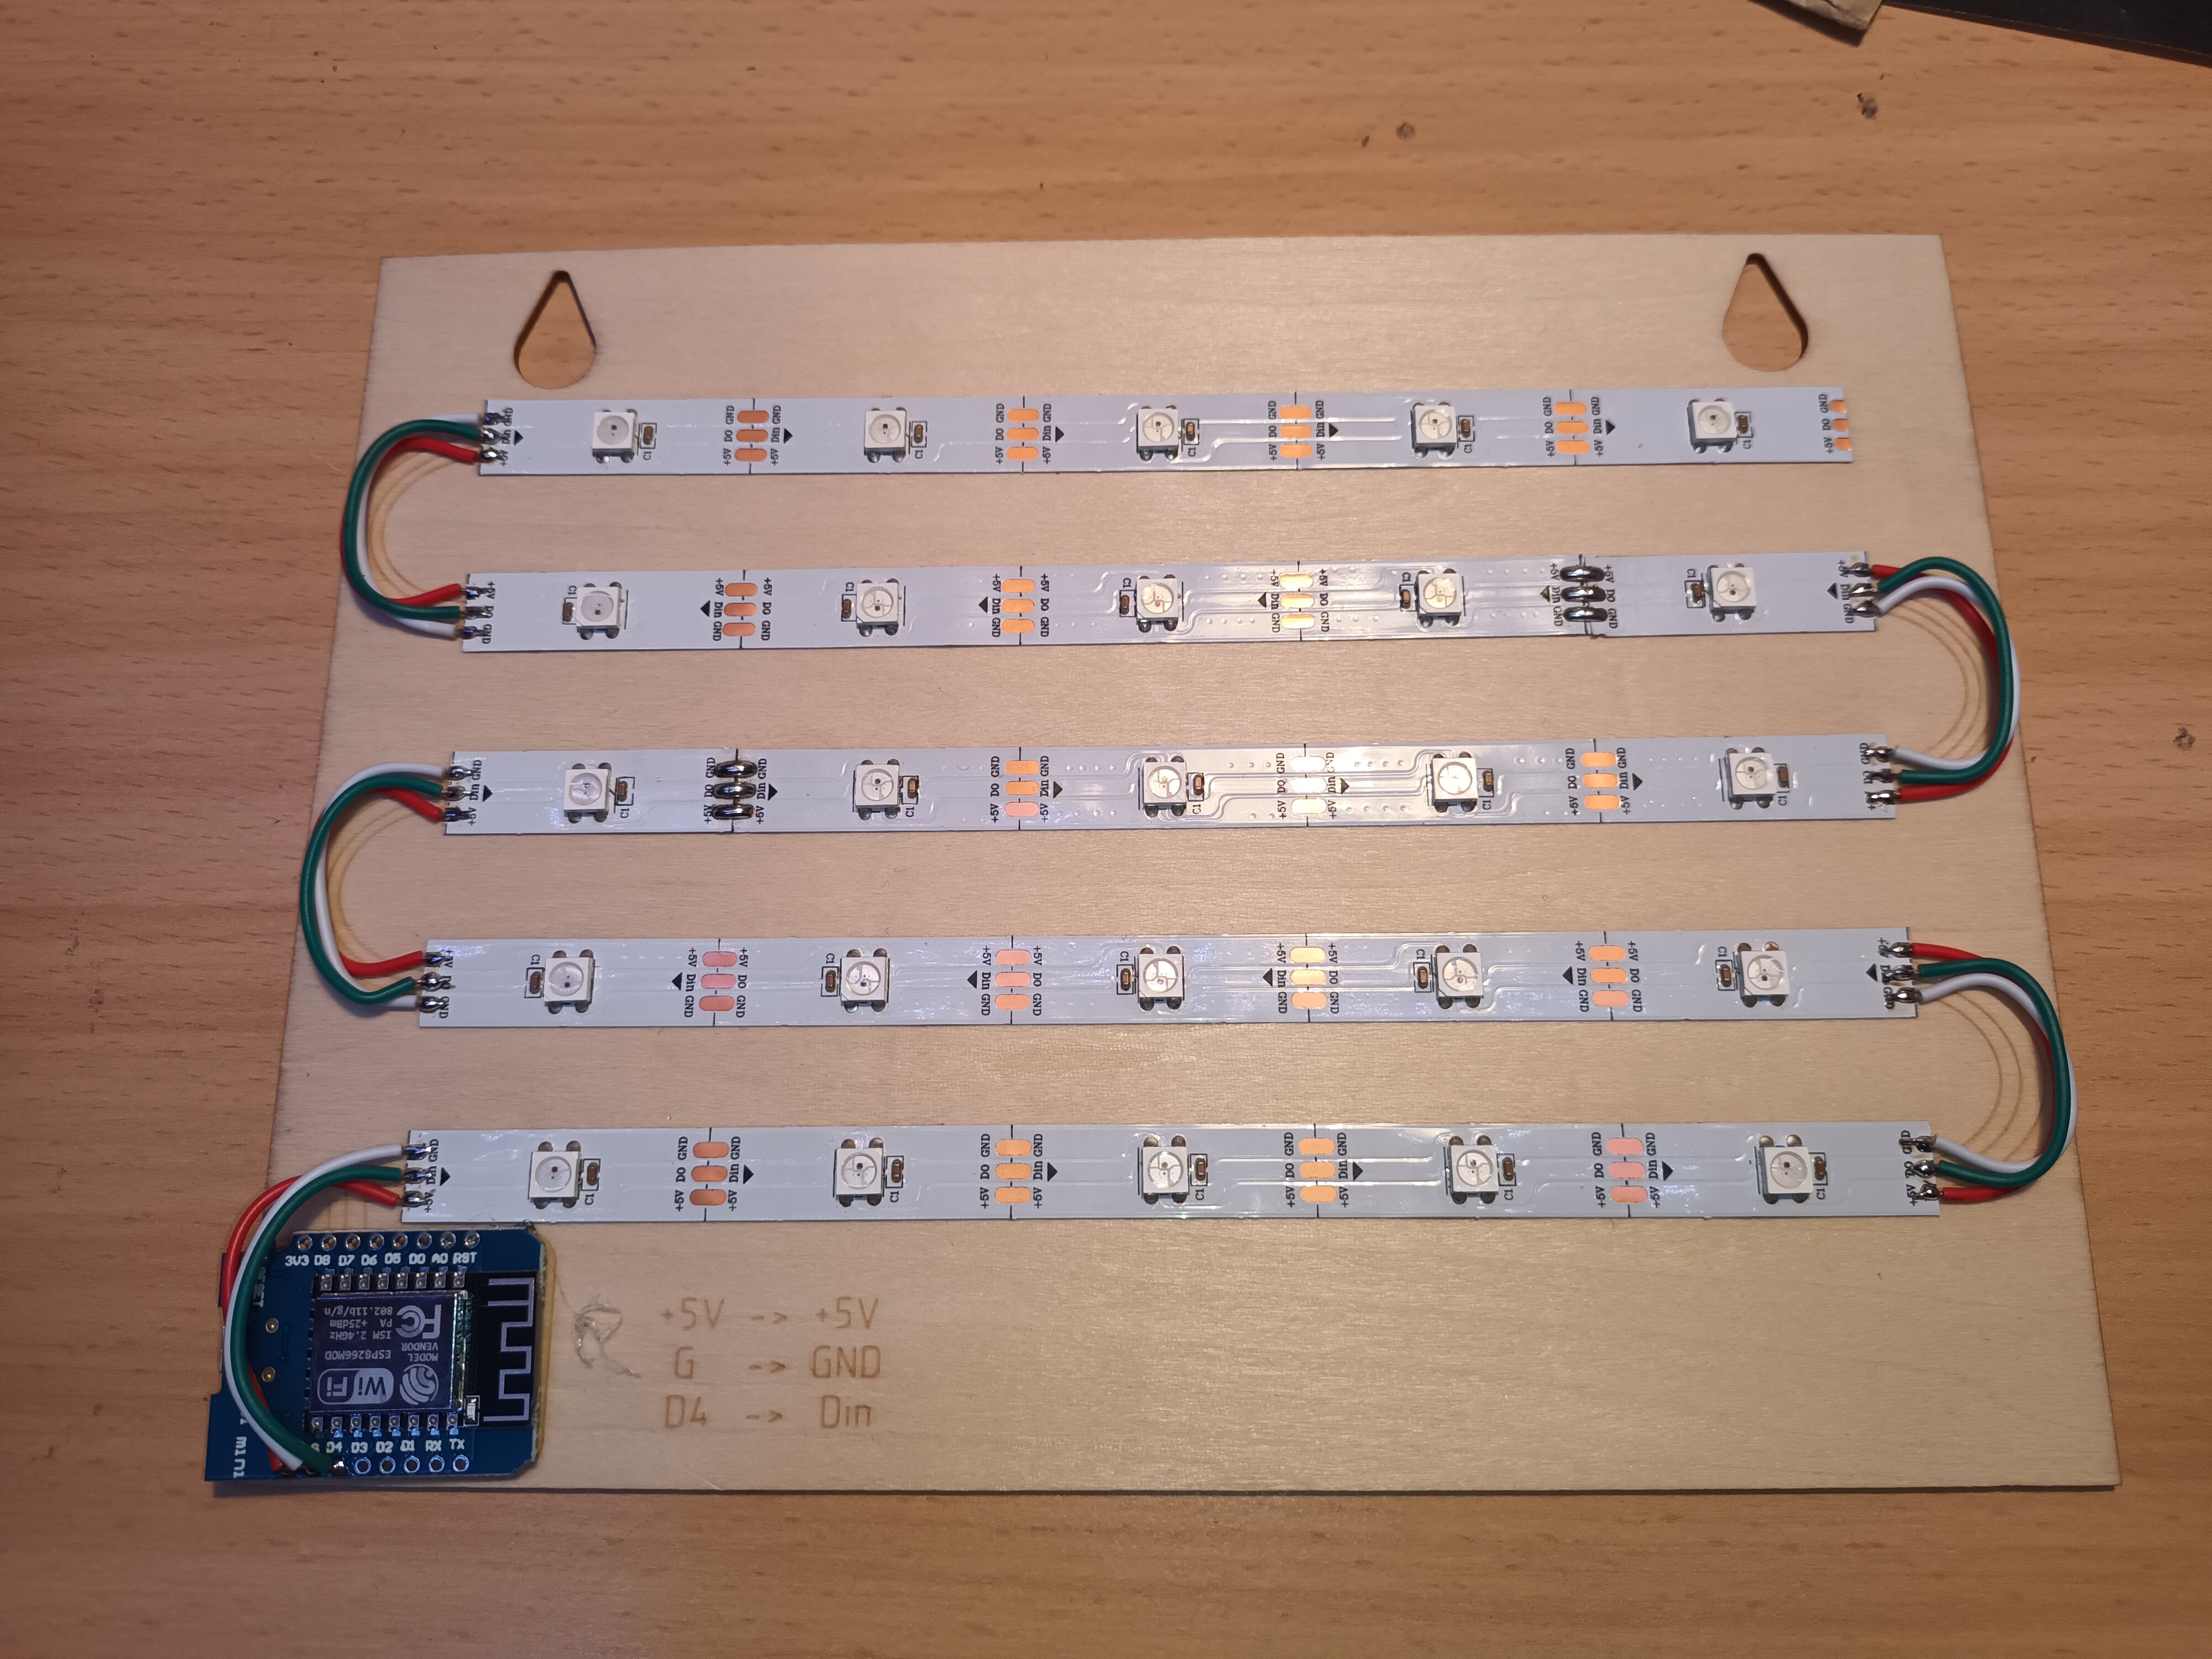
2Glue and solder everything together.
![]()
Glue the led stripes to the wood. Make sure the led stripes are oriented in a way so that they snake up the board. Do not change their position.
The Wemos D1 is glued with a big splasch of hotglue to the wood.
Solder the led stripes together:
VDD -> VDD
GND -> GND
Dout -> Din
After that solder the begining of the led stripe to the Wemos D1:
VDD -> VDD
GND -> GND
D4 (Wemos D1) -> Din (led stripe)
-
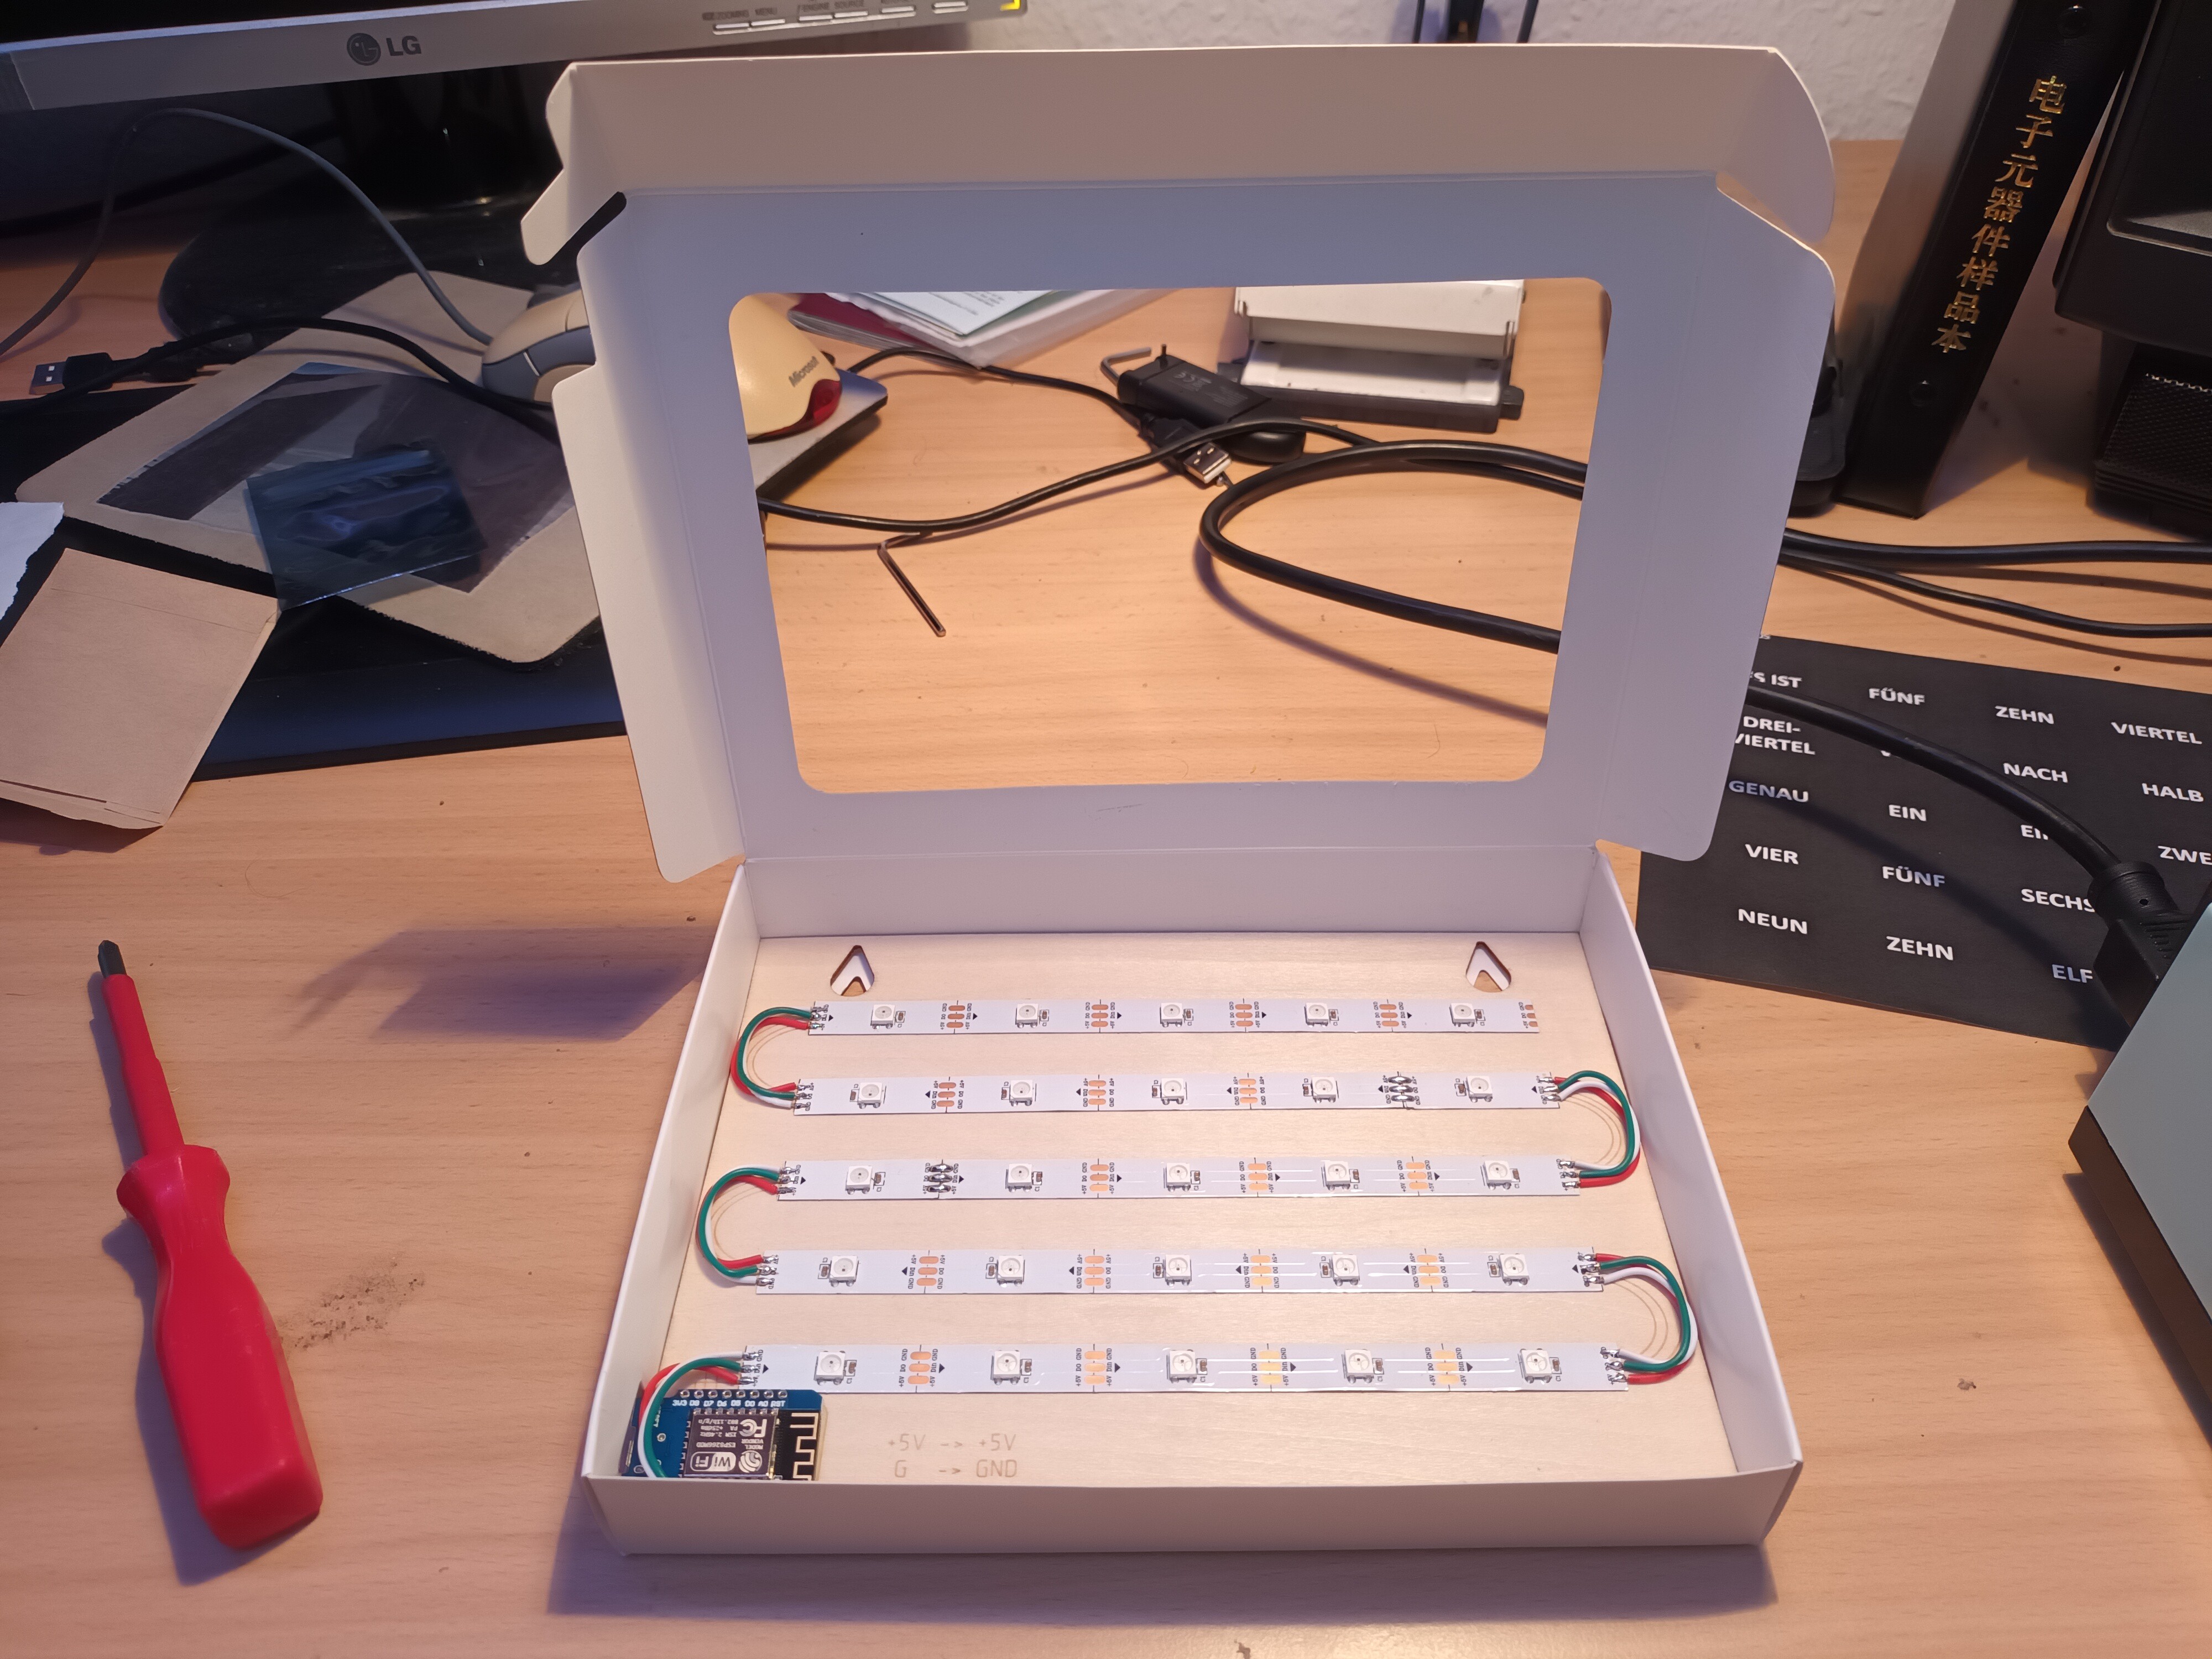
3Put it in the box.
![]()
-
4Add light blocking divider between LEDs
![]()
-
5Put Overlay on Top. Close the Box.
![]()
-
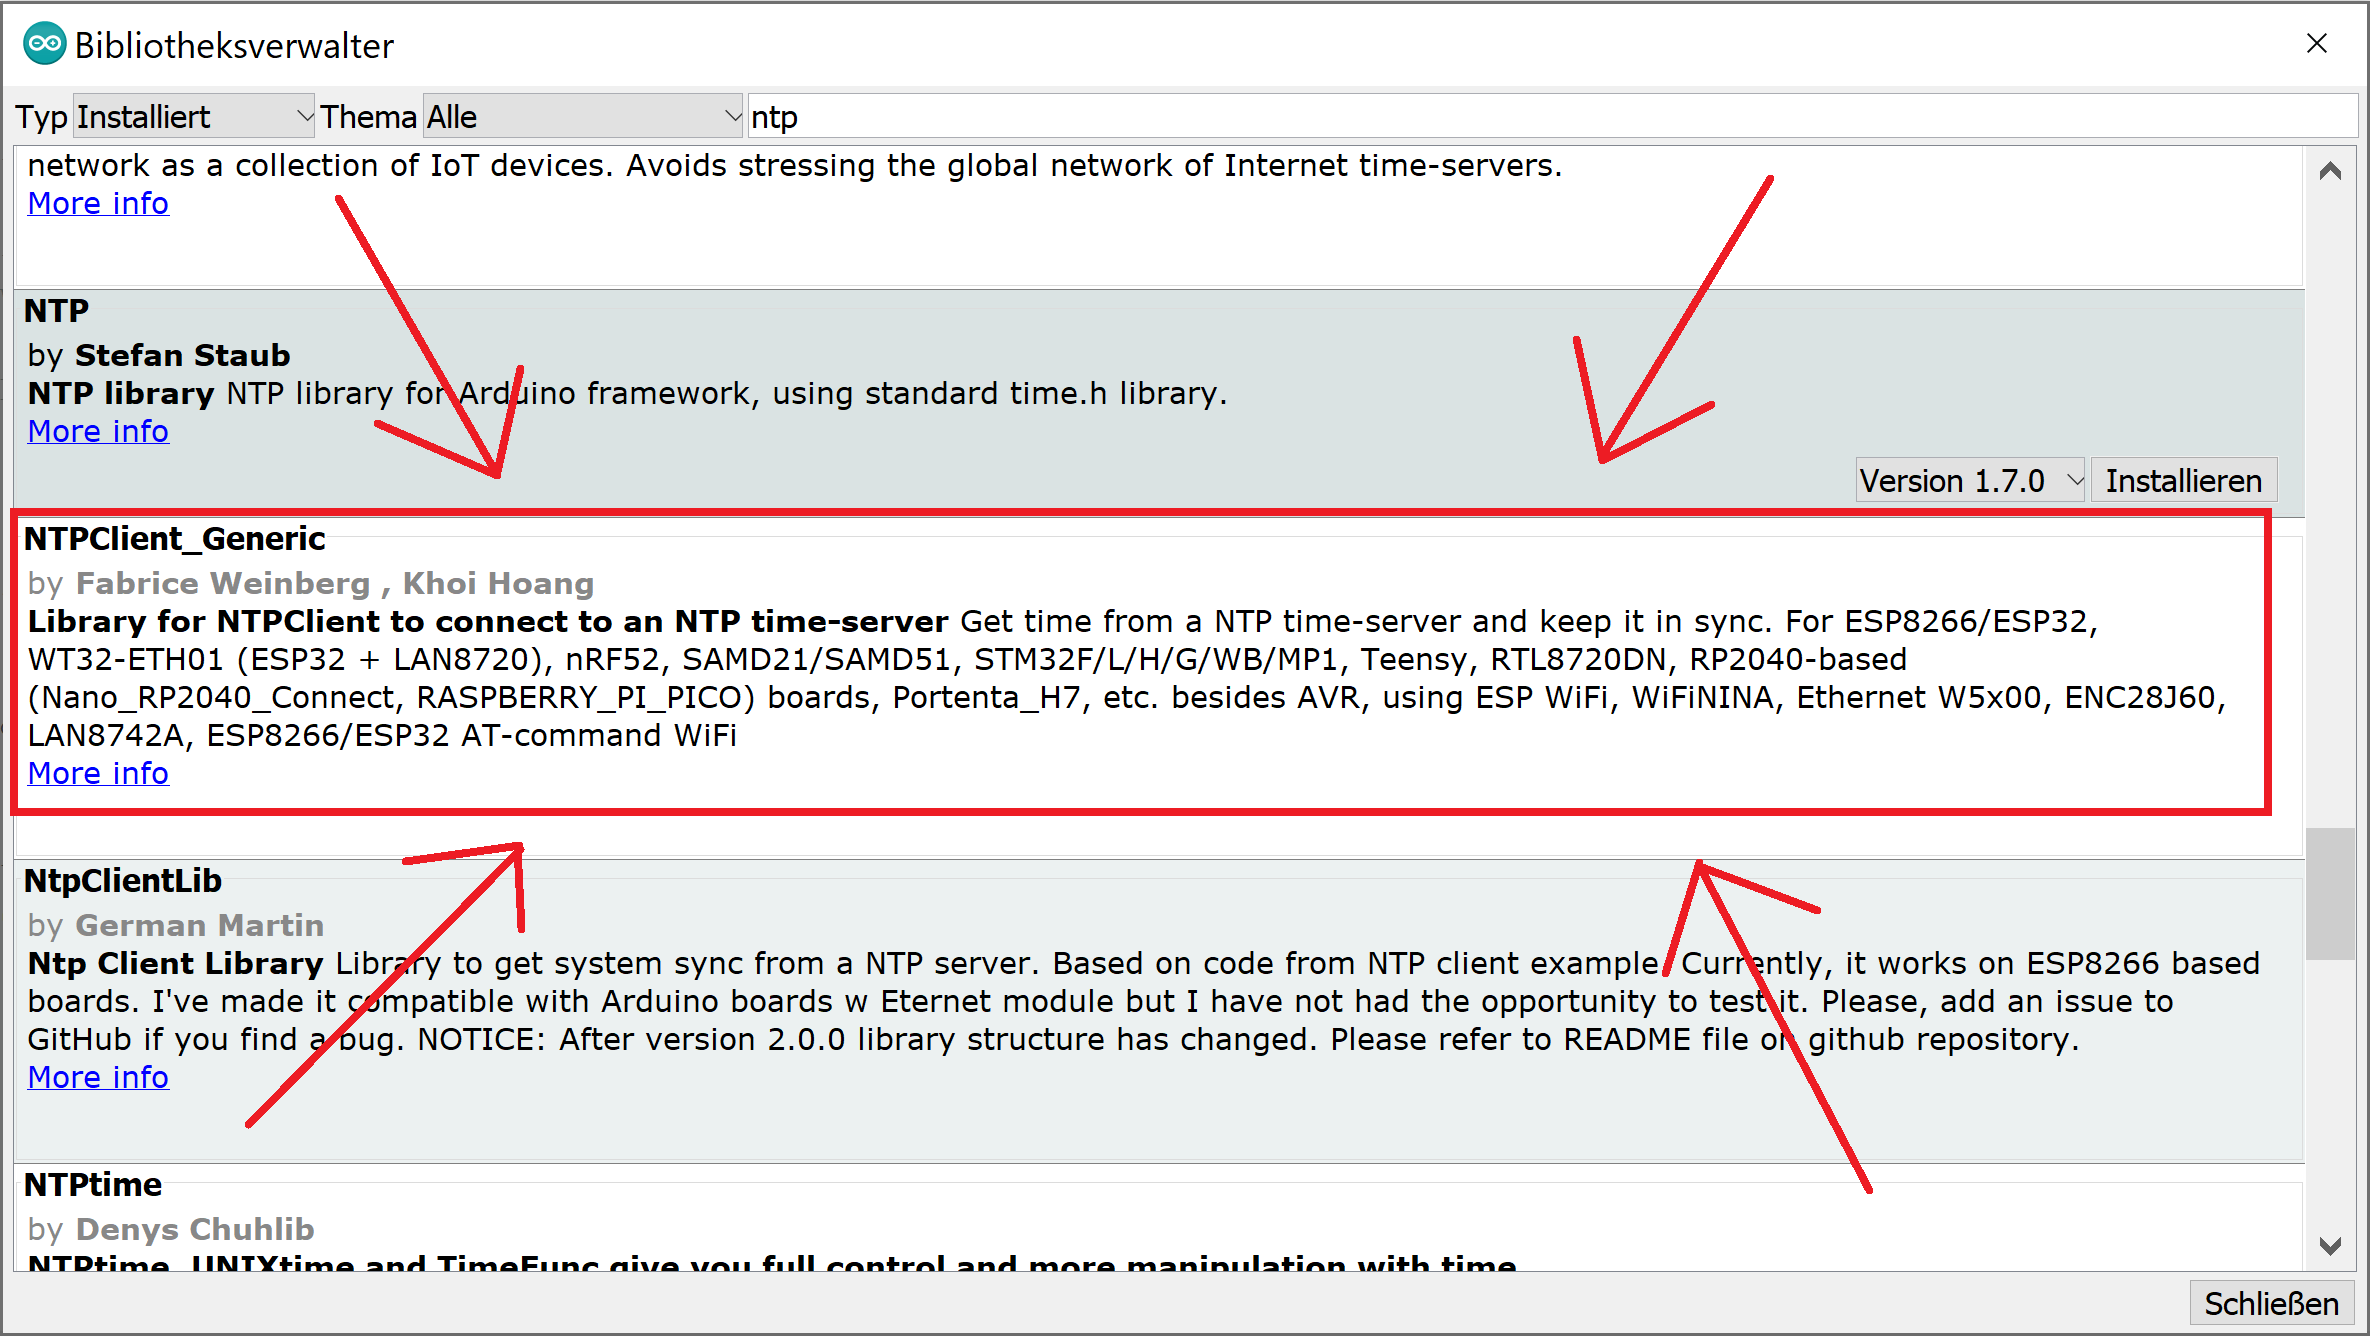
6Start Arduino IDE. Load these two Libraries.
![]()
![]()
-
7Open wordclock.ino and set your Config. Flash!
![]()
The RGB code sets the color with which the pixels will light up.
Flash the firmware to the MCU and you are done.
Firmware for Boxclock from build-yours.de
At Makerfaire Hannover 2023 a kit for a wordclock was distributed but the software is missing, until now ...


Discussions
Become a Hackaday.io Member
Create an account to leave a comment. Already have an account? Log In.