Close
0%
0%

VSTiPiano

A versatile stage piano with integrated VST plugin compatibility, offering advanced control and dynamic performance capabilities.

Similar projects worth following
Back in 2015 I started working on my VSTiBox; a portable systhesizer for running VST plugins. (https://hackaday.io/project/160858-vstibox). After a few years of greatly enjoying my invention, the keybed of my master keyboard became sloppier, and it was time to to replace it. I could have opted for a latest-gen Nord, but since I enjoyed my VST machine so much, I decided to create my own stage piano based on the same concept:
- Windows PC-based all-in-one solution for playing VST instruments
- Dedicated for live-performance with sliders and buttons
- Real-time control of 8 VST instrument and effect channels
- Integrated mixer with multiple I/O and headpones output
- PCI-express audio interface for low latency audio

The VSTiPiano is fully functional. I use it regularly in church or for gigs. Nevertheless, it is an ongoing project for which I still have many ideas and plans.

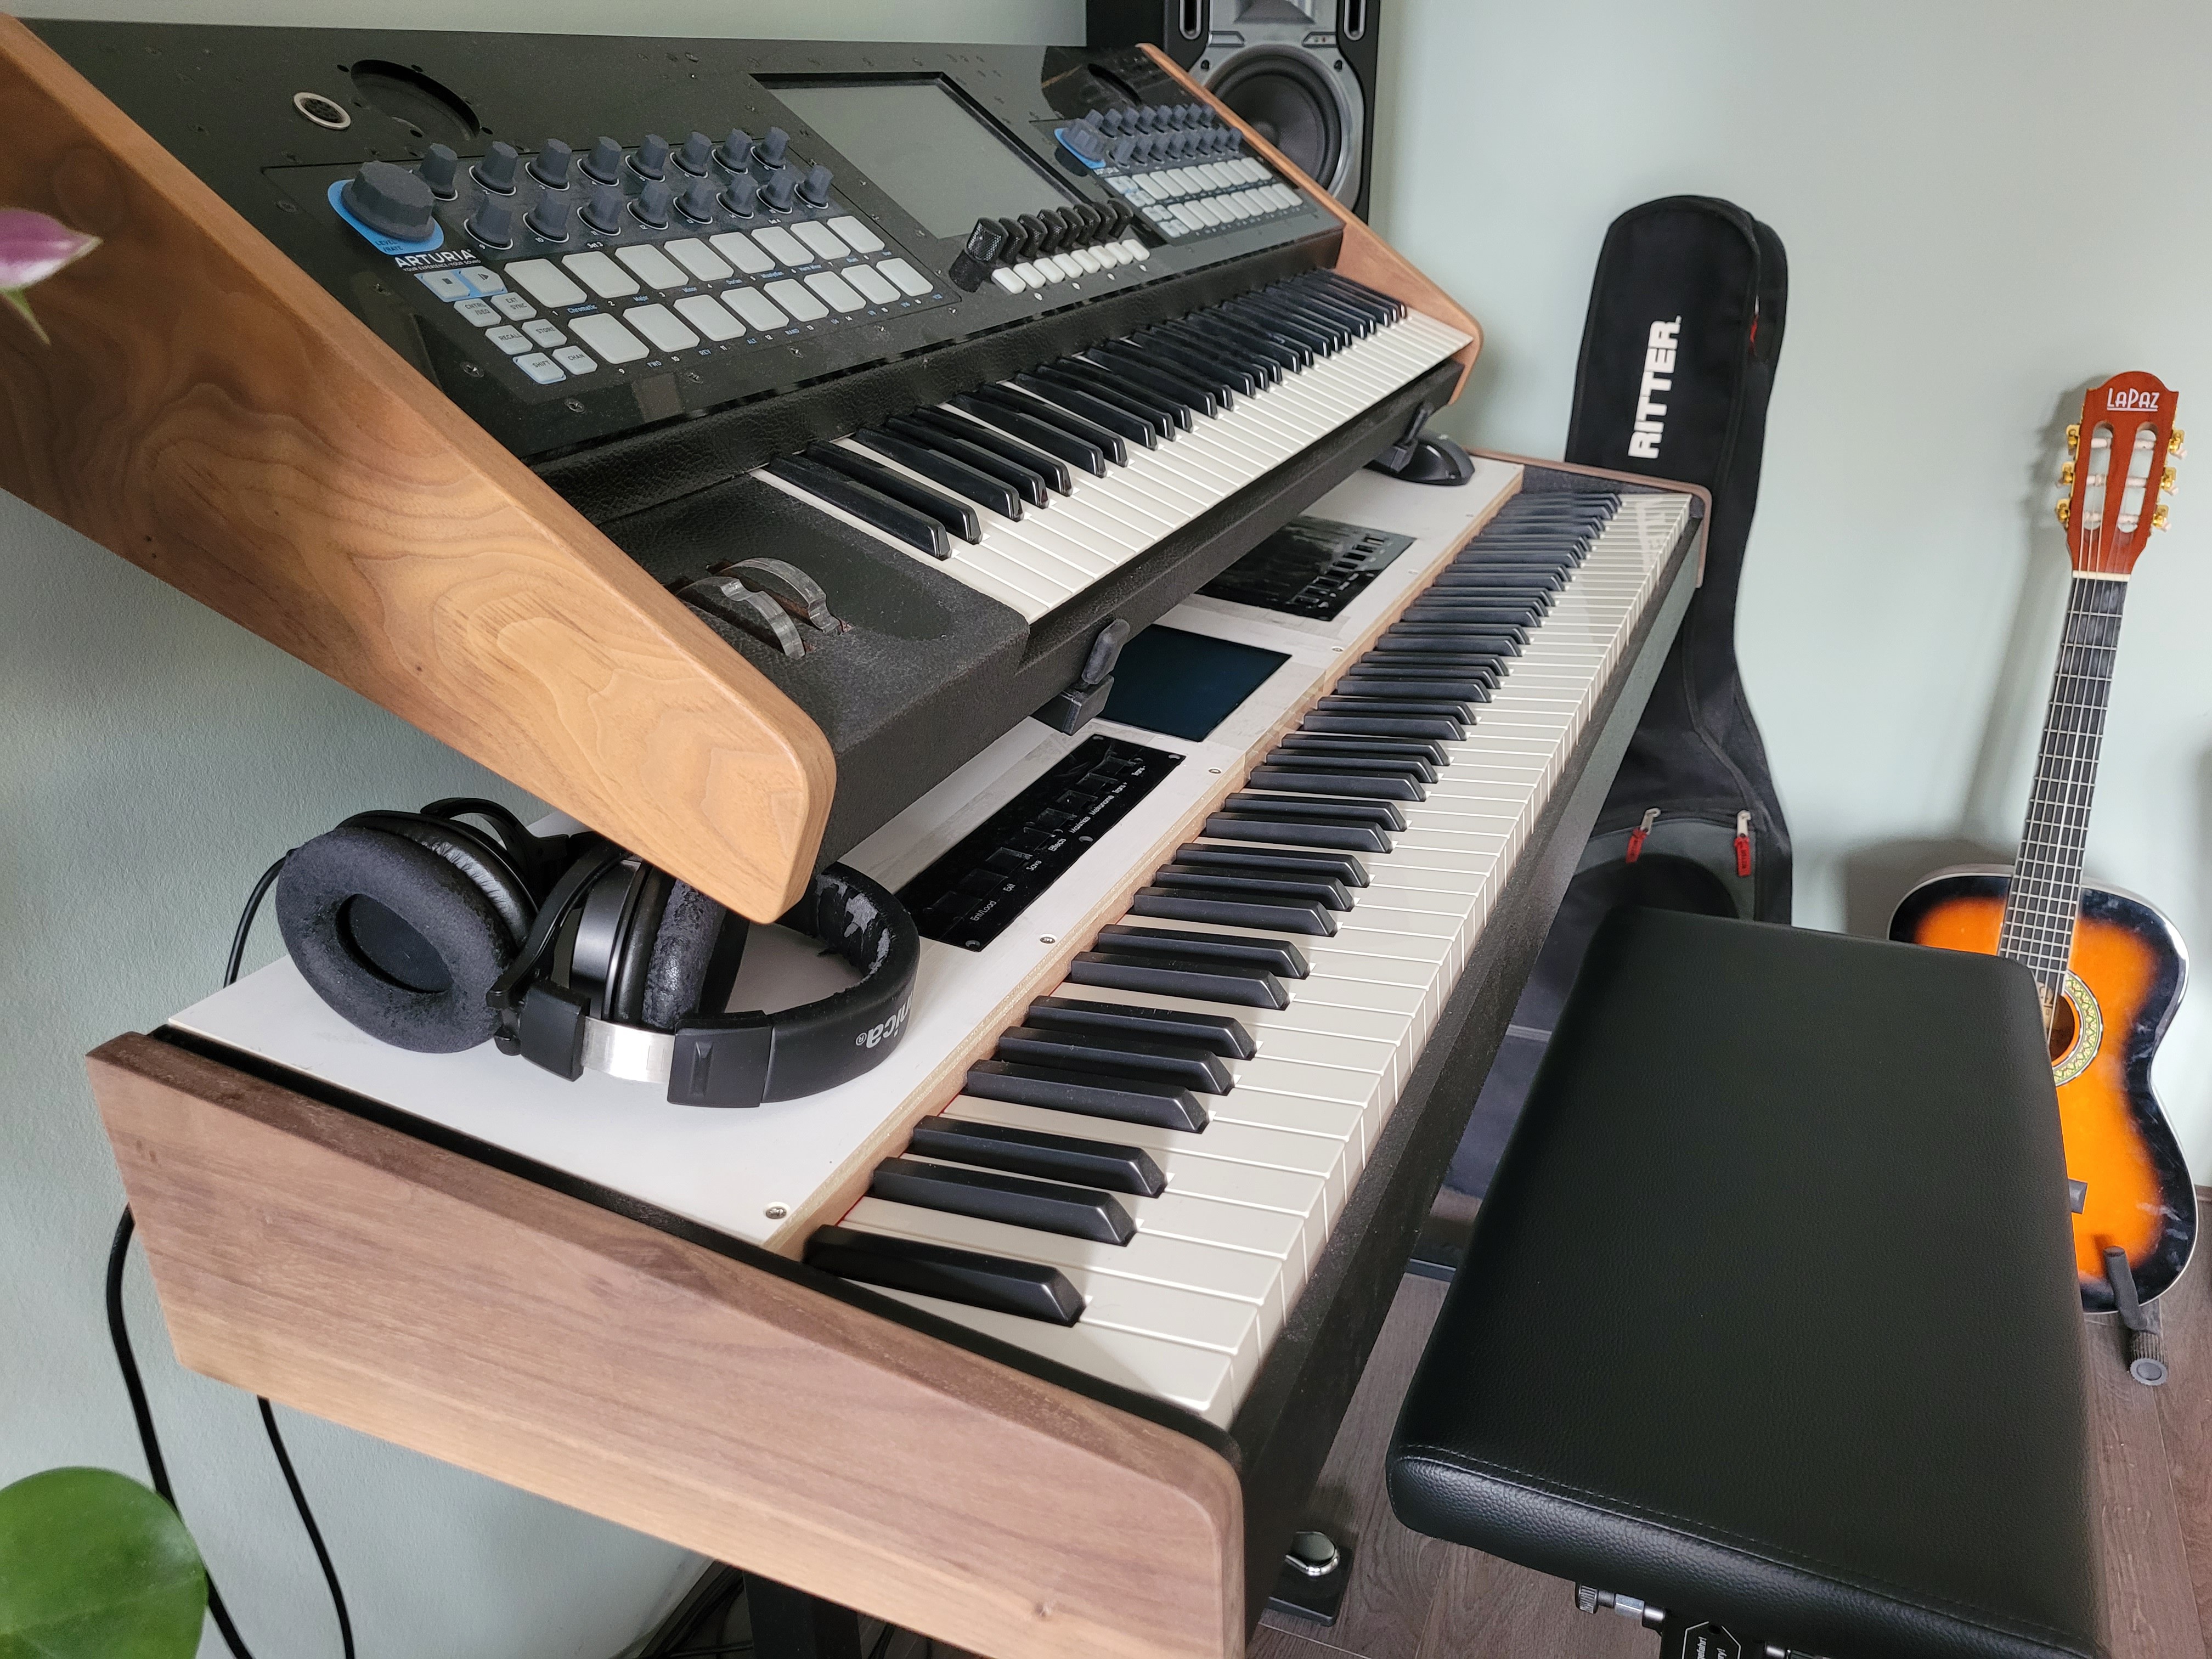
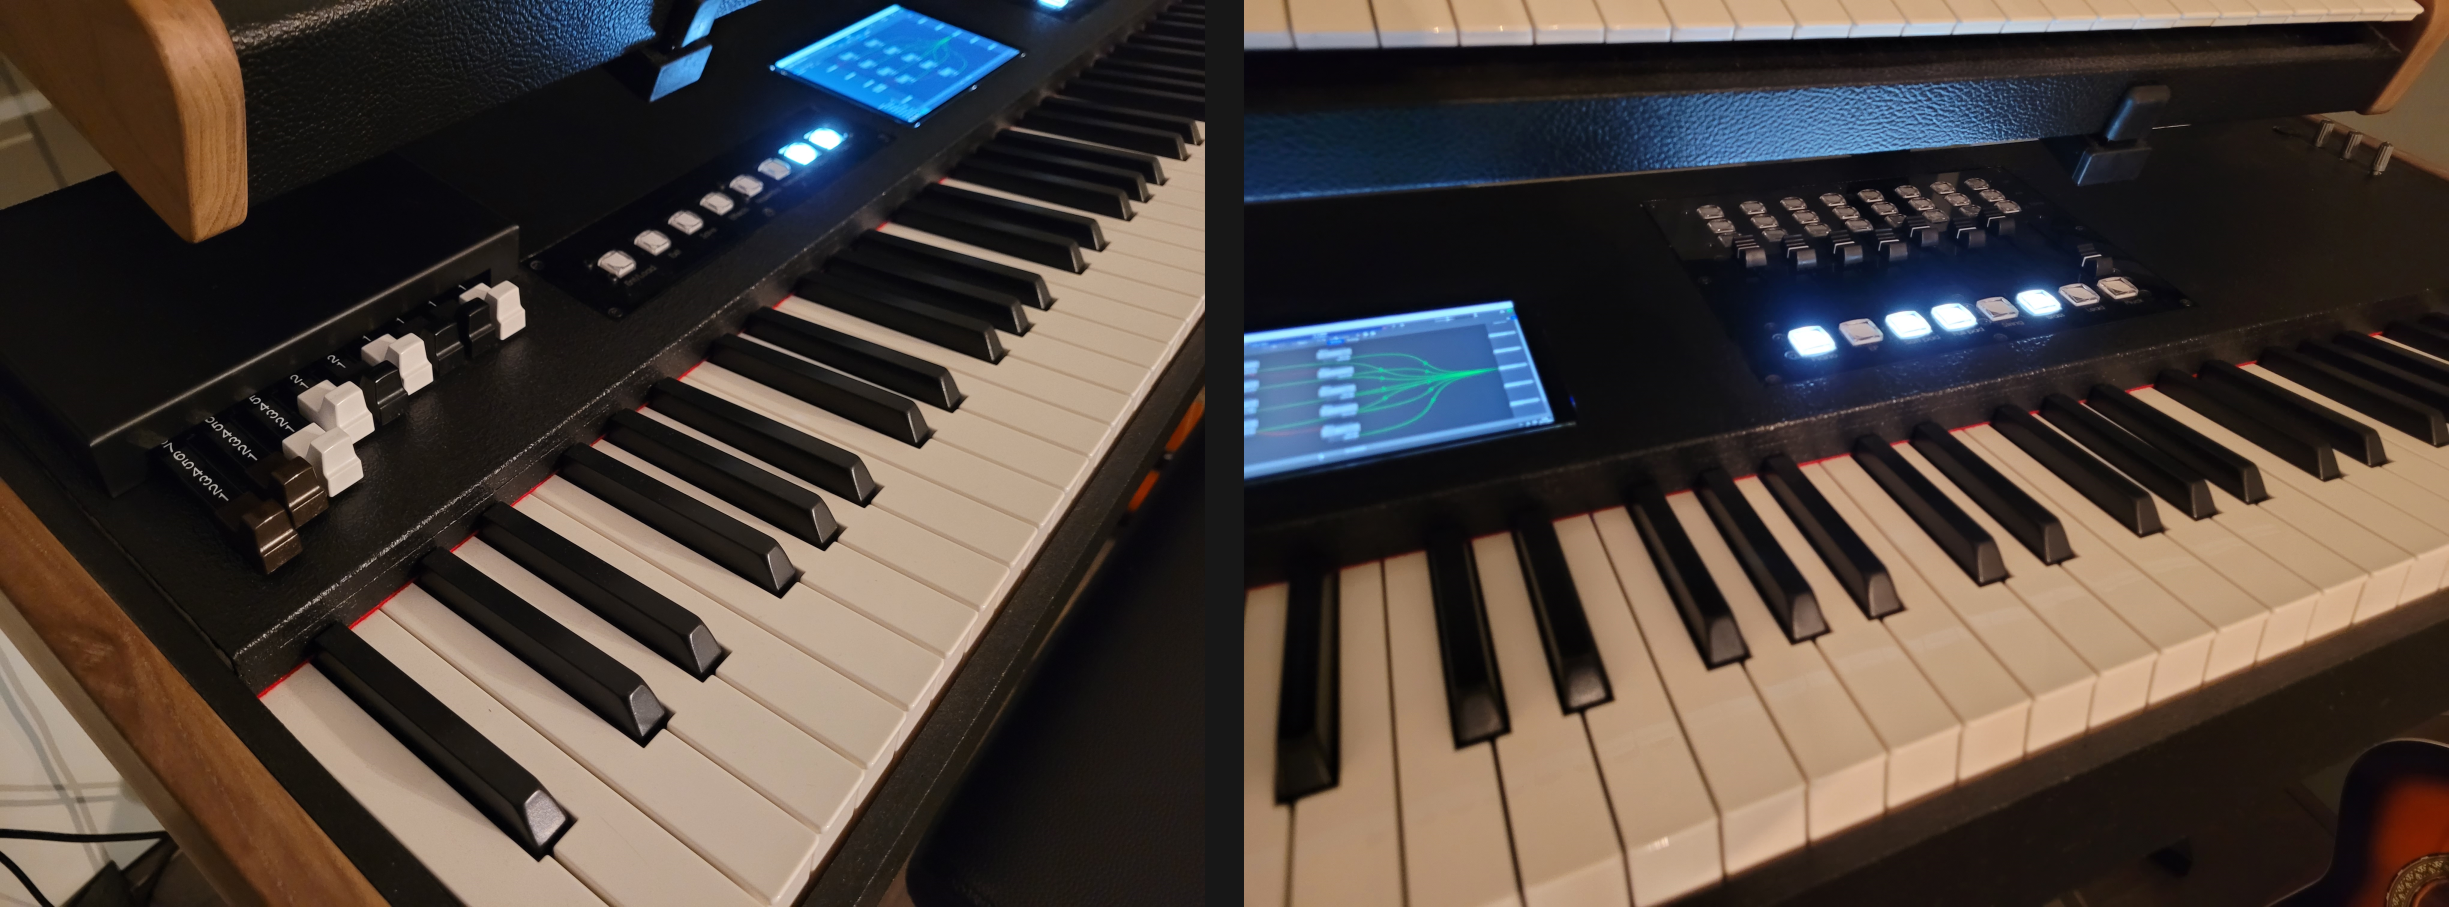
The VSTiPiano is designed to have 8 channels/layers of VST plugins that are controlled with buttons and volume sliders. A Crumar D9U drawbar controller is added for controlling the Hammond sound. The buttons and sliders are custom made MIDI-USB interfaces. Additionally, the keyboard scanning interface is also custom, allowing me to fine-tune the keyboard's responsiveness to match the piano action exactly to my liking.
The synth on top is also PC based; it is my 49 key version of the VSTiBox.

The current software used to run the VST's is Cantabile which works great! (https://www.cantabilesoftware.com/

I did write my own DAW for the VSTiBox, but that currently only supports VST2's. Once x64 VST3's are supported and the engine runs in C++, I will use that instead. This will also allow me to implement the intended functionality for the 3x8 button controller. Another potential upgrade involves adding effect control panels with encoders or potentiometers to control various effects like a compressor, distortion, delay and reverb.

  • 2 × Custom MIDI-USB controller 1x8 illuminated buttons
  • 1 × Custom MIDI-USB controller 3x8 illuminated buttons
  • 1 × Custom MIDI-USB controller 8 faders
  • 1 × Custom MIDI-USB fatar scan controller
  • 1 × Fatar TP/40M keybed + aftertouch strip

View all 8 components

  • Completing the cabinet

    Jan Bert09/12/2023 at 19:30 0 comments

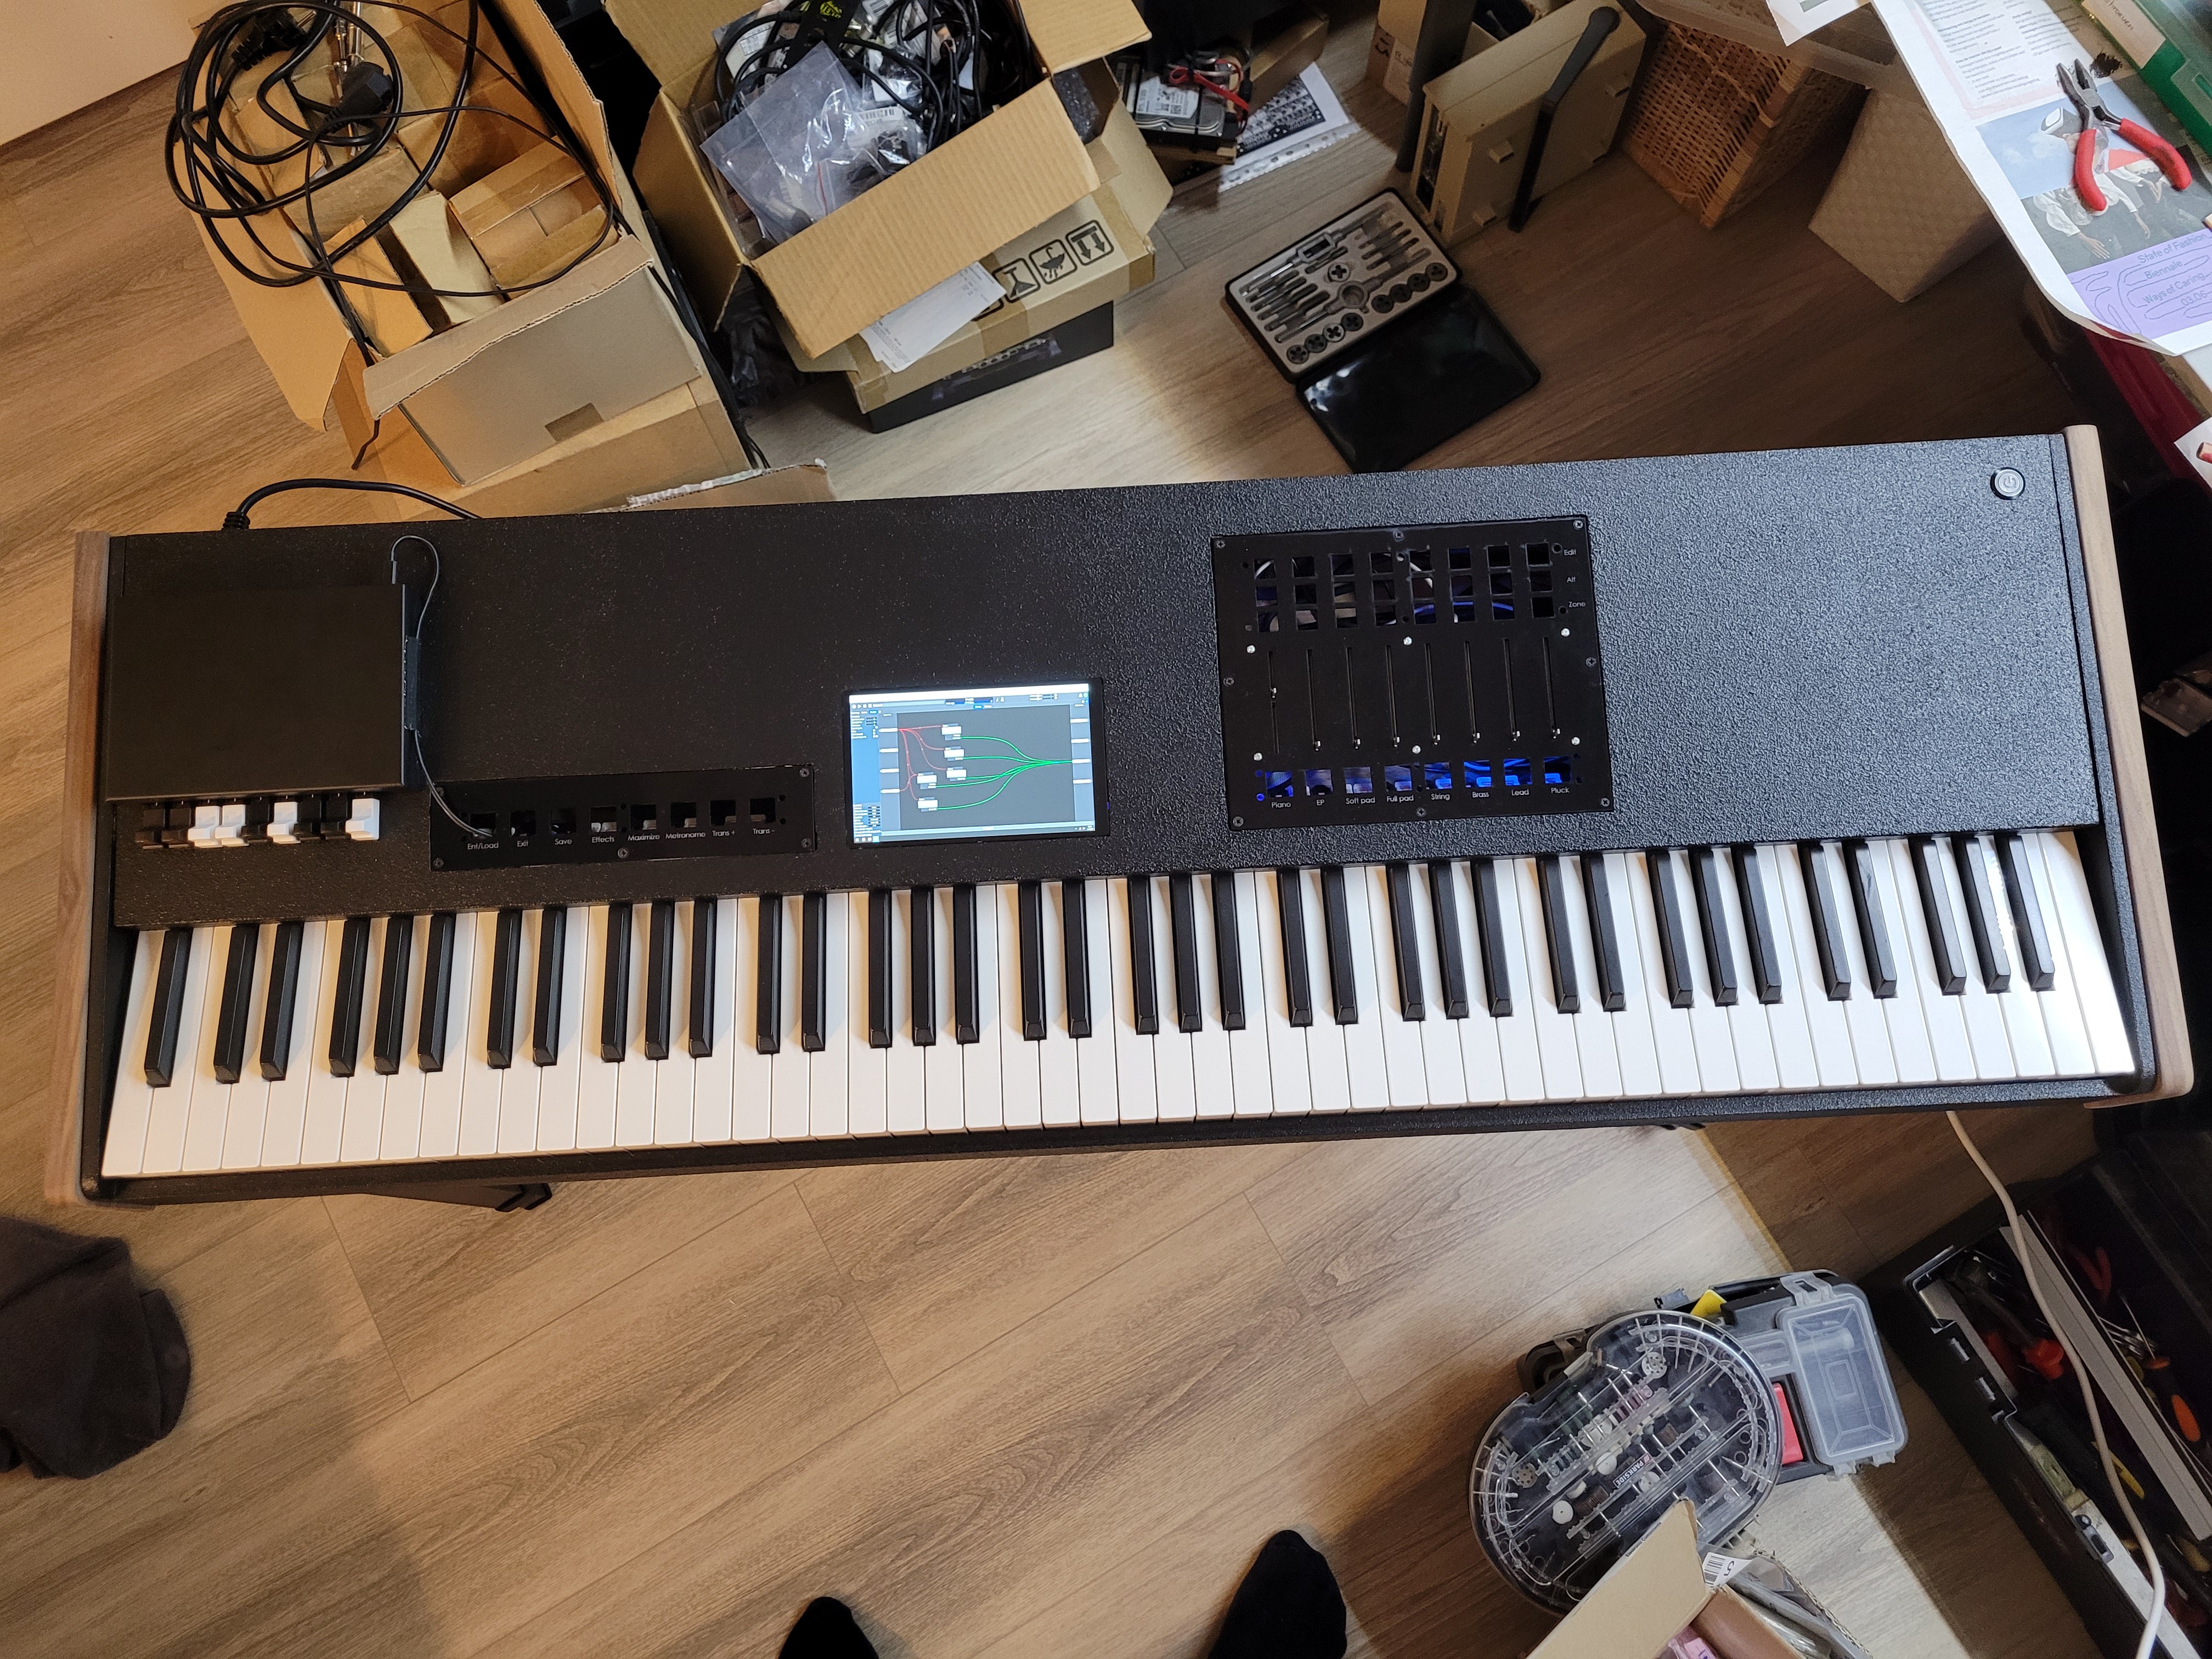
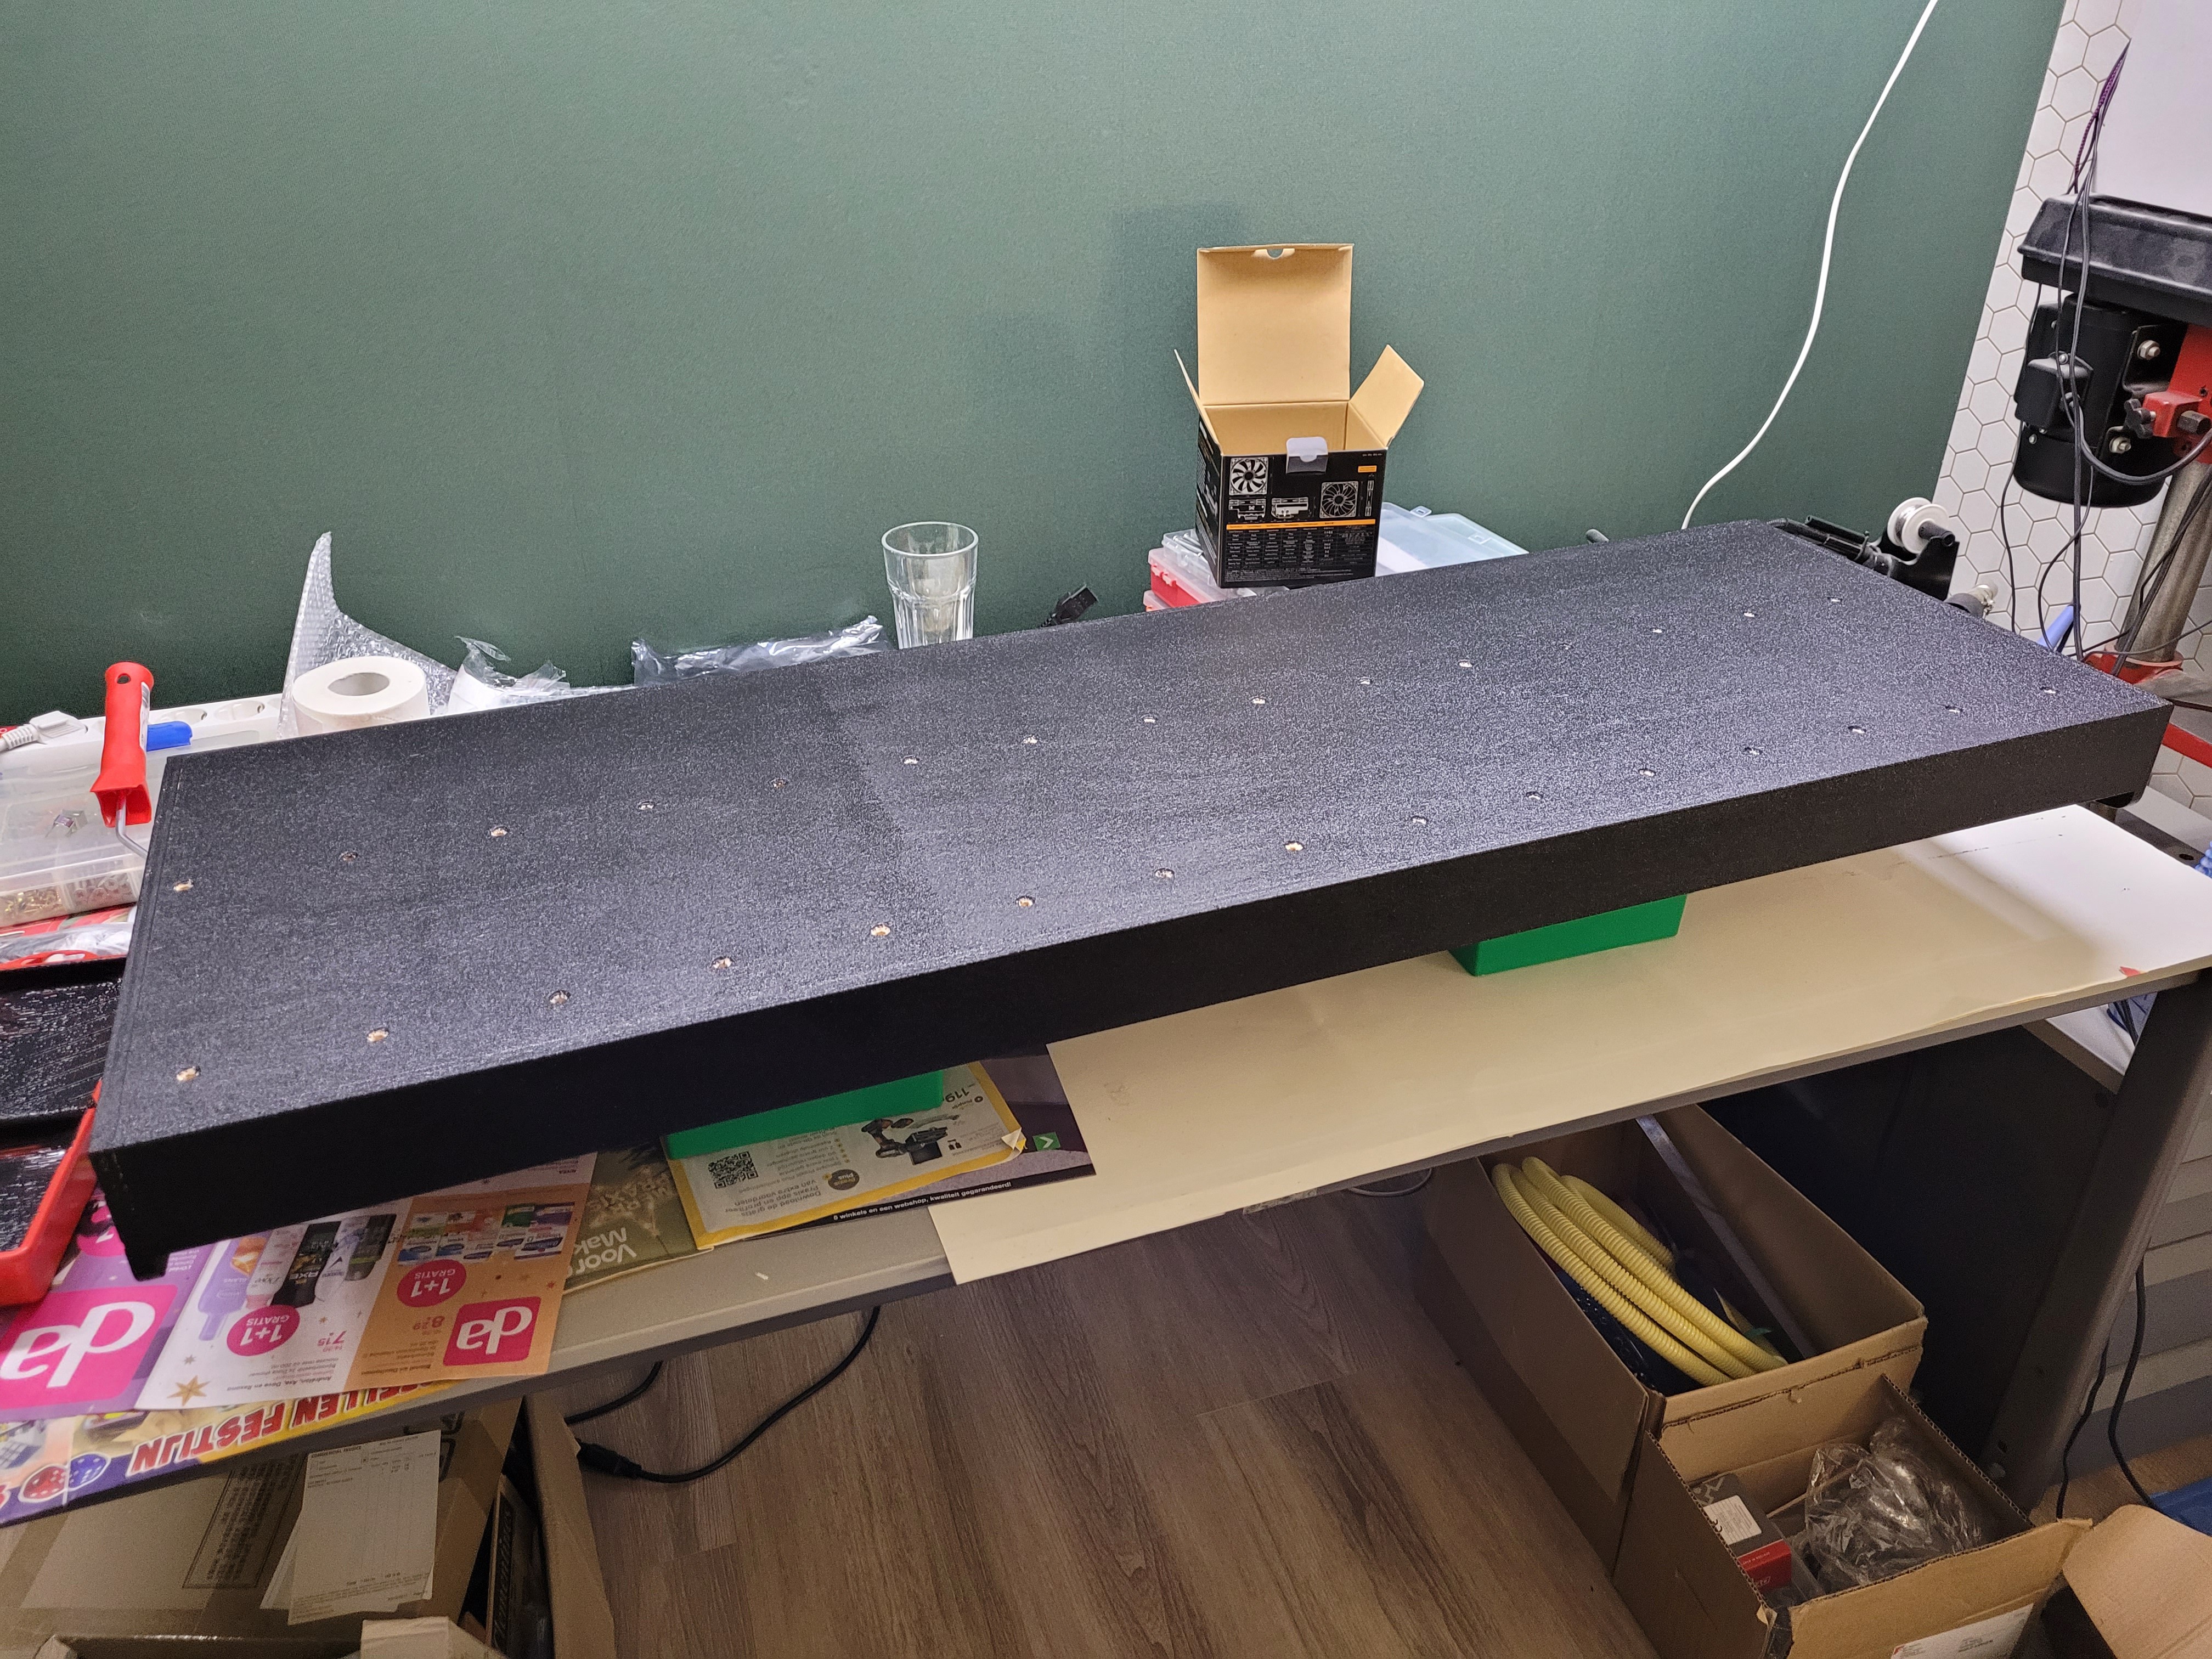
    After milling the slots for the screen and controller assemblies, it is time for finishing the top plate with Warnex. 

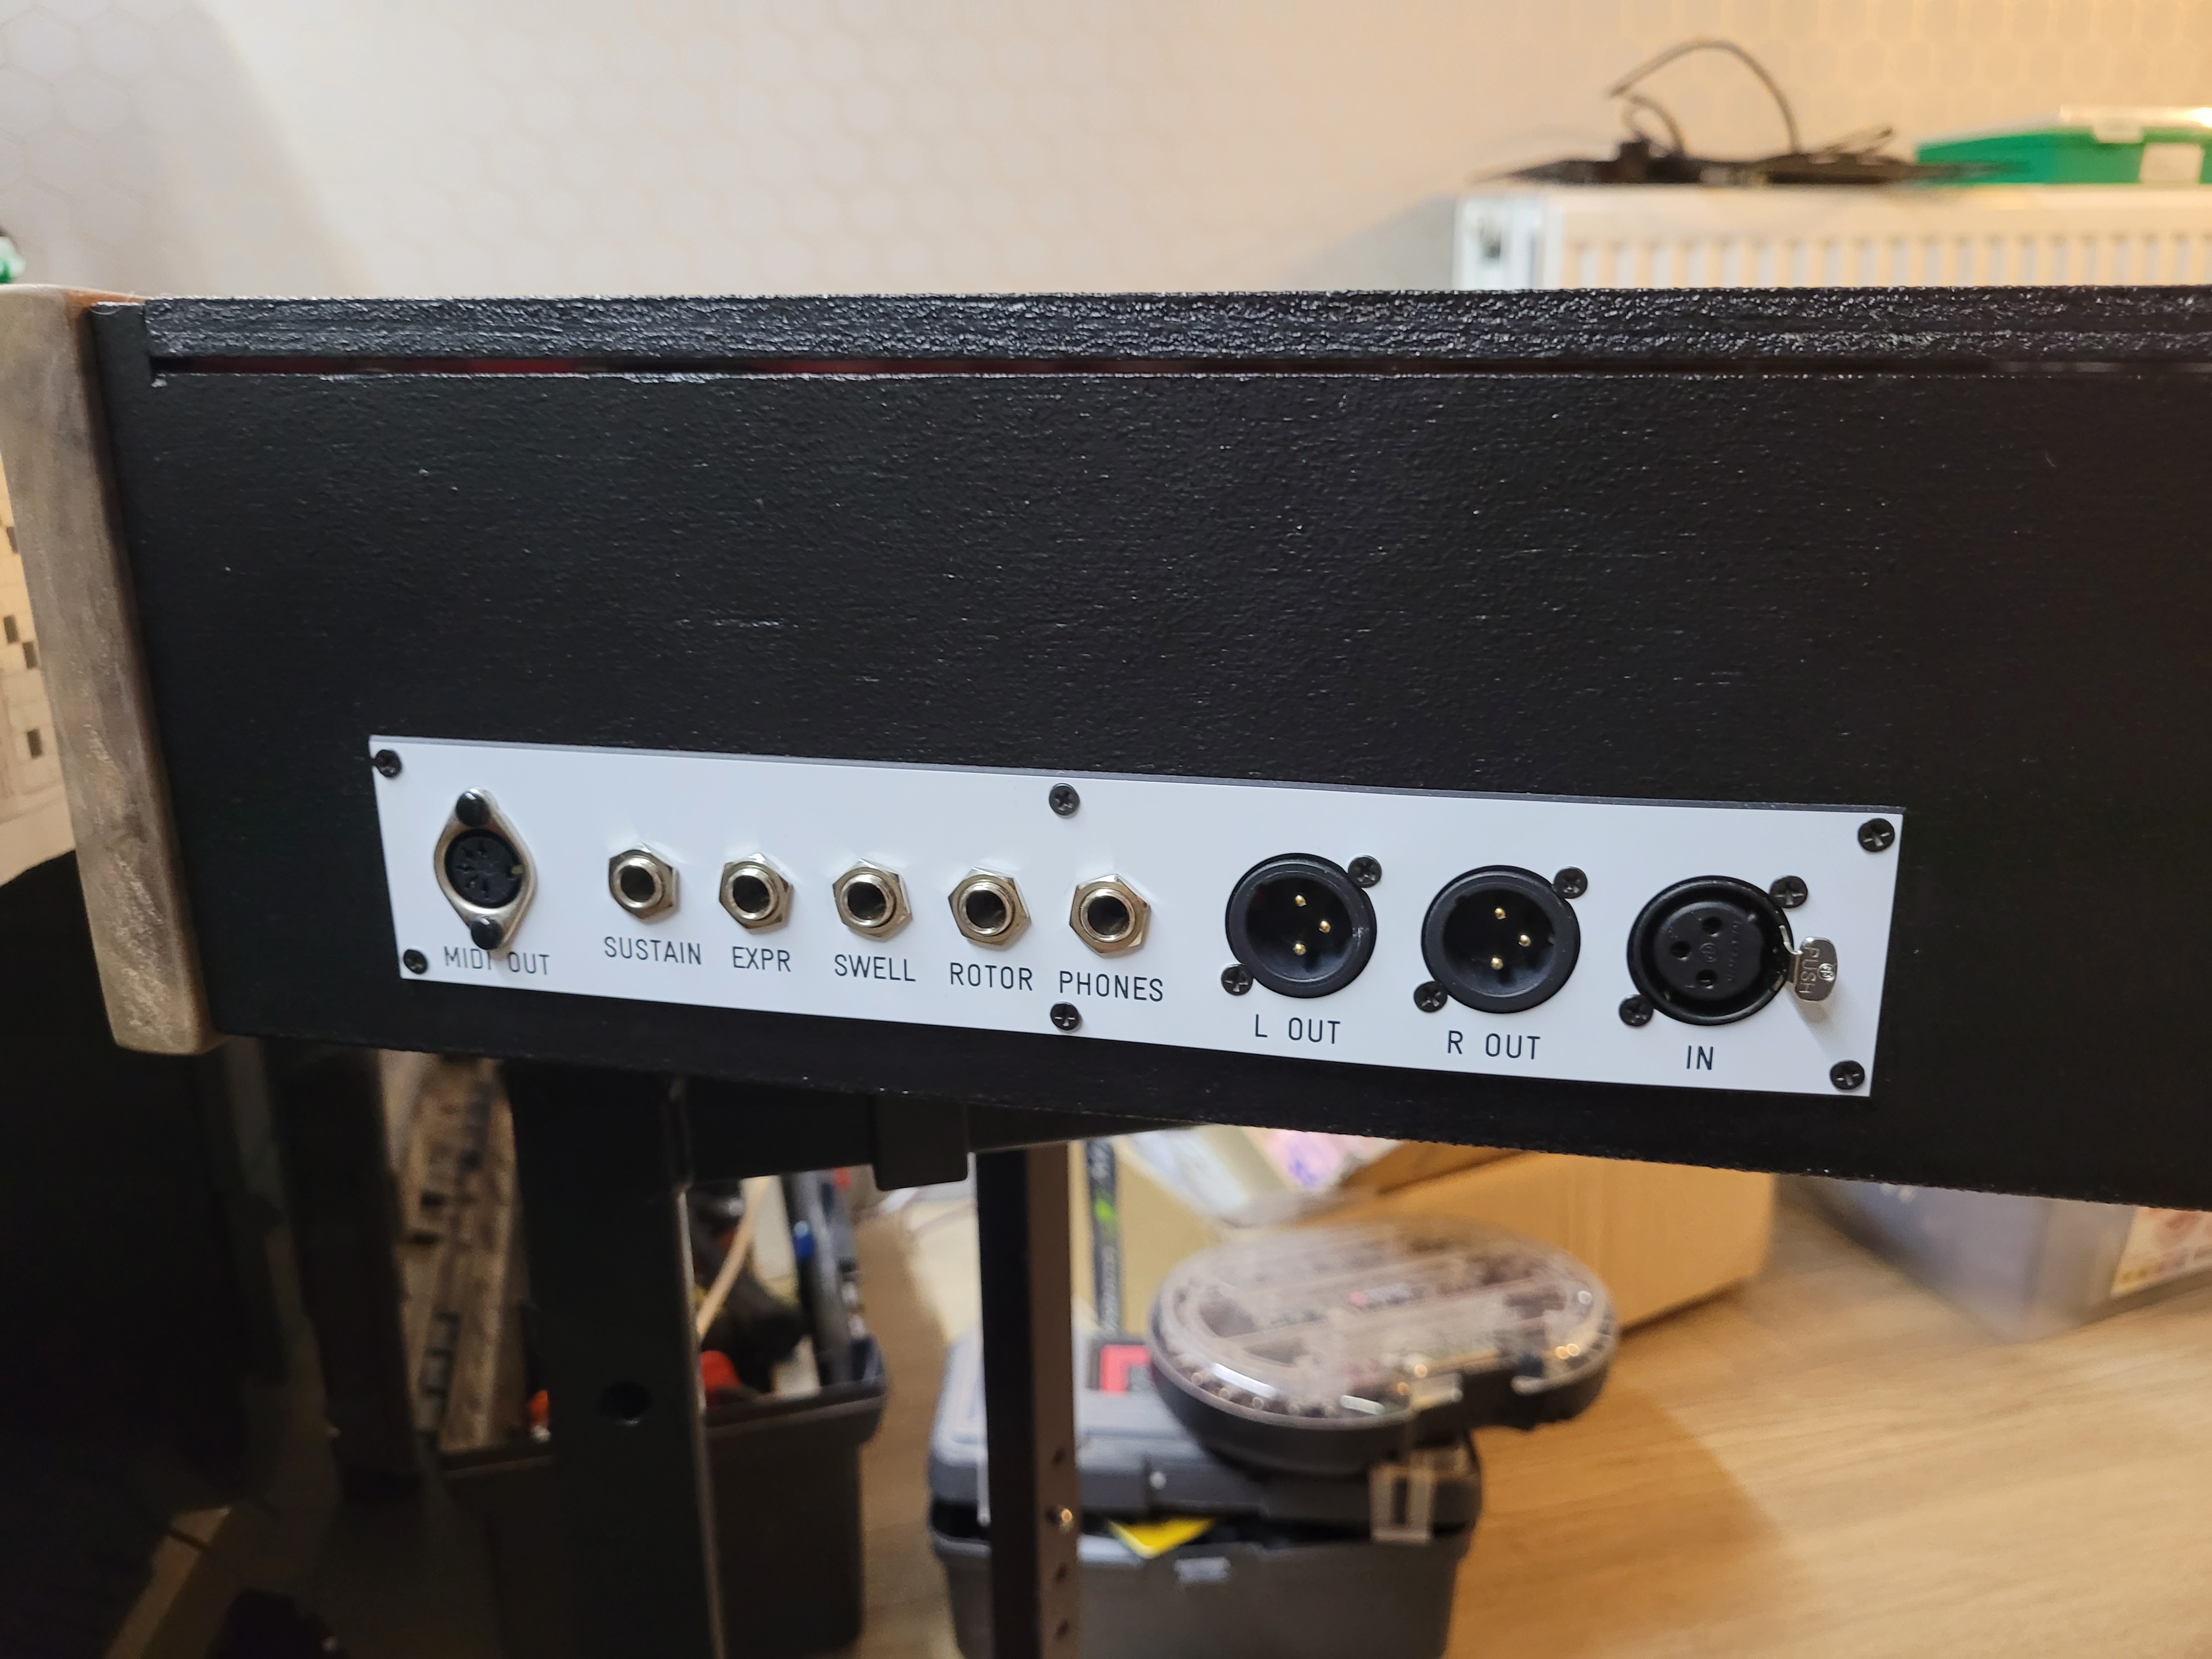
    The backside features an engraved plate with various connectors:

  • Buttons and sliders

    Jan Bert09/12/2023 at 19:27 0 comments

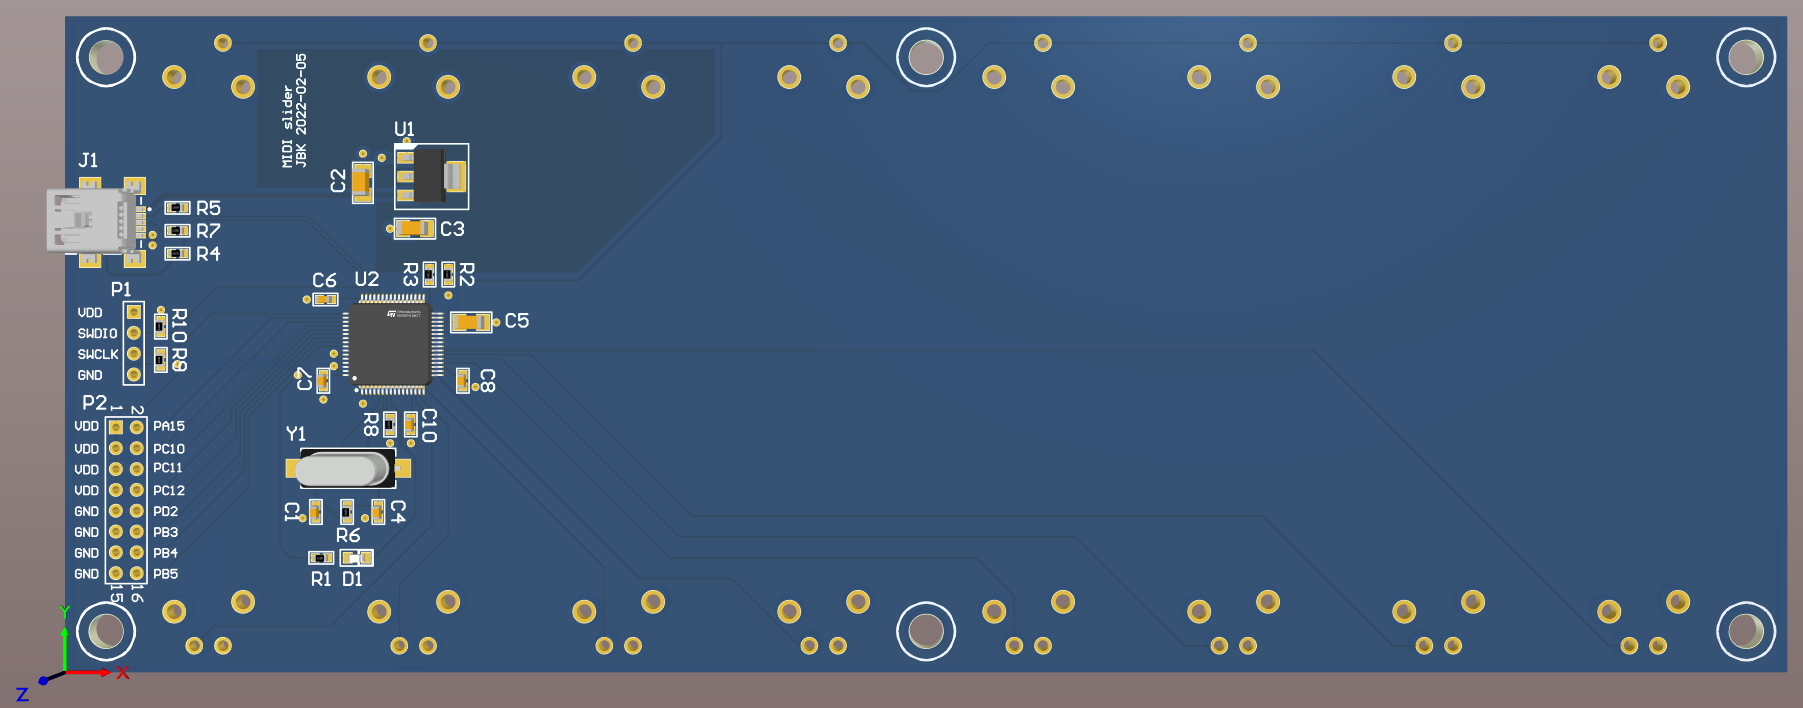
    The 8 VST channels are controller with an illuminated button. To accomodate the limited space and meet my specific requirements, I decided to create a custom solution.

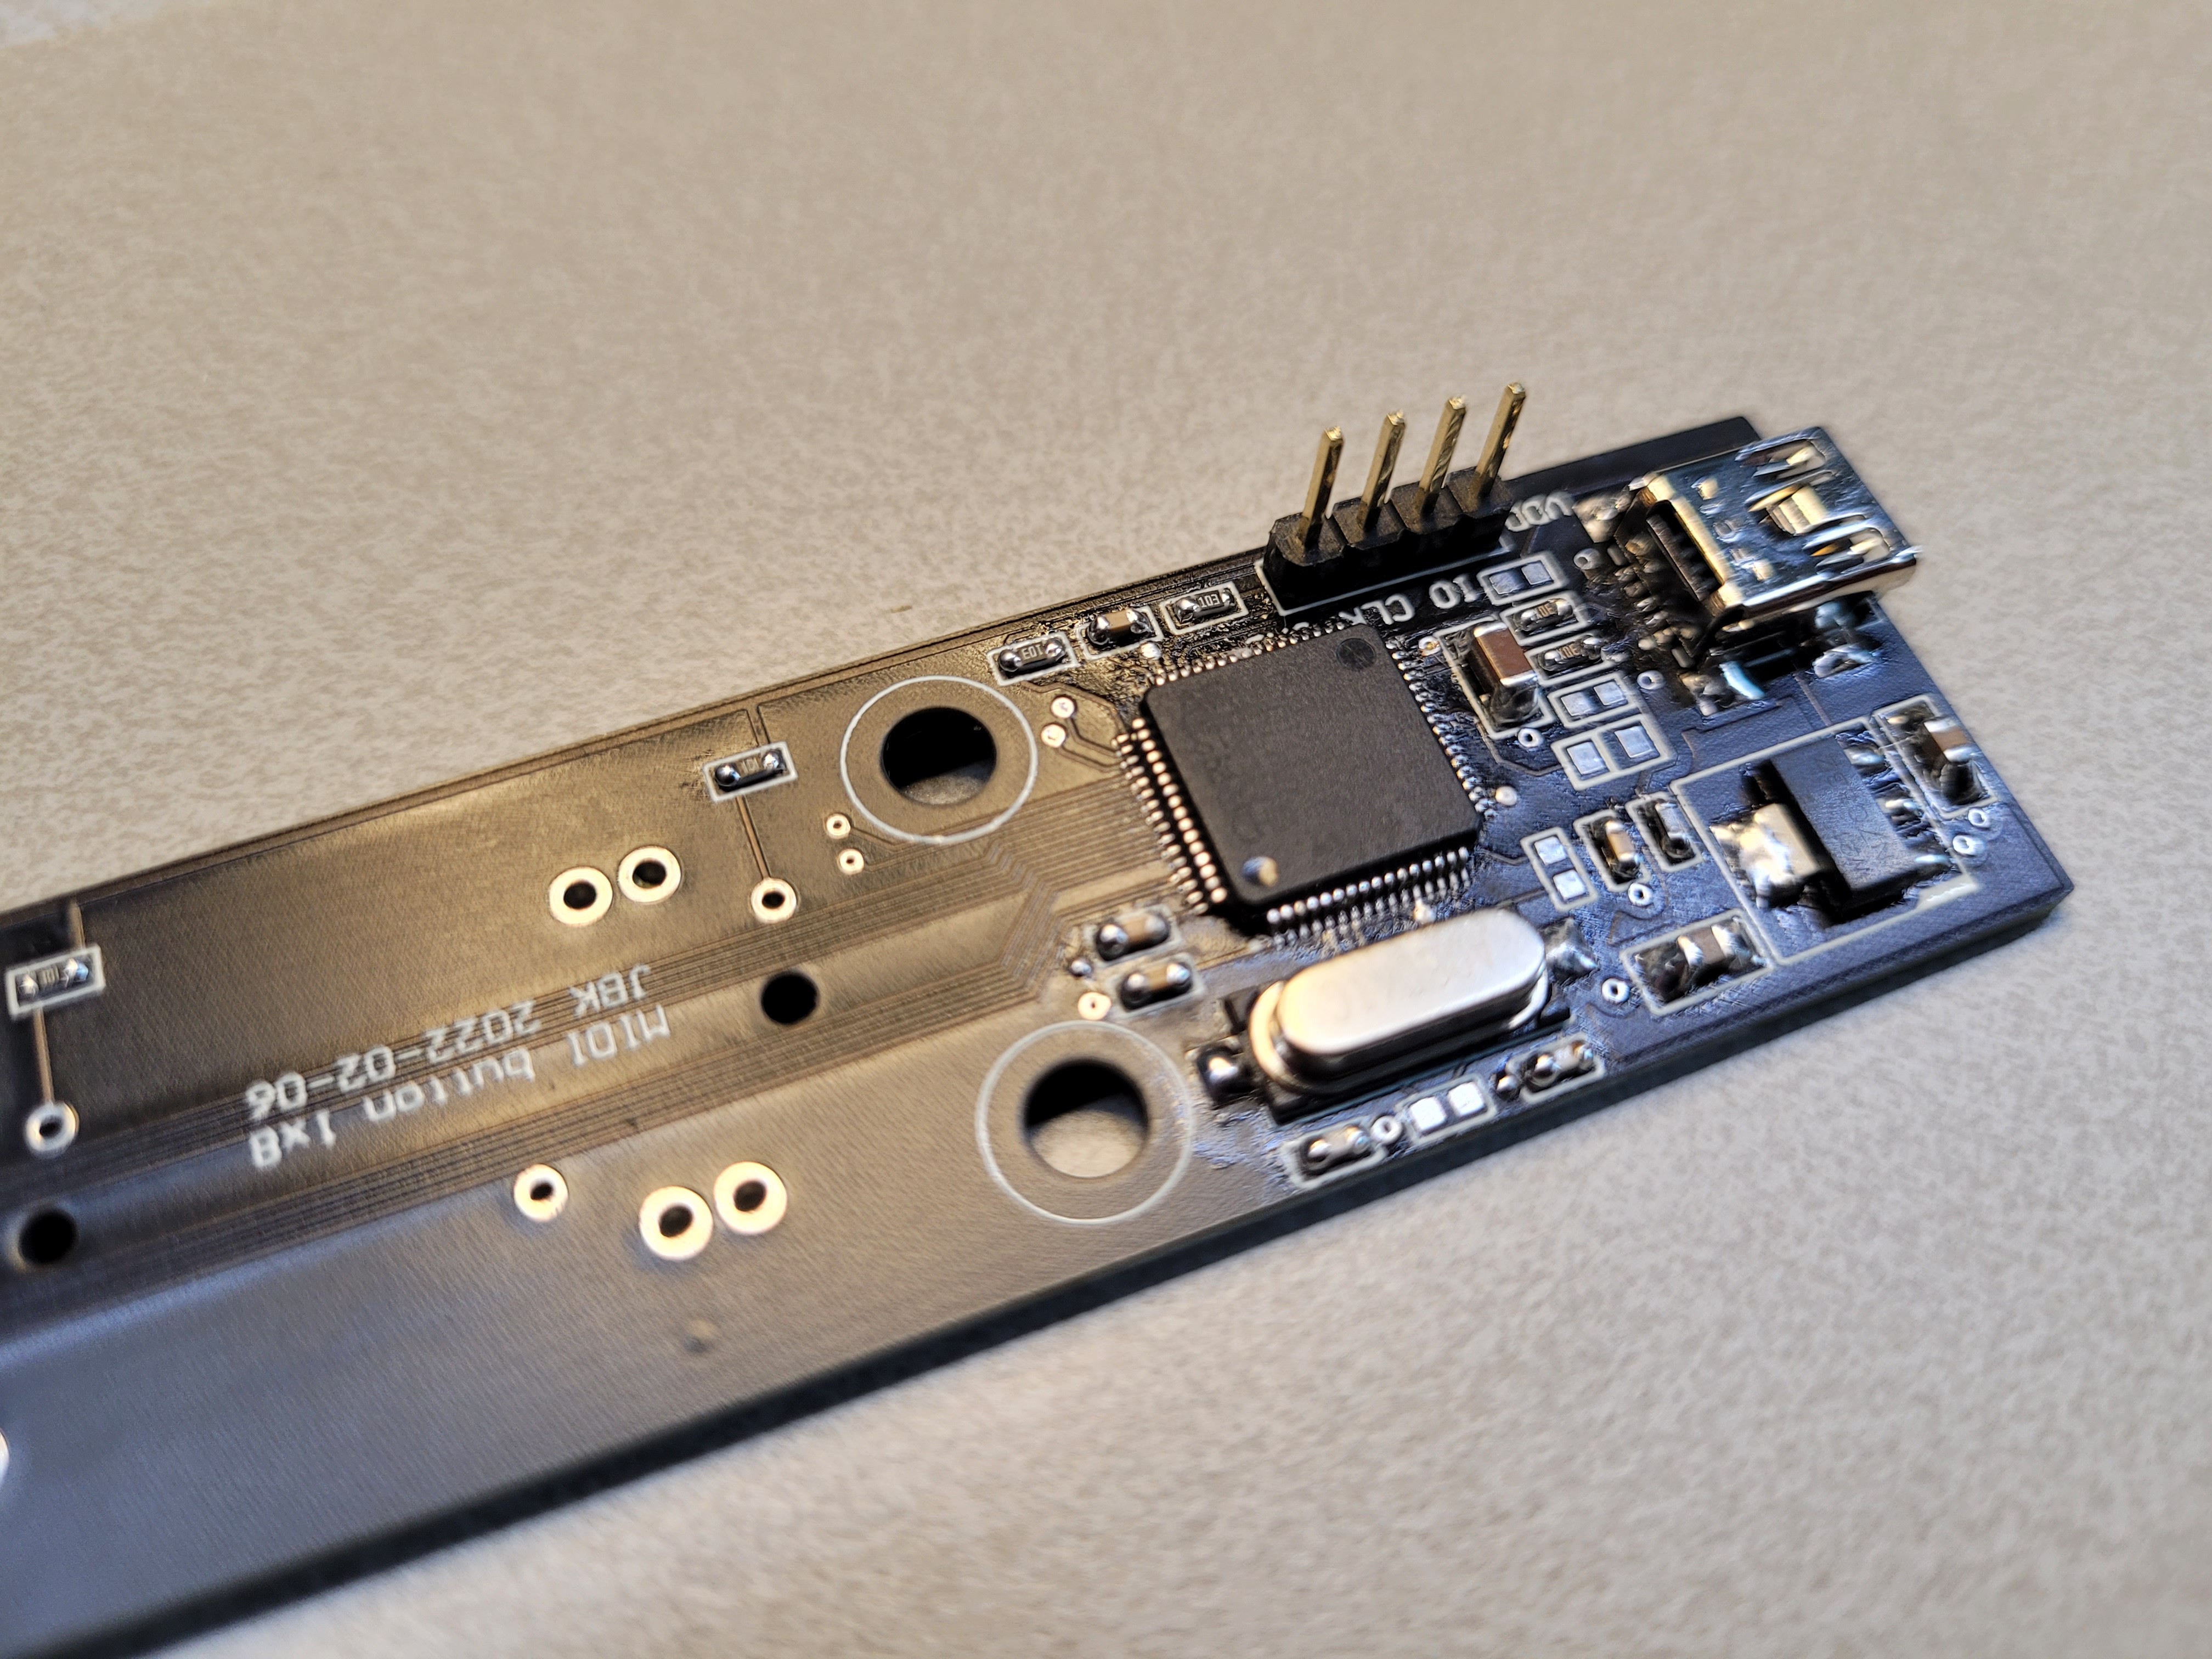
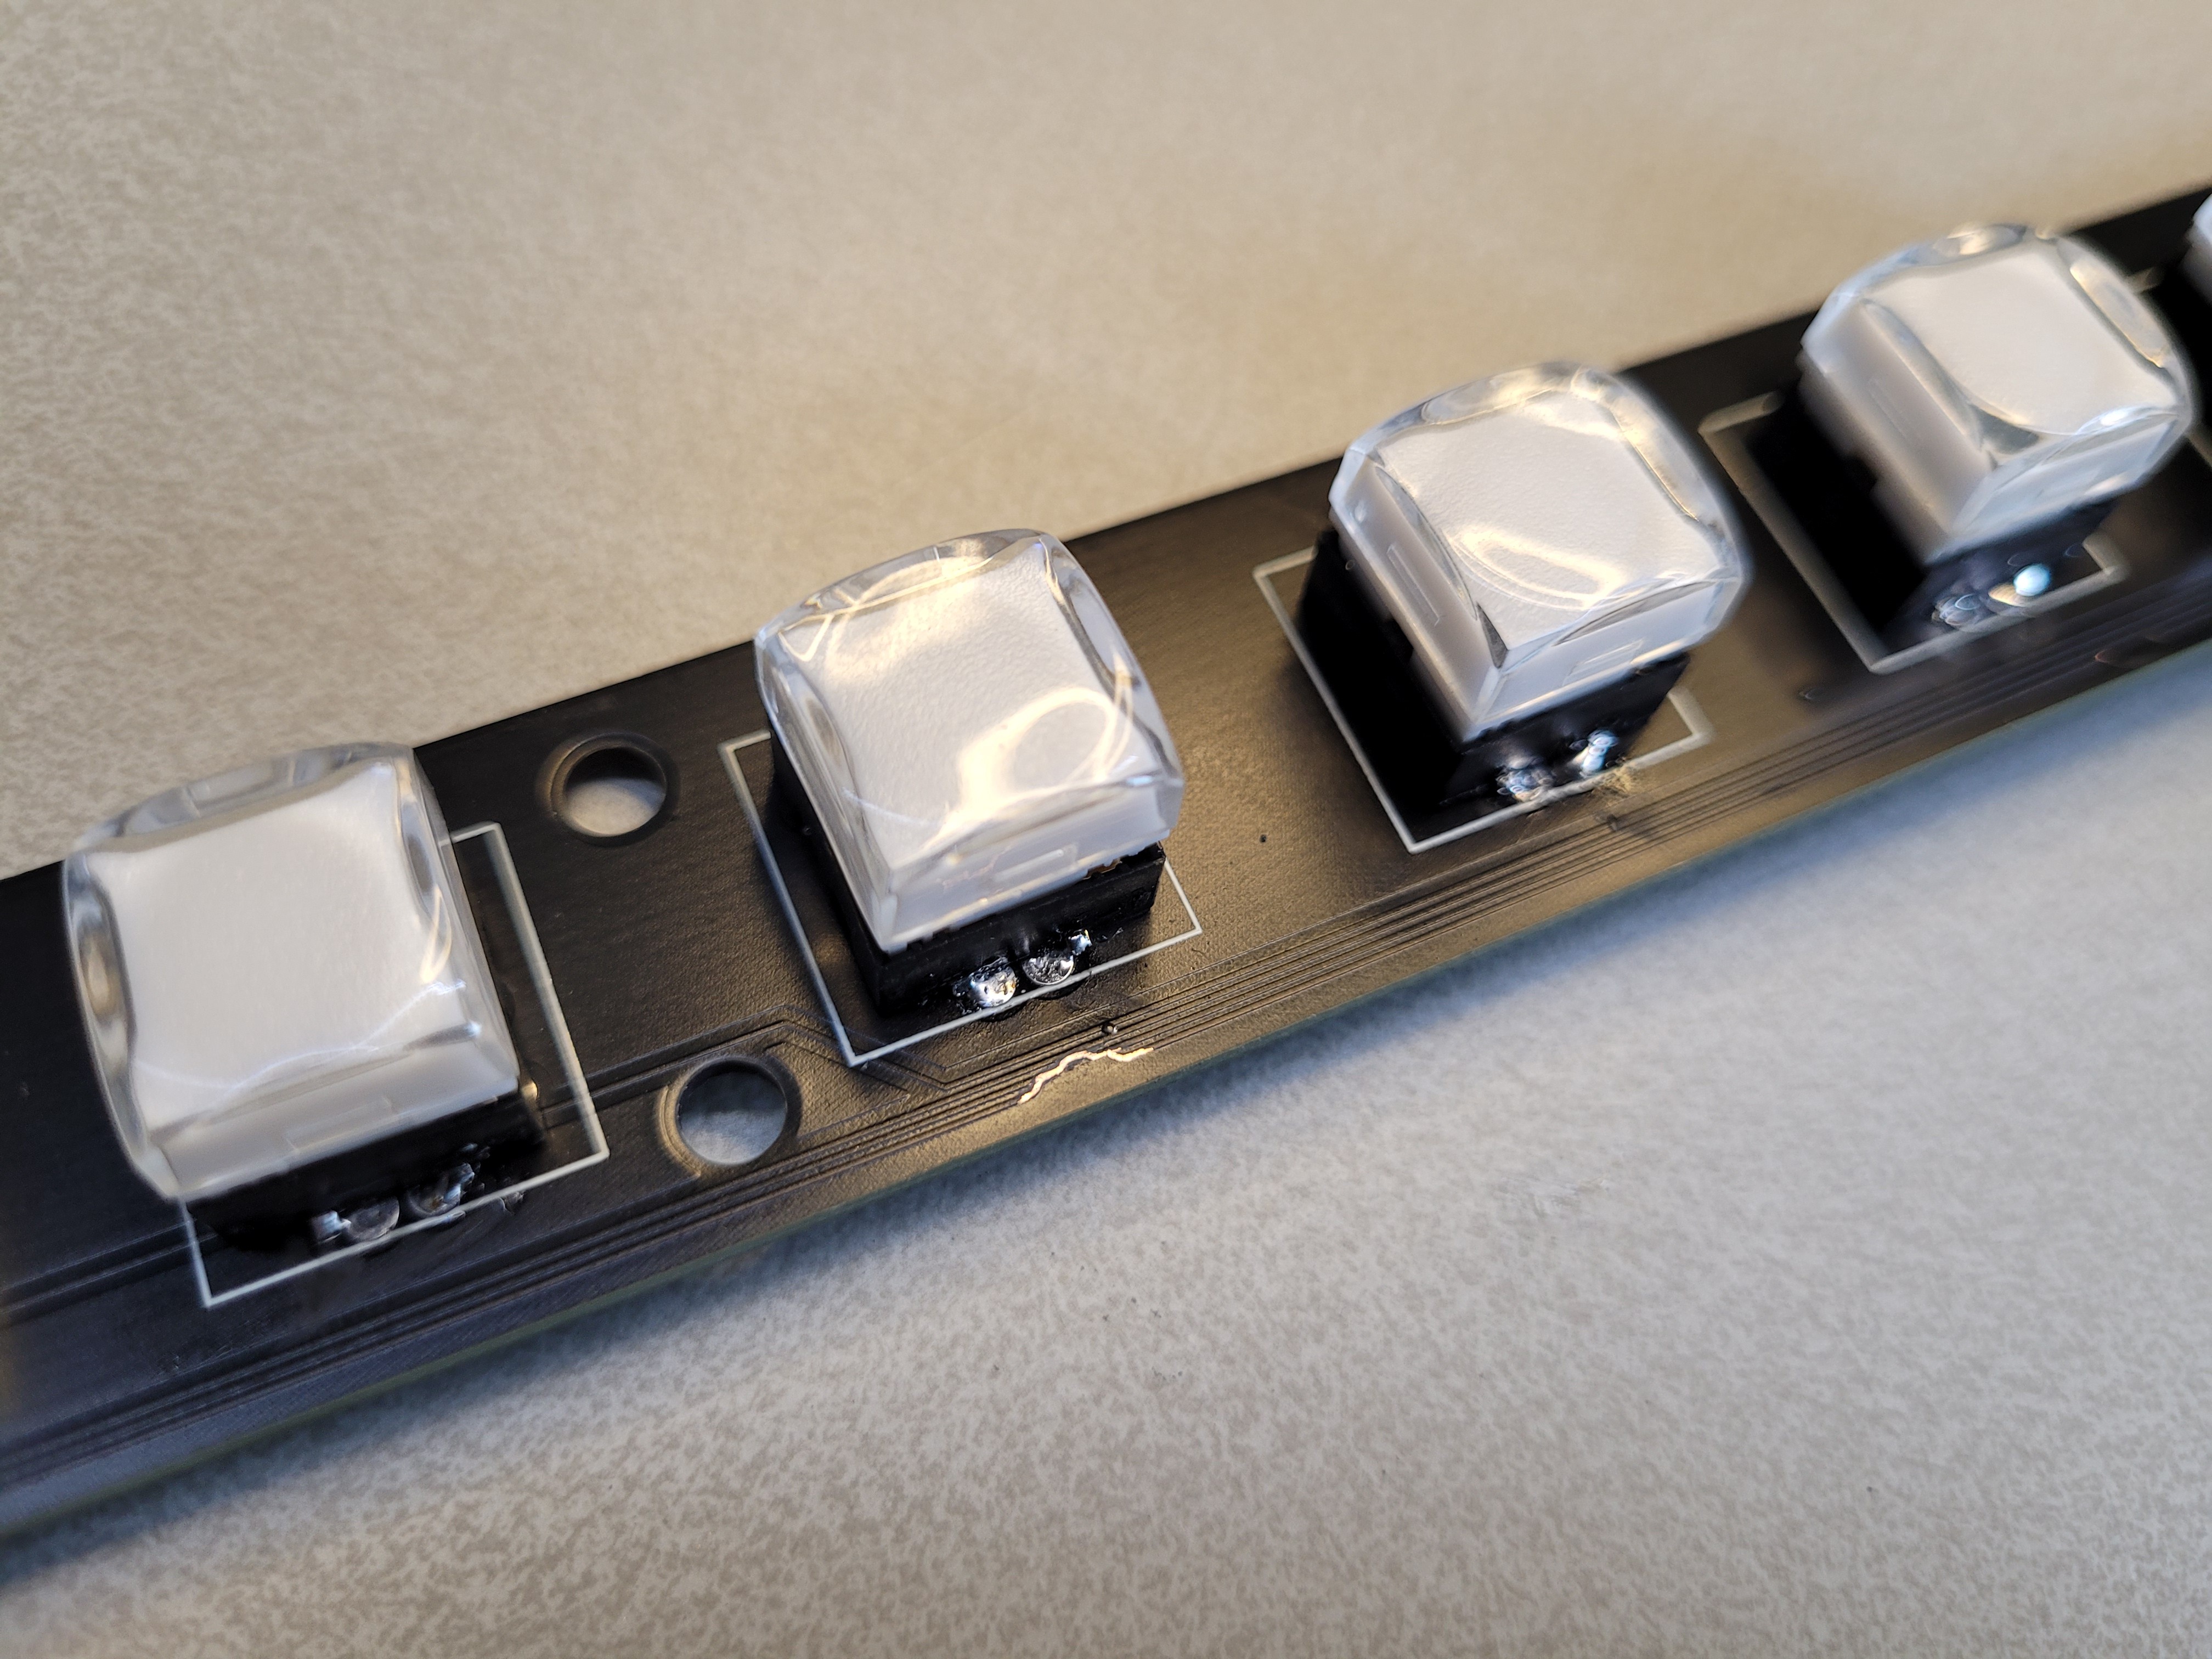
    The same PCB is used for the 8 menu buttons on the left side of the LCD screen. These PCB's were manufactured in China. The quality is not always 100%, as you can see in the following image:

    The traces where cut and corrected manually.

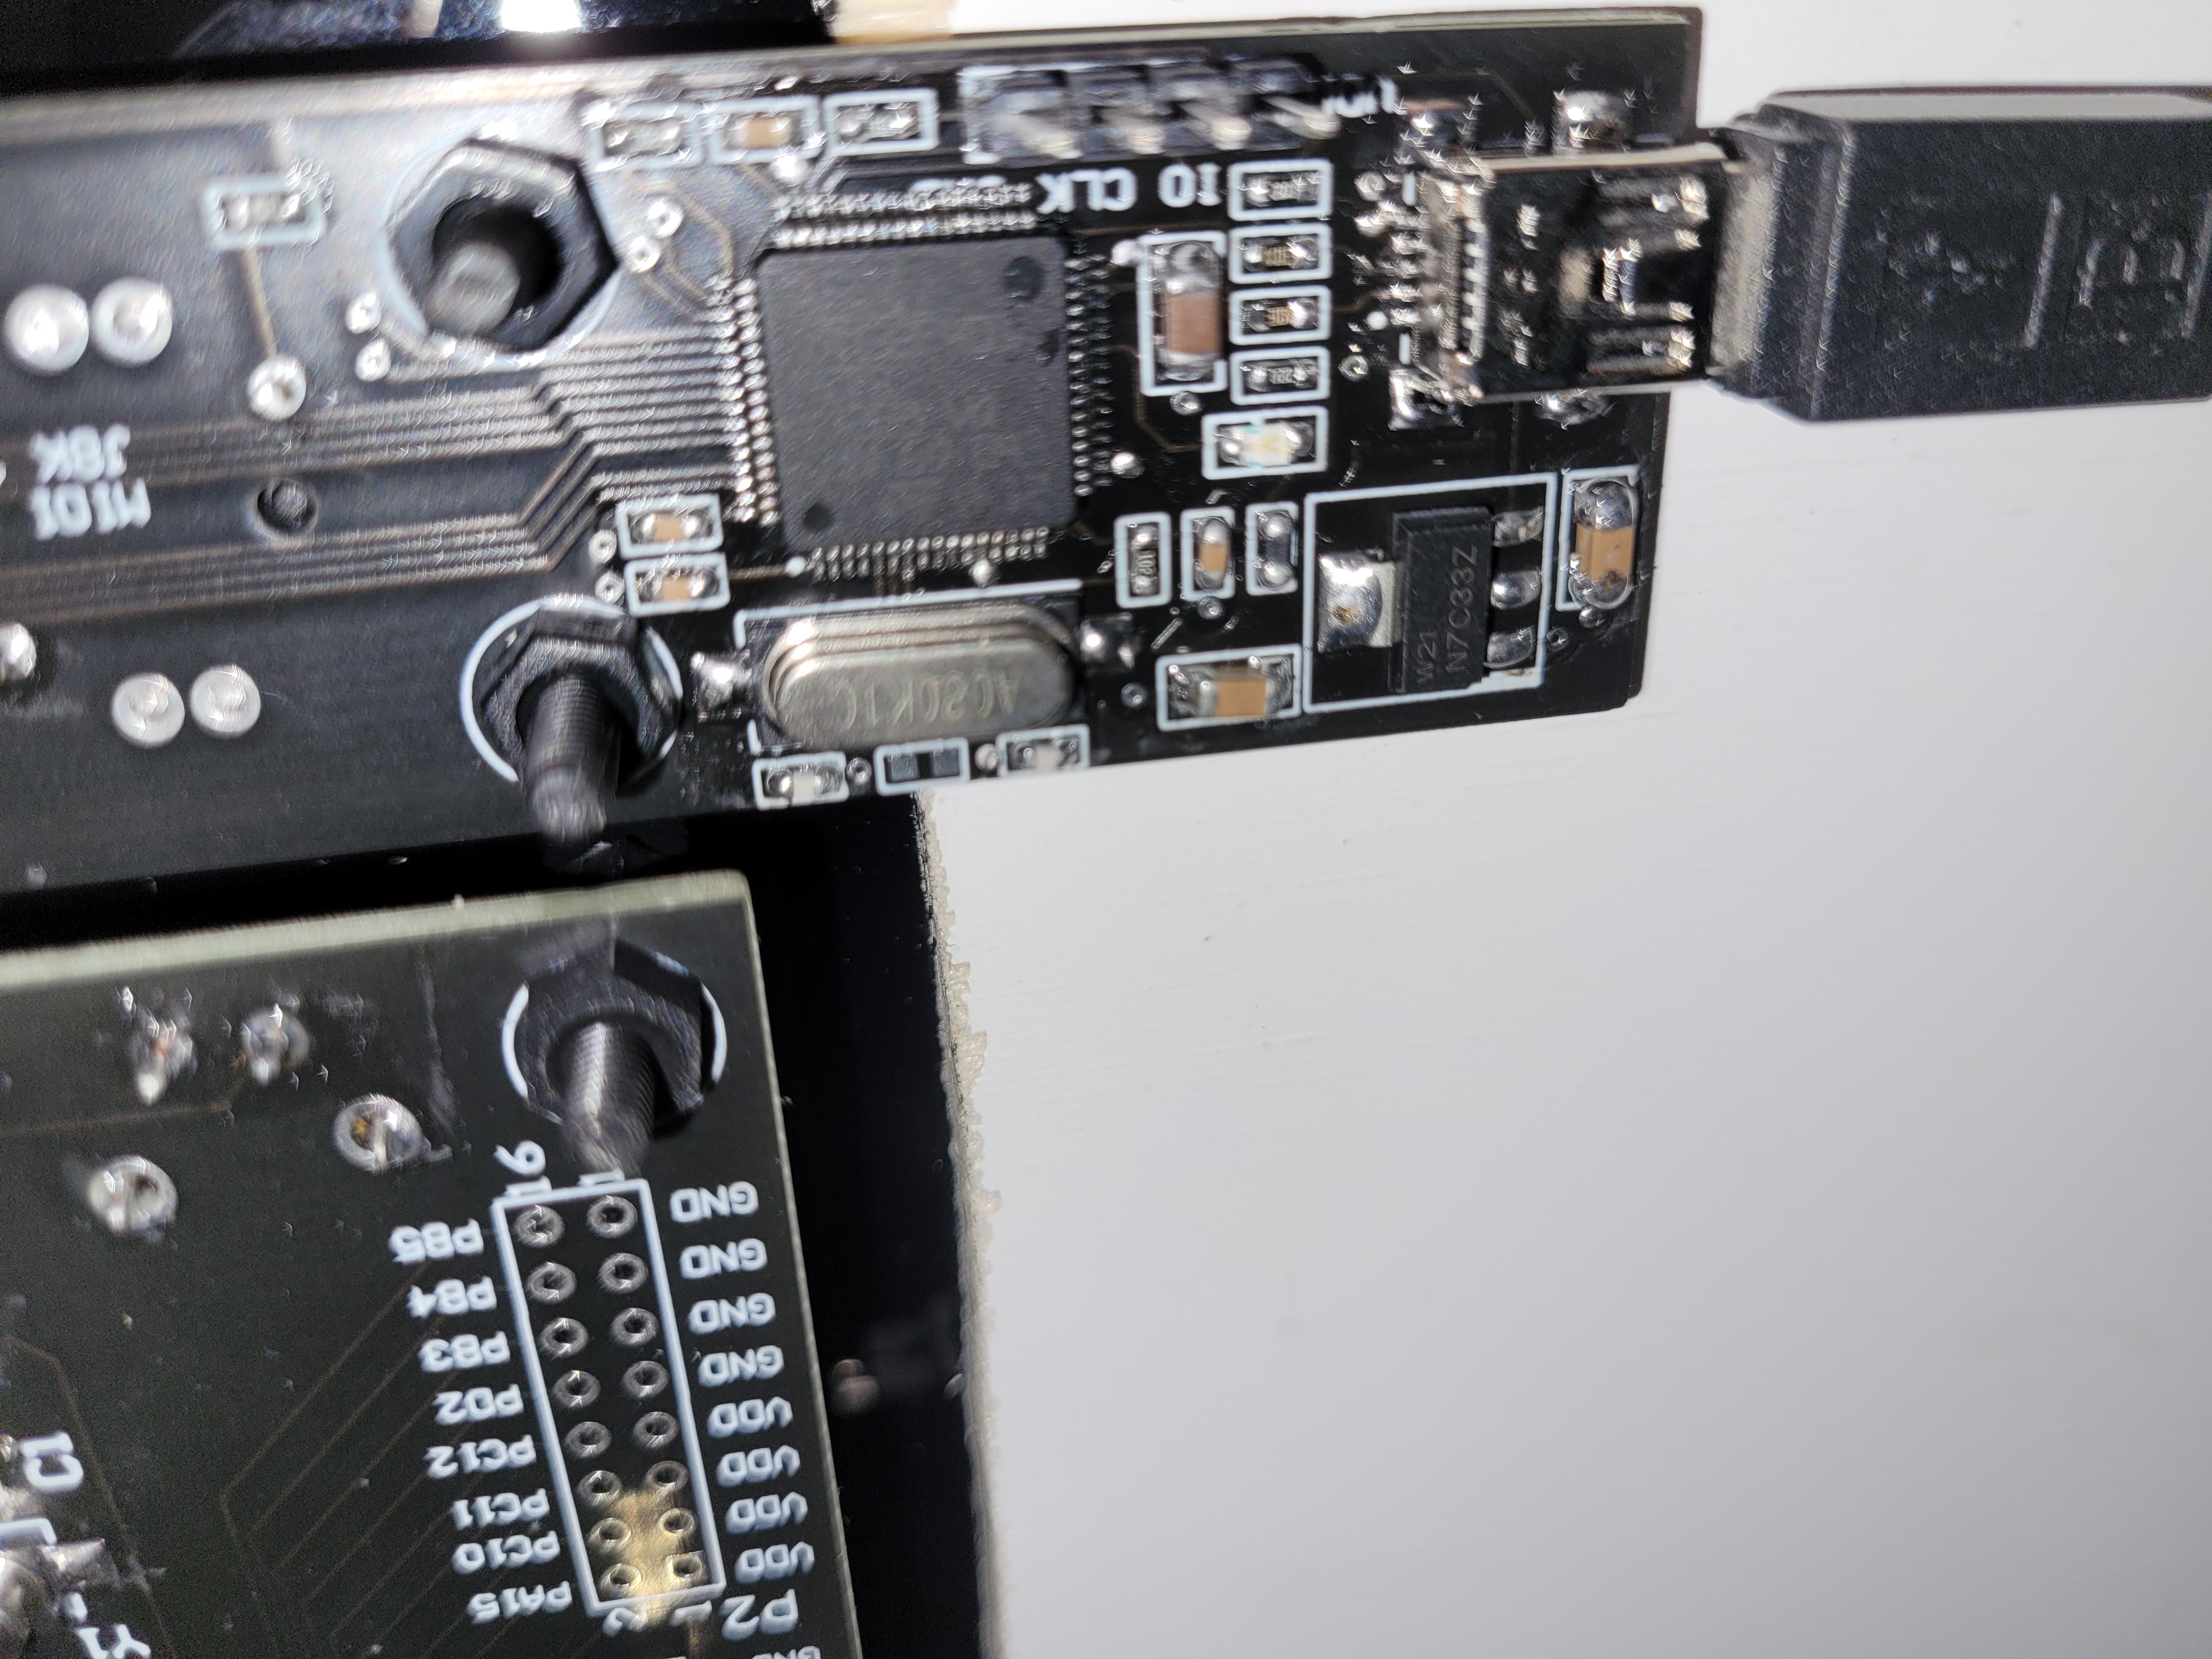
    Another slightly larger PCB is designed to accommodate 8 sliders:

    The PCB's are mounted with plastic bolts:

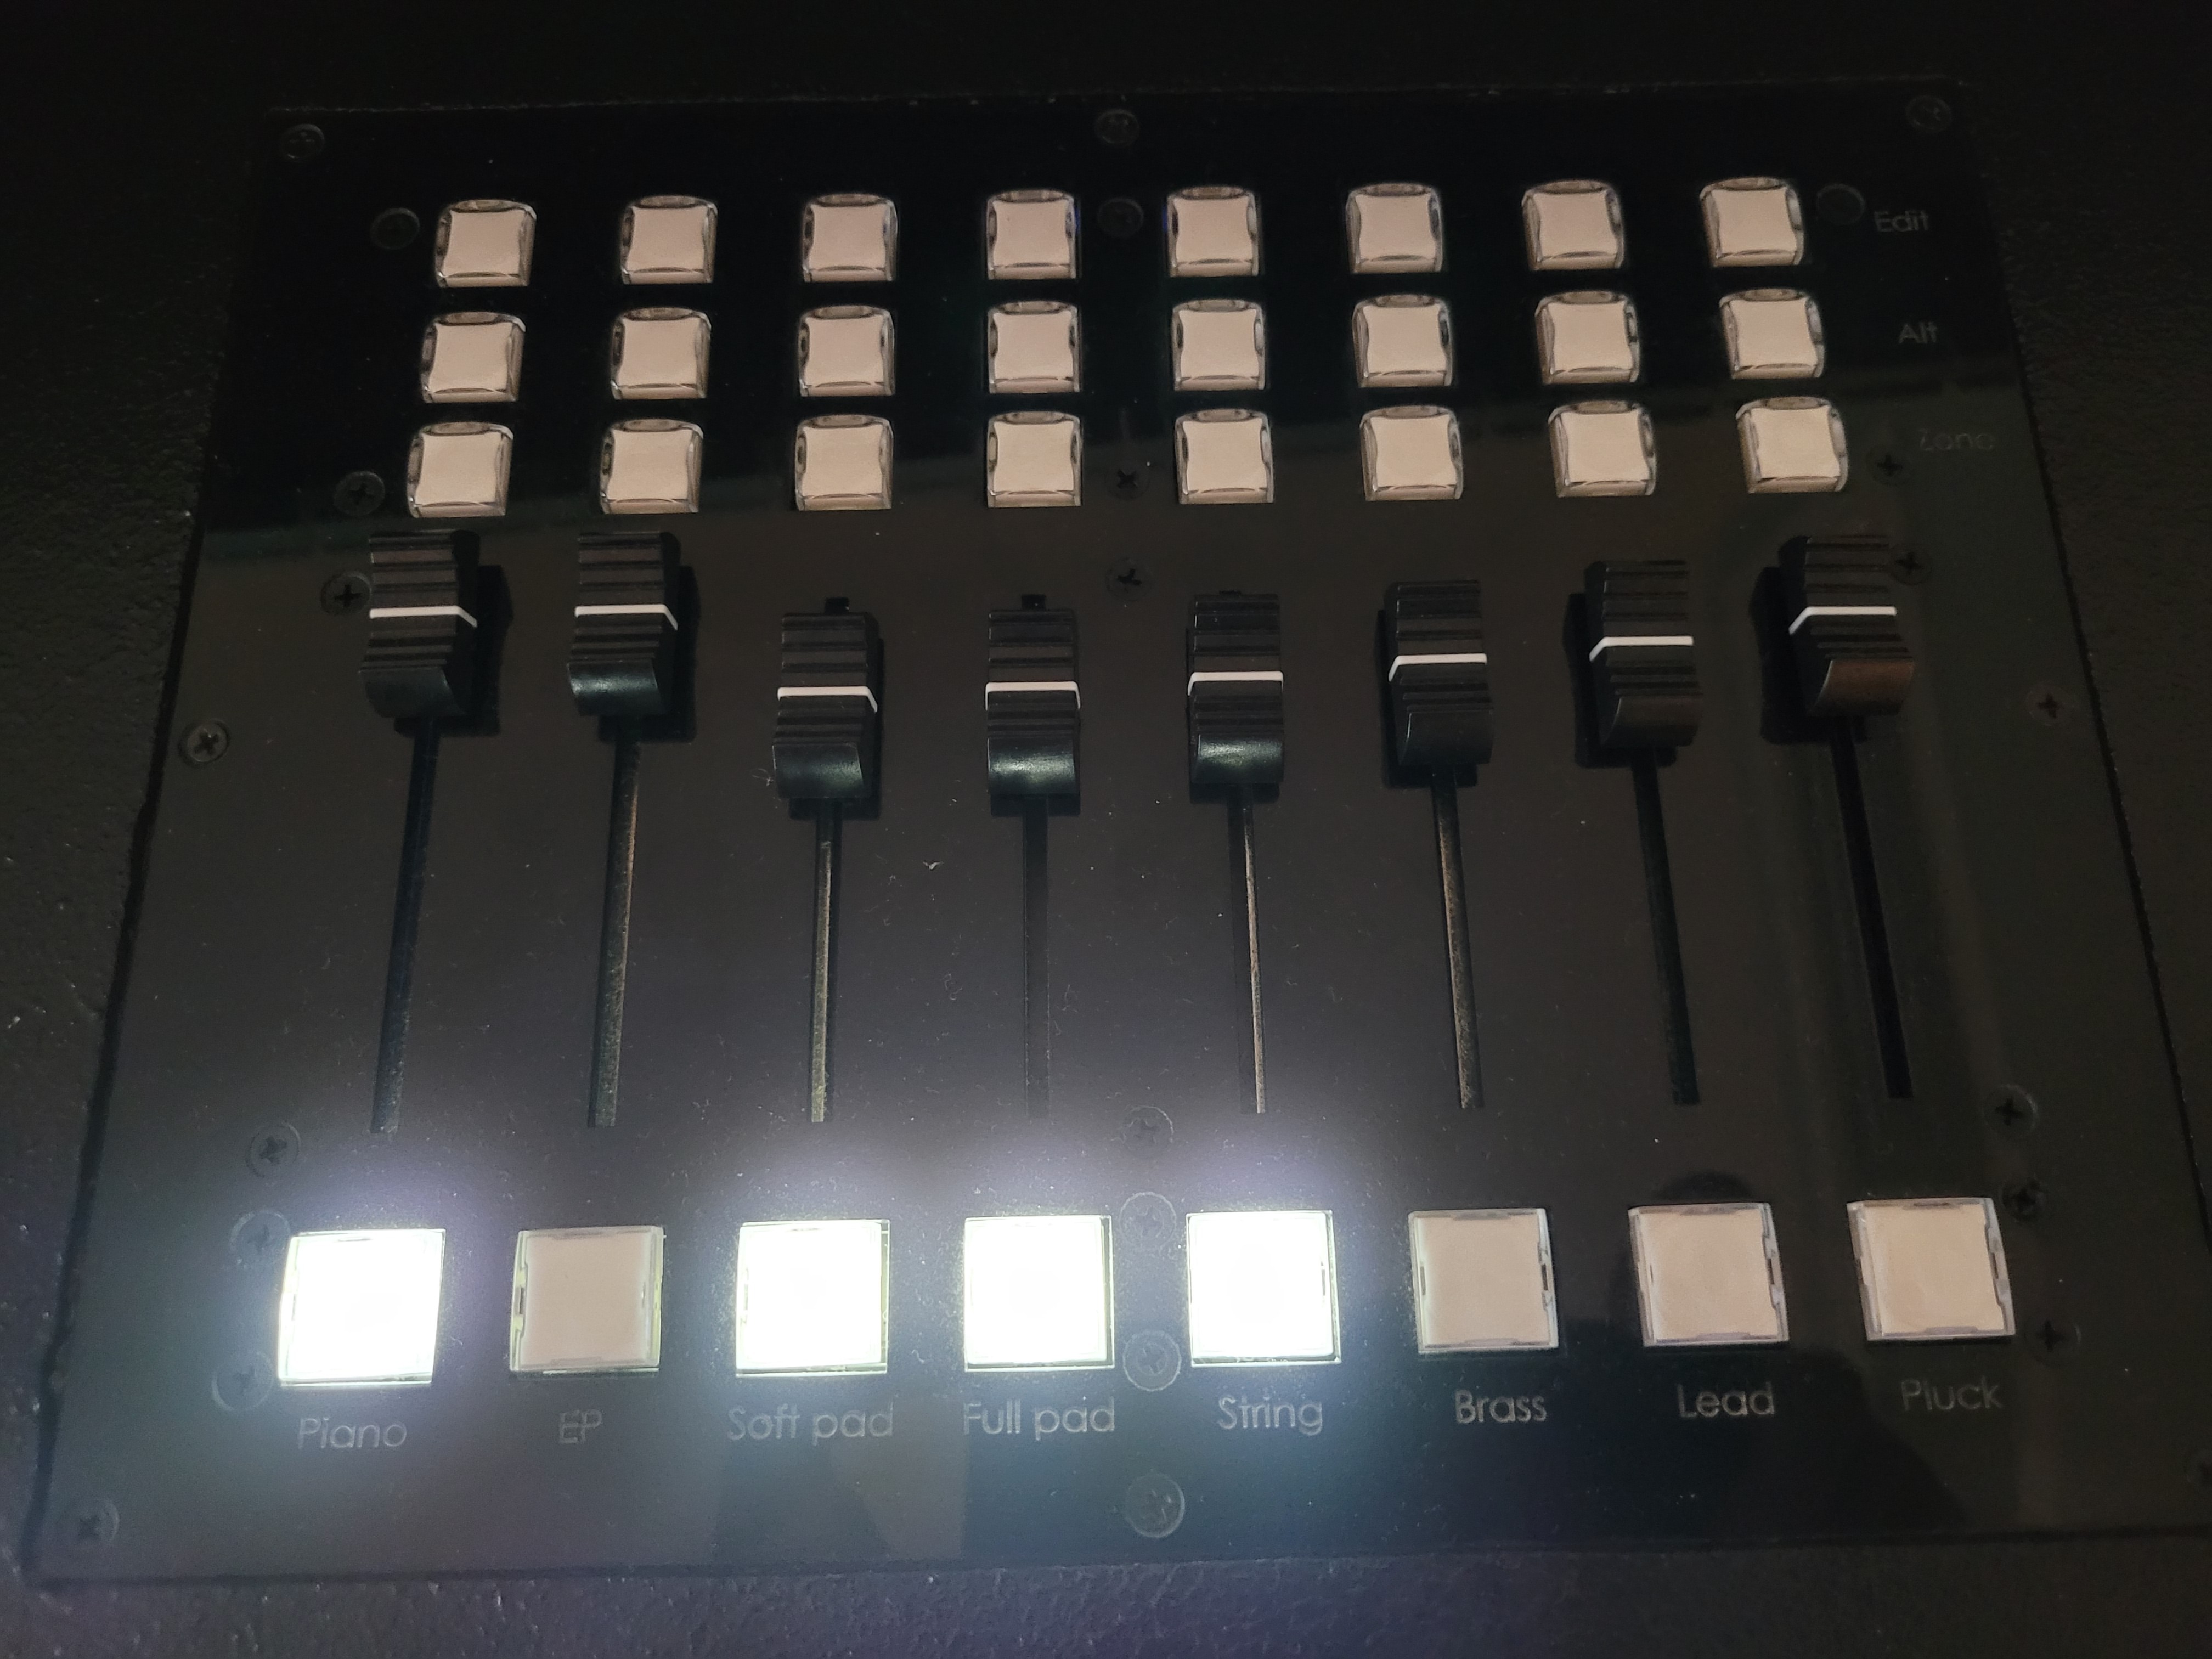
    The PCB are mounted in custom lasercut 5mm acrylic. The buttons for enabling the channels are slightly larger than the rows on top. Their intended functionality is as follows for each channel:

    • Edit: Opens an effects page on the screen for the VST channel.
    • Alt: Selects between presets for that channel. For the EP channel, this could include instruments like a Wurlitzer or Rhodes, for example.
    • Zone: Determines the active keyboard zone for the channel, selected by playing the upper and lower keys for that zone.

    The result looks pretty neat:

  • 1st Run

    Jan Bert09/12/2023 at 19:26 0 comments

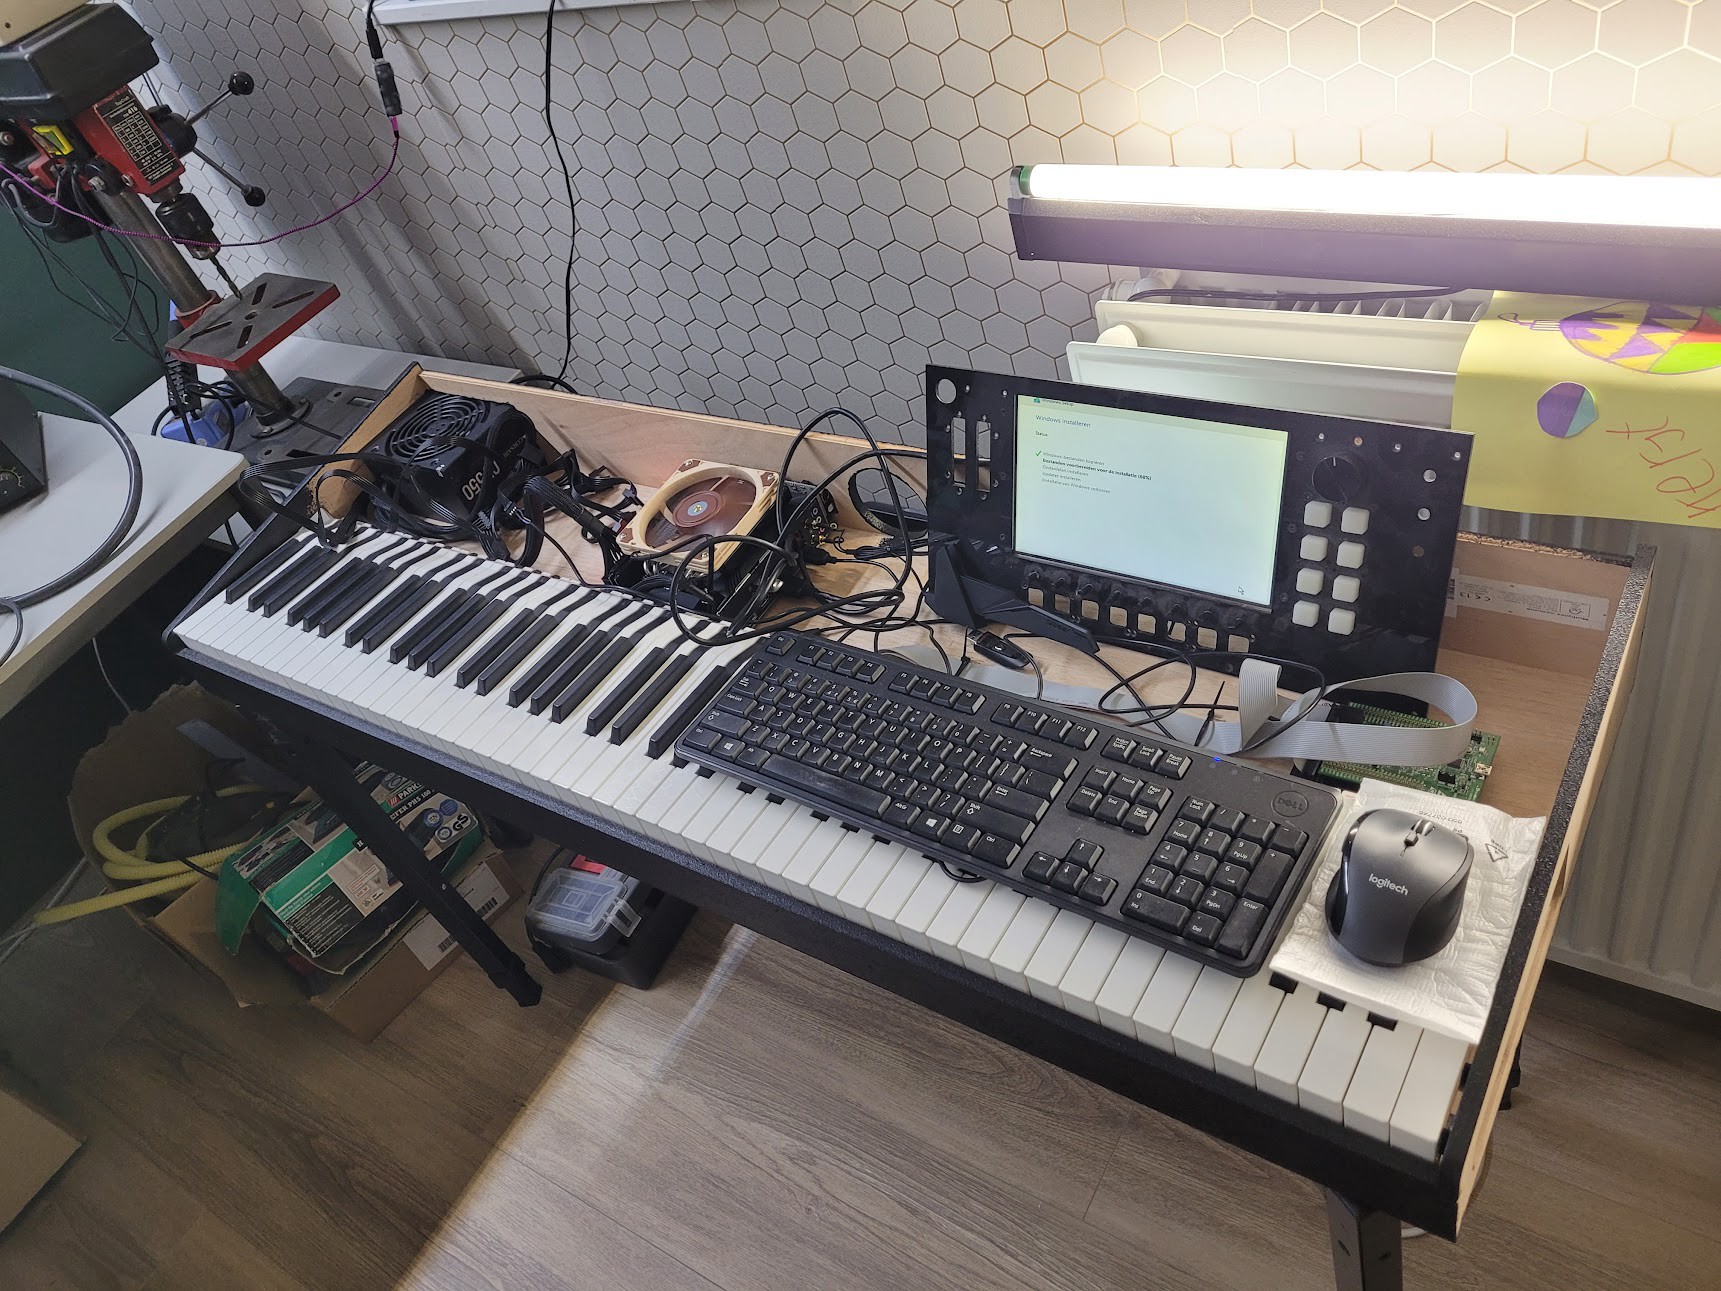
    After putting it all together, it was time for the first test run and to tweak the responsiveness of the keys.

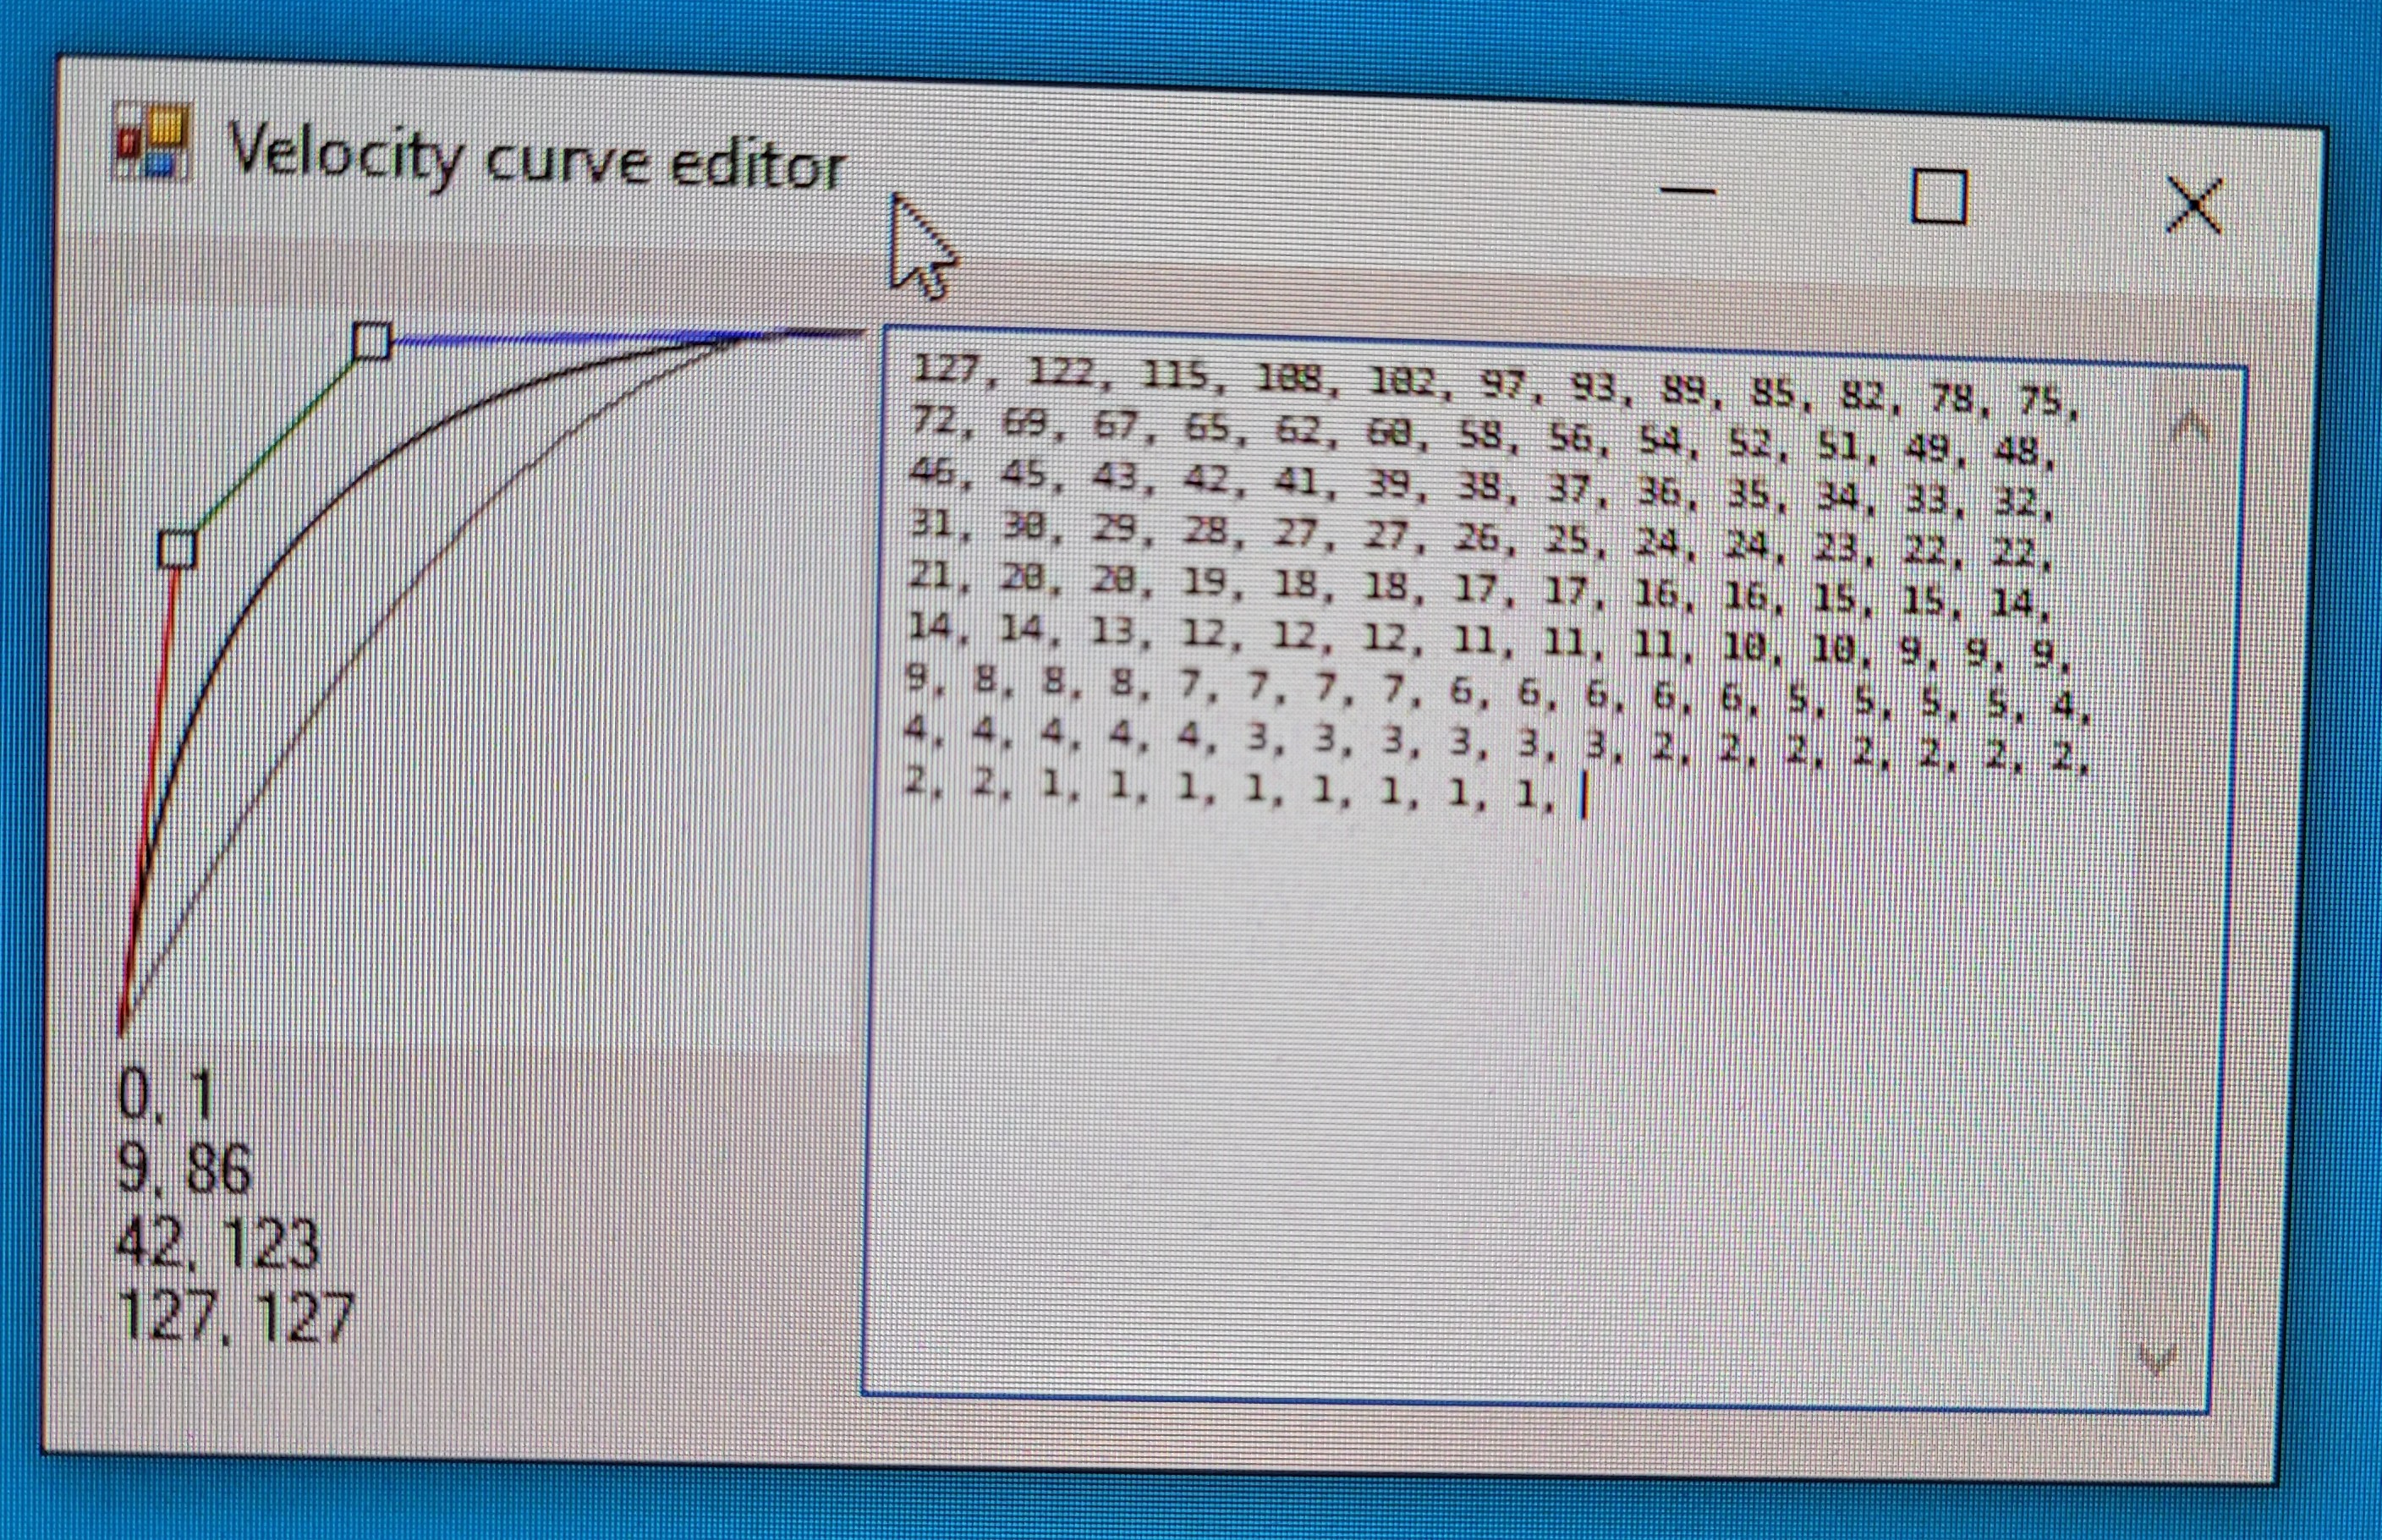
    I created a small tool that helped me fine-tune the velocity curve, which I could then import into C for the scanning interface.

    I was really happy with the first result:

  • Mini-ITX

    Jan Bert09/12/2023 at 19:18 0 comments

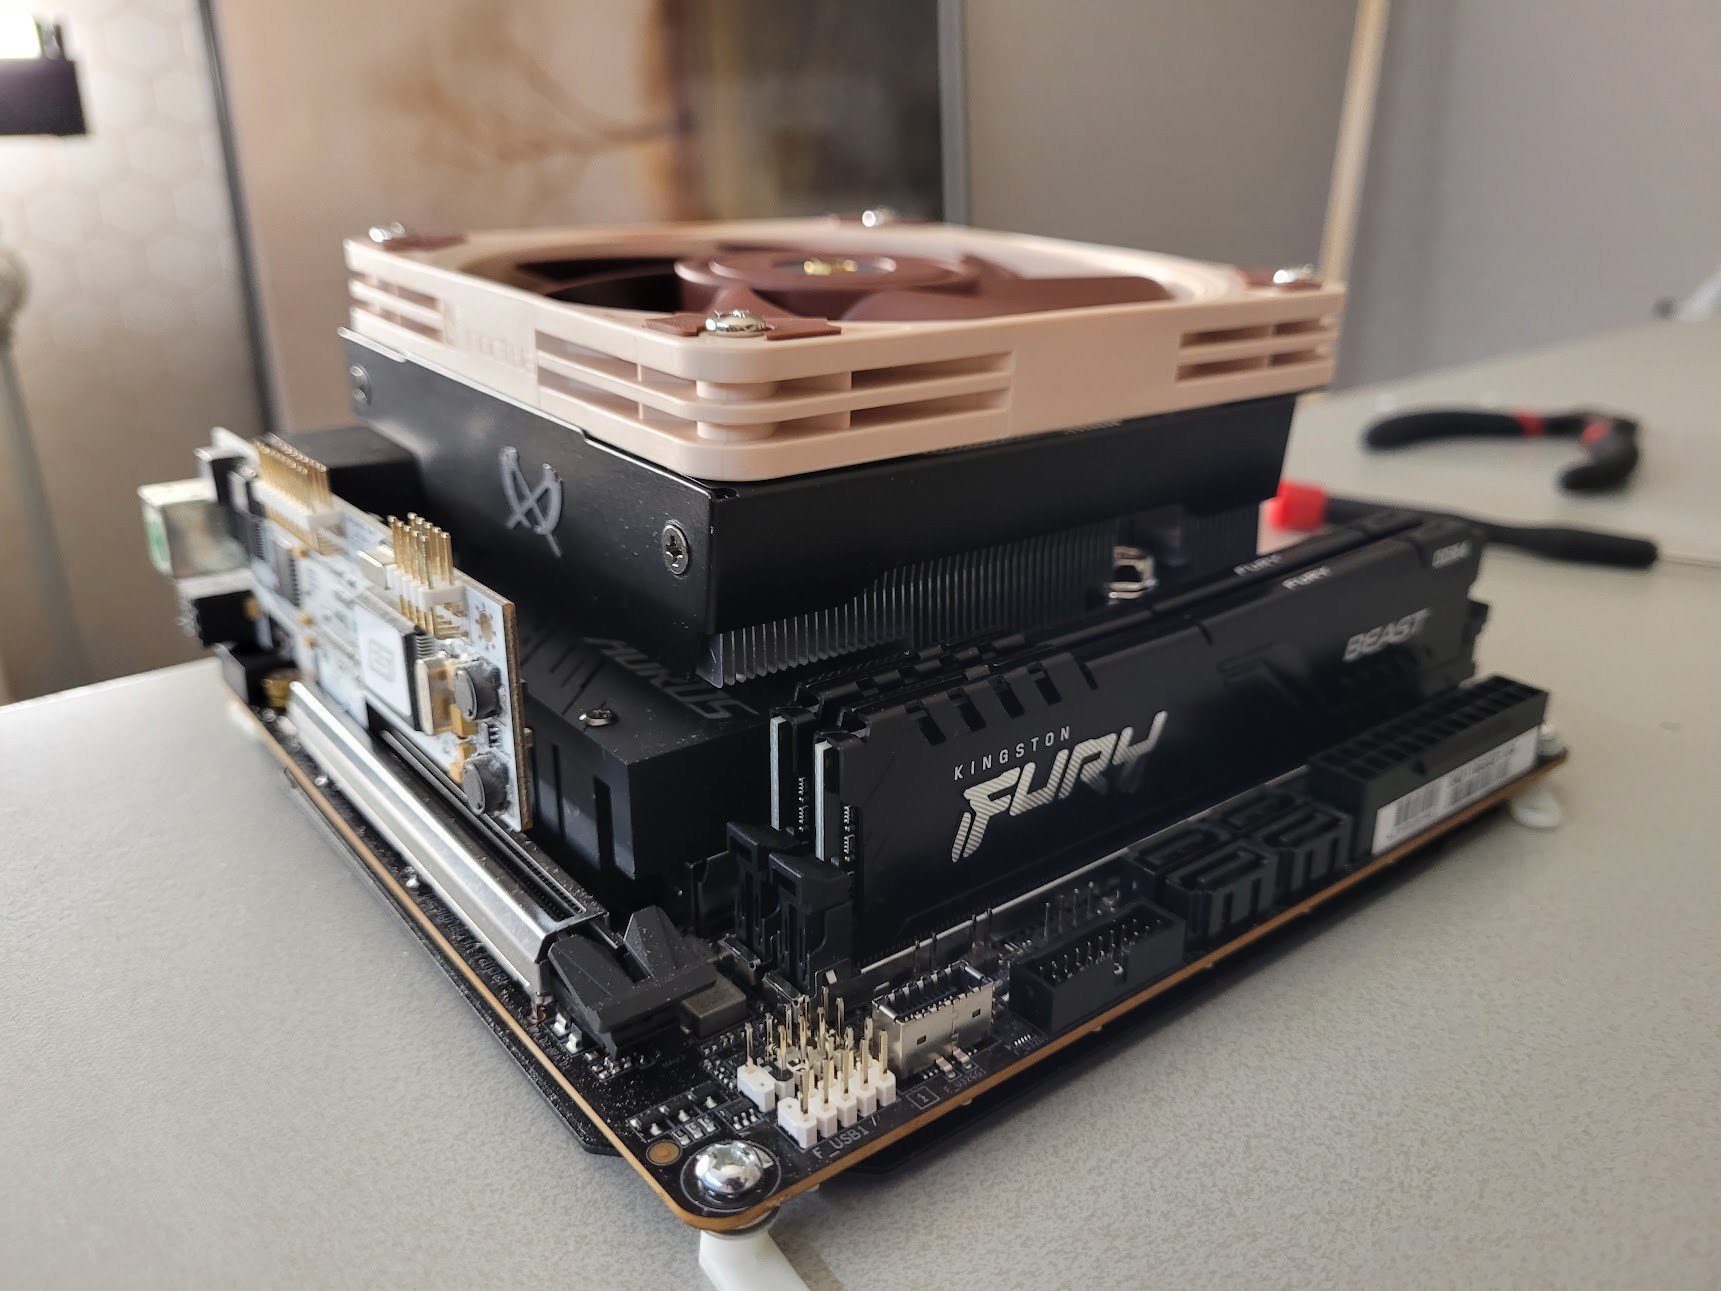
    For the computer, I chose a mini-ITX Gigabyte B560I AORUS PRO with an Intel Core i5-11600K, 16GB of 3200 DDR4 RAM, and a Noctua NF-A12 fan to ensure silent operation.

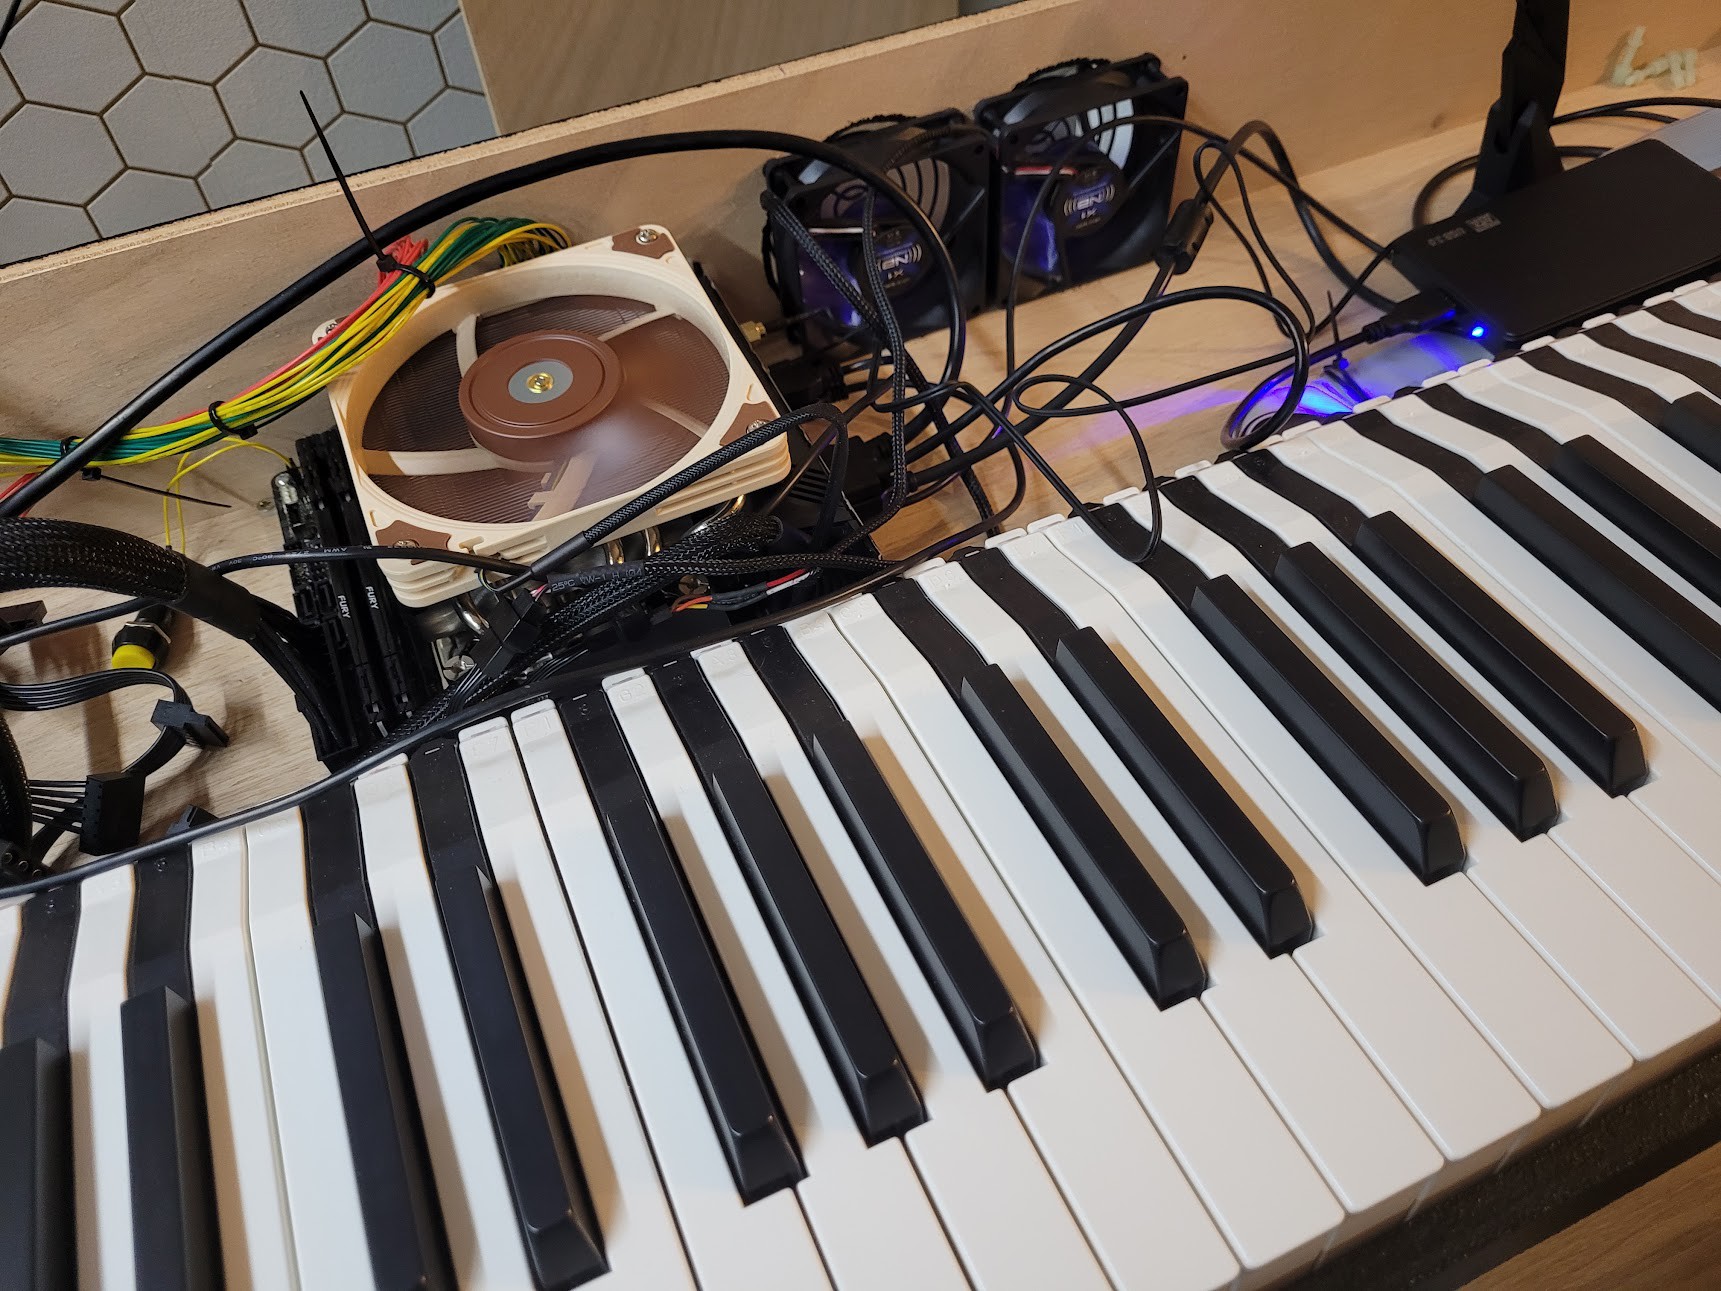
    Two 9cm be quiet! fans were recycled from the VSTiBox for airflow in the cabinet. The concept involves air being drawn in through the dual 9cm fans as the inlet. Subsequently, the air travels through the mini-ITX stack and exits the cabinet at the rear of the PSU.

  • The cabinet

    Jan Bert09/12/2023 at 19:17 0 comments

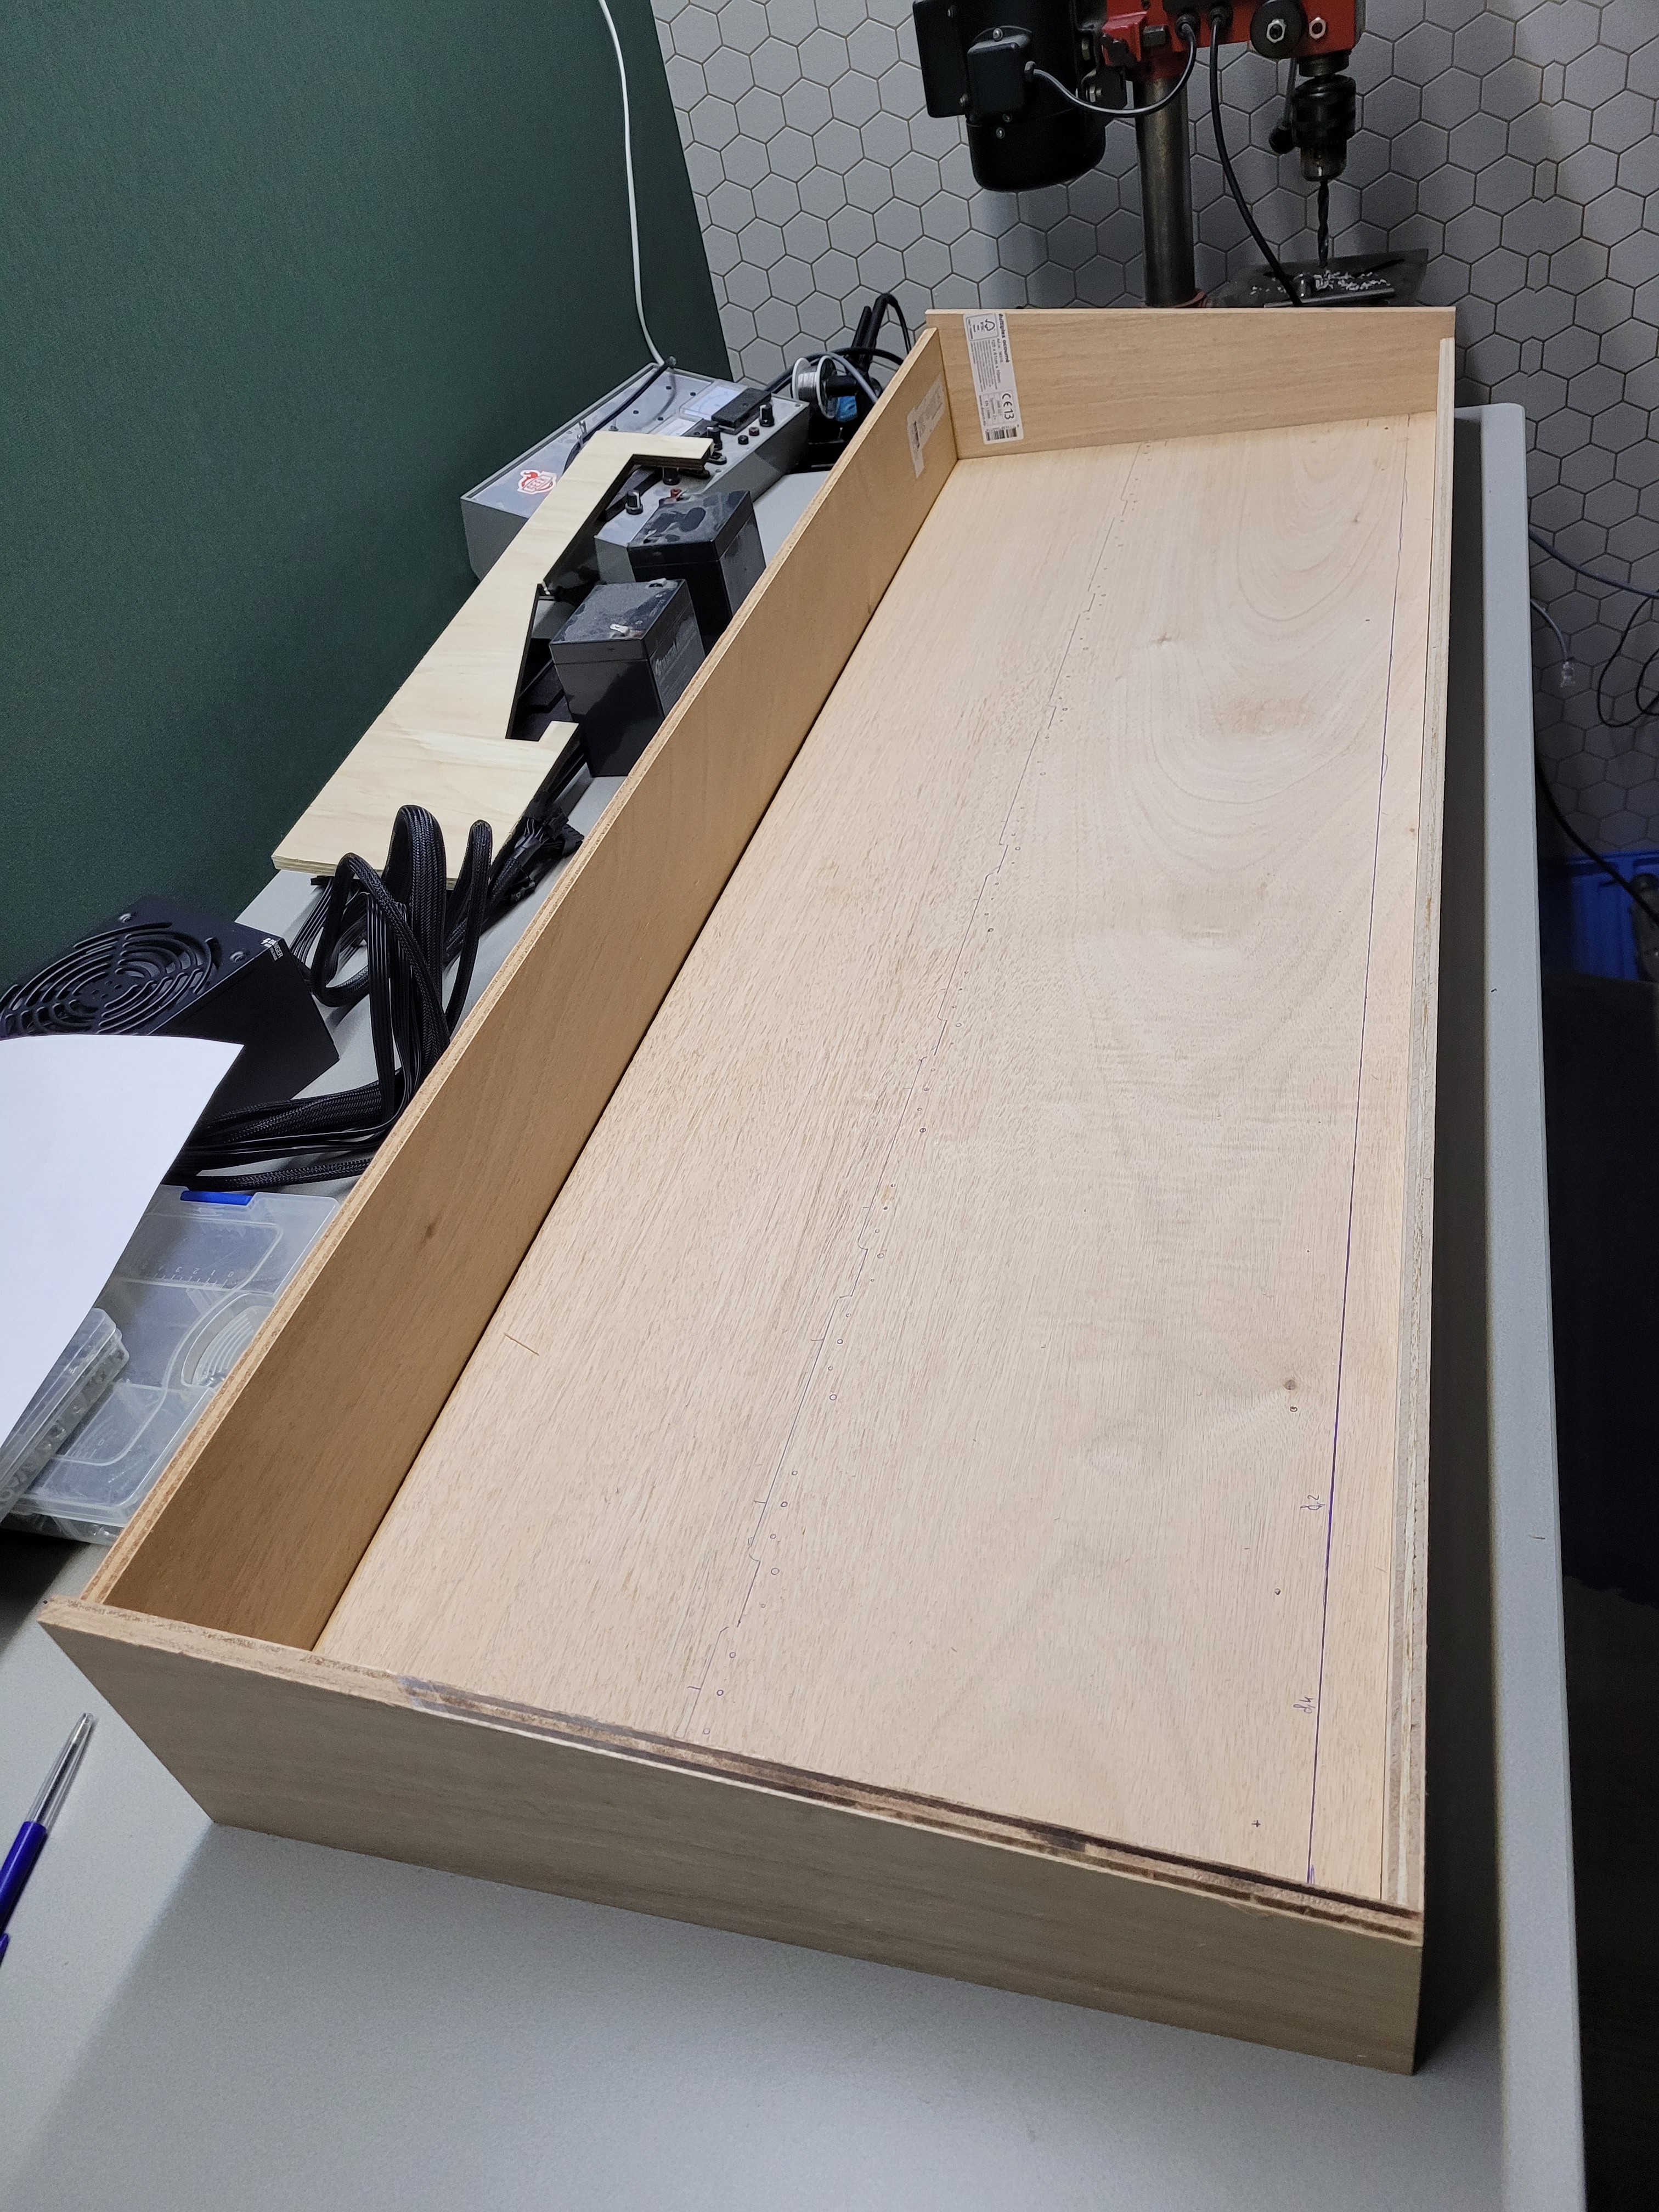
    After creating a preliminary 3D CAD sketch, I measured the precise dimensions of the cabinet by positioning the keybed and mini-ITX on the bottom plate.

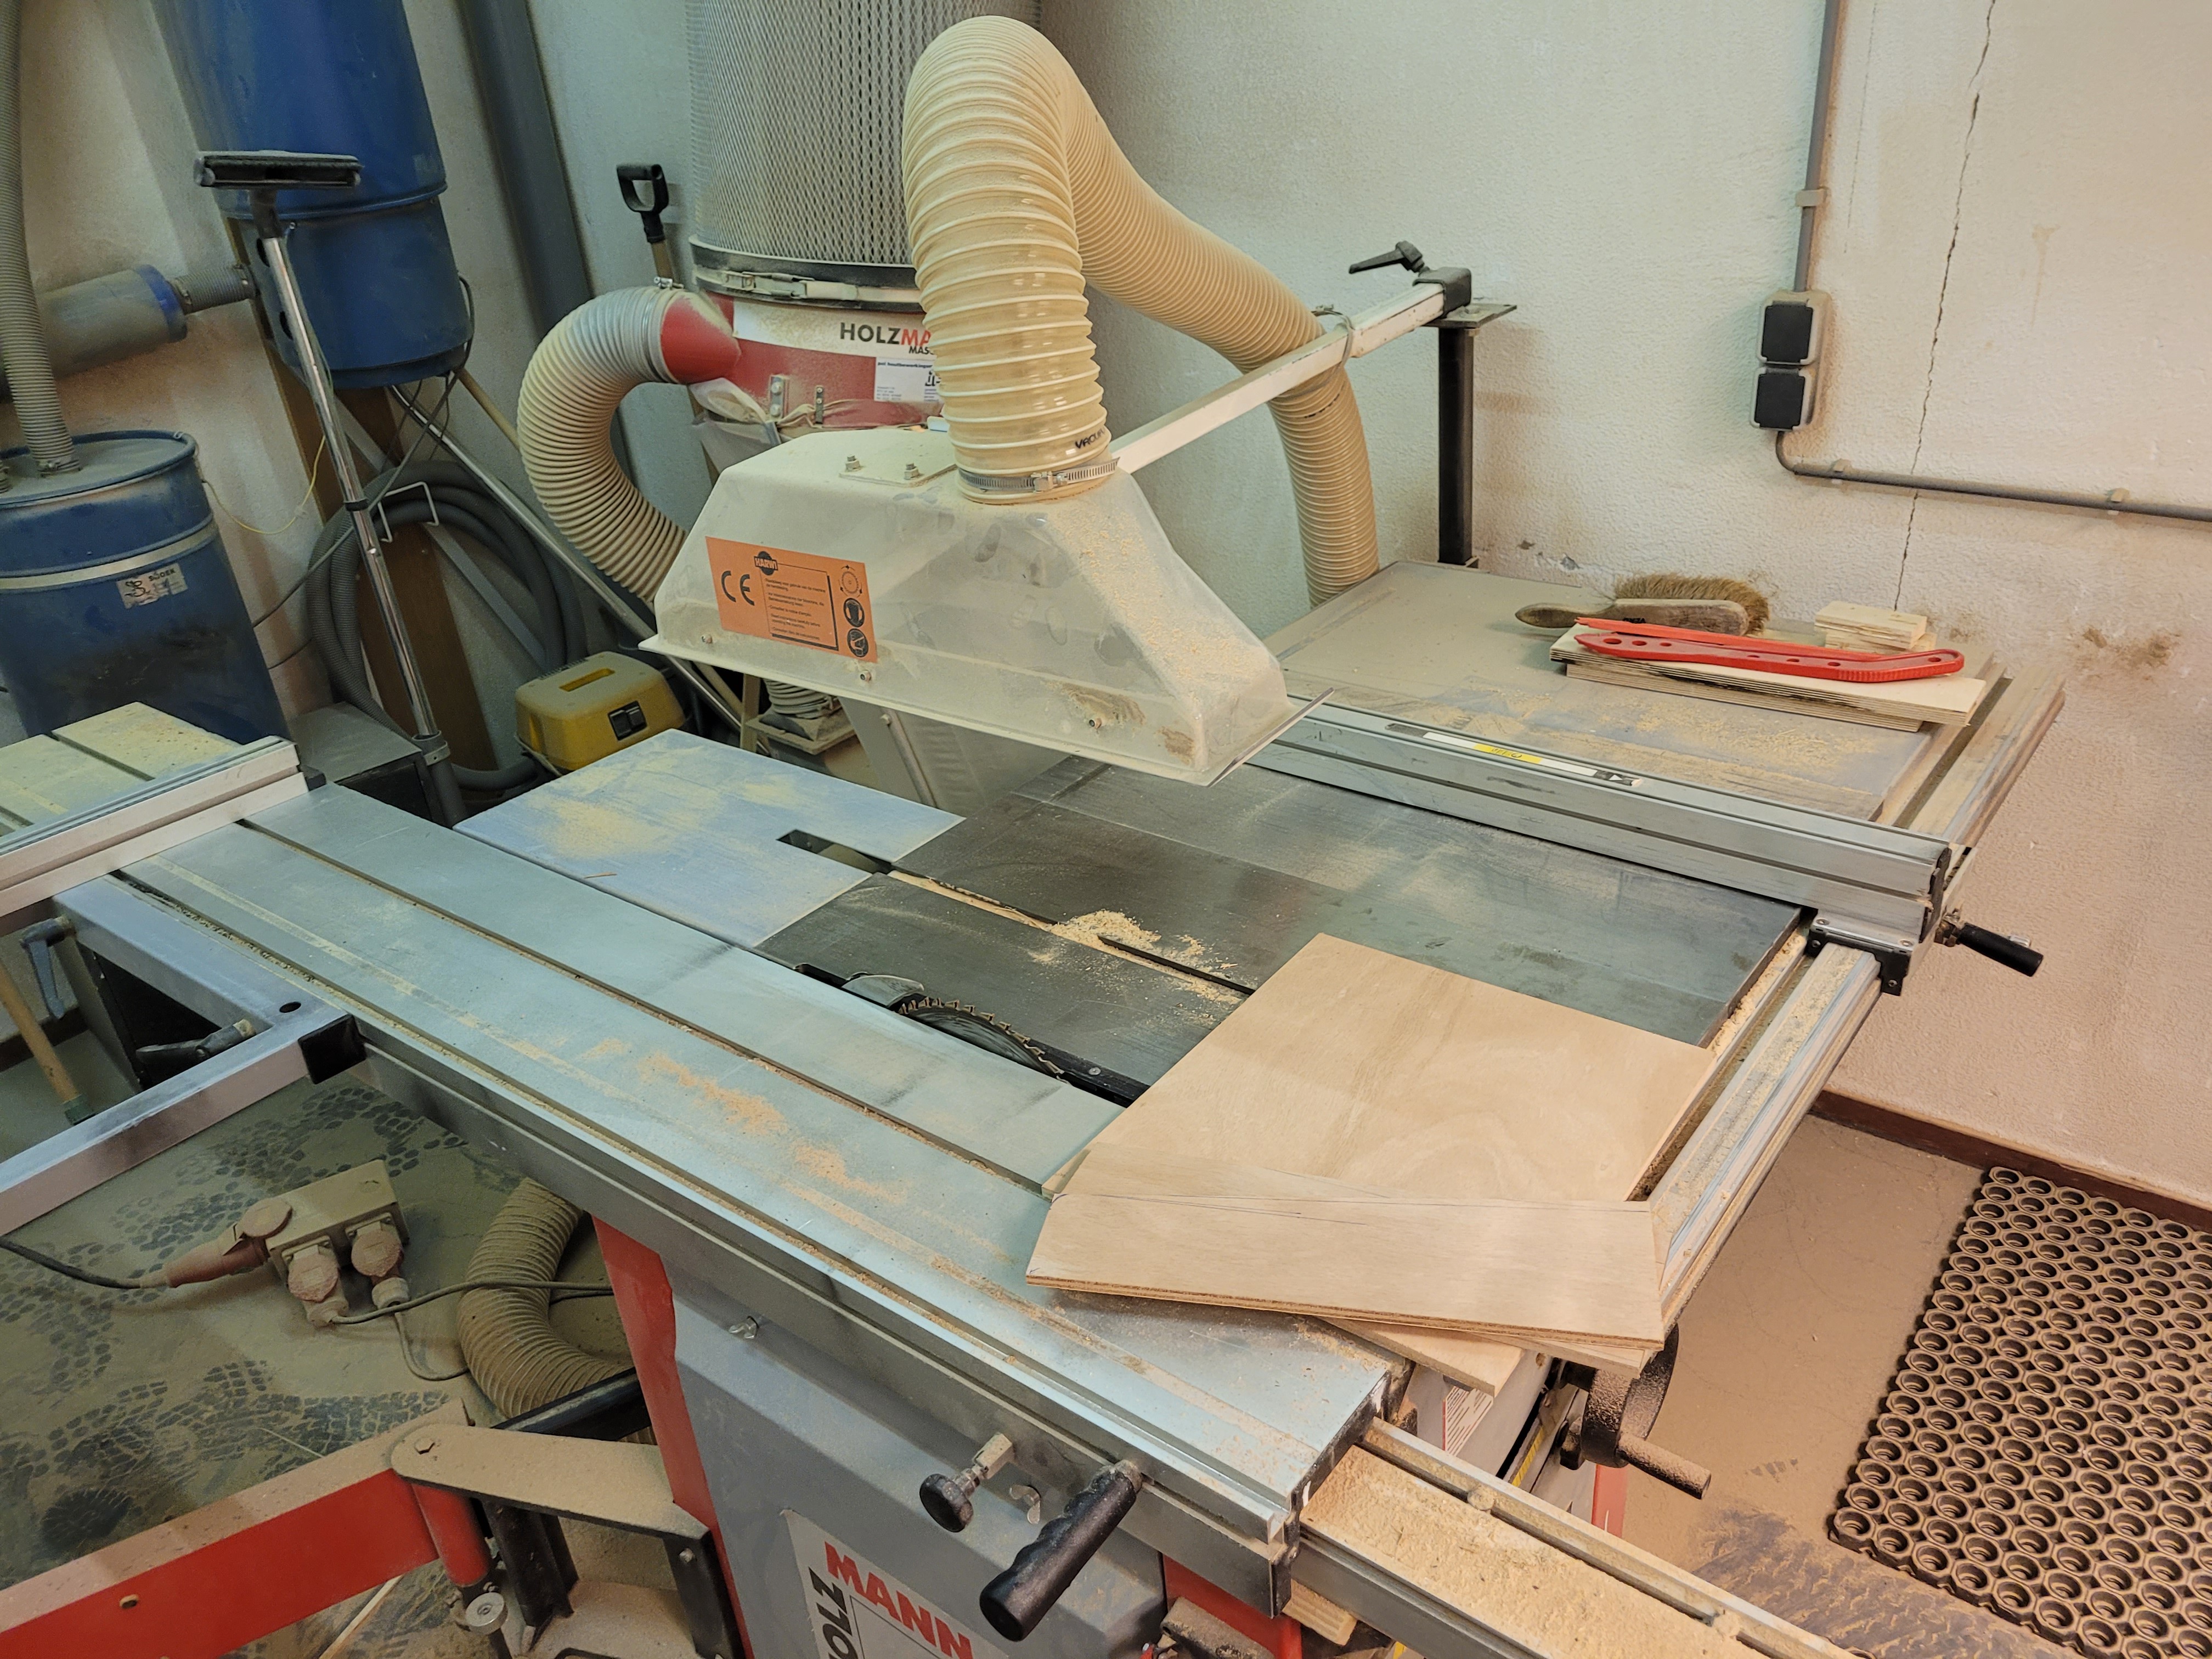
    The cabinet is constructed from plywood, coated with two layers of Warnex, a material commonly used for subwoofer cabinets. This method has proven to be much simpler than applying Tolex, which is often used for guitar amps.

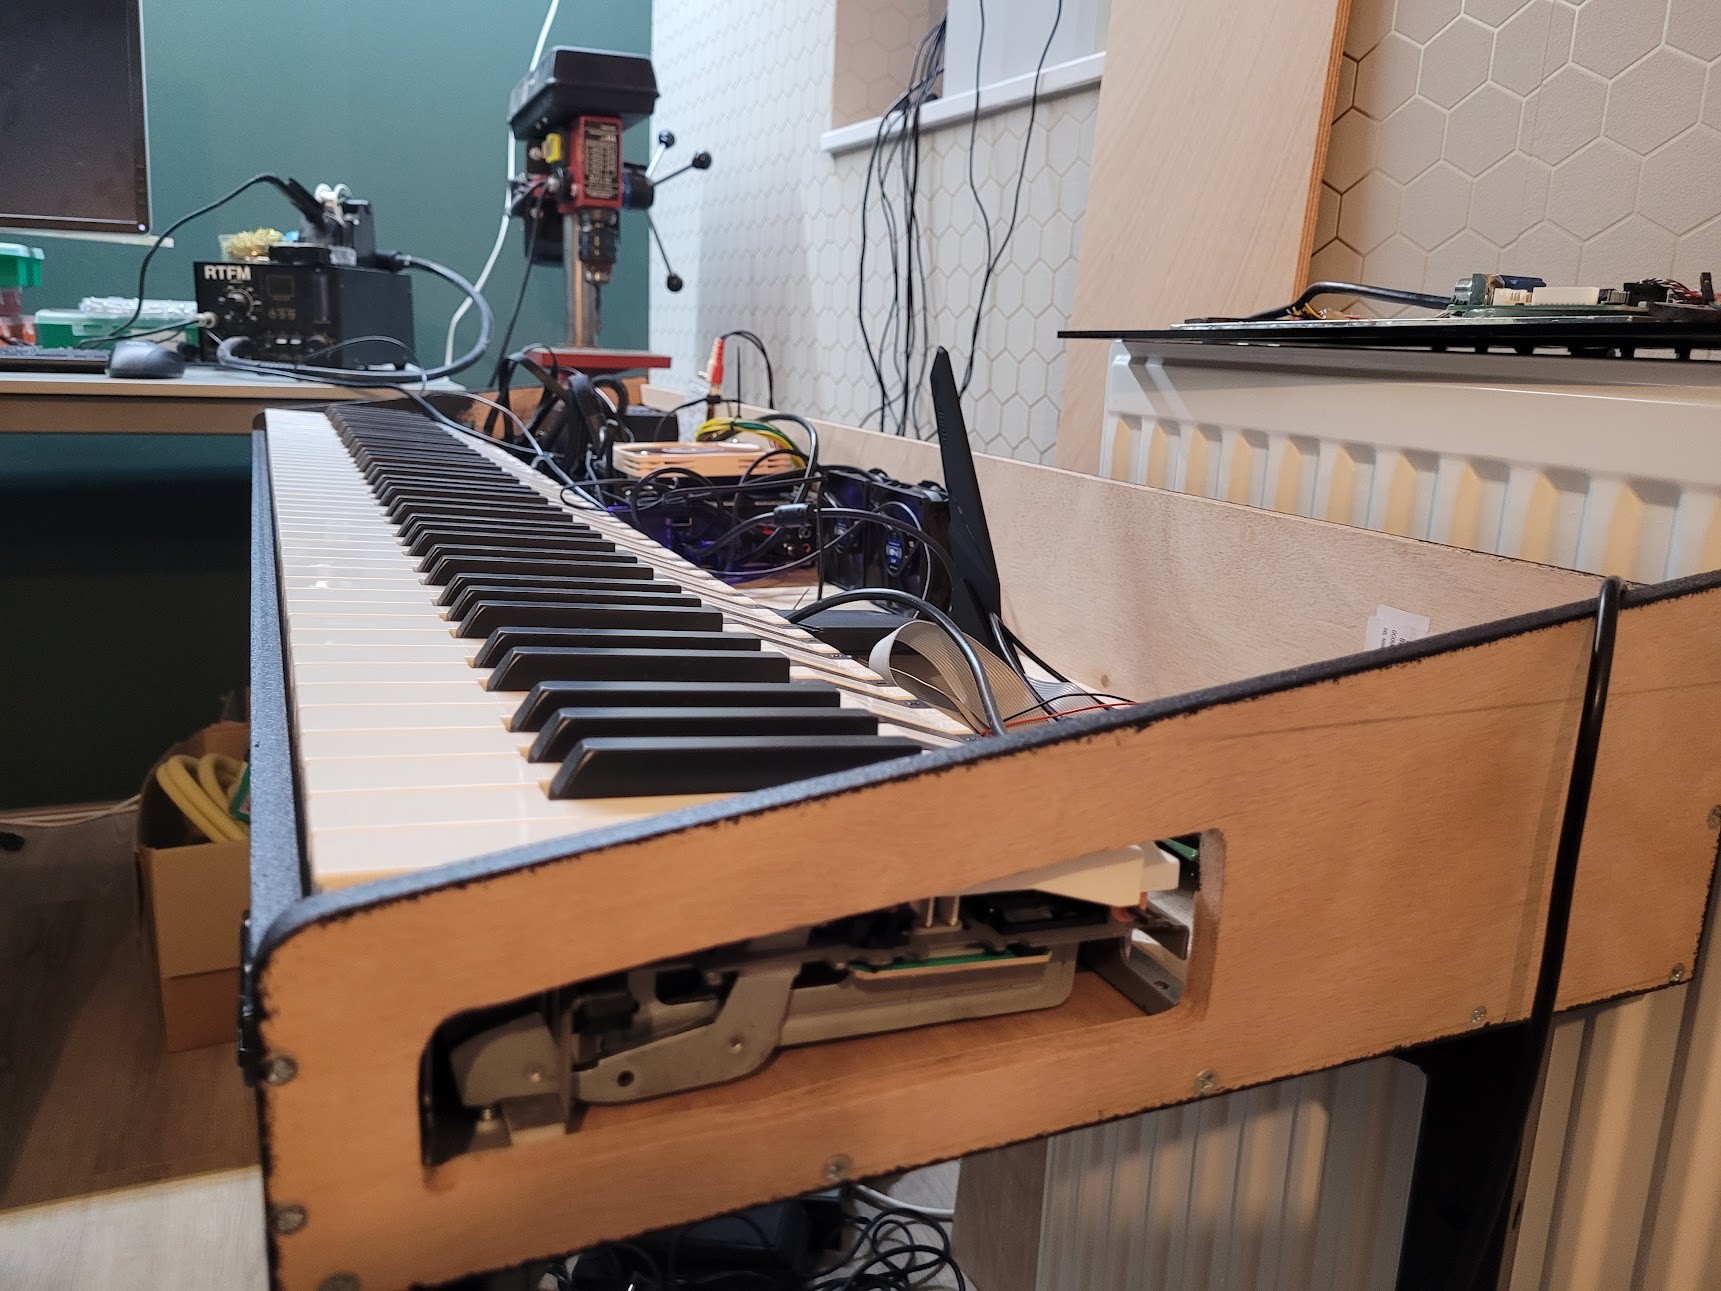
    The side panels feature a slot for easy access to the aftertouch strip. American walnut side panels are then securely attached to the multiplex side panels to give it a polished finish.

  • Fatar keybed

    Jan Bert09/12/2023 at 19:14 0 comments

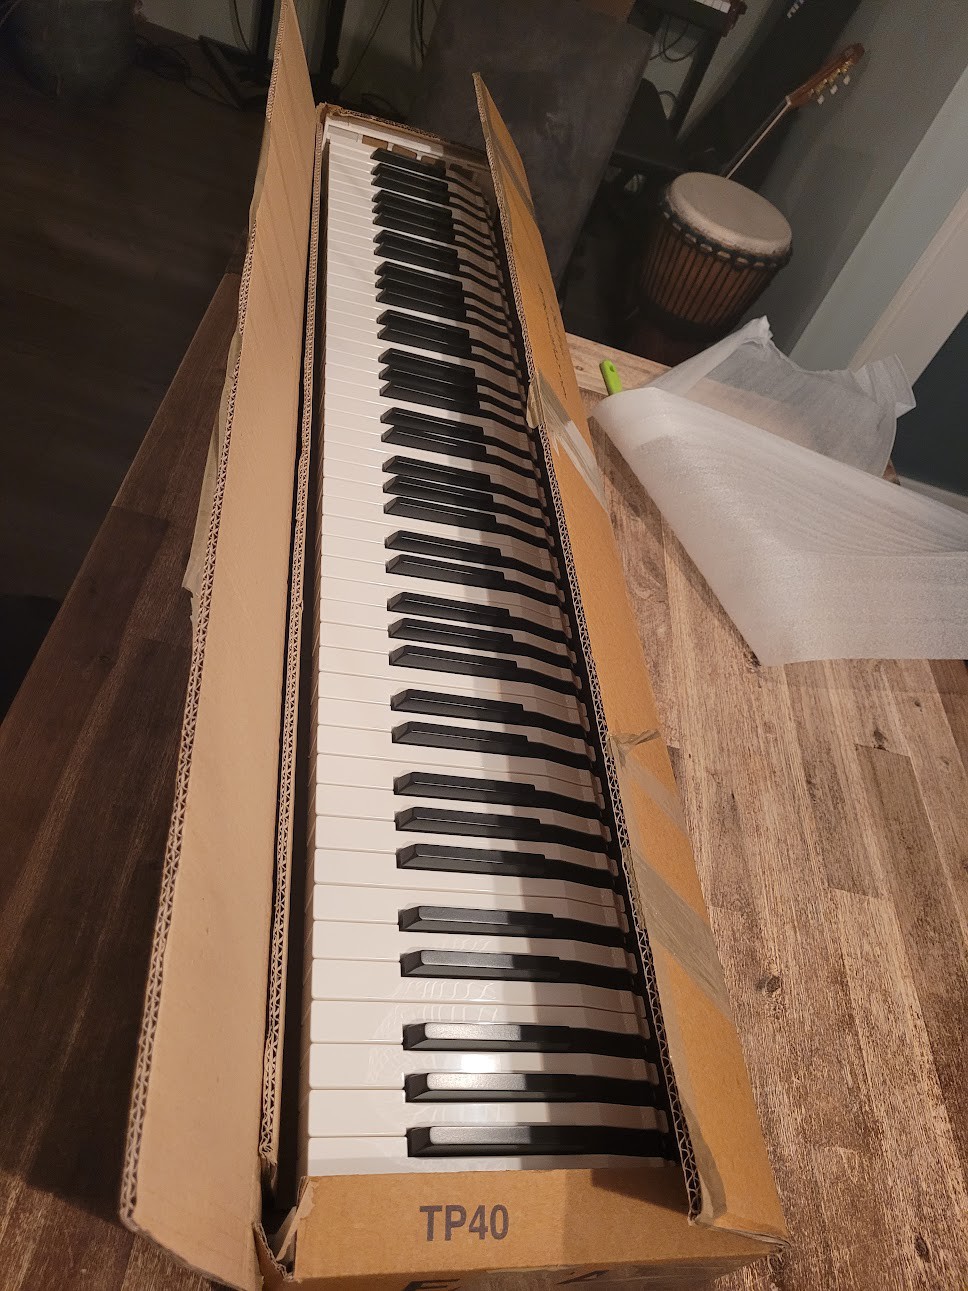
    The VSTiPiano project started with the purchase of the keybed: a Fatar TP/40M + aftertouch strip. 

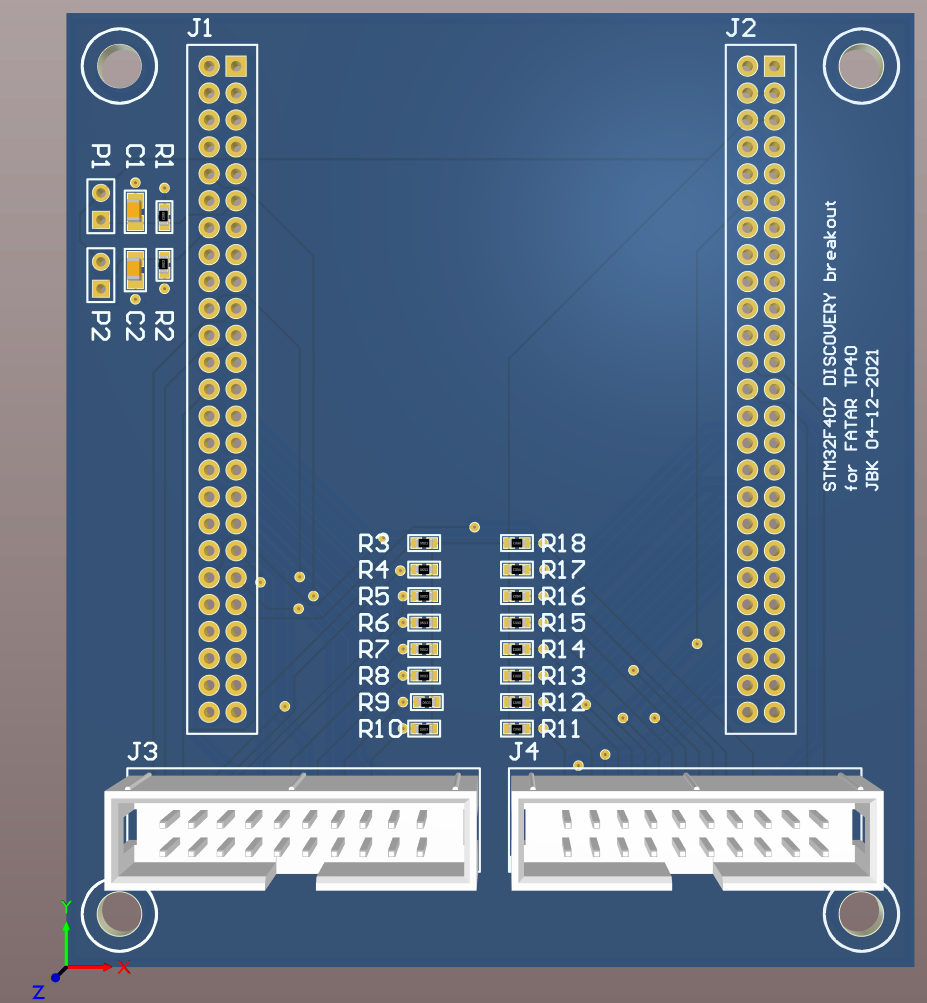
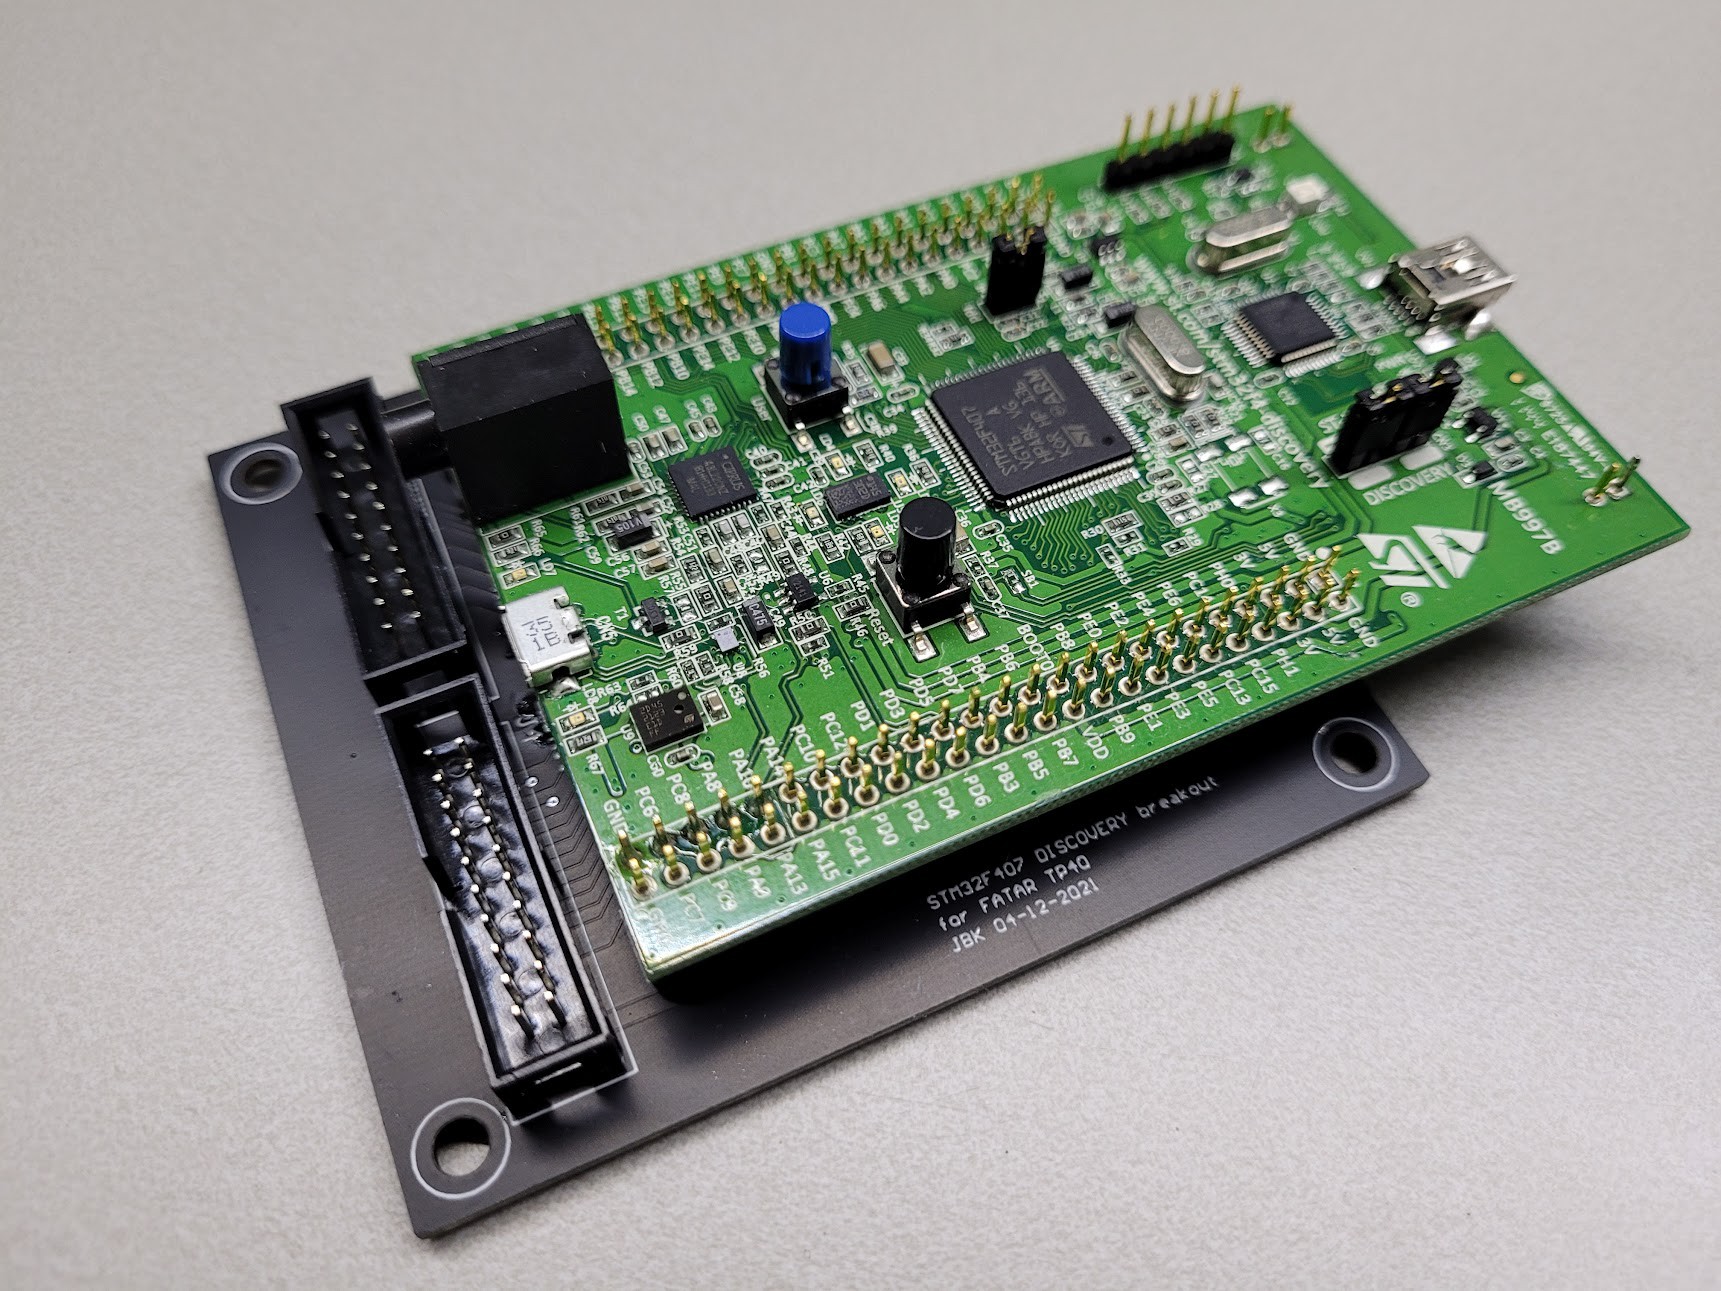
    To interface the keybed with the Windows PC, I chose to use an STM32F407 Discovery board and created a breakout for the Fatar connectors with the scanning interface.

View all 6 project logs

Enjoy this project?

Share

Discussions

Sl_Postmann wrote 10/21/2023 at 07:18 point

In the previous design (monoblock) we see silicone buttons, in this one we see buttons with a mechanical membrane.

What's wrong with silicone buttons?

  Are you sure? yes | no

Jan Bert wrote 10/21/2023 at 07:39 point

The first iteration of the silicone membrane buttons where ok, but sometimes the contact was not properly made. The second iteration in the 61 key synth uses gold coated pcb's which improved that. But because the buttons are relatively high end the travel is long they feel a bit unstable and wiggly. I could not find better alternatives so I tried illuminated buttons. Mono color is much cheaper than RGB so thats what I used. If you have a good source for cheap RGB buttons or lower silicon membrane then please let me know :)

  Are you sure? yes | no

Sl_Postmann wrote 10/21/2023 at 08:00 point

Thanks Jan, those are valuable comments. I am tormented by the same questions, to the point that I am considering Cherry MX / Kalih computer keys. How much RGB is necessary? Most of the synths I see on Youtube make do with monochrome.

Or just for beauty?

  Are you sure? yes | no

Jan Bert wrote 09/18/2023 at 08:23 point

Thank you. The aluminum body is a great idea which I have considered, but I have choosen the wooden solution. Regards, Jan Bert

  Are you sure? yes | no

Sl_Postmann wrote 09/16/2023 at 14:52 point

Great job, Jan!

I've been looking at your work for a long time.
Tell me please, have you ever thought of making a body from a dark aluminum composite, and printing all the inscriptions on it with light UV ink?
I got the idea from an Italian it seems
https://www.youtube.com/watch?v=s13BnS-nn_A

  Are you sure? yes | no

Similar Projects

Does this project spark your interest?

Become a member to follow this project and never miss any updates