-
1Step 1
TSOC_NEOLED Arduino Sketch Examples
Under the "examples" directory are several Arduino IDE examples for using the TSOC_NEOLED board with Arduino IDE. Using the Arduino "Wire" library for I2C communications, it is simple to control the TSOC_NEOLED
  // Start the Arduino I2C Interface
  wire.begin();
  // Turn the first LED On (i.e. green LED #1)
  // the LED's are (GRBY) color order in memory
  byte row, column = 0;
  Wire.beginTransmission(TSOC_NEOLED_I2CADDRESS);  // Start the I2C transaction
  Wire.write(row);                                 // Send the high byte of 16 bit memory address
  Wire.write(column);                              // Send the low byte of 16 bit memory address
  Wire.write(TSOC_NEOLED_LED_ON);                  // Send a single data byte  (we could send more...)
  Wire.endTransmission();                          // End the I2C transaction

  // Turn the first LED Off (i.e. green LED #1)
  // the LED's are (GRBY) color order in memory
  Wire.beginTransmission(TSOC_NEOLED_I2CADDRESS);  // Start the I2C transaction
  Wire.write(row);                                 // Send the high byte of 16 bit memory address
  Wire.write(column);                              // Send the low byte of 16 bit memory address
  Wire.write(TSOC_NEOLED_LED_OFF);                  // Send a single data byte  (we could send more...)
  Wire.endTransmission();                          // End the I2C transaction
TSOC_NEOLED Programming
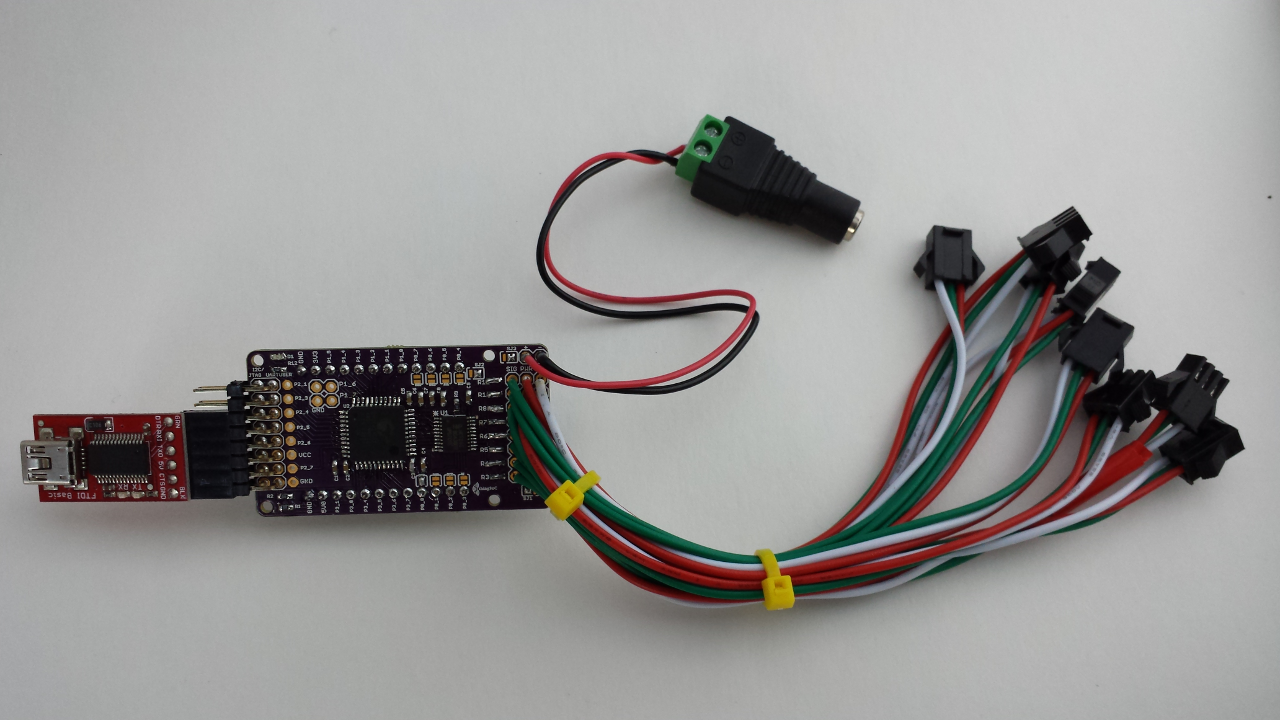
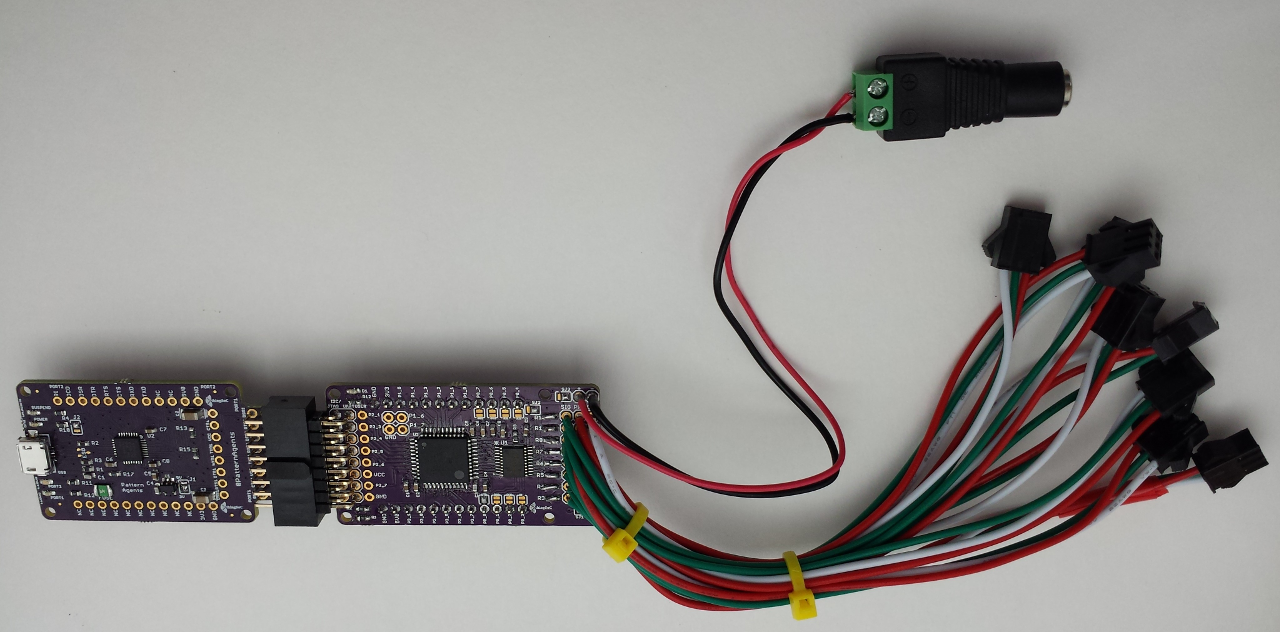
You can reprogram the board using any FTDI compatible USB to UART adapter :
![thingSoC TSOC_NEOLED]() TSOC_NEOLED with TSOC_USBUART2
TSOC_NEOLED with TSOC_USBUART2![thingSoC TSOC_NEOLED]() TSOC_NEOLED with TSOC_USBUART2
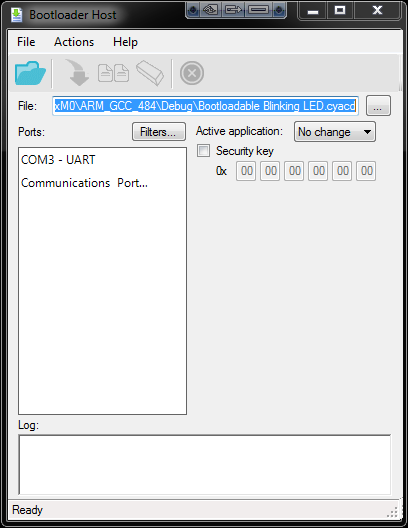
TSOC_NEOLED with TSOC_USBUART2In order to reprogram the Cypress PSoC4 device, you will need to download and install the PSoC Creator tool, which includes a serial bootloader host application.
Select Tools -> Bootloader Host
Then select the hex (cyacd) file that you wish to program, and the COM: port of your device. Proess the "Upload" button to reflash teh device.
Other Applications
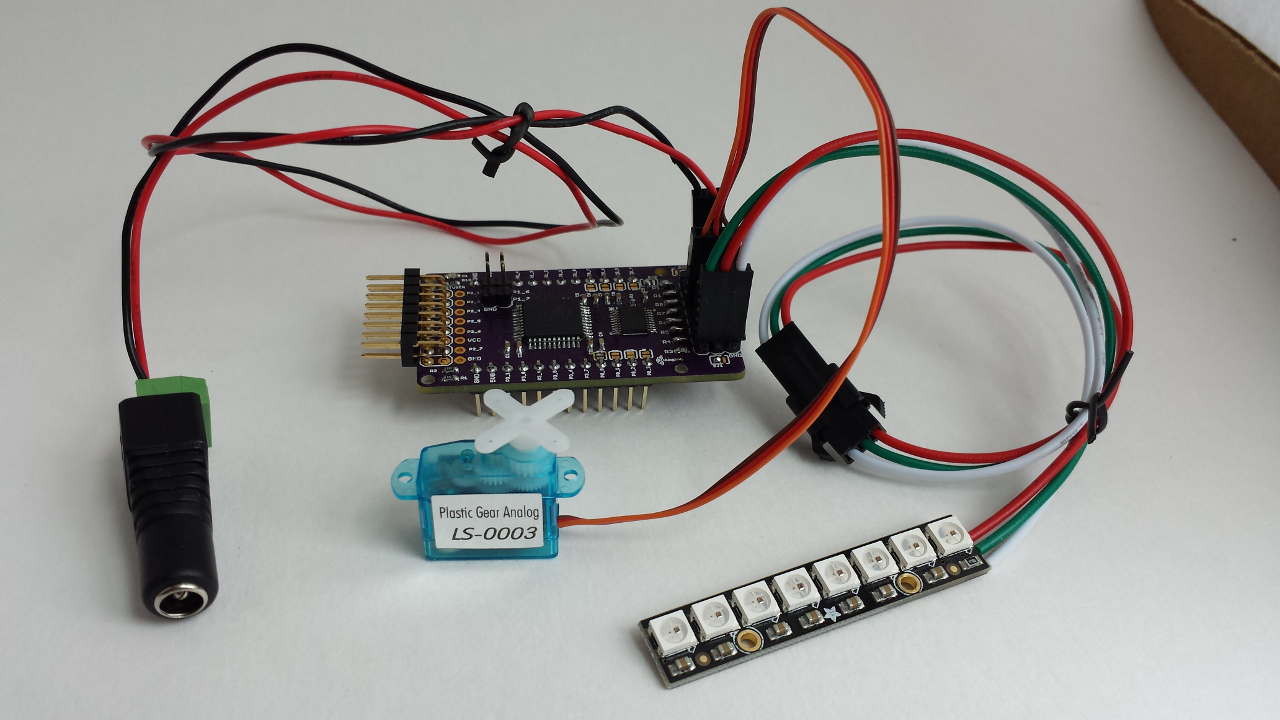
The TSOC_NEOLED can also drive other devices, such as Servos, Motors, Realys and more. This requires custom firmware at the current time.
thingSoC NEOLED Driver
The TSOC_NEOLED is a WS2812 (a.k.a Adafruit NeoPixel) driver using programmable logic for fast updates
 Pattern Agents
 TSOC_NEOLED with FTDI basic
 TSOC_NEOLED with TSOC_USBUART2
 TSOC_NEOLED with TSOC_USBUART2
 PSoC Creator Bootloader Host
 TSOC_NEOLED with Servo
Discussions
Become a Hackaday.io Member
Create an account to leave a comment. Already have an account? Log In.