-
1Modelisation
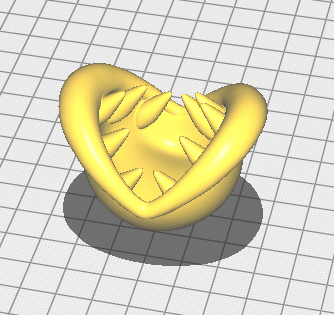
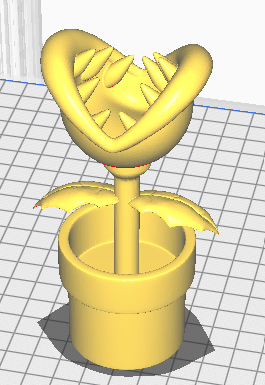
1st step : To begin our project the look of it is really important that's why we had to modelize our pirhana plant
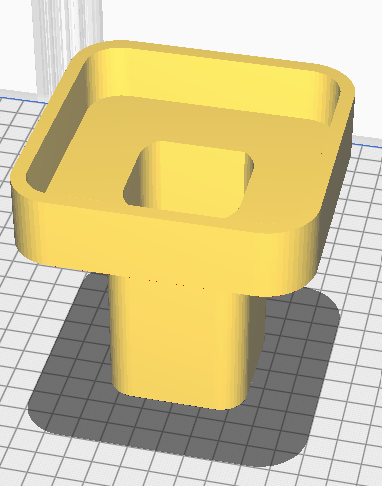
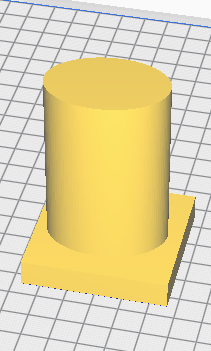
2nd step : We have to design 3 parts :
- the head (we choose to do it in translucid PLA to be sure that the light will go through it)
- the tunnal
- the pipe (that will go up and down)
We added a platform at the bottom of the pipe so that we can attach the linear sensor that will ensure the moving
3rd step :
Assemble everything
-
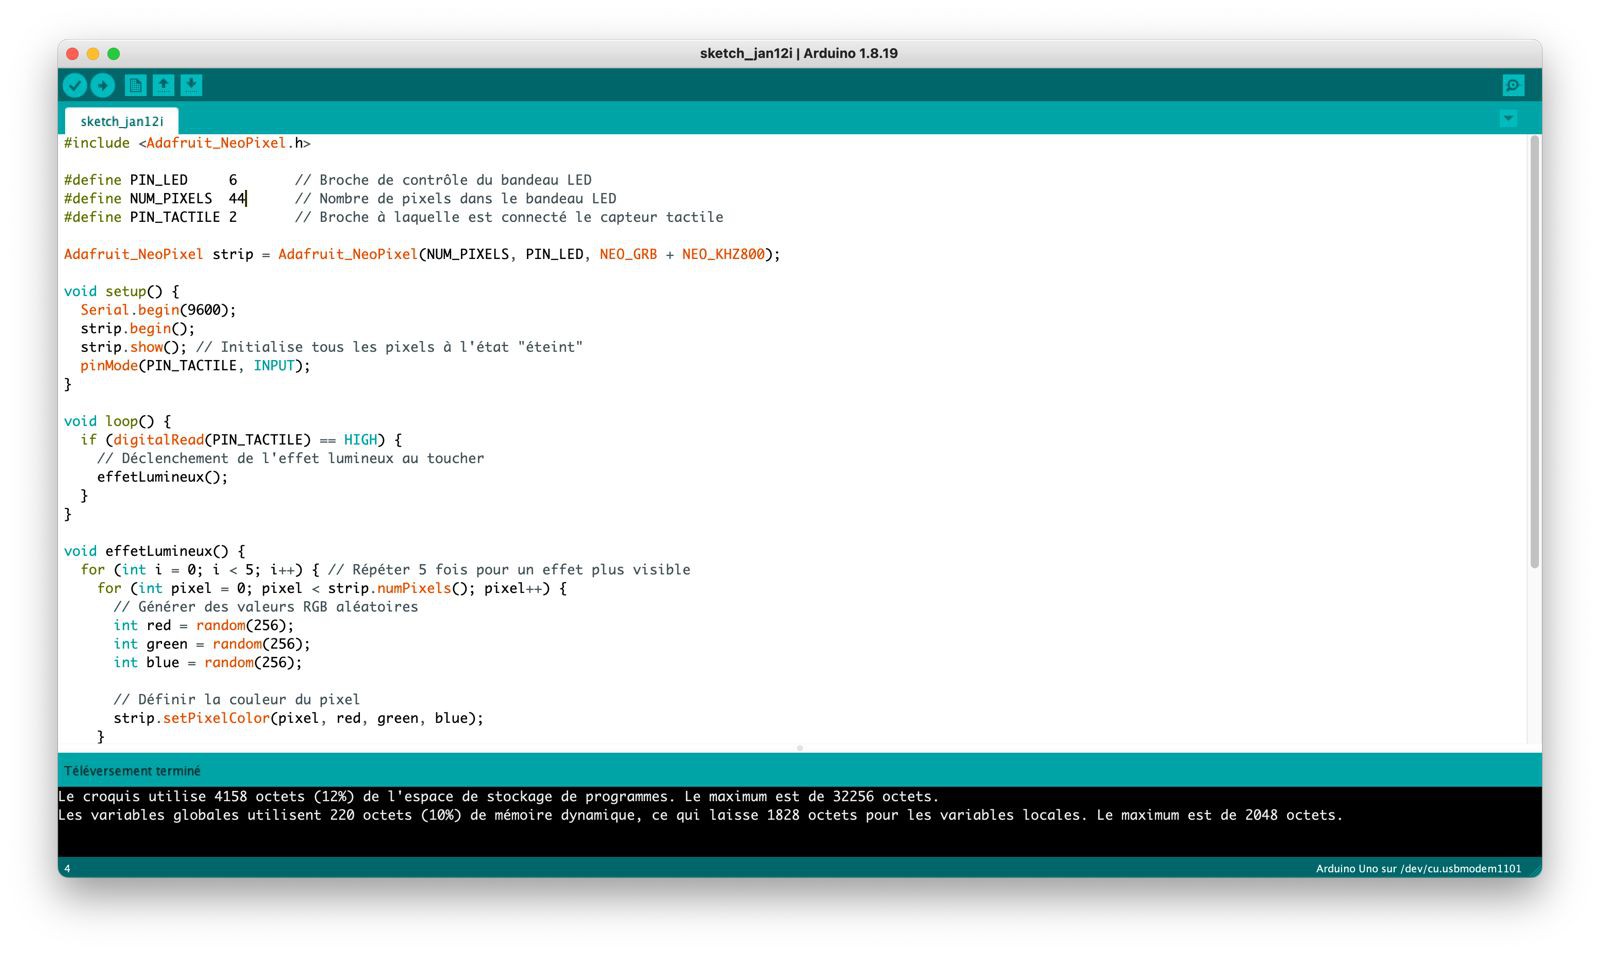
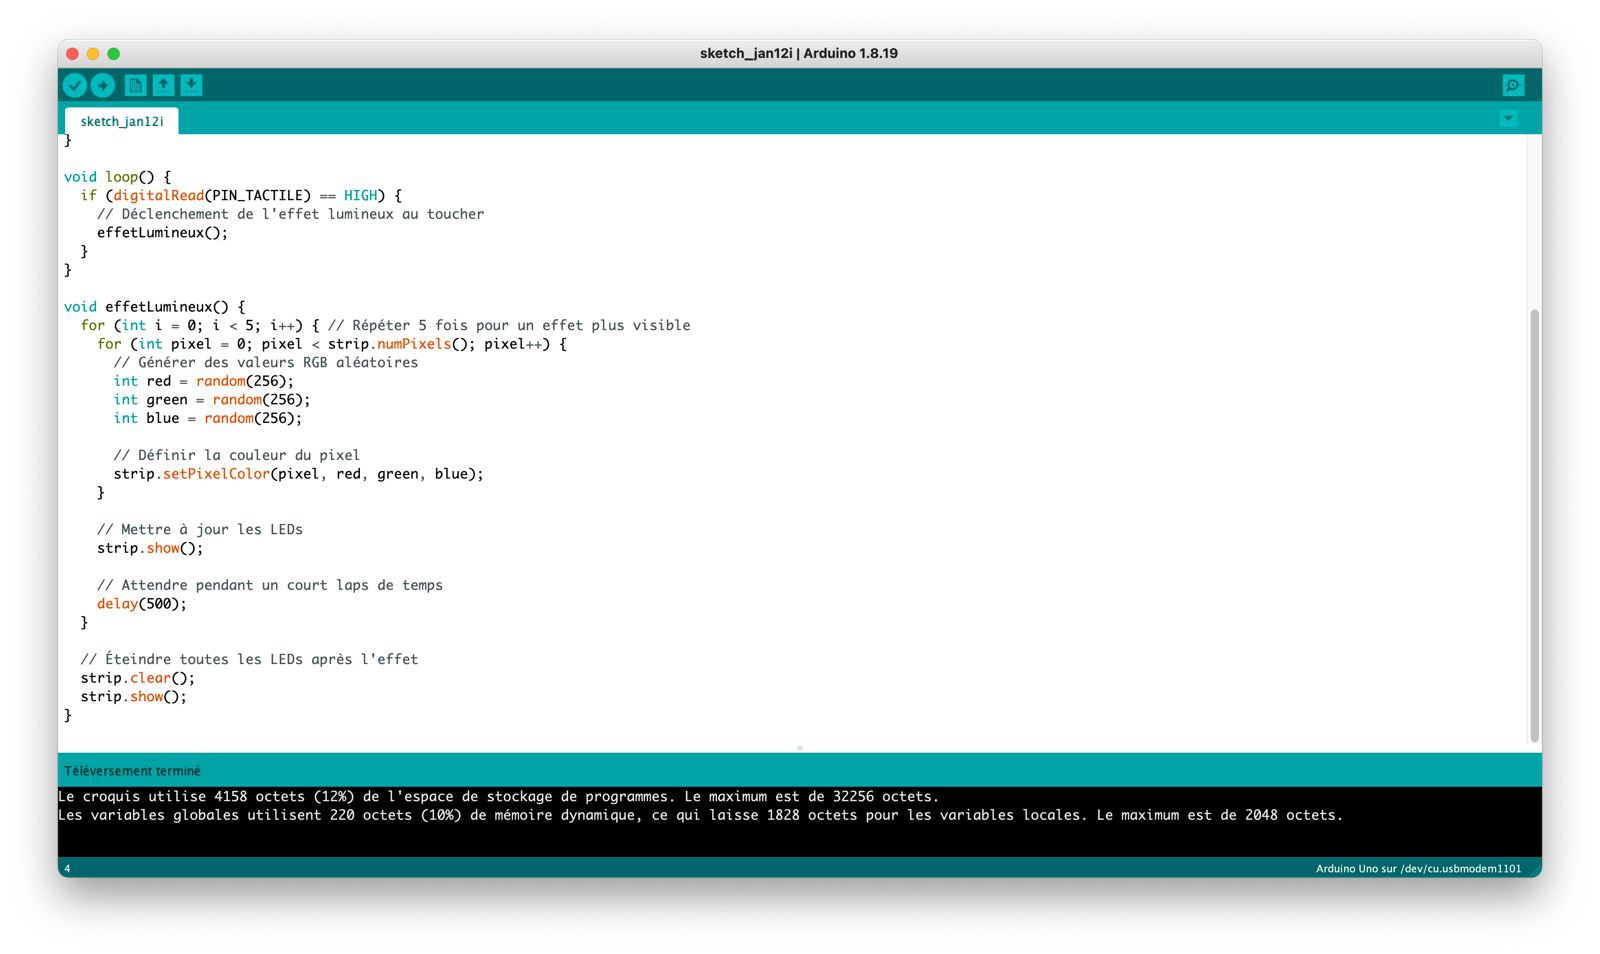
2Electronic 1
Our code for the 1st sensor :
-
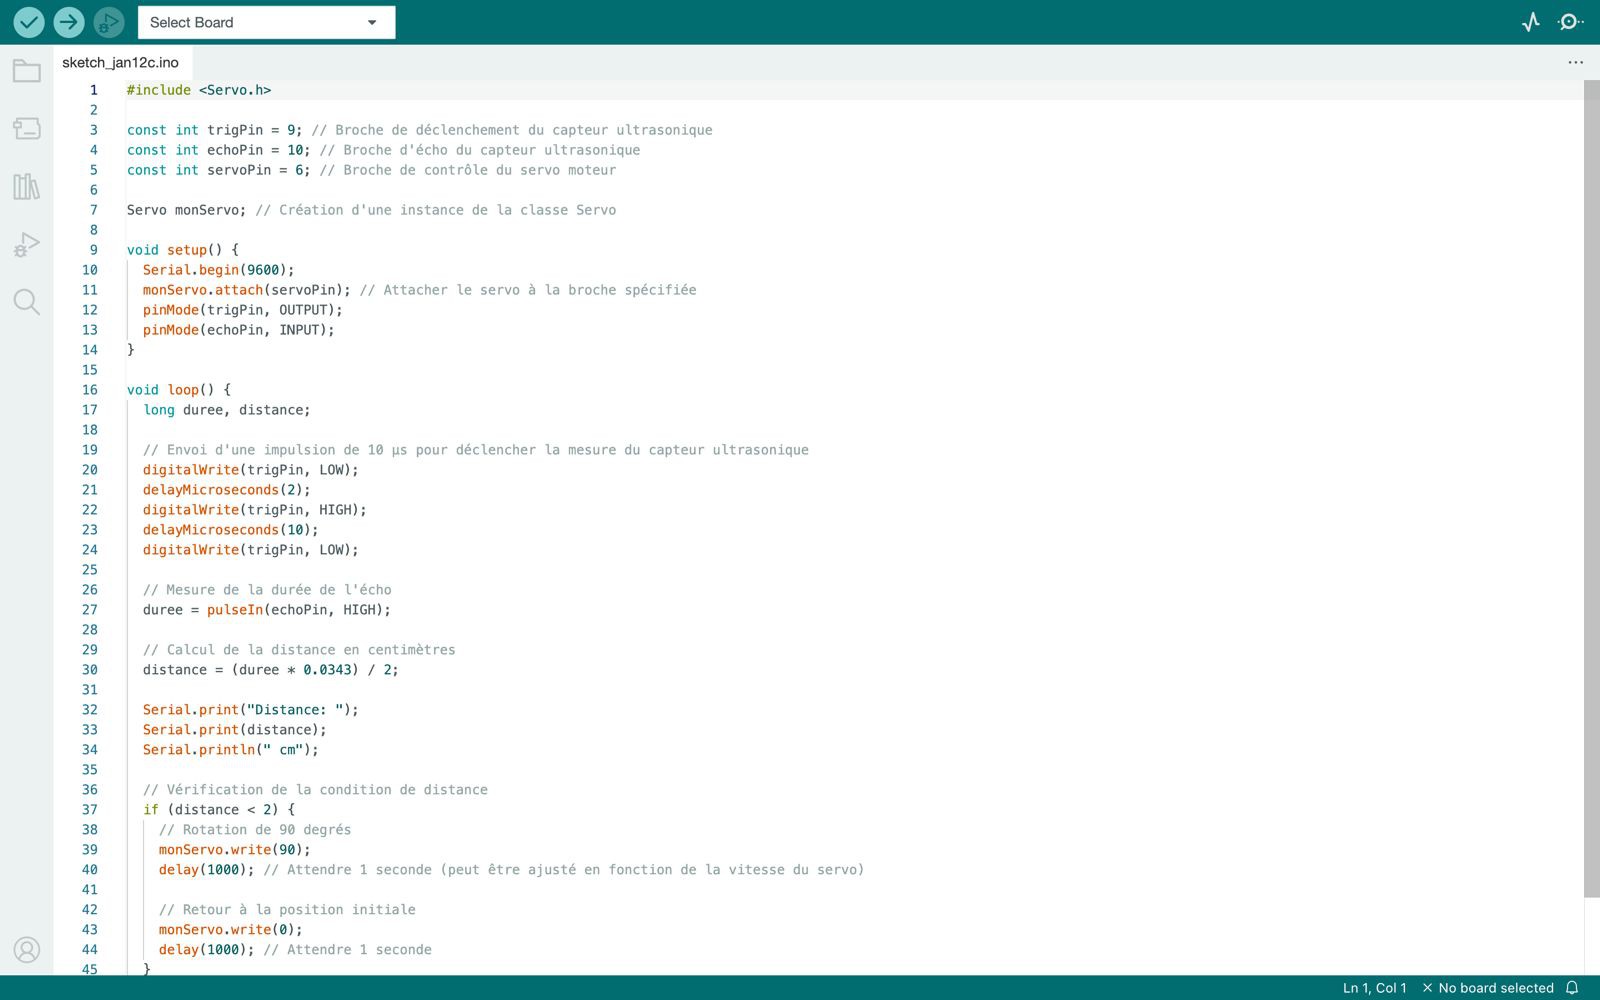
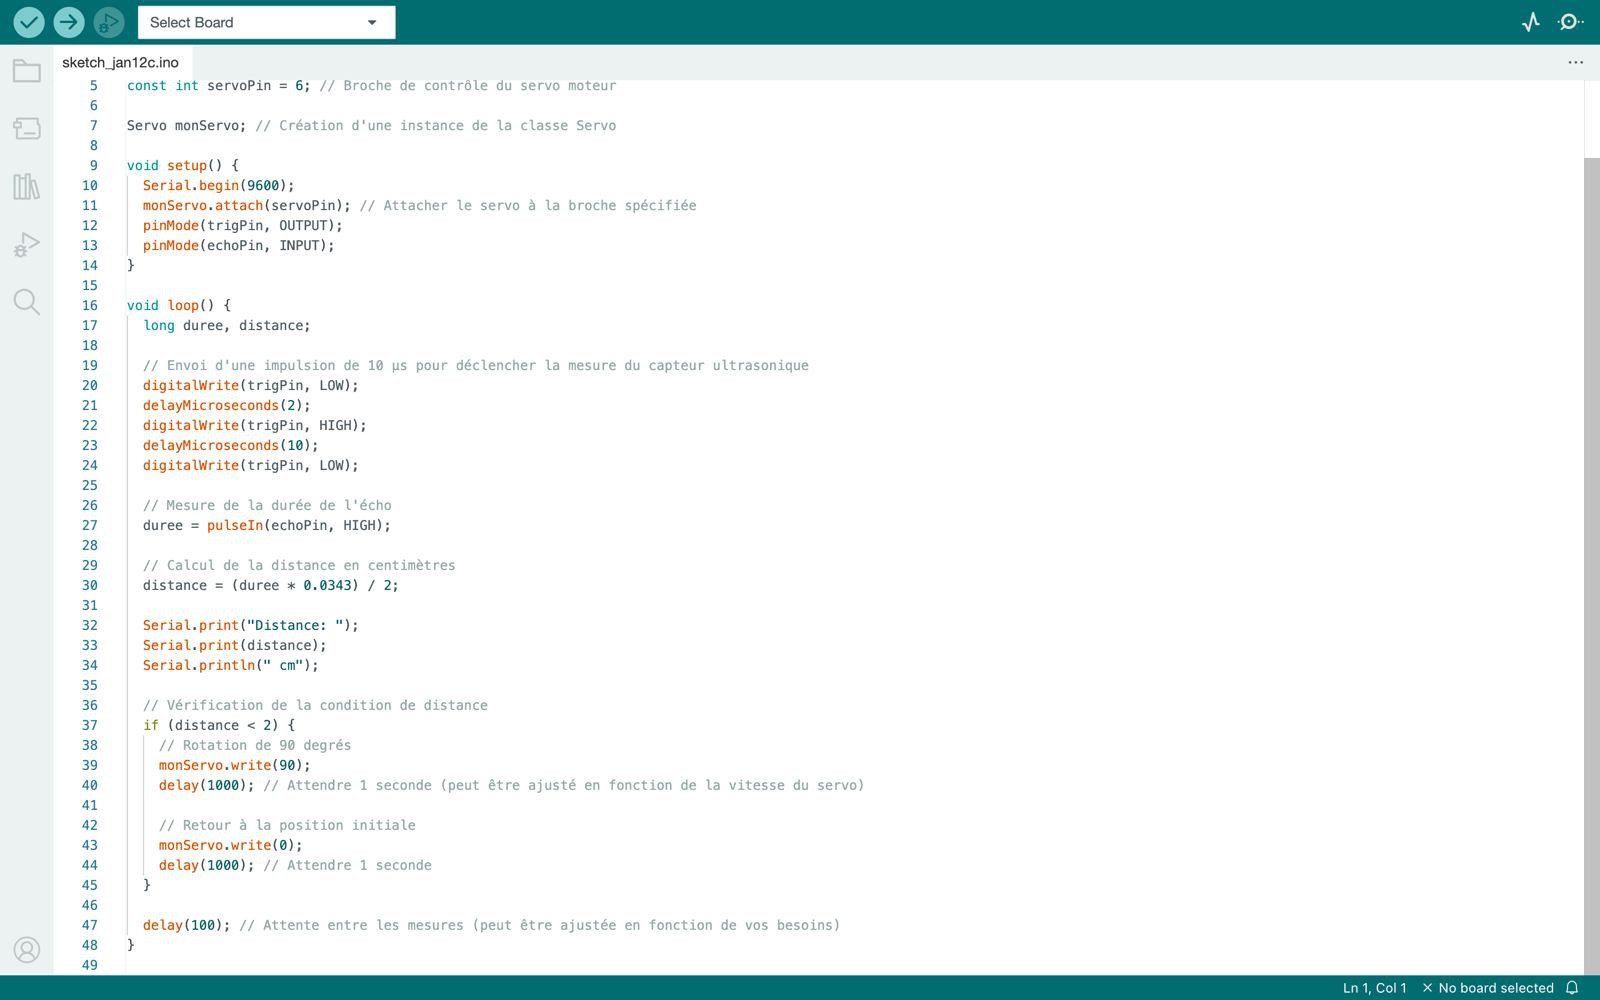
3Electronic 2
The other code for the 2nd sensor :
-
4Electronic 2.2
-
5Issues/ Weaknesses
During this project we faced many difficulties. We had to figure how to translate a circular movement into a linear one and how to assemble our structure. To do that we made a cardboard model of our project. It allowed us to visualise everything. Thanks to that, finding solution to the problems became easier.
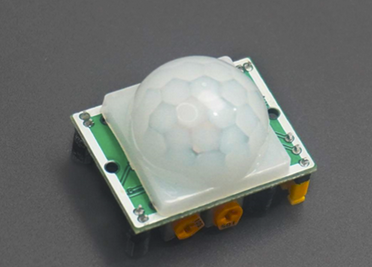
This interactive lamp force us to be more creative and find plan b. Indeed, not everything went the way we wanted to. Firstly, we tried to use this presence sensor.
However, we realised it was too sensitive and would not be a fit for our project. That is why we switched for an ultrasound sensor, which is less sensitive and easier to code. Secondly, we found on the internet a STL file for the linear movement of the servo motor. Unfortunately, there was a problem with the file, and we could not reprint it in time. So, we decide to make the plant spin and not go up and down.
We also had a problem with the stem. We printed it too large. So, we had to sand it to make it fit
As to the esp32, the card would not work with the computer. We could not send the code to the card. We choose to give up on the idea of the IoT LED and we used a classic Arduino uno card. We decided to use our touch sensor and change the initial feature.
-
6MOODBOARD
![]()
The Piranha Plant
Our idea is to create an interactive lamp that comes from the universe of Super Mario Bros

Discussions
Become a Hackaday.io Member
Create an account to leave a comment. Already have an account? Log In.