Mx. Jack Nelson
-
The OLED is here
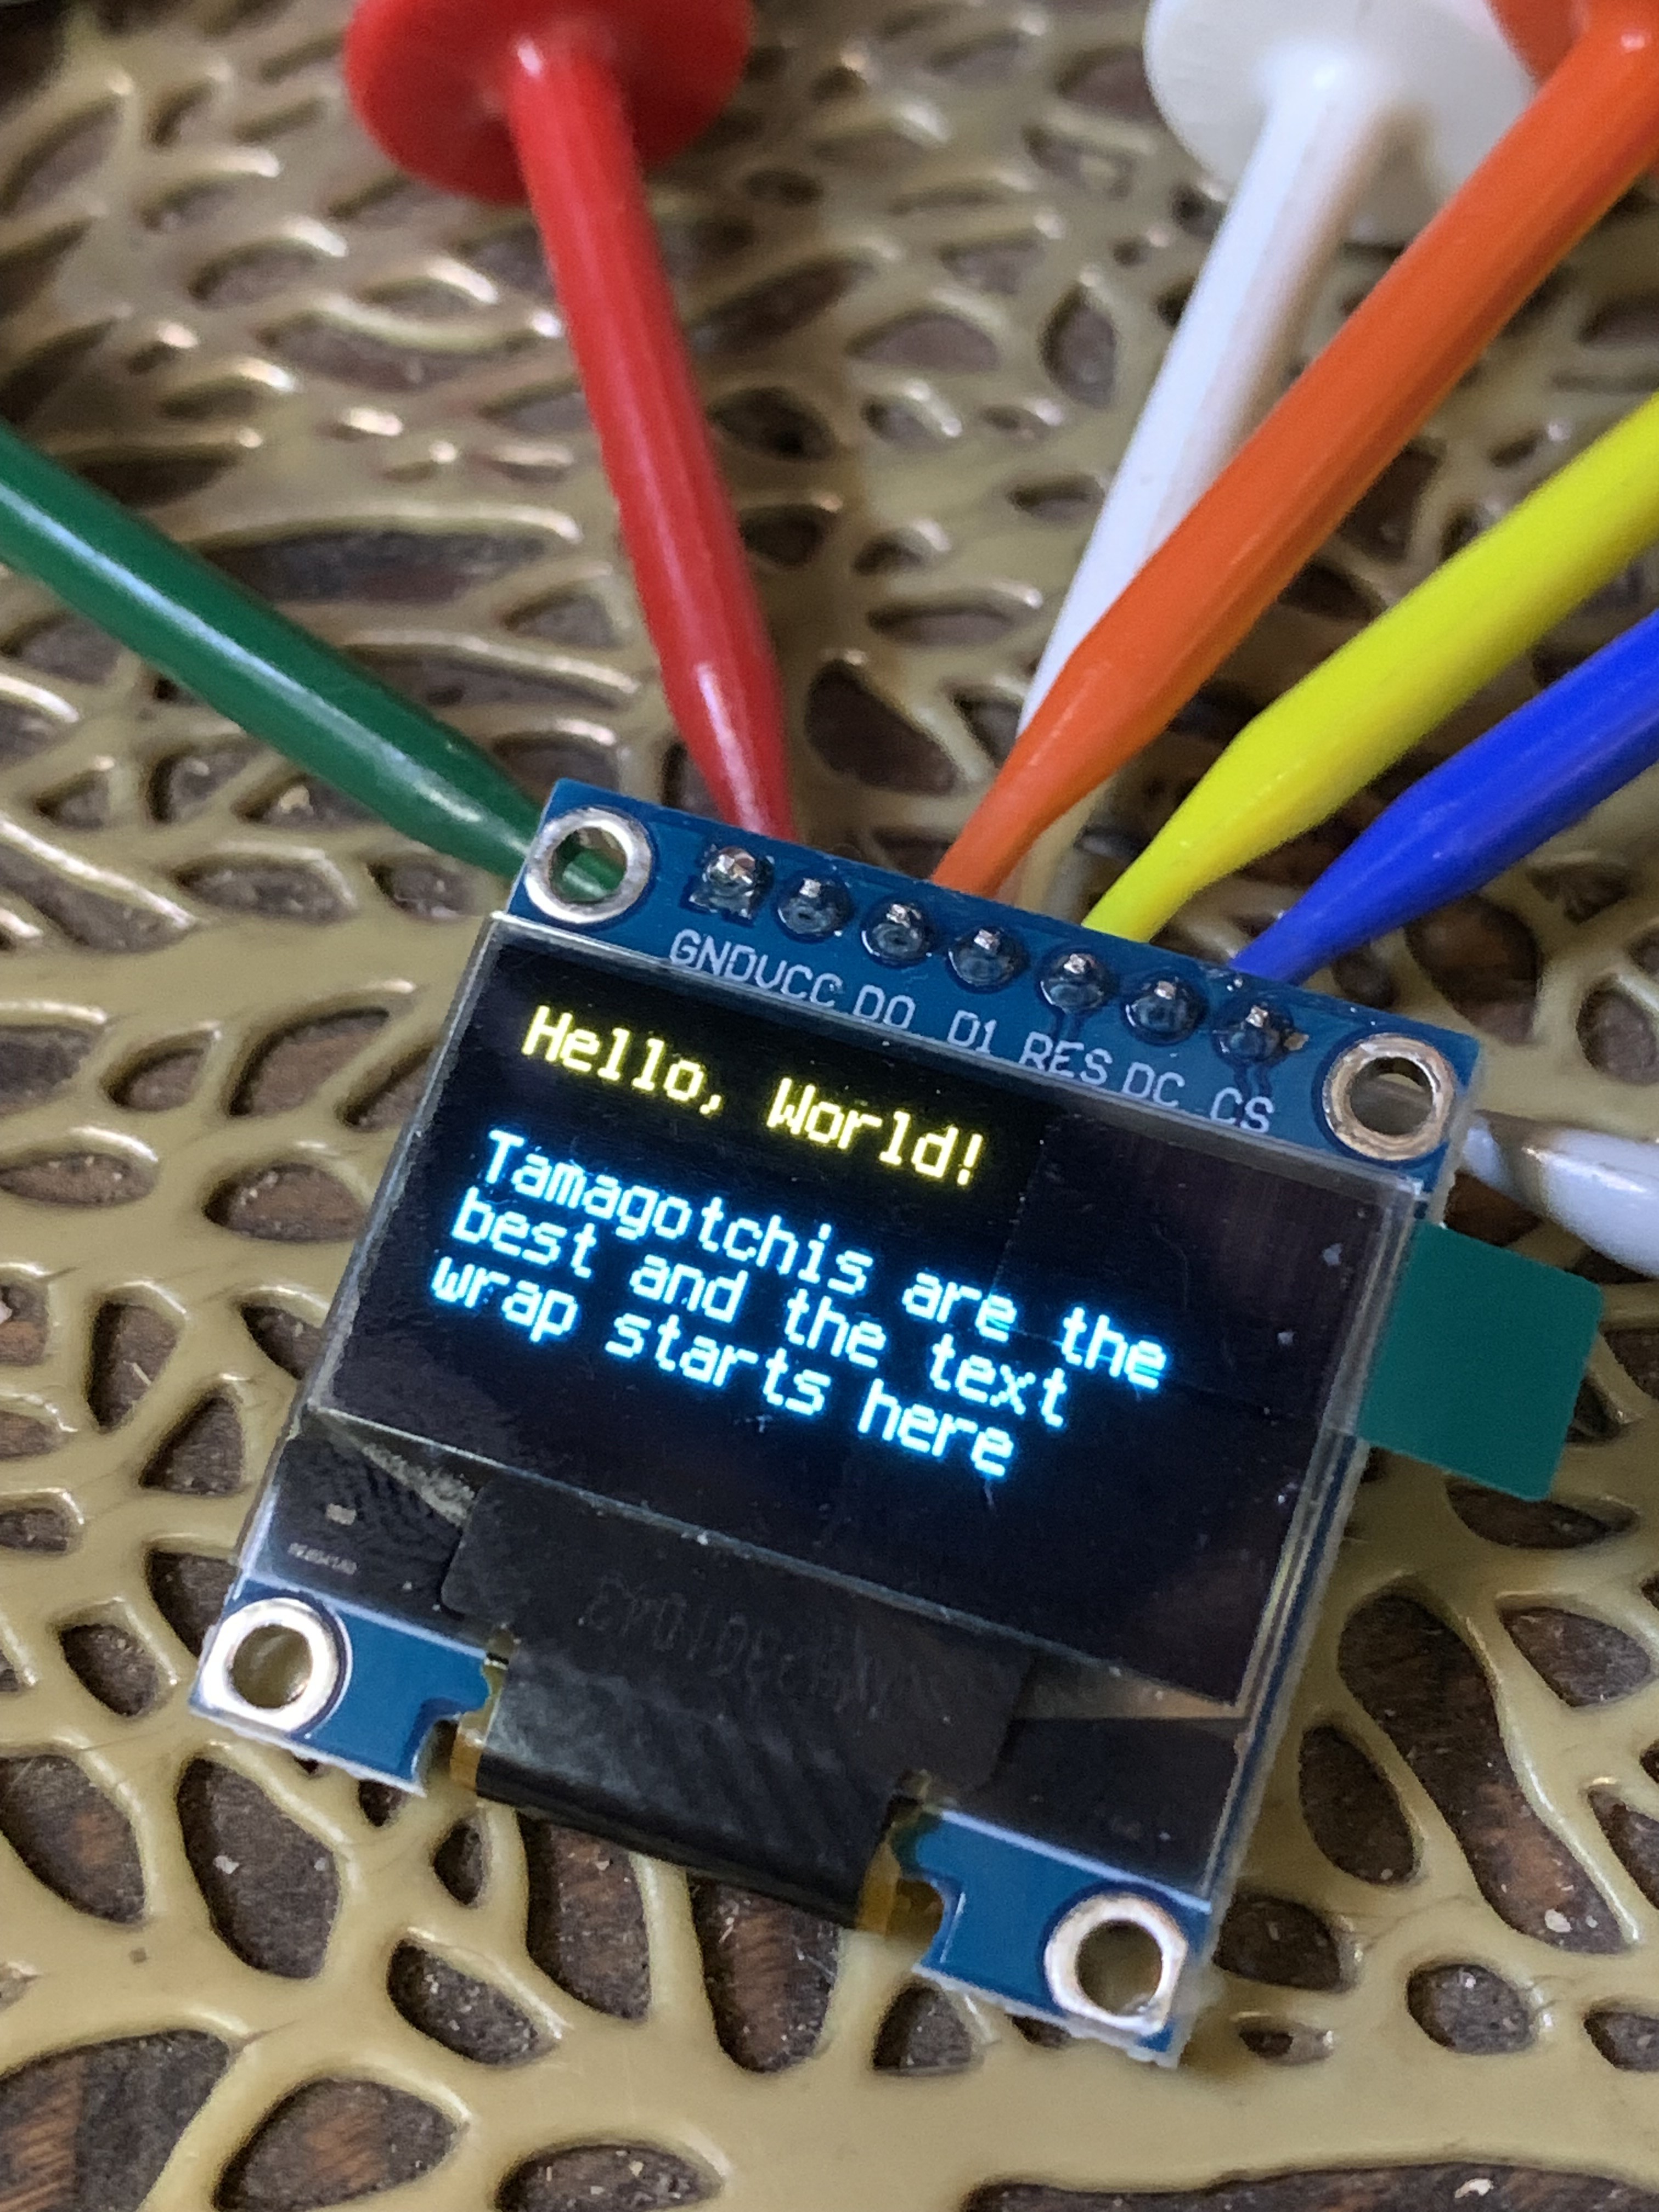
11/03/2023 at 18:08 • 0 commentsLast night I received the tiniest OLED screen I've ever seen. It will take up less space than a 2u key. I hooked it up today, and after some fiddling by @Steph to find a solution for pins being held on when the Pico does a soft reset (hint, it's this line of code) I got it working.
displayio.release_displays()![]()
Here is the demo code for the display, including some forced text wrapping.
import board import busio import digitalio import displayio from adafruit_display_text import label from adafruit_displayio_ssd1306 import SSD1306 import terminalio import time # Define your pins dc_pin = board.GP20 # Data/Command cs_pin = board.GP13 # Chip Select reset_pin = board.GP21 # Reset # Release any resources currently in use for the displays displayio.release_displays() # Create the SPI bus spi = busio.SPI(clock=board.GP10, MOSI=board.GP11) # Create the display bus display_bus = displayio.FourWire(spi, command=dc_pin, chip_select=cs_pin, reset=reset_pin) # Create the display instance display = SSD1306(display_bus, width=128, height=64) # Create a display group splash = displayio.Group() # Add the display group to the display display.show(splash) # Define the max width in pixels for the text to wrap max_width_pixels = 128 # Estimate the max number of glyphs based on an average character width of 6 pixels average_character_width = 6 # This is an estimate; adjust for your specific font max_glyphs = max_width_pixels // average_character_width # Function to wrap text manually while respecting manual line breaks def wrap_text_to_width(text, max_chars): paragraphs = text.split('\n\n') # Split on double line breaks to preserve paragraphs wrapped_paragraphs = [] for paragraph in paragraphs: lines = [] line = [] words = paragraph.split() for word in words: # Check if adding the next word would exceed the max width if sum(len(w) for w in line) + len(line) + len(word) > max_chars: lines.append(' '.join(line)) line = [word] else: line.append(word) lines.append(' '.join(line)) # Add the last line wrapped_paragraphs.append('\n'.join(lines)) # Rejoin lines with single line break return '\n\n'.join(wrapped_paragraphs) # Rejoin paragraphs with double line breaks # Define the text with manual double line breaks text_string = "Hello, World!\n\nTamagotchis are the best and the text wrap starts here" # Use the wrap function to wrap the text and preserve manual line breaks wrapped_text = wrap_text_to_width(text_string, max_glyphs) # Create a label with the wrapped text text_area = label.Label(terminalio.FONT, text=wrapped_text, line_spacing=0.9) # Set the location of the text text_area.x = 0 text_area.y = 5 # Add this label to the display group splash.append(text_area) # Run the display loop while True: pass -
Alright, stabilizers
11/02/2023 at 16:55 • 0 commentsEveryone agrees, big keys need stabilizers. I've flown without them because technically 2u keys work without them, and my keyboards have been small enough to only use 1u and 2u keys. But this board will have a standard space bar, which is 6.25u, and four 2u or larger keys, so it's time to graduate to stabilizers.
Today I'm researching the difference between plate mount and PCB mount stabilizers. This article has a very good breakdown of the differences and comparisons between them. The cutout that I'm using for the plate supports PCB or plate mounted stabilizers, but I still have to choose a version and what orientation they're going to be in.
I'm leaning towards PCB mounted stabilizers, but am not sure that I want to have to screw them all in. Then again, why not, I'm making the PCB so I might as well accommodate for PCB mounted stabs. Decisions.
-
Plate me
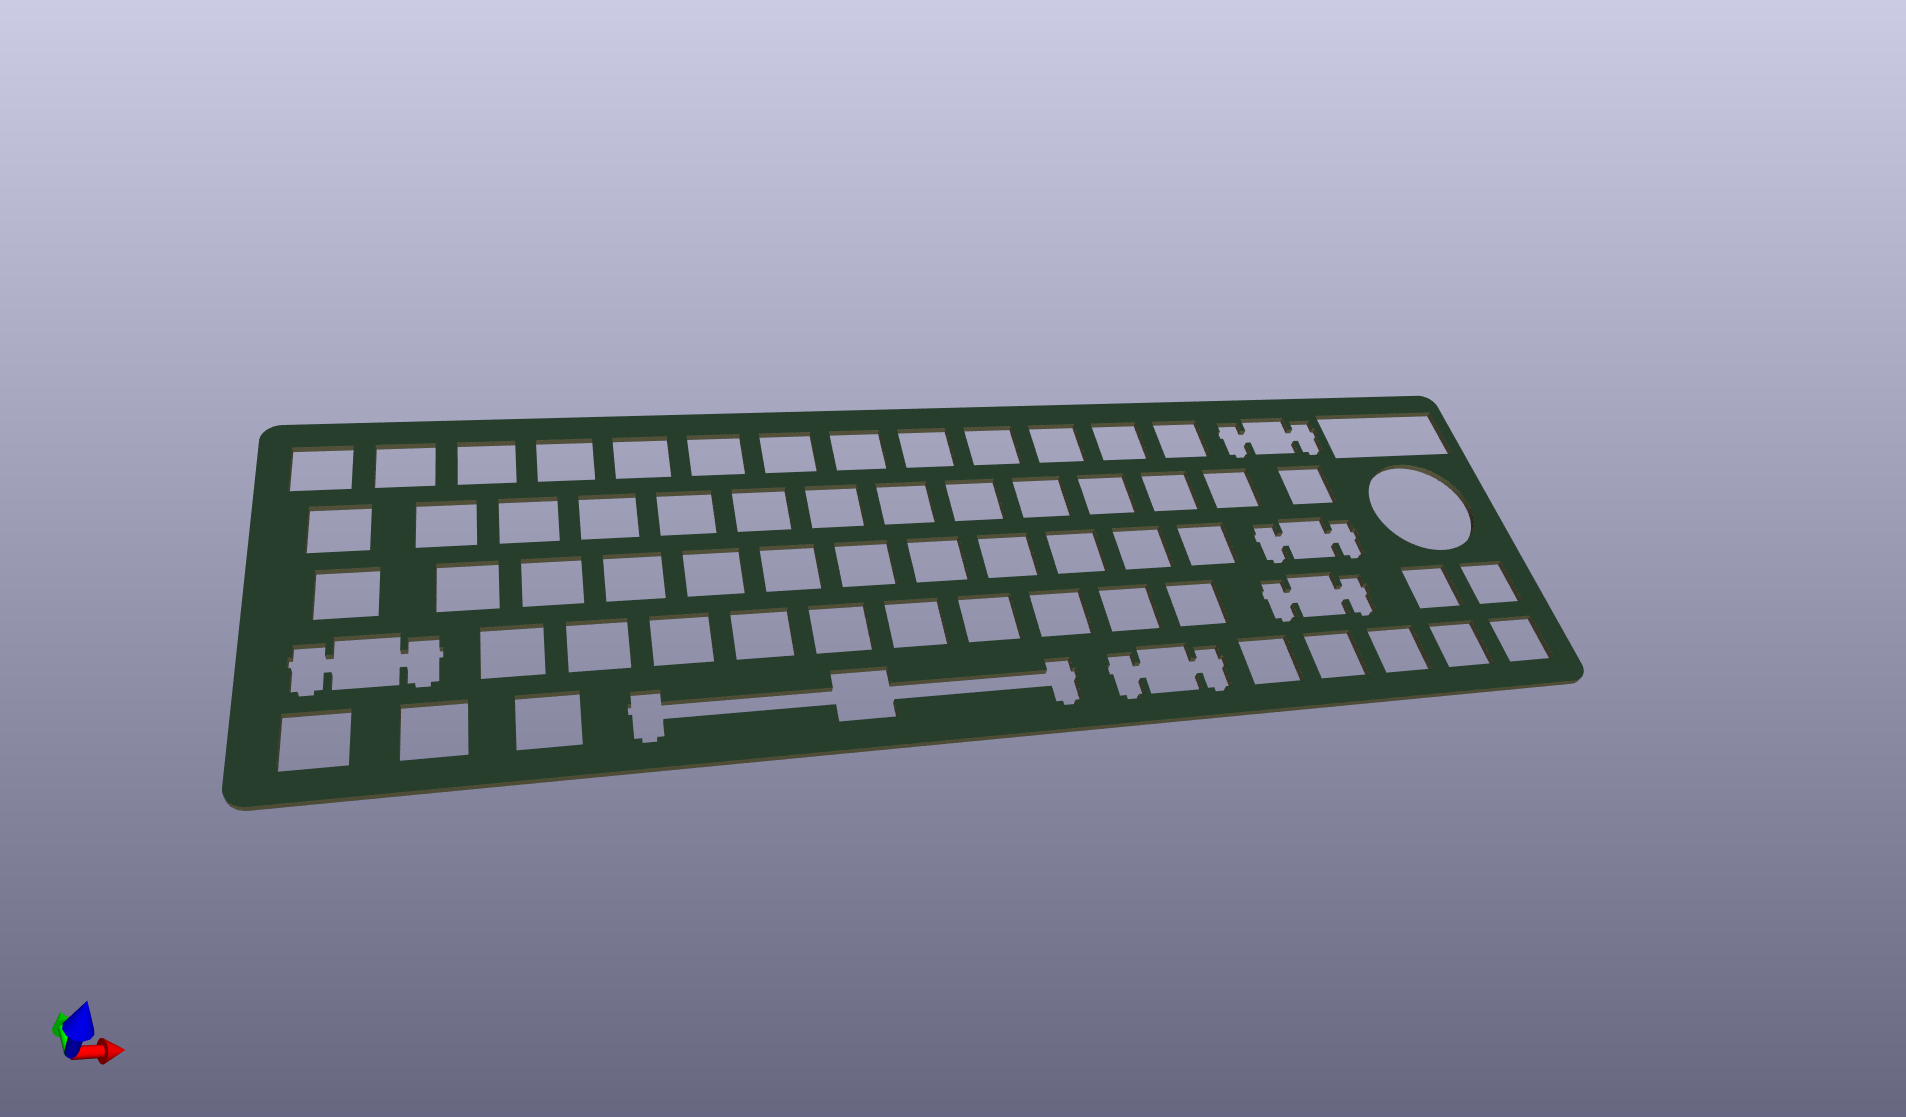
11/01/2023 at 19:43 • 0 commentsToday I learned to generate a .dxf of my keyboard plate layout and use KiCad to render that layout in 3D.
![]()
Since I'm using KLE for this key layout I was able to copy the raw data into the Swillkb Plate & Case Builder. There I specified the radius of the corners, the margin size, and where to create cutouts for the joystick and OLED screen. I'm not entirely sure on the dimensions of those cutouts, I'll be more accurate when the parts come in. I still need to add mounting holes, but this is a start to creating the plate out of PCB.
-
First comes the joystick
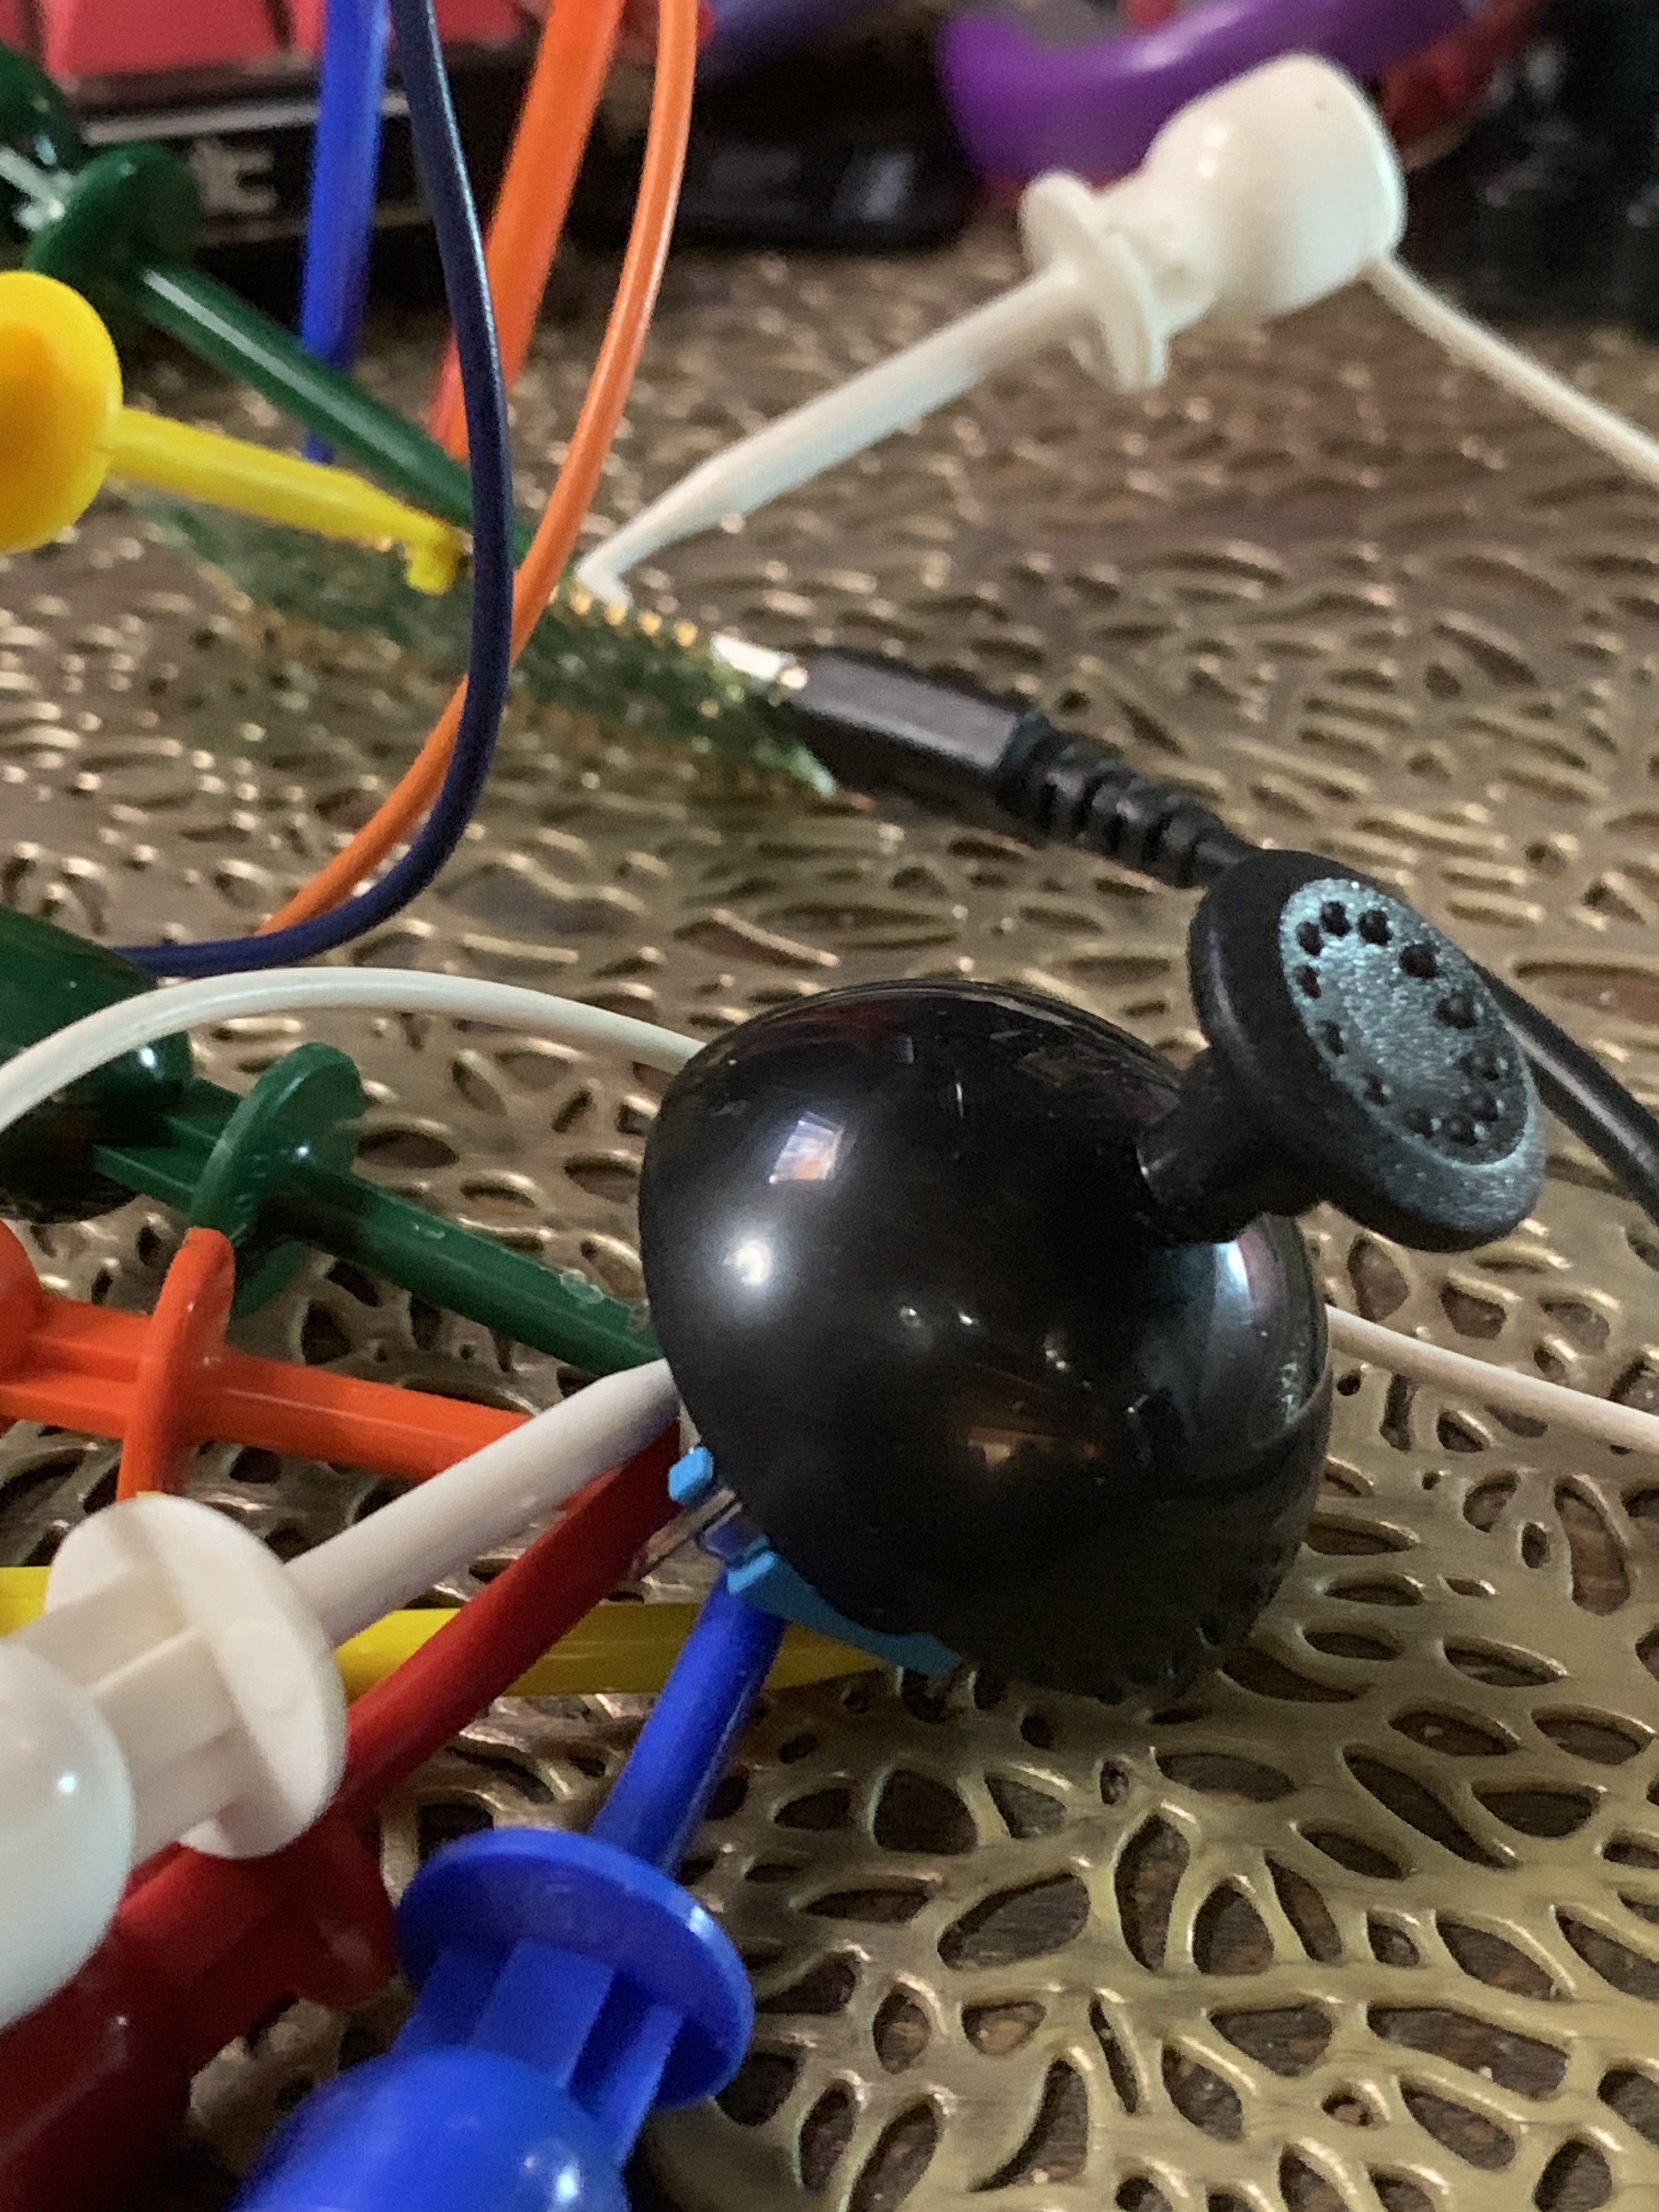
11/01/2023 at 02:34 • 0 commentsA bizarre place to start for a mechanical keyboard, I know, but I have a navigation device in mind for this board and I wanted to build the key layout around it. My first joystick was salvaged from a flea market controller, but I have a couple more on order that have a clicking button in them as well. This one does not. But having it allowed me to hook up the joystick to the Pi Pico W and use it to control the mouse on my screen. With a little refinement of the variables I'm pleased to say it's a very comfortable navigation experience. I can't wait till I get one that clicks.
![]()
Here's the demo code to get the joystick working.
import time
import board
import analogio
import usb_hid
from adafruit_hid.mouse import Mouse

# Create the mouse object
mouse = Mouse(usb_hid.devices)

# Create analog inputs for the two joystick axes
joystick_x = analogio.AnalogIn(board.GP26)
joystick_y = analogio.AnalogIn(board.GP27)

# Constants
CENTER_TOLERANCE = 2500  # adjust this if needed
MOVE_AMOUNT = 8 # change for faster/slower mouse movement

def get_movement(value):
    # If the joystick is near the center, don't move
    if abs(value - 32768) < CENTER_TOLERANCE:
        return 0
    # Return -MOVE_AMOUNT or MOVE_AMOUNT depending on the joystick's position
    return -MOVE_AMOUNT if value < 32768 else MOVE_AMOUNT

while True:
    # Get the change in X and Y positions
    dx = get_movement(joystick_x.value)
    dy = get_movement(joystick_y.value)

    # Move the mouse
    mouse.move(x=dx, y=dy)

    #time.sleep(0.01)
Everyday AI Keyboard
An interactive mechanical keyboard powered by a Raspberry Pi Pico W and ChatGPT