-
1We used the following software
Arduino, Ultimaker Cura
-
2Make the electrical diagram
For a clearer vision of where and how to connect our components in a 3D dimension
-
3Component Testing
We have been testing the functionality of each component separately, advancing step by step to ensure that everything works independently. This approach helps us avoid situations where we cannot identify the source of a problem. To test the validity of each component, we used basic codes available in the component's library. For example, to check the humidity, we observed the results on the serial monitor.
-
4Prototype Assembly
Before proceeding with soldering, we used wires to ensure that all components were functioning together properly. After achieving the desired results, we created a schematic detailing how we intended to connect the components through soldering, including their relative positions to each other.
-
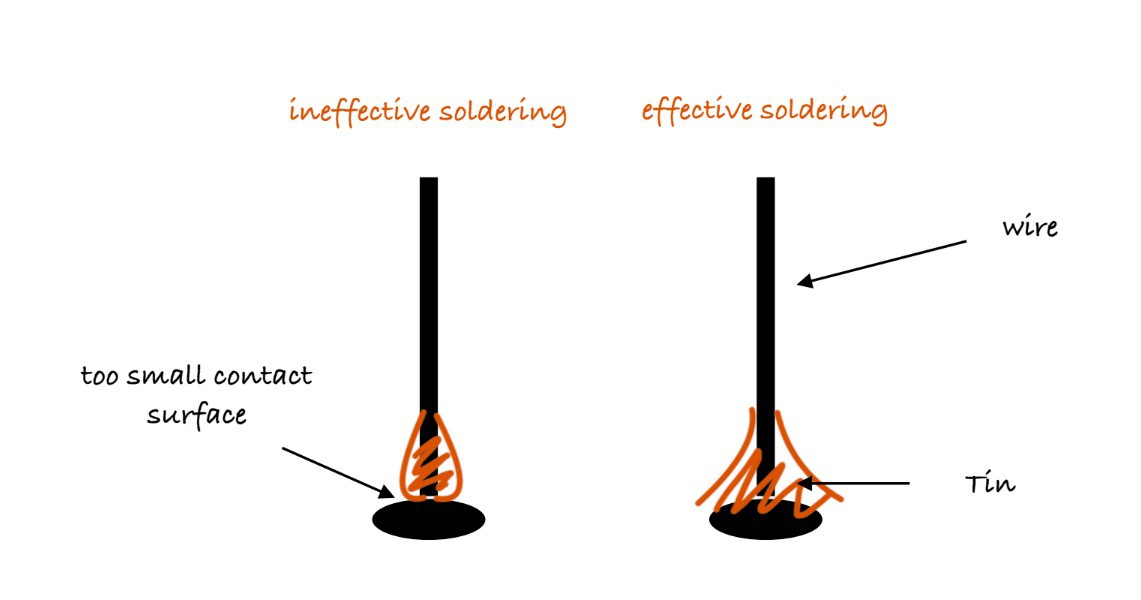
5Soldering process
![]()
Then we began the soldering process, which was challenging, and through it, we gained significant insight into soldering techniques. For instance, we learned to differentiate between effective soldering and merely superficial connections, as indicated in the schematic showing the correct method. Initially, our attempts resulted in superficial soldering, and we quickly recognized their fragility. The process took a considerable amount of time due to the high level of precision required.
-
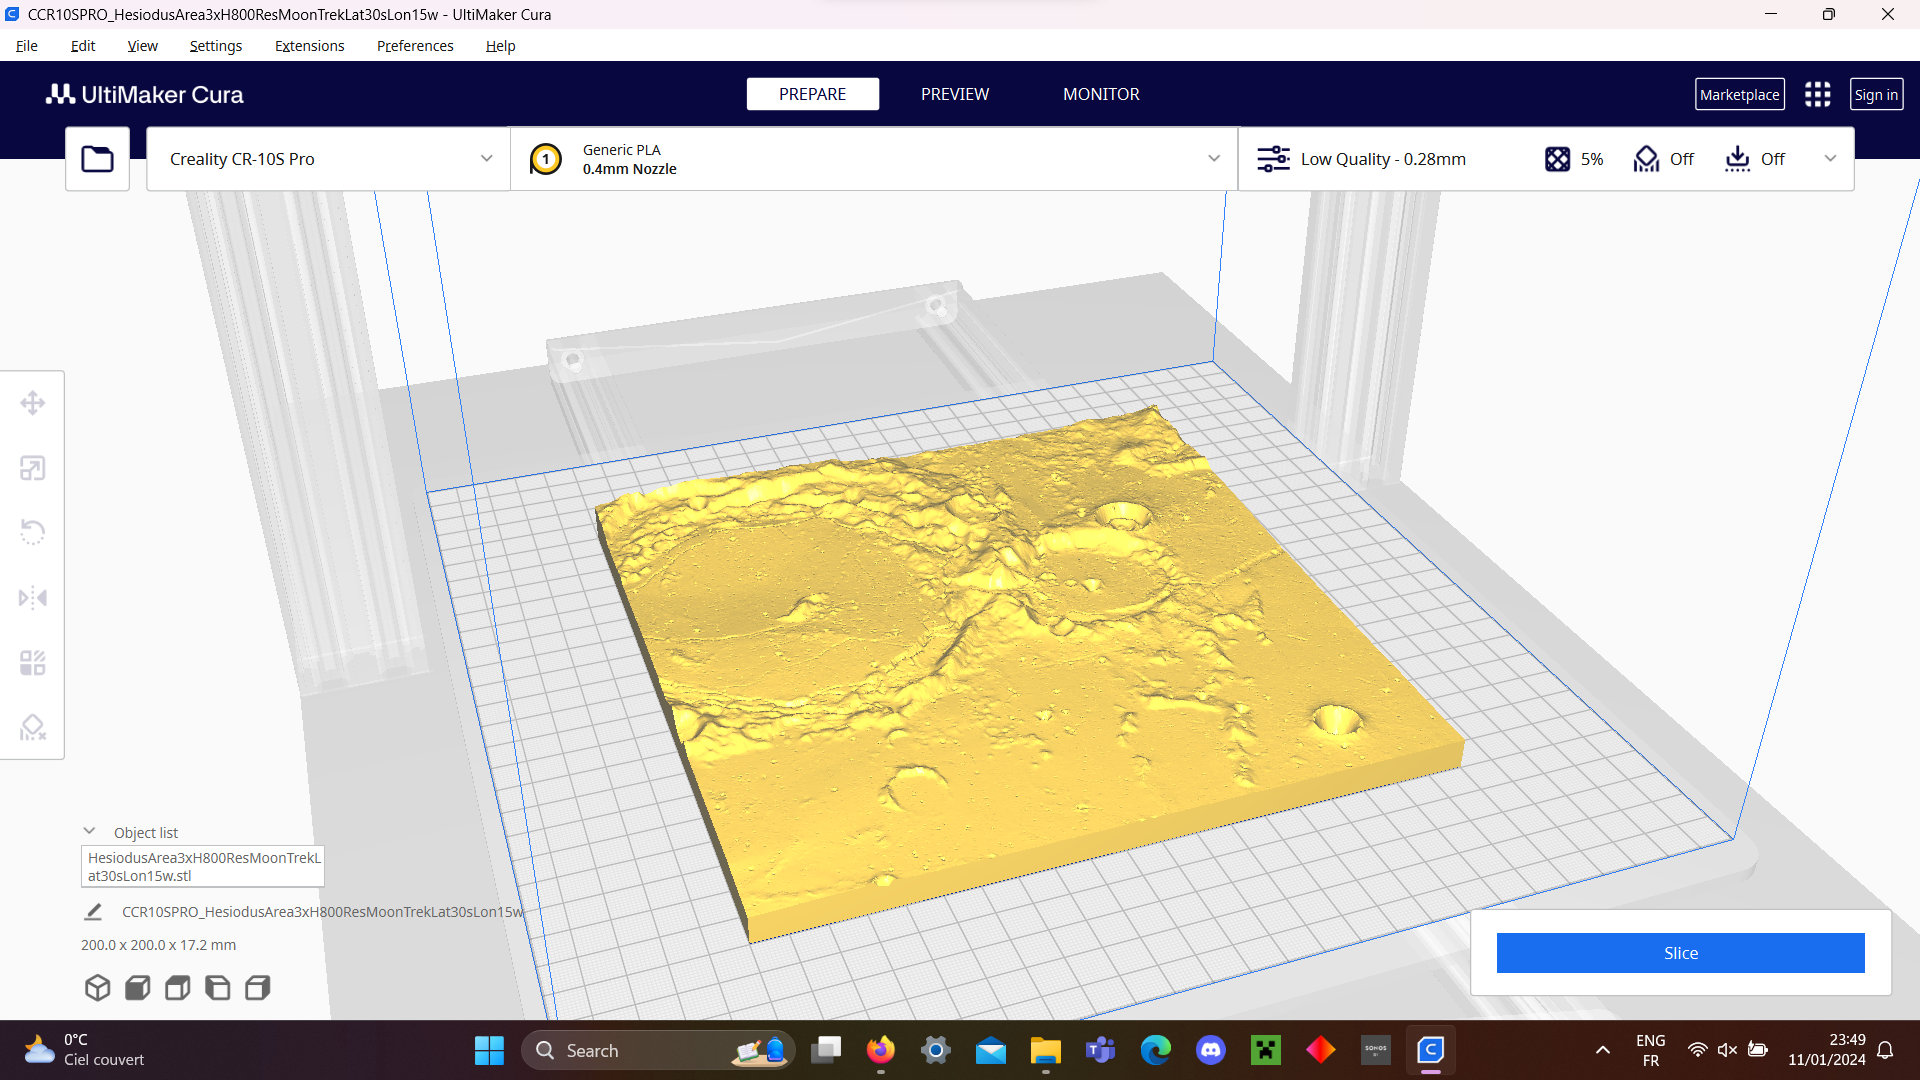
63D printing
![]()
When we had finished the satellite, we decided it would be nice to place it in its natural environment. That's why we decided to 3D print a model of the moon's surface.
-
7Ways of improvement
- Battery/ Solar panels
- A servo motor for the ultrasound sensor to turn in the right direction
Discussions
Become a Hackaday.io Member
Create an account to leave a comment. Already have an account? Log In.