 Pattern Agents
-
1Step 1
Installing Embedis
To Install Embedis in the Arduino IDE, please see the Detailed Install Directions. Embedis is installed using the Arduino Library Manager from the top menu bar:
<p>Sketch -> Include Library -> Manage Libraries -> Embedis</p>You will also need the ESP8266 tools and ESP8266 sketch data download utility installed with Arduino IDE 1.6.7 or later. For more information, please follow the board manager install directions at esp8266/Arduino.
-
2Step 2
Loading the Example Project
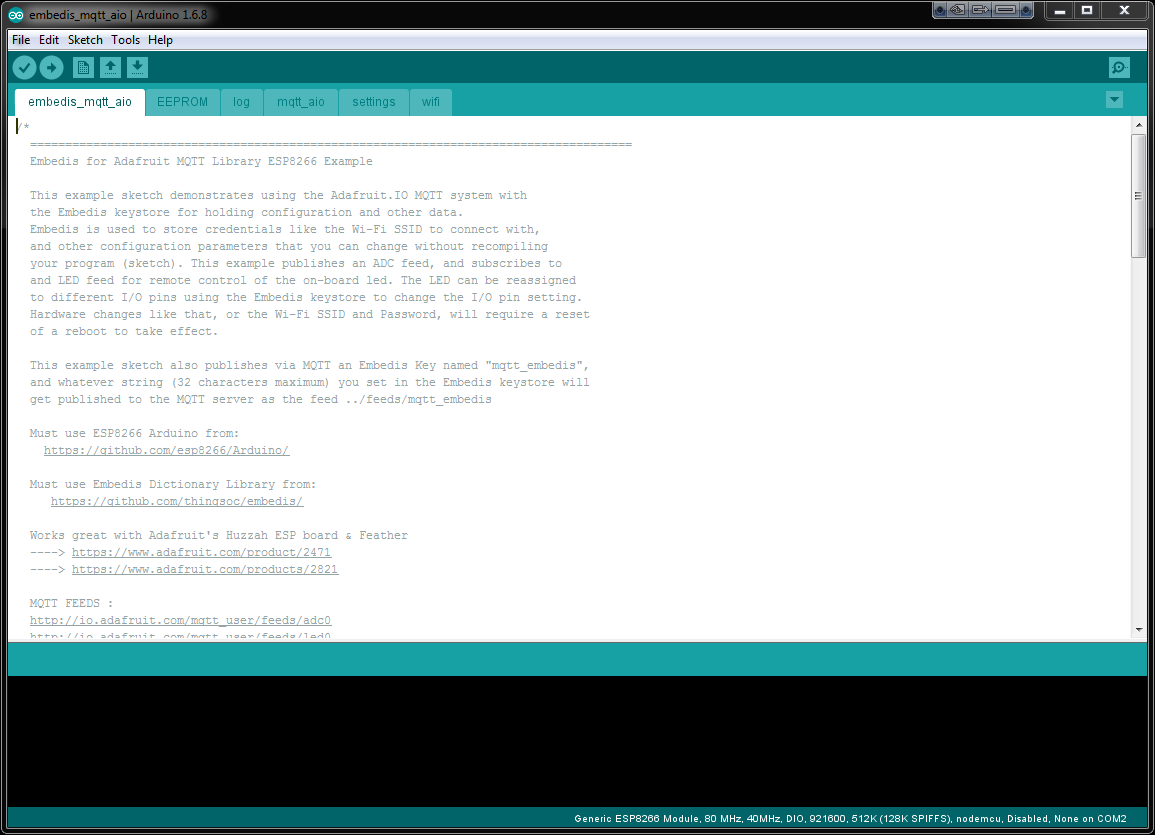
After installing the Embedis library in the Arduino IDE, the Embedis examples will be available under the menu as:
File -> Examples -> Embedis -> esp8266 -> embedis_mqtt_aio
Make sure to select your specific ESP8266 board model under the Board Manager, and set the "port" to the correct COM: port for your board. Then just press the "Download" button to compile and download your project.
-
3Step 3
Change to your Adafruit Account and Key
Make sure to change the following lines in the source code file, embedis_mqtt_aio.ino:
#define AIO_USERNAME "...your AIO username..."
#define AIO_KEY "...your AIO key..."
These need to be changed to your AdaFruit Username and MQTT Key number.
![]()
-
4Step 4
Setting up your Adafruit Feeds and Dashboard
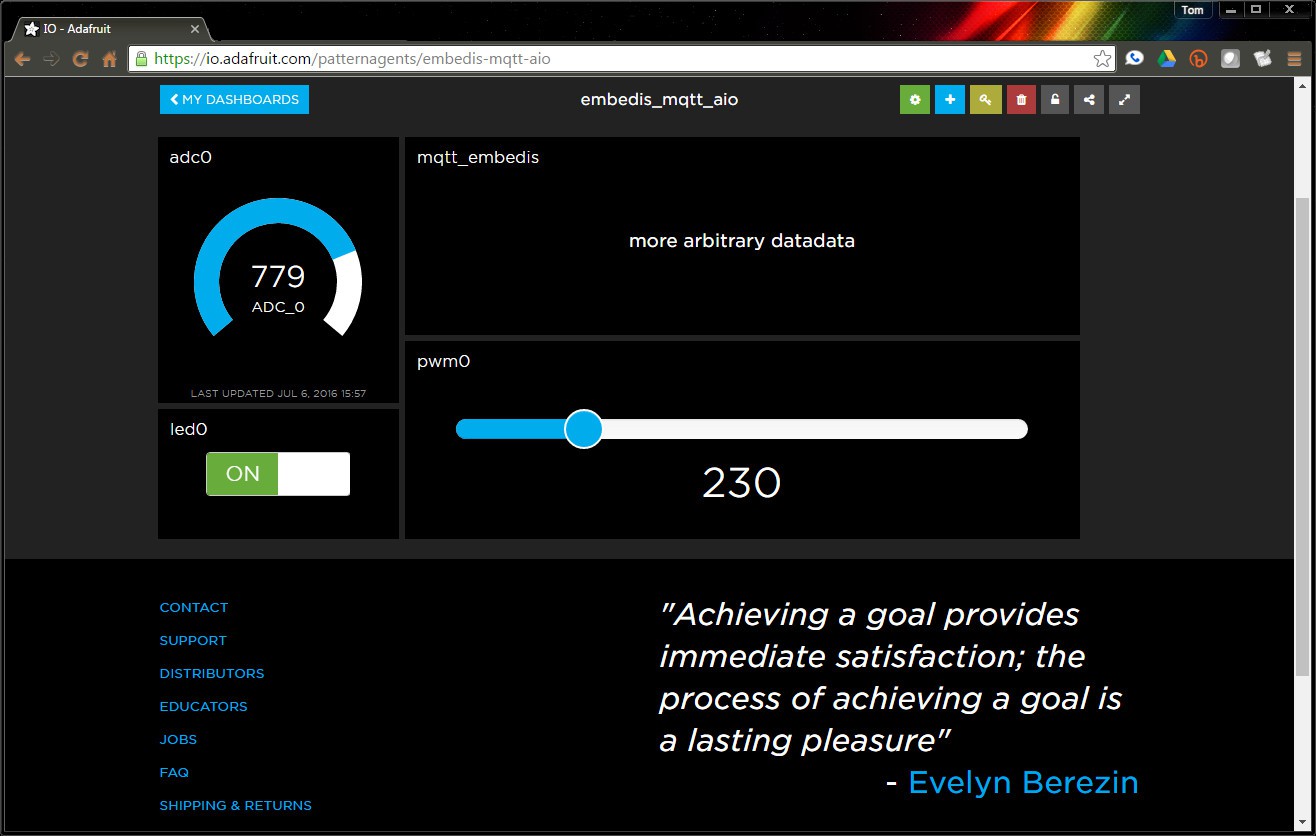
Adafruit already has great documentation on how to set up your MQTT feedsand your io.adafruit dashboard, so if you need detailed help, check it out. You can see our public example dashboard at the PatternAgents account.
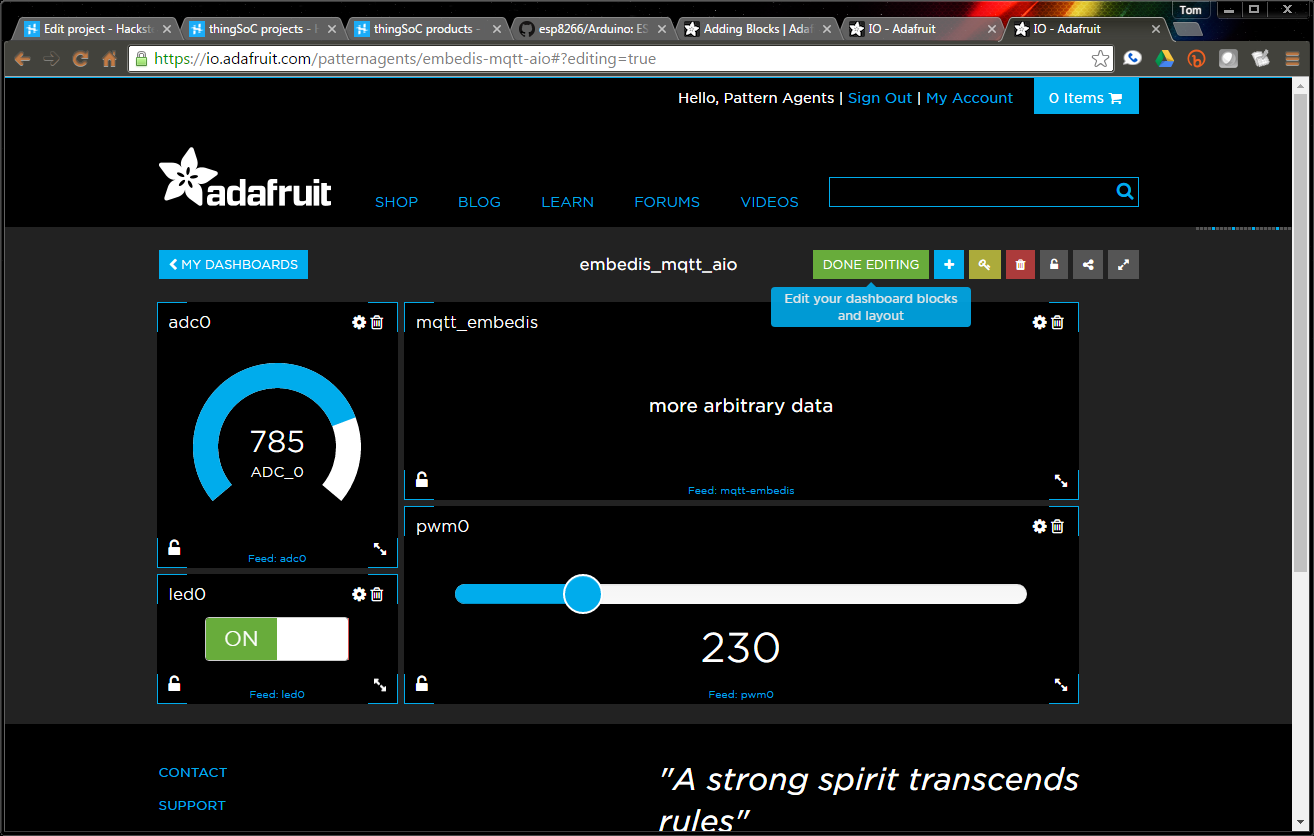
In a nutshell, using the io.adafruit MQTT Server and user interface, it only takes few minutes to craft a lovely User Interface for your project, like the one below:
![]()
-
5Step 5
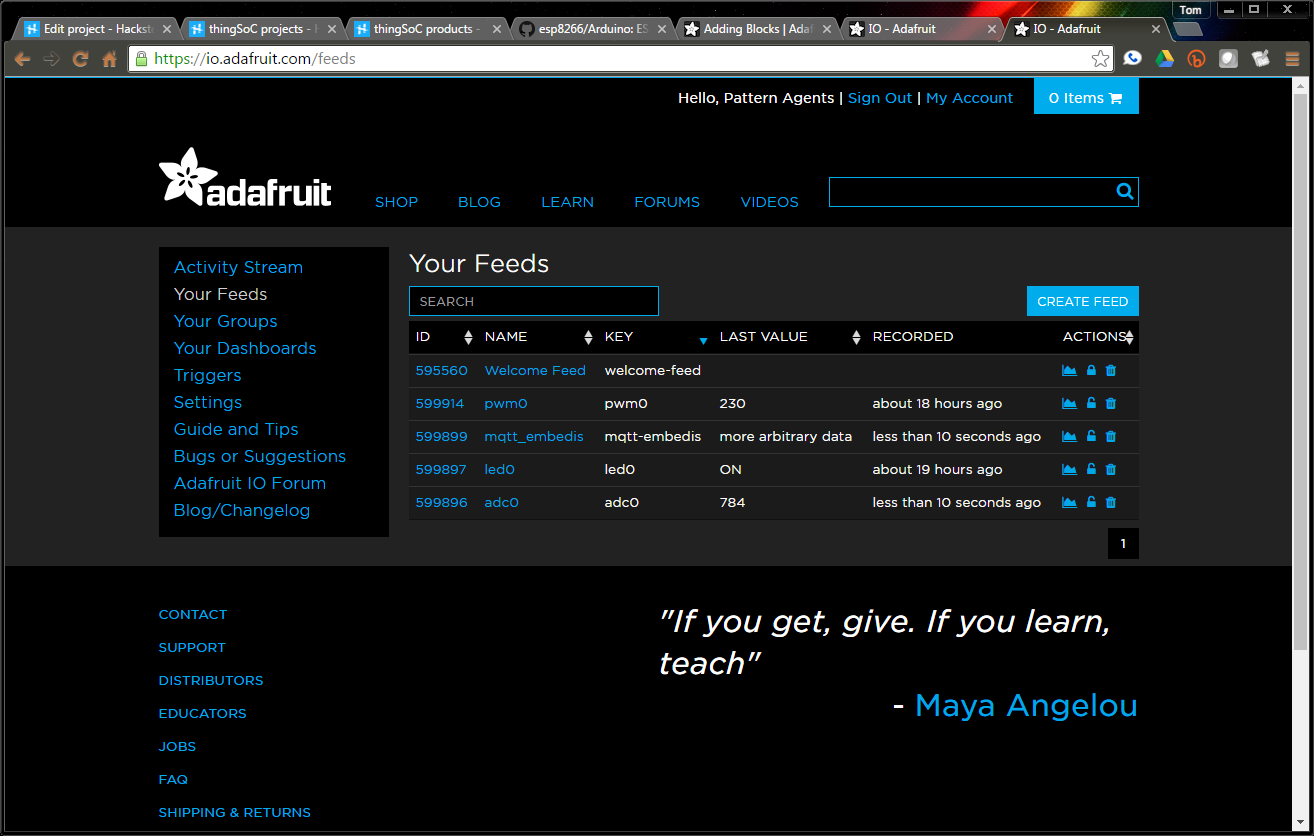
First you need to create your feeds on the io.adafruit server, and then you can assign those feeds to graphic "blocks" on the screen. There are a number of different "blocks" to choose from, such as gauges, sliders, buttons, graphs, and text boxes. The display from the io.adafruit webserver scales very nicely to my monitor, smartphone or tablet, and looks good on all the devices I've tested.
Create the following feeds:
- adc0
- led0
- pwm0
- mqtt_embedis
![]()
-
6Step 6
The URLs for those will look like:
- http://io.adafruit.com/youraccountname/feeds/adc0
- http://io.adafruit.com/youraccountname/feeds/led0
- http://io.adafruit.com/youraccountname/feeds/pwm0
- http://io.adafruit.com/youraccountname/feeds/mqtt_embedis
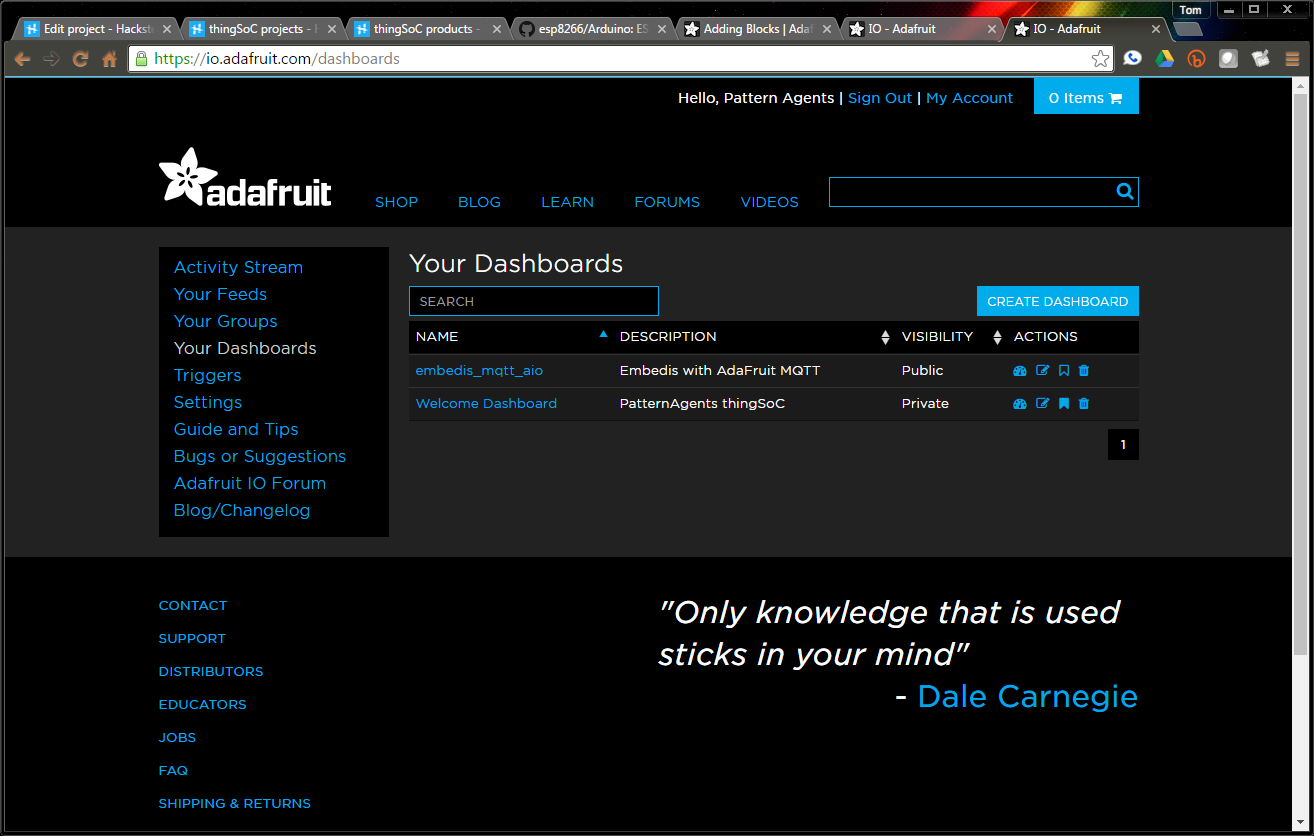
Next, you need to create a dashboard and then assign those feeds to your dashboard blocks. I usually like to name my dashboard the same as my project name to keep things simple, so create a dashboard named "embedis_mqtt_aio ".
![]()
-
7Step 7
Finally, edit the "embedis_mqtt_aio " dashboard and add blocks for each feed.
- adc0 : Use a "Gauge" block
- led0 : Use a "Toggle" block
- pwm0 : Use a "Slider" Block
- mqtt_embedis : Use a "Text" Block (for arbitrary messages)
-
8Step 8
That completes the io.adafruit server setup, and you are ready to stream data to and from your ESP8266 Wi-Fi device. Open the "embedis_mqtt_aio " project in the Arduino IDE and check that your board manager settings and port setting are correct for your hardware, and press the Arduino "Upload" button.
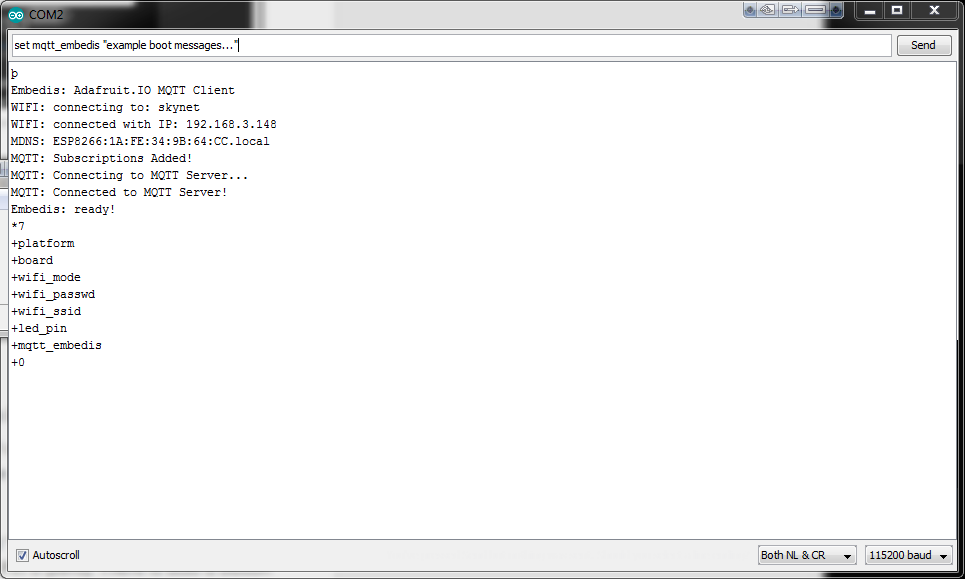
Once the project uploads, you can check the booting process using the Serial Monitor. You should see a display similar to the following (your IP address, SSID, etc. will be different, of course...):
![]()
-
9Step 9
Great, it's working! So, now what can I do with it?
Okay, so here is an example of the power of combining Embedis and MQTT. In most normal projects, the pin assigned to the onboard LED is fixed at compile time and can't be changed - but not here.
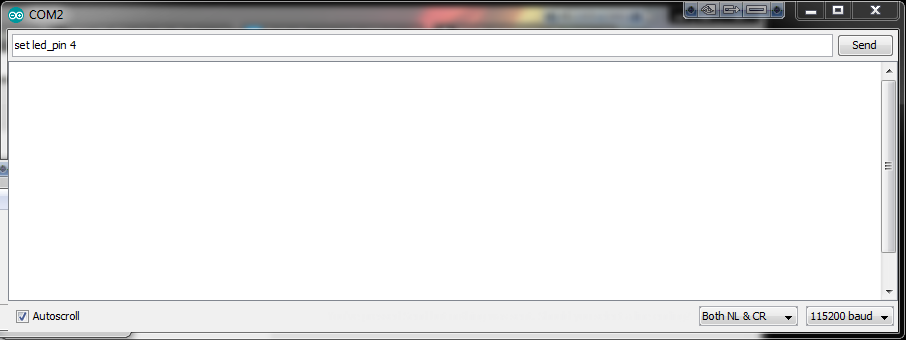
Within the Embedis database is a key called "led_pin ", and if it that key is not found, the program will default to an LED at Pin 0 (zero). There is also a button on the MQTT Dashboard called "led0 ", and you can use that button to turn the on board LED on and off. However, if you want to change the pin assigned to the "led0 " feed, then just open the Serial Monitor and issue the Embedis "set " command on the key "led_pin ", for example:
![]()
Now when you toggle the LED0 button on the dashboard, you will be toggling IO Pin 4 from now on - you just changed your hardware configuration on the fly without recompiling and re-downloading your code!
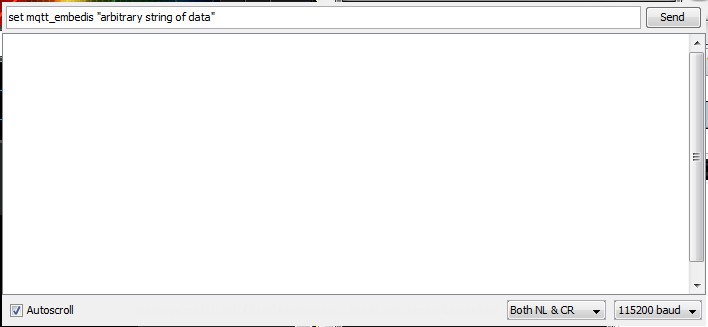
Now try it with the "set mqtt_embedis " key in the database, change it to some random text, and then see it appear on the Adafruit Dashboard moments later!
![]()
-
10Step 10
We'll be following up with some other Embedis examples that show a number of uses. Remember, once you create an Embedis data store on your boards, it will remain from project to project. You'll quickly begin using Embedis for all your settings and configurations, and then all your projects will be self configuring when you upload them to different boards!
Happy Hacking!
@PatternAgents - the thingSoC Embedis Team
An Embedis IoT Keystore for MQTT
Use Embedis to store MQTT data items persistently in EEPROM or FLASH memory
Discussions
Become a Hackaday.io Member
Create an account to leave a comment. Already have an account? Log In.