The Lab Guy
-
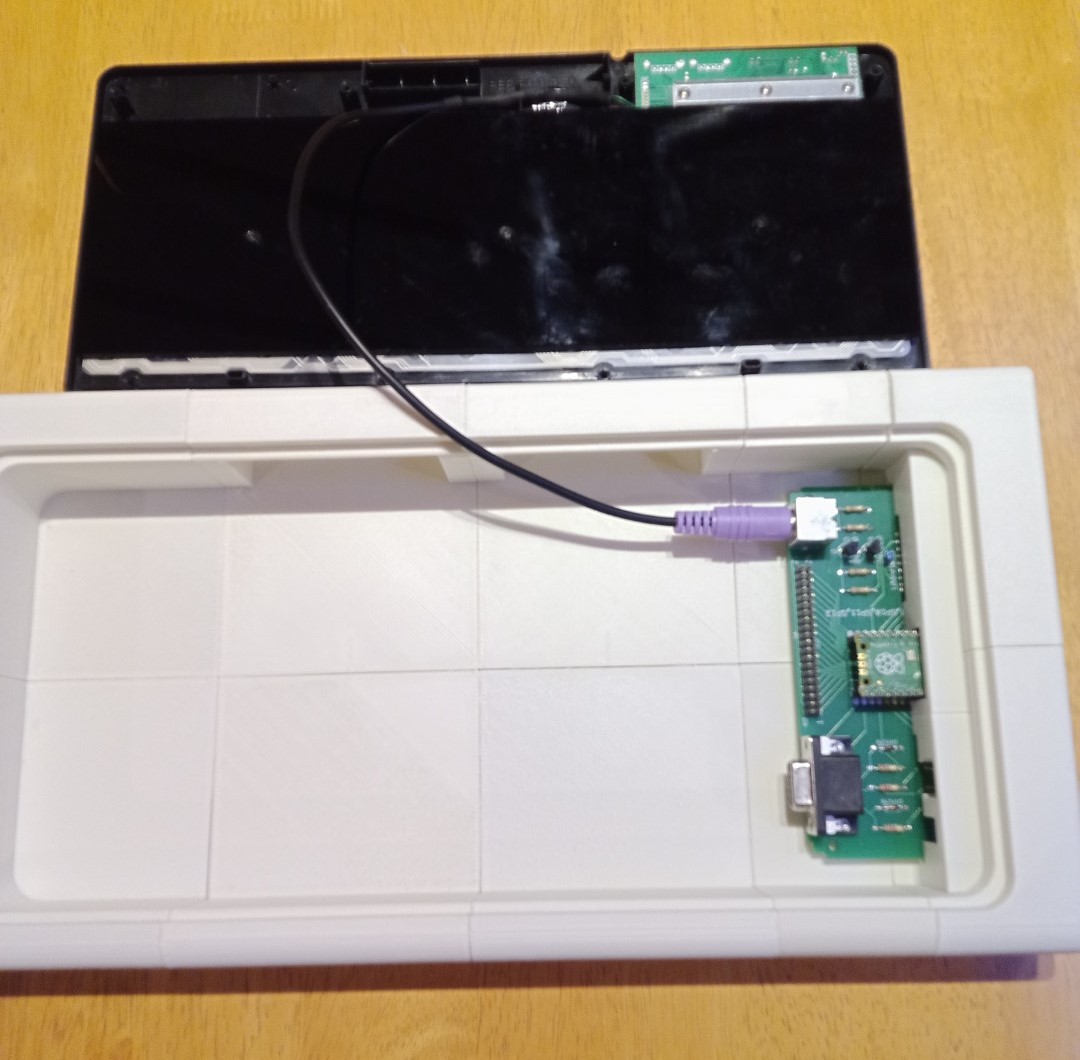
Working on adding Audio-Out circuit
02/03/2024 at 18:22 • 0 commentsThe MMBASIC interpreter on the PicoMiteVGA supports a couple of audio output methods as standard.
I am currently breadboarding the various options to try and get a nice version for this project.
The VGA-to-HDMI converter that we have used in this project also supports an audio input (possibly stereo), that it incorporates into the HDMI and sends to the monitor.
If we can get a sensible connection to it, we then have a choice of building either on-board amplifier and speaker (like a ZX Spectrum or BBC Micro), or TV/monitor sound out (like the VIC20 or Commodore 64).
Next update when I get a satisfactory solution.
-
CAD files now on github.com
01/26/2024 at 21:00 • 0 commentsCreated a repository on github.com and uploaded the my current set of files to there. Here is a link to that repository.
They files are in the state that I was using them in, so forgive me if they look a bit messy.
I hope to find some time to perhaps split up and organise them so they are easier to access.
-
Where / How to put the CAD files?
01/24/2024 at 17:08 • 0 commentsI don't know what format or level of detail or anything about sharing CAD files, yet. Never had to do it before.
As soon as I get some inspiration from what others have done and seems reasonable to me, I will do so and add links to this project.
-
Removing unwanted pins from a Female PCB Header Connector
01/23/2024 at 15:20 • 0 commentsDo not try to pull the wires out of the header connector on the mini-USB cable.
Each wire is crimped into a metal receptacle, which I refer to as a pin for convenience.
Each pin is latched into place by a tiny little "finger" of plastic, or latch.
To remove the pins without damaging them or the connector body, proceed as follows:
- Using a scalpel or a very small flat-bladed screwdriver, lever up by a half to one millimetre one of the latches. Do not lift higher or use excessive force.
- While holding the latch in this position, gently pull the wire for that latch out from the header body.
- Repeat for the rest.
![]()
When it comes to putting the RED and BLACK wires back in, in the place we want them, push them in whilst ensuring the pin is the right up to latch into place again.
-
Keyboard Modifications
01/21/2024 at 17:16 • 0 commentsThe Perixx PS/2 keyboard suggested in the Parts List (PERIBOARD-409) is built to be used on desk and as such has a nice casing already.
However, we want to put it in our custom case, where only the top will be visible.
So, we need to :
- Place the keyboard face-down on a soft flat worksurface.
- Unscrew 11 crosshead screws from the back of the keyboard. Note that there is a screw under the "Q.C. PASSED" sticker and one more under the big "perixx" sticker, under the square-logo, to the left of the FCC symbol, near the bottom.
- Remove the back cover by prying open the clips located at either side, roughly in line with the TAB and ENTER keys, using a small, flat screwdriver.
- Get a rectangular piece of 2-3mm thick perspex / acrylic / wood, cut to approximately 30cm (1ft) long by 10cm (4in) wide. IF YOU DON'T HAVE ANY MATERIAL TO USE FOR THIS STEP then just cut out the large flat rectangular section of the keyboard back cover and skip step 5.
- Using the base cover of the keyboard as a guide, mark out and drill the three holes that run across the middle of the large flat area in the case, onto the perspex / acrylic / wood.
- Screw this prepared piece of perspex / acrylic / wood onto the back of the keyboard, such that it holds the membrane switch circuits in place, like the back used to.
Optionally, if you have a soldering iron, etc. or some small screw terminal blocks, you can also shorten the keyboard's PS/2 cable.
Simply cut the unwanted length of cable from between the PS/2 plug end and the keyboard controller end. Make sure to leave enough cable either side for you make the wiring connect. Maybe 15cm (6in) or so.
Strip back the sheath and insulation from the two ends of cable and join the same coloured wires to each other, using your preferred tools / method. Be certain to use heatshrink or insulating tape to prevent short circuits between joints.
![]()
-
Nozzle Clogging Pains and Solution
01/20/2024 at 15:46 • 0 commentsHaving never used PLA before, I immediately noticed upon first handling that it seems rougher and drier, than ABS.
However, as all good engineers, I ignored this fact and stormed on, on the basis that if it works for everyone else, then its bound to work for me.
The first few test prints I did went well and so I tried printing my early case design prototypes (just coarse approximations of shape and size at this stage).
After a couple of hours, the printer nozzle clogged and ruined the print. So I cleaned it out, following guides I found online and various YouTube videos. Then started printing again. Then it clogged and I got cleaning and then started printing again. Read this paragraph over and over whilst burning some money, several times.
Anyway, to cut a long project log entry short, 3 weeks went past with me disassembling, re-assembling, poking, cleaning, retracting, extruding, bed-heating, extruder cooling, tweaking settings, etc, etc.
No joy!
So, I sat back and thought back a few weeks. It was working and now it isn't. I changed nothing but the filament material. Hmmmm. The ABS was smooth and oily, the PLA is rough and dry. Hmmmmm. What if I oil the nozzle? Will it catch fire? Will it kill me? will it dissolve the filament or the print bed? What if it just works?!?!
The last one had me hooked. I removed the (cooled down) printer head assembly and put a drop of machine oil in the feed tube inside the head, re-assembled it and then extruded the PLA through it.
Yes, there was some visible smoke, but the extractor dealt with that. It cleared up within a minute or so. I extruded about 2 feet out of the nozzle for no reason at all.
Next, I tried printing my 3D models... they printed out perfect, no clogging, no residue, no staining. Perfect.
Fantastic, I thought. But what about when the oil dries out? So, in order to maintain this level of reliability, I have made this checklist a habit when using PLA:
- put a couple of drops of machine oil (mineral oil, bicycle oil, 3-in-1 oil, light oil) on a cloth or tissue
- trim the PLA end and rub the oil onto the first inch-or-so of the filament. Let it "soak" a little.
- Feed and extrude up to about a foot of filament.
- Print stuff without fear of nozzle clogging.
- withdraw the PLA when I have finished printing for the day
-
CAD Software
01/18/2024 at 21:10 • 0 commentsInitial 3D printing tests were done with small objects downloaded from Thingiverse.
Then I tried Tinkercad.com and Windows 10's built-in 3D Builder app, interchangeably, just to try and get the hang of using these tools as an easy way to get started on CAD.
Both had their strengths and weaknesses as far as I could tell from my perspective. I would highly recommend both of these tools to anyone who is starting out in 3D printing.
As I gained confidence, I started looking for a more complete CAD package to help me design and chop up objects to fit on my 3D printer, more easily.
I eventually discovered FreeCAD, which would later become my tool of choice for pretty much all of this project.
-
Rejuvenating my 12 year old 3D Printer
01/18/2024 at 21:01 • 0 commentsI have an old 3D printer, an UP3D mini to be specific. It has a build volume of just 10cm x 10cm x 10cm. That's pretty small by modern standards.
Additionally, the bed-heater is fixed at 60 degrees centigrade and in it's original factory state, it only supported ABS filament because the nozzle temperature was fixed at 270 degrees centigrade (or something like that).
Also, the ABS prints would always warp during printing and turn rather poorly, unless they were very small. :-(
So one day not too long ago, I grabbed the latest firmware and desktop software, and got to upgrading, just for something to do.
To my great surprise the software upgrades added the ability to adjust the nozzle temperature and added profiles for PLA filament too. Woohoo!!!
I tried out some small test prints with PLA which came out great. So I tried some bigger prints, which also came out great and un-warped. Finally, I tried some 10cm x 10cm by 6cm prints and lo and behold they were awesome. No warping, easily removed from the print bed, no ABS stink.
And so was born my idea to try printing something BIGGER than my printer volume.
RETRO 1 - Home Computer Console
Modular, customisable, 3D printed, retro-style case for a home computer