 aeropic
For each axis, you'll need
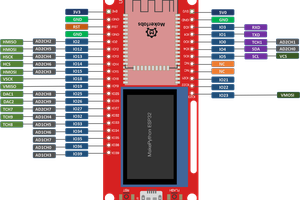
- a Lolin32 lite ESP32 board
- a AS5600 board
- a radial magnetized magnet
- some 3D printed parts
- some 2.5 mm pin connectors (male and female)
AS5600 is connected to ESP32 :
- SCL to pin 33 SDA to pin 27
- VCC to pin 17 // used to power the AS5600
- GND to pin 4 // used to power the AS5600
There is no PCB the sensor is screwed to the 3D printed support, then the ESP32 is plugged on top the sensor.


software
Altitude axis ESP32 sends the Altitude angular position to the Azimuth axis ESP32 using ESPnow wifi protocol. It acts as a ESPnow master.
Azimuth axis ESP32 acts as a slave over ESPnow. Its SSID is "Slave_telescope_Az"
- It collects the Alt position from Alt axis ESP32 .
- It senses the Azimuth position from a AS5600
- It generates the Az + Alt message.
- It then communicates with the smartphone application (Skysafari for instance) over Blue Tooth serial using "basic encoder system protocol"
Basic encoder system protocol is based upon a request/answer protocol
- smartphone asks for a posiiton sending a "Q" request
- ESP32 answers with : "+01234-00045" (first 6 digits = Az, second part = Alt in encoders cumulative raw value)
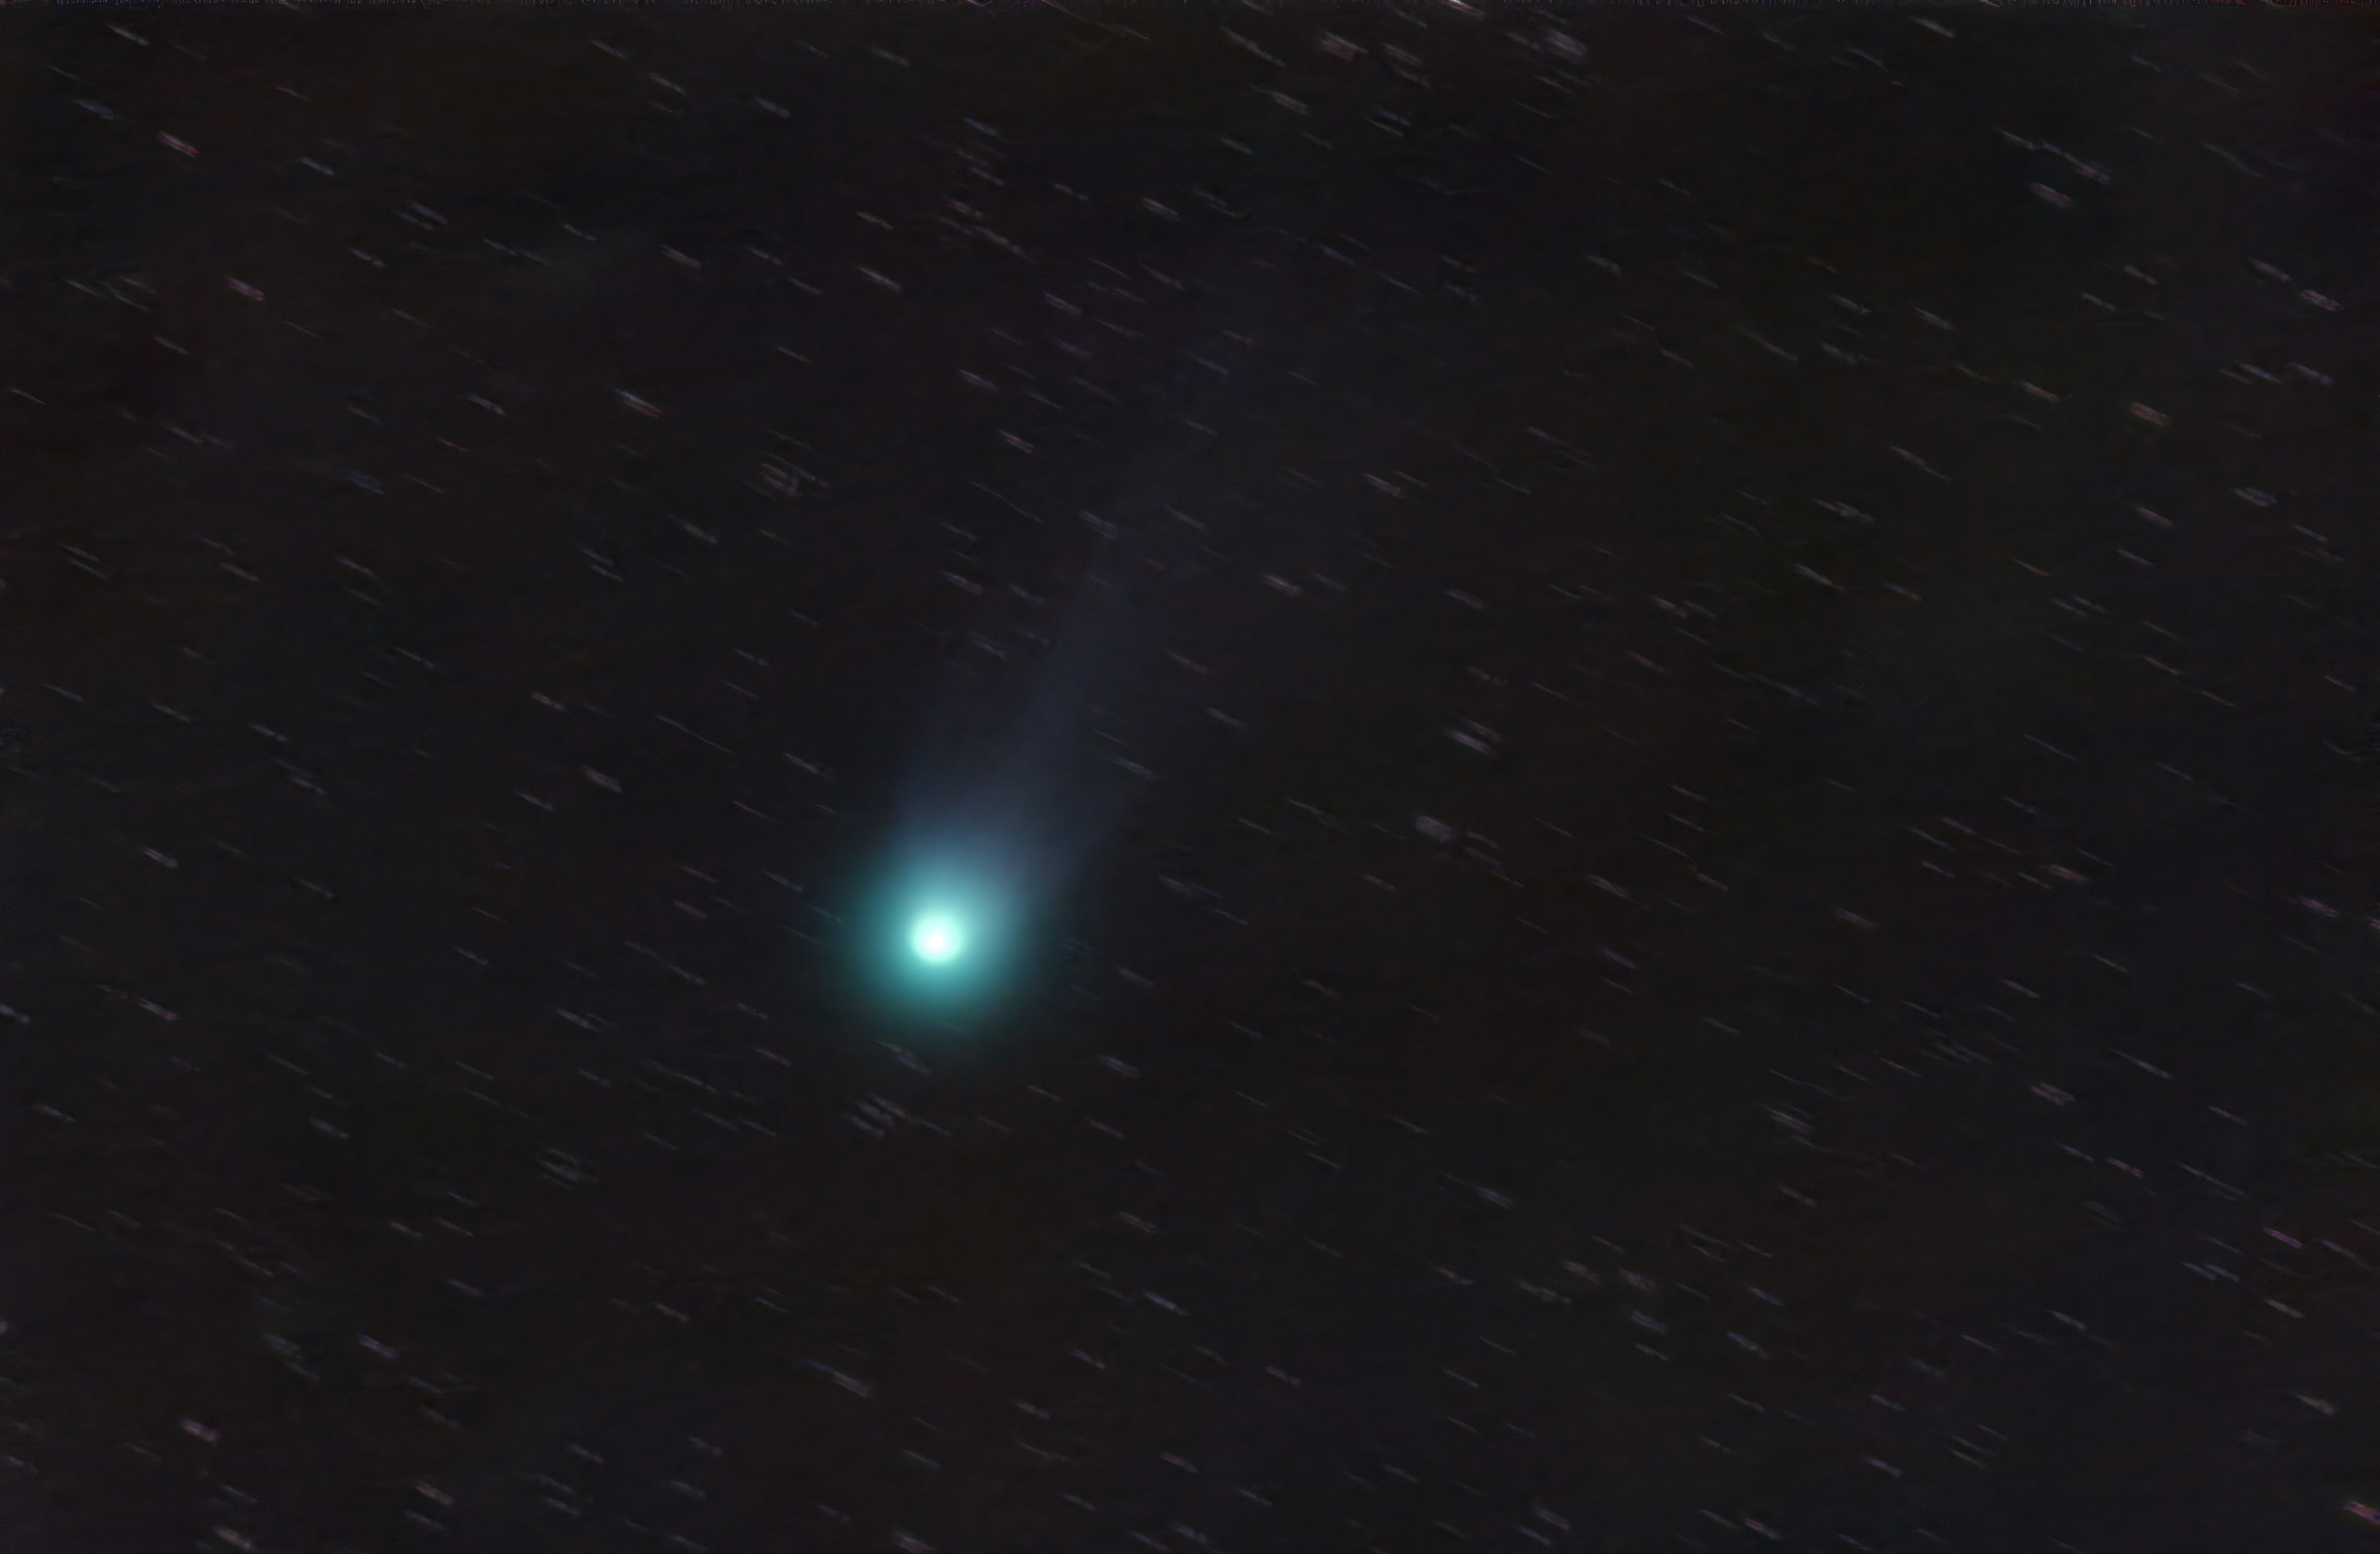
EDIT: I tried it "in real sky" to find the Pons-Brooks 12P comet... A piece of cake. It works flawlessly.
Only minor comment, I found you indeed have to calibrate the axis and give the number of steps per revolution to Skysafari. This is done only once.

 Makerfabs
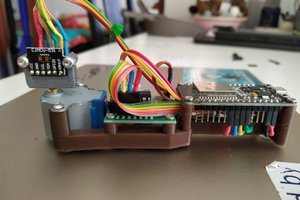
 Owen
Owen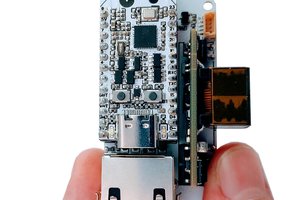
 allexoK