Close
0%
0%

3D Printed Halo Energy Sword

A 3D Modeled version of the Energy Sword From Halo with neopixel lights and audio.

Public Chat
Similar projects worth following
A 3D Modeled version of the Energy Sword From Halo with neopixel lights and audio. This project was molded in Fusion and printed on the Bambu P1P/P1S. It is meant to allow people to make a cost effective Toy/Display piece that can be made by anyone with a 3D printer and Basic soldering Skills.

MATERIALS

SKILLS

SOFTWARE

  • Fusion 360
  • Bambu Studio
  • Thonny

EQUIPMENT

  • Bambu P1P/P1S Printer 
  • A computer
  • Soldering Iron
  • Solder Sucker
  • Helping Hands
  • Steel Wool
  • Wire Strippers

  Alternatives

  • Ultimaker or any printer with a 1x1 foot bed.
  • Cura or any other software.

Note: We only Printed the project on the Bambu P1P/P1S and while any other printers with a 1'x1' print bed should work, no promises.
main.py

py - 1.60 kB - 04/10/2024 at 16:55

Download

OneBladeWorthofPegs.3mf

3mf - 93.21 kB - 03/27/2024 at 16:25

Download

ws2812.py

py - 2.40 kB - 03/27/2024 at 16:16

Download

neopixel.py

py - 7.96 kB - 03/27/2024 at 16:16

Download

ssd1306.py

py - 4.80 kB - 03/27/2024 at 16:16

Download

View all 12 files

  • MicroPython

    mr mid03/27/2024 at 16:20 0 comments

    Use Wokwi to simulate your code before transferring it to Thonny. It's also very important to troubleshoot as you go as well, test the code for each individual component before putting them all together, and use the print() to make sure the program actually outputs something.

    The MicroPython libraries neopixel.py,  ws2812.py, and ssd1306.py need to be installed in order to make your program functional. When saving your code to your chip make sure to name it main.py, this will make it run automatically when connected to an external power source instead of the computer.

  • Wiring and Solder

    mr mid03/27/2024 at 16:20 0 comments

    A couple of things that we learned while trying to solder the wiring, is that it is vitally important for everything to be as compact as possible, bundle wires together using rubber bands or shrink wrap, minimize wire length as much as possible, packing together boards and chips, are all things that should be done in order to achieve this.


    It's also very important that you keep track of which wires are positive and negative. If the charging board isn't correctly wired to the Pico, it can overheat and melt wires, and if positive and ground is switched you can damage your components.

    Super glue and hot glue are very important as well, super glue can be used to secure wires and chips to wherever they need to be, and hot glue can be used to insulate wires, pins, and any other exposed electric component.

  • 3D Printing

    Logan03/27/2024 at 01:29 0 comments

    When using the clear filament for the blade BE WARNED. The clear filament is brittle and while it does have good durability and is very transparent the plastic tends to break a lot. On Bambu's do not use on the AMS because unclogging an AMS is pain so directly connect it to the Bambu. Do not worry when using Ultimaker because they make clear filament for that printer while Bambu does not.

  • 3D Modeling

    Logan03/27/2024 at 00:57 0 comments

    3d Modeling every component was by far one of the most time-consuming things this project had to offer. Having to trace the handle and making it the size of hand you want is definitely a challenge. When tracing the handle make sure you go back on the fusion timeline and fix all of your errors because it will cause lots of problems. For exporting make sure it is exported as a STL. You can do OBJ but you will have to upscale it by 1000 because it will downscale the model always.

View all 4 project logs

  • 1
    Configuring your neo-pixel

    To have any idea of a lightsaber, we needed to have lights. In order to achieve this we used a Neo-pixel lit 

    ---------- more ----------

    To start off, the only material needed to light up your neo-pixel is the actual piece, and an USB to plug into the computer and the pixel. 

                                   Most of our work took place on an app called Wokwi

  • 2
    Turning on your pi-pico

    First things first; to connect our pico to the computer we need to:

    1. Plug in our USB to the computer
    2. Hold the "B" button on the bottom of the pico AS you plug it in to the computer
    3. Download the file that appears in the bottom right of your computer 

    Now that we have the 2 connected, you can start the coding of your actual pico

  • 3
    Wokwi code

    To administer this process, we are going to be using an app called Wokwi

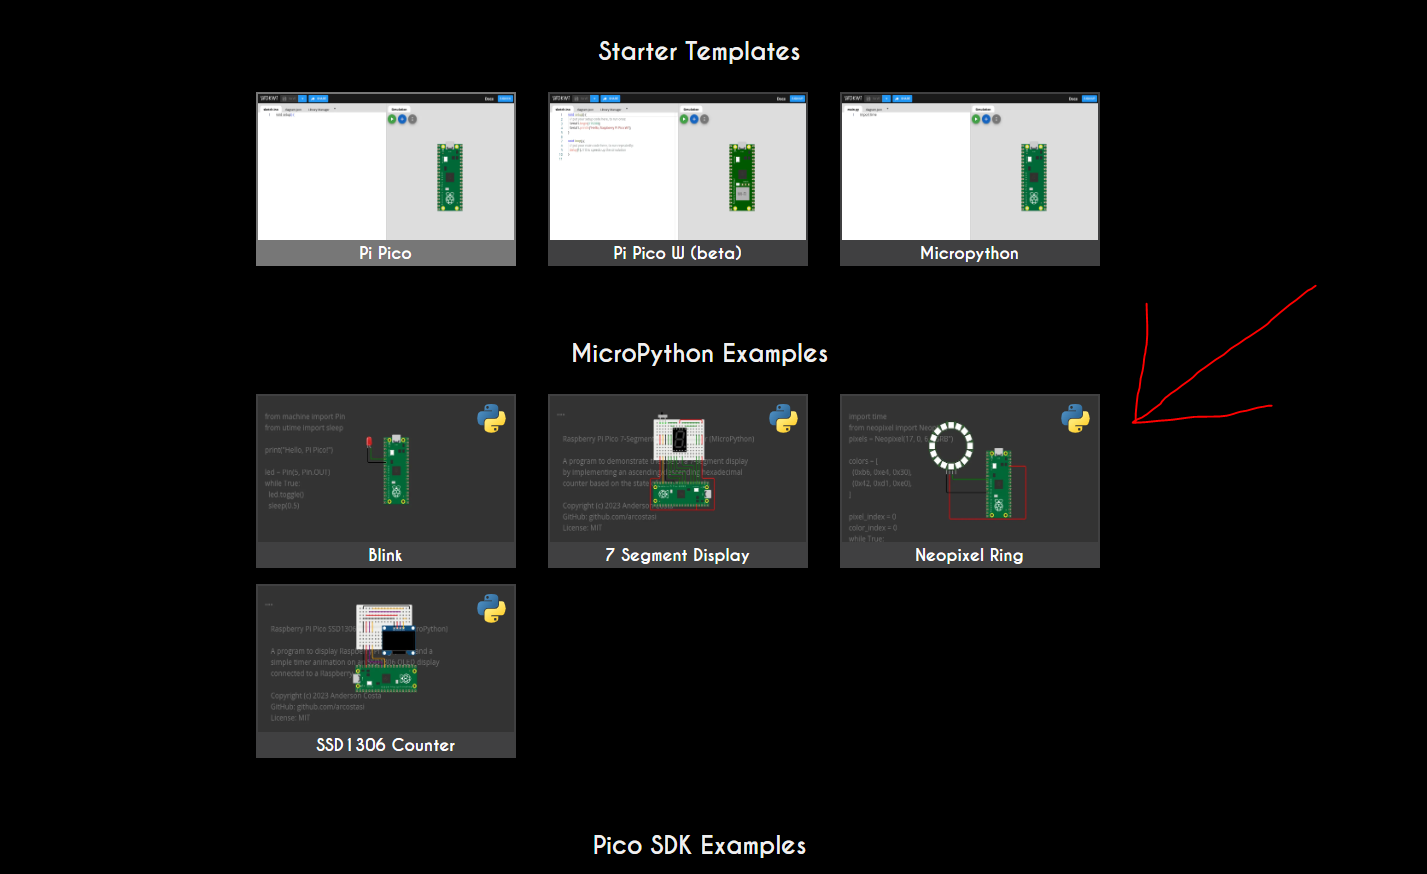
               After getting on wowki, direct yourself to the micropython page and select the neo-pixel ring page

    Wokwi demonstrates a place for us to try out the code on their computer generated neo-pixel.

    Now, calm down, you don't have to configure all of this code yourself (I know I didn't).

    Instead, you can find the code imprinted on wokwi, or you can just google for it. 

View all 7 instructions

Enjoy this project?

Share

Discussions

Similar Projects

Does this project spark your interest?

Become a member to follow this project and never miss any updates