-
1Configuring your neo-pixel
To have any idea of a lightsaber, we needed to have lights. In order to achieve this we used a Neo-pixel lit
---------- more ----------To start off, the only material needed to light up your neo-pixel is the actual piece, and an USB to plug into the computer and the pixel.
Most of our work took place on an app called Wokwi
-
2Turning on your pi-pico
First things first; to connect our pico to the computer we need to:
- Plug in our USB to the computer
- Hold the "B" button on the bottom of the pico AS you plug it in to the computer
- Download the file that appears in the bottom right of your computer
Now that we have the 2 connected, you can start the coding of your actual pico
-
3Wokwi code
To administer this process, we are going to be using an app called Wokwi
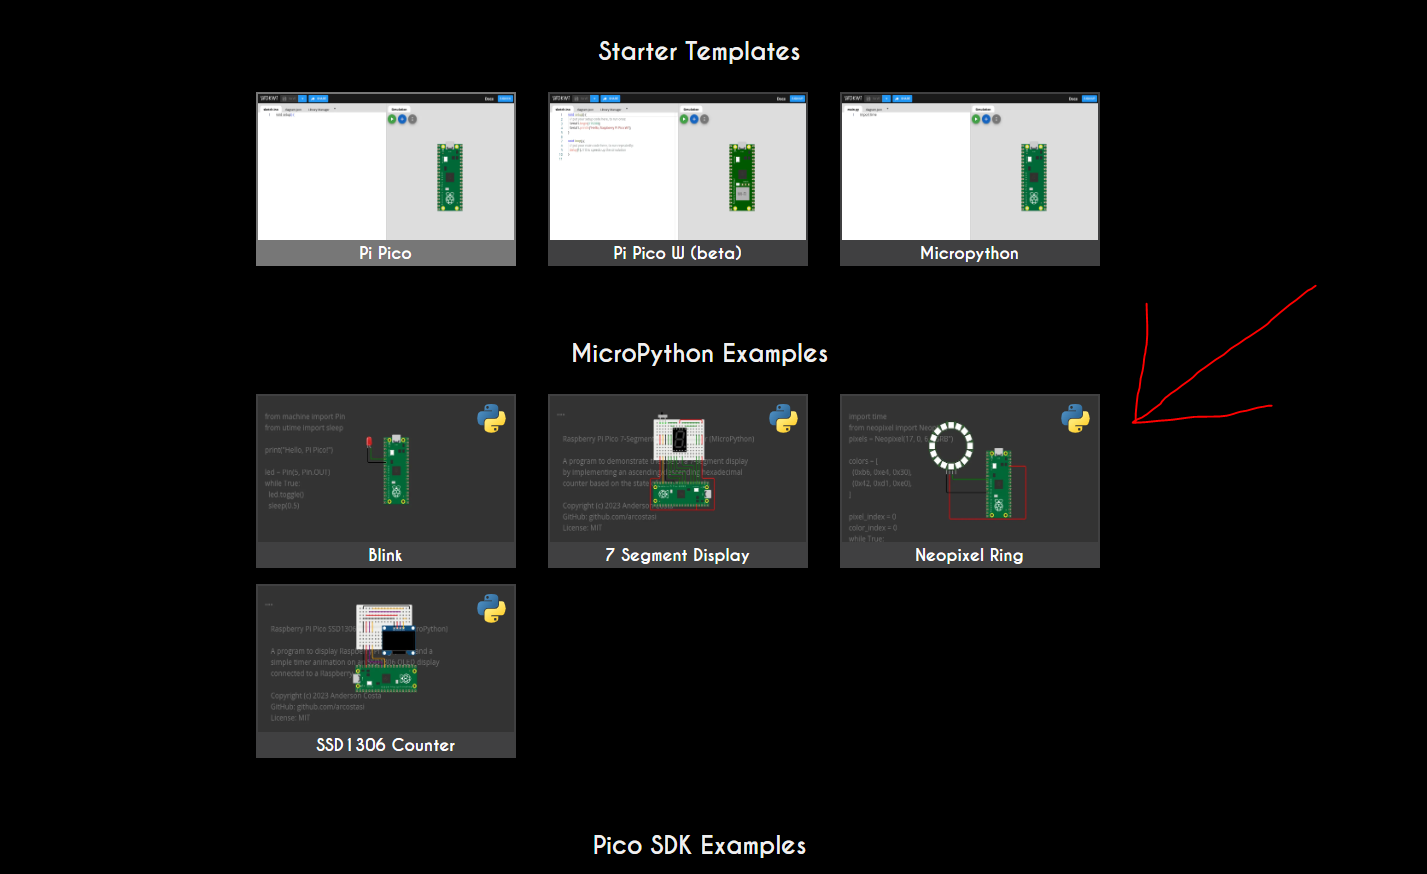
After getting on wowki, direct yourself to the micropython page and select the neo-pixel ring page
Wokwi demonstrates a place for us to try out the code on their computer generated neo-pixel.
Now, calm down, you don't have to configure all of this code yourself (I know I didn't).
Instead, you can find the code imprinted on wokwi, or you can just google for it.
-
4Transference of data to Thonny
Now wokwi gives us valid code, and a way to test out what this would do to our pi-pico, however; it does not let us demonstrate this code on our actual pico.
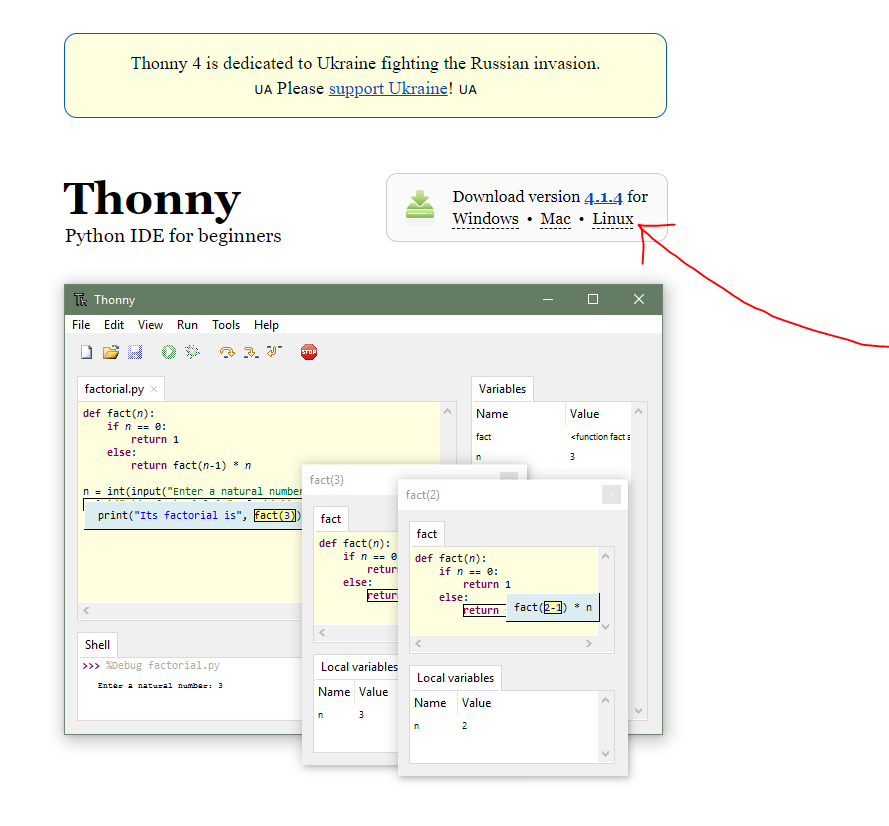
To achieve this we need to download Thonny to our computer.
After downloading,
-
5Actually Printing the Parts
For the Blade You Need to create a normal version and a mirrored version to actually make the whole blade.
To make a mirrored Version of each Blade part you need to insert the Normal file for the part then right click on it then go to mirror, and mirror on the Y-Axis, then flip it back over.
The Blade Parts are made using the clear filaments But the handle can be made using pretty much any color filament you want.
-
6Printing R5
This Part is the one that is the hardest to get right on the printer follow these instructions to get it to work
- Drop The STL in.
- Enter in 270 under the X section in the Rotate tool
- Enter in 45 under the Z section in the Rotate tool
- Make sure support is on (We tested it without and on the Bambu printers it didn't work)
For the Mirror
- Drop the STL in
- Enter in 270 under the X section in the Rotate tool
- Right Click on the Model and Mirror Along the Y-Axis
- Enter in 45 under the Z section in the Rotate tool
- Make sure support is on
-
7Assembling the Blade
Instructions will be put here after we have assembled it
3D Printed Halo Energy Sword
A 3D Modeled version of the Energy Sword From Halo with neopixel lights and audio.


Discussions
Become a Hackaday.io Member
Create an account to leave a comment. Already have an account? Log In.