Close
0%
0%

R2D2 & Mars Rover Robot

The ultimate robot with Arduino: a faithful replica that captures the magic of the movies, featuring both manual and automatic modes.

Similar projects worth following
640 views
0 followers
Our project is a robot inspired by R2D2 and Mars Rover. It will be able to follow 2 distinct modes, an autonomous one and another manual mode in which it will be controlled by us using a controller.

We thought of adding multiple features on the autonomous mode of our robot such as following a person and avoiding obstacles.

Its main function would be to assist people by displaying information on a screen.
In order to do all that, we thought of many ways to do it.

For the robot to follow people (autonomous mode), we thought of using a sound wave emitter shaped into something like a gadget (a lightsaber maybe) that the user will carry, and receptors would be attached to our robot for it to detect the sound emitted so that it can follow its user (just like a sonar).
We've also succeeded in making R2D2 sounds, to bring our robot assistant closer to our favorite droid.

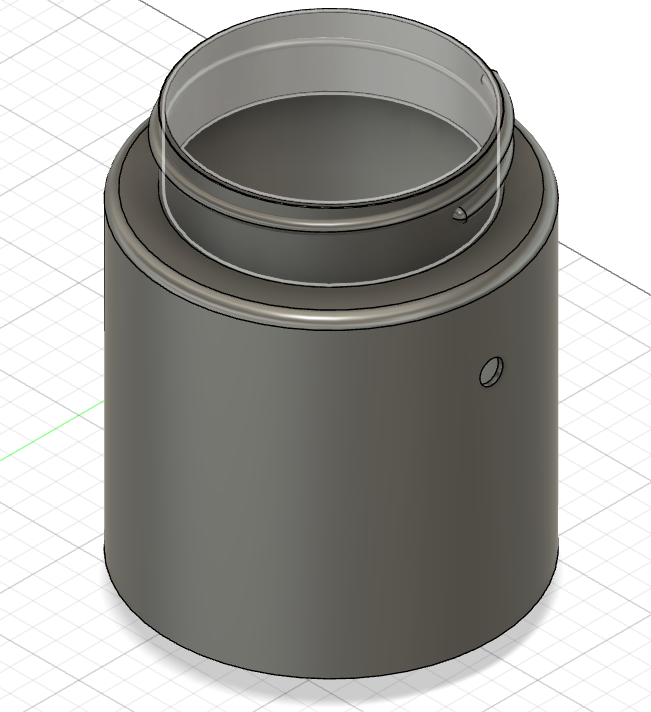
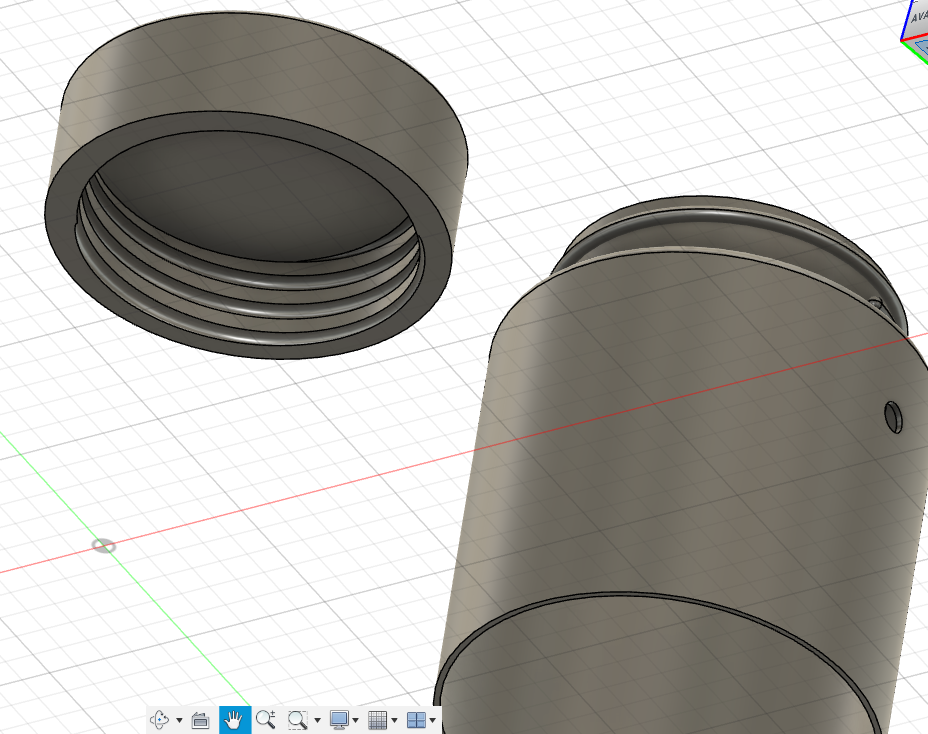
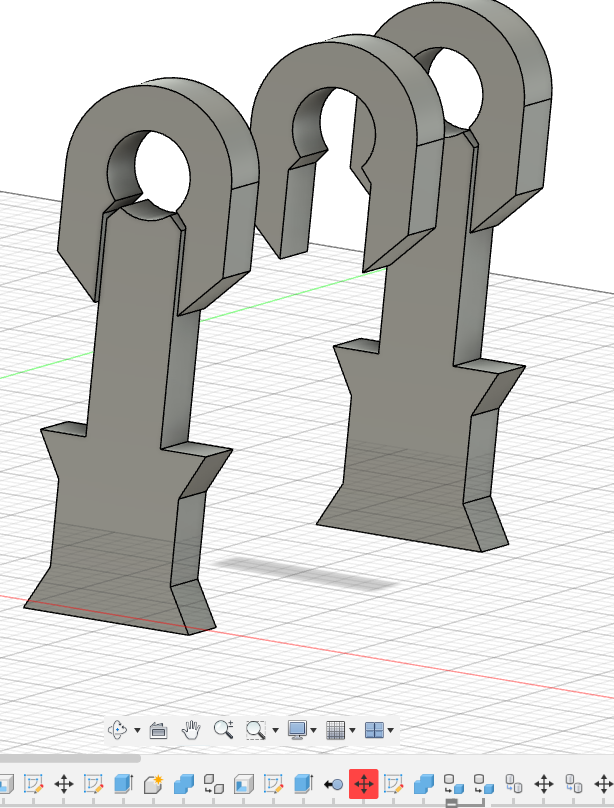
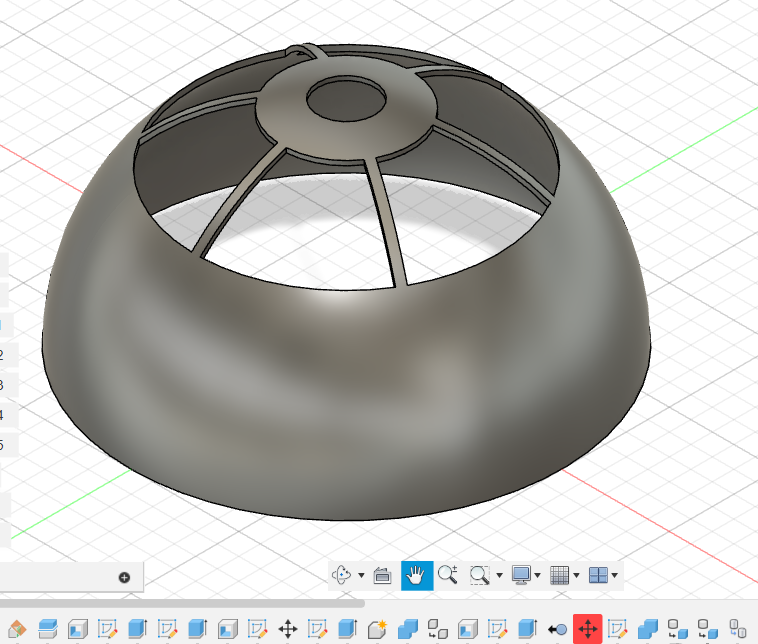
As a group of 4 students, all with their own differences and specificities, one passion united us all: our admiration for the Star Wars franchise and our passion for space. What's the most iconic thing about Star Wars apart from the lightsabres? Droids of course, and who's the most iconic droid in the franchise, R2D2 of course. That's why we decided to build a miniature replica of this droid.

First of all, we searched online for existing robot-building projects and compared them with the droid's features, based on what we saw in the films. In doing so, we drew up a list of features that we thought could be added to our robot. On the other hand, we also had to remove other iconic features that were out of our reach, such as hologram projection or tazer mode. 

The main features that we have retained and that we intend to add to our robots are as follows: 

- an 8 x 8 monochrome MAX7219 LED matrix to assist and provide guidance to the user, just as R2D2 would do.

- bringing back to life the sound effects we hear in the films (mainly the sound of R2D2), to make our robot more interactive with the user

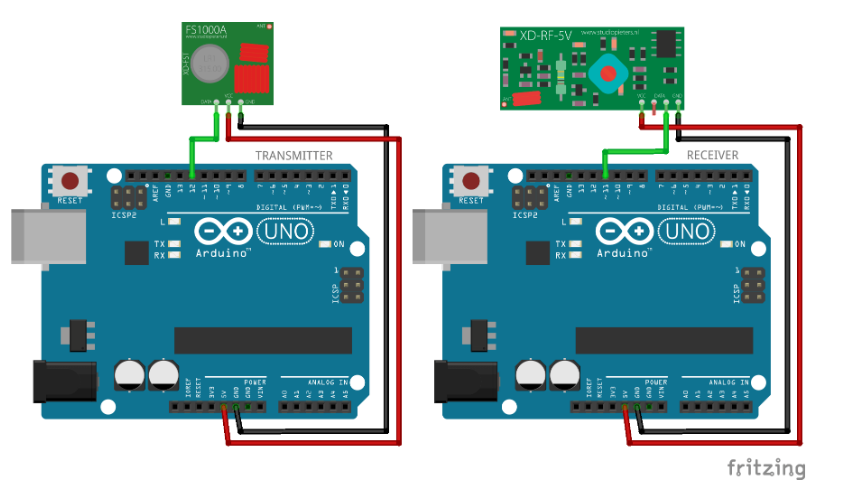
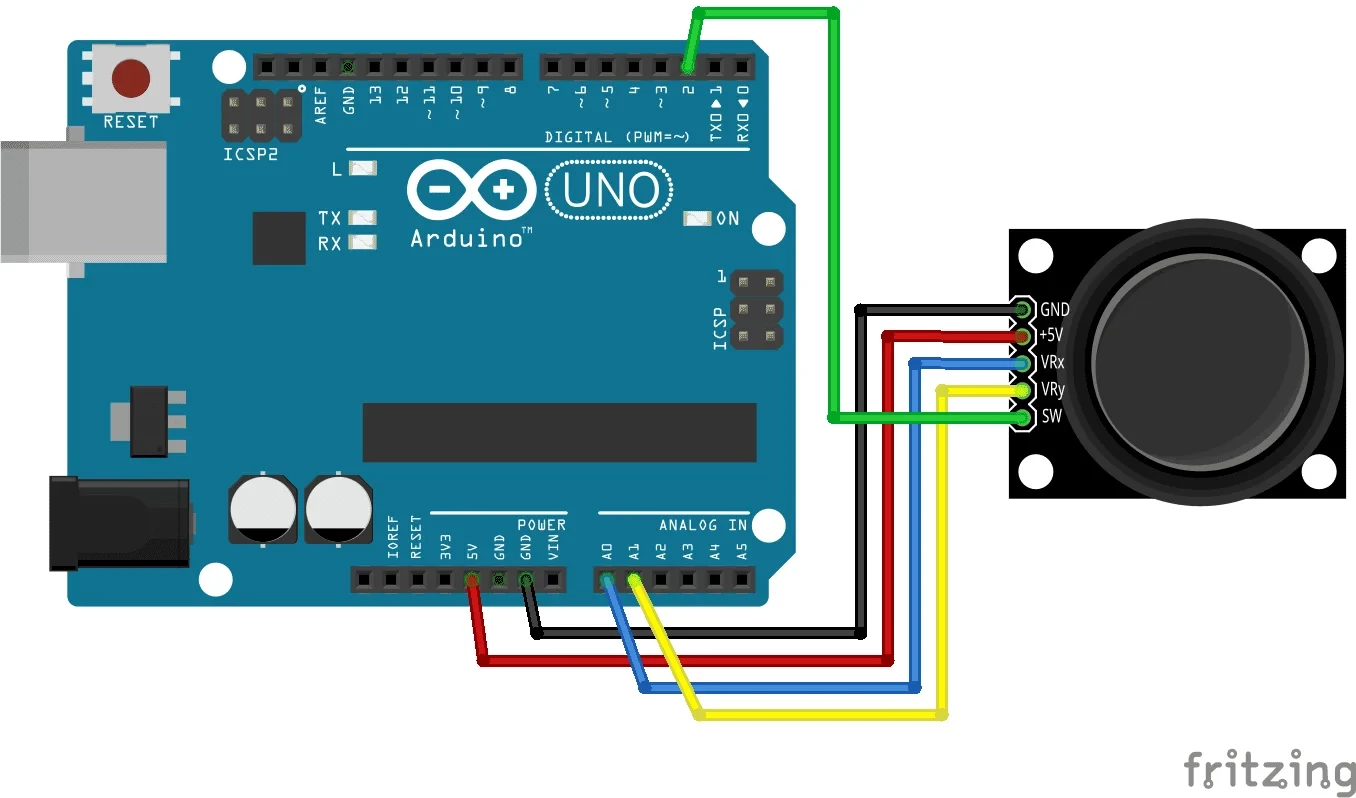
- propose two modes for controlling our robot: a mode controlled manually by a controller and another mode where it would move and follow the user automatically.

initial_structure.jpeg

JPEG Image - 136.65 kB - 06/17/2024 at 17:10

Preview

test_driving_with_bluetooth.mp4

Video of the first test drive in manual mode, using the Bluetooth module.

MPEG-4 Video - 1.75 MB - 06/17/2024 at 17:05

Download

led_matrix_mode_display.mp4

Video of the LED matrix displaying either the letter M (representing manual mode) or the letter A (representing automatic mode) smoothly and with transitions.

MPEG-4 Video - 5.65 MB - 06/17/2024 at 17:07

Download

led_matrix_wiring_schema.jfif

Photo of the wiring diagram for the LED matrix.

JPEG Image - 286.07 kB - 06/17/2024 at 16:45

Download

led_matrix_mode_display_with_button.ino

Code for the LED matrix displaying either the letter M (representing manual mode) or the letter A (representing automatic mode) smoothly and with transitions. In this code, we've simply implemented a button to toggle the letter displayed in the matrix.

ino - 1.91 kB - 06/14/2024 at 15:02

Download

View all 38 files

  • 2 × Breadboard Electronic Components / Misc. Electronic Components
  • 1 × Elegoo Mega2560 R3
  • 2 × ARDUINO UNO REV3
  • 1 × H Bridge Motor Drive Tech, L298N Motor Driver Interface and IO ICs / Peripheral Drivers and Actuators
  • 4 × DC3V 6V Dual Axis Gear Motor Motors

View all 16 components

View all 17 project logs

  • 1
    Manual part

    For the manual part of our project, you will need the controller.

    First you will need to push the first button to make it change mode to manual mode.

    With the joystick of the controller you can make the robot go to the direction you chose. It can go forward, backward and turn to the left and to the right. You can even make it sound like R2D2 by pushing the third button.

  • 2
    Automatic part

    For the automatic part you will need the second part of the controller with the ultrasound transmitter.

    Like for the manual mode you will need to push the second button to change the rover to the automatic mode.

    With the ultrasound transmitter you will need to point to the robot to make it come to you. It will come to you and stop when it is close enough.

  • 3
    3D Modeling

    After printing out all the differents parts of the robot, we need to assemble it (which is something I could have documented better if we actually printed it). 

    The first step would be to place the components in their respective compartment, especially the motors and the wheels, as well as the wires, in the legs. After placing the motors and the wheels, we can assemble the two clipping legs.  

    The breadboard and the rest of the electronics components would be placed inside the cylinder. 

    After placing all the components, and verifying all the connections, we would assemble the body to its legs. Then finally attaching the sphere dome, to the bottle cap that would fit right on the main body, simply using glue. 

View all 3 instructions

Enjoy this project?

Share

Discussions

Does this project spark your interest?

Become a member to follow this project and never miss any updates