Design Breakdown
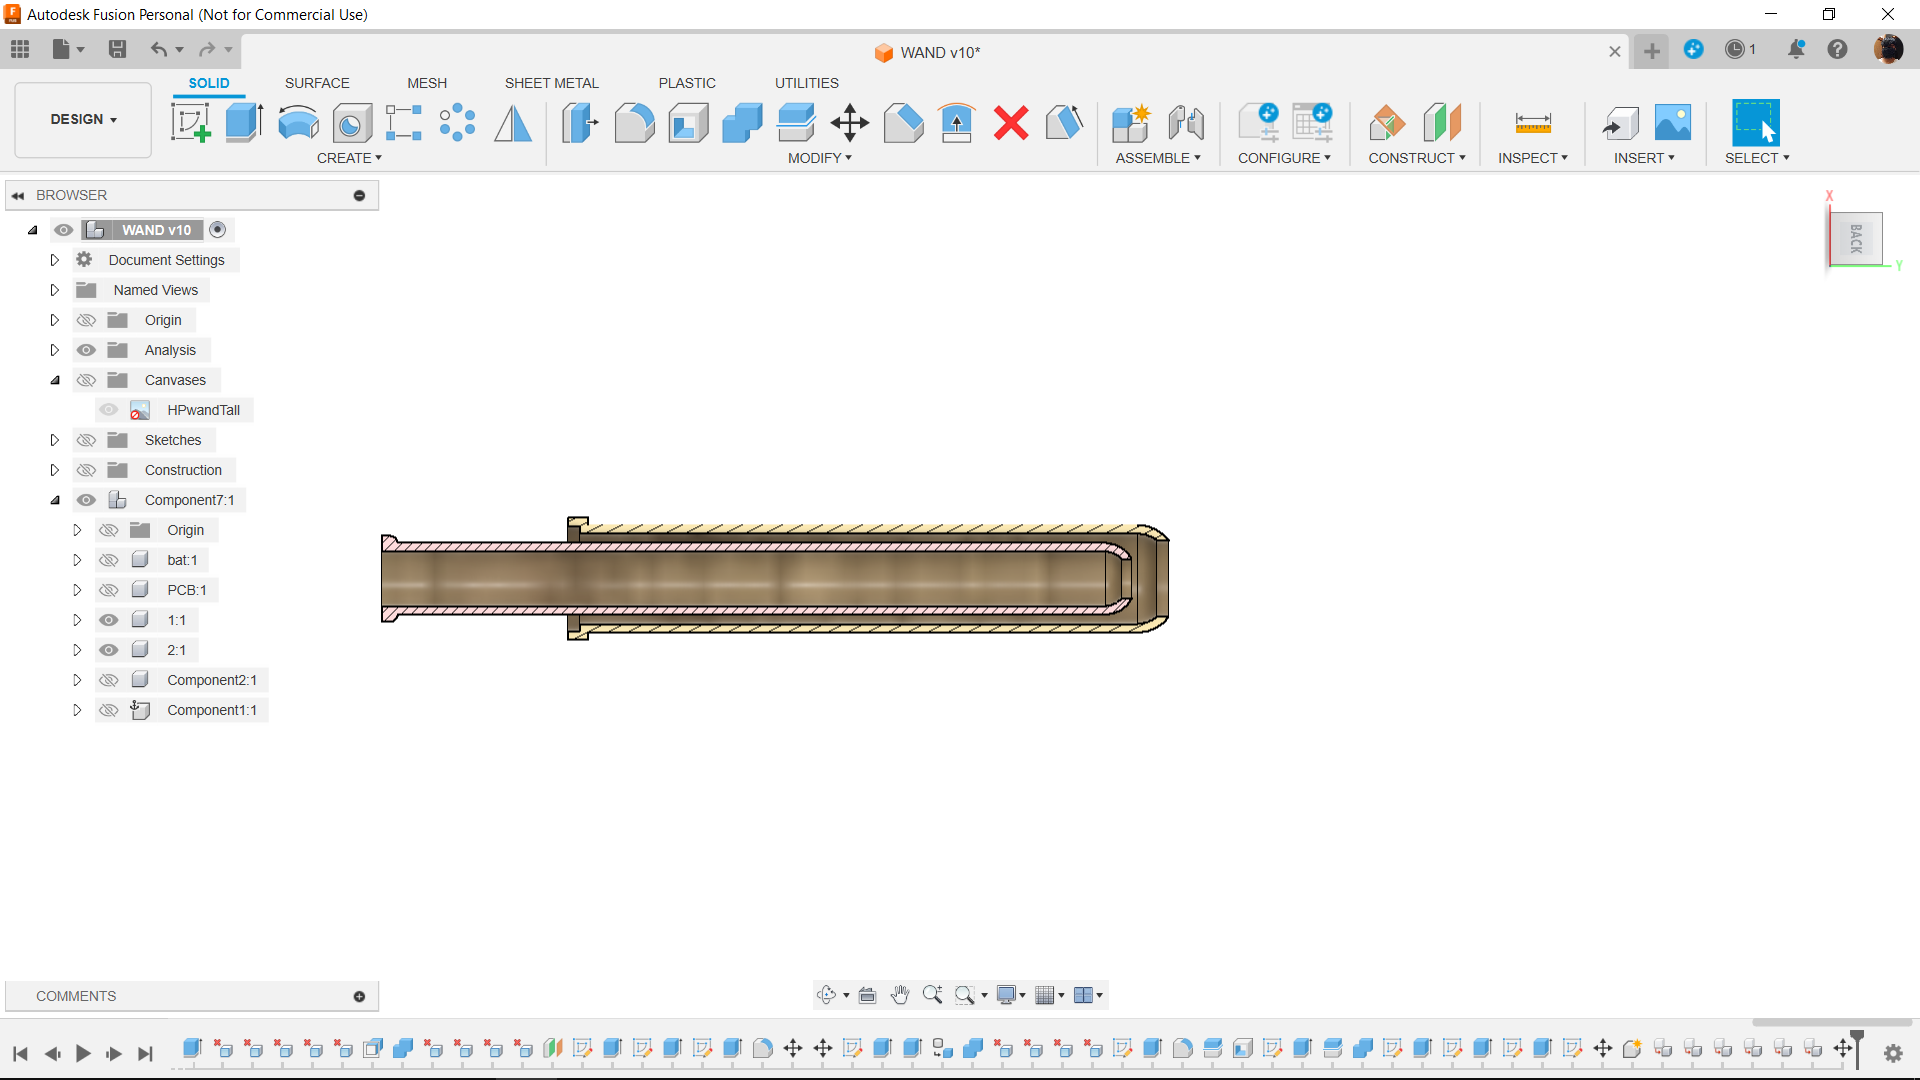
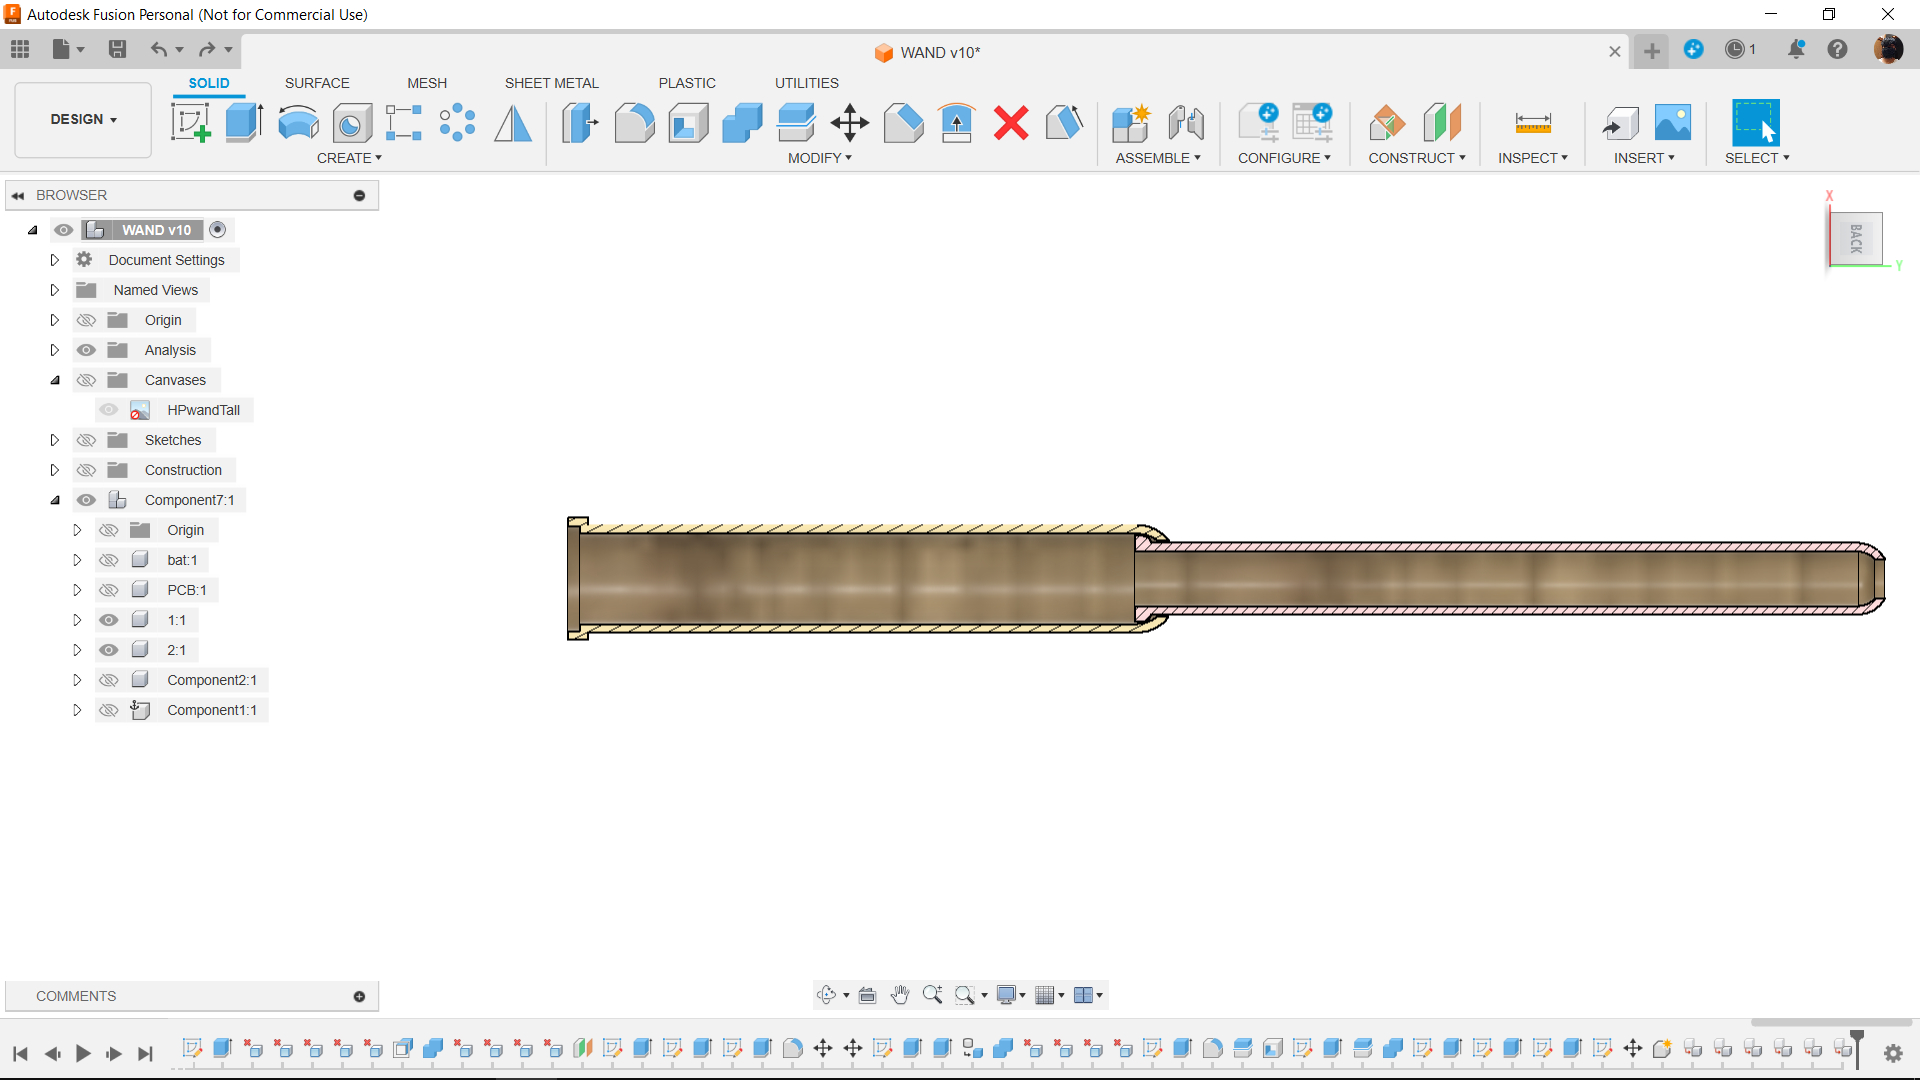
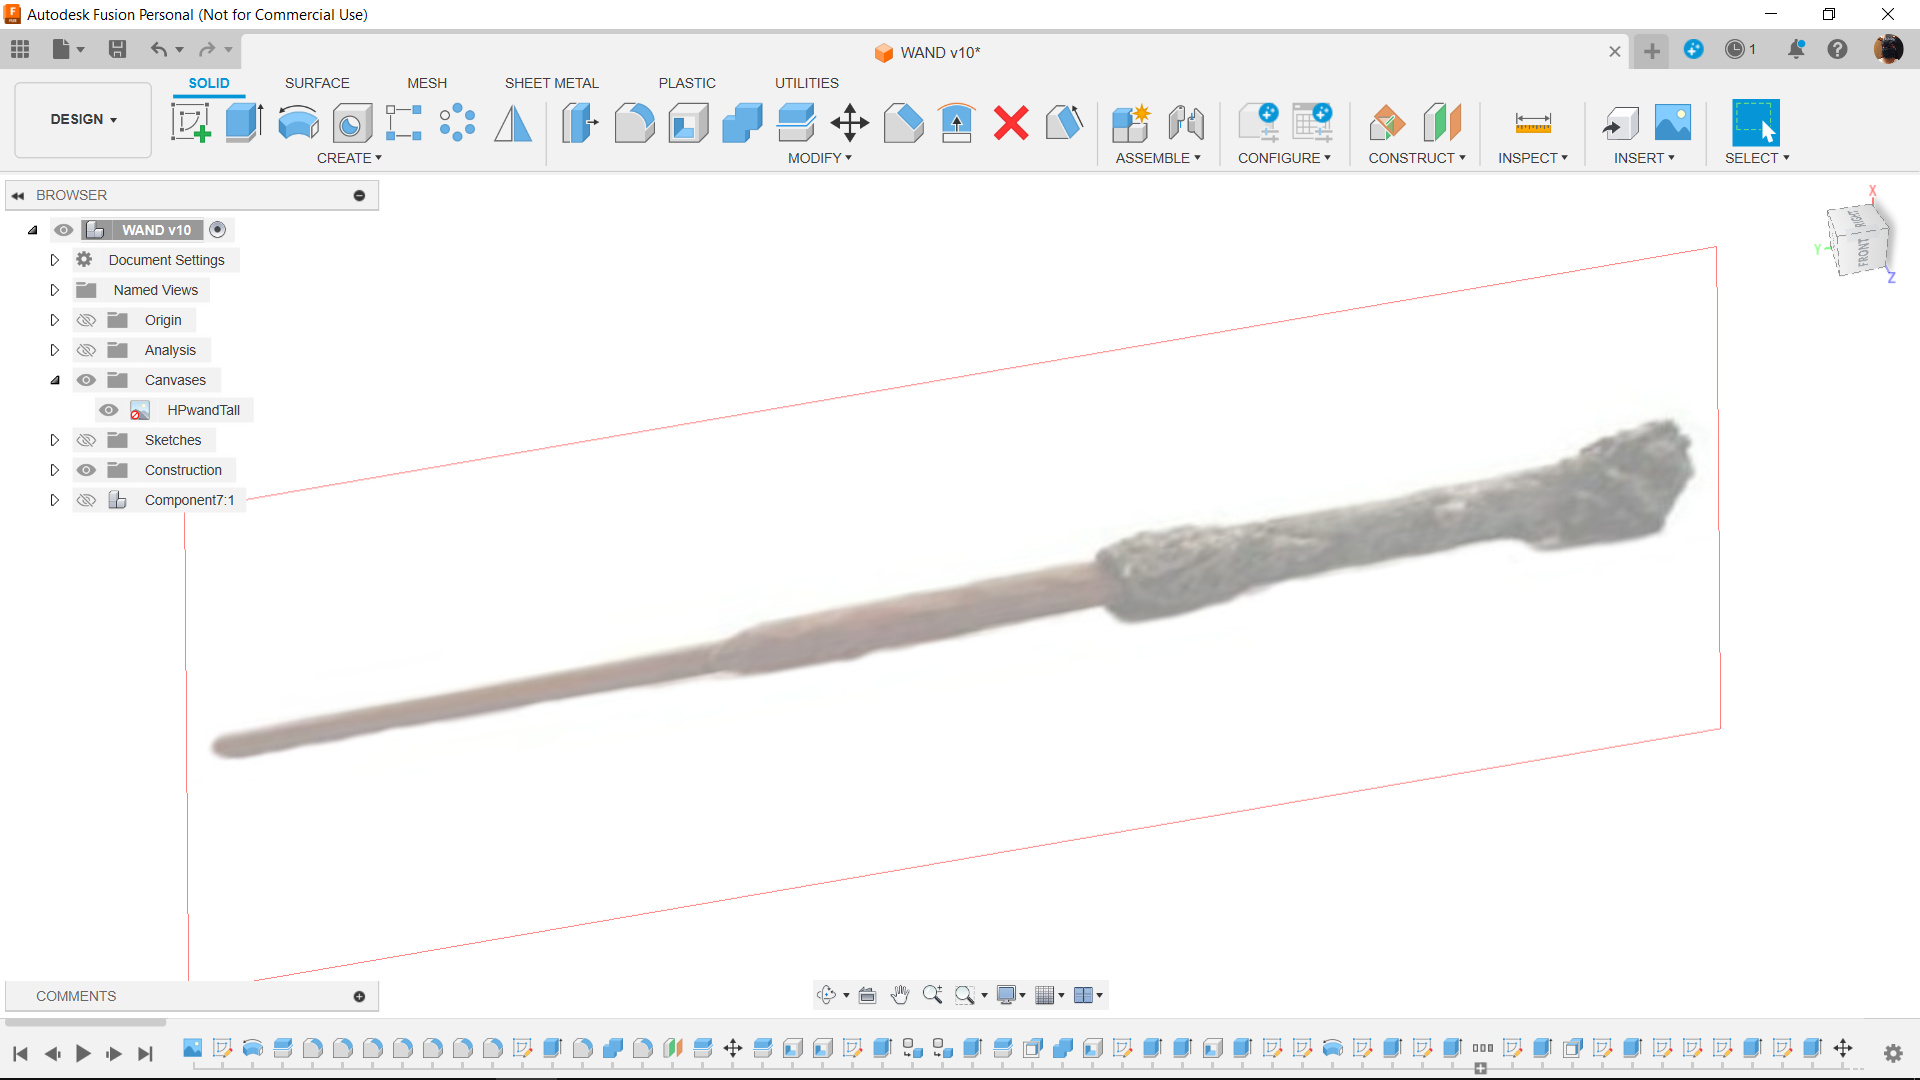
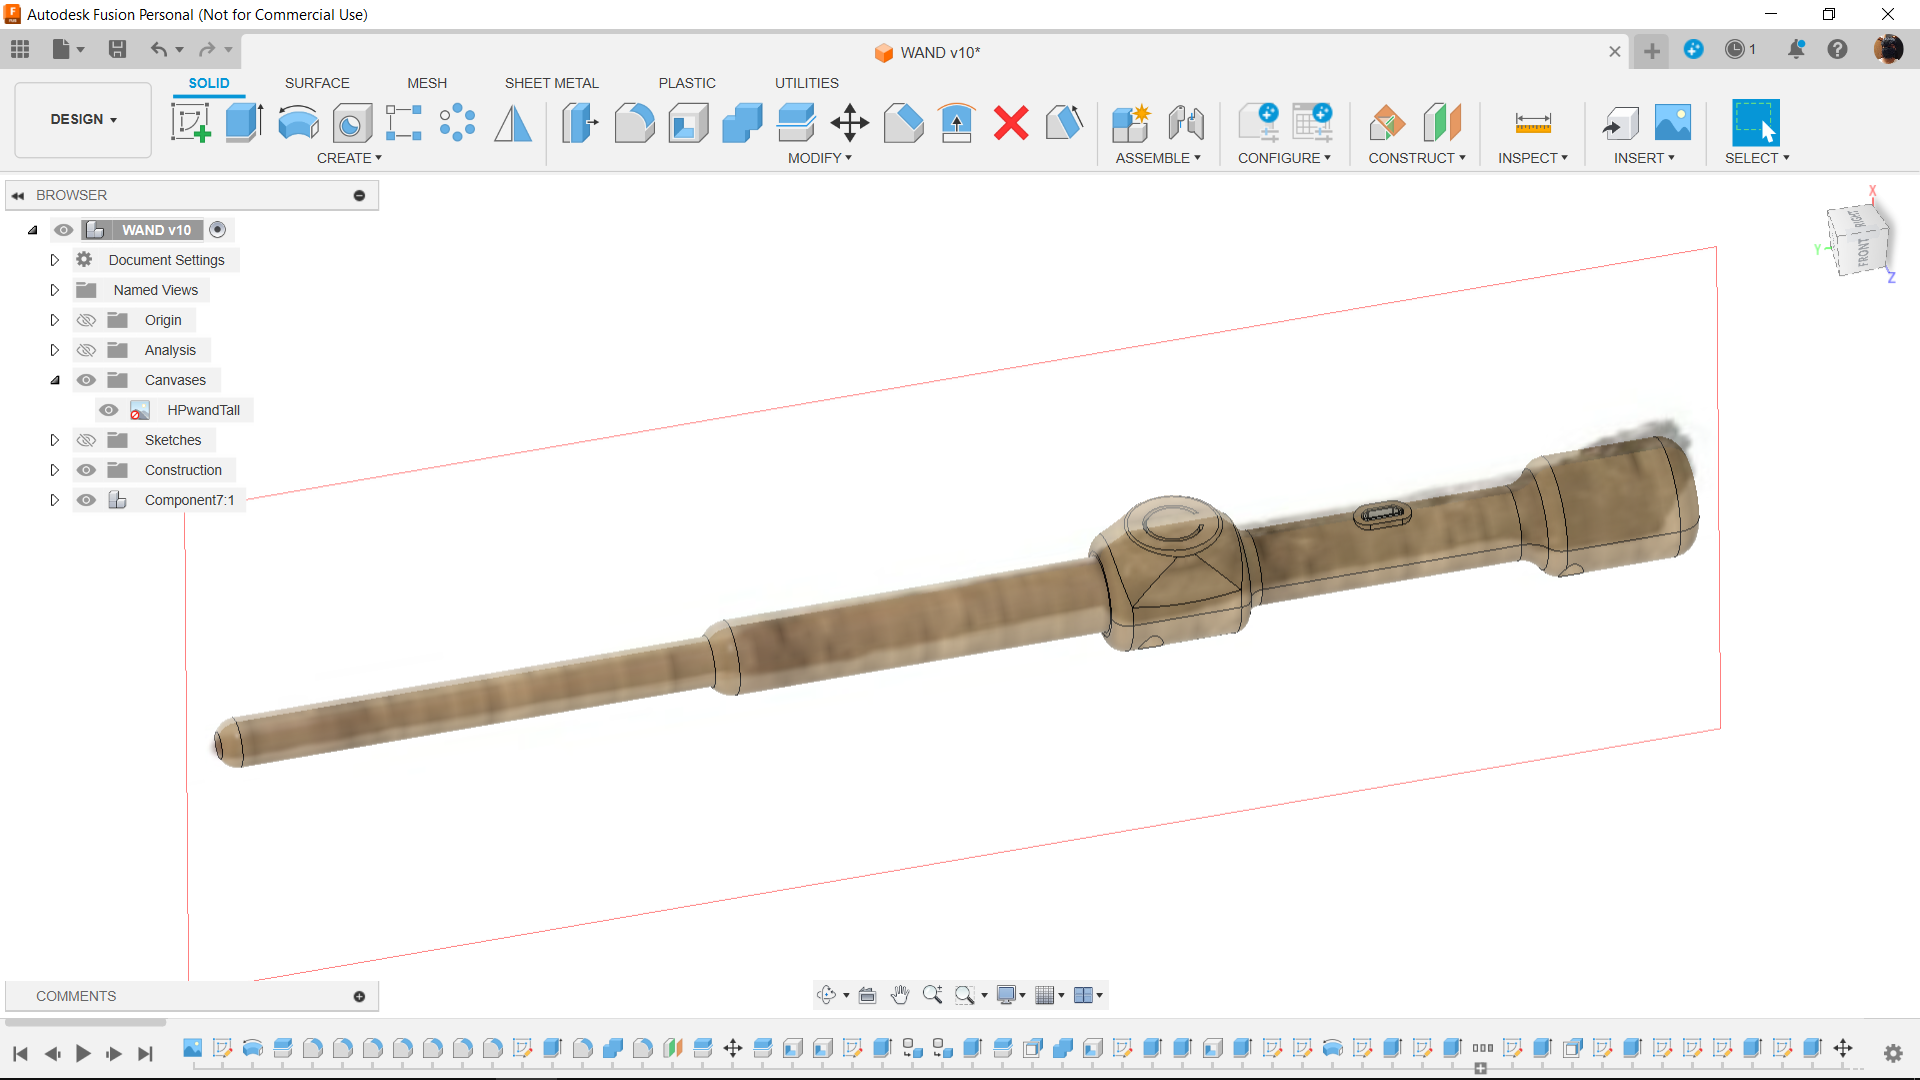
The first step in the design process was to import an image of a wand into Fusion360 from the internet.
We calibrated the length of the wand, to be exact, 300mm. Next, the calibrated image will be traced to create a rudimentary sketch, which will subsequently be used to create a rough body.
The idea was to stick to the basic wand shape rather than trying to replicate the asymmetrical details or wood texture, which would be difficult to print on my Ender 3 printer.
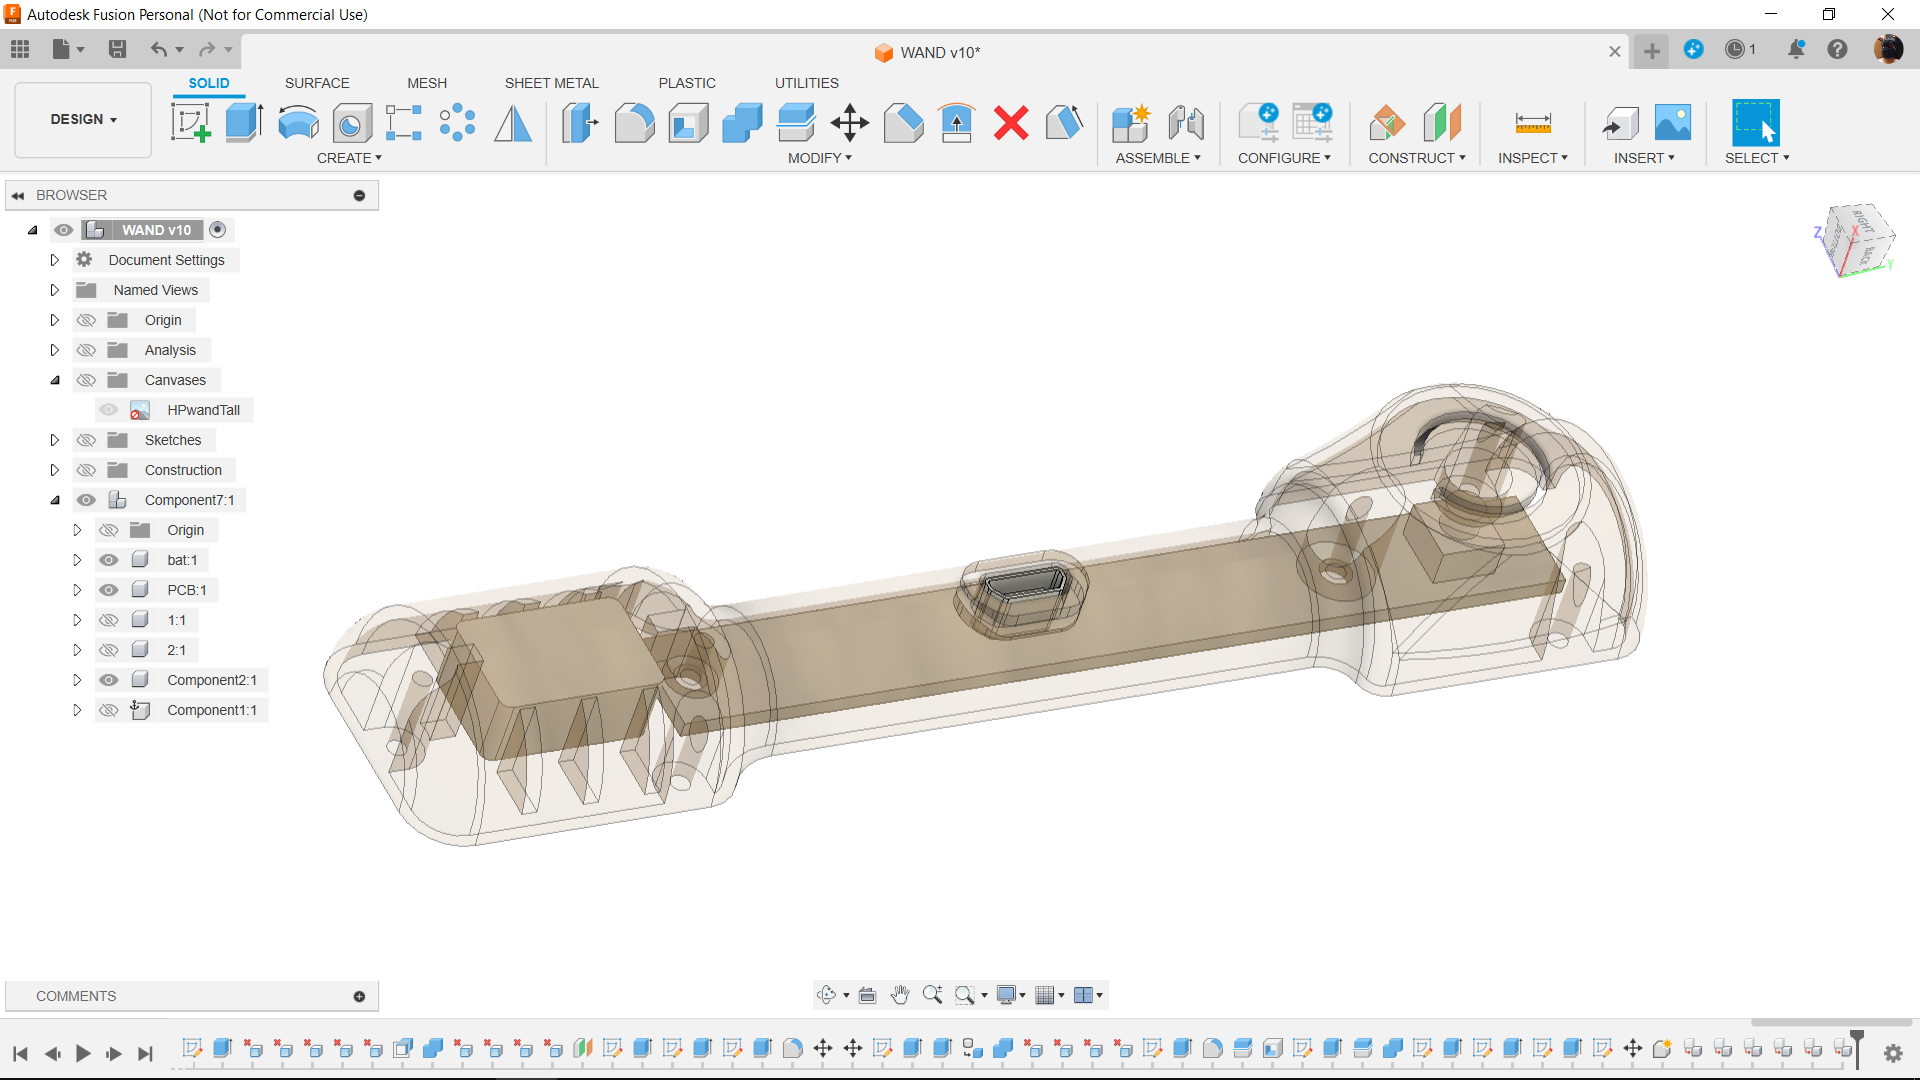
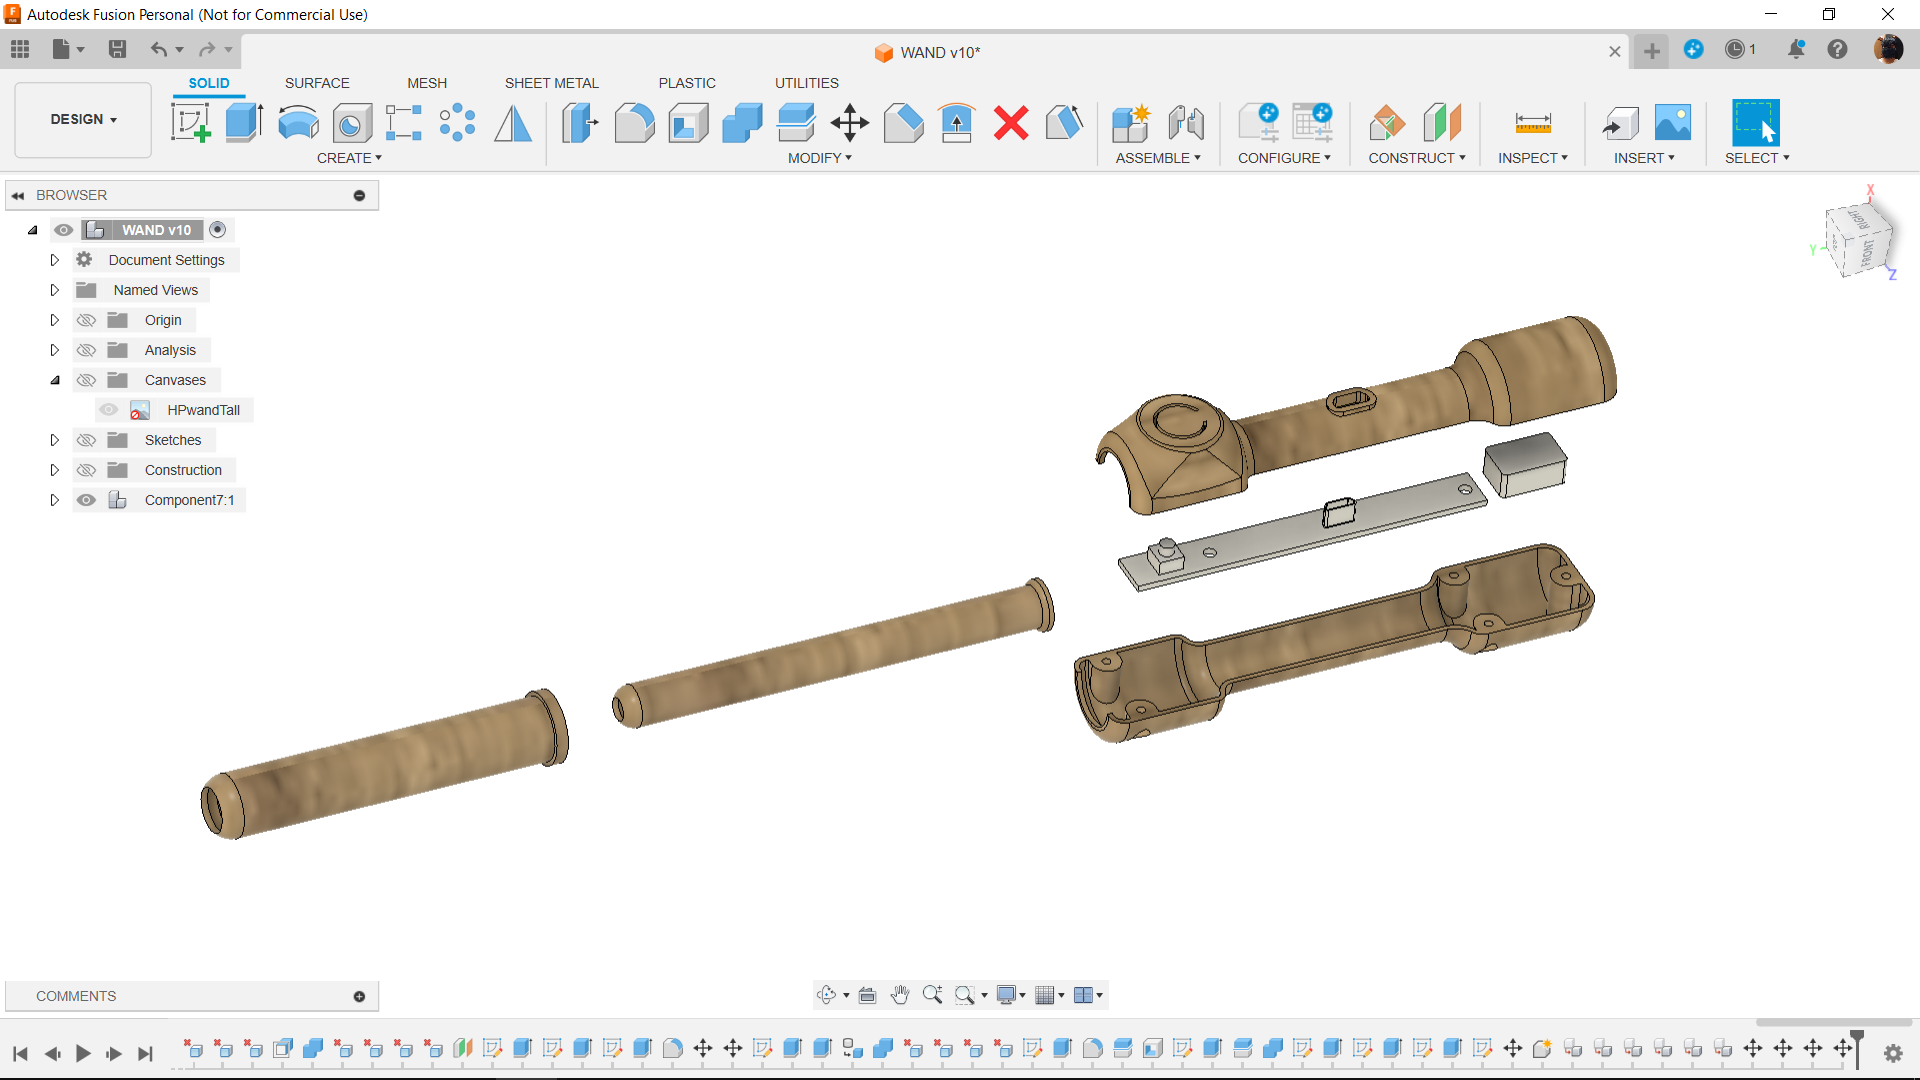
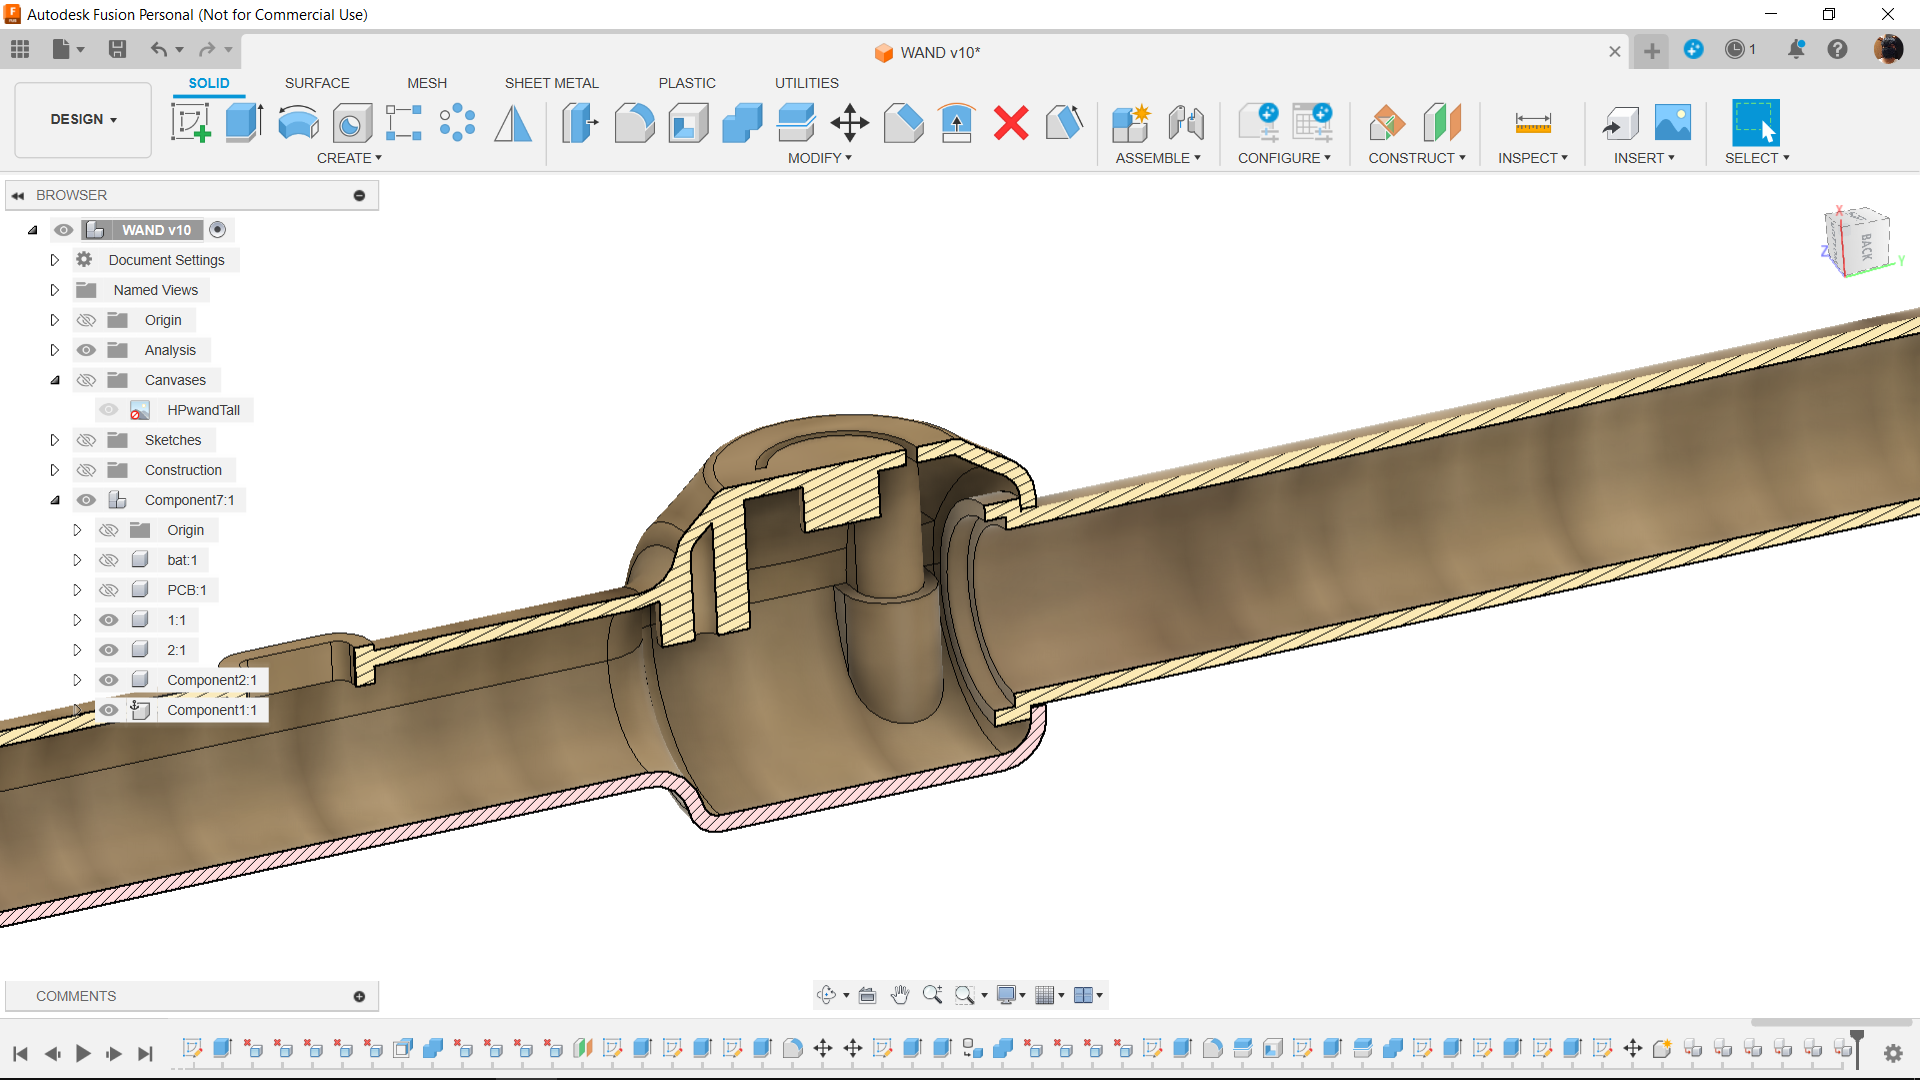
With the intention of incorporating a torch light within the wand, we hollowed out the design and separated it into three sections: the handle, the upper shaft, and the lower shaft.
The handle portion has the upper and lower shaft sections attached in place and mounted together.
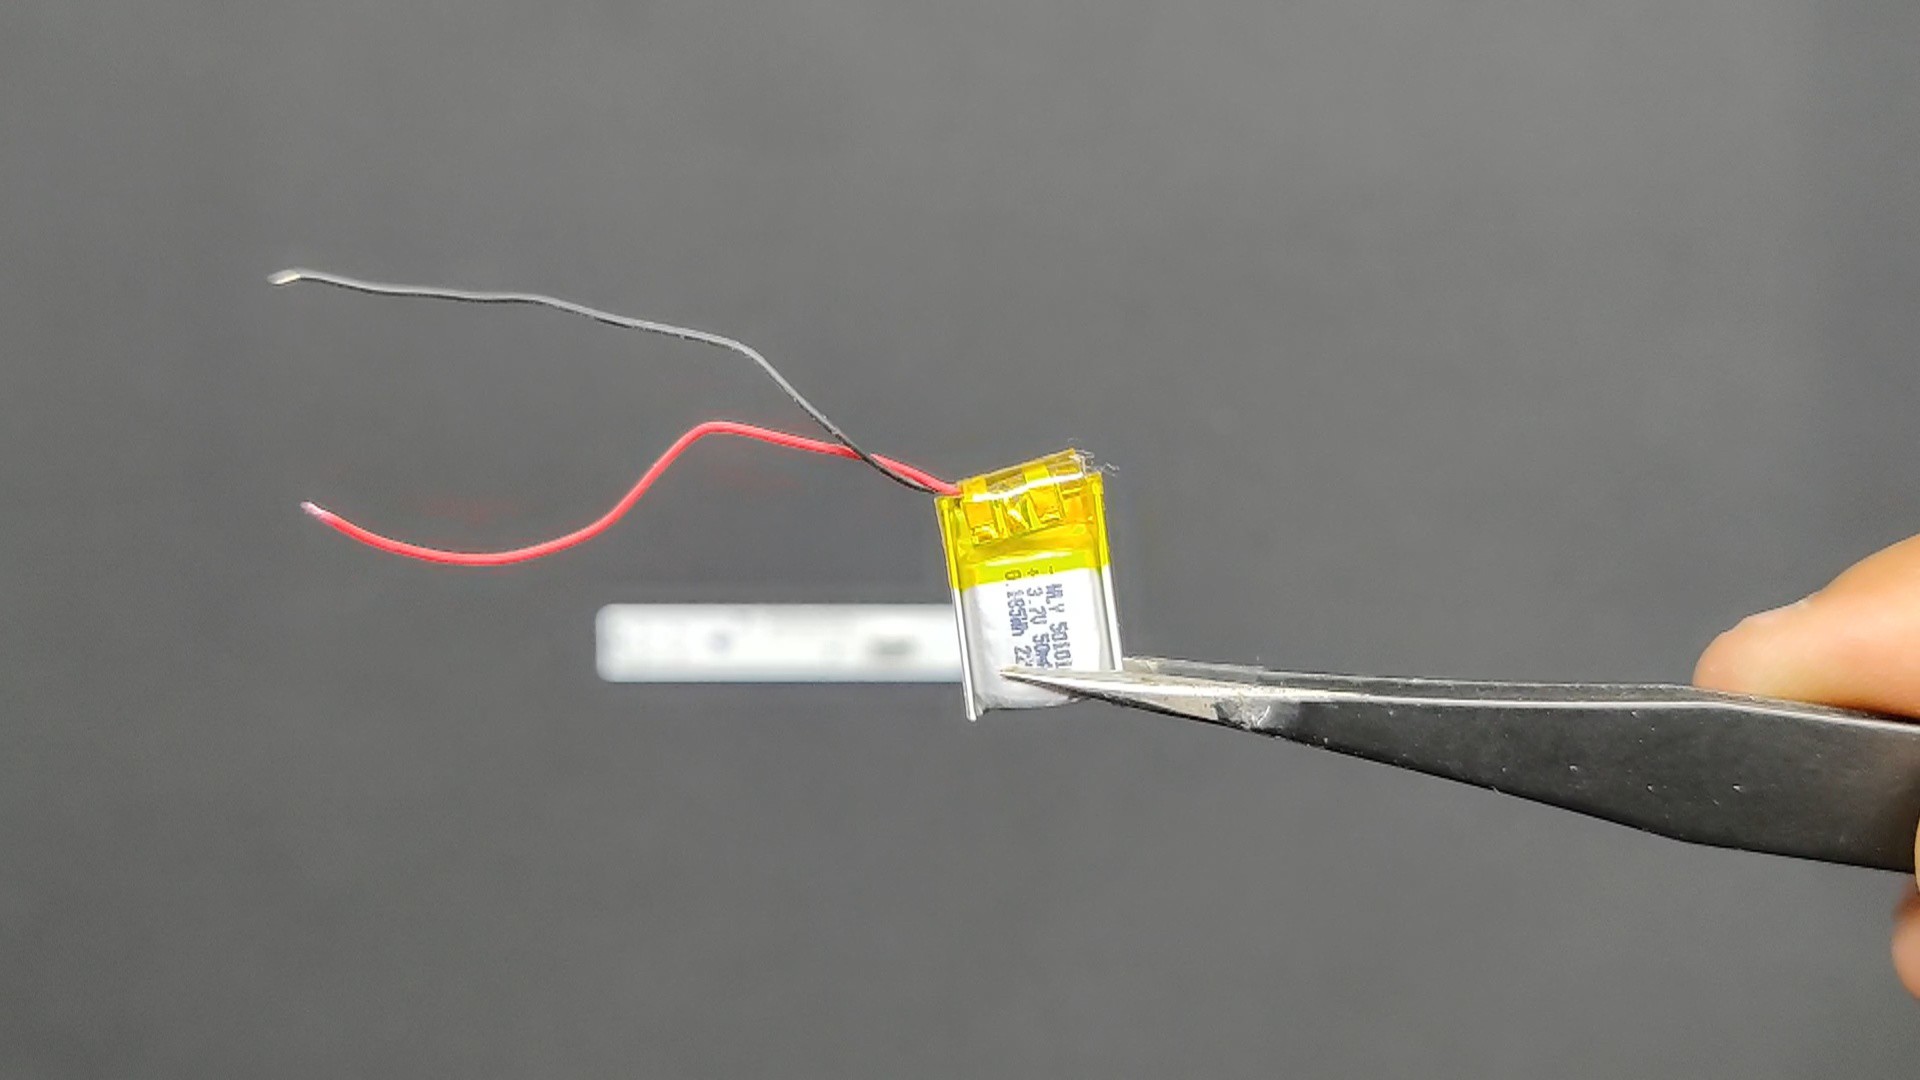
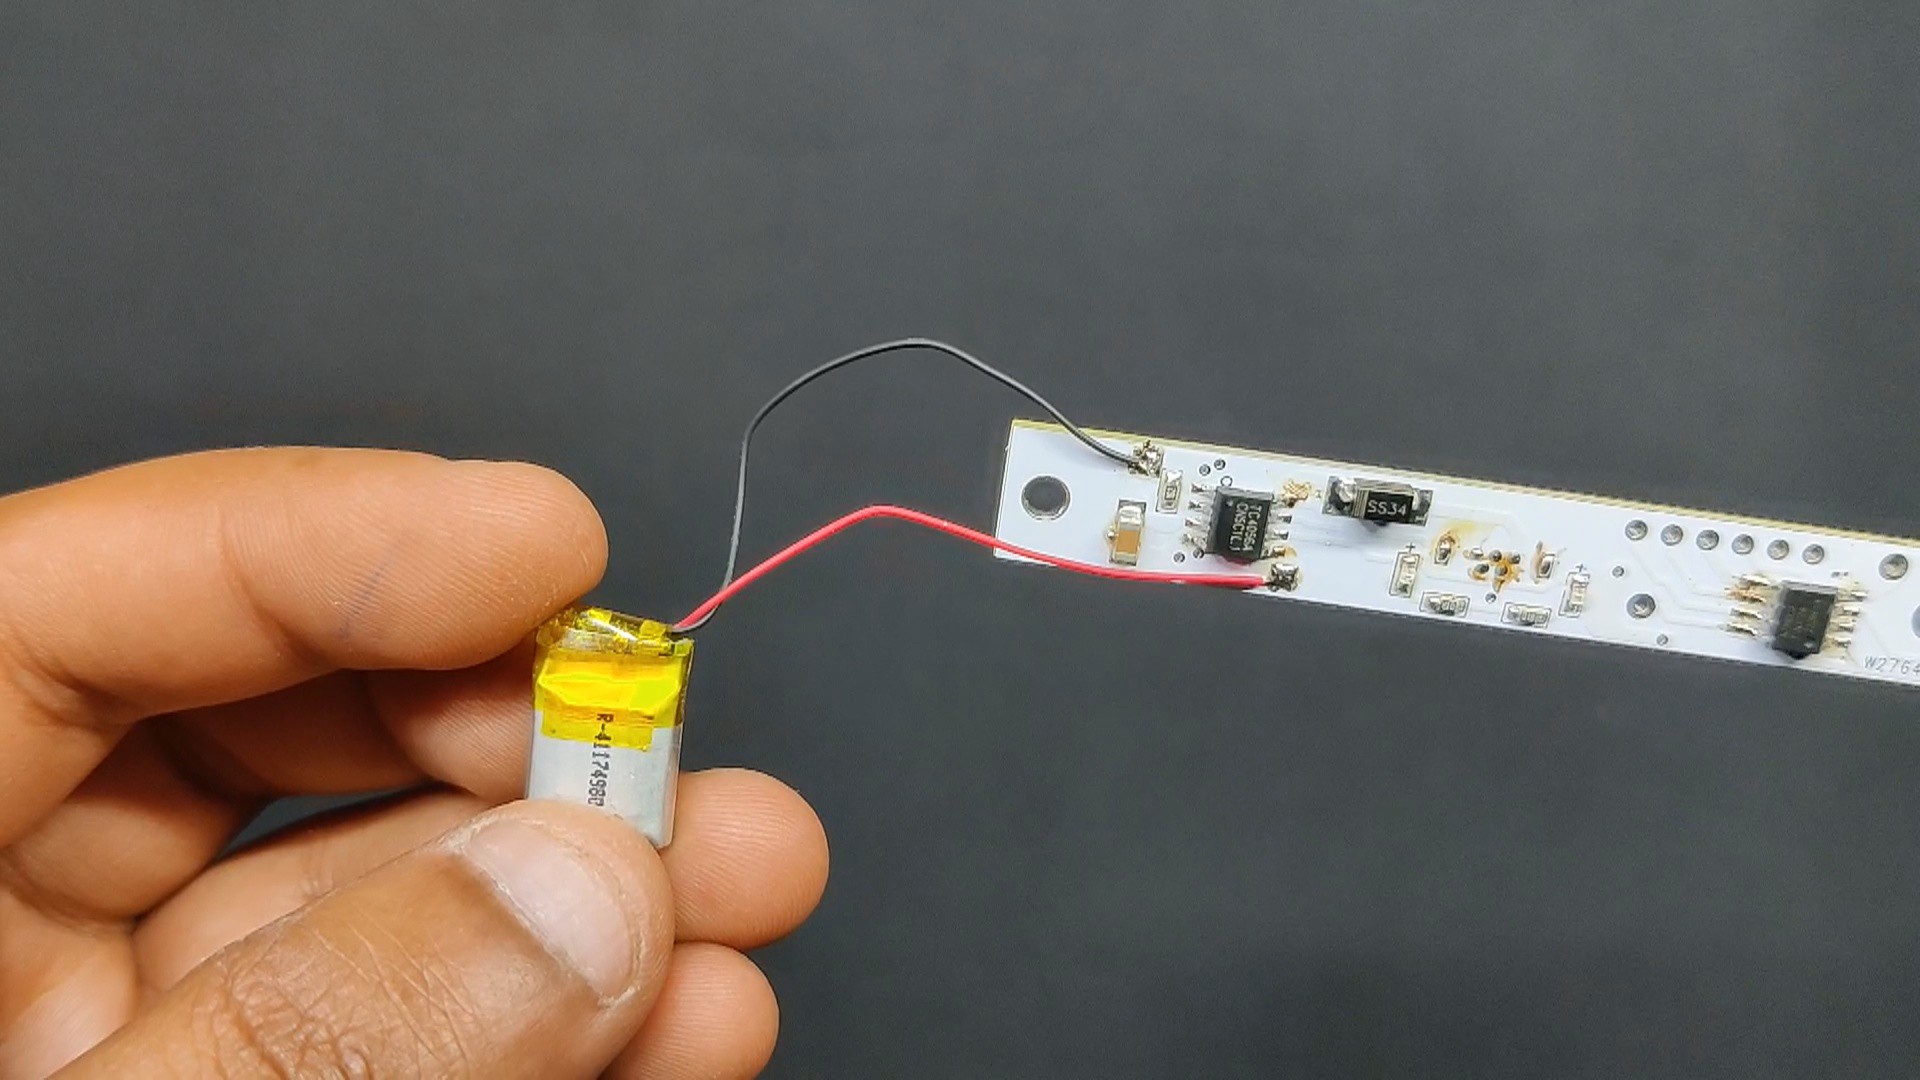
A little LiPo cell is positioned inside the handle's lower portion, and we have put a circuit inside the handle portion that will house all the electronics.
The handle portion is split into two halves.
On the handle portion, we have also incorporated a Switch knob.
3D Parts
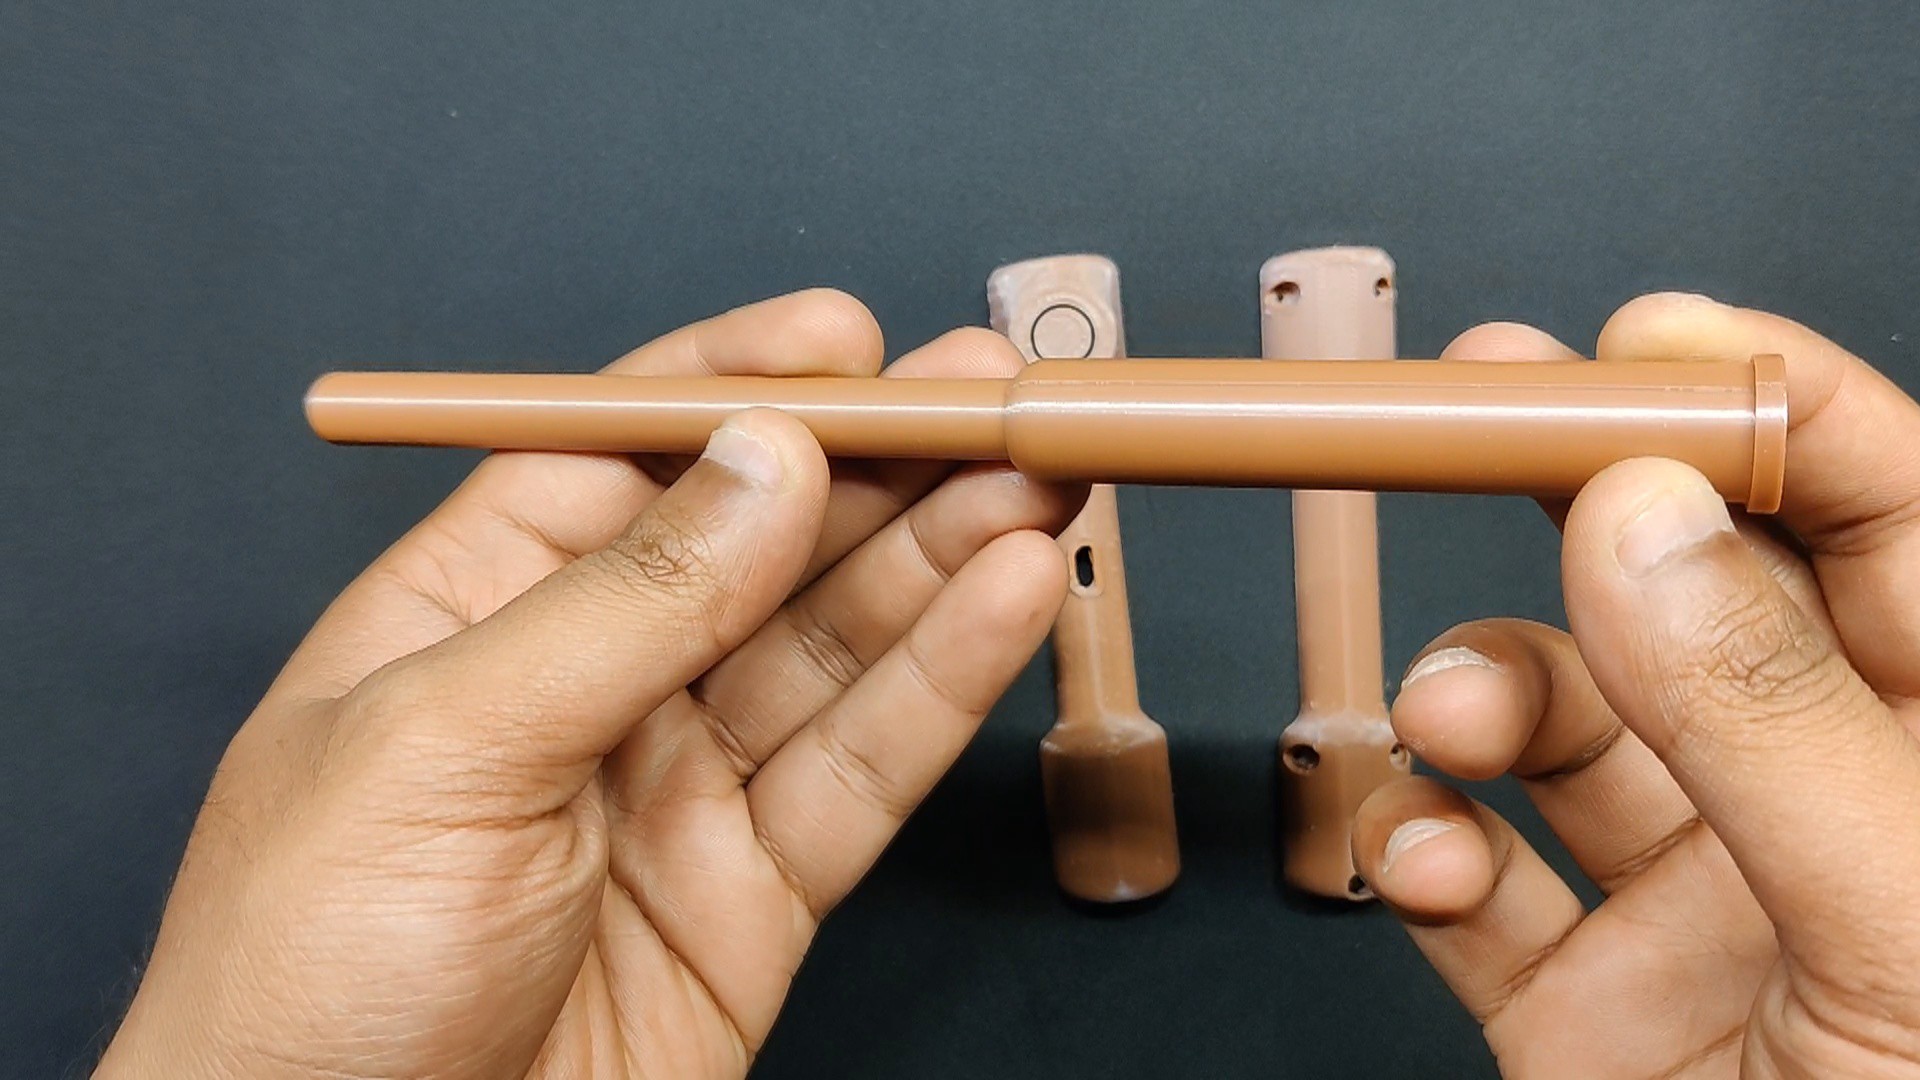
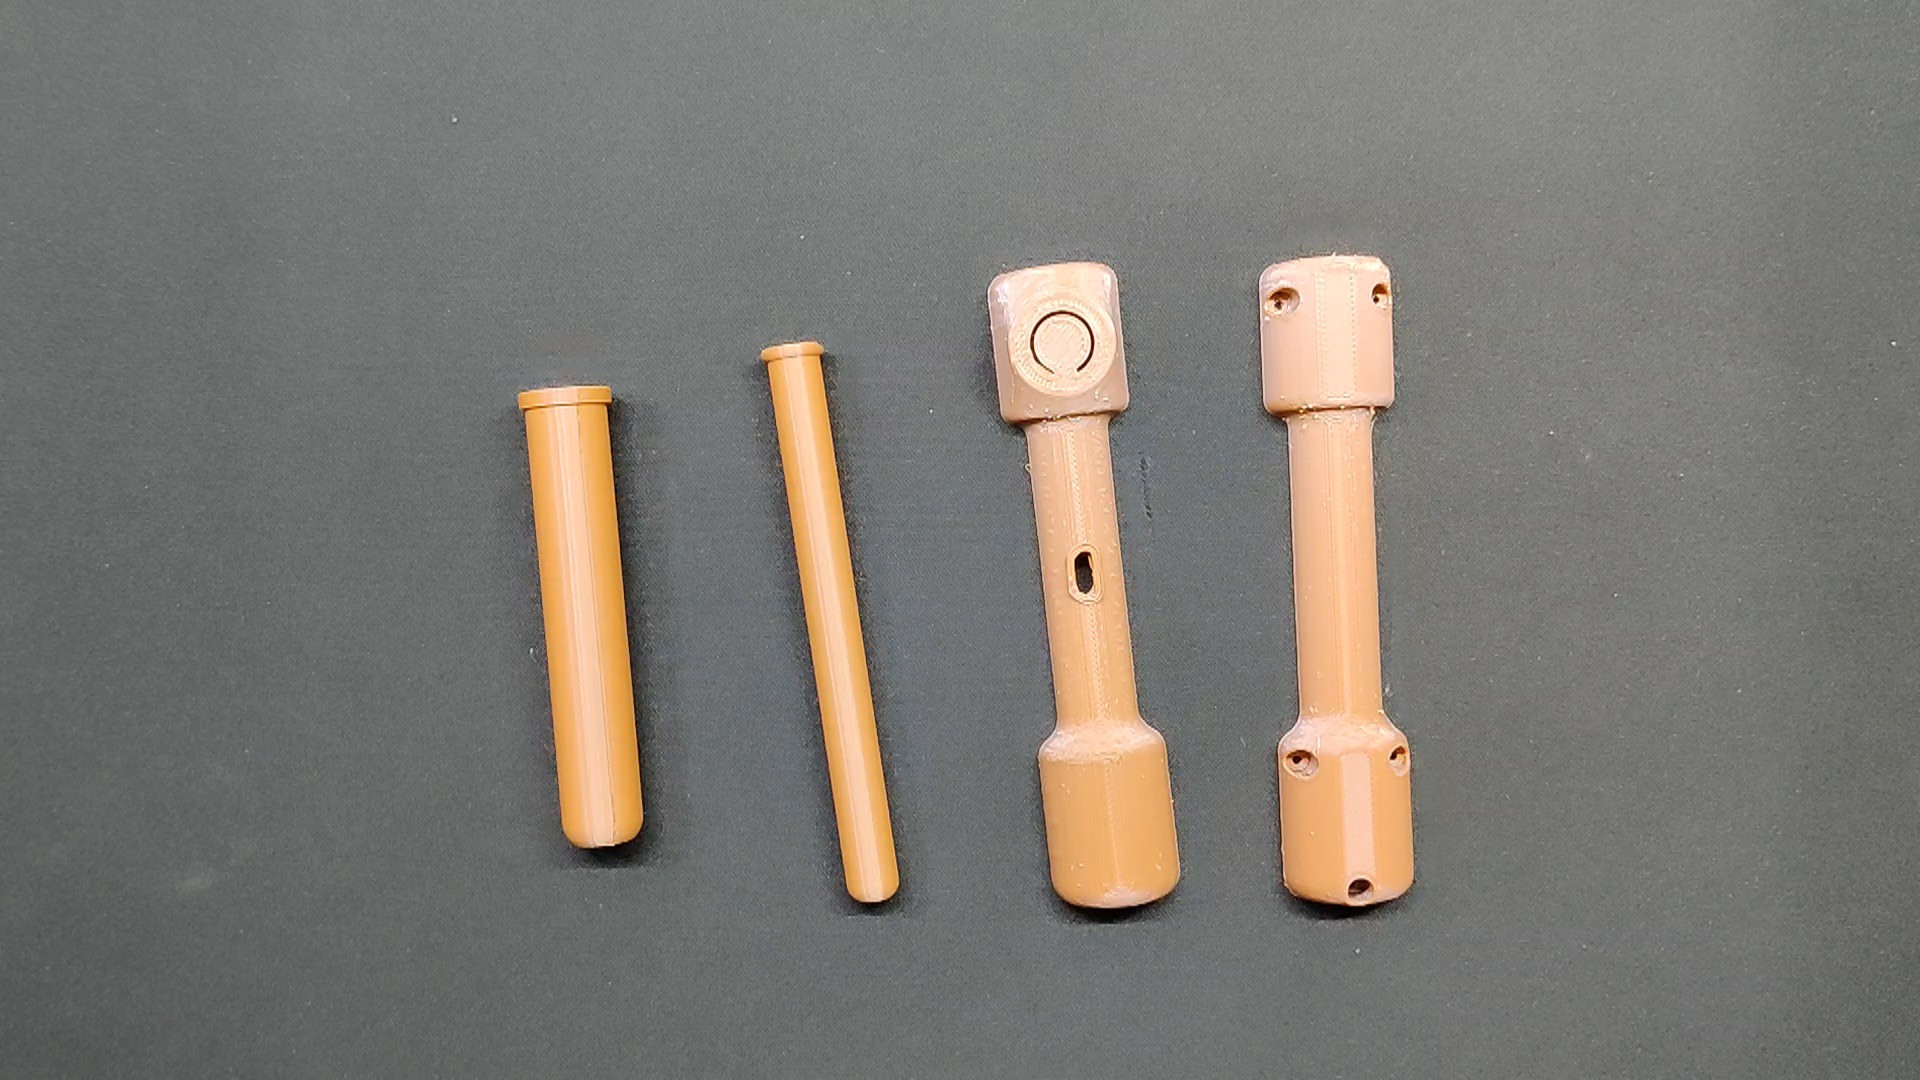
Once the model was complete, we used a 0.4mm nozzle, 20% infill, and 0.2mm layer height to 3D print each component out of brown PLA.
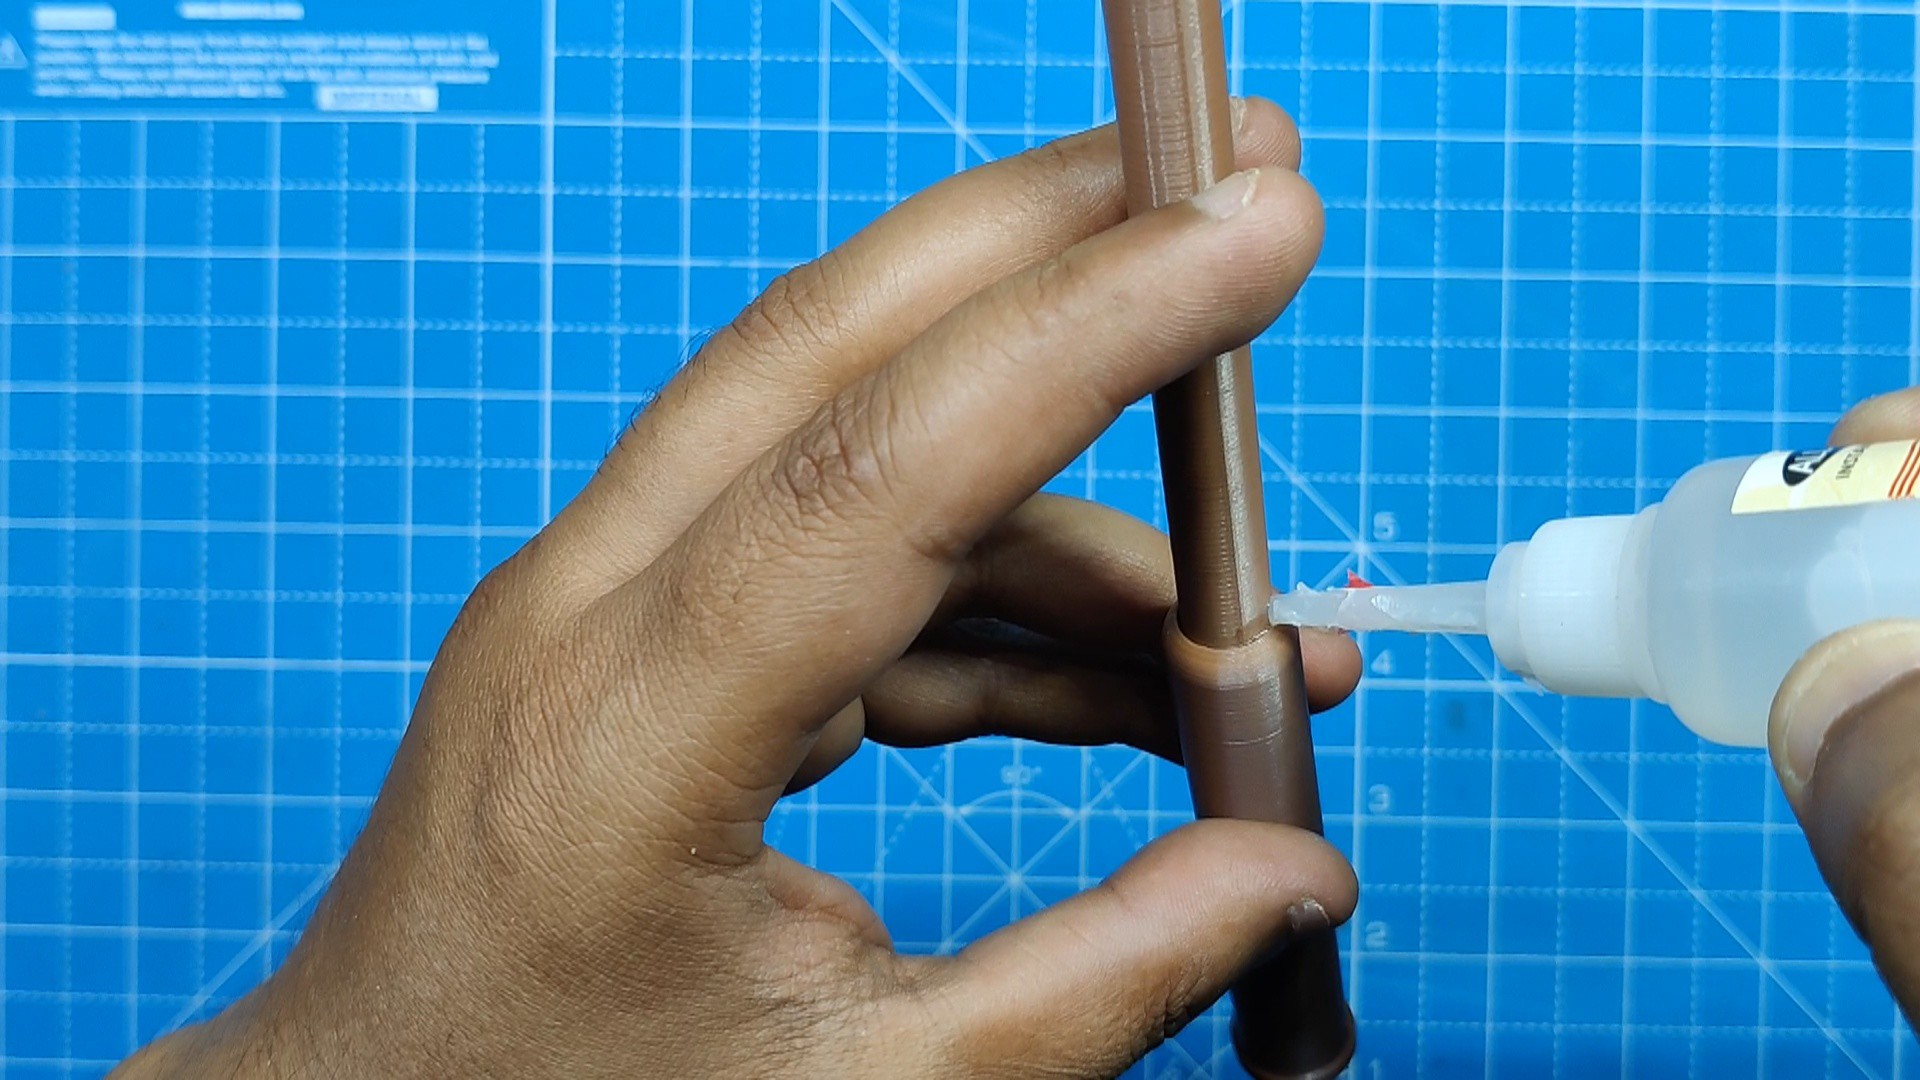
The process of assembling the upper and lower shafts involves inserting the upper shaft through the lower shaft and securing it with superglue.
Circuit
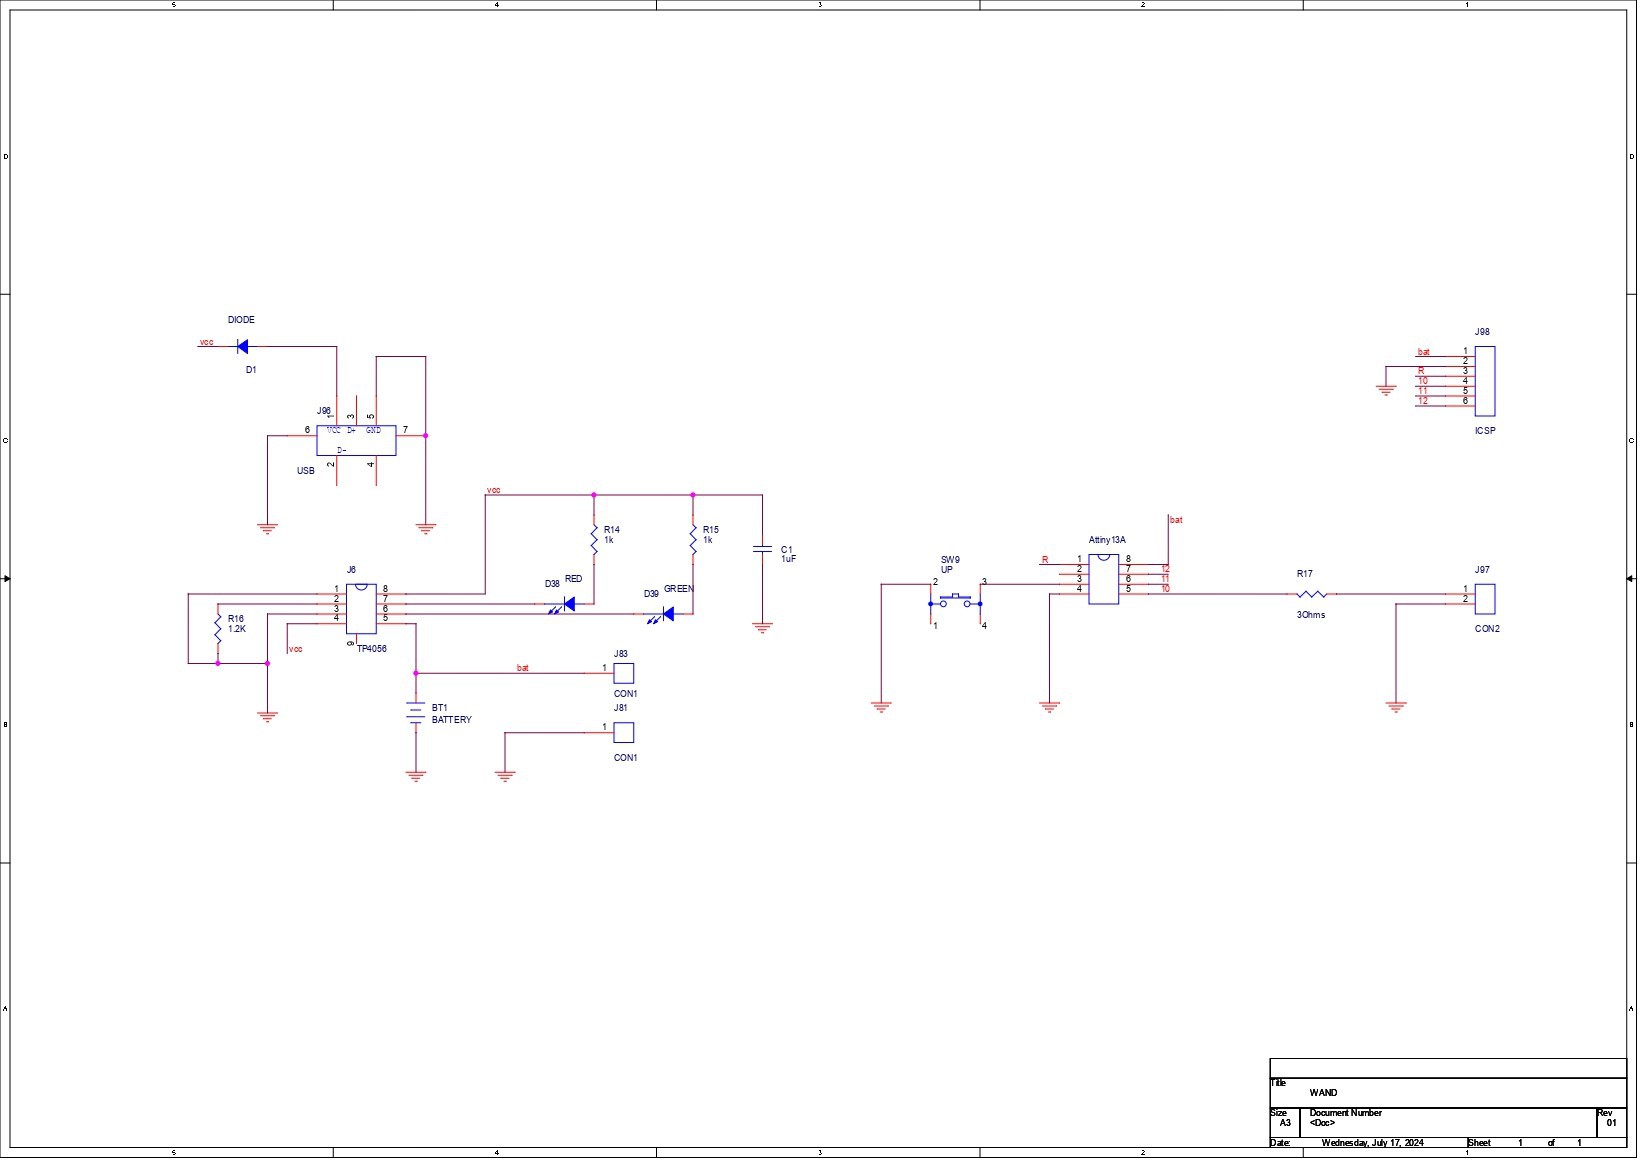
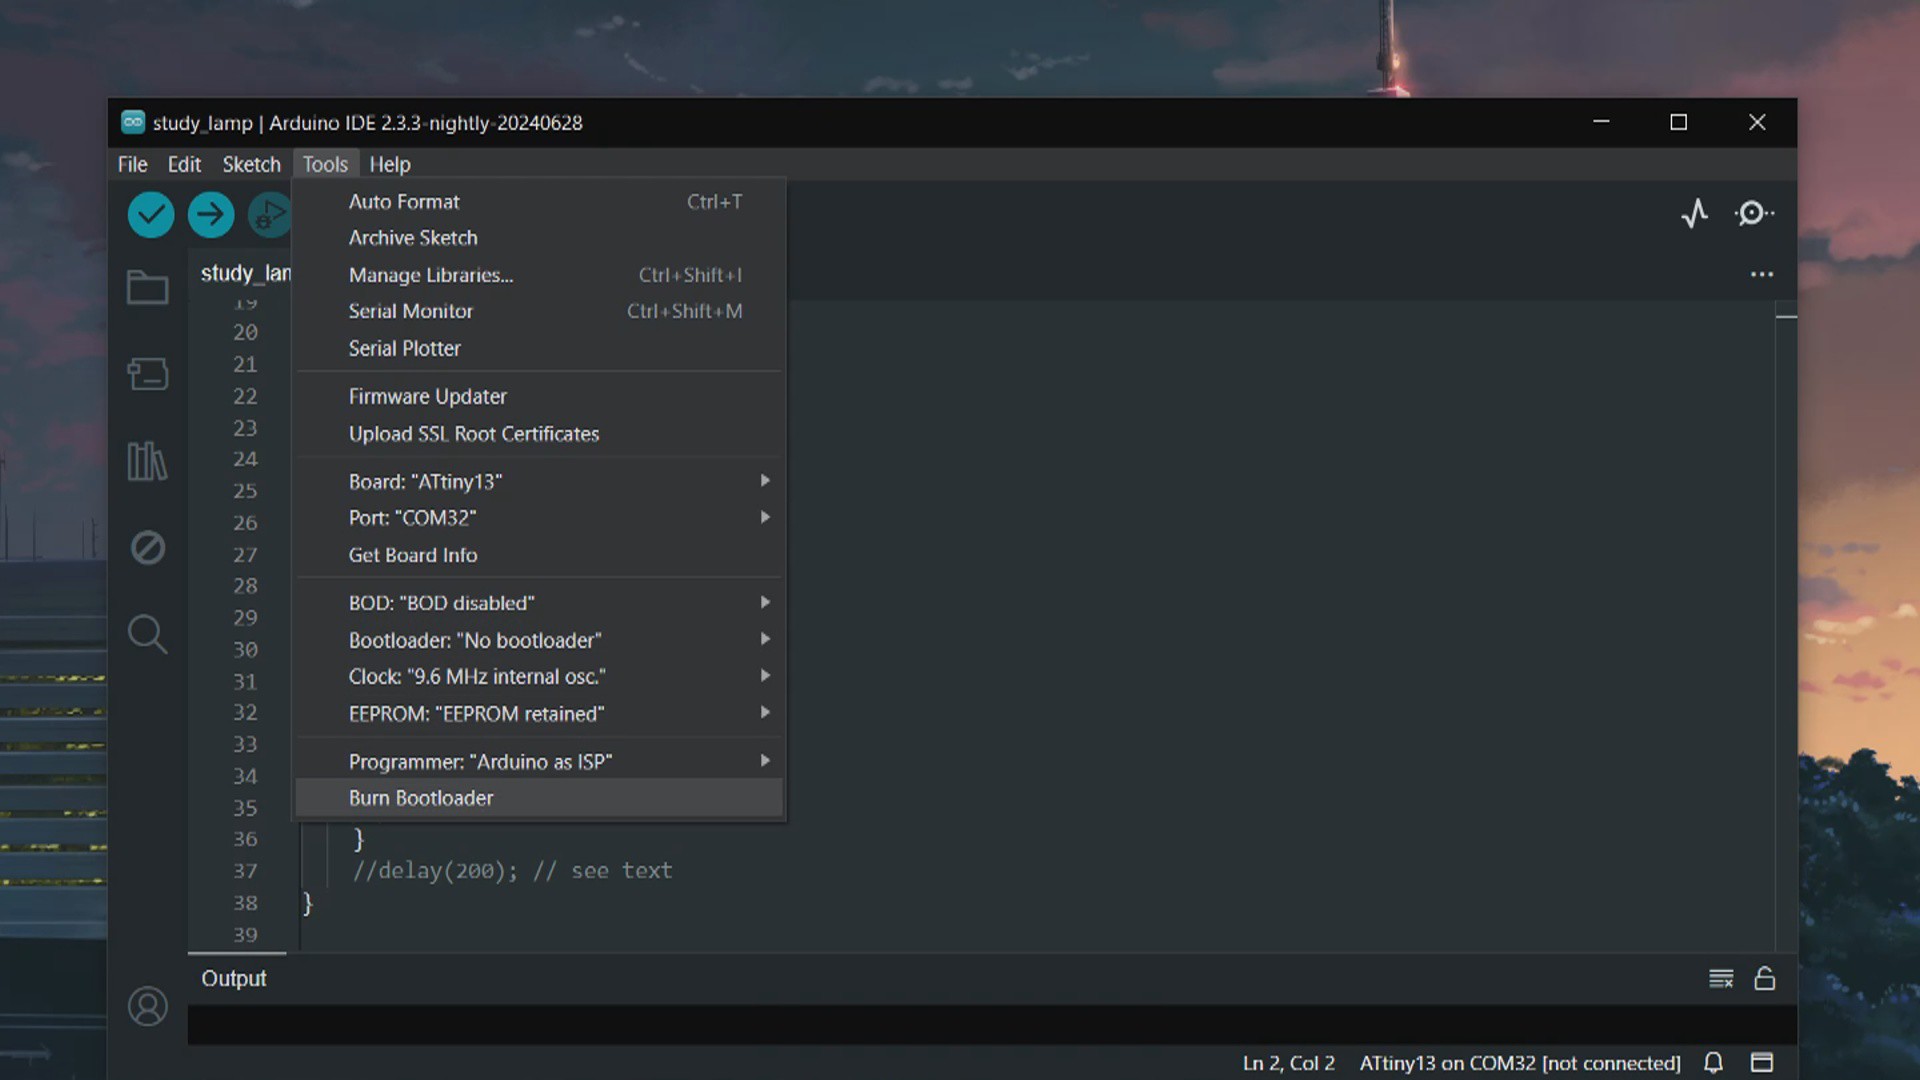
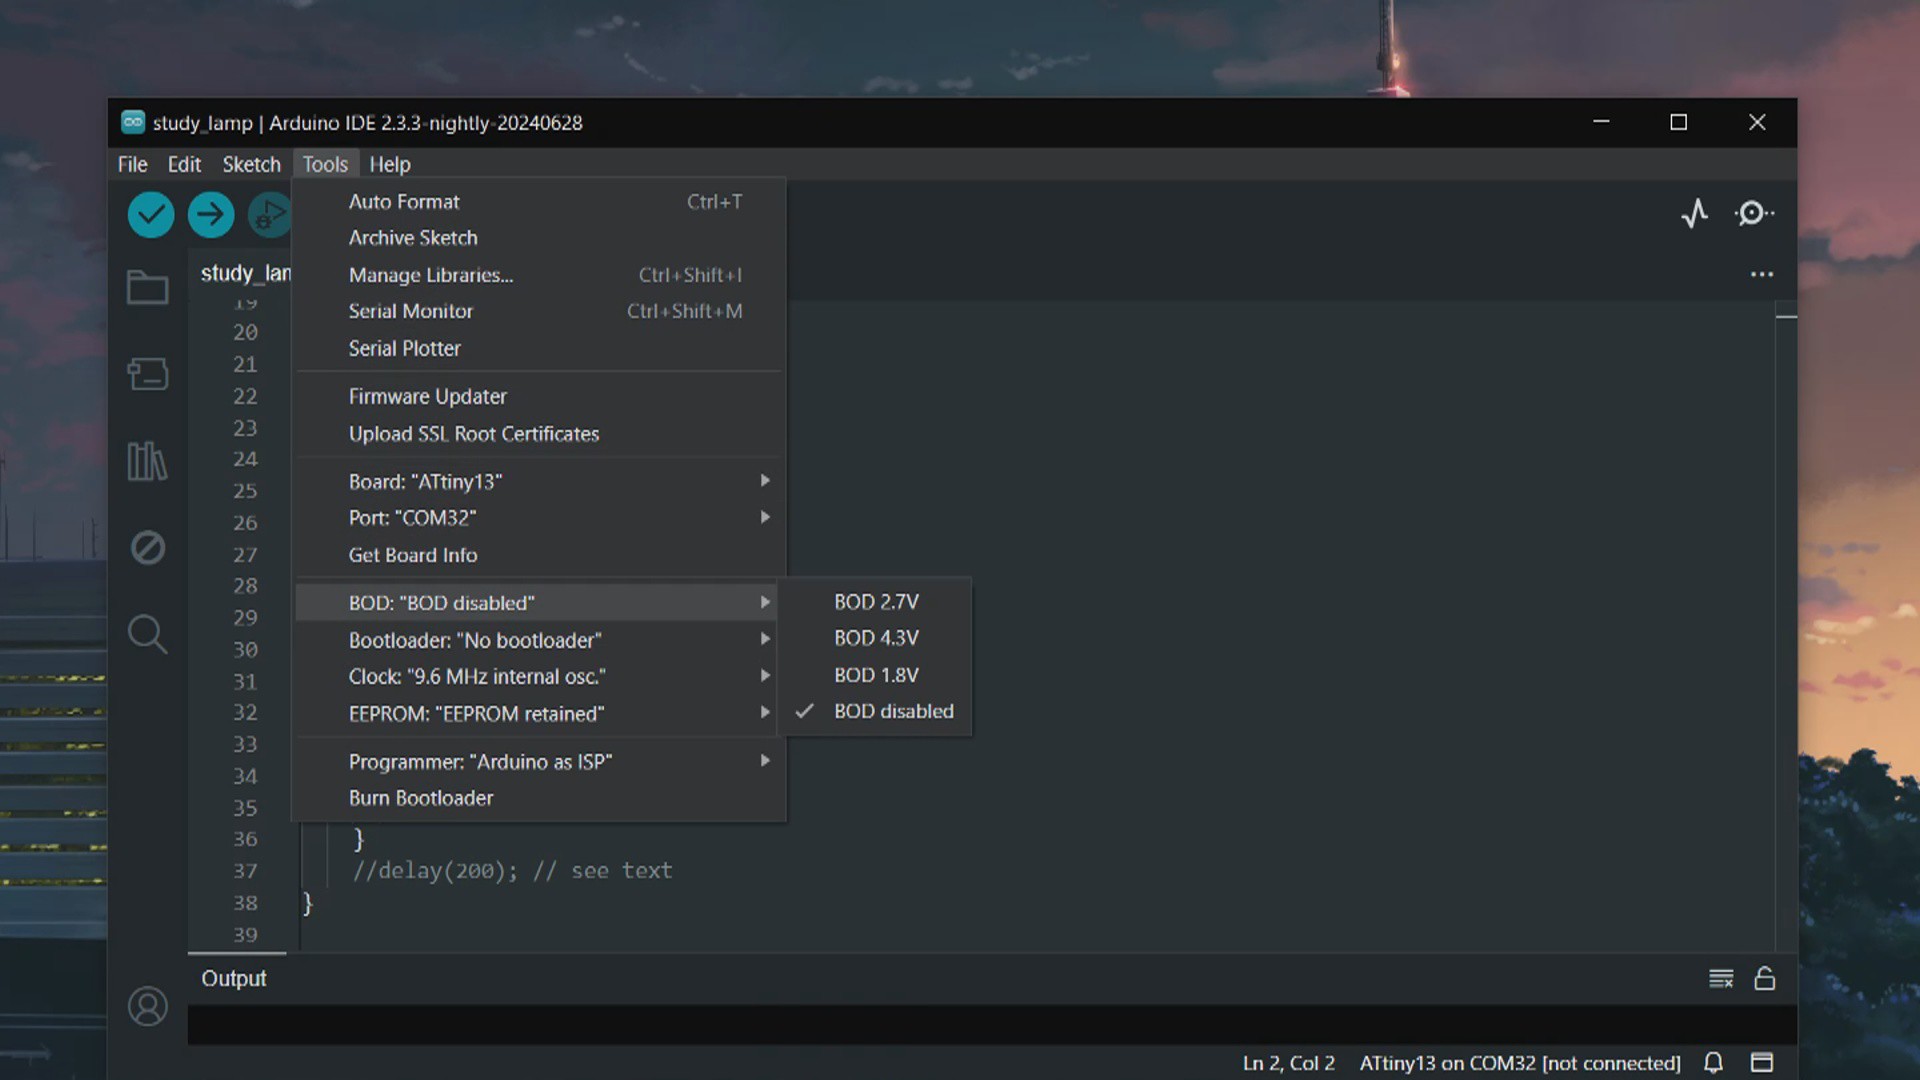
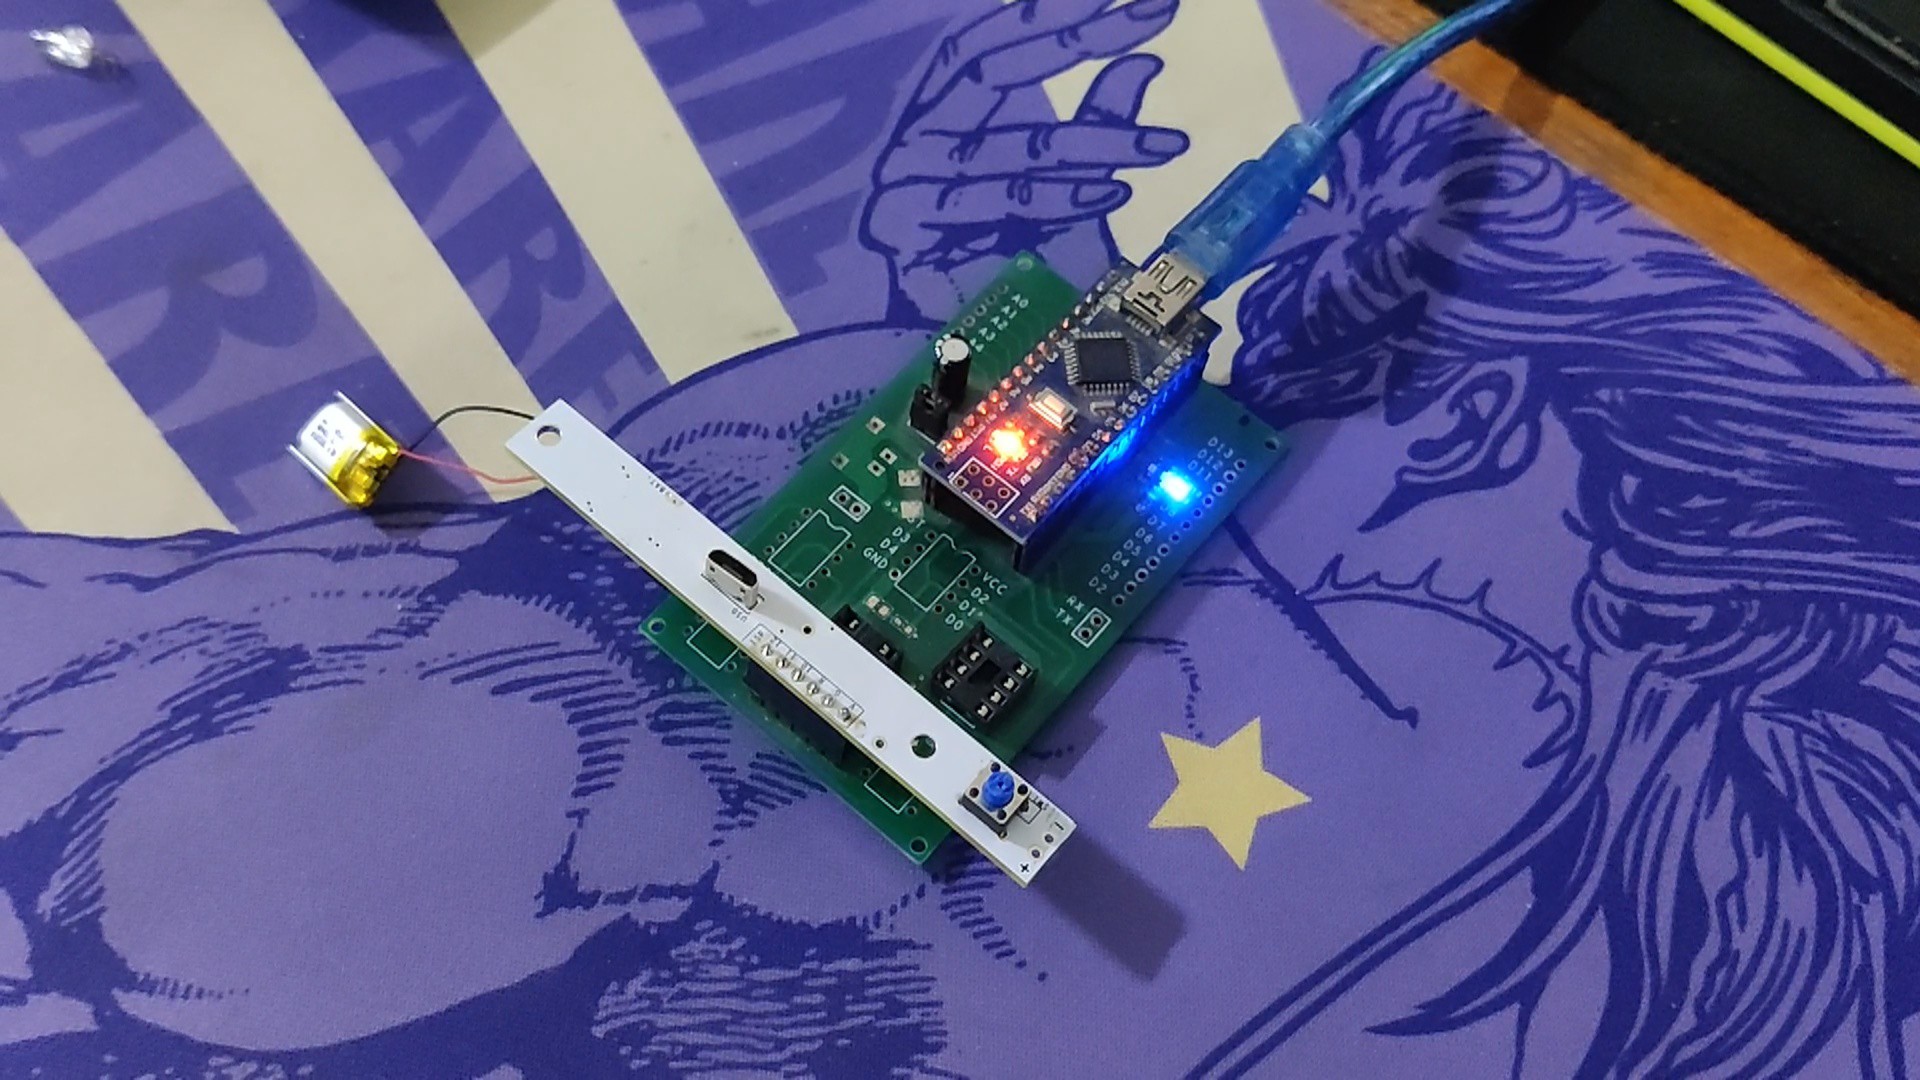
In this instance, an Attiny13A 8-bit MCU is connected to a switch on pin 4, and a load resistance is used to control current by connecting the LED load directly to pin 0.
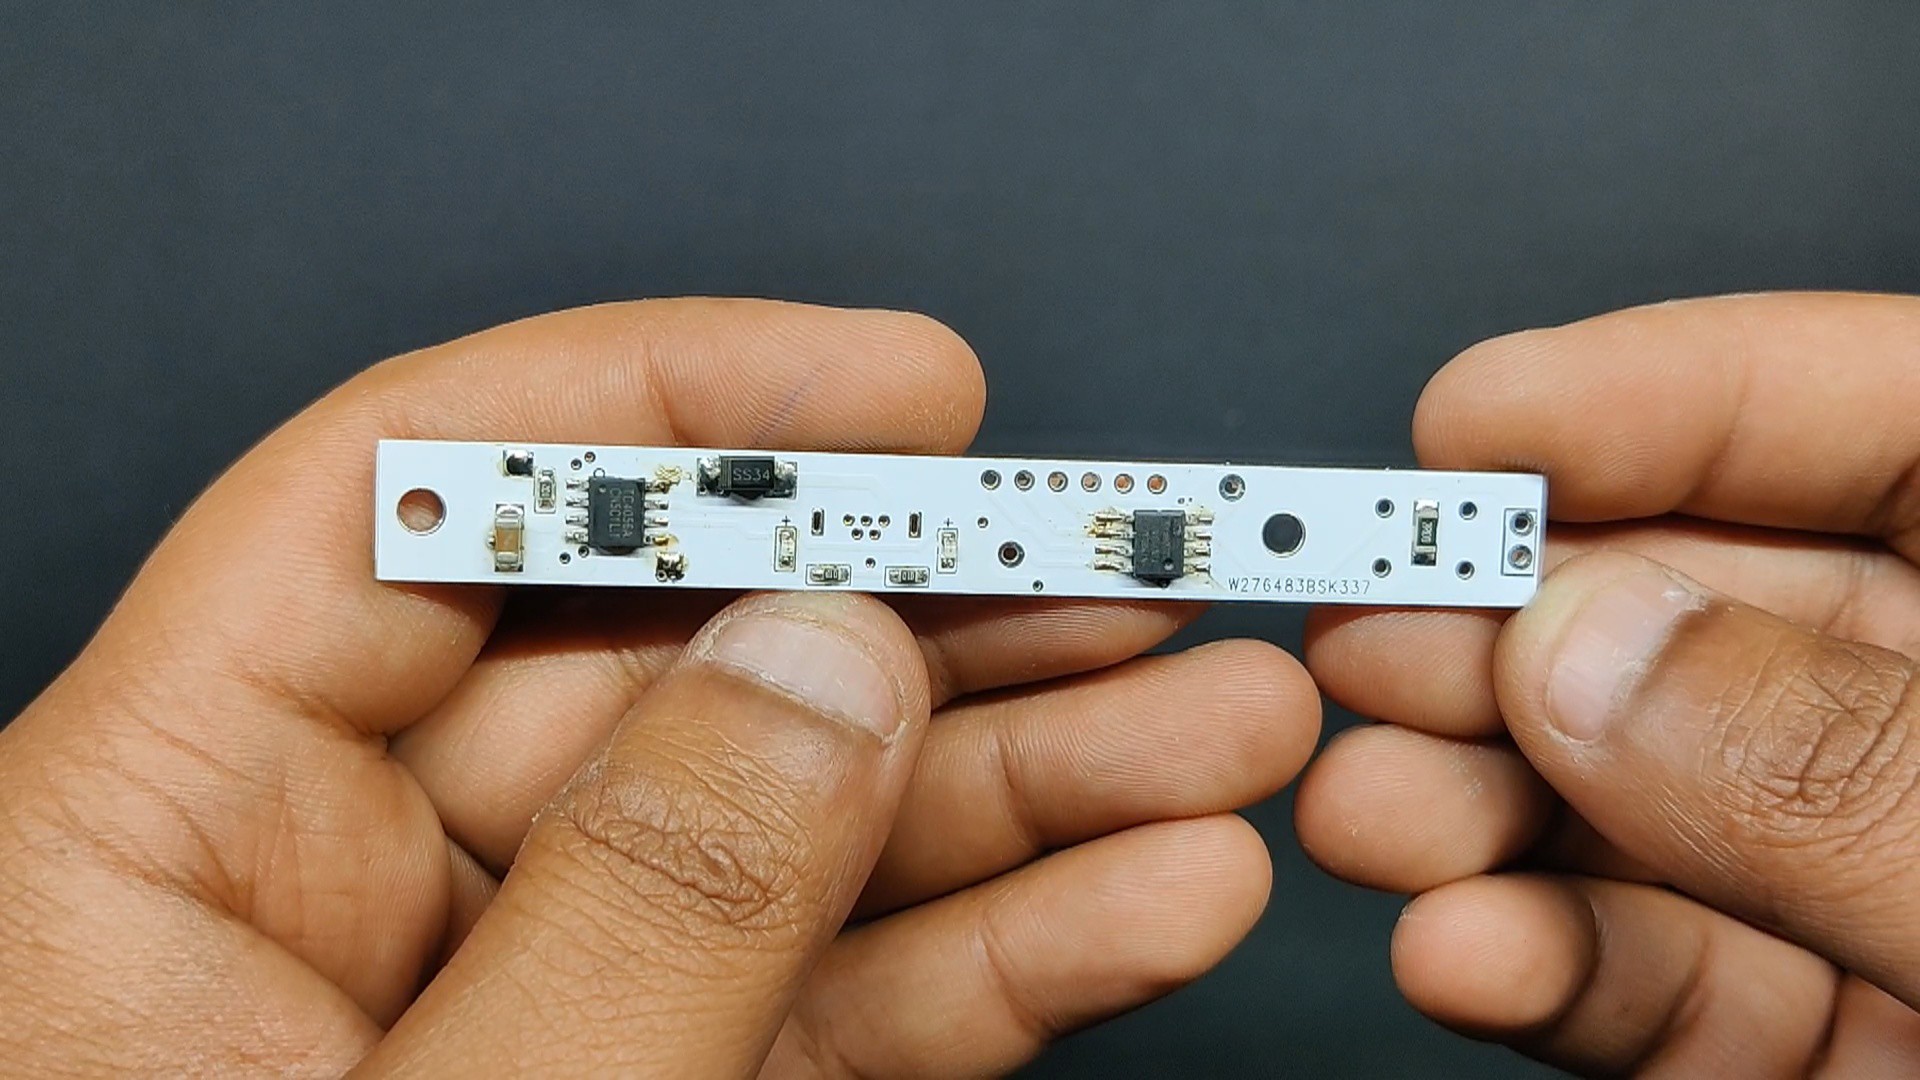
We are using a LiPo cell as our power source, and it is coupled to a separate charging IC arrangement that includes a TP4056 minimal setup.
Also, we will be using a vertical USB Micro Port here for charging input for the TP4056 IC.
As for the LED, we are using a 5mm white LED made by EVERLIGHT.
With a forward voltage of 2.8V to 3.6V, this high-luminous white LED is commonly utilized in torch lighting applications. Its 15 degree viewing angle and maximum forward current of 30 milliamperes make it ideal for our Wand-Flashlight project.
https://en.everlight.com/visible_led/category-lamp_led/5mm_round_type__333/
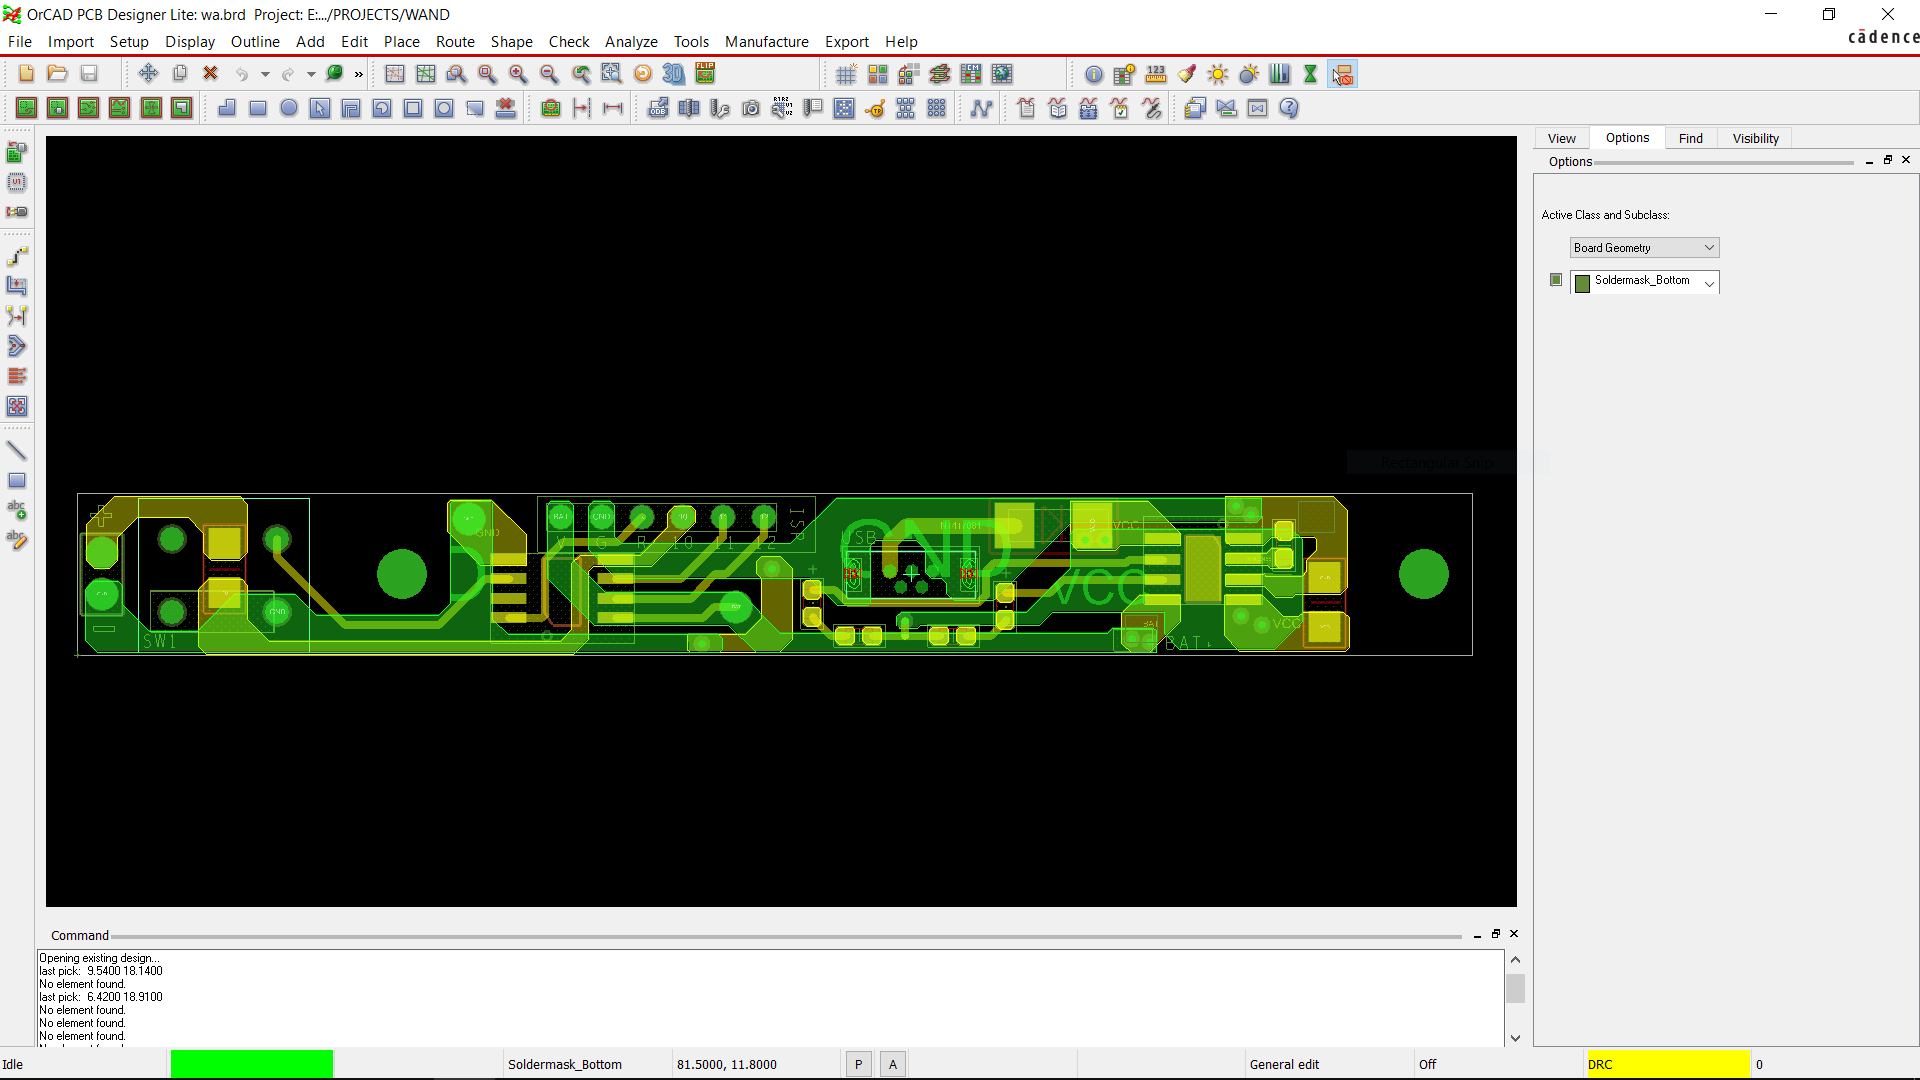
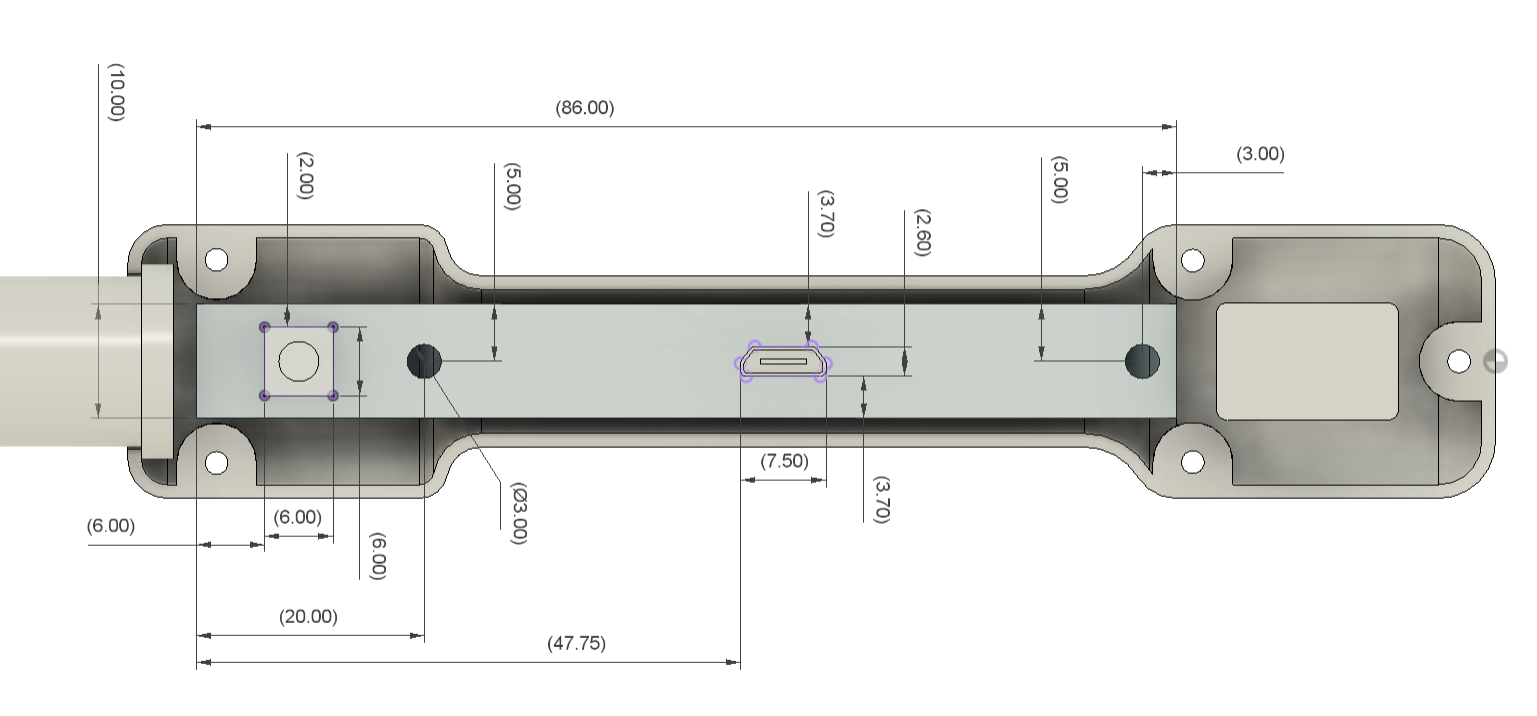
We used measurements from the cad design to prepare the PCB, which included the position of mounting holes and Switch.
After finalizing the board, Gerber data was generated and then sent to PCBWAY for samples.
PCBWAY PCB Service
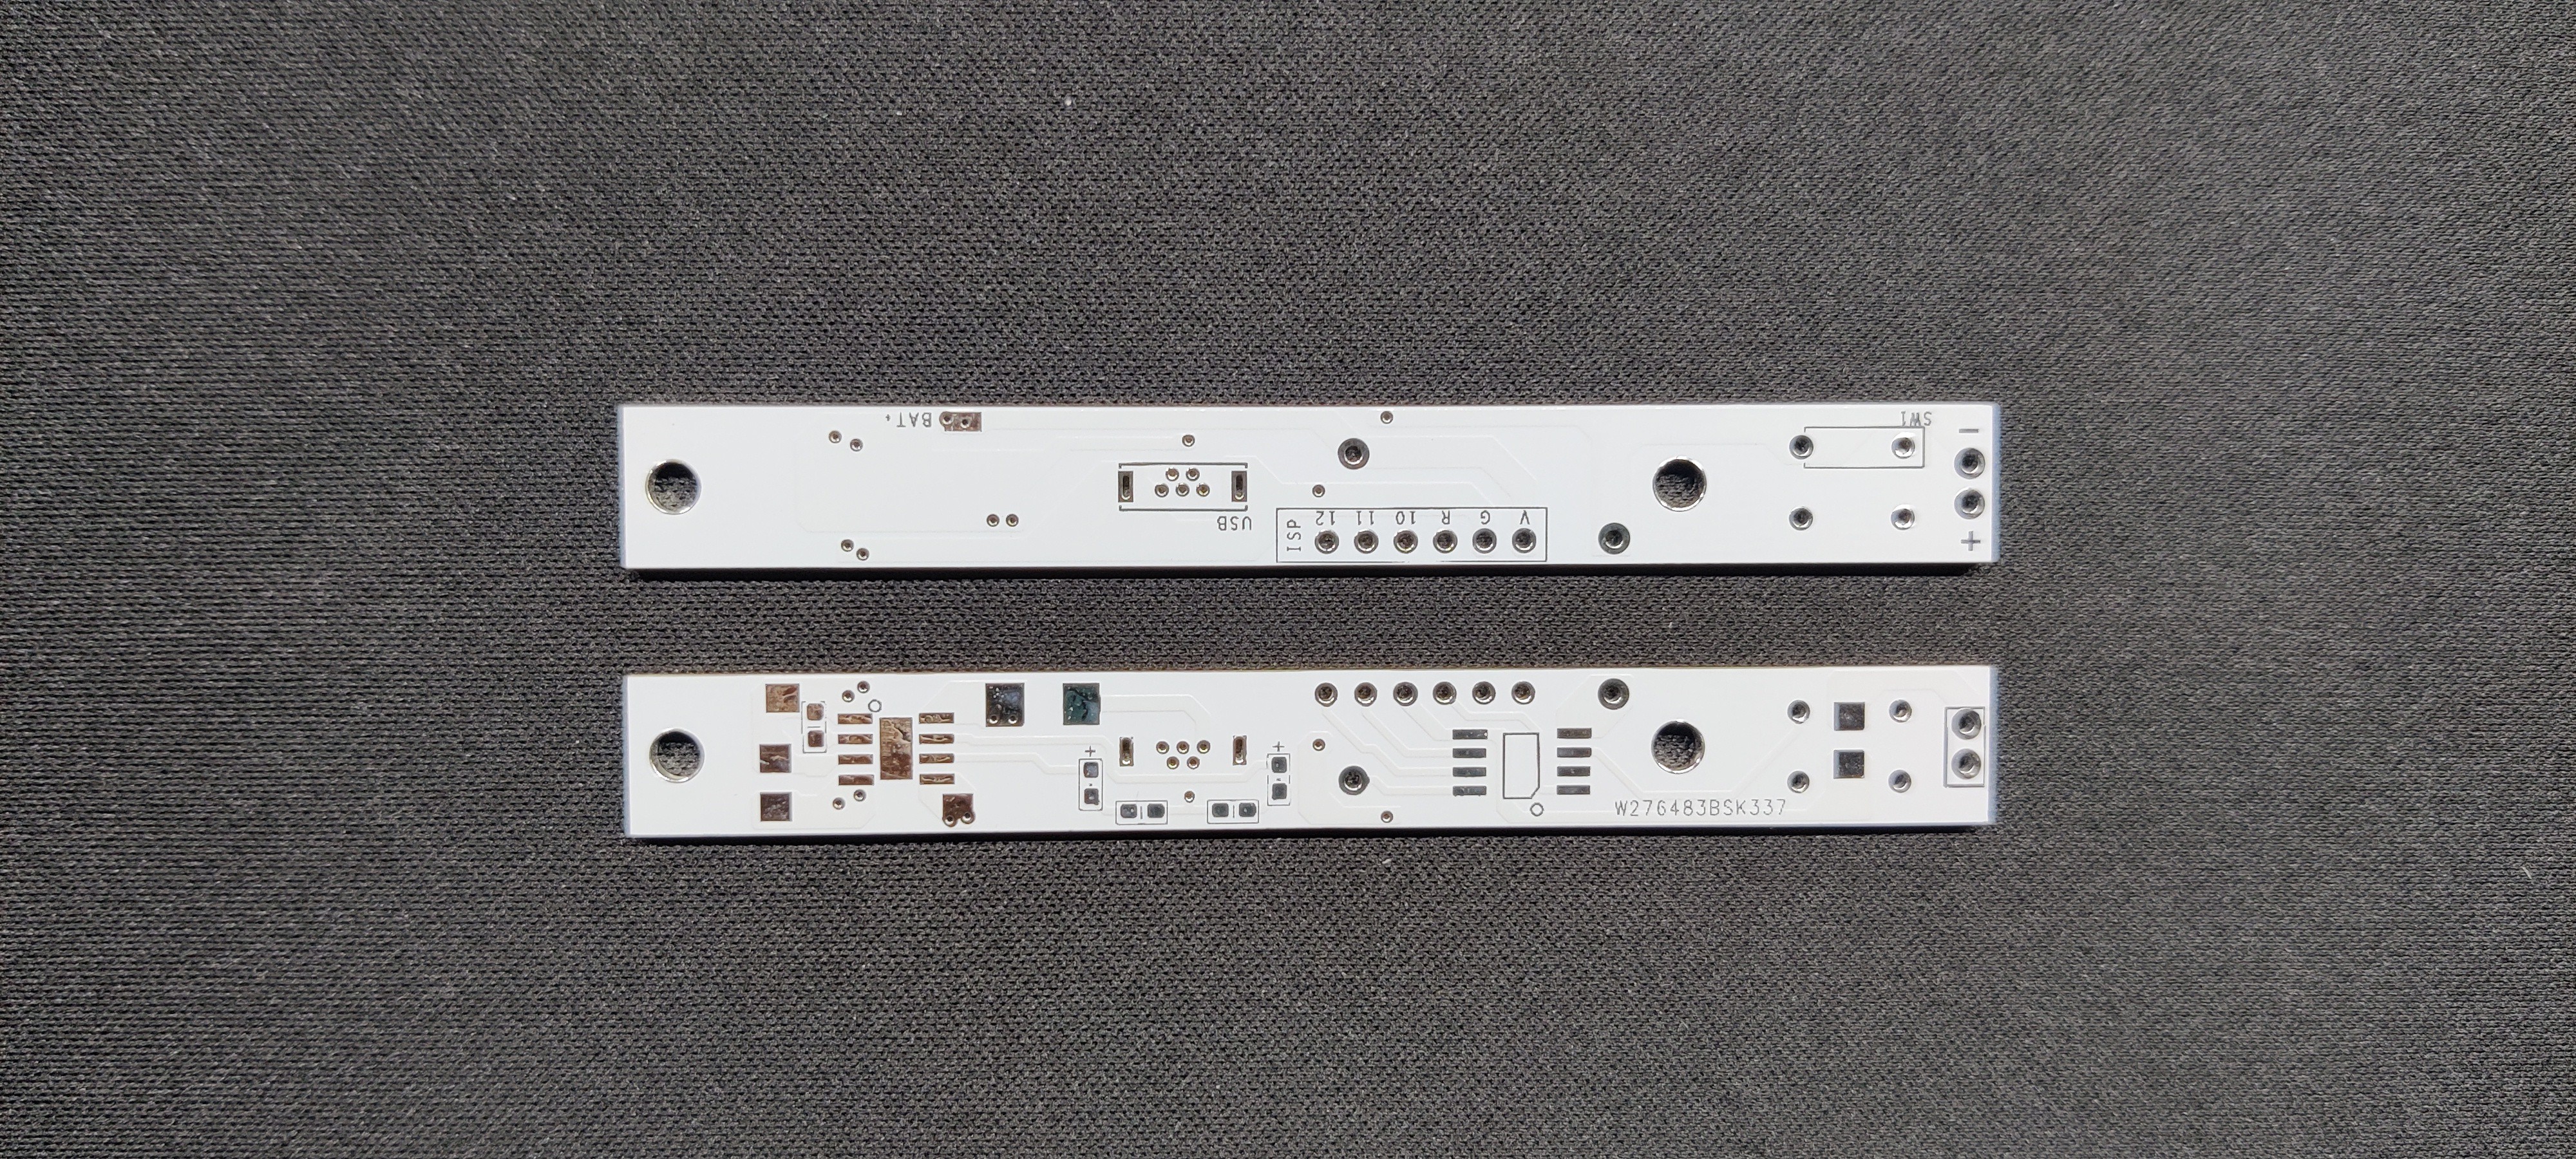
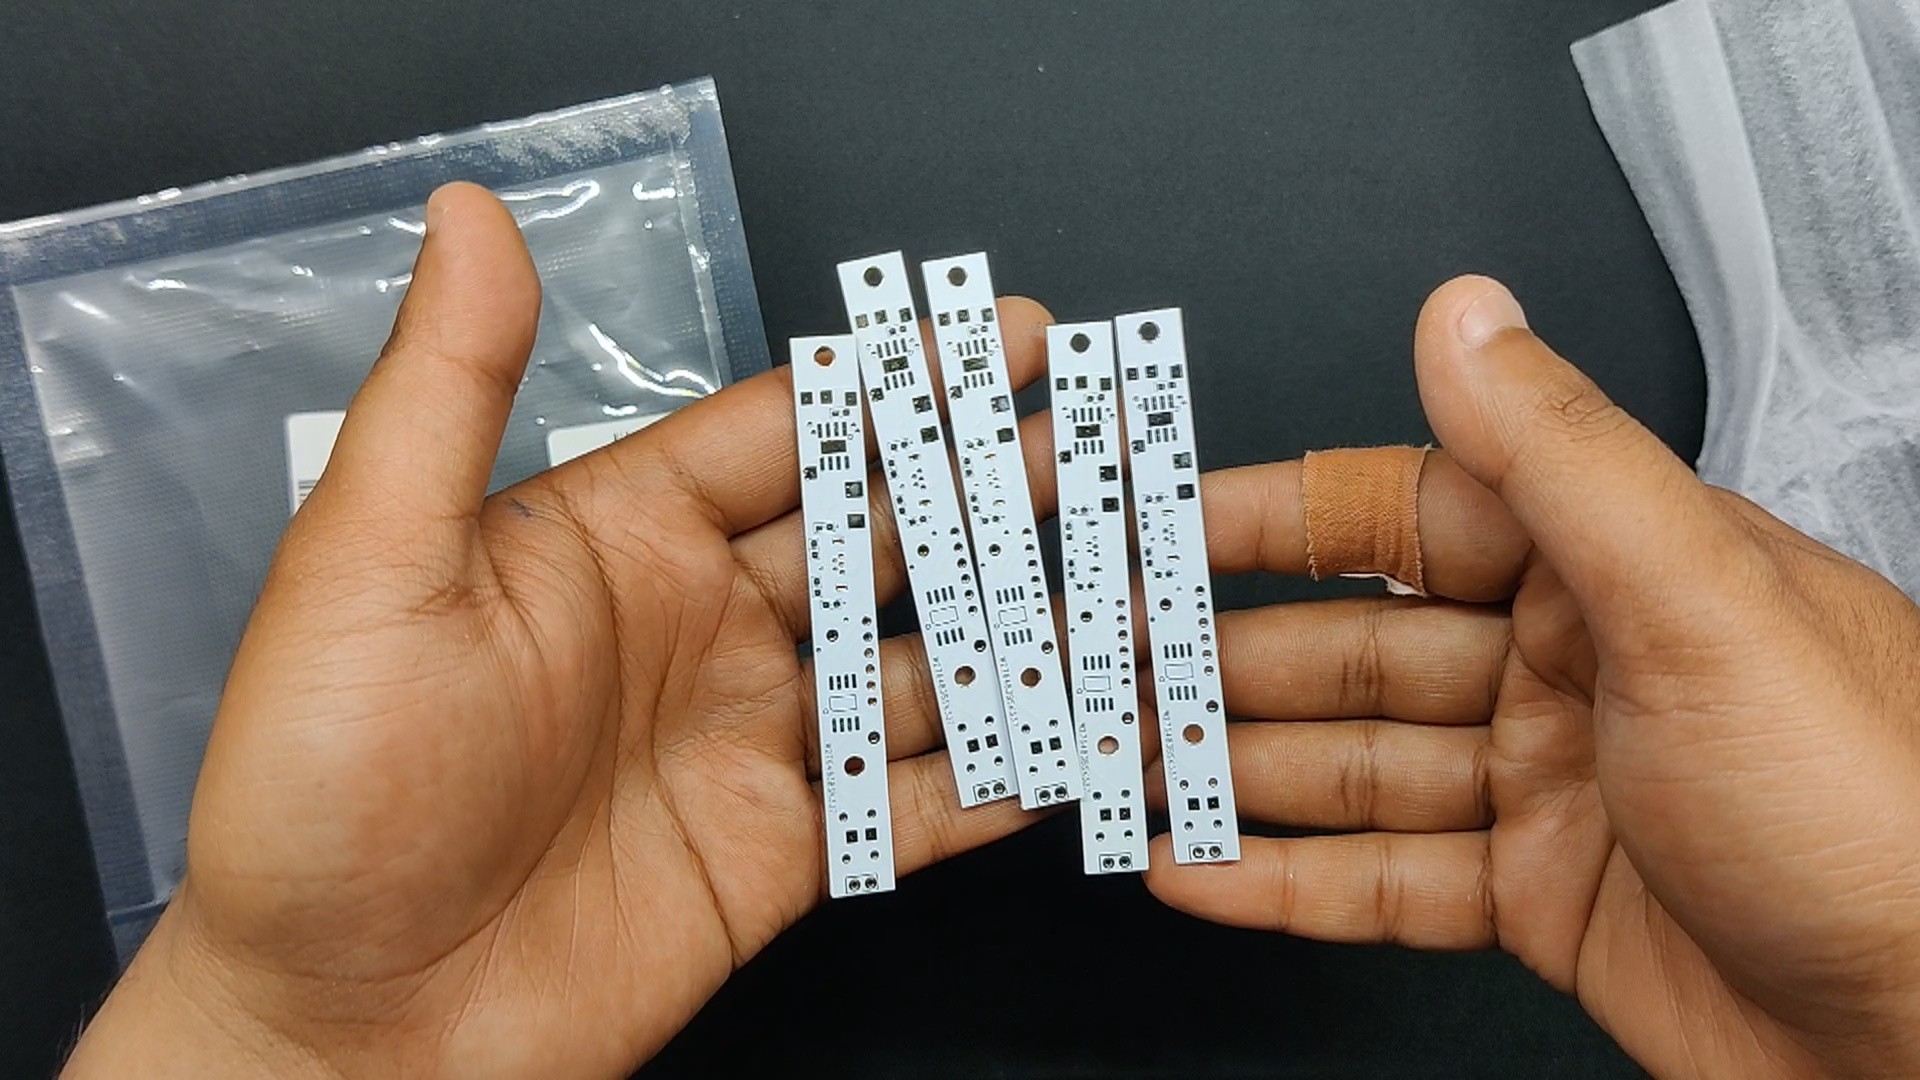

We placed an order for a white silkscreen LED board.
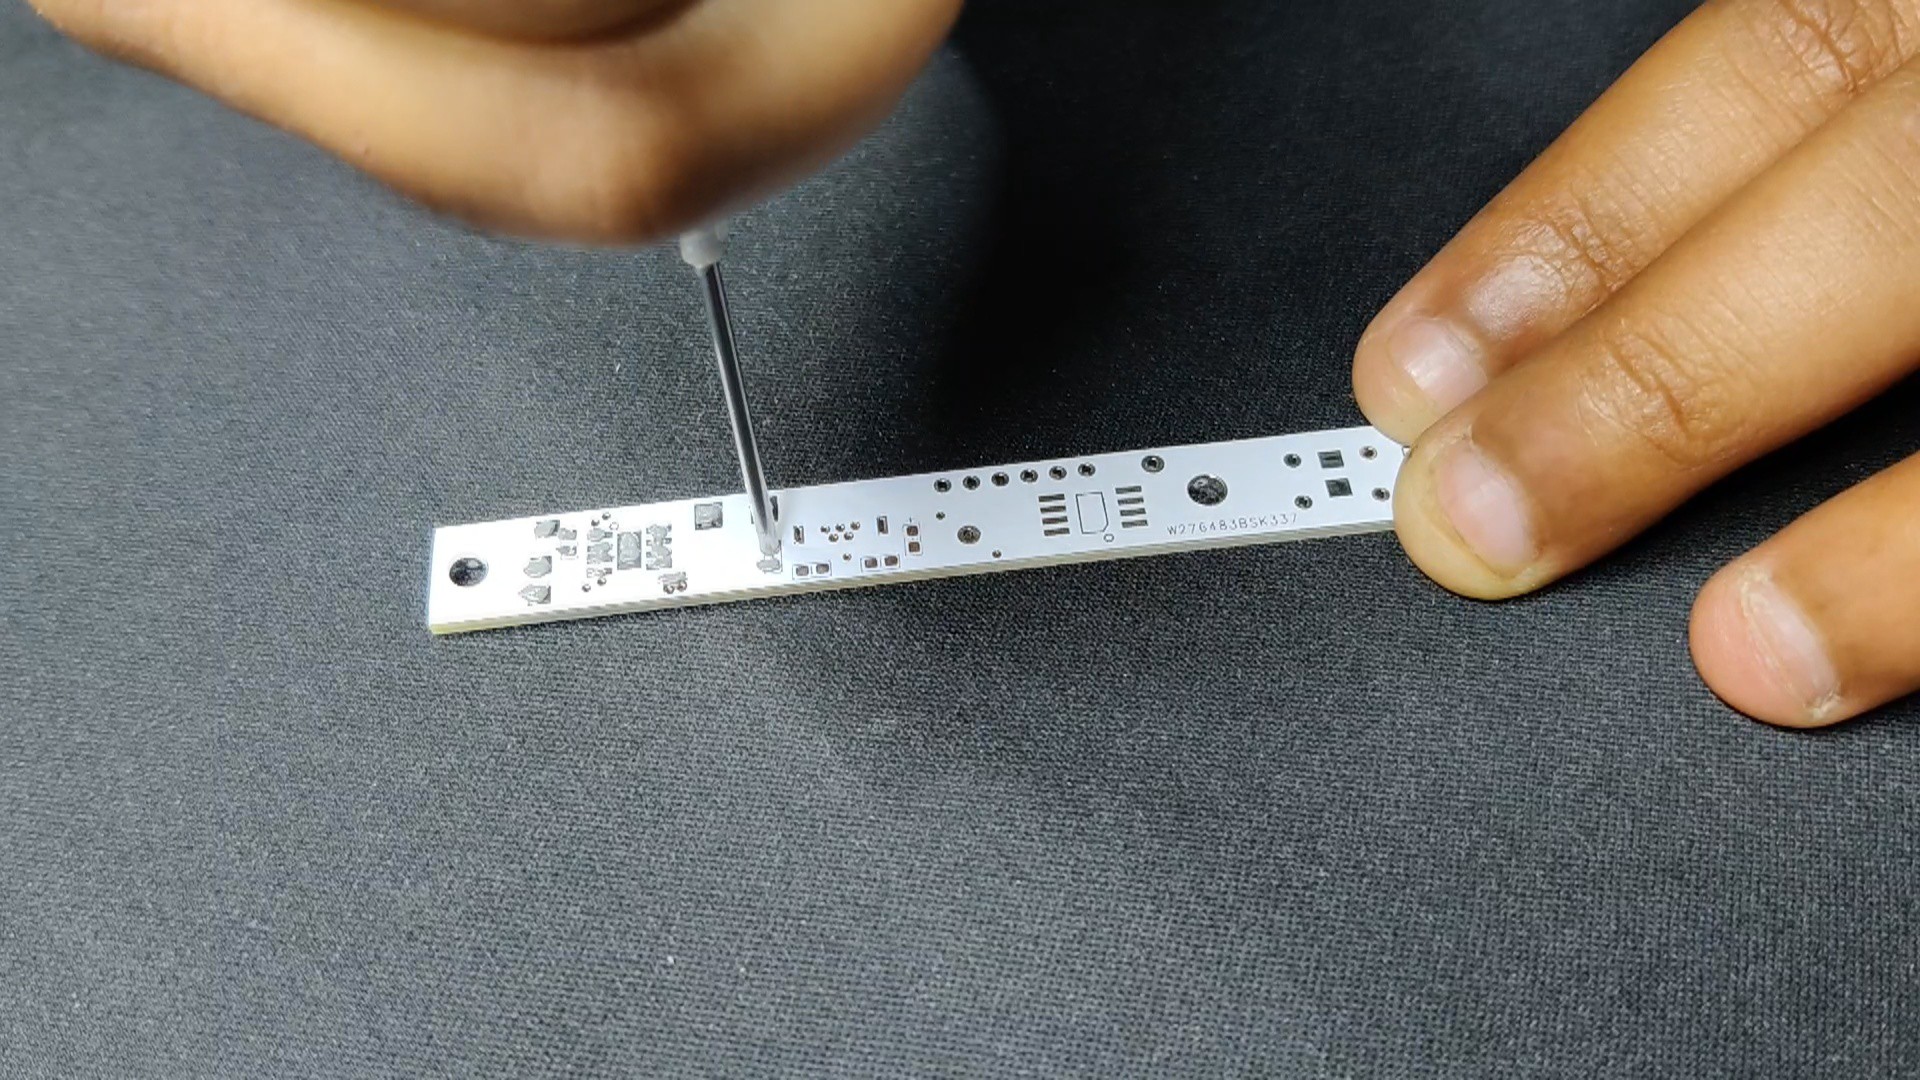
After placing the order, the PCBs were received within a week, and the PCB quality was pretty great.
They are presently celebrating their tenth anniversary in business by hosting a tour that includes a few activities in which you can take part and win some goodies, such as special coupons and the chance to open blind boxes filled with merchandise from their gift shop.
Over the past ten years, PCBWay has distinguished itself by providing outstanding PCB manufacturing and assembly services, becoming a trusted partner for countless engineers and designers worldwide.
Their commitment to quality and customer satisfaction has been unwavering, leading to significant growth and expansion.
You guys can check out PCBWAY If you want great PCB service at an affordable rate.
 Arnov Sharma
 Peter Fröhlich
 Jeremy
 Erik Bosman