This project came about when I came across this project (Hackaday writeup), where the creator made a one-pixel camera out of an IR sensor and an Arduino. Because the sensor acted as a single pixel, he mounted it on two servos and assembled a picture by scanning it in the X-Y axis.
My version is a little different:
- I'm using a photoresistor instead of an IR photodiode.
- I'm using an ESP32. Though I started out with an Arduino, I found it easier to switch to MicroPython.
- The original creator's stand was a lovely assembly of chromed metal. Mine is, uh, a little more primitive^Whomespun.
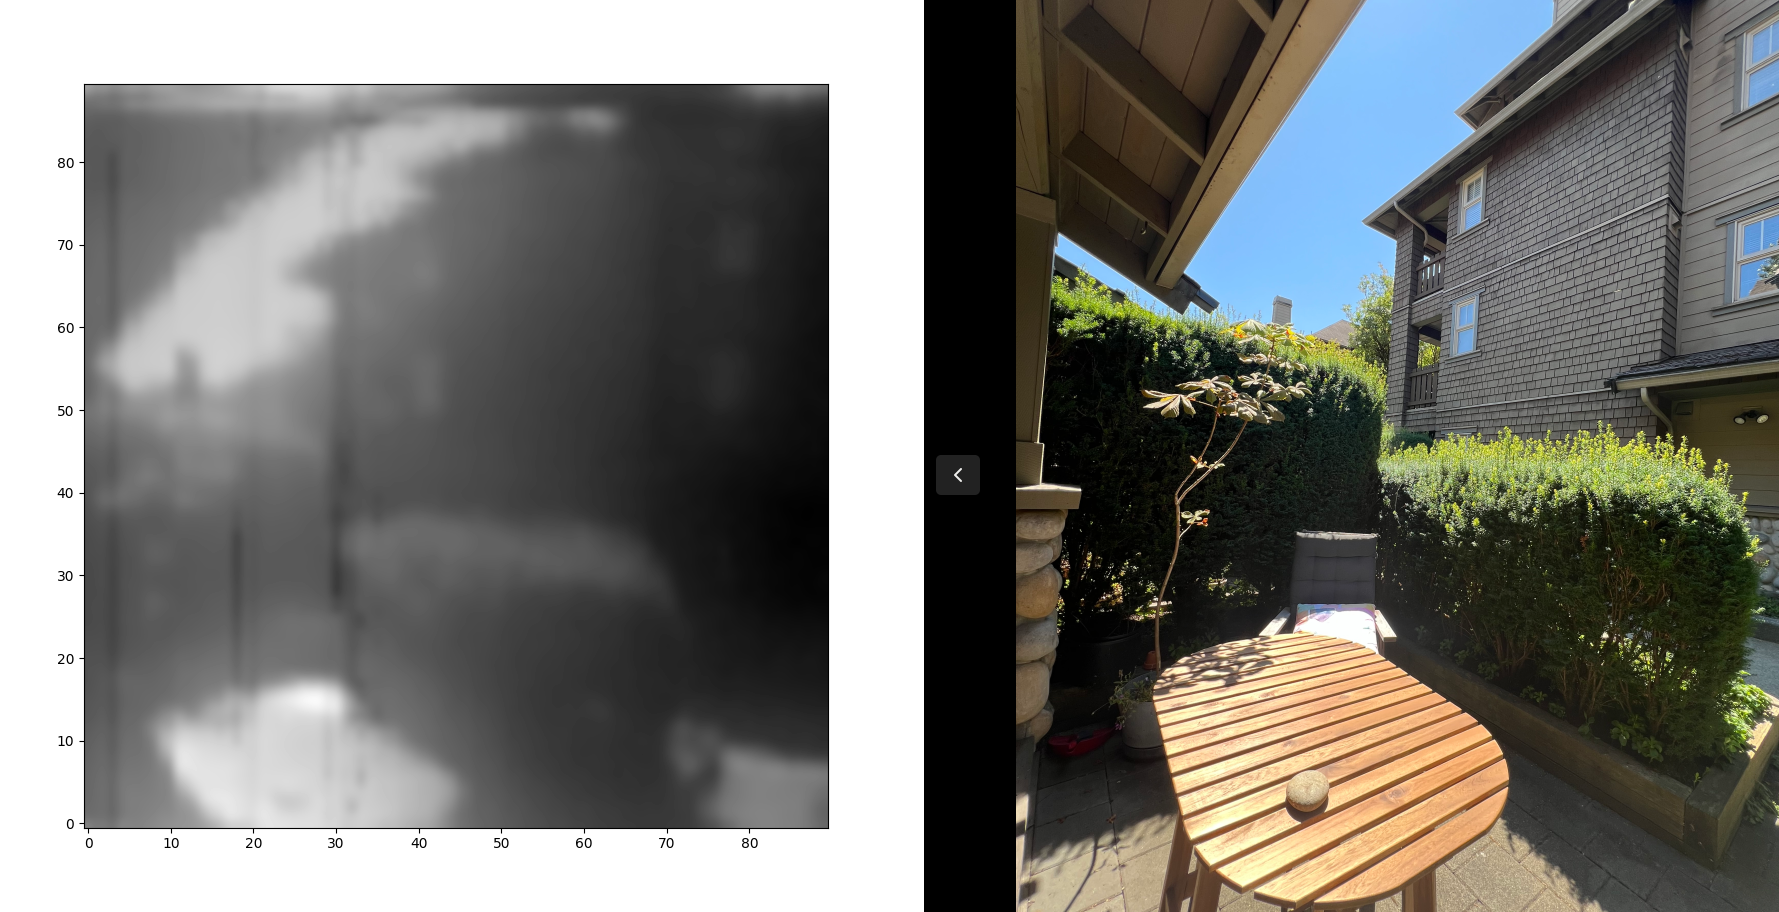
But first...how does it look?
 On the left is a picture on a sunny day on my front porch; on the right is a picture taken with my phone. The scene is definitely recognizable, but doesn't seem as detailed as the original creator got with his. It takes 7.5 minutes to take a 90 pixel by 90 pixel image.
The Imager
The imager is a dirt-simple pinhole camera. Its sensor is a random photoresistor. I had missed the part of the original writeup where the IR sensor was mentioned; I'm not sure if that's why I'm seeing the difference in quality in my pictures, but it's clear that the original pictures are much nicer than I've been able to achieve.
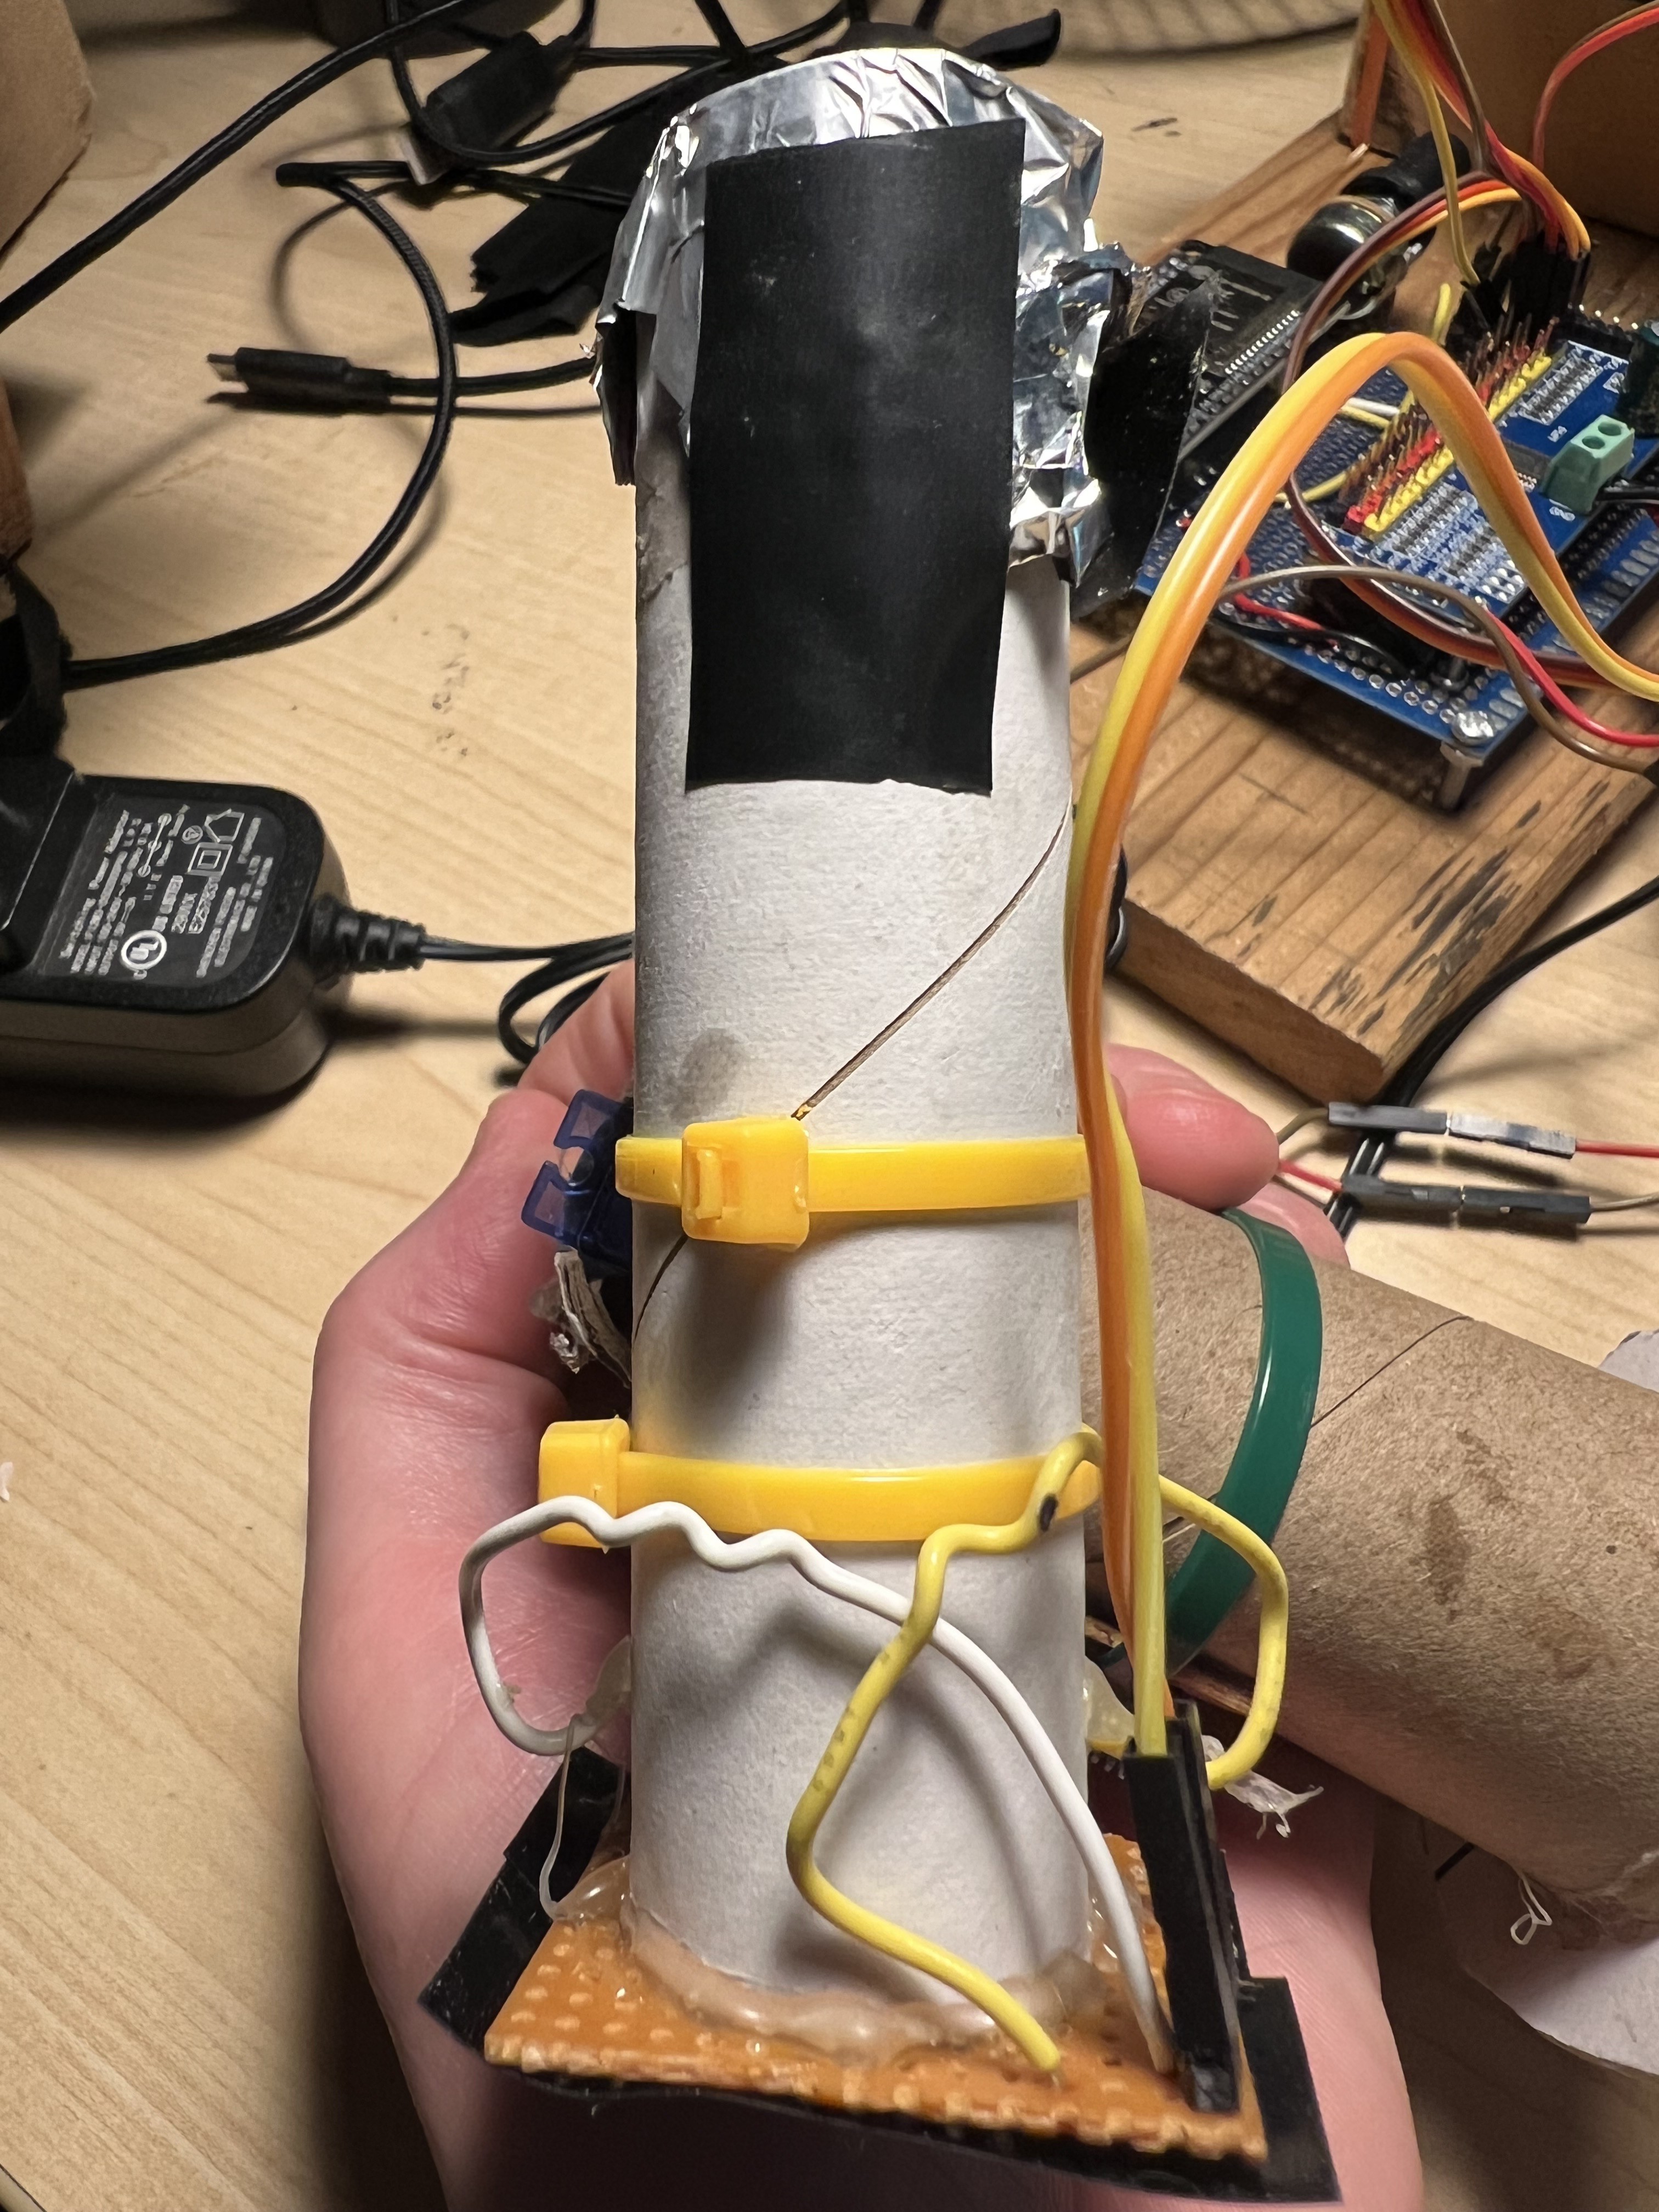
I've mounted it on a bit of prototype board; I covered the back with electrical tape to shield the sensor from stray light. I've hot-glued a length of cardboard tube from some paper towels to the board, then covered the end with aluminum foil. I poked a hole about 2mm across. Side note: having the pinhole, instead of leaving the end uncovered, was an incredible improvement in image quality. I knew pinhole cameras were a thing, but the difference was truly shocking.

The resistor is fed with 3.3V from the ESP32, and I'm reading the drop in voltage with one of the ESP32's analog sensors. I'm doing this in 16-bit mode, which is overkill and useless. The voltage varies enough that I read 10 samples and average them in order to try and keep things reasonably constant.
The platform
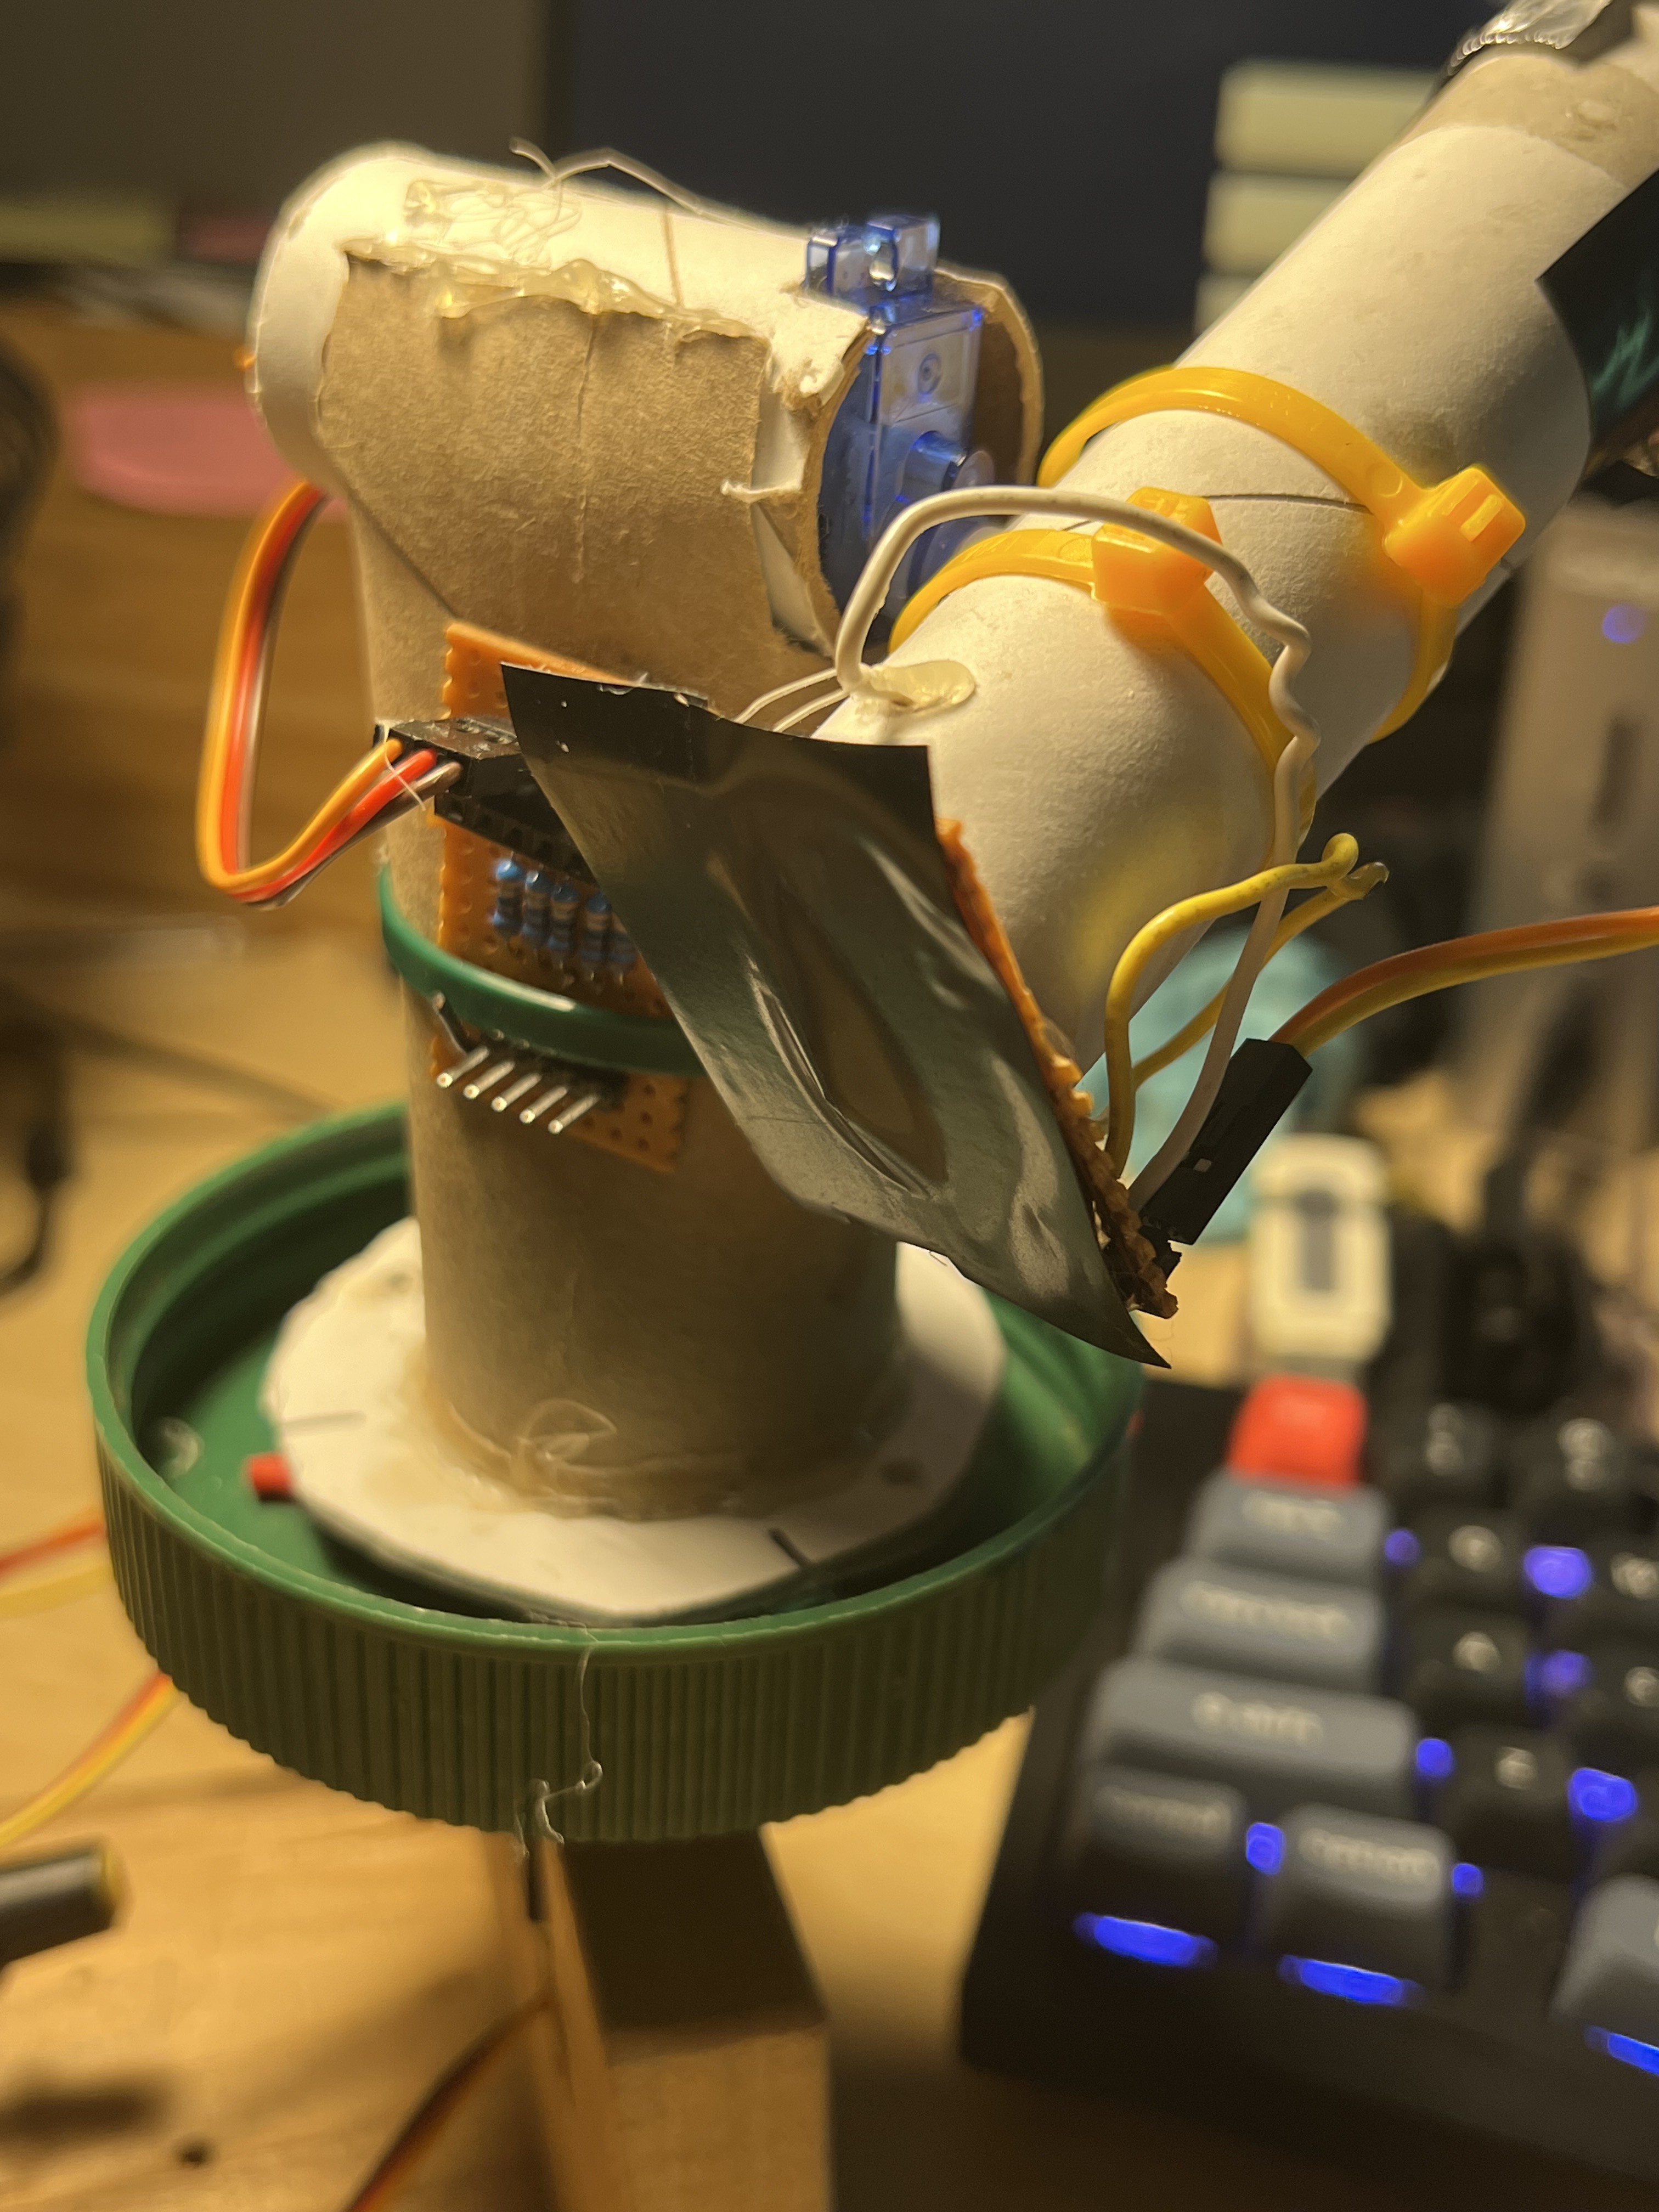
The platform is more cardboard, plus hot glue and zip ties. I've done some amateur astronomy, so what I had in mind was a simple alt-az mount. The tube is zip tied to the horn of an SG90 servo, which moves in the Y direction -- the altitude part of an alt-az mount. The SG90 turned out to be rather weak, but it had enough power to do this.

The S90 is mounted in a short length of the same cardboard tube used for the sensor; it fit just right, so I didn't have to use any hot glue there. The azimuth mount is a cardboard tube from a roll of toilet paper, and the altitude mount is hot-glued to the top. This tube also serves as the mount for the protoboard that connects the photodiode and the altitude servo to the ESP32. The protoboard was scrap from another project, but it had some nice header pins already in place and works well. It's held in place with a zip tie.

The bottom is a disk of what I've learned is called mat board; I picked a random waiting-to-be-reused gift box to do this with, and I'm now in love with the stuff. On the bottom of that are three pairs of magnets, wrapped in different colours of shrinkwrap tubing and hot-glued in place. These mate with ones with matching colours on the base (more on that in a sec); having an easy way to remove and replace the camera is incredibly handy.
The base
The base was made by my father-in-law out of scrap wood. He's a retired millwright who loves collaborating on these projects, and has a garage and all the tools you need to rebuild civilization -- so he's a great ally to have. In the base's vertical component is a Tower TG90 servo, which rotates in the Y axis -- the azimuth part of an alt-az mount. Originally I'd tried using an SG90 for this, but it didn't have the strength to rotate the lid. (Side note: I also got confused...
Read more » Hugh Brown (Saint Aardvark the Carpeted)
Aw, shucks -- thanks very kindly!