-
1Build Your Own Version Of The Mikrik Robot
First, follow the Tutorial to build and software setup a robot MIKRIK here. Make sure that you can launch ROS1 nodes on Raspberry, successfully launch bridge, and ping Raspberry and x86 robot host board with each other. After that you can continue with steps above.
Here are demonstrated the detailed steps on how to deploy Visual SLAM for Simultaneous Localization And Mapping using Realsense camera technology and Intel Robotics SDK software.
There are three modes:
- Mapping
- Localization
- Localization with navigation
-
2Change Default Realsense Namespace
Remove unnecessary namespace 'camera'. Open with sudo file:
sudo vi /opt/ros/humble/share/realsense2_camera/launch/rs_launch.py
Delete default value 'camera' of the camera_namespace. Line below change from:
{'name': 'camera_namespace', 'default': 'camera', 'description': 'namespace for camera'}to
{'name': 'camera_namespace', 'default': '', 'description': 'namespace for camera' -
3Mapping Mode using Robotics SDK
Mapping mode will make possible to scan space around the robot and create a map.
To have a high-quality map, drive robot very slowly.
-
4Clone the repo
Clone the repo
cd ~
git clone https://github.com/mxlfrbt/mikrik_robotics_sdk.git
-
5Mapping Mode Introduction
Before launch Mapping and Localization you need to change files in the default Robotics SDK installation folder.
-
6Mapping Mode Setup
Collab Visual SLAM mapping is done using two ROS2 nodes: univloc_trackerand univloc_server, each of them has a separate launch file. Please, read more about Collab SLAM on the Robotics SDK page here.
Make a copy of the Univloc Tracker Launch file:
sudo cp /opt/ros/humble/share/univloc_tracker/launch/tracker.launch.py /opt/ros/humble/share/univloc_tracker/launch/tracker_mikrik.launch.py
Open newly created file with sudo:
sudo vi /opt/ros/humble/share/univloc_tracker/launch/tracker_mikrik.launch.py
In L21 replace string:
configFilePath = os.path.join(get_package_share_directory('univloc_tracker'),'config','tracker.yaml')with the string that leads to the new config file in a folder cloned from my Github repo:
configFilePath = '/home/<your-system-path-here>/mikrik_robotics_sdk/tracker_configs/mikrik_robot_tracker.yaml'
Tracker file is ready. Make sure that path
<your-system-path-here>to the config file mikrik_tracker.yaml is the correct one.Now you have to edit Univloc Server launch file.
Make a copy of the file:
sudo cp /opt/ros/humble/share/univloc_server/launch/server.launch.py /opt/ros/humble/share/univloc_server/launch/server_mikrik.launch.py
Open server file again with sudo:
sudo vi /opt/ros/humble/share/univloc_server/launch/server_mikrik.launch.py
Replace in a newly created file L104 from:
rviz_config = os.path.join(get_package_share_directory('univloc_server'), 'config', 'rviz2_server.rviz')with:
rviz_config = '/home/<your-system-path-here>/mikrik_robotics_sdk/rviz_configs/mikrik_server_localization_nav2.rviz'
Now you can launch MappingMode! You should have same behaviour as showed on the videos above.
-
7Mapping Mode Launch
Launch it by running bridge first.
Note: Make sure that inside the script path to sourced files is the correct one.
cd ~/mikrik_robotics_sdk/scripts/
sudo chmod u+x mikrik_bridge_launch.sh
./mikrik_bridge_launch.sh
Make script executable:
cd ~/mikrik_robotics_sdk/scripts/
sudo chmod u+x realsense_collabslam_mapping.sh
Launch Mapping Mode:
cd ~/mikrik_robotics_sdk/scripts
./realsense_collabslam_mapping.sh
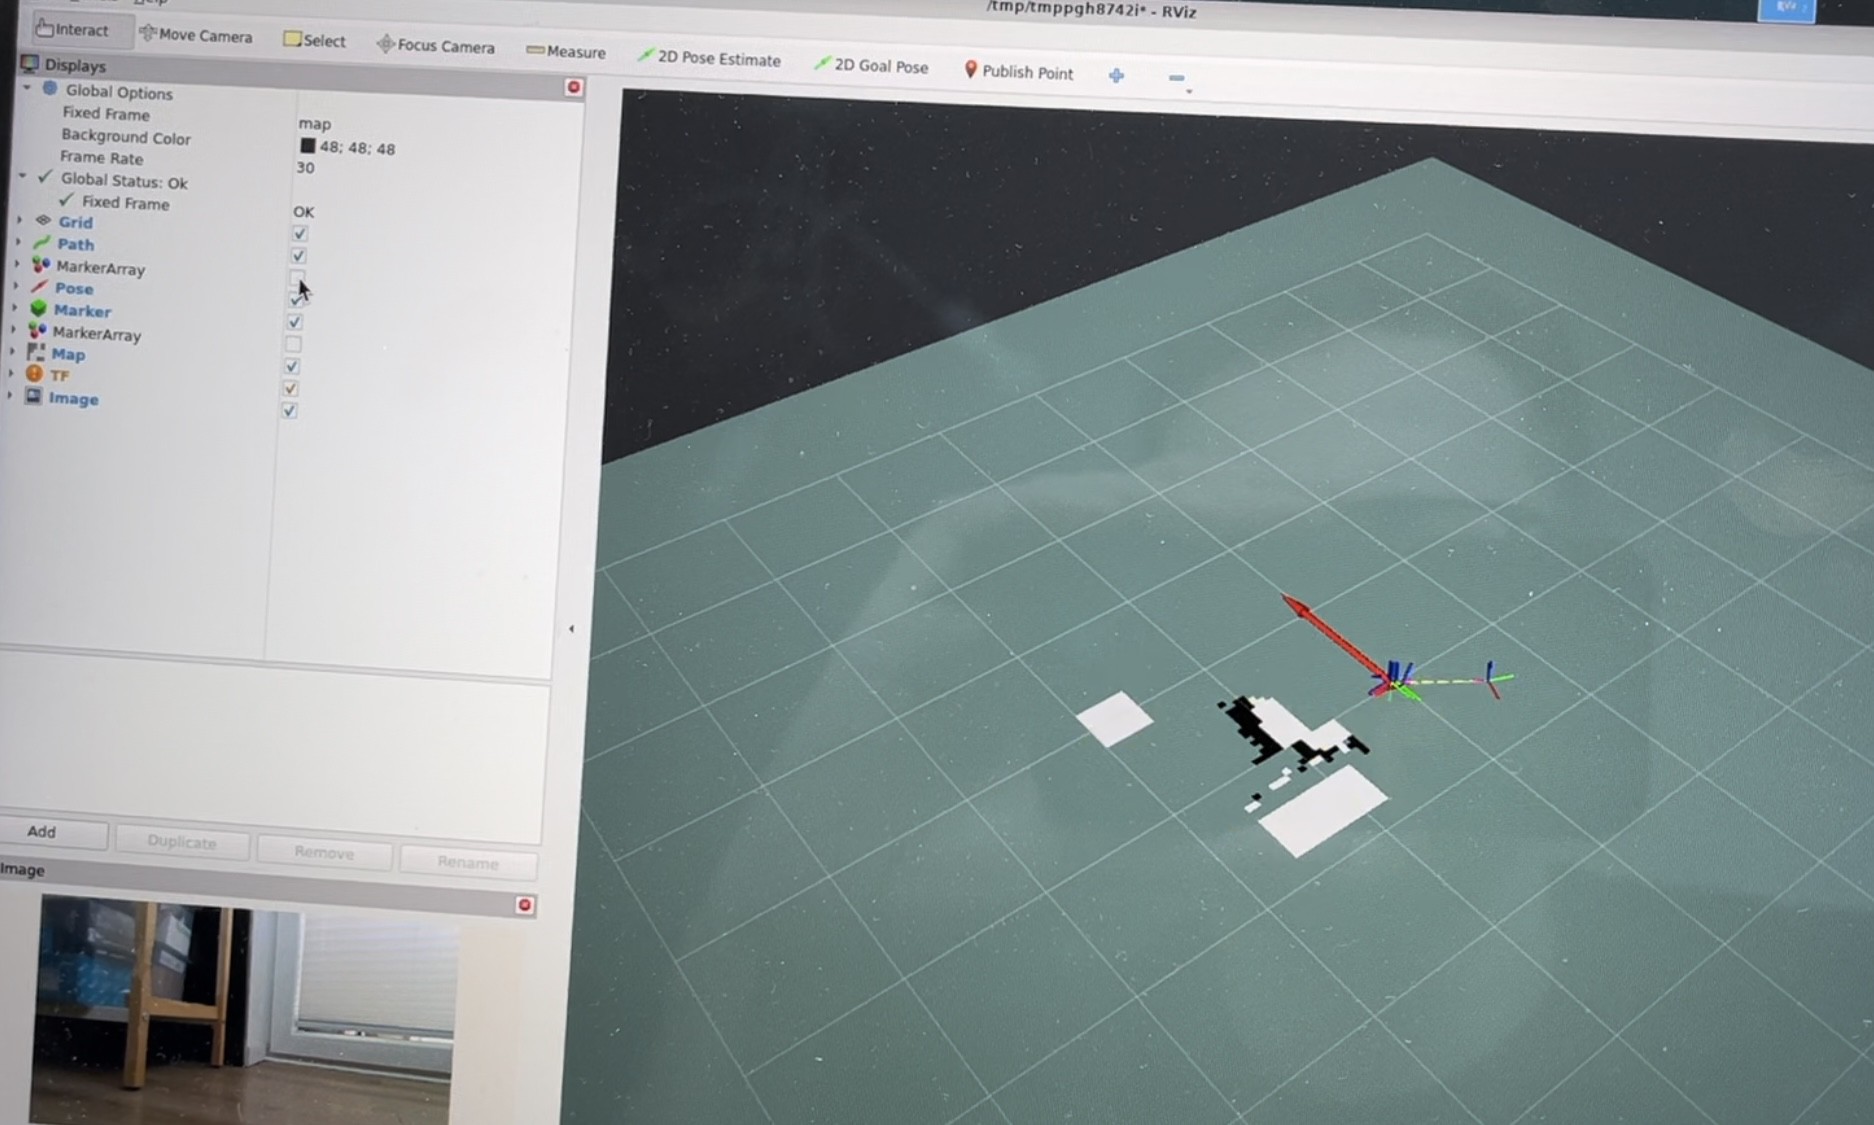
You will see an rviz window.
Note: Put a tick on Map checkbox, to see a 2D generation in rviz! By default, it is turned off.
![]()
Now you can drive robot around and generate map.
-
8Localization Mode
Localization uses the same tracker file, but a different configuration file. I created a copy of the tracker file with a mark "loc" meaning "localization". It will contain a path to the different tracker config file, to make it work in localization mode.
-
9Localization Mode Setup
Create a copy of the tracker file again:
sudo cp /opt/ros/humble/share/univloc_tracker/launch/tracker_mikrik.launch.py /opt/ros/humble/share/univloc_tracker/launch/tracker_mikrik_loc.launch.py
Open
tracker_mikrik_loc.launch.pyfile with sudo:sudo vi /opt/ros/humble/share/univloc_tracker/launch/tracker_mikrik_loc.launch.py
In L21 replace string:
configFilePath = '/home/<your-system-path-here>/mikrik_robotics_sdk/tracker_configs/mikrik_tracker.yaml'
with the string that leads to the new config file:
configFilePath = '/home//mikrik_robotics_sdk/tracker_configs/mikrik_robot_tracker_localization.yaml'
-
10Localization Mode Launch
Notes: Make sure script contains correct path to all files. Assuming that ROS1-ROS2 bridge is already running.
Make script executable:
cd ~/mikrik_robotics_sdk/scripts/
sudo chmod u+x realsense_collabslam_localization.sh
Launch Localization Mode:
cd ~/mikrik_robotics_sdk/scripts
./realsense_collabslam_localization.sh
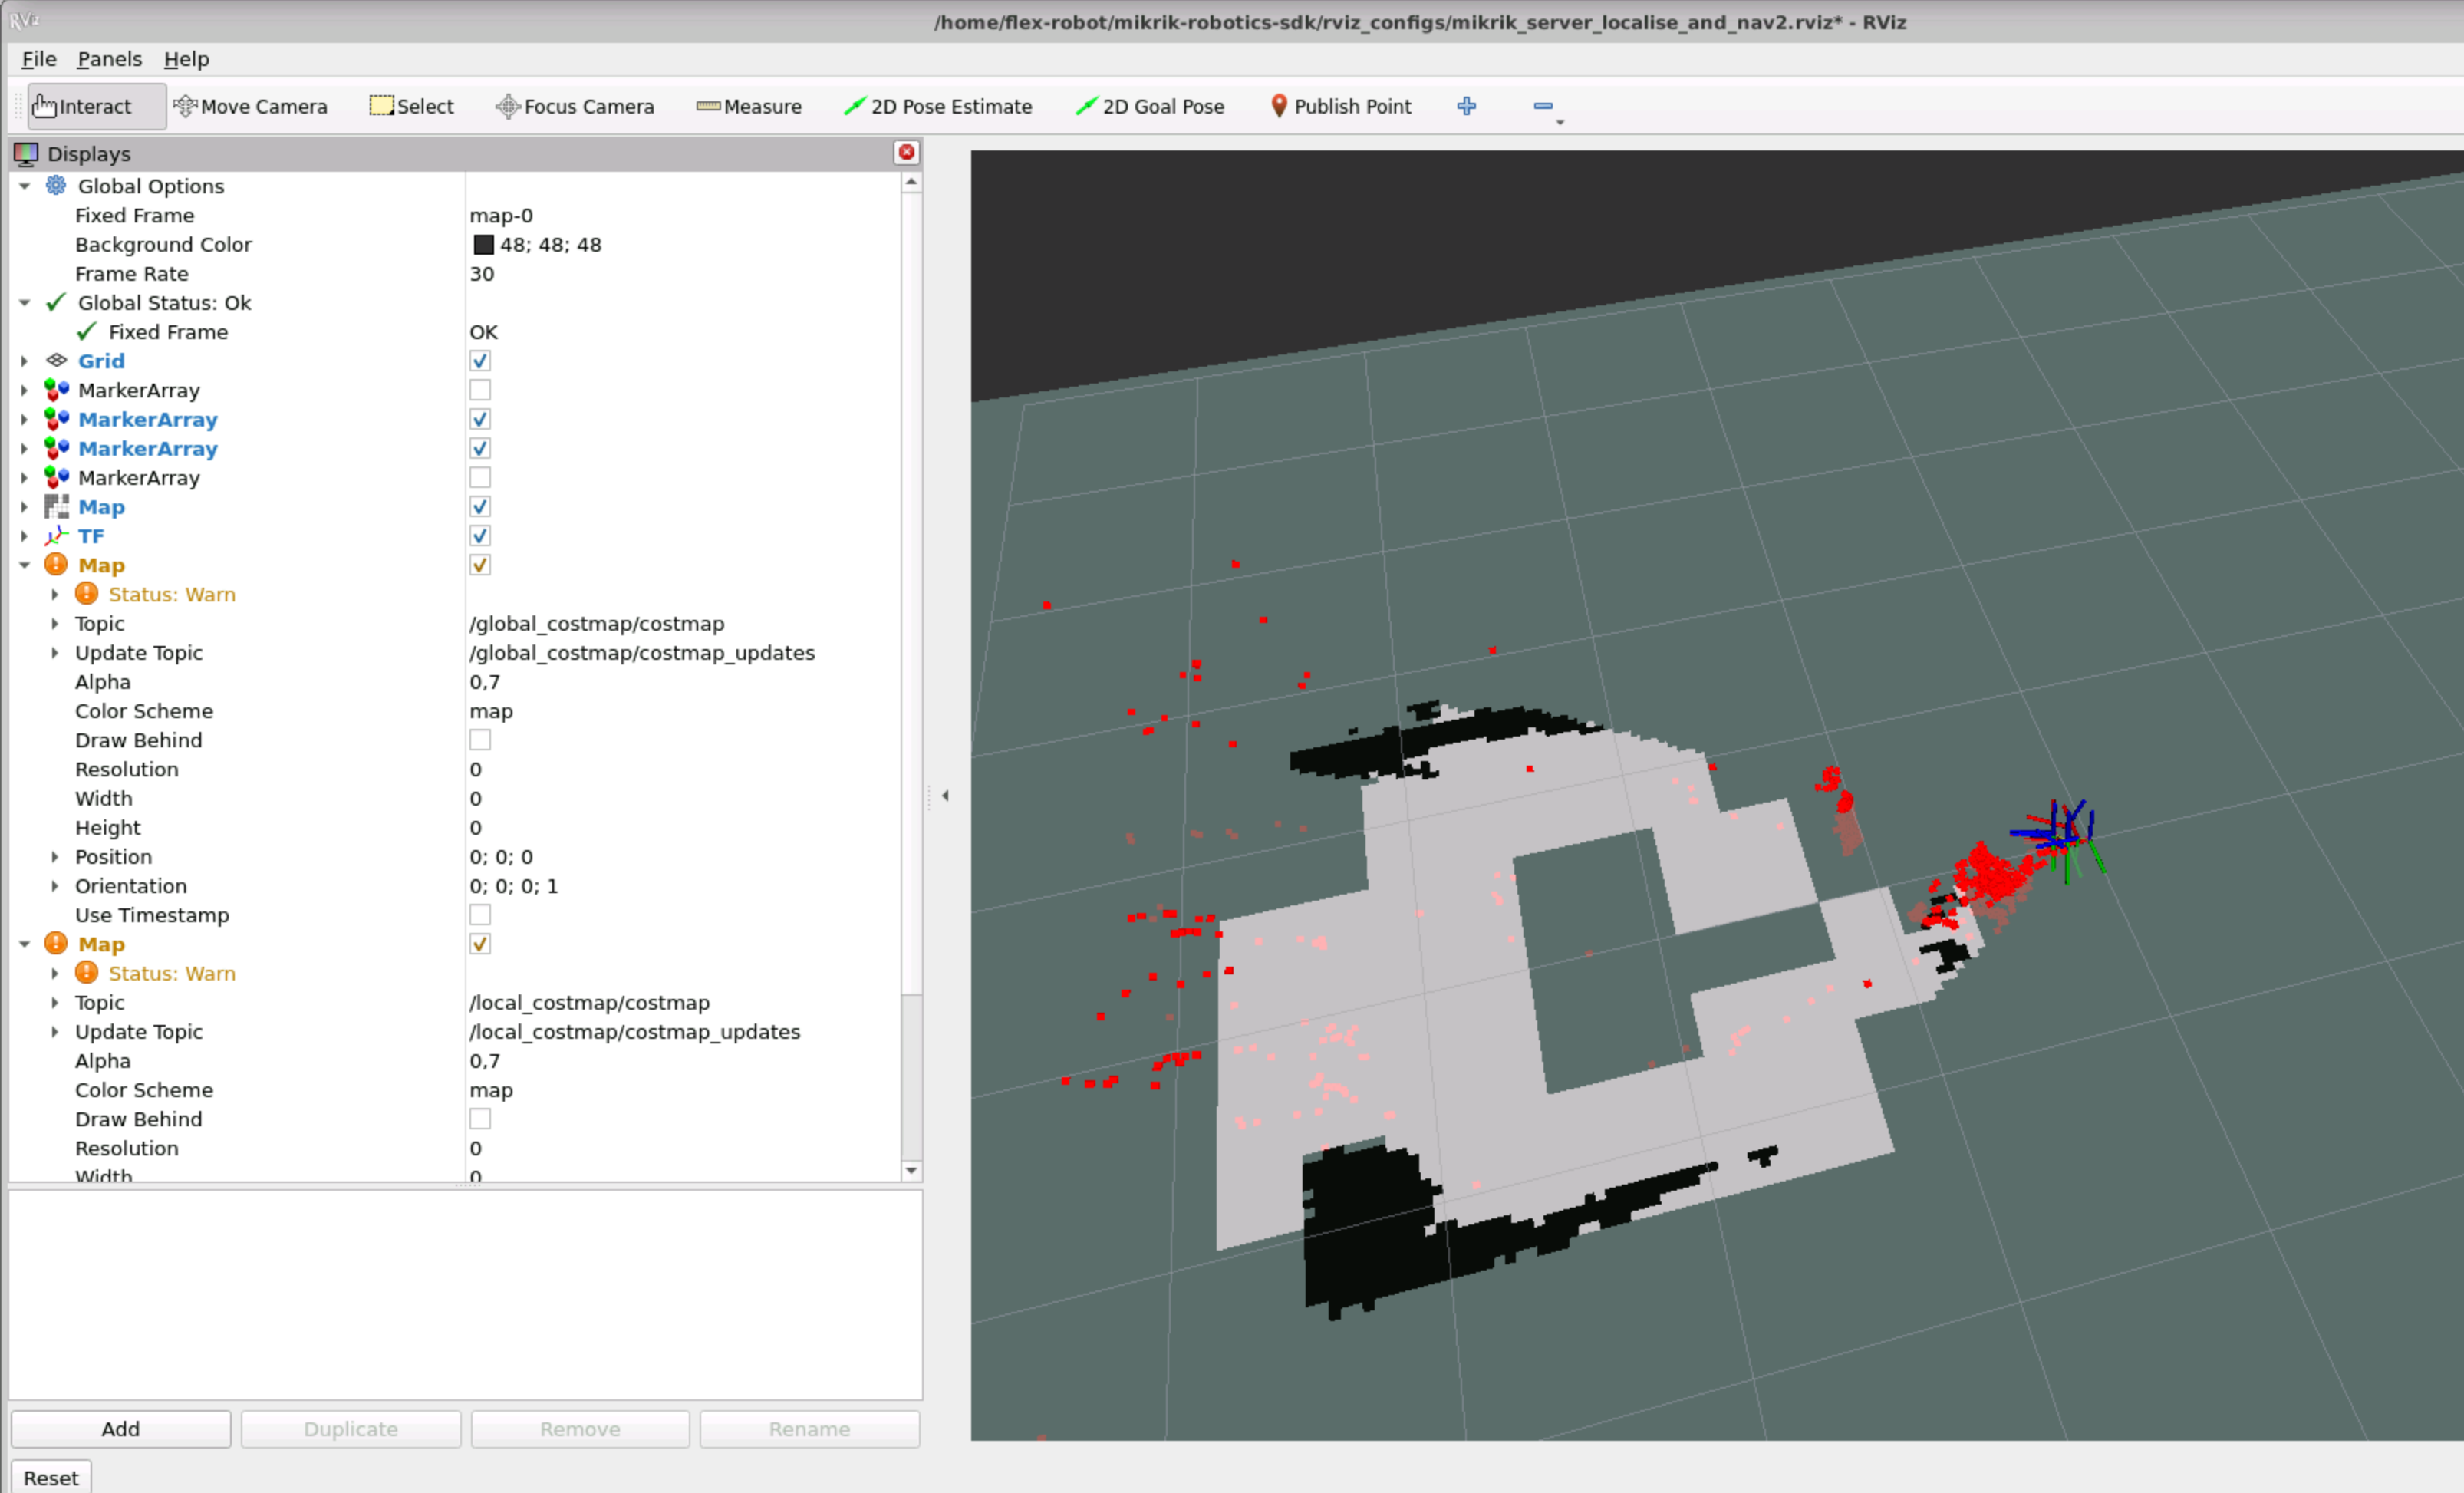
After you launched localization mode, very important to check that your rviz opened correctly. Map created during the Mapping Step must be loaded, and visible in rviz, you must see moving TF-tree of the robot.
Make sure that rviz title name on the top of window shows the path to the config file mikrik_server_localise_and_nav2. If it is not, then double check that path to the rviz config file is a correct in file
/opt/ros/humble/share/univloc_tracker/launch/tracker_mikrik_loc.launch.py
![]()
You no need to close rviz window, proceed with navigation node setup.
Realsense ROS2 car robot powered by UP7000 Board
Create a Visual SLAM ROS2 wheeled robot using Realsense camera seasoned with Intel Robotics SDK
 MXLFRBT

Discussions
Become a Hackaday.io Member
Create an account to leave a comment. Already have an account? Log In.