-
1Step 1
Here I will show you how I prepared my layout file for toner transfer.
This is fairly easy, but not particularly straightforward.
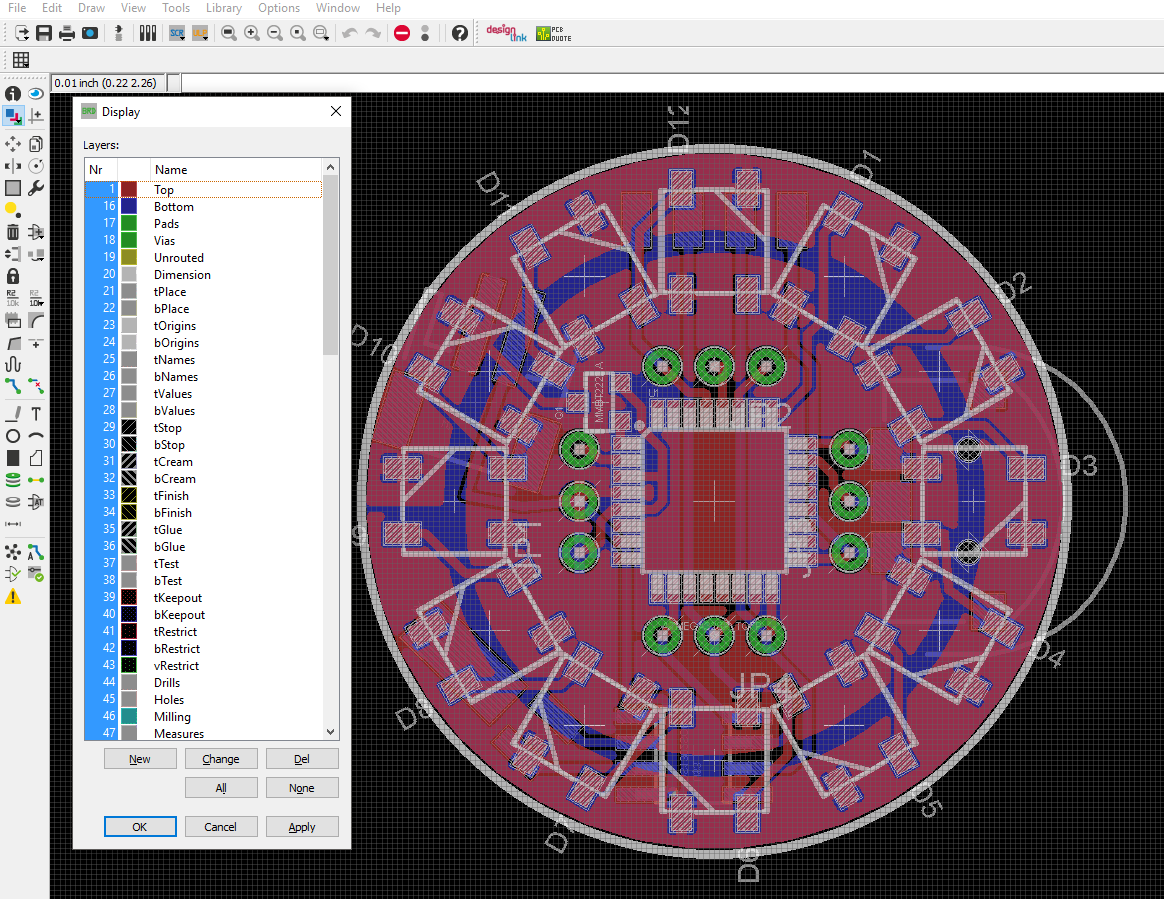
Starting with your completed board layout in eagle, click the display layers icon.
When the icon pops up, it should look something like this:
![]()
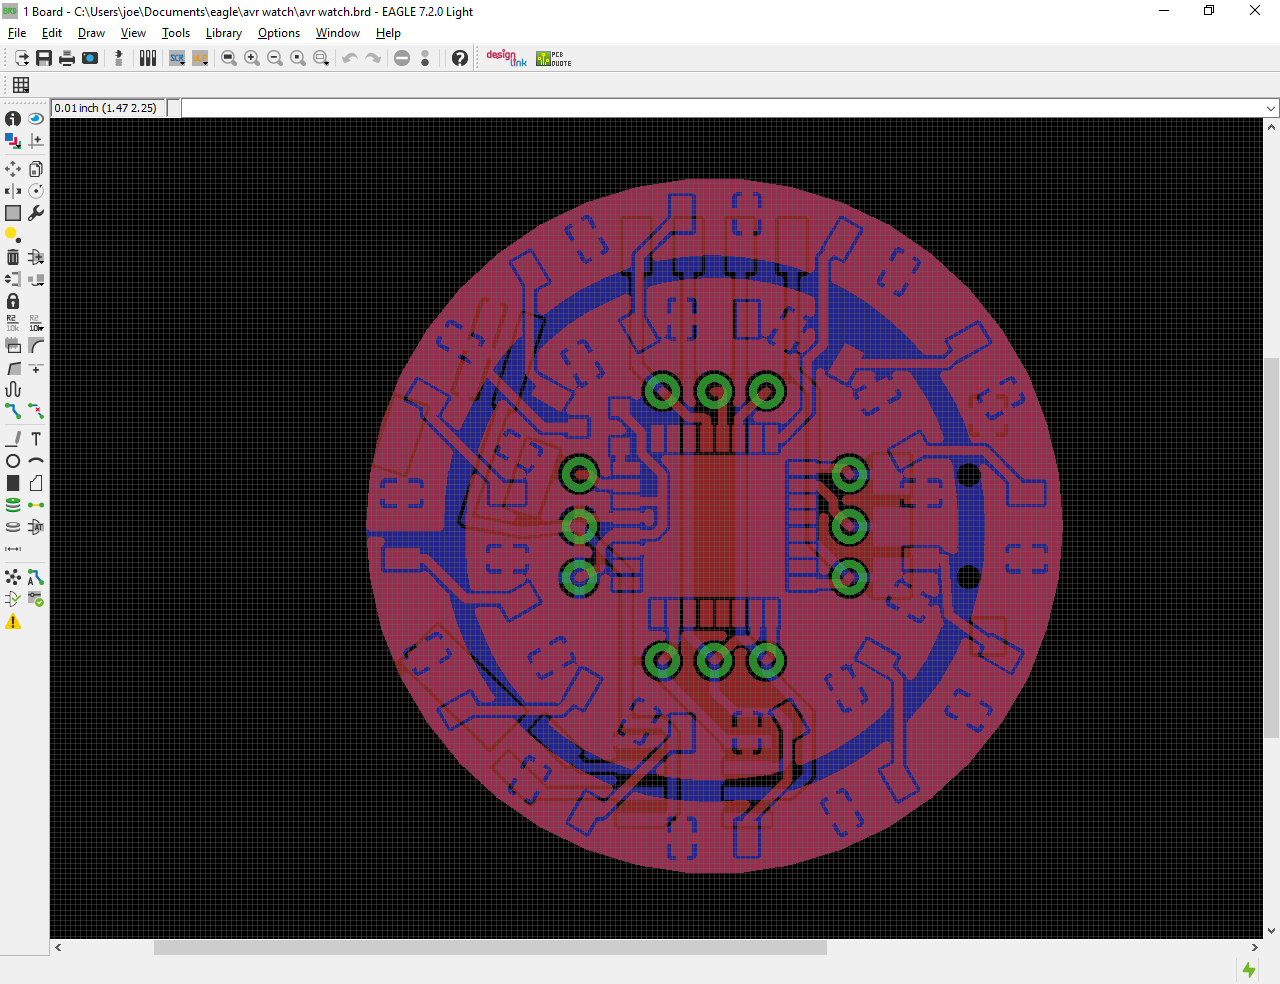
click None, then select only top, bottom, pads and vias.
Your overview will now look like this:
![]()
Once you have this view, it's time to export an image.
Click file > export > image
Set the resolution arbitrarily high. I use somewhere around 1024. Be sure to check window, as that will save space. DO NOT check monochrome! Save the image, and exit eagle.
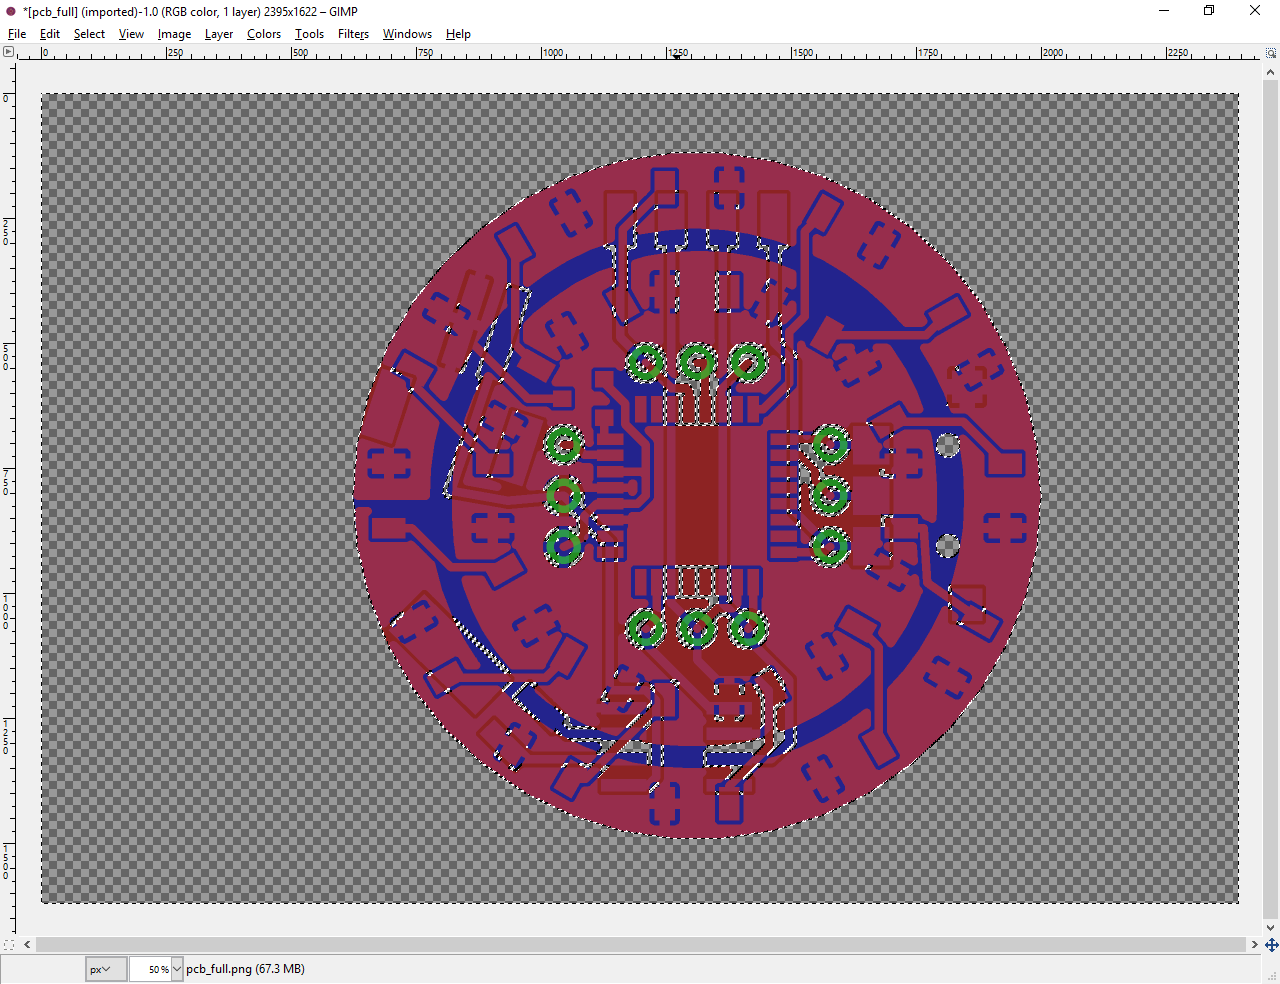
Open the image in gimp.
- add an alpha channel by clicking Layer > Transparency > Add alpha channel
- Use the color select tool to select all black, then press delete
![]()
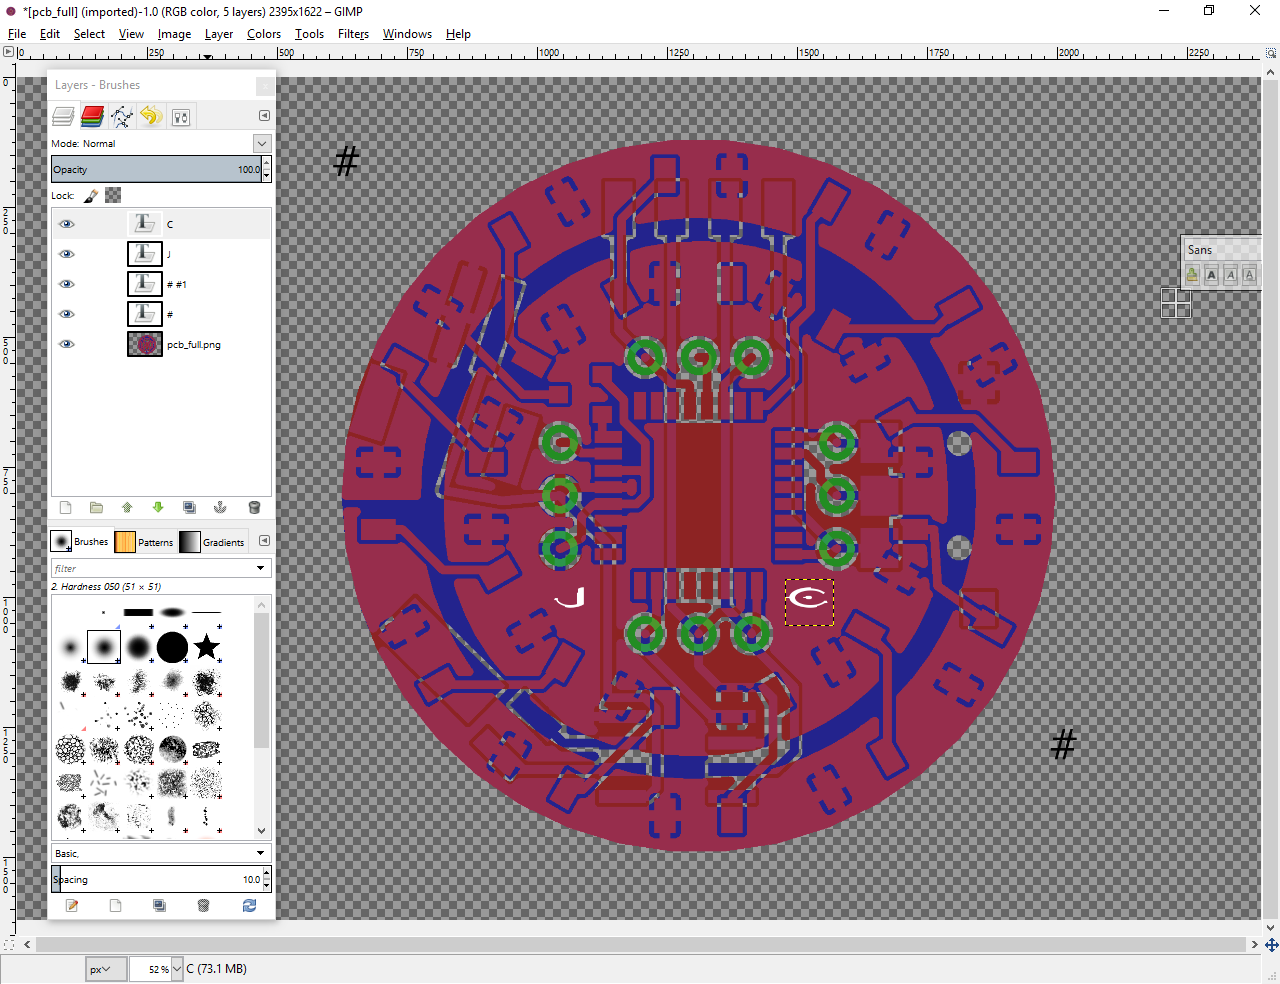
3. Now select None. Our goal is to print out one sheet and fold it in half, align the layers, then crease, so we can just slide our blank board in for toner transfer. So to do this, we'll need some way of aligning the layers. For this we will add guides on each end. these can be simple X's or something more elaborate, as long as there is one on each layer in the same position. For this i'm using a pair of octothorpes.
Note that in the print version, I edited the design a little and used a larger bold typeface for the alignment octothorpes.
Also this is a good time to place any symbols or art. I'm just going to use my initials using a halo font. i'm printing them in white so they'll be etched away. (It's good practice to keep as much copper as possible to save etchant, also it's just faster.)
![]()
Next is the convoluted part, separating and flipping the layers.
4. Merge all the layers down. then resize the canvas to 200% width, 100% height, do not center. Use image > canvas size.
copy the visible image, using edit > copy visible
Paste it as a new layer, using edit > paste as > new layer
In the layers dialog window, select the duplicate layer by clicking it.
Flip the layer horizontally, using layer > transform > flip horizontally.
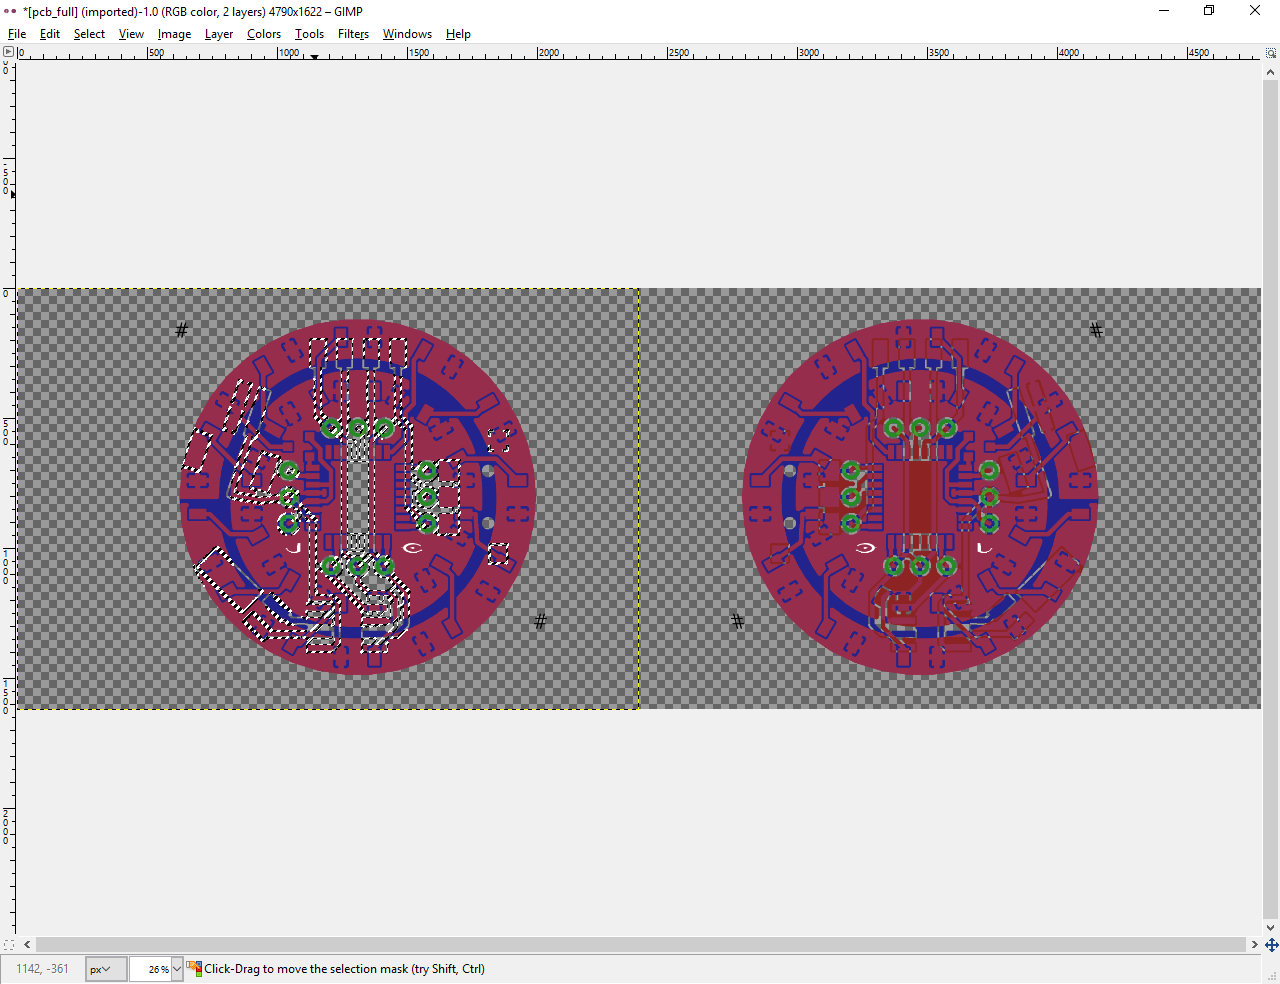
If you zoom out you should see the following:
![]()
the left image will be the bottom layer, the right and backwards image will be the top. Remember in eagle, Red is top, Blue is the bottom, and Green are vias. This will be important.
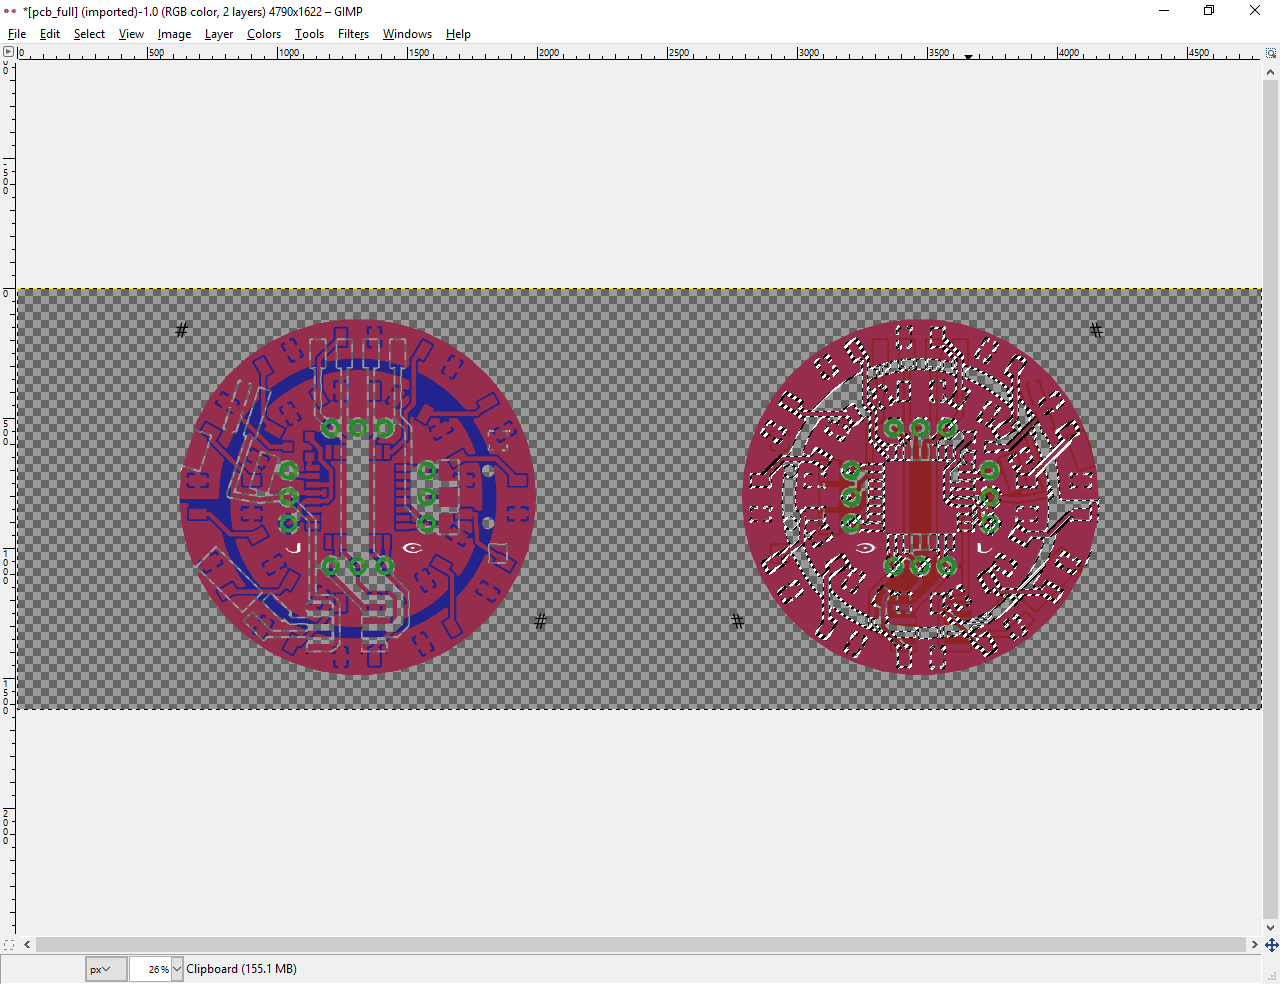
4. remove parts not relevant to the layer.
For the bottom (left) layer you want to remove all solid red, leaving green, blue and purple. to do this, use the color select tool and click a RED area. (first make sure you have the correct layer selected!) press delete to clear the area to transparent.
![]()
Next, select the other layer and do the same for blue.
![]()
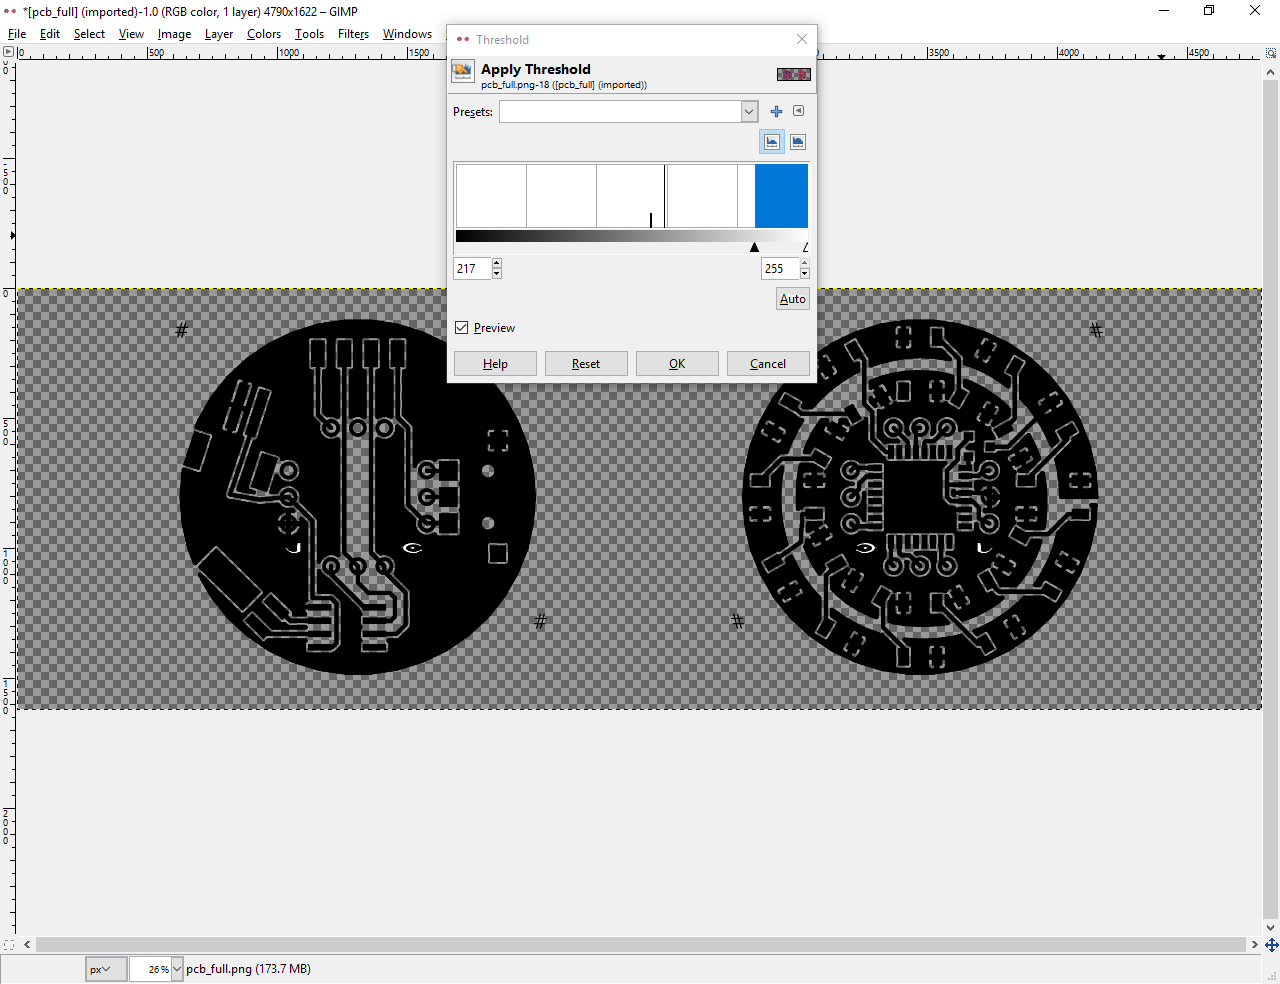
5. merge the layers by right clicking the top layer and selecting merge down. Next, switch to monochrome by clicking Colors > threshold. slide the slider to the right until the board turns black. and click ok.
![]()
Now just flatten the image using Image > flatten image.
6. Final touch-ups. If you want, fill in the vias using the bucket fill.
If you have a crappy laser printer with dirty scratched drums like mine (tried to print directly to a pcb, didn't work), you can rotate the image 90 degrees.
7. Export! click file > export As. Select portable document format, give it a name and save it! (don't hit the check marks)
Don't print yet!
Next up, preparing the paper for printing.
-
2Step 2
Preparing your paper:
First off, you need a laser printer and you need to figure out which side of the paper will get printed on. On my dell mfp 1815, the paper side facing down in the paper tray gets printed on.
One way to figure this out is to just write on one side and print something to see which side comes out.
At this point, it's a good idea to do a test print and see if its scaled properly by just placing components on the paper.
If it fits well enough, the real secret to my success in toner transfer is stick glue.
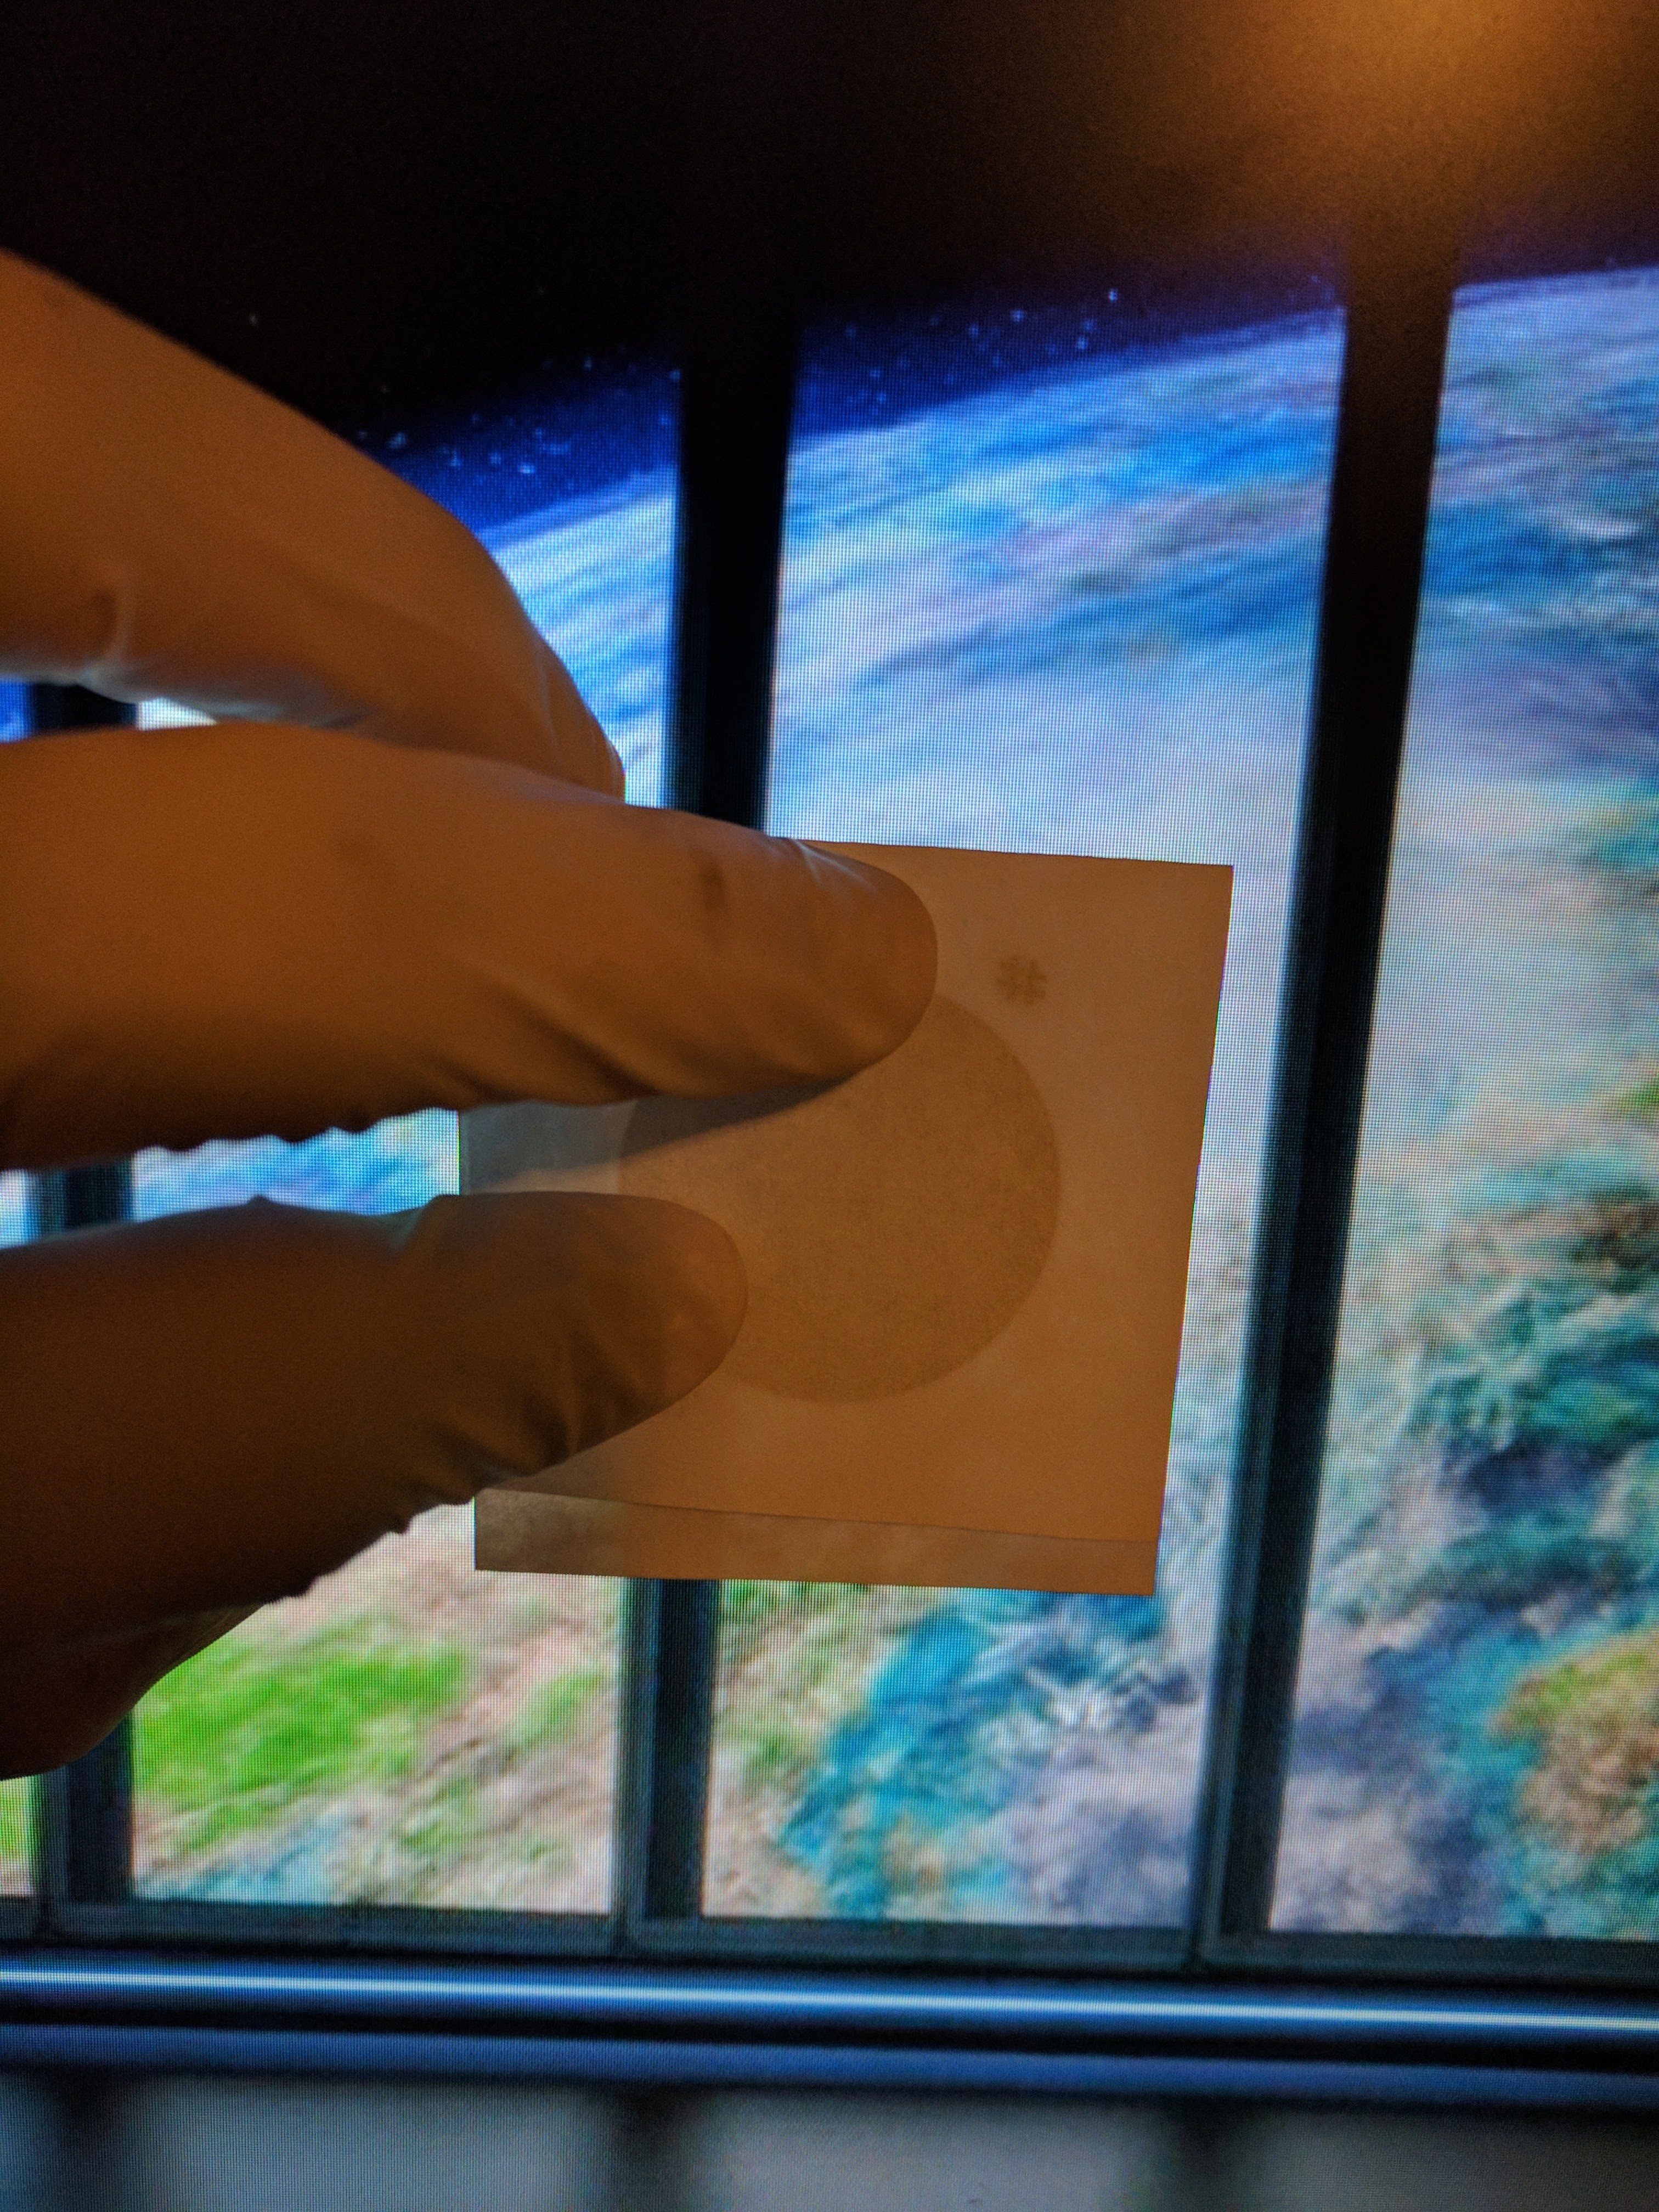
wearing gloves (keep your greasy meatbag fingers off!), put a clean paper, untouched by meatbag hands, over your test print so you can see the print through the paper.
Put an even layer of stick glue over it and let it dry. do not put a thick layer on as it will moisten and warp the paper. let it dry, then repeat maybe twice. you want the area completely covered in a layer of glue.
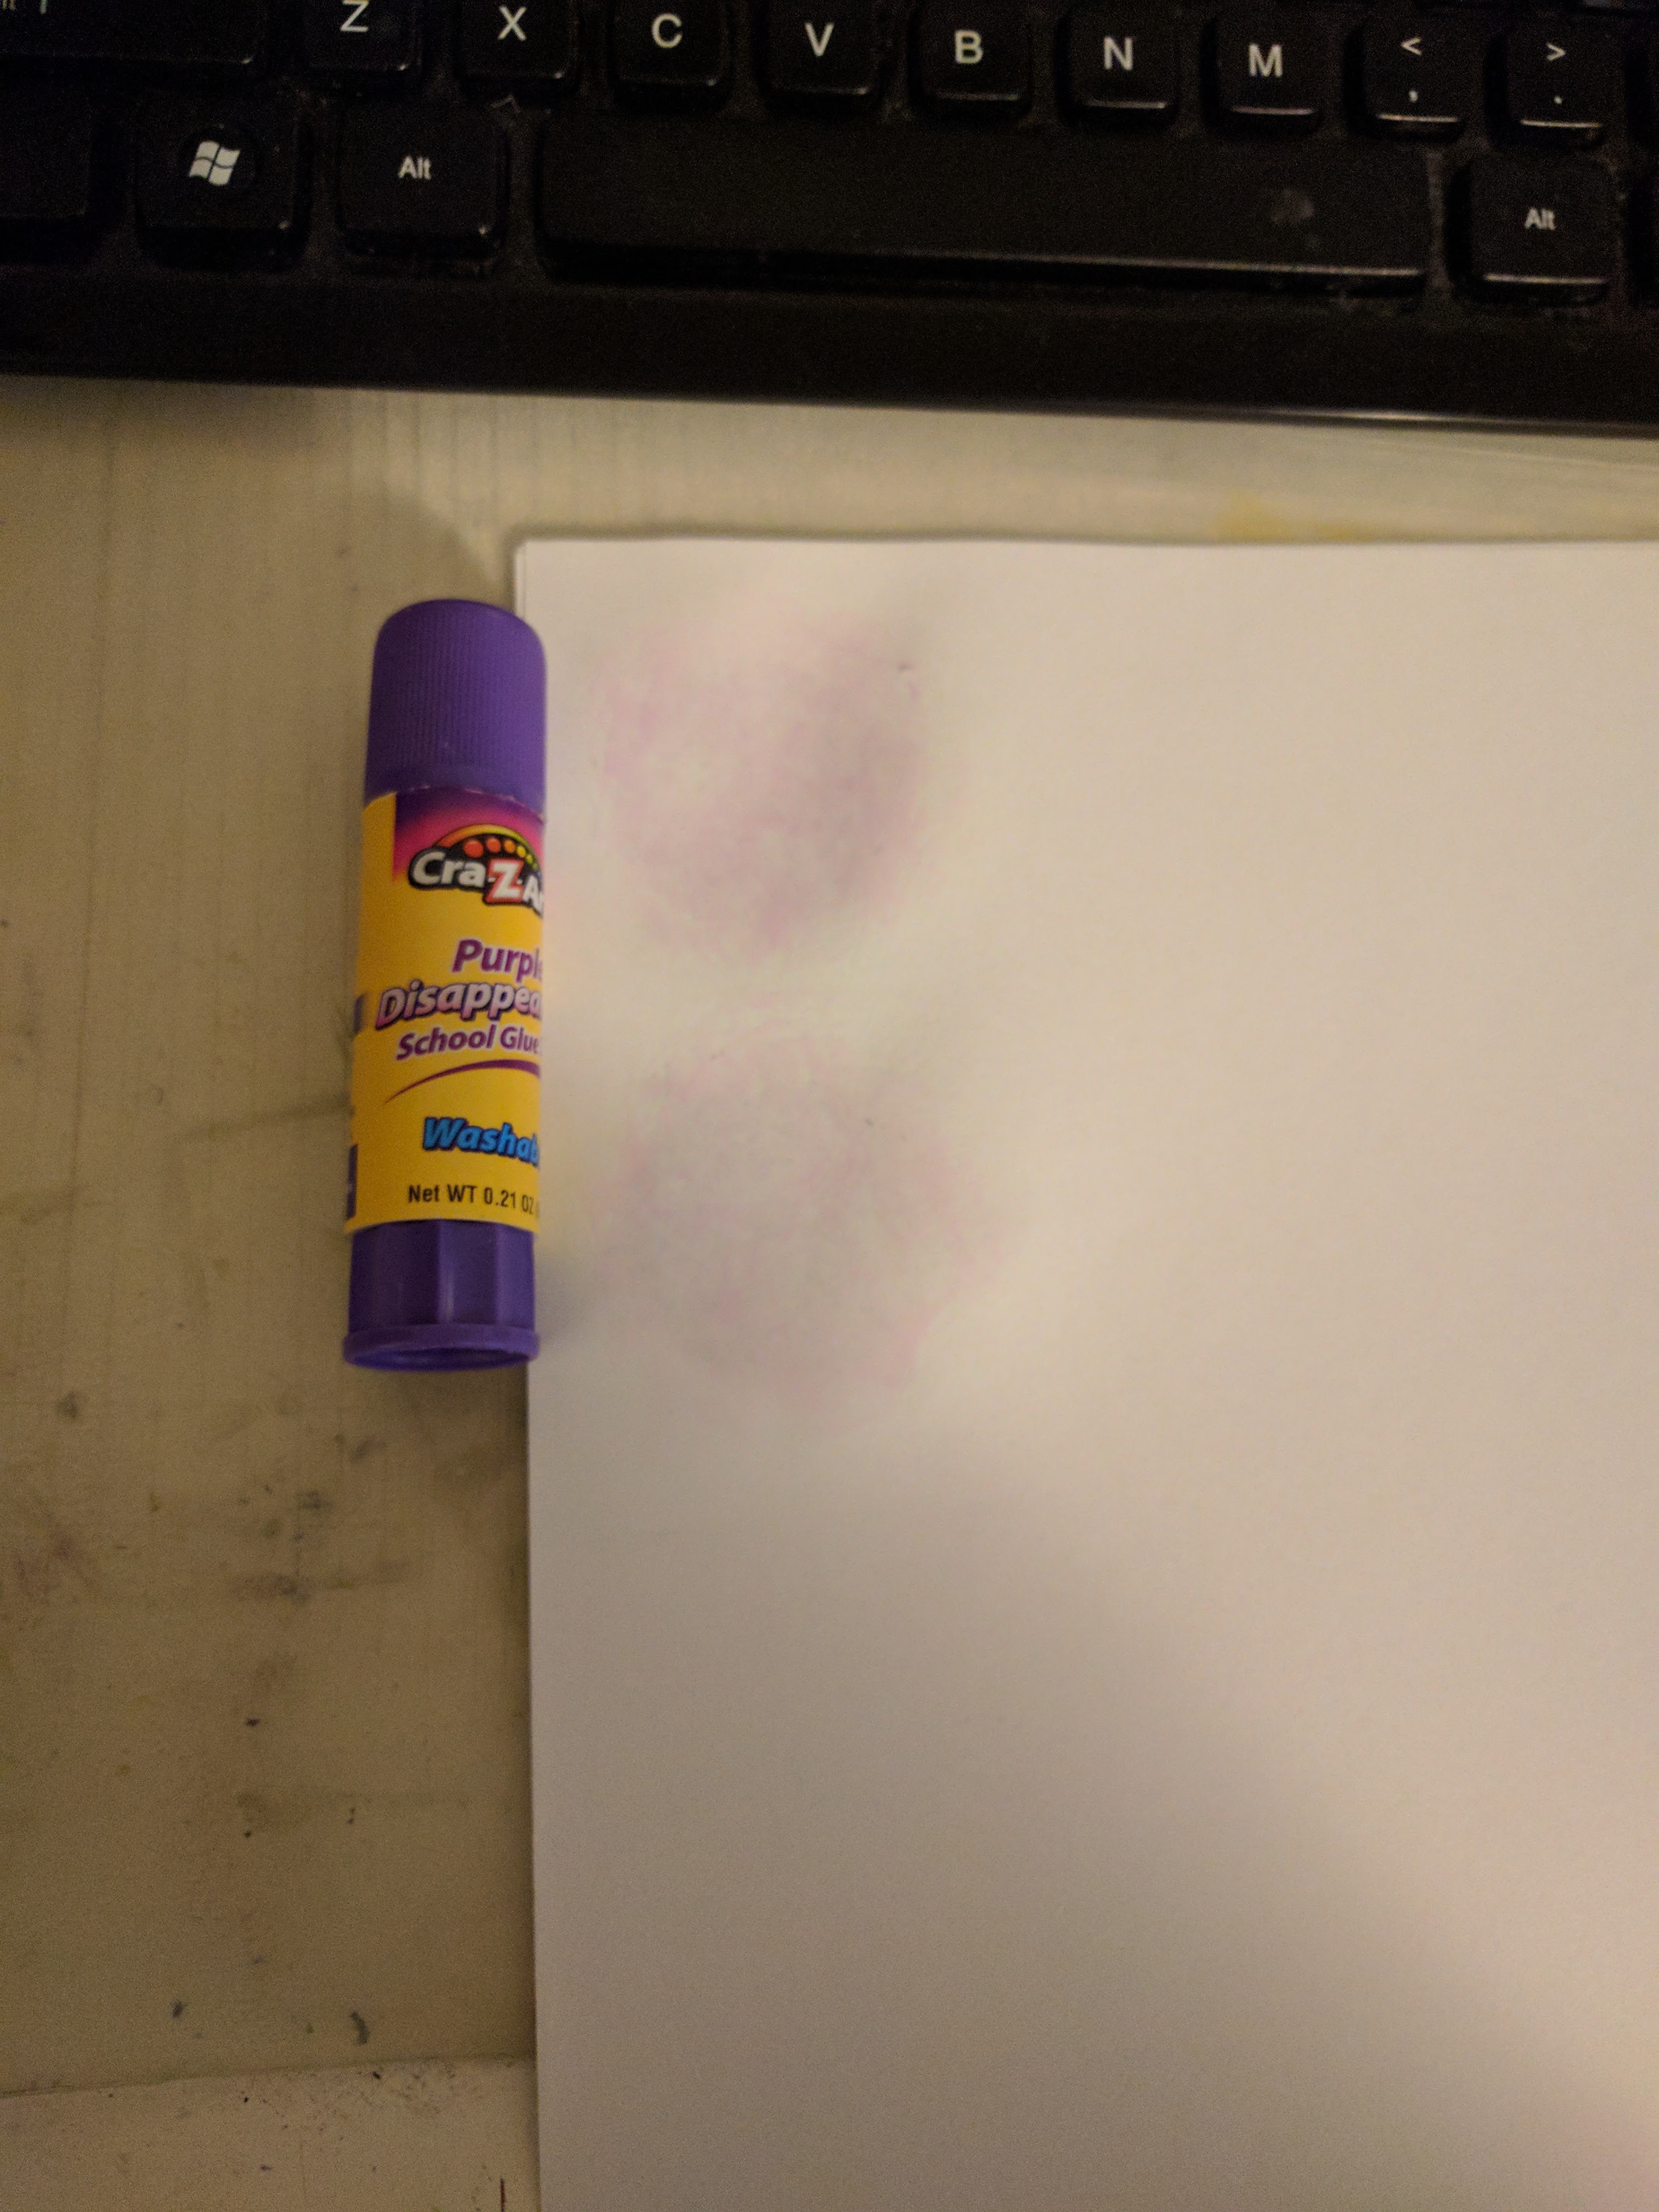
your mileage will vary depending on glue brand. I've tried elmer's and others, but the best brand i've tried is the cheap crazart purple disappearing school glue stick. the nice thing about the purple is that you can kind of see it as you work. it dries clear though.
![]()
Once it dries and you have your print, cut out the corner with the print. leave enough paper to overlap the entire board. Again, keep your greasy meatflesh off! your bodily oils will interfere with the toner transfer later. Using gloves, and a light source, carefully fold the print over itself, using your printed alignment aids. once you have it aligned, carefully crease the paper.
![]()
Set this aside. While you still have gloves on, you might as well clean your PCB. Using a fine grit sandpaper (or one of my wife's brillo pads), sand the pcb until it's shiny, then sand a bit more. After that, clean it with isopropyl alcohol. it MUST be isopropyl, NOT rubbing alcohol. if you can almost see your reflection except for the scratches, you're good!
Next step: Transfer!

Discussions
Become a Hackaday.io Member
Create an account to leave a comment. Already have an account? Log In.