Close
0%
0%

NixieSAO

No code, no PCB, just a Shitty Add-On for Supercon living in the moment

Similar projects worth following
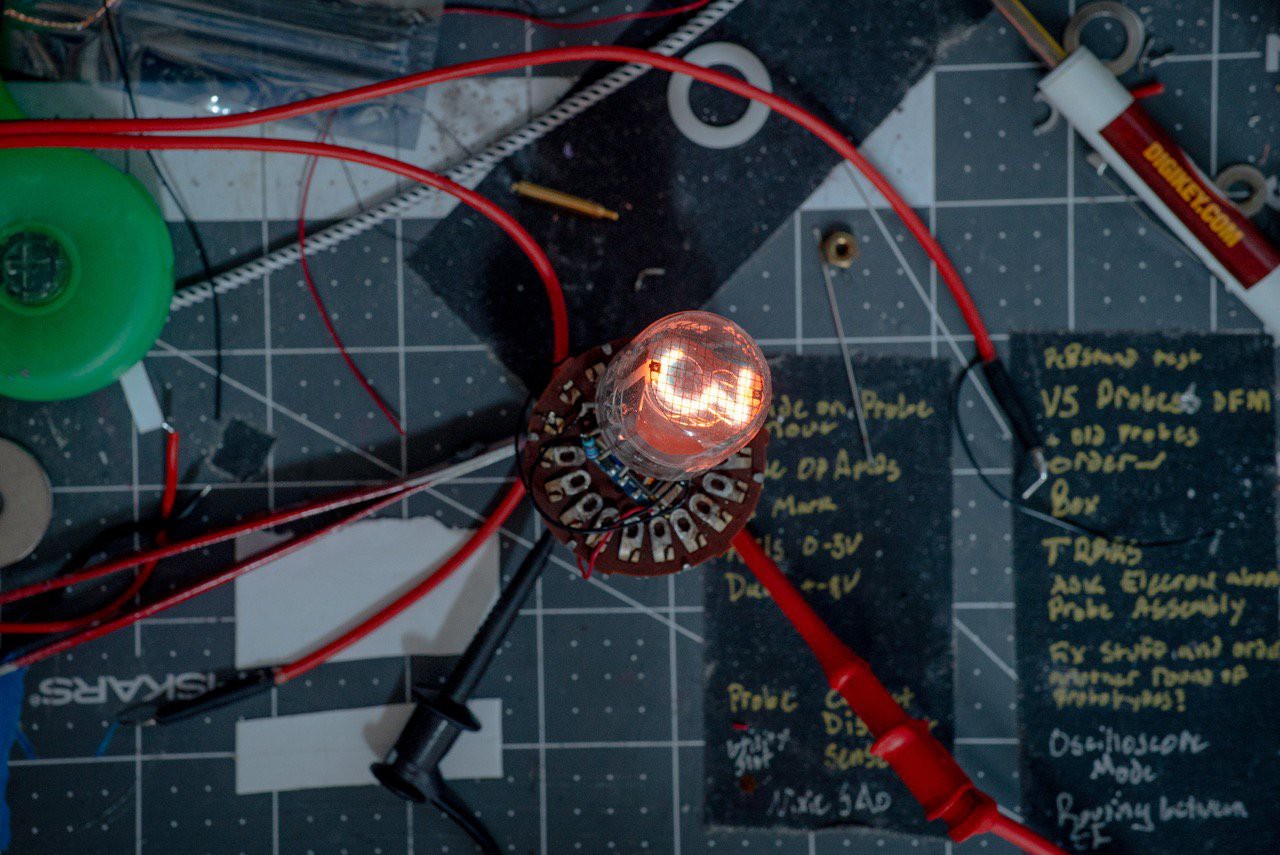
So the Supercon badge this year is apparently all about Shitty Add-Ons, which are like little electronic (or not, there aren’t any rules) stickers that stick onto the main badge. But I'm knee-deep in [Jumperless V5](https://www.crowdsupply.com/architeuthis-flux/jumperless-v5) so I’m not about to make any more PCBs or write more code, so I’m building stuff like it’s 1969. Genuine Burroughs Nixie (Numerical Indicator eXperImEntal) tubes, a big selector switch, and a 3V to 180V step-up High Voltage power supply.

The best part is I just busted this out in 6 hours and don’t have to think about it again until November. Anything with firmware never feels "finished," so I'll just avoid all that.

First, some stuff to look at:
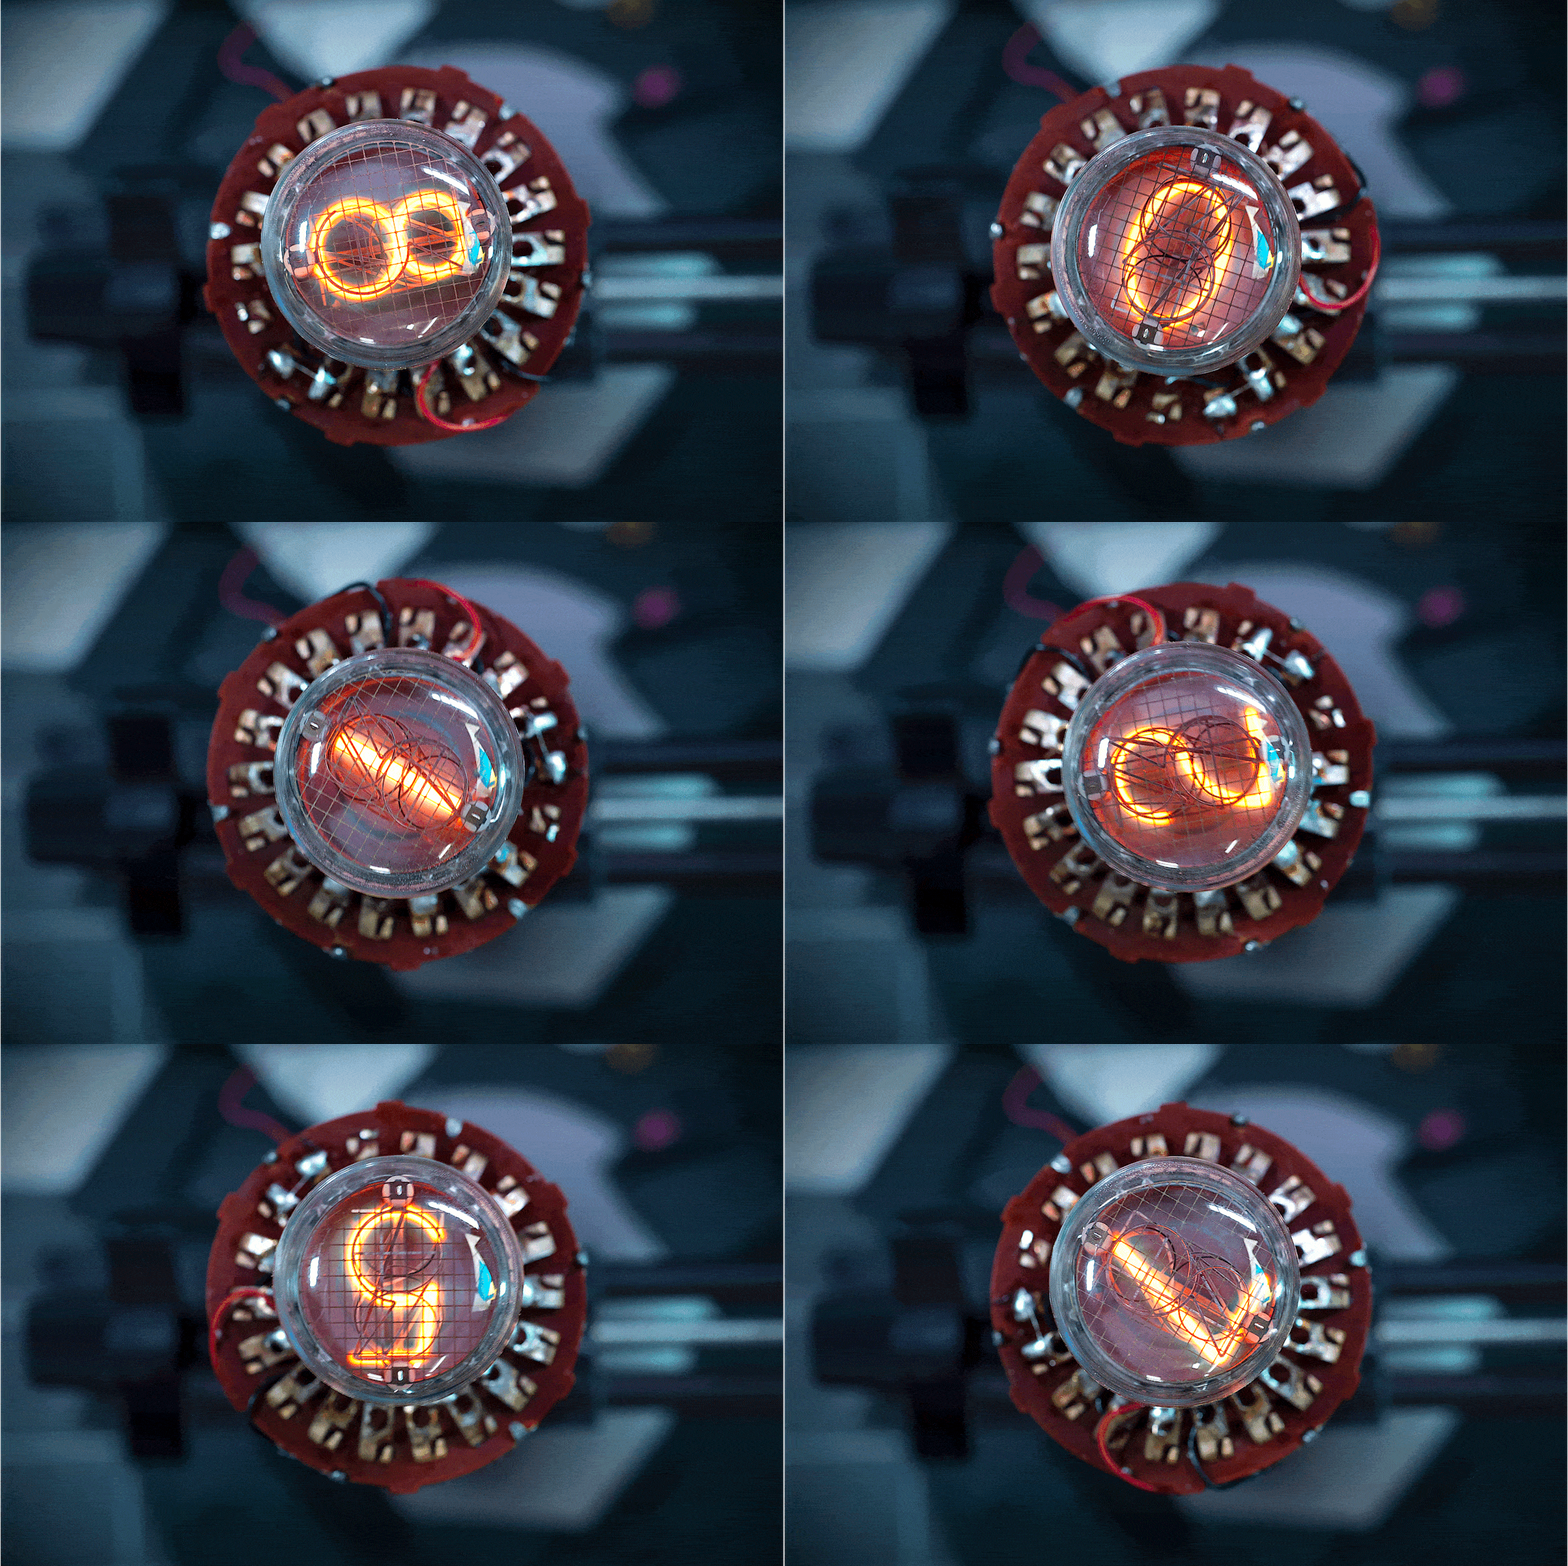
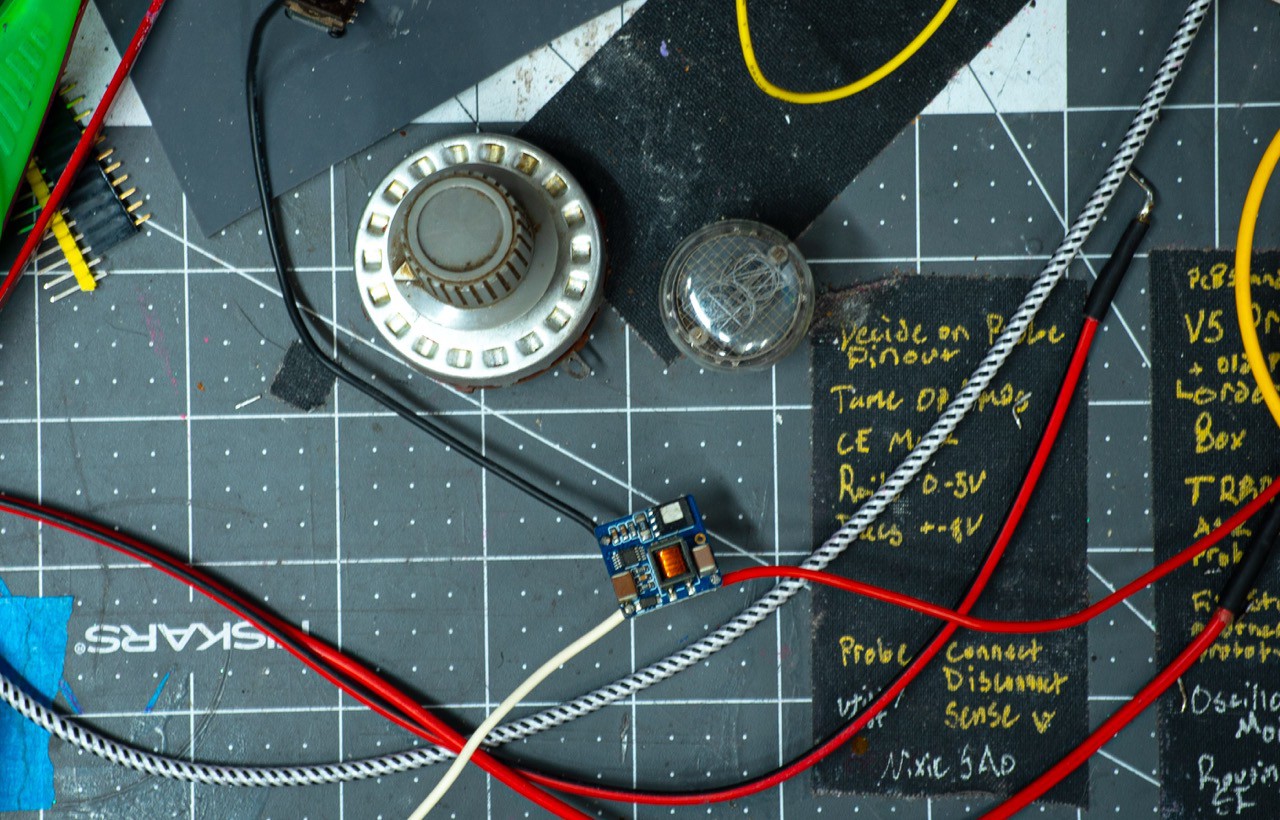
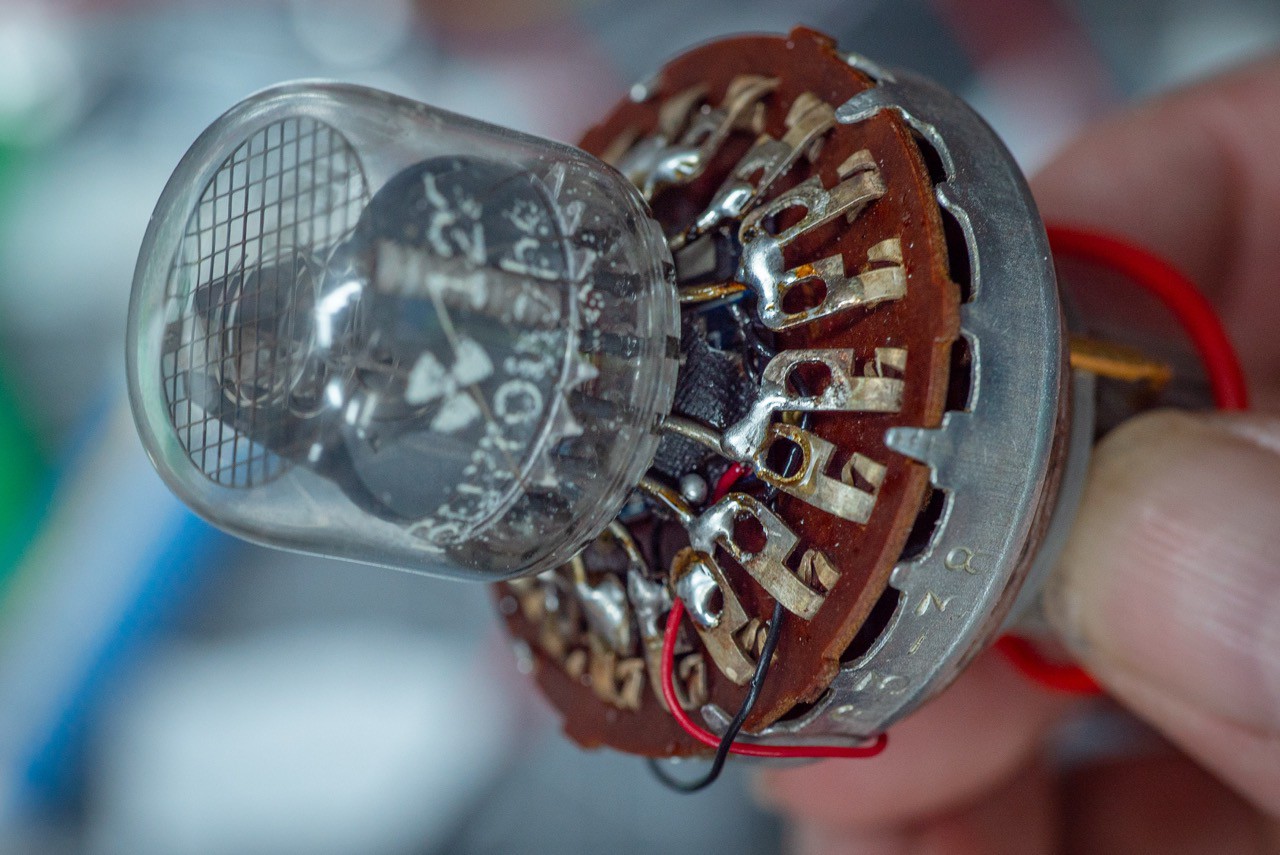
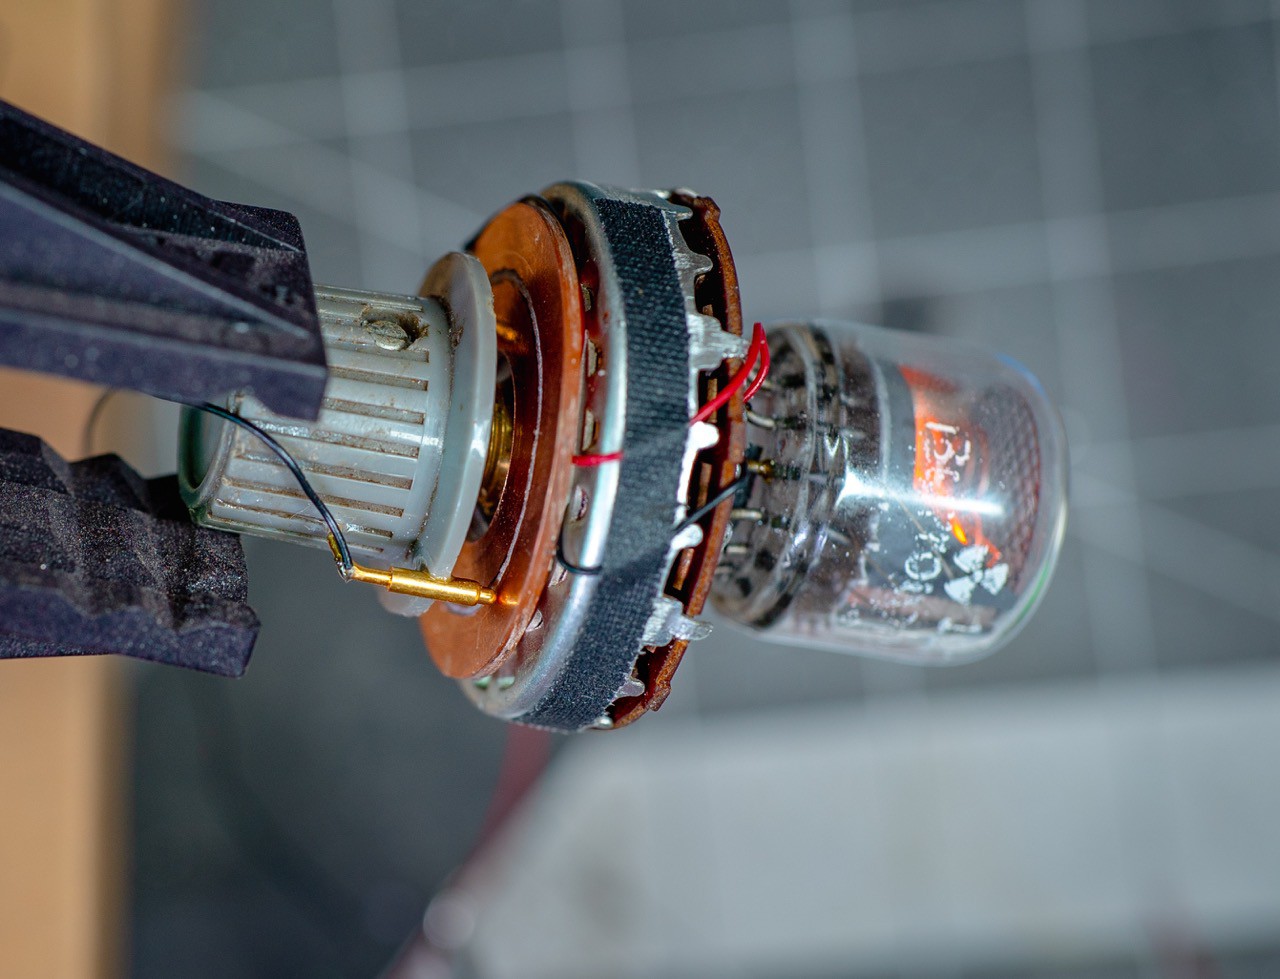
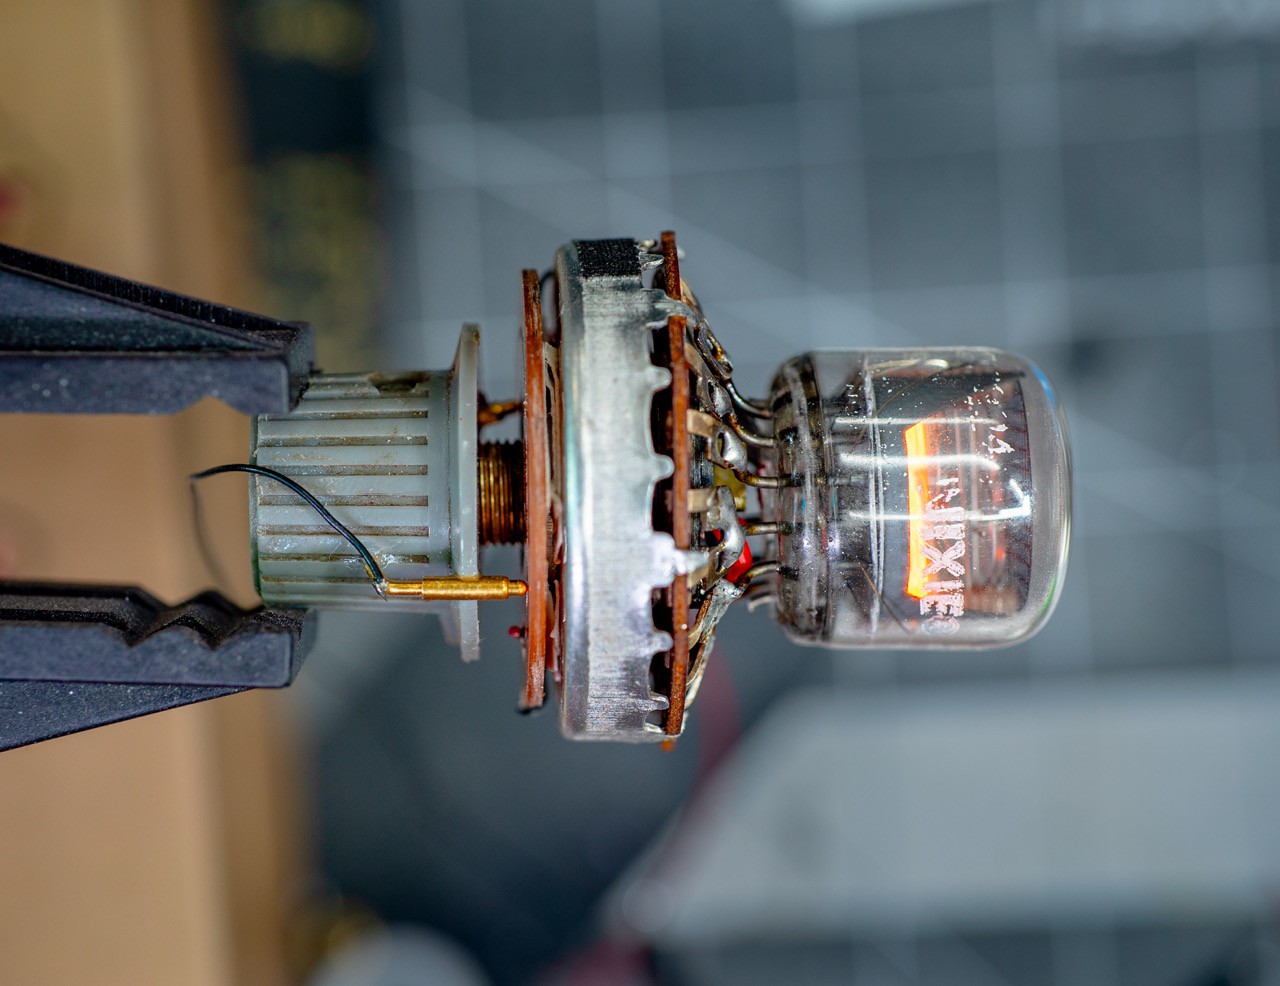
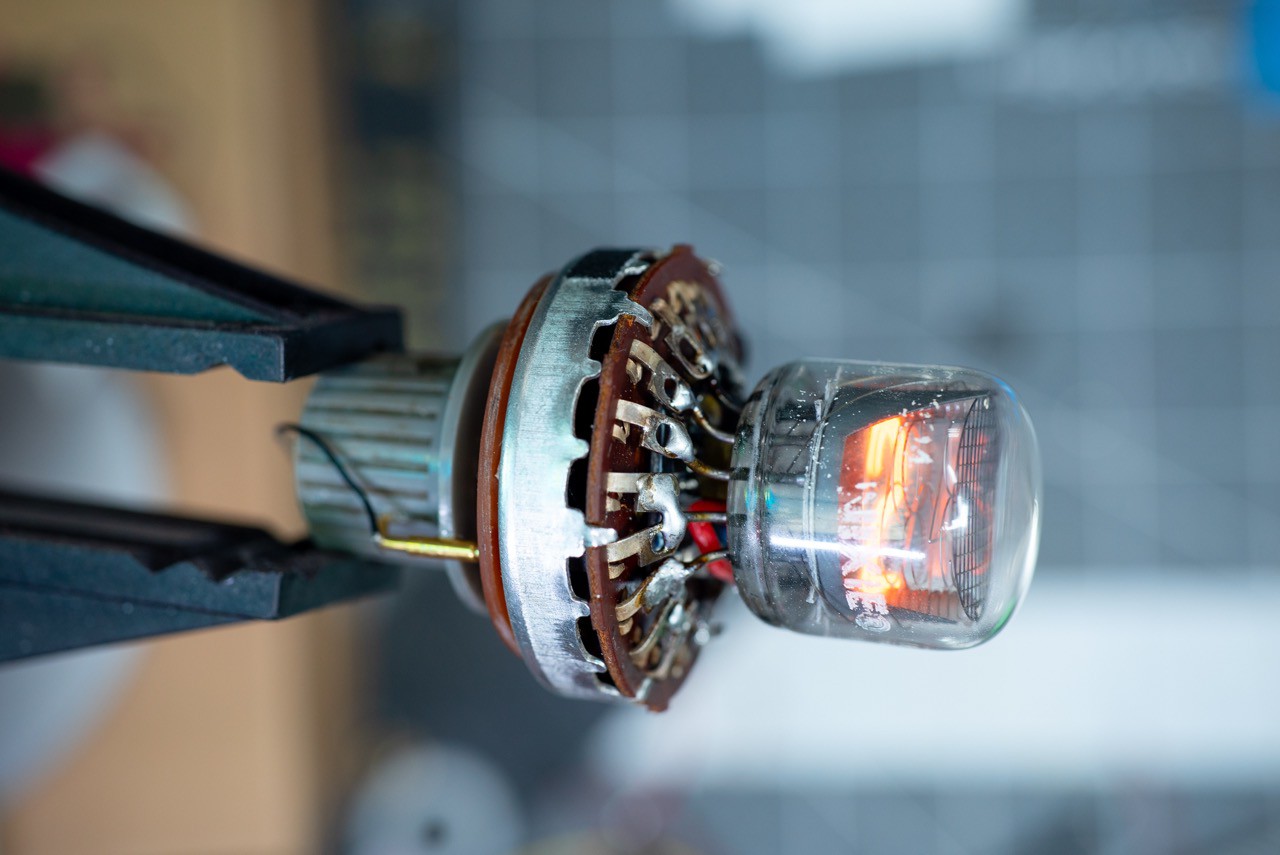
But yeah, this thing is just a ghetto DIY slip ring made of pogo pins, a selector switch from a resistance substitution box, a nixie power supply and a Burroughs 122P244 nixie tube (with bonus Krypton 85 inside).

I actually remembered to take photos while I was doing this, so you get to see the quick n' dirty nonsense that went into it.

And here's how long it runs off a little battery

  • 6 Hours of Chaos

    Kevin Santo Cappuccio09/06/2024 at 16:56 0 comments

    I really didn't feel like writing more code for Jumperless V5 yesterday, especially because the RP2350-based prototypes are on the way and I'll probably need to rewrite a lot of the RP2040 code when they get here. So I figured I'd do something even more pointless, make an SAO.

    Here's what I started with:

    • Burroughs 122P224 genuine Nixie tube 
      • I've always worked with the cheaper Soviet ones so it was cool to see one with NIXIE printed on the side and a radiation symbol. They put a radioactive isotope of Krypton in these to help them ignite in the dark.
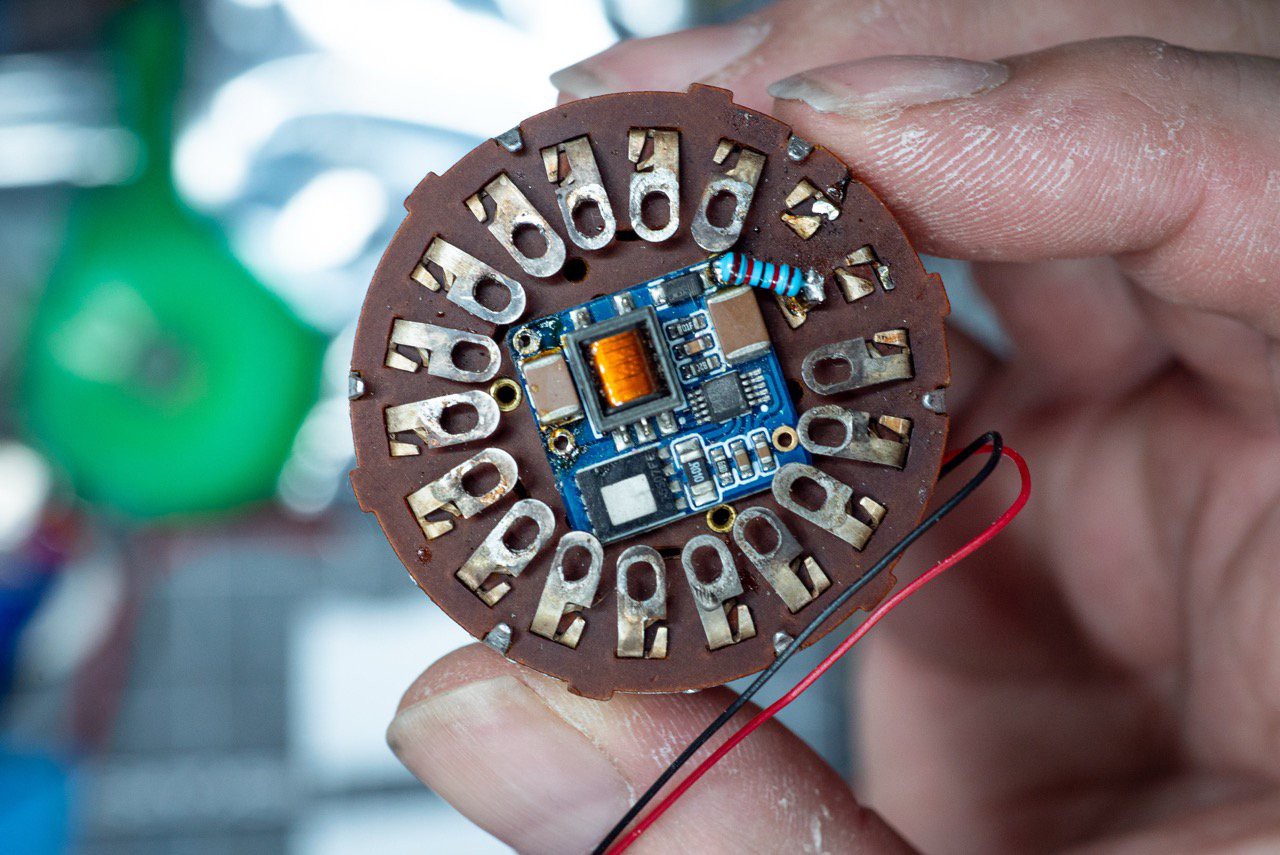
    • HV8200 nixie power supply
      • These things are amazing, I used them on Rota and they'll make 180V from all the way down to ~3V. It only draws like 100mA when I'm powering this from 3.3V for the SAO and 0mA when the outputs aren't connected to anything, which is nice to not need to worry about a cutoff.
    • 18 position selector switch from a resistance substitution box
      • I have a bunch of these, I doubt there's a part number for them though.

    The futility of slip rings

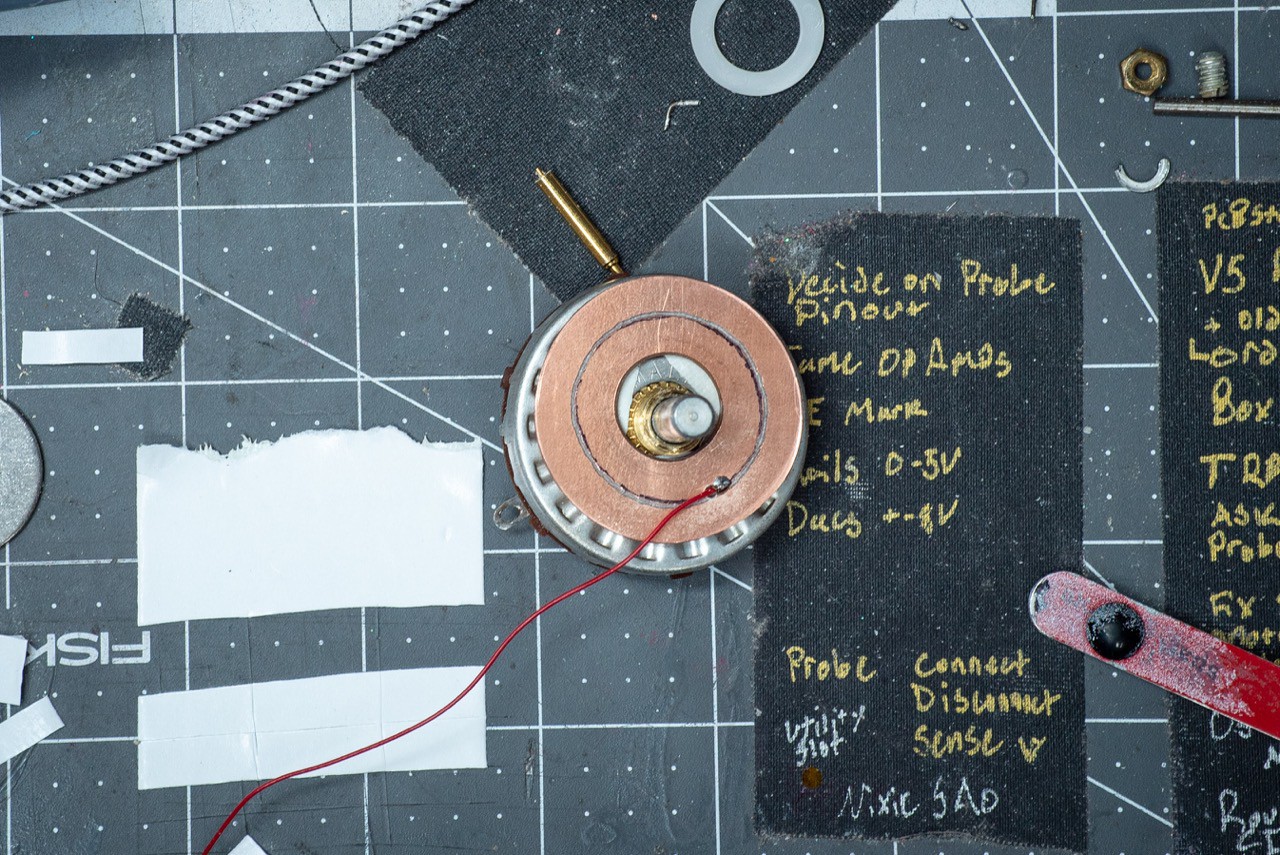
    I have a bit of a Dr. House, "it's never lupus" thing with slip rings, I feel like it's everyone's first instinct for stuff and it always ends up being the most fiddly part of the whole thing. In this case, it was a "goblin mode" build and it didn't matter. But honestly, it went better than I had expected, so maybe my thing should be, "it's usually never slip rings."

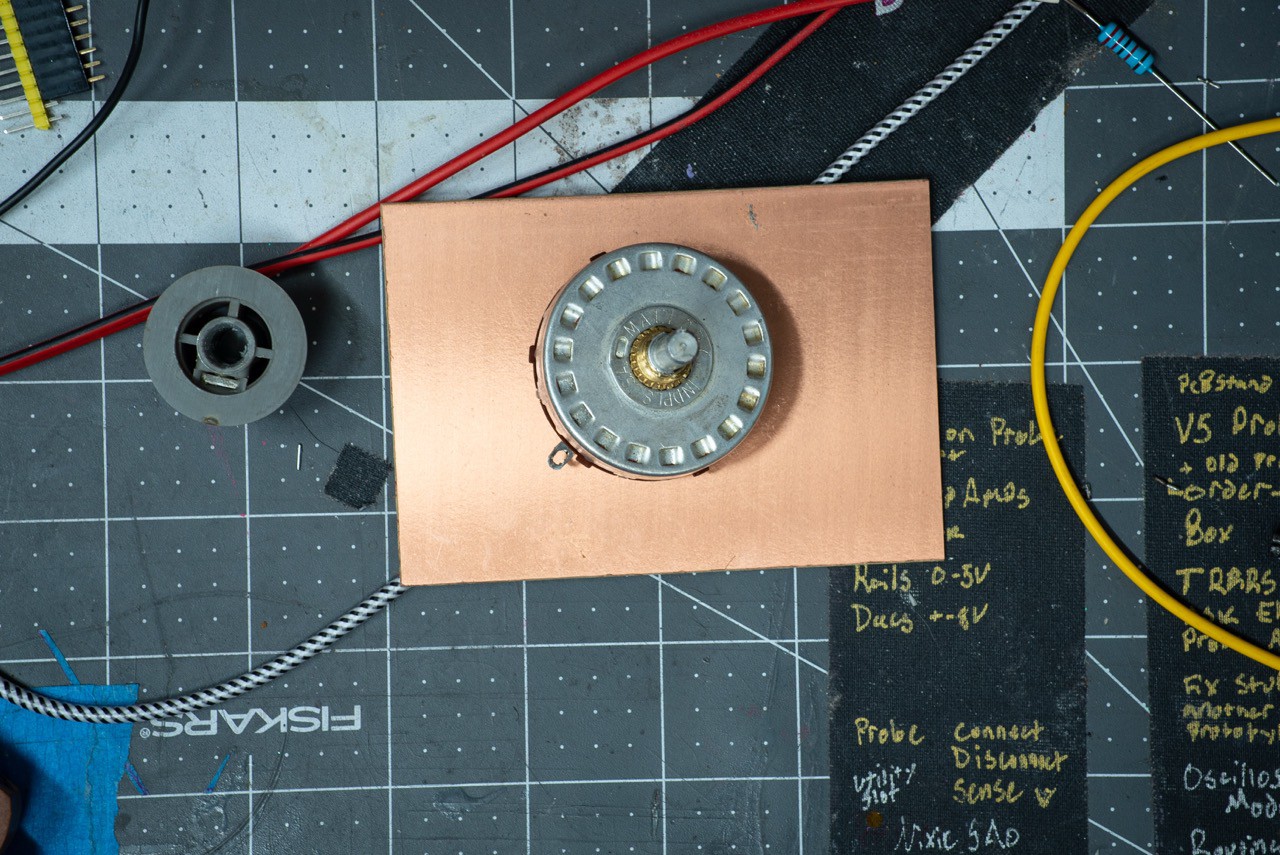
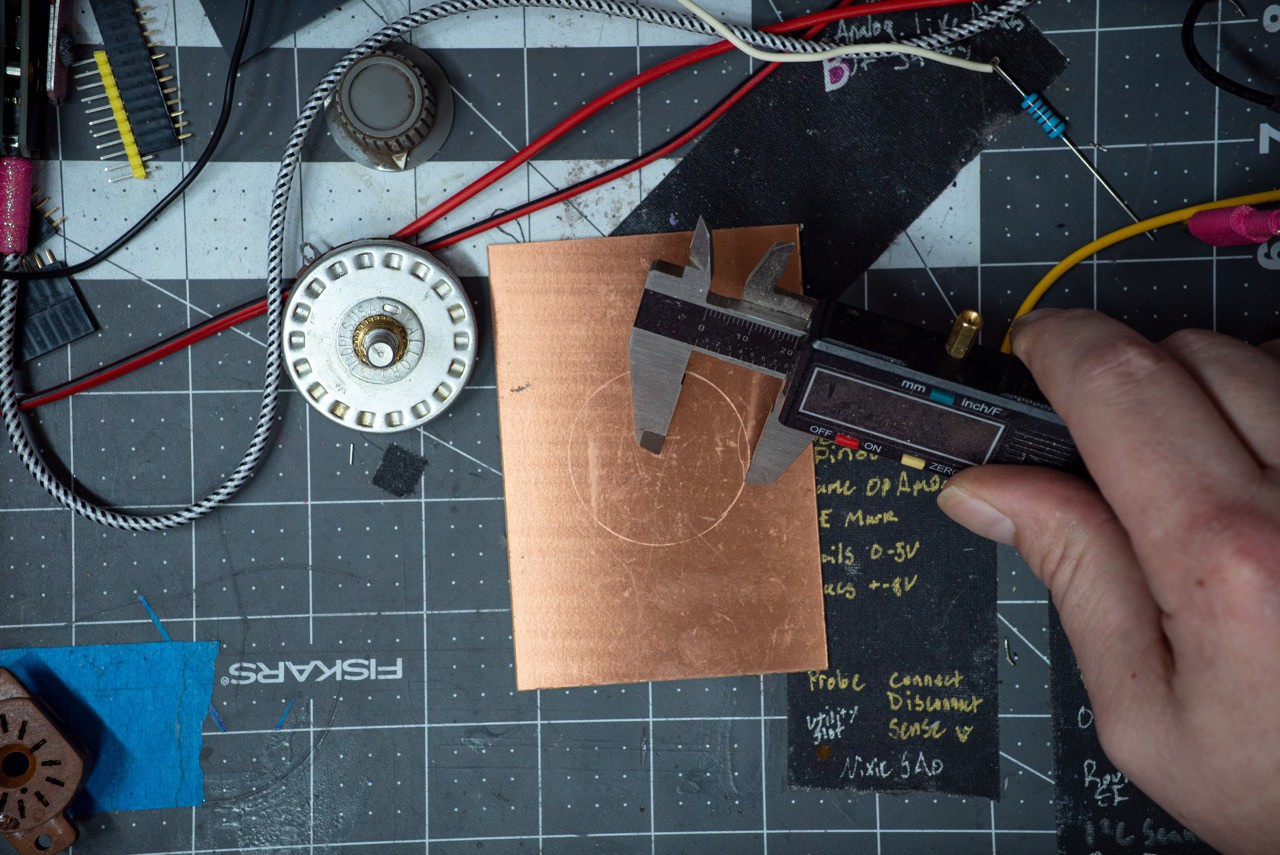
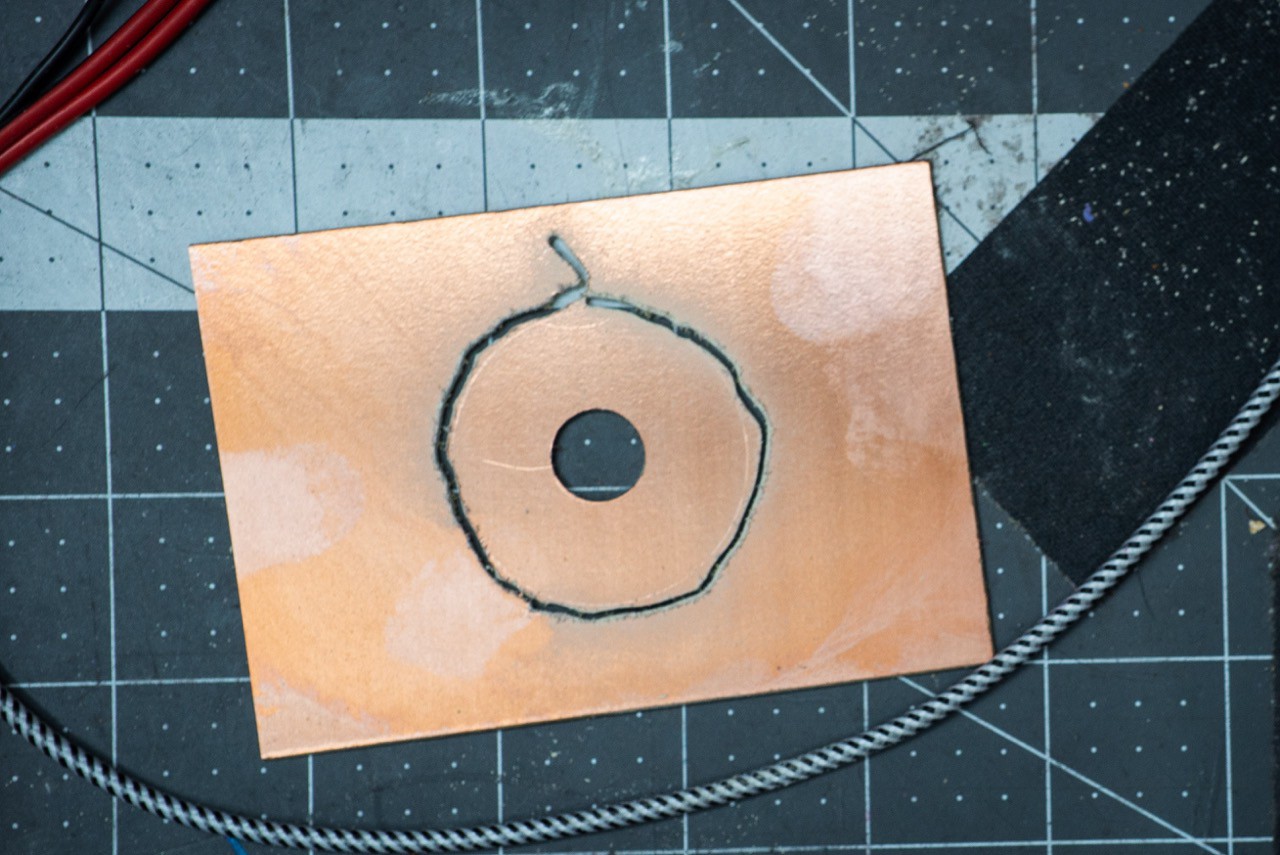
    I figured I'd just etch some tracks in some copper clad with a sharpie and ferric chloride, but then I realized I only need to remove a thin ring of material so I should just do it by hand.

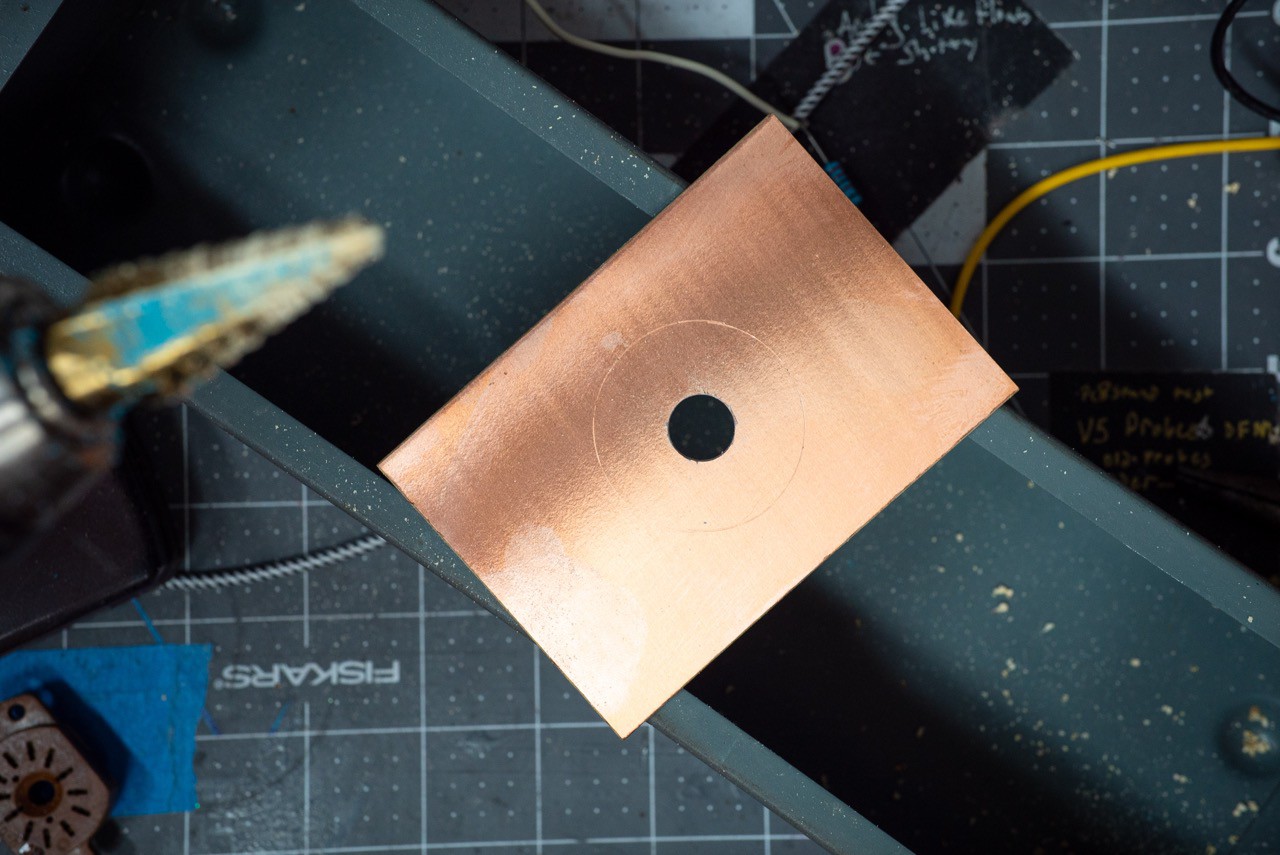
    Seriously where have step drills been all my life? I probably should have done this last, it would have been easier to center it on my drill.

    I should drink less coffee.

    Ghetto lathe.

    I just freehanded that middle ring with a dremel. 

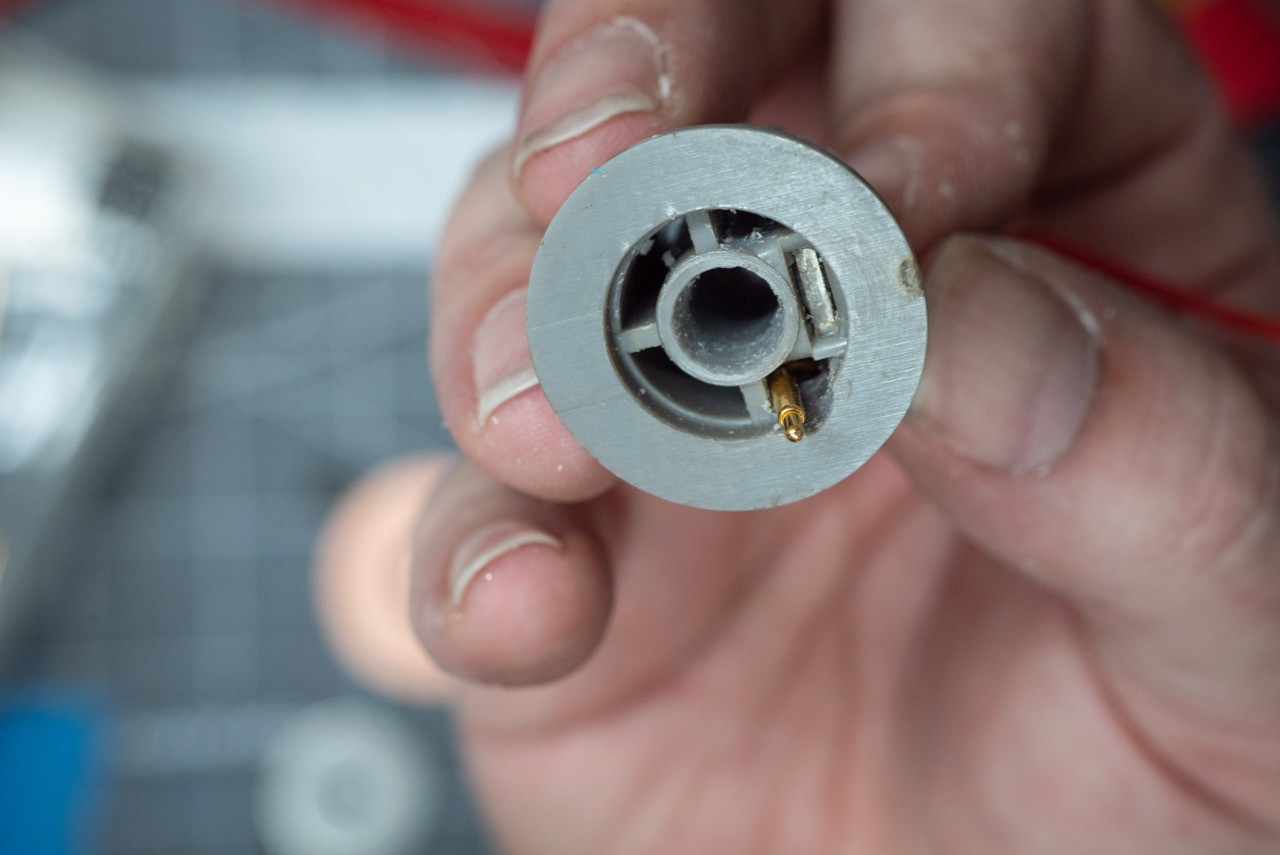
    Now I needed to put pogo pins on the knob to touch those rings:

    it would have been that simple if I didn't cut the middle hole too big, so it had to be angled.

    Yes, there is glitter in my hot glue. There's a hole through the side of the knob for the wire to poke out.

    The other one could just stick to the outside with super glue:

    I can't believe that all just worked without 3 hours of fiddling.


    Adding spiciness

    It fits. This is actually wired wrong, the HV out goes through that 12K resistor to the anode of the tube, the switch just selects which digit gets tied to ground. So there are no high voltages anywhere you'd reasonably touch.

    First test before soldering anything.

    I bent the legs of the tube outward and hella sketchy cracky noises ensued. The datasheet assures that it's not really enough Krypton 85 do do anything so I wasn't too worried about that, but then I'd have to use another one.

    If you're wondering why the numbers seem to be mapped to a random number of detents, here's why. I just soldered the legs to whichever tabs were the closest. So some numbers are only one click while others are 3. The power of solder blobs. 


    And that was it. Now I can move on with my life.

    I guess it's not really an SAO until I find another one in my junk heap and steal the connector from it. Regular 2 row pin headers probably won't cut it here, I need that plastic locky mechanism.

View project log

Enjoy this project?

Share

Discussions

|\/|onspageTTi wrote 11/06/2024 at 20:38 point

...DOPE AF!

  Are you sure? yes | no

Andy Geppert wrote 09/12/2024 at 03:29 point

Pretty glow!

  Are you sure? yes | no

Similar Projects

Does this project spark your interest?

Become a member to follow this project and never miss any updates