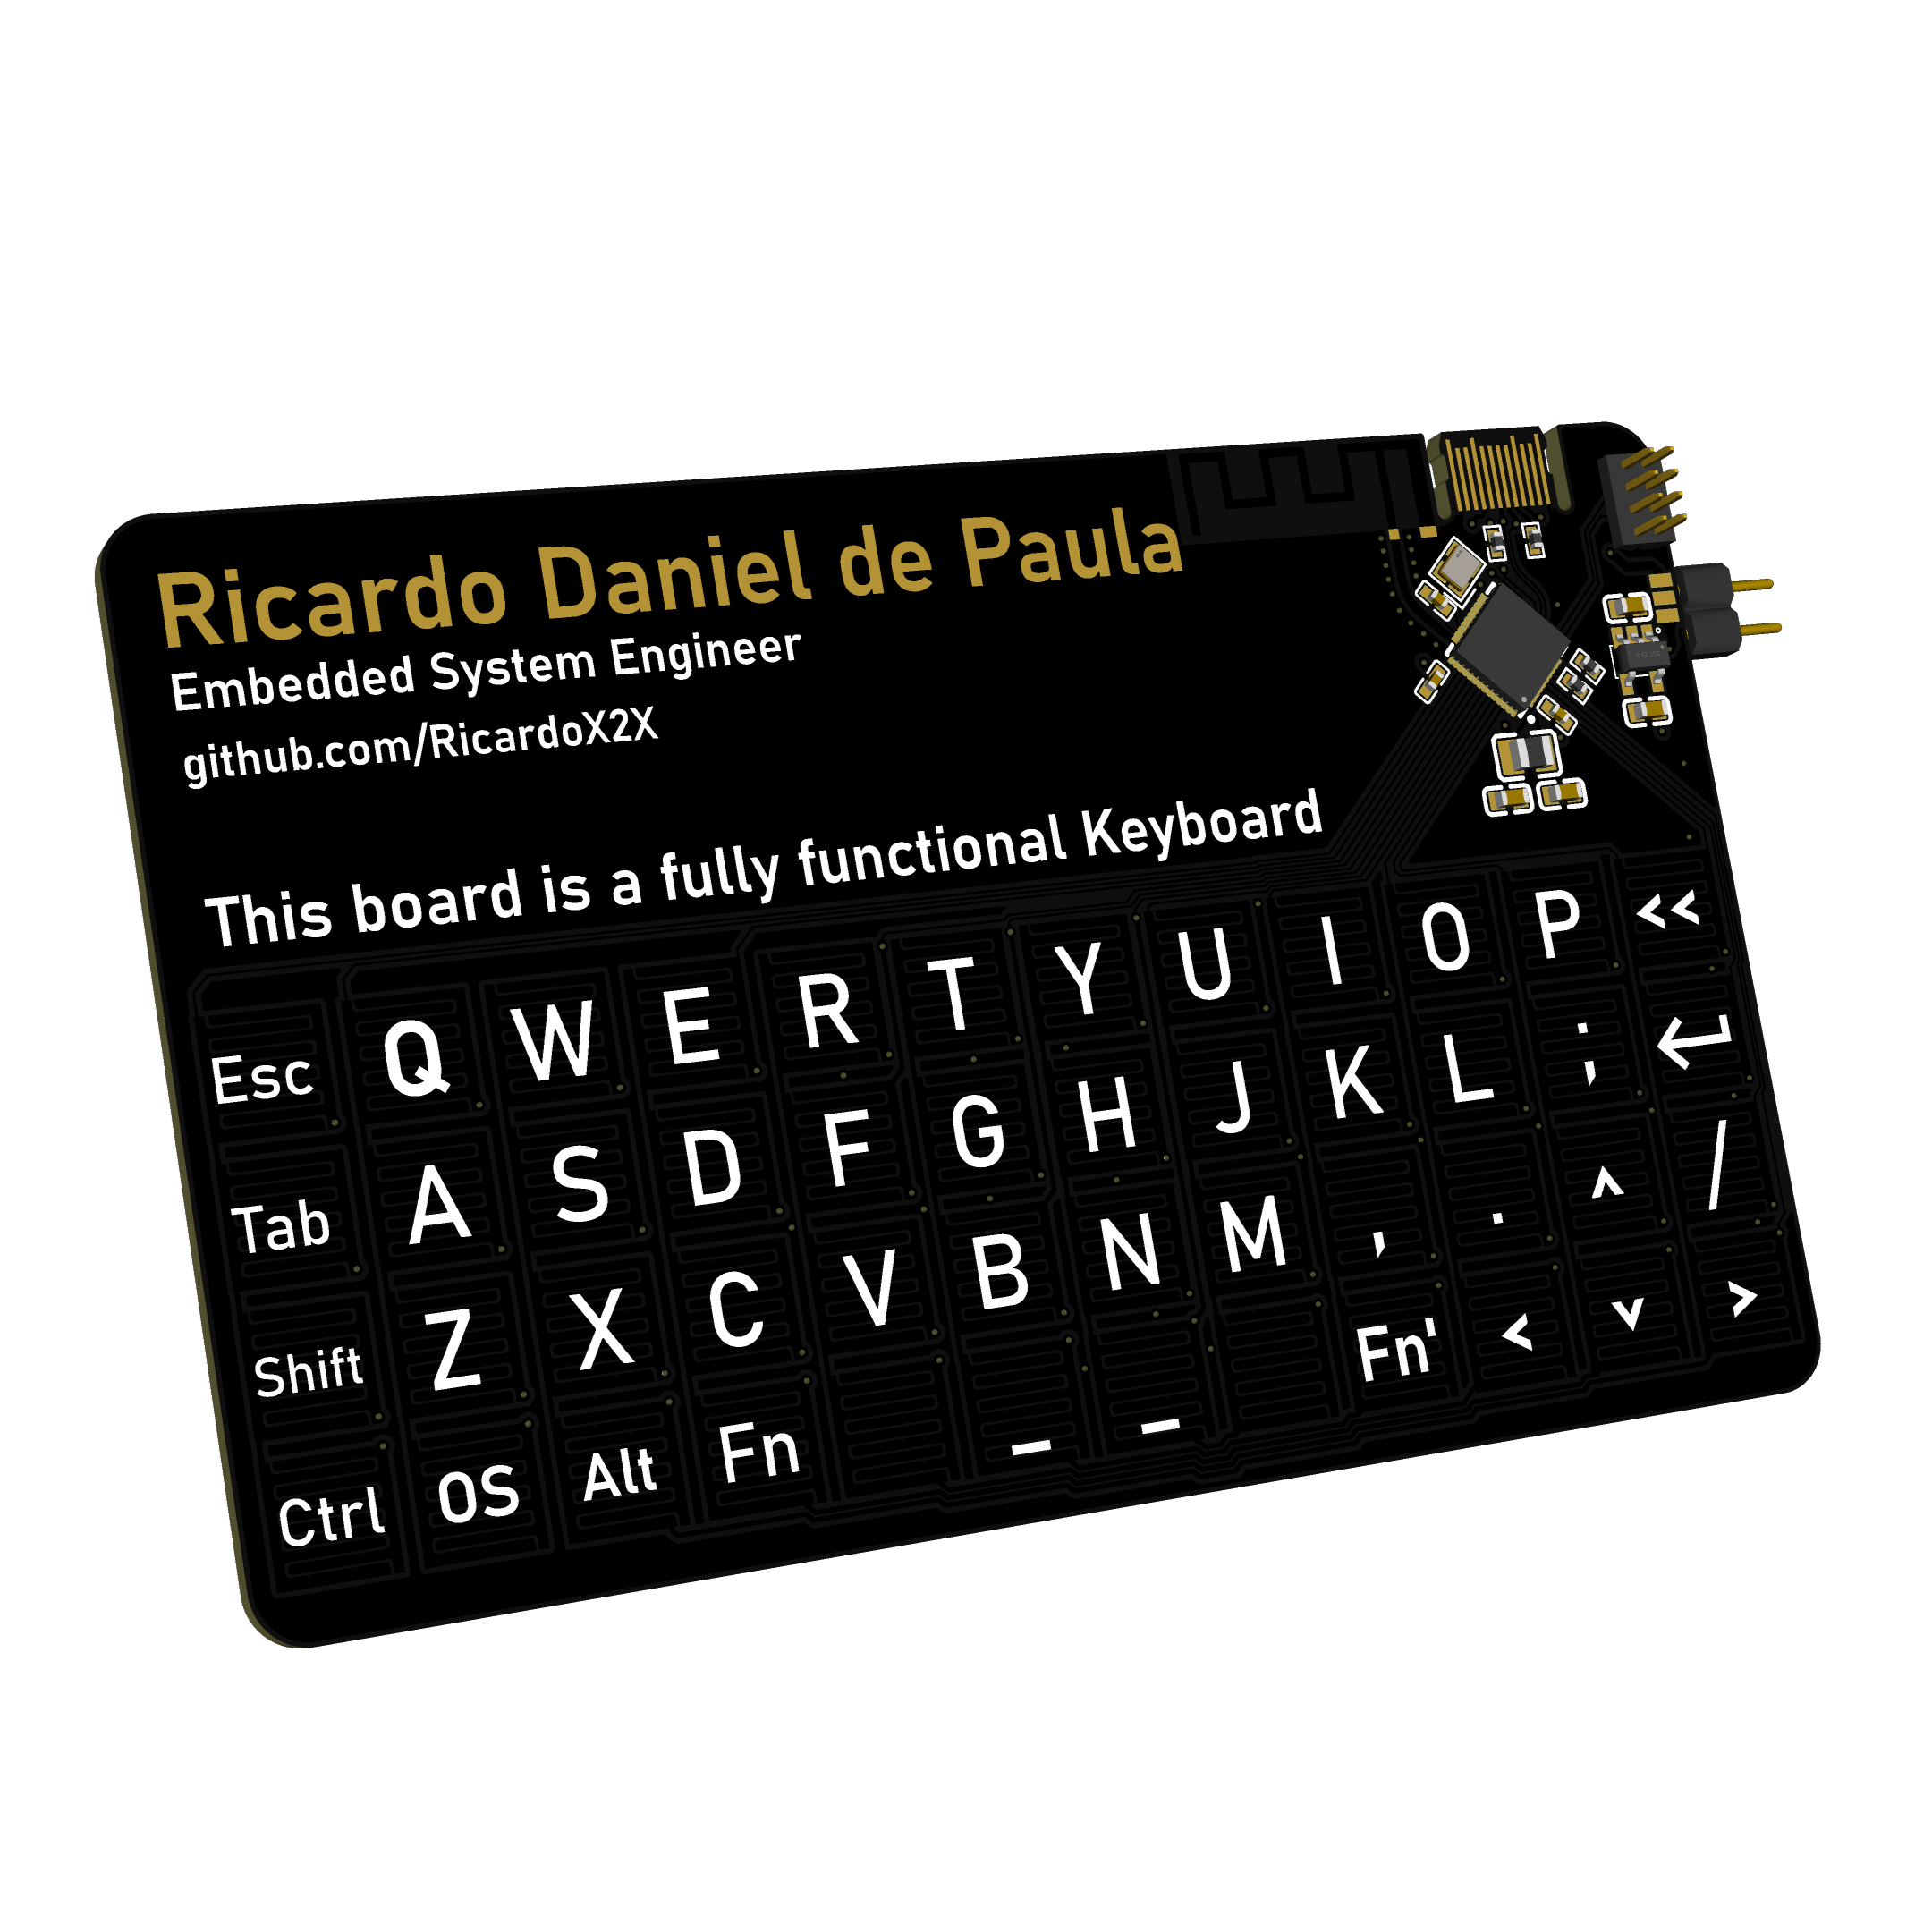
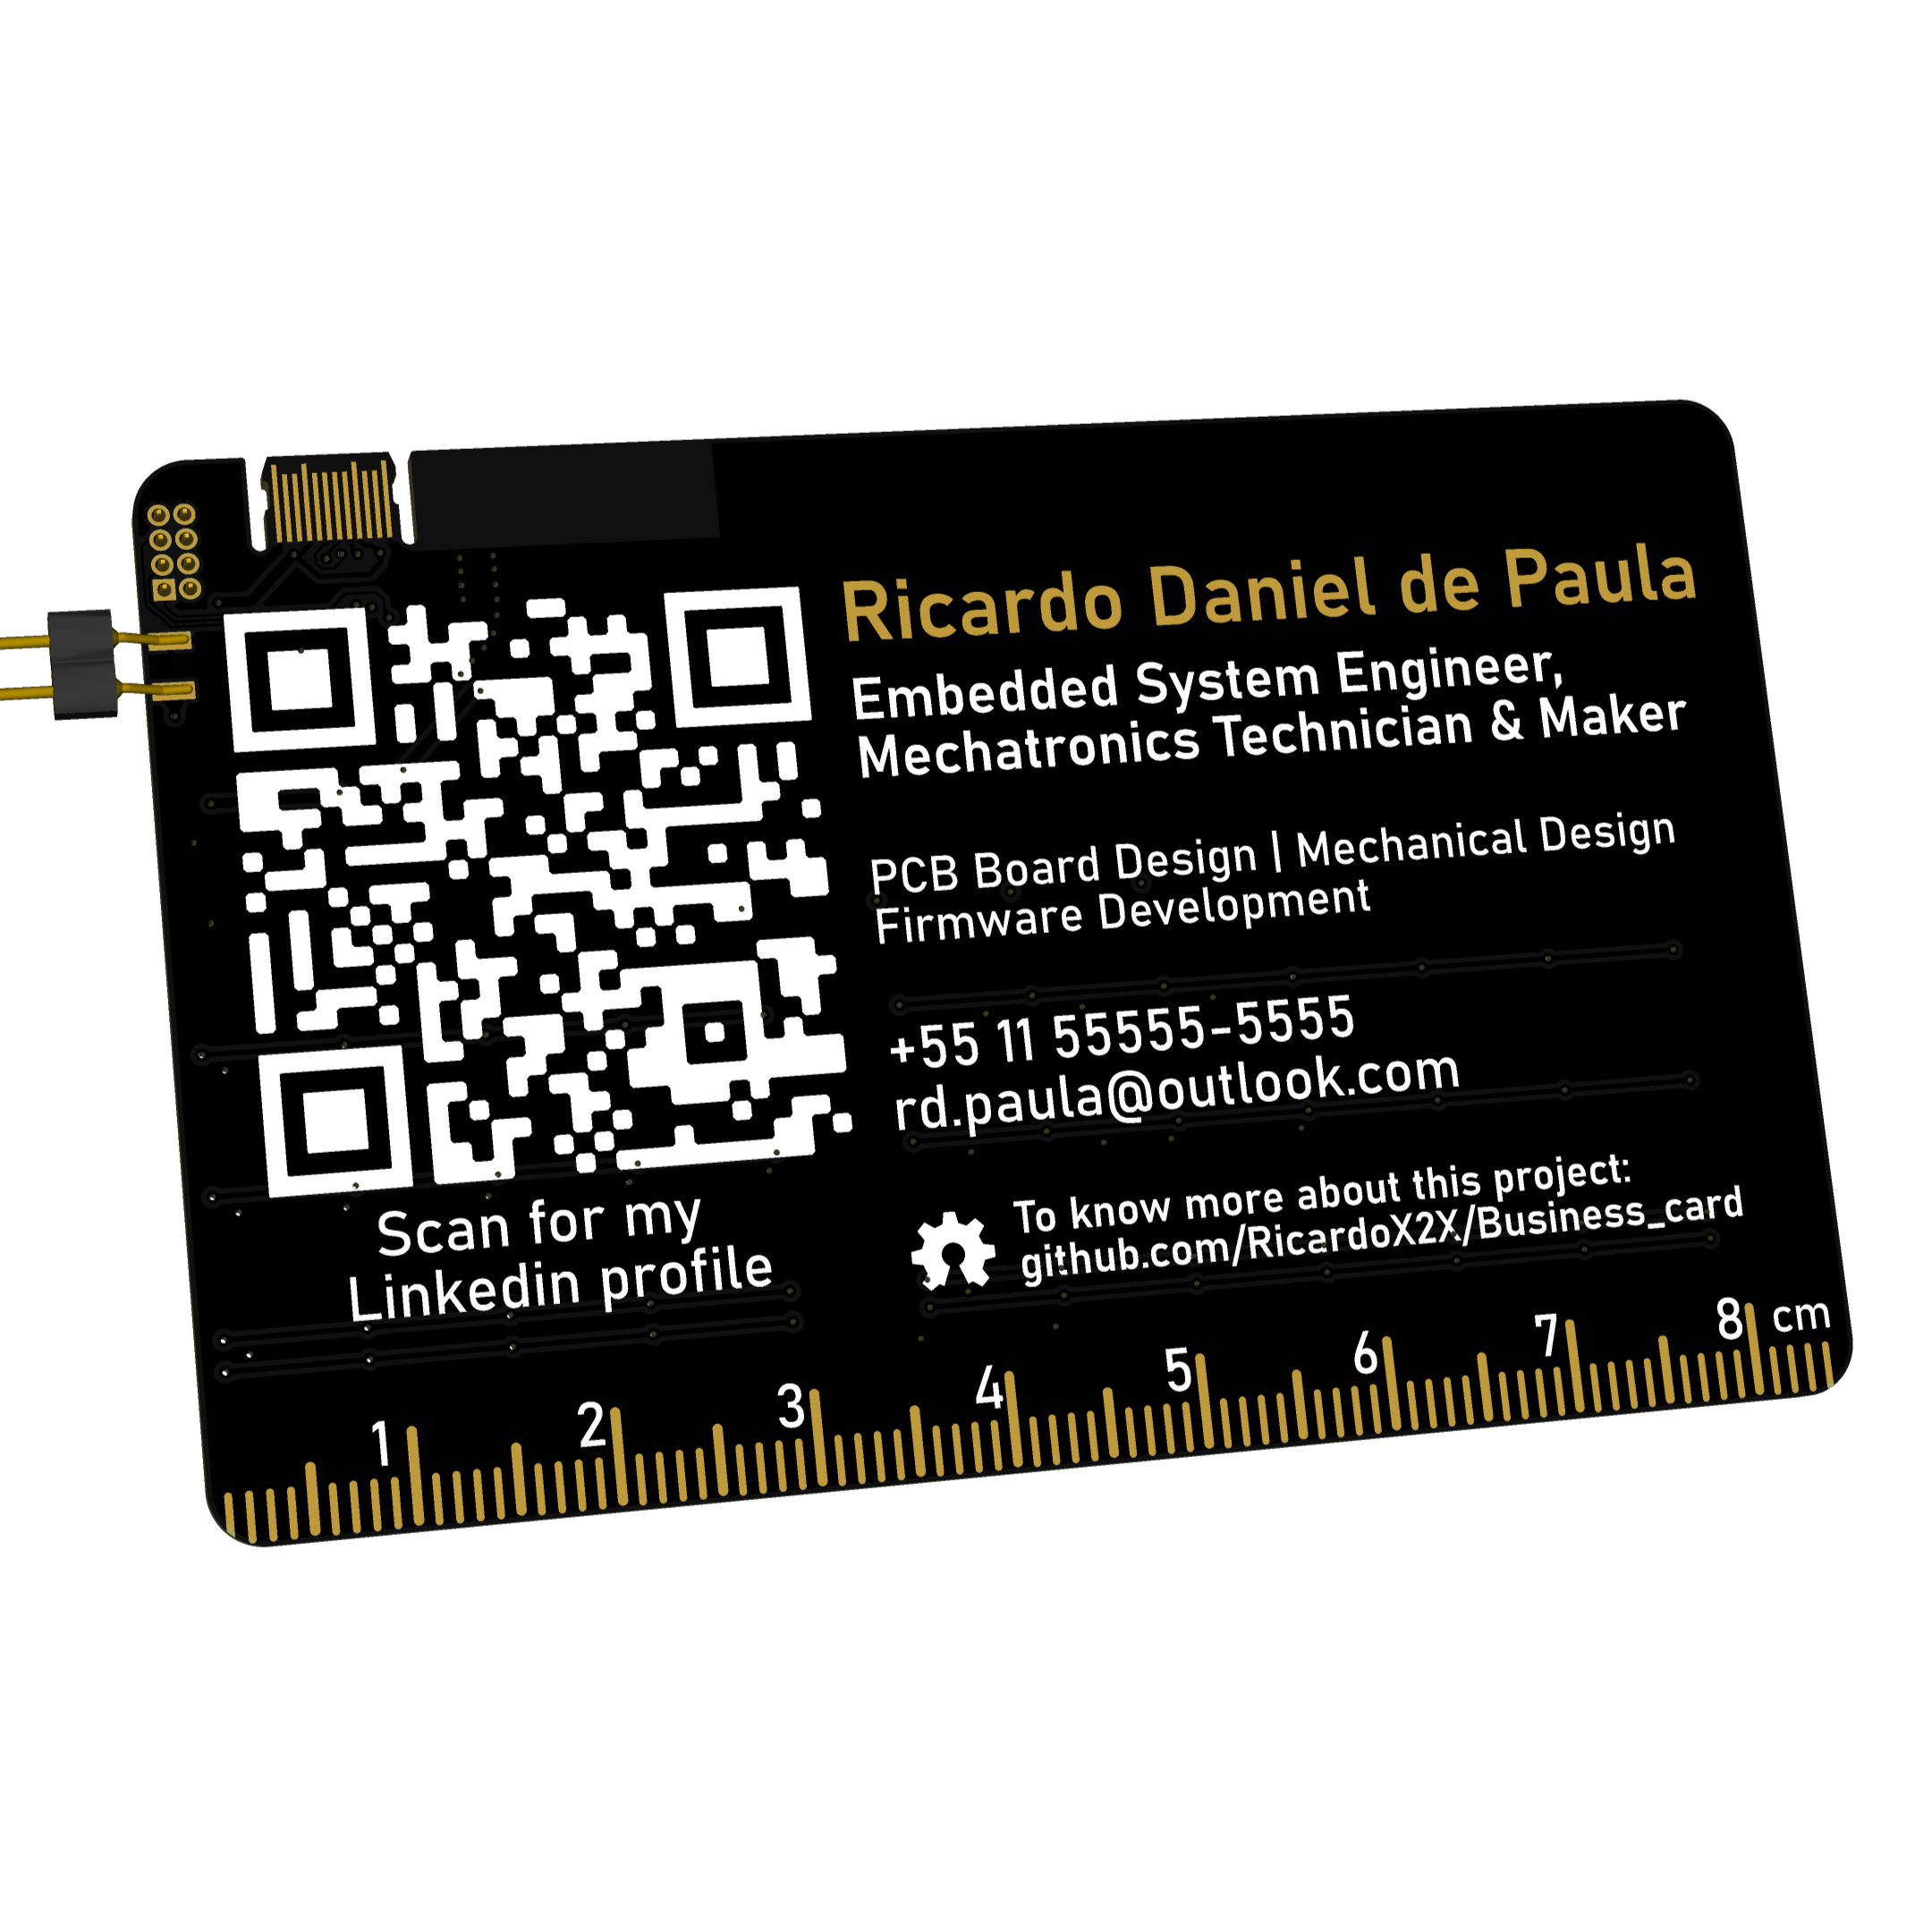
 Ricardo Daniel de Paula
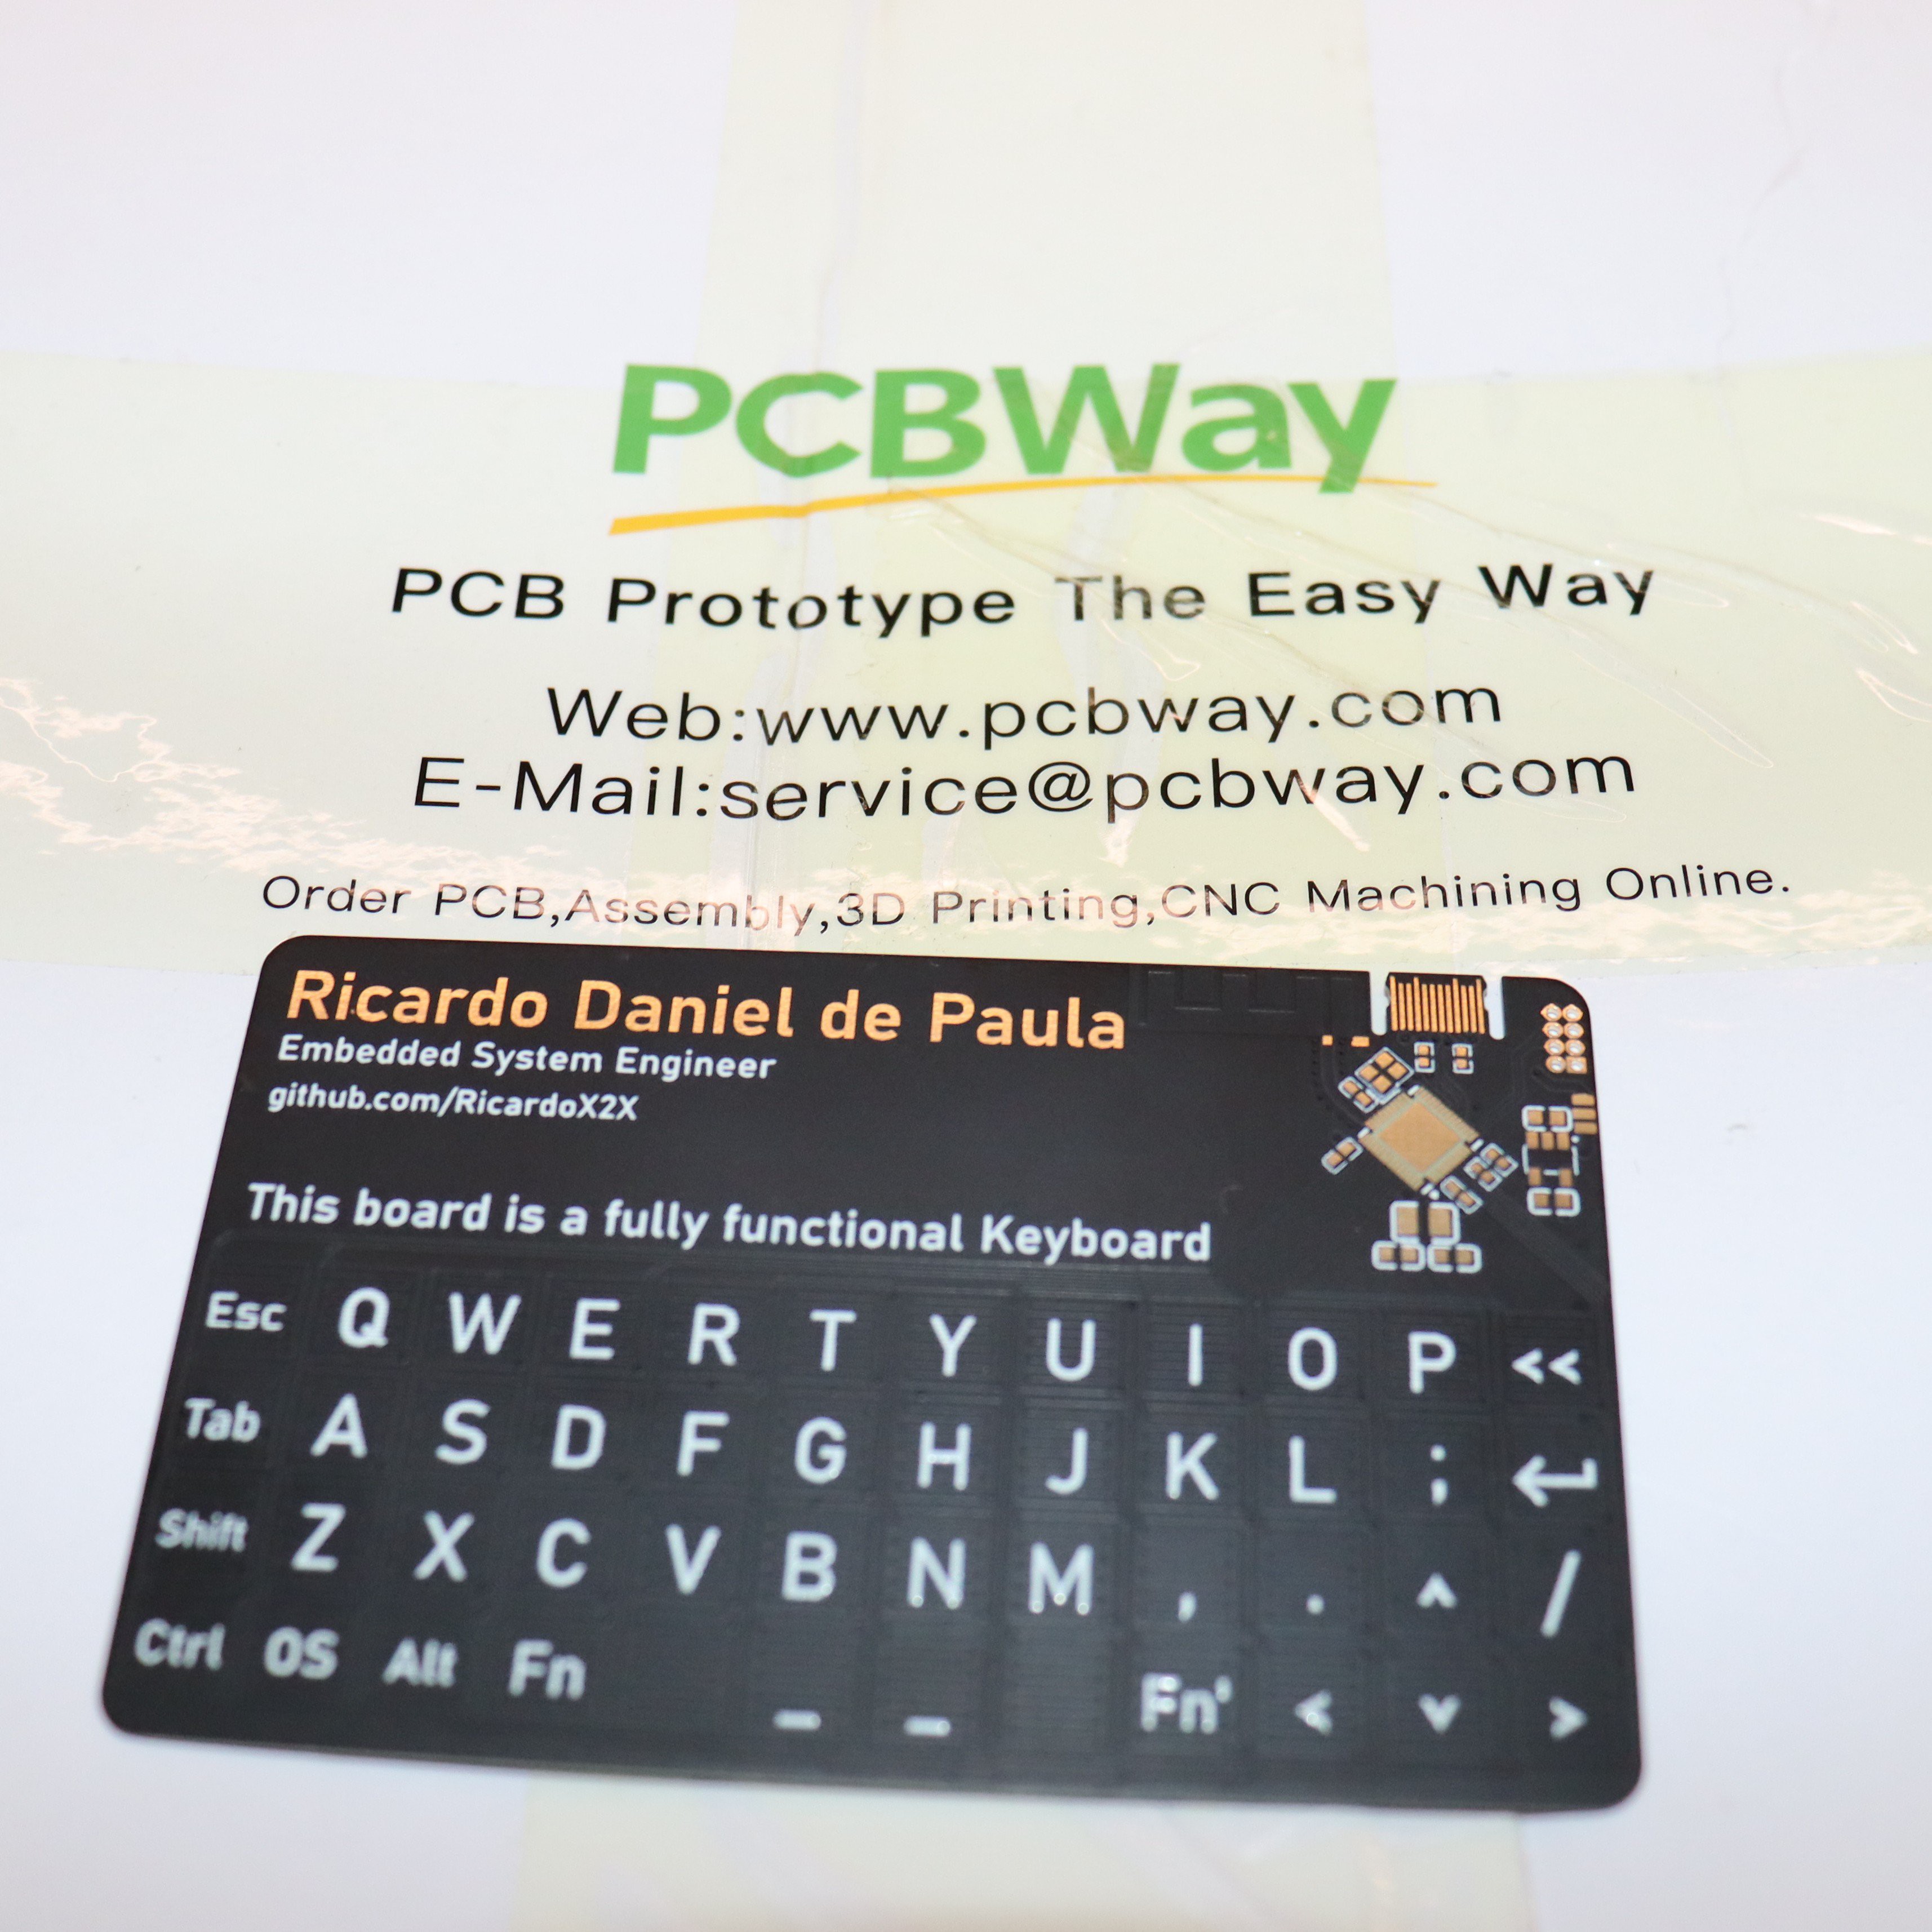
This project is proudly sponsored by PCBWay.
For high-quality circuit boards, assembly services, and machined or 3D-printed parts, visit Pcbway!

Keyboard Business Card - OSHWLab for schematics and PCB project.
&
RicardoX2X/Business_card (github.com) for the firmware.
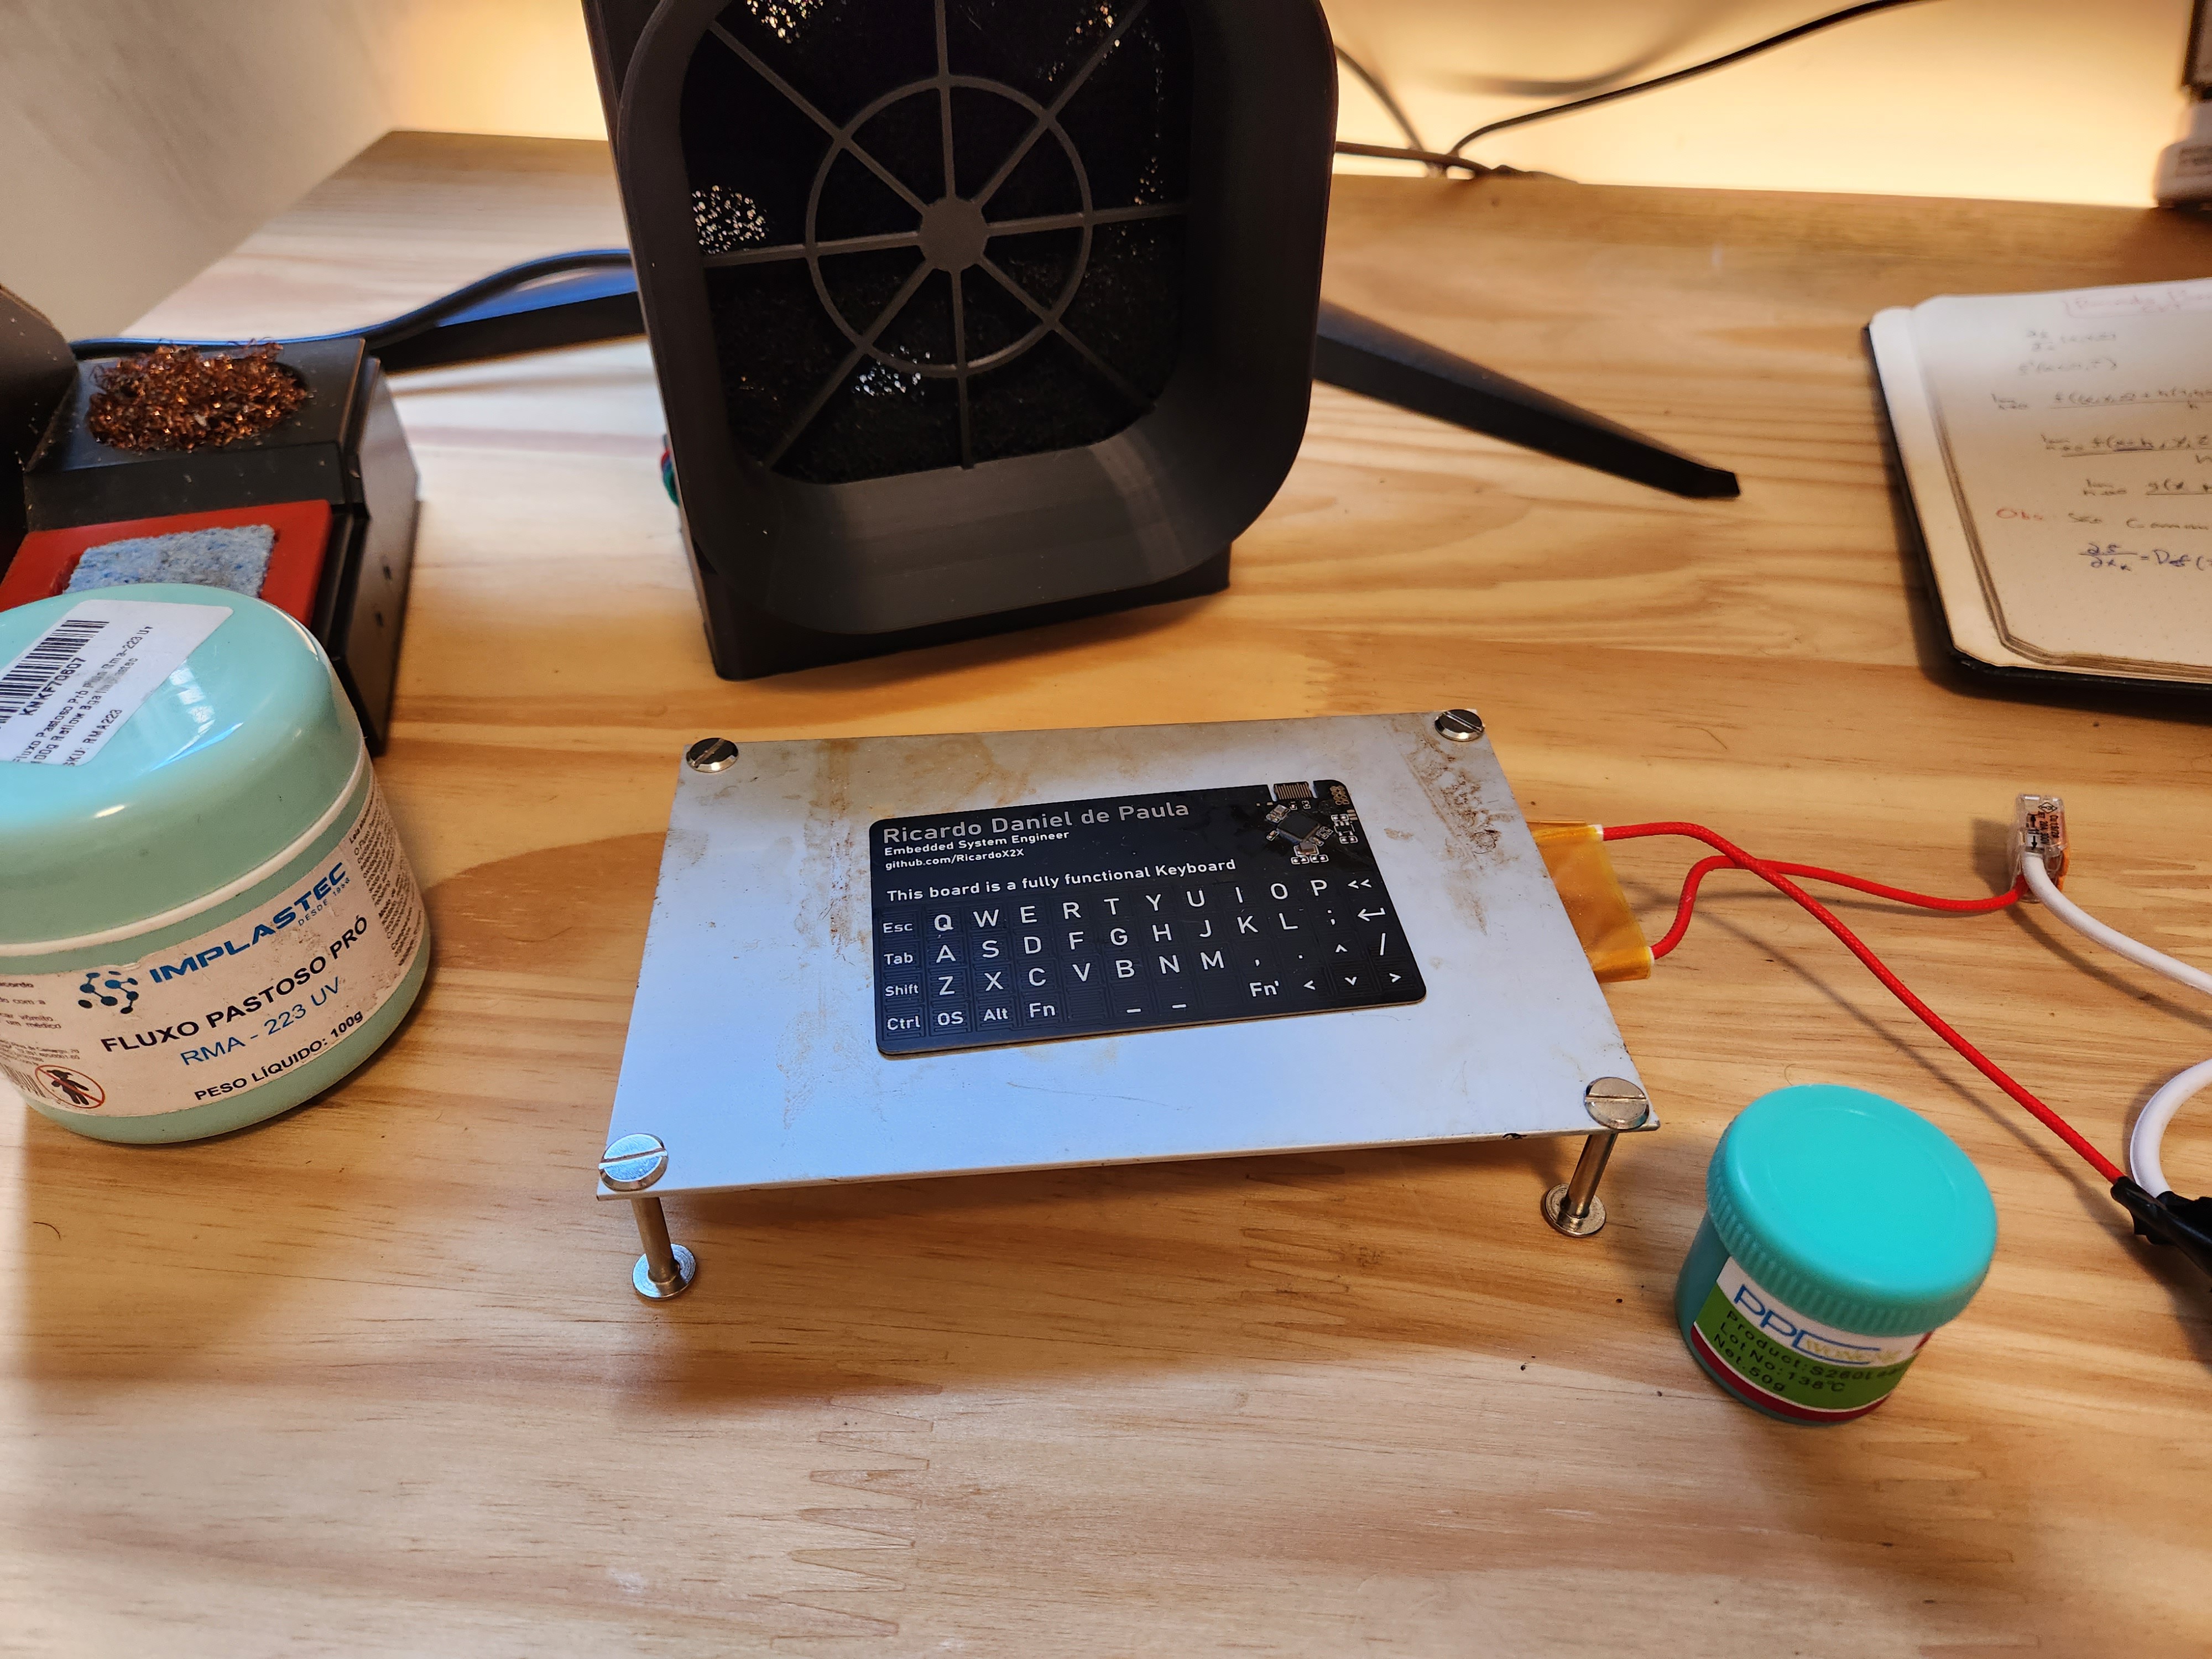
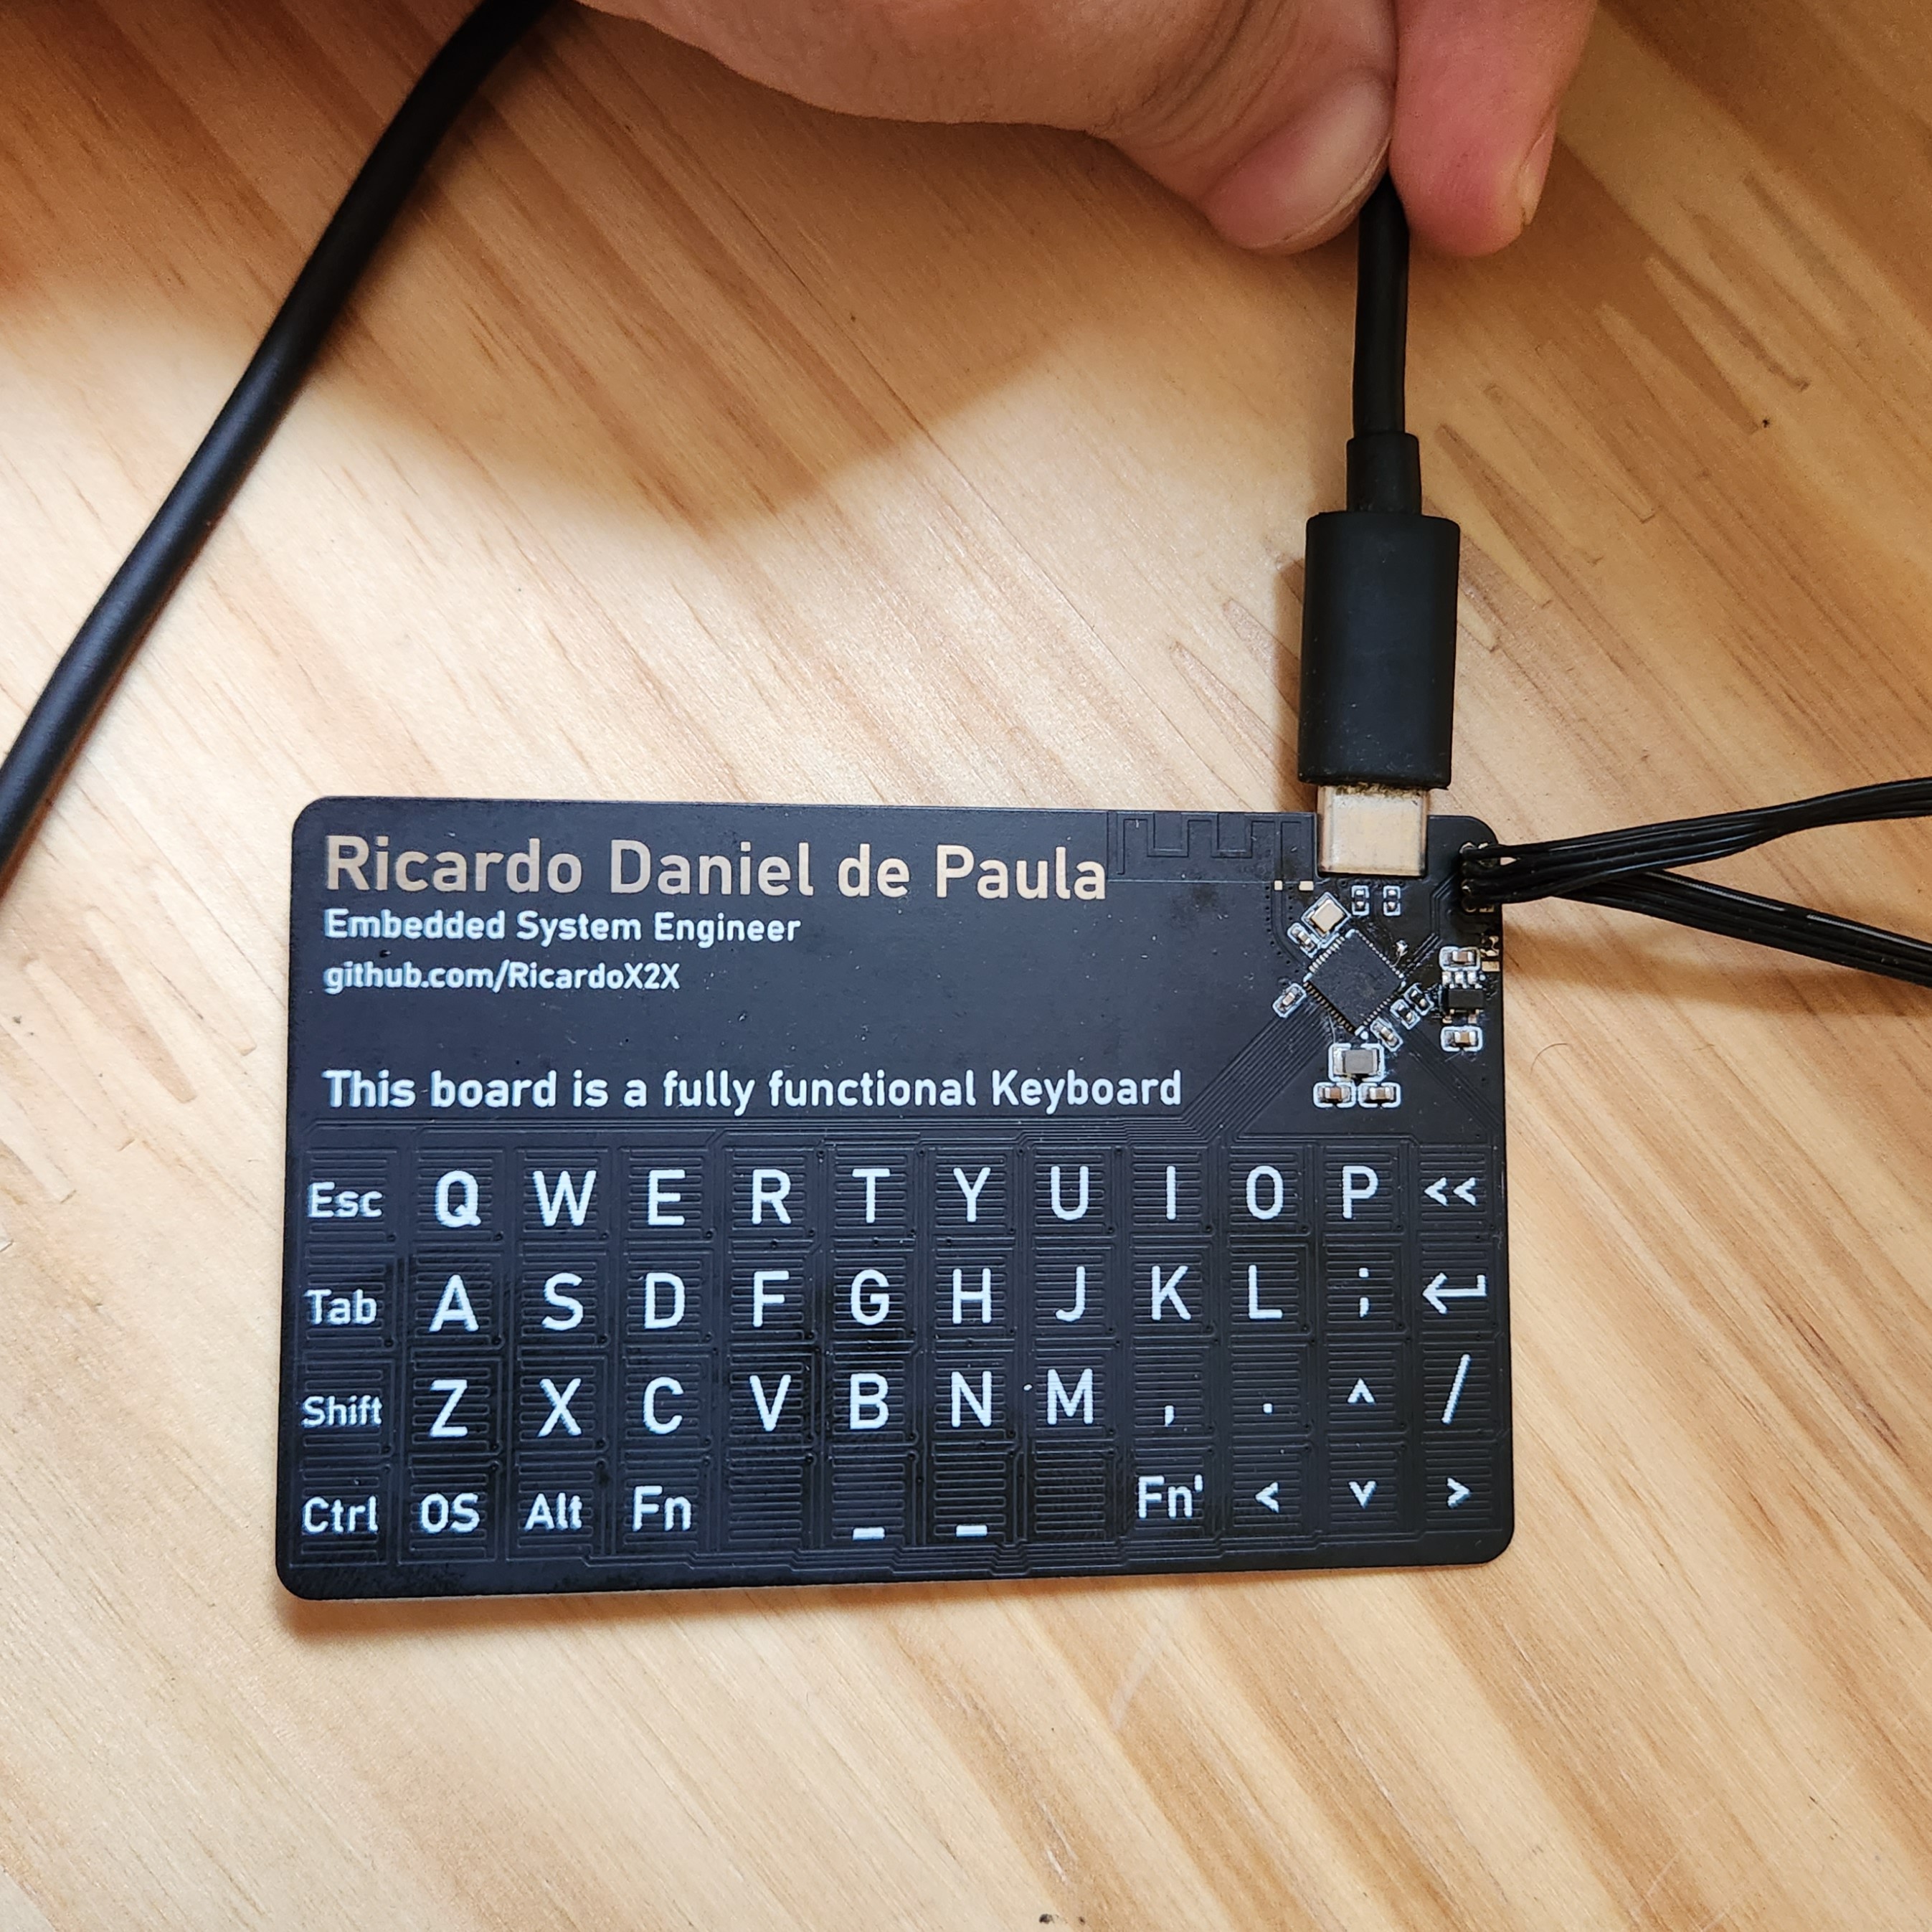
Project Overview:

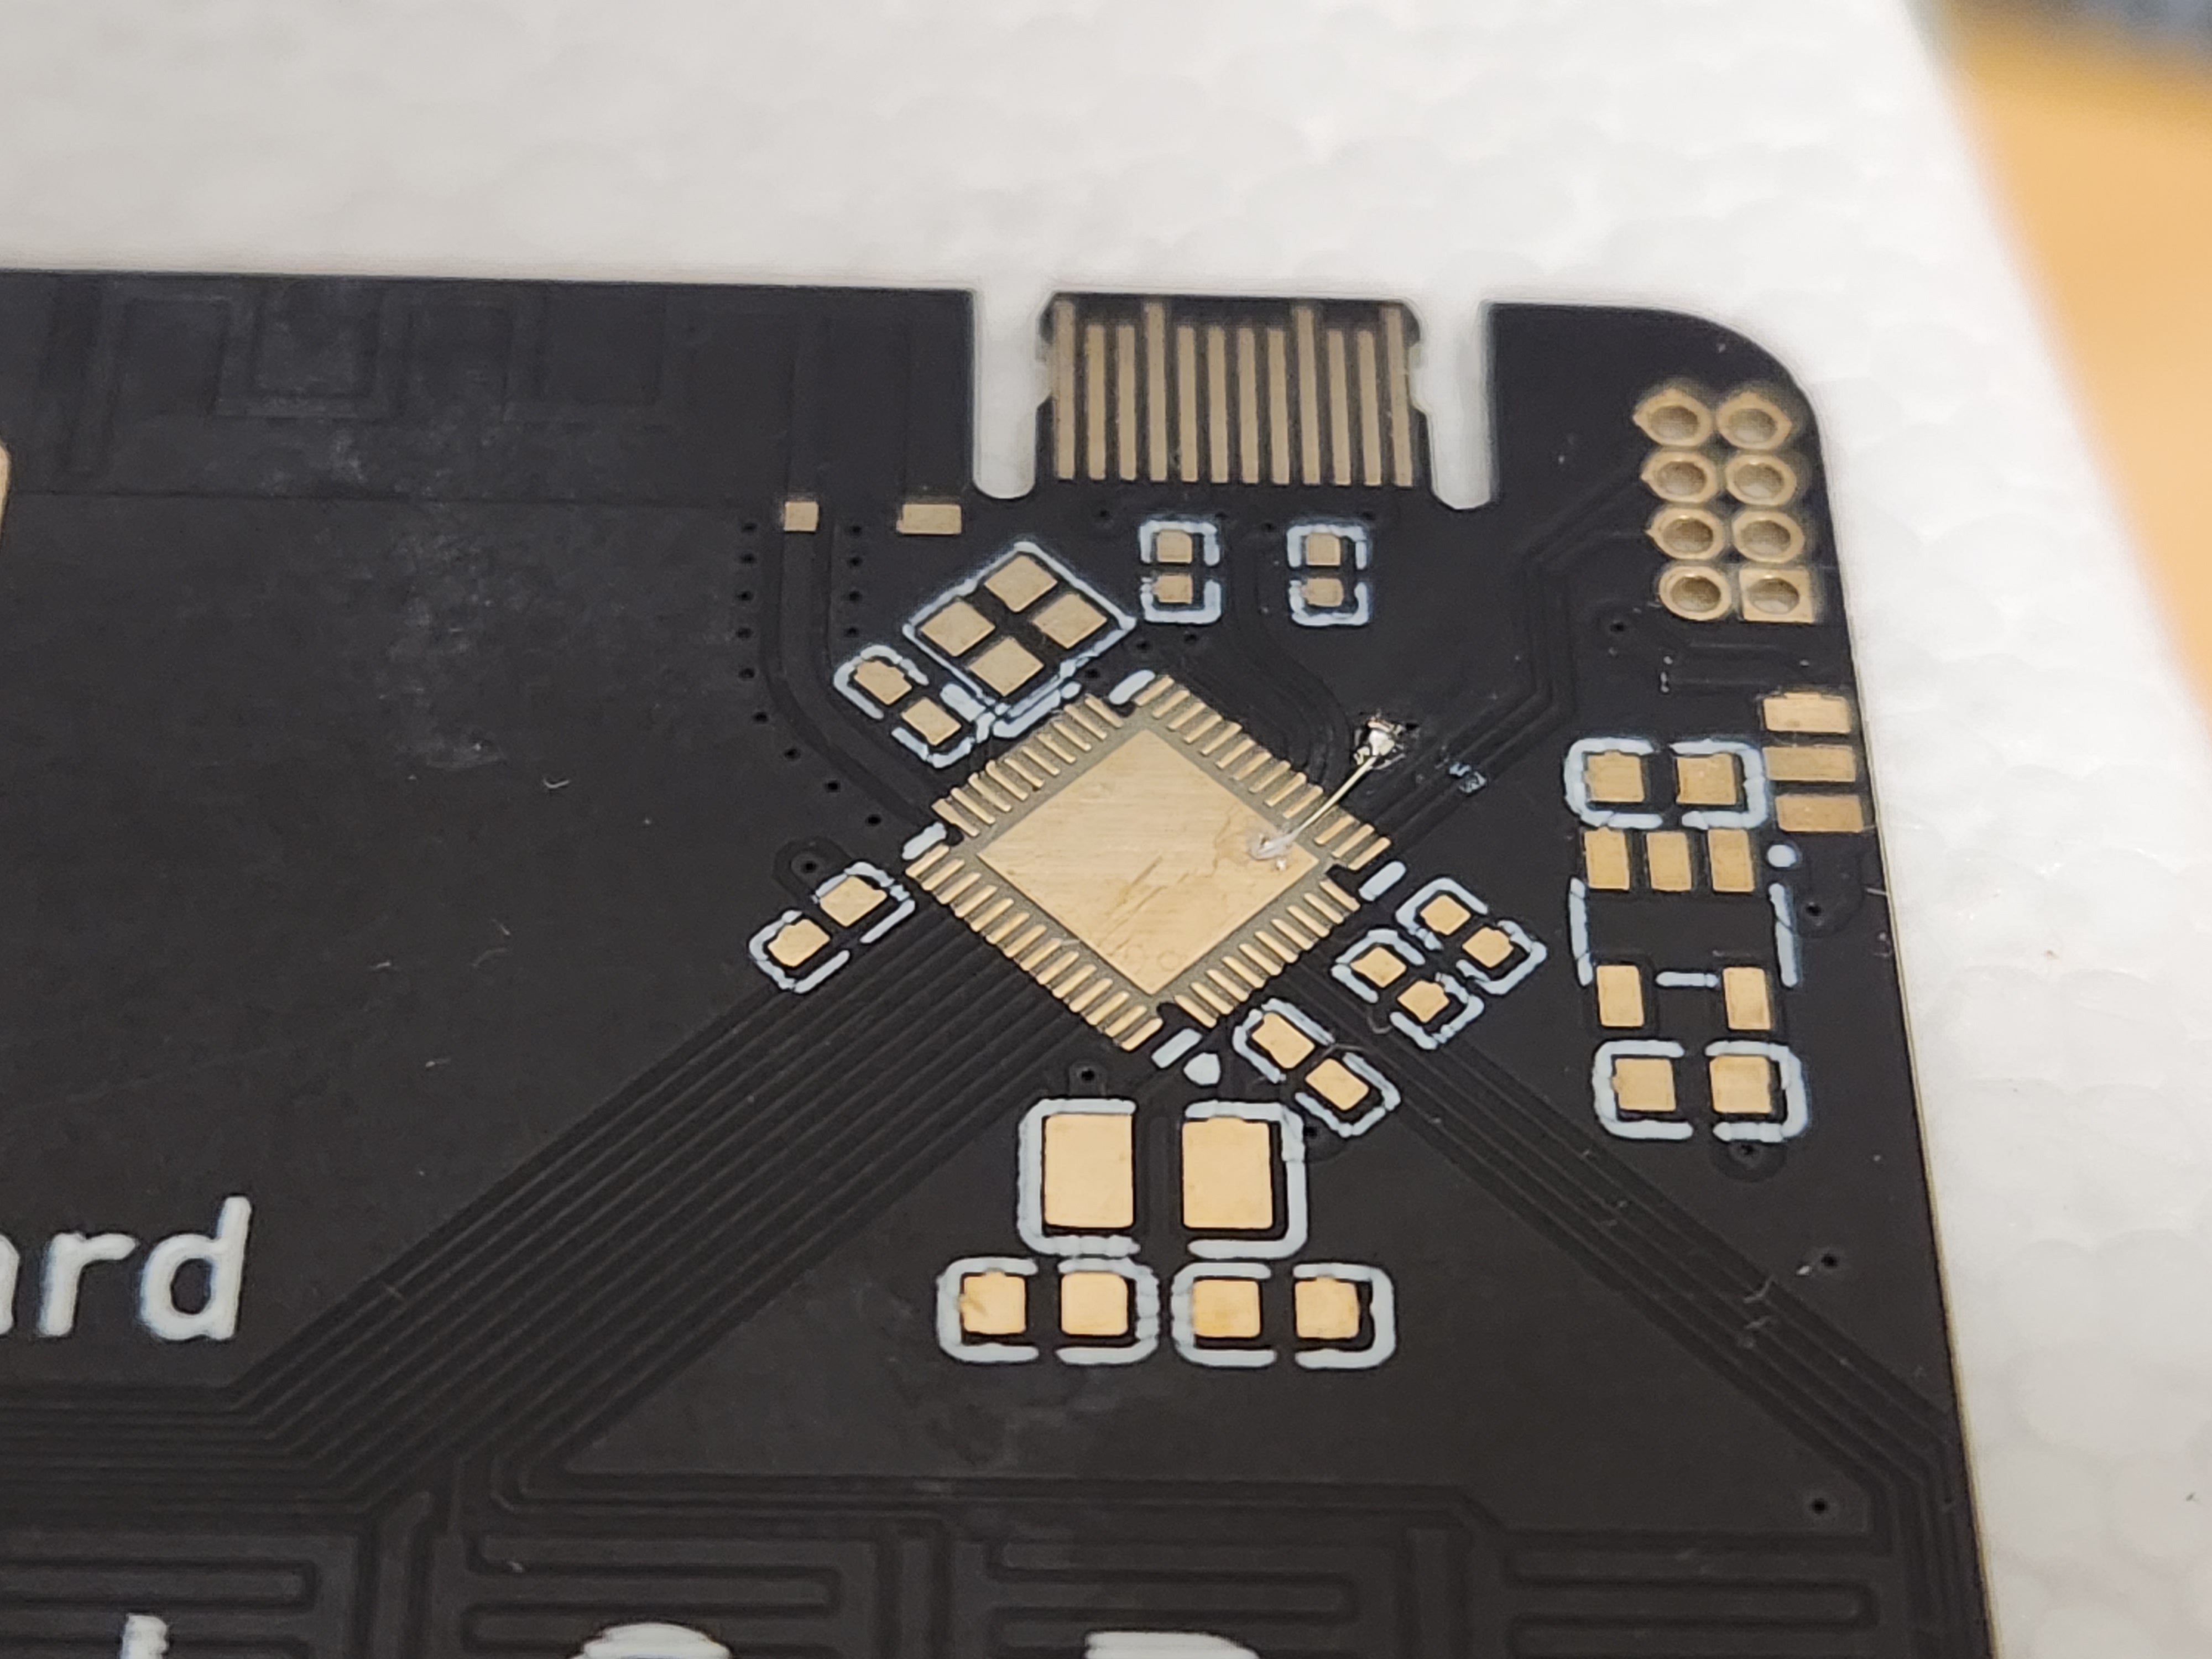
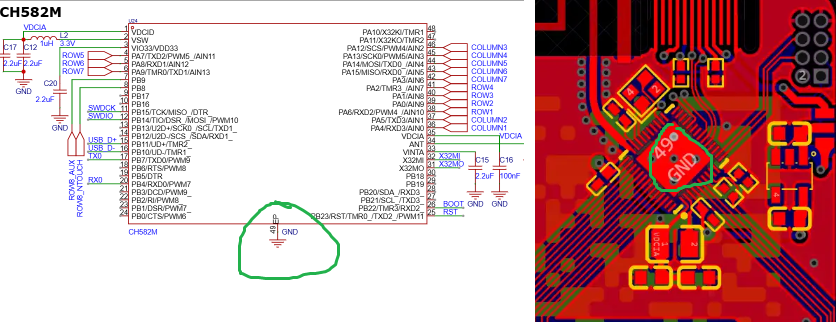
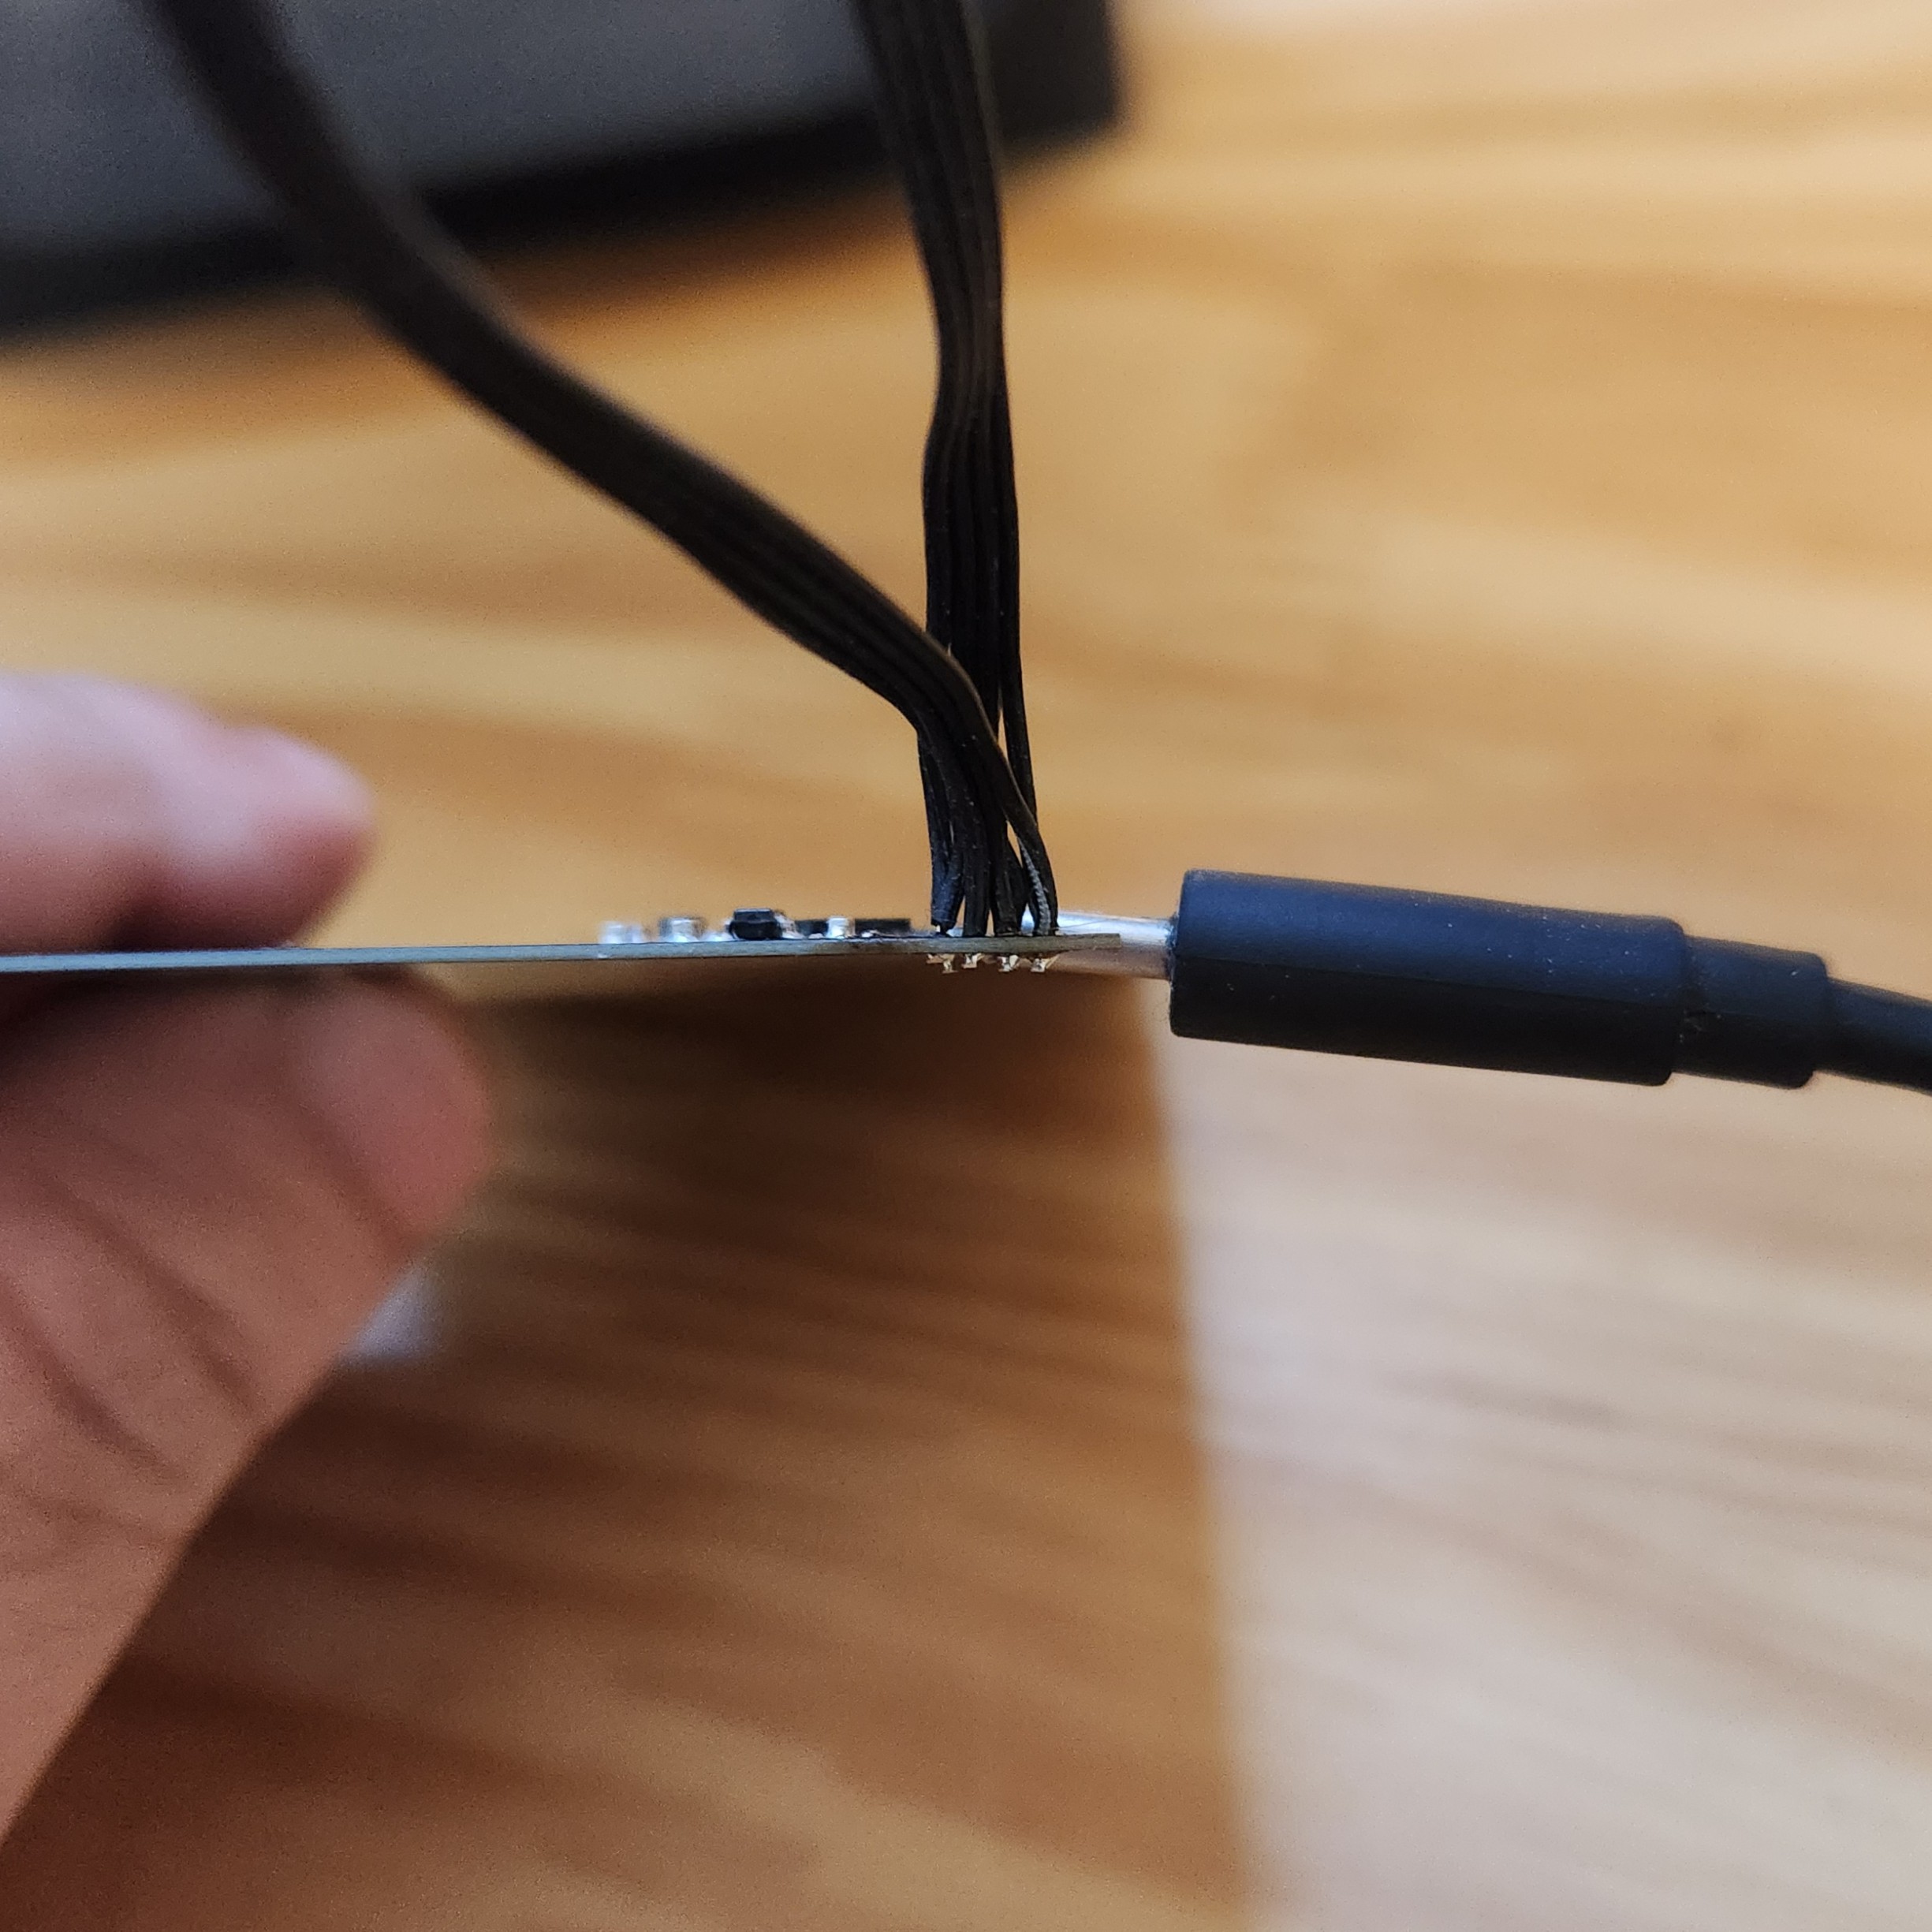
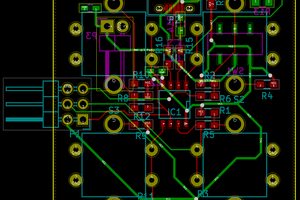
 Here's a close look at the antenna and main electronics:
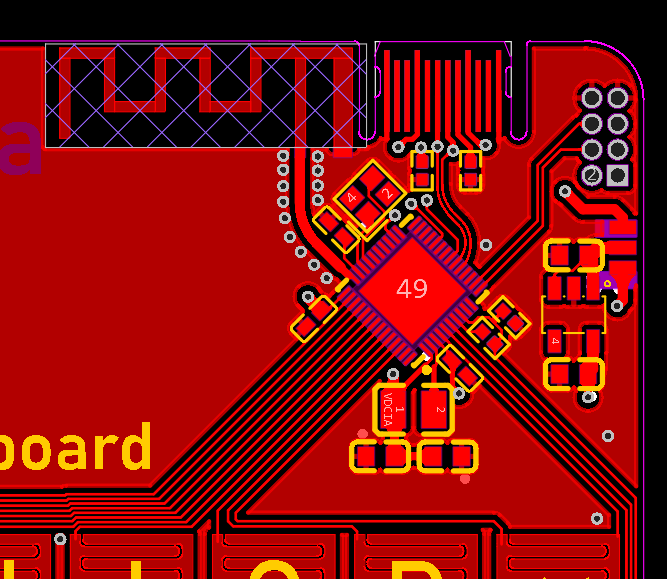


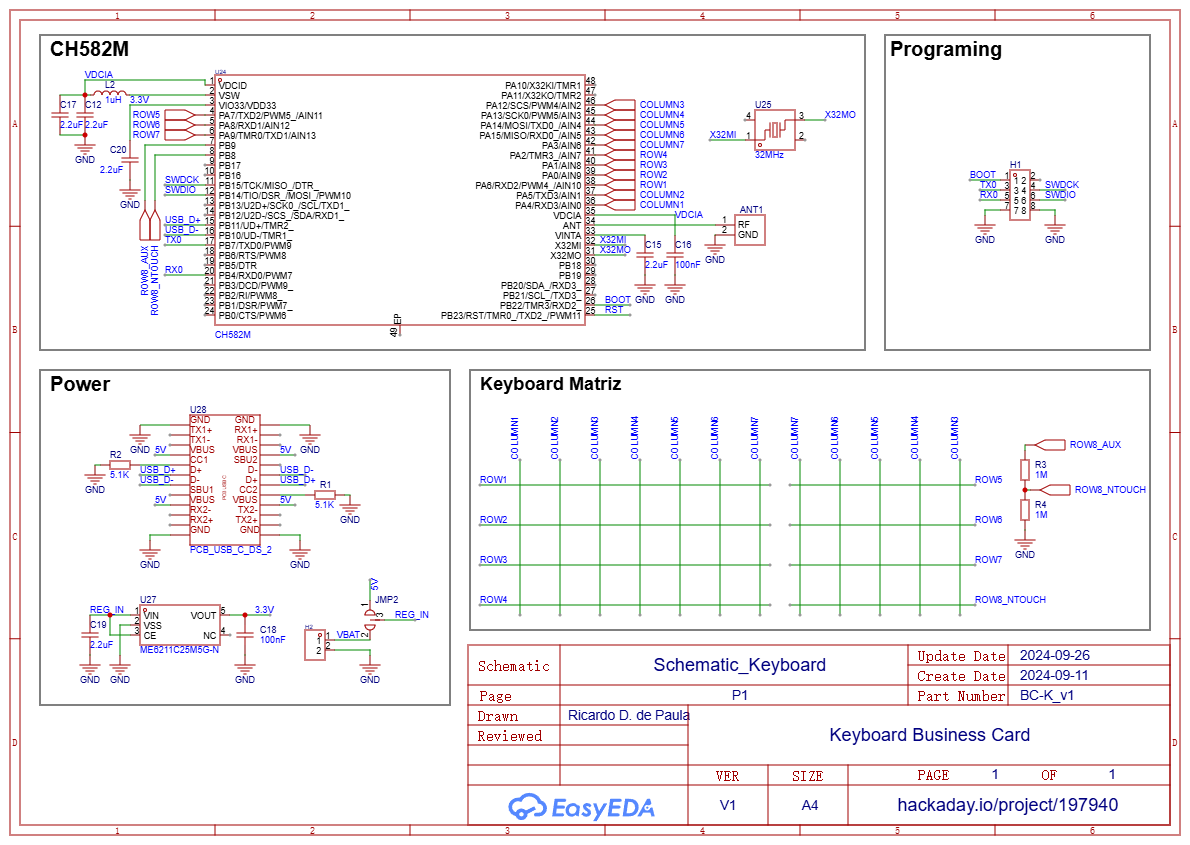
 The chip not only have 14 touchKeys and USB support, but also have Bluetooth Low Energy module AND are in the same price of the CH32V303, so it is the perfect choice, and maybe it can add a feature that wasn't in my plans; wireless.


 Stefan Mitic
 Dan Julio
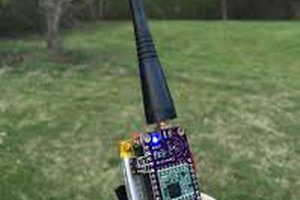
 Taiwo
Taiwo
 Antti Lukats
caraca, irmão, perfeito o trabalho. isso e muito util para usar no celular caso deseja utilizar a tela toda do celular.