-
1Making Spongebob's body
![]()
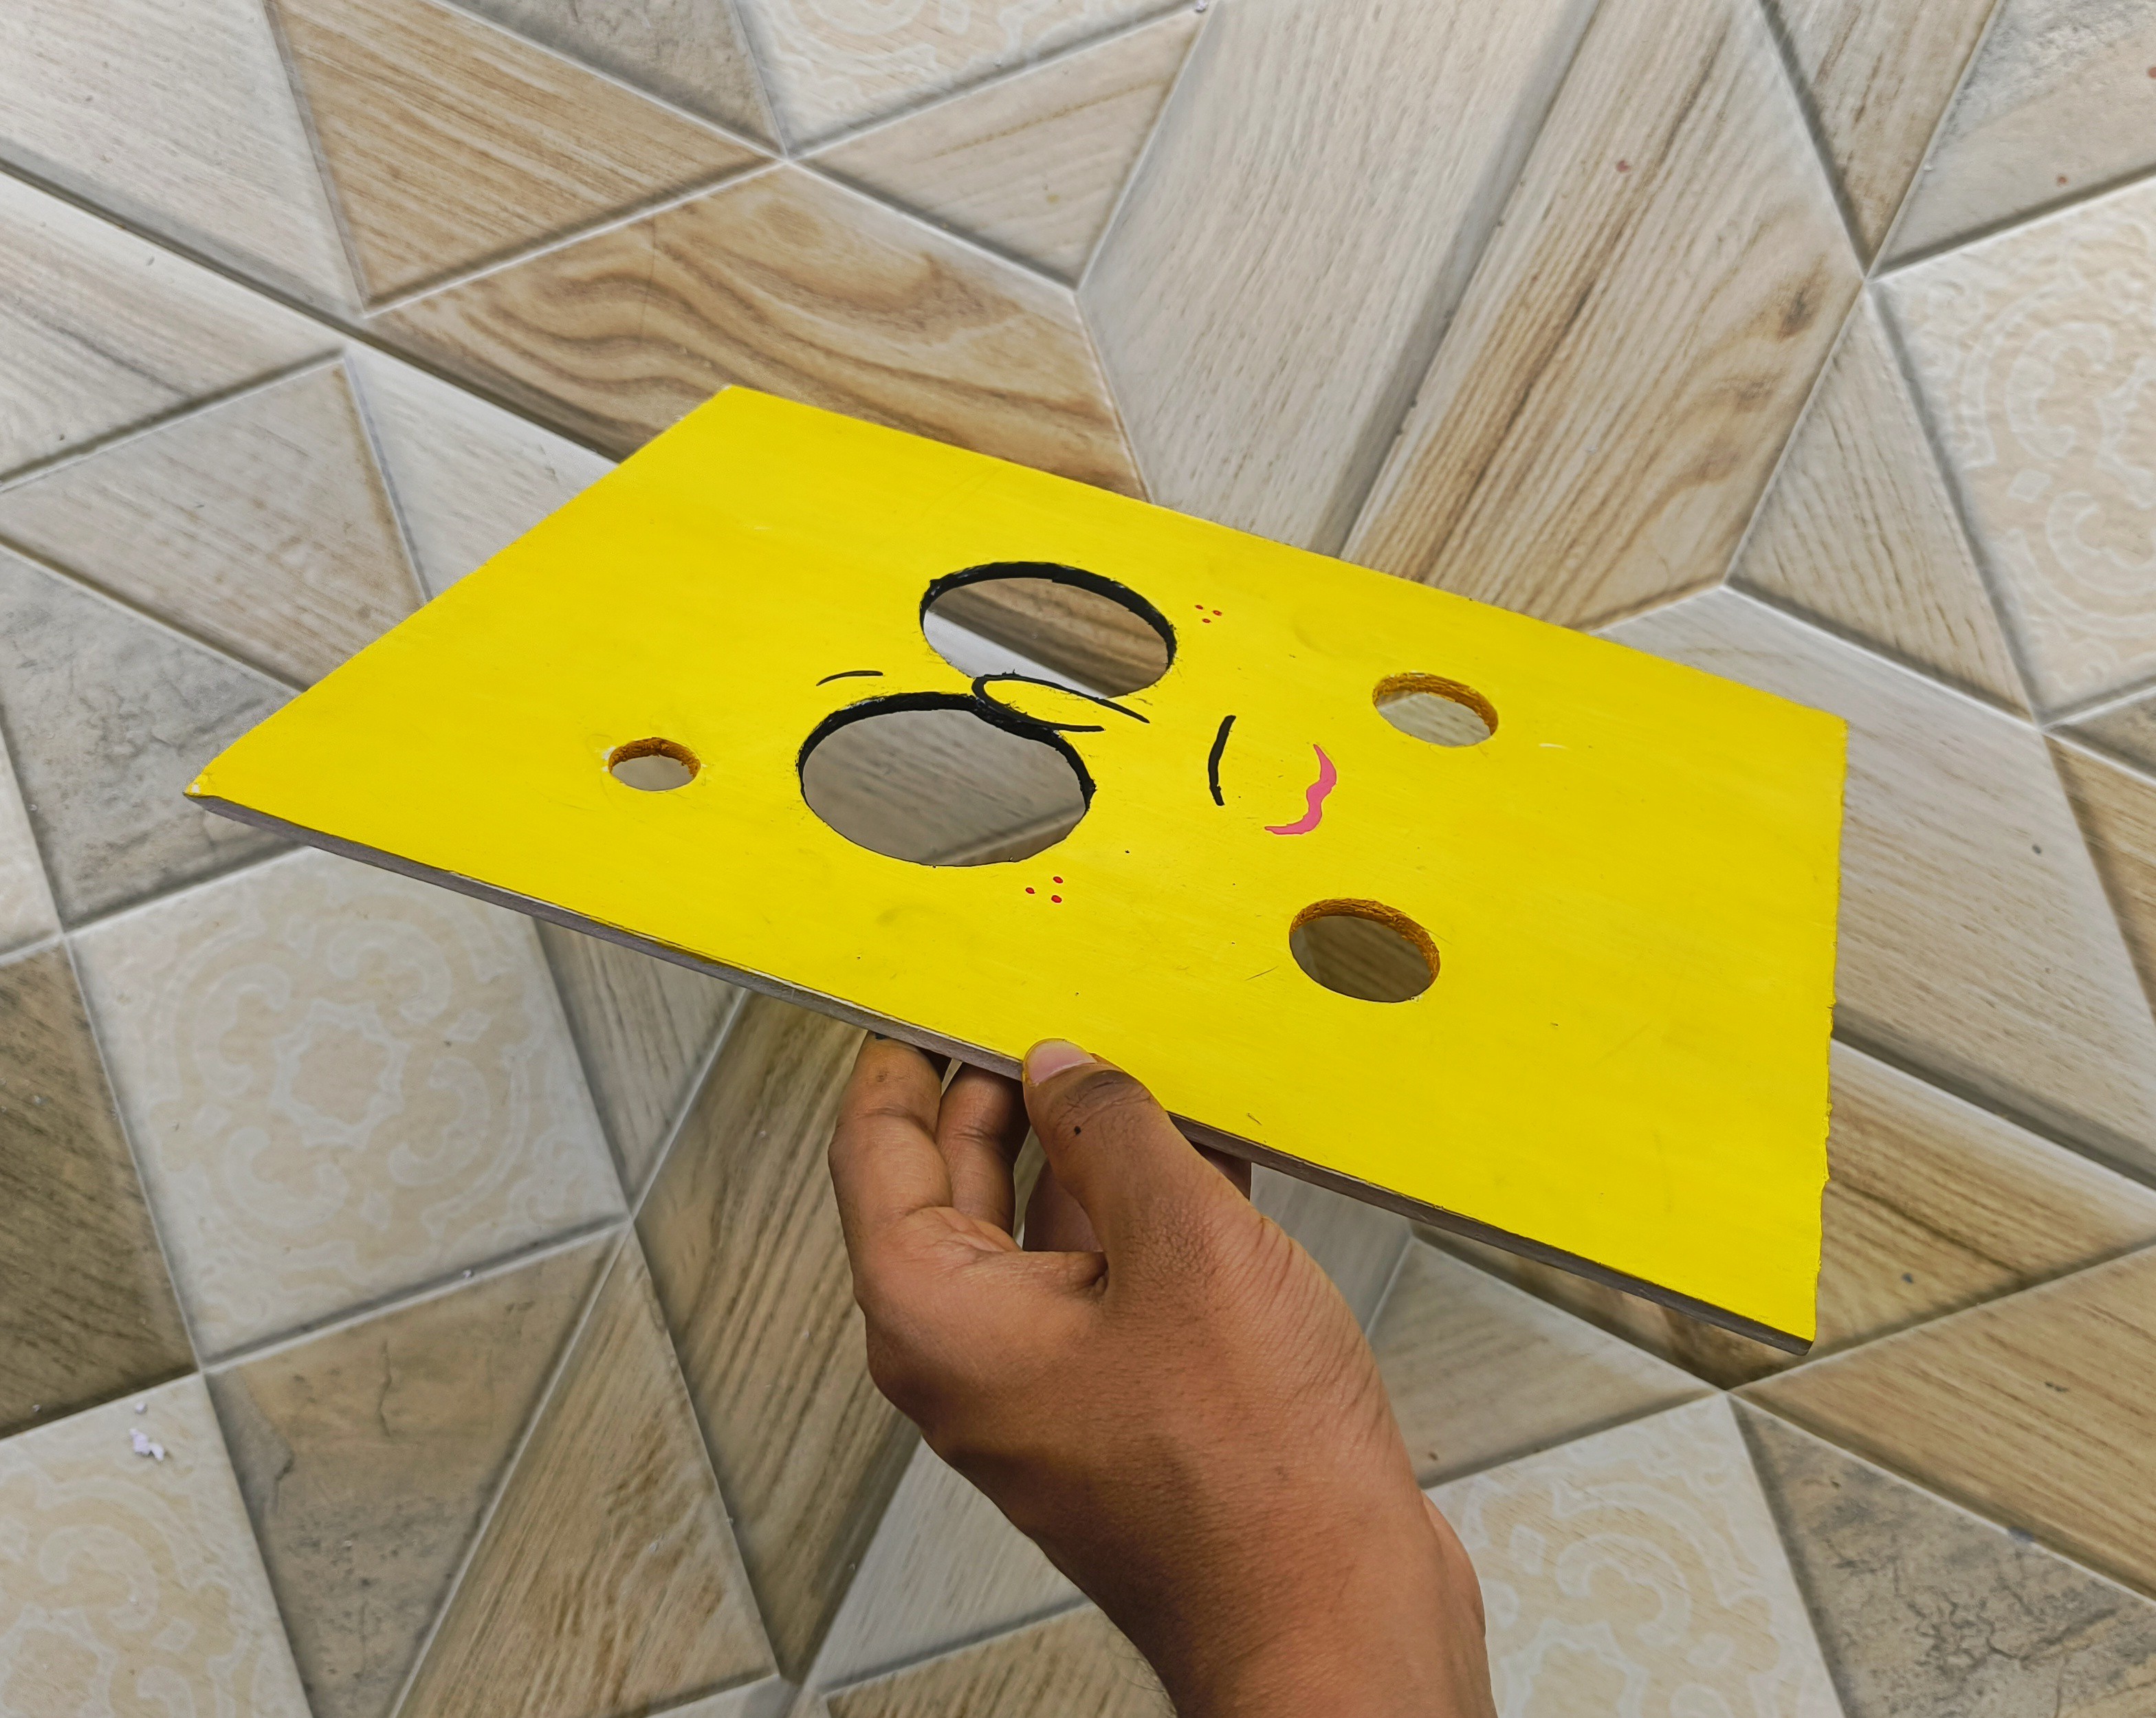
Well, my design currently features SpongeBob without his SquarePants. However, you’re more than welcome to add the pants yourself, there's no rule against it! For this project, I decided to use Sunboard, a type of low-density PVC board. It's incredibly easy to work with while still being remarkably durable, making it perfect for this kind of craft.
To start, I sketched SpongeBob’s design on a piece of A4 printer paper. I then transferred the design onto the Sunboard using tracing paper.
I carefully cut out some of the holes on SpongeBob’s body from the main 5mm thick Sunboard. For additional details, I created separate circular cutouts from another 5mm thick Sunboard and also cut out the eyes since we will have a separate back section for them.
I painted everything in SpongeBob’s classic yellow color
![]()
-
2Making the Linear Motor
Linear motors can be quite expensive, so I decided to make one on my own.
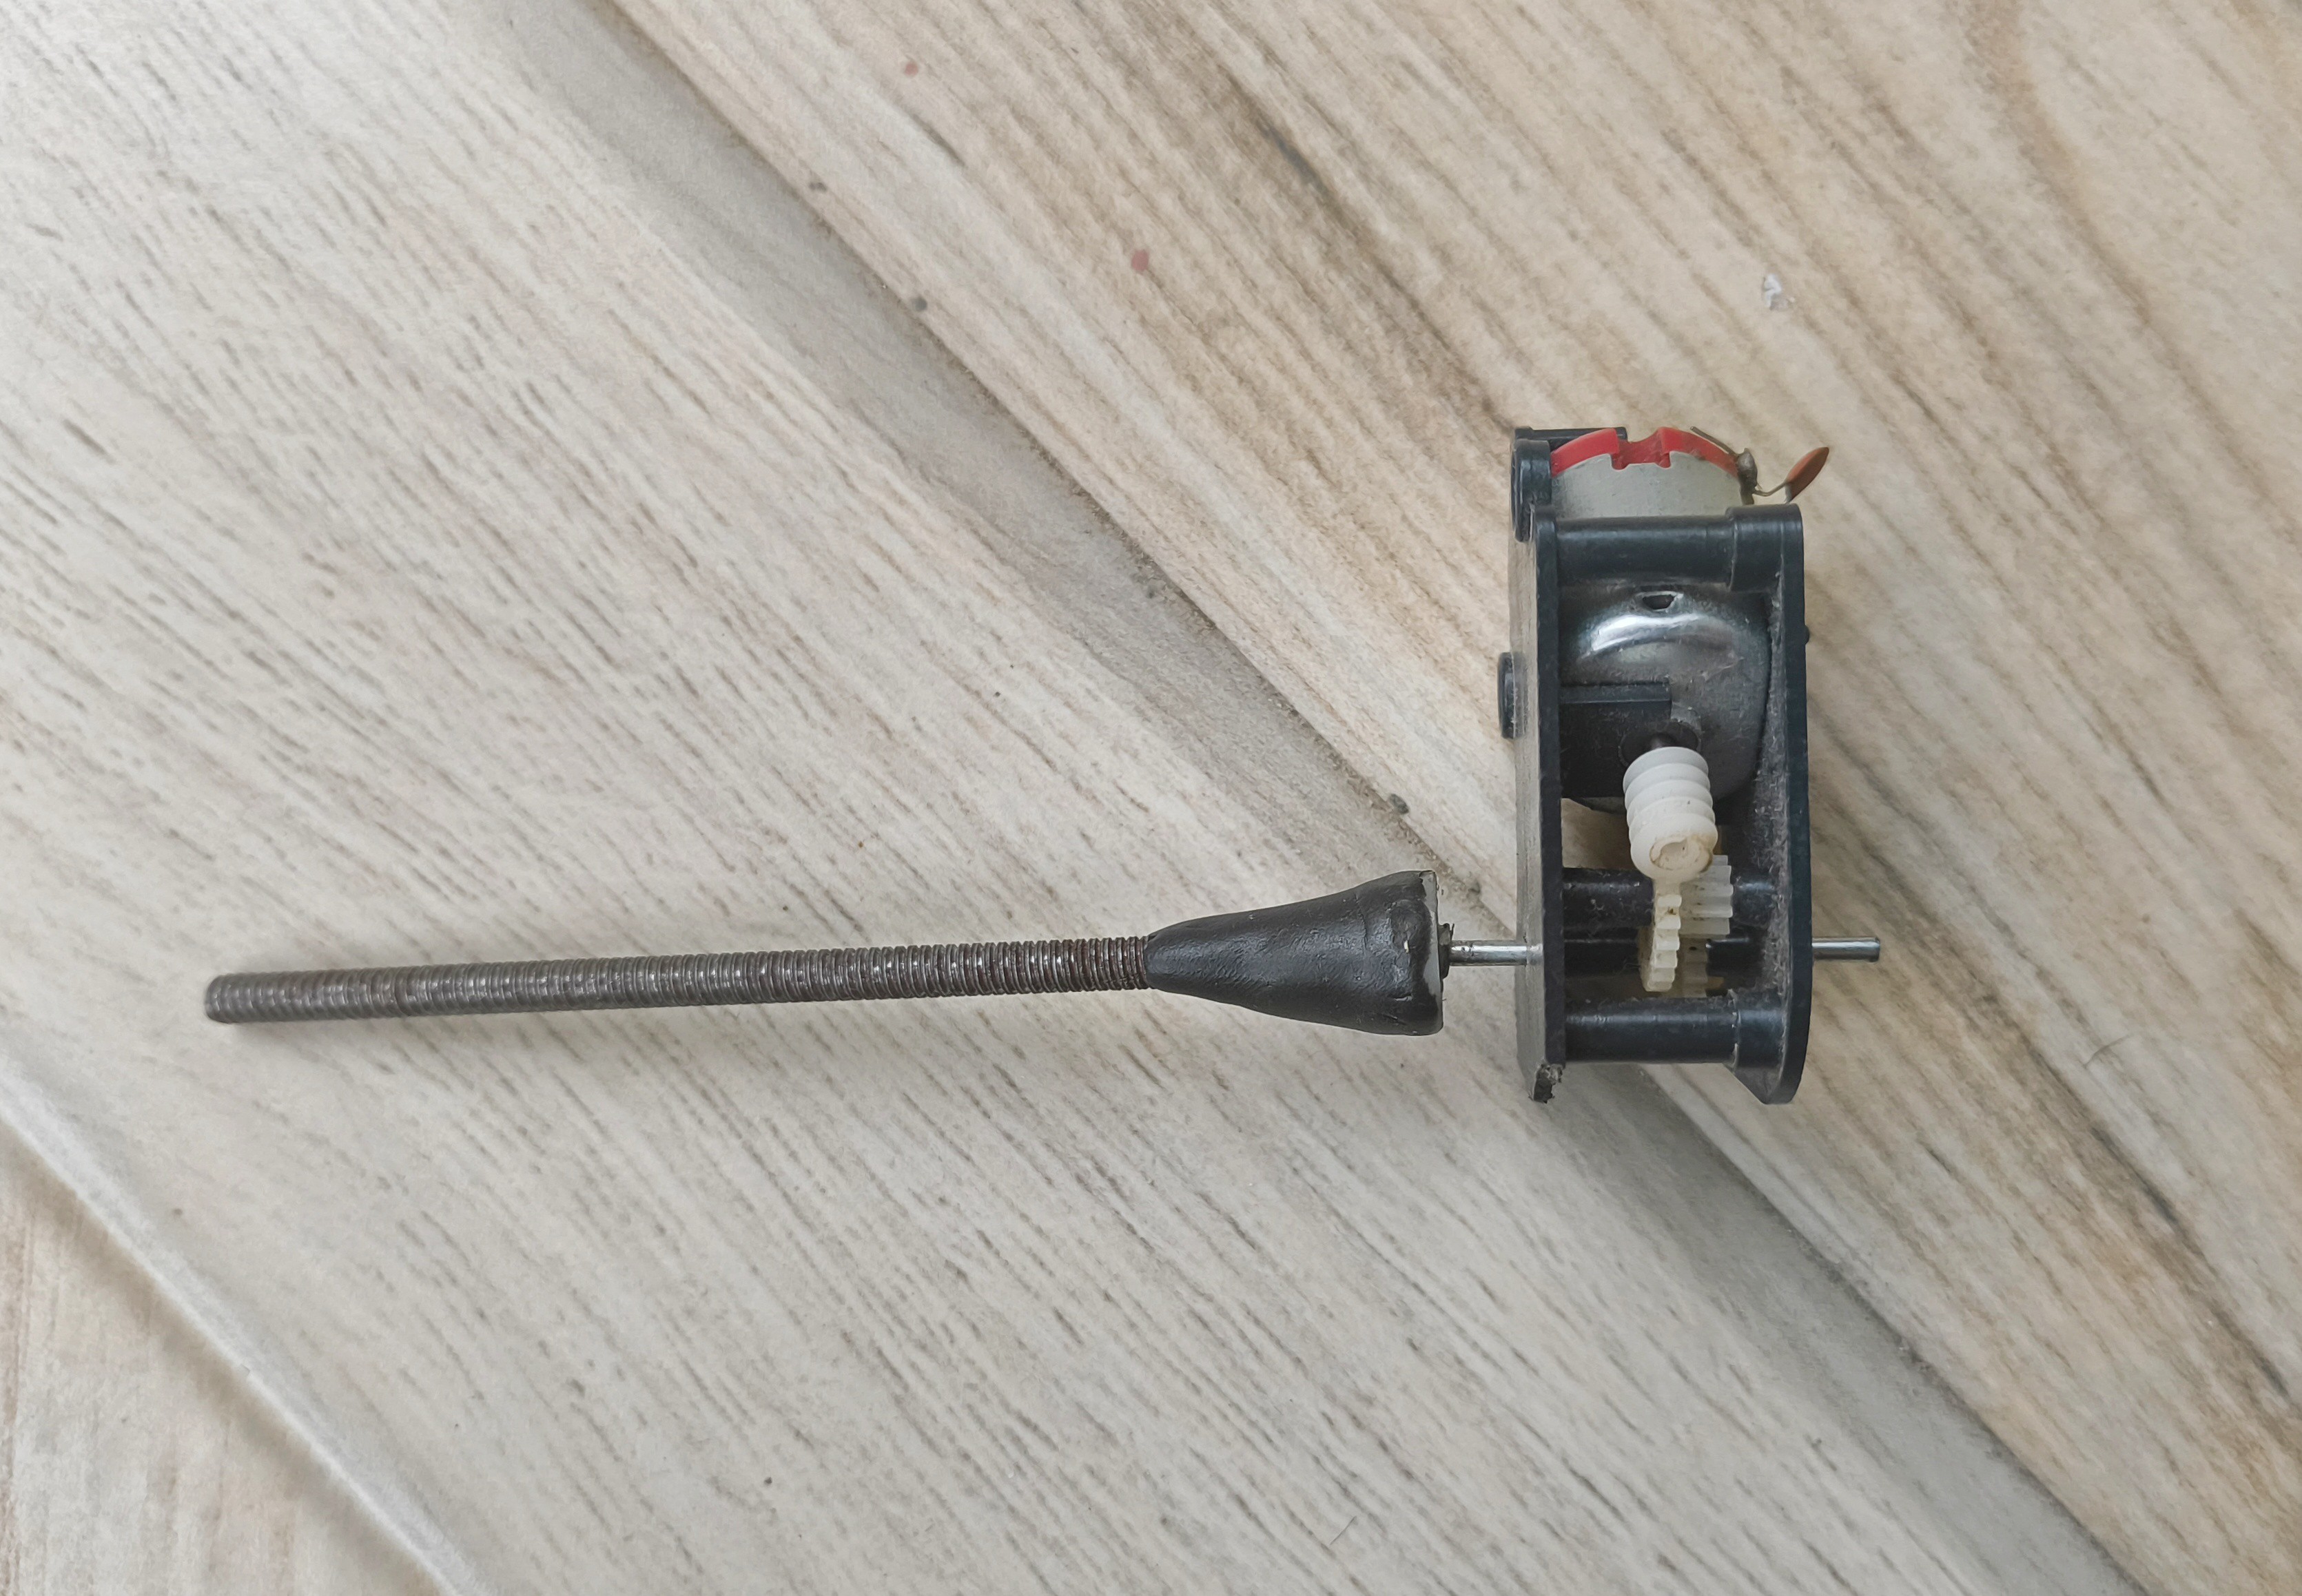
To begin with, I selected a long M4 bolt and an accompanying nut. These components form the core mechanism of the linear motor. Using a two-component adhesive, I bonded the bolt head to a gear that fits onto the motor. ]
Once the adhesive had set, I took a geared DC motor and connected the bolt to its head. With the bolt securely attached to the motor, I powered on the motor. By holding the nut with my fingers to prevent it from rotating, it moved forward or backward depending on the polarity of the motor input.
![]()
-
3Modifying the CO2 Sensor
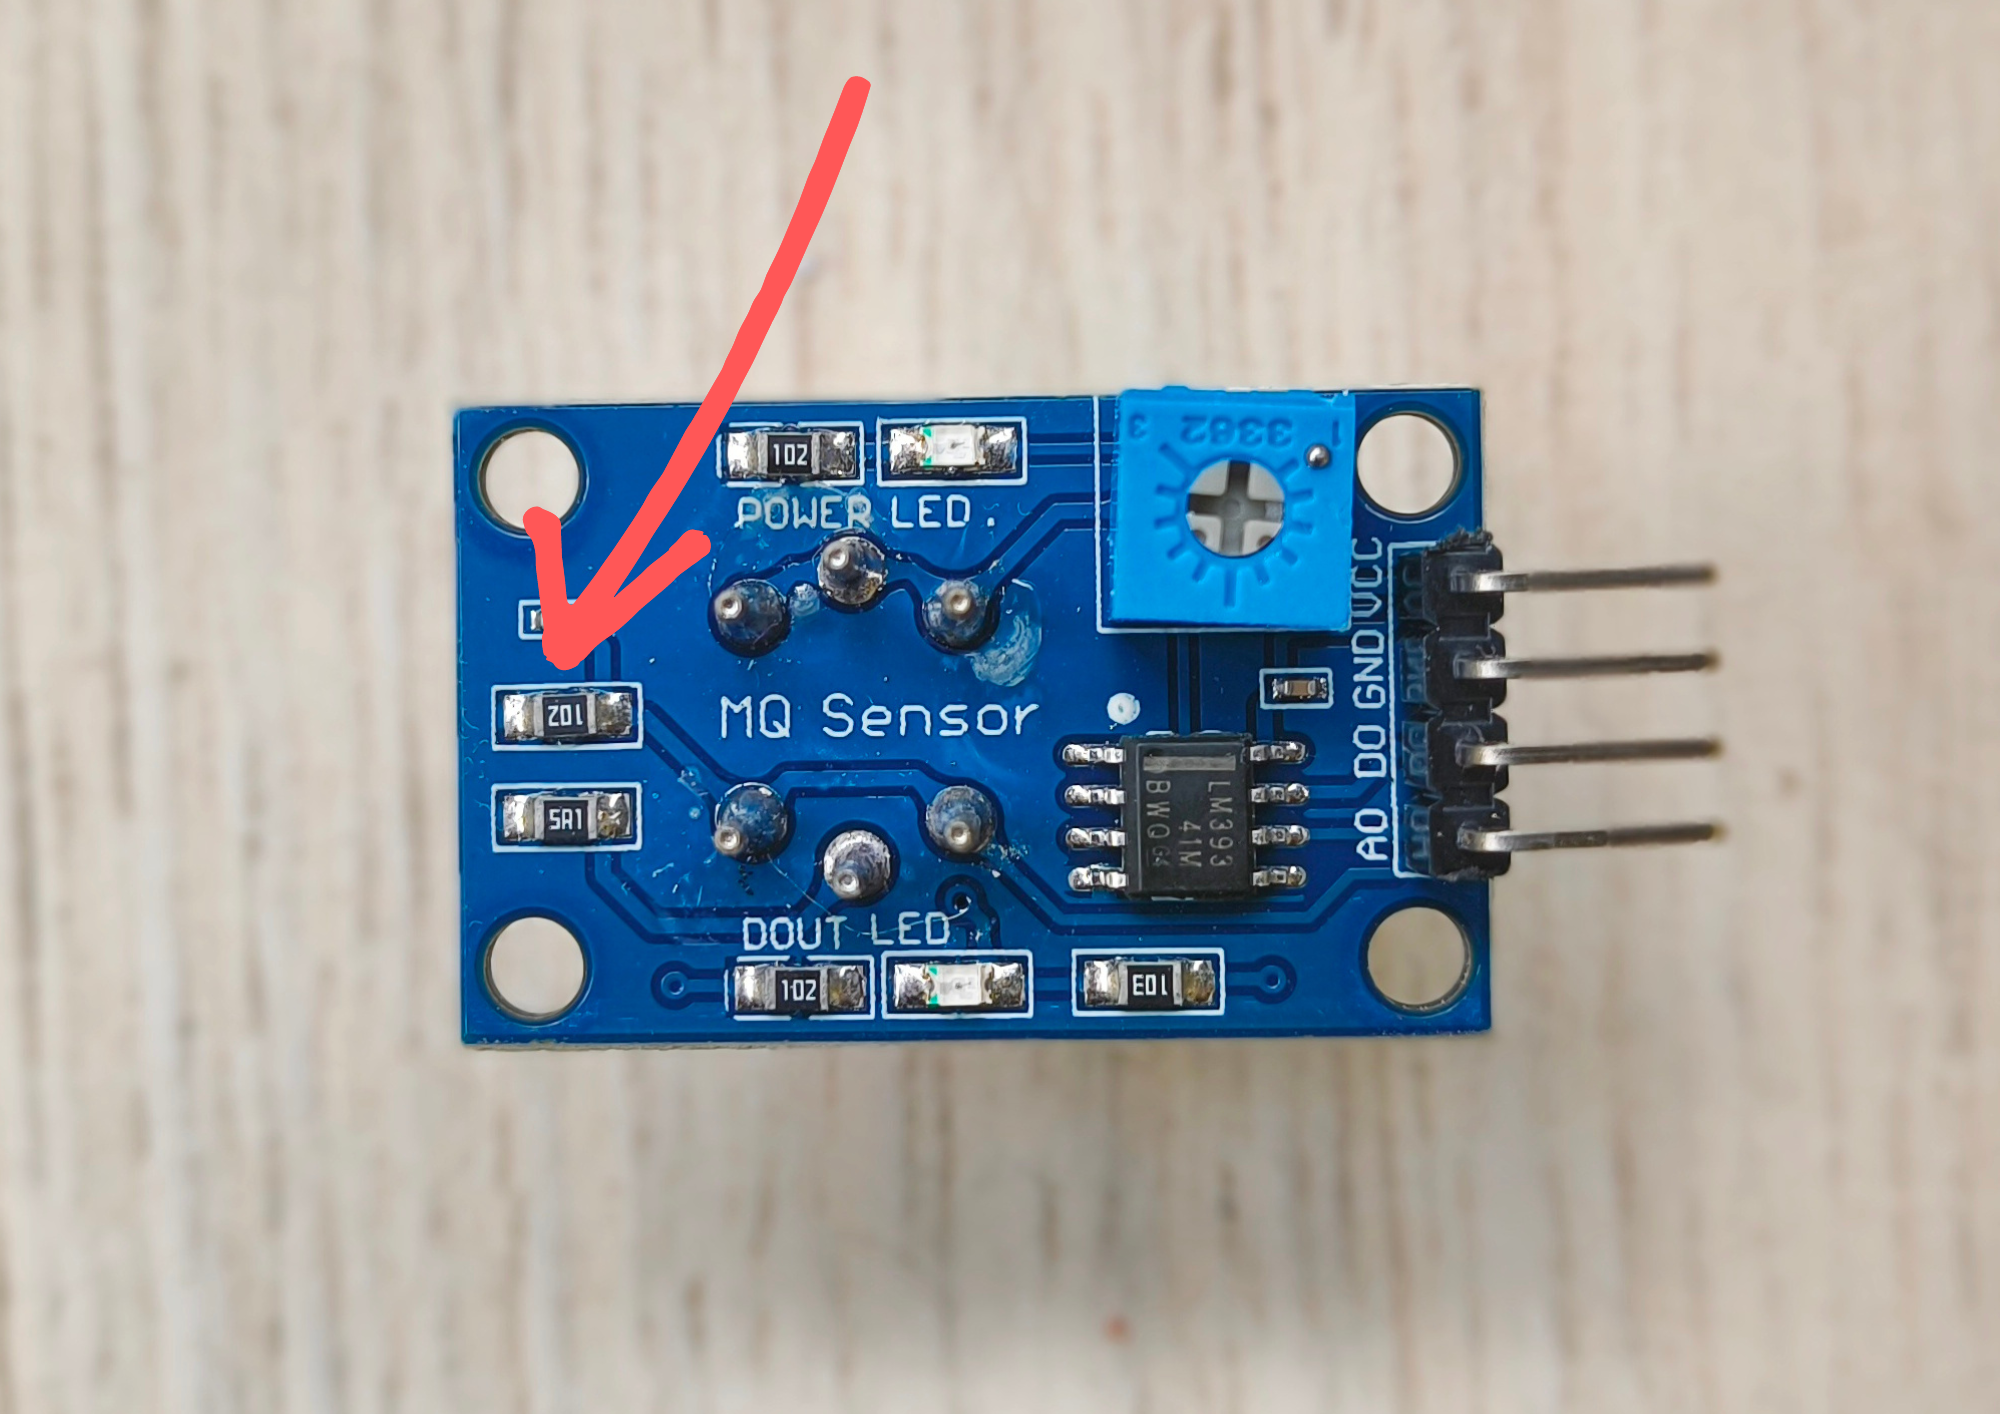
The MQ135 air quality sensor module was used for CO2 detection, and an important component in its functionality is the load resistor, RL. This resistor adjusts its resistance value in response to varying gas concentrations, which is essential for accurate readings. According to the MQ-135 datasheet, the load resistor can have a value ranging from 10KΩ to 47KΩ
![]()
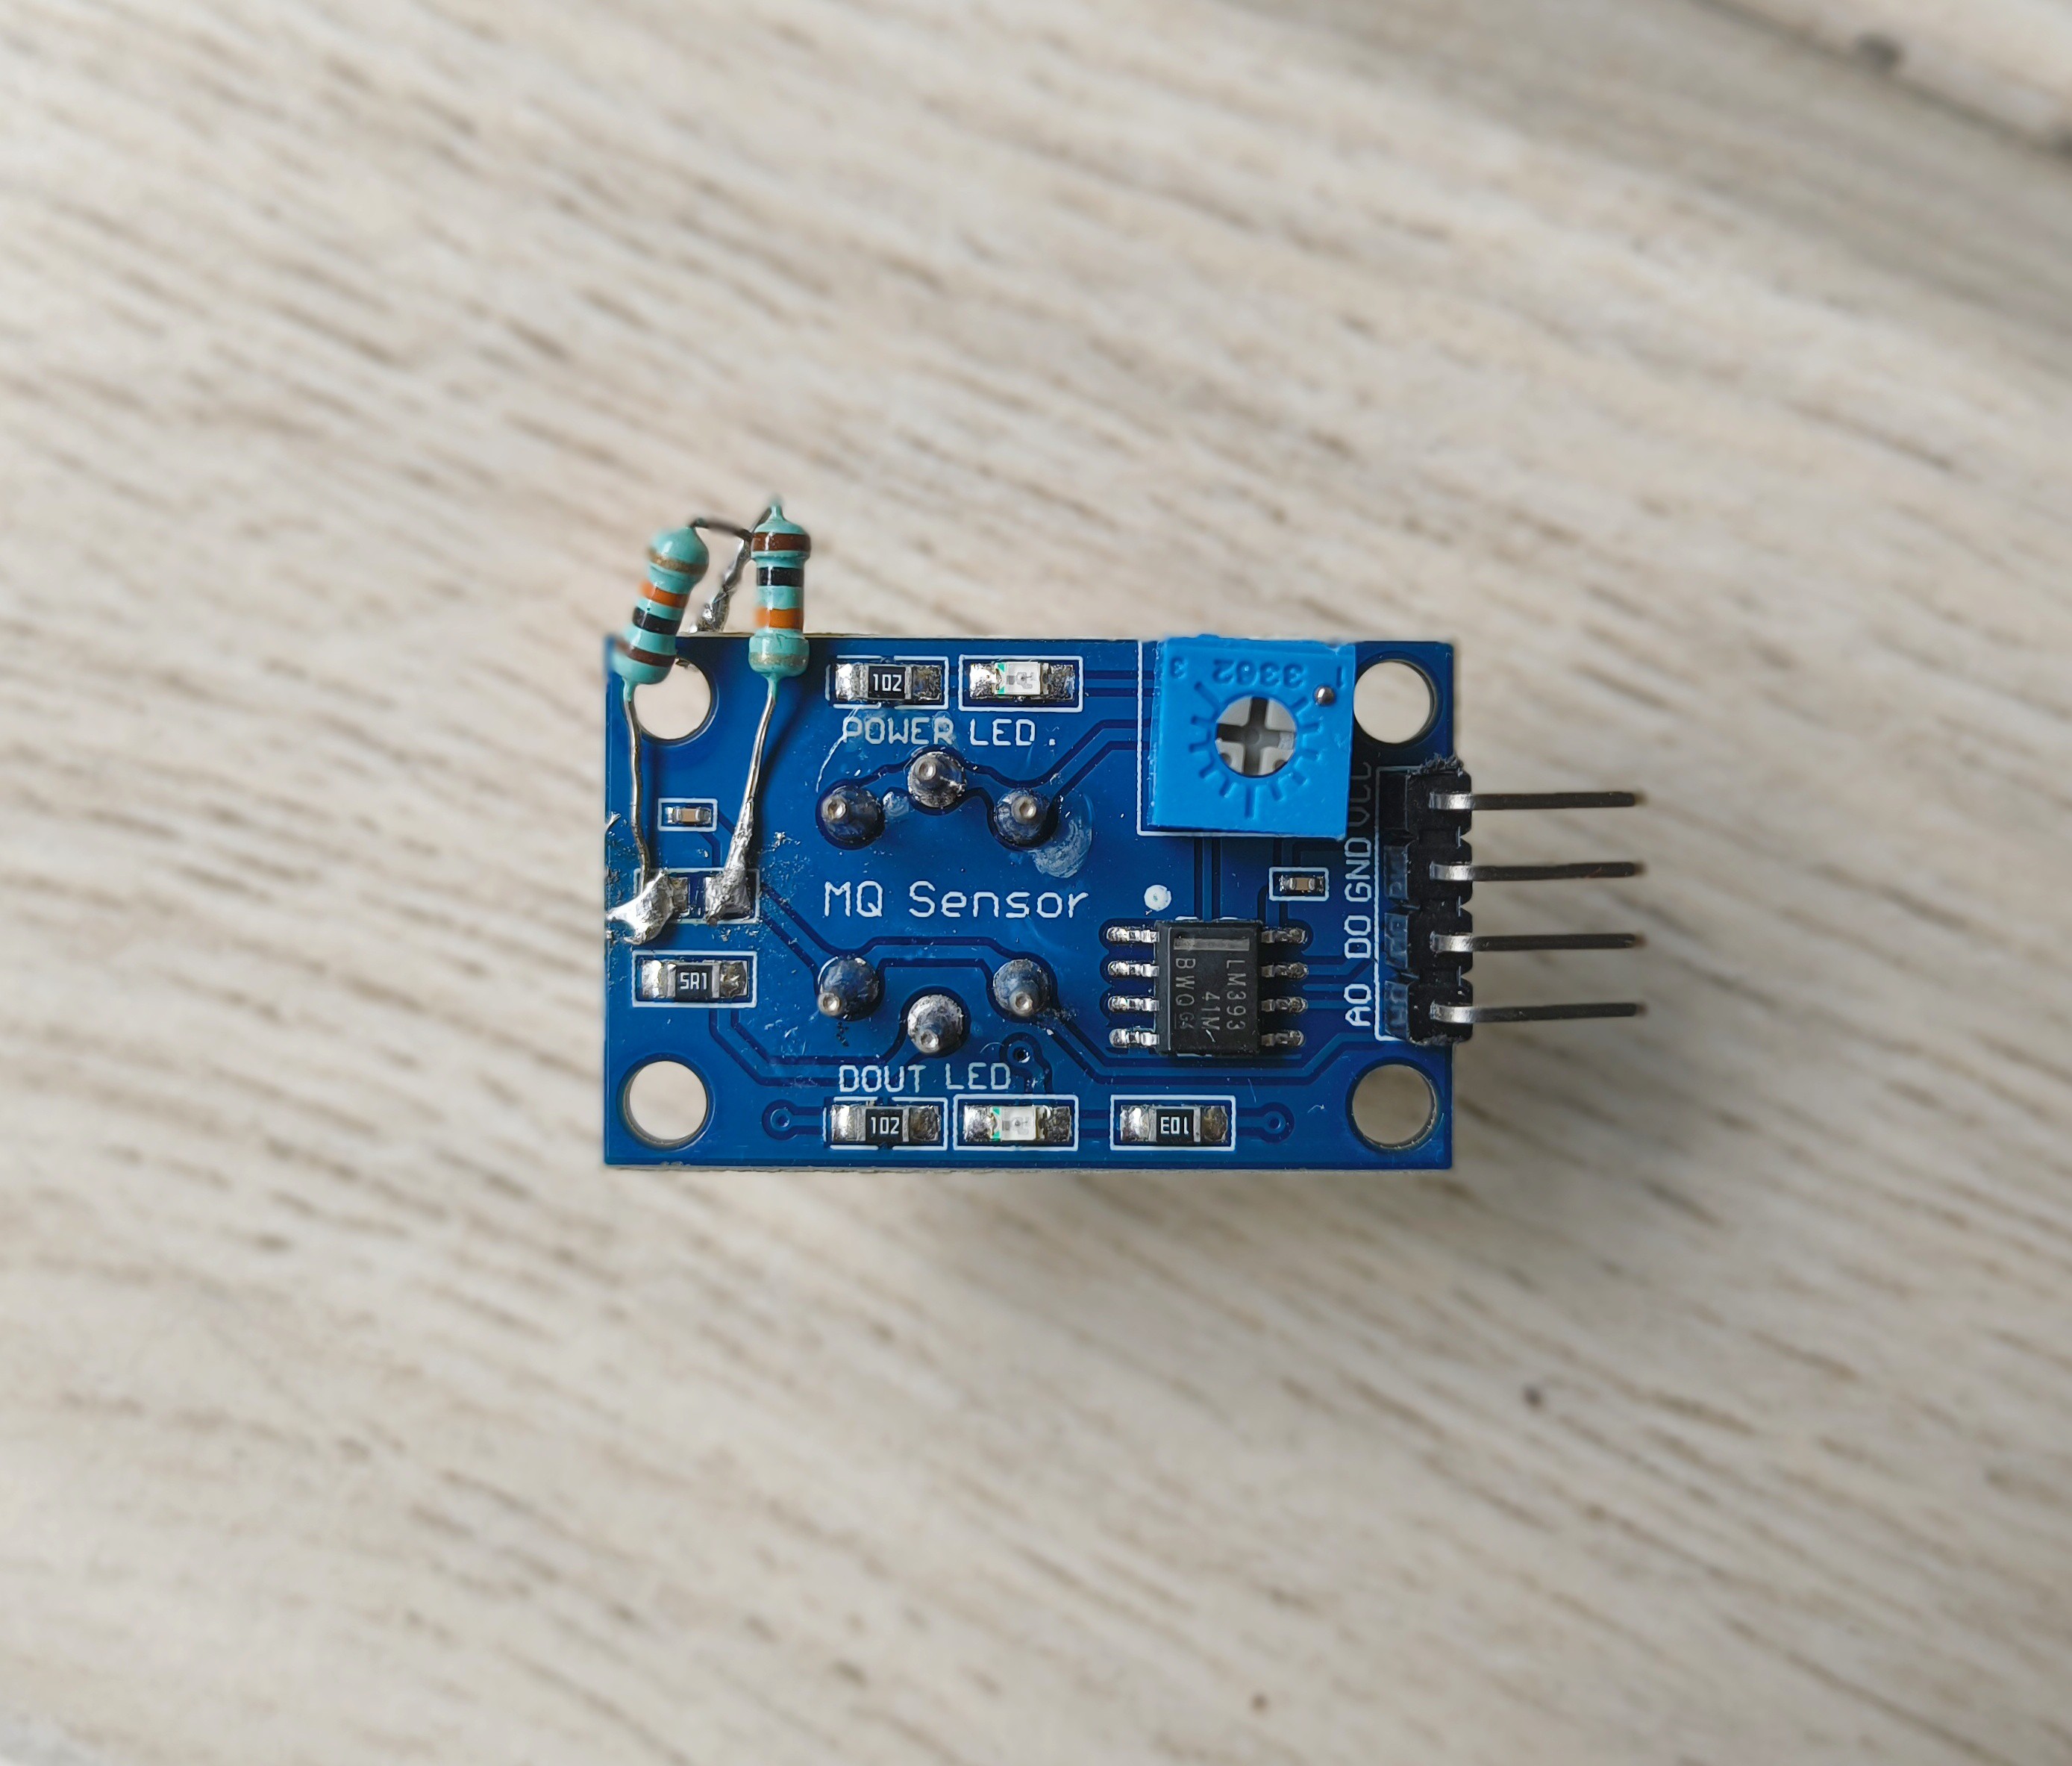
For optimal performance, the datasheet recommends calibrating the sensor using 100ppm NH3 or 50ppm alcohol concentrations in the air, suggesting a load resistance (RL) of approximately 20KΩ. However, if you trace the PCB, you’ll find a 1KΩ (102) load resistor in place. To accurately measure CO2 concentration values, it’s necessary to replace this 1KΩ resistor with a 20KΩ resistor. So, I removed the existing 1kΩ resistor and soldered two 10KΩ resistors in series.
![]()
-
4Making All the Connections
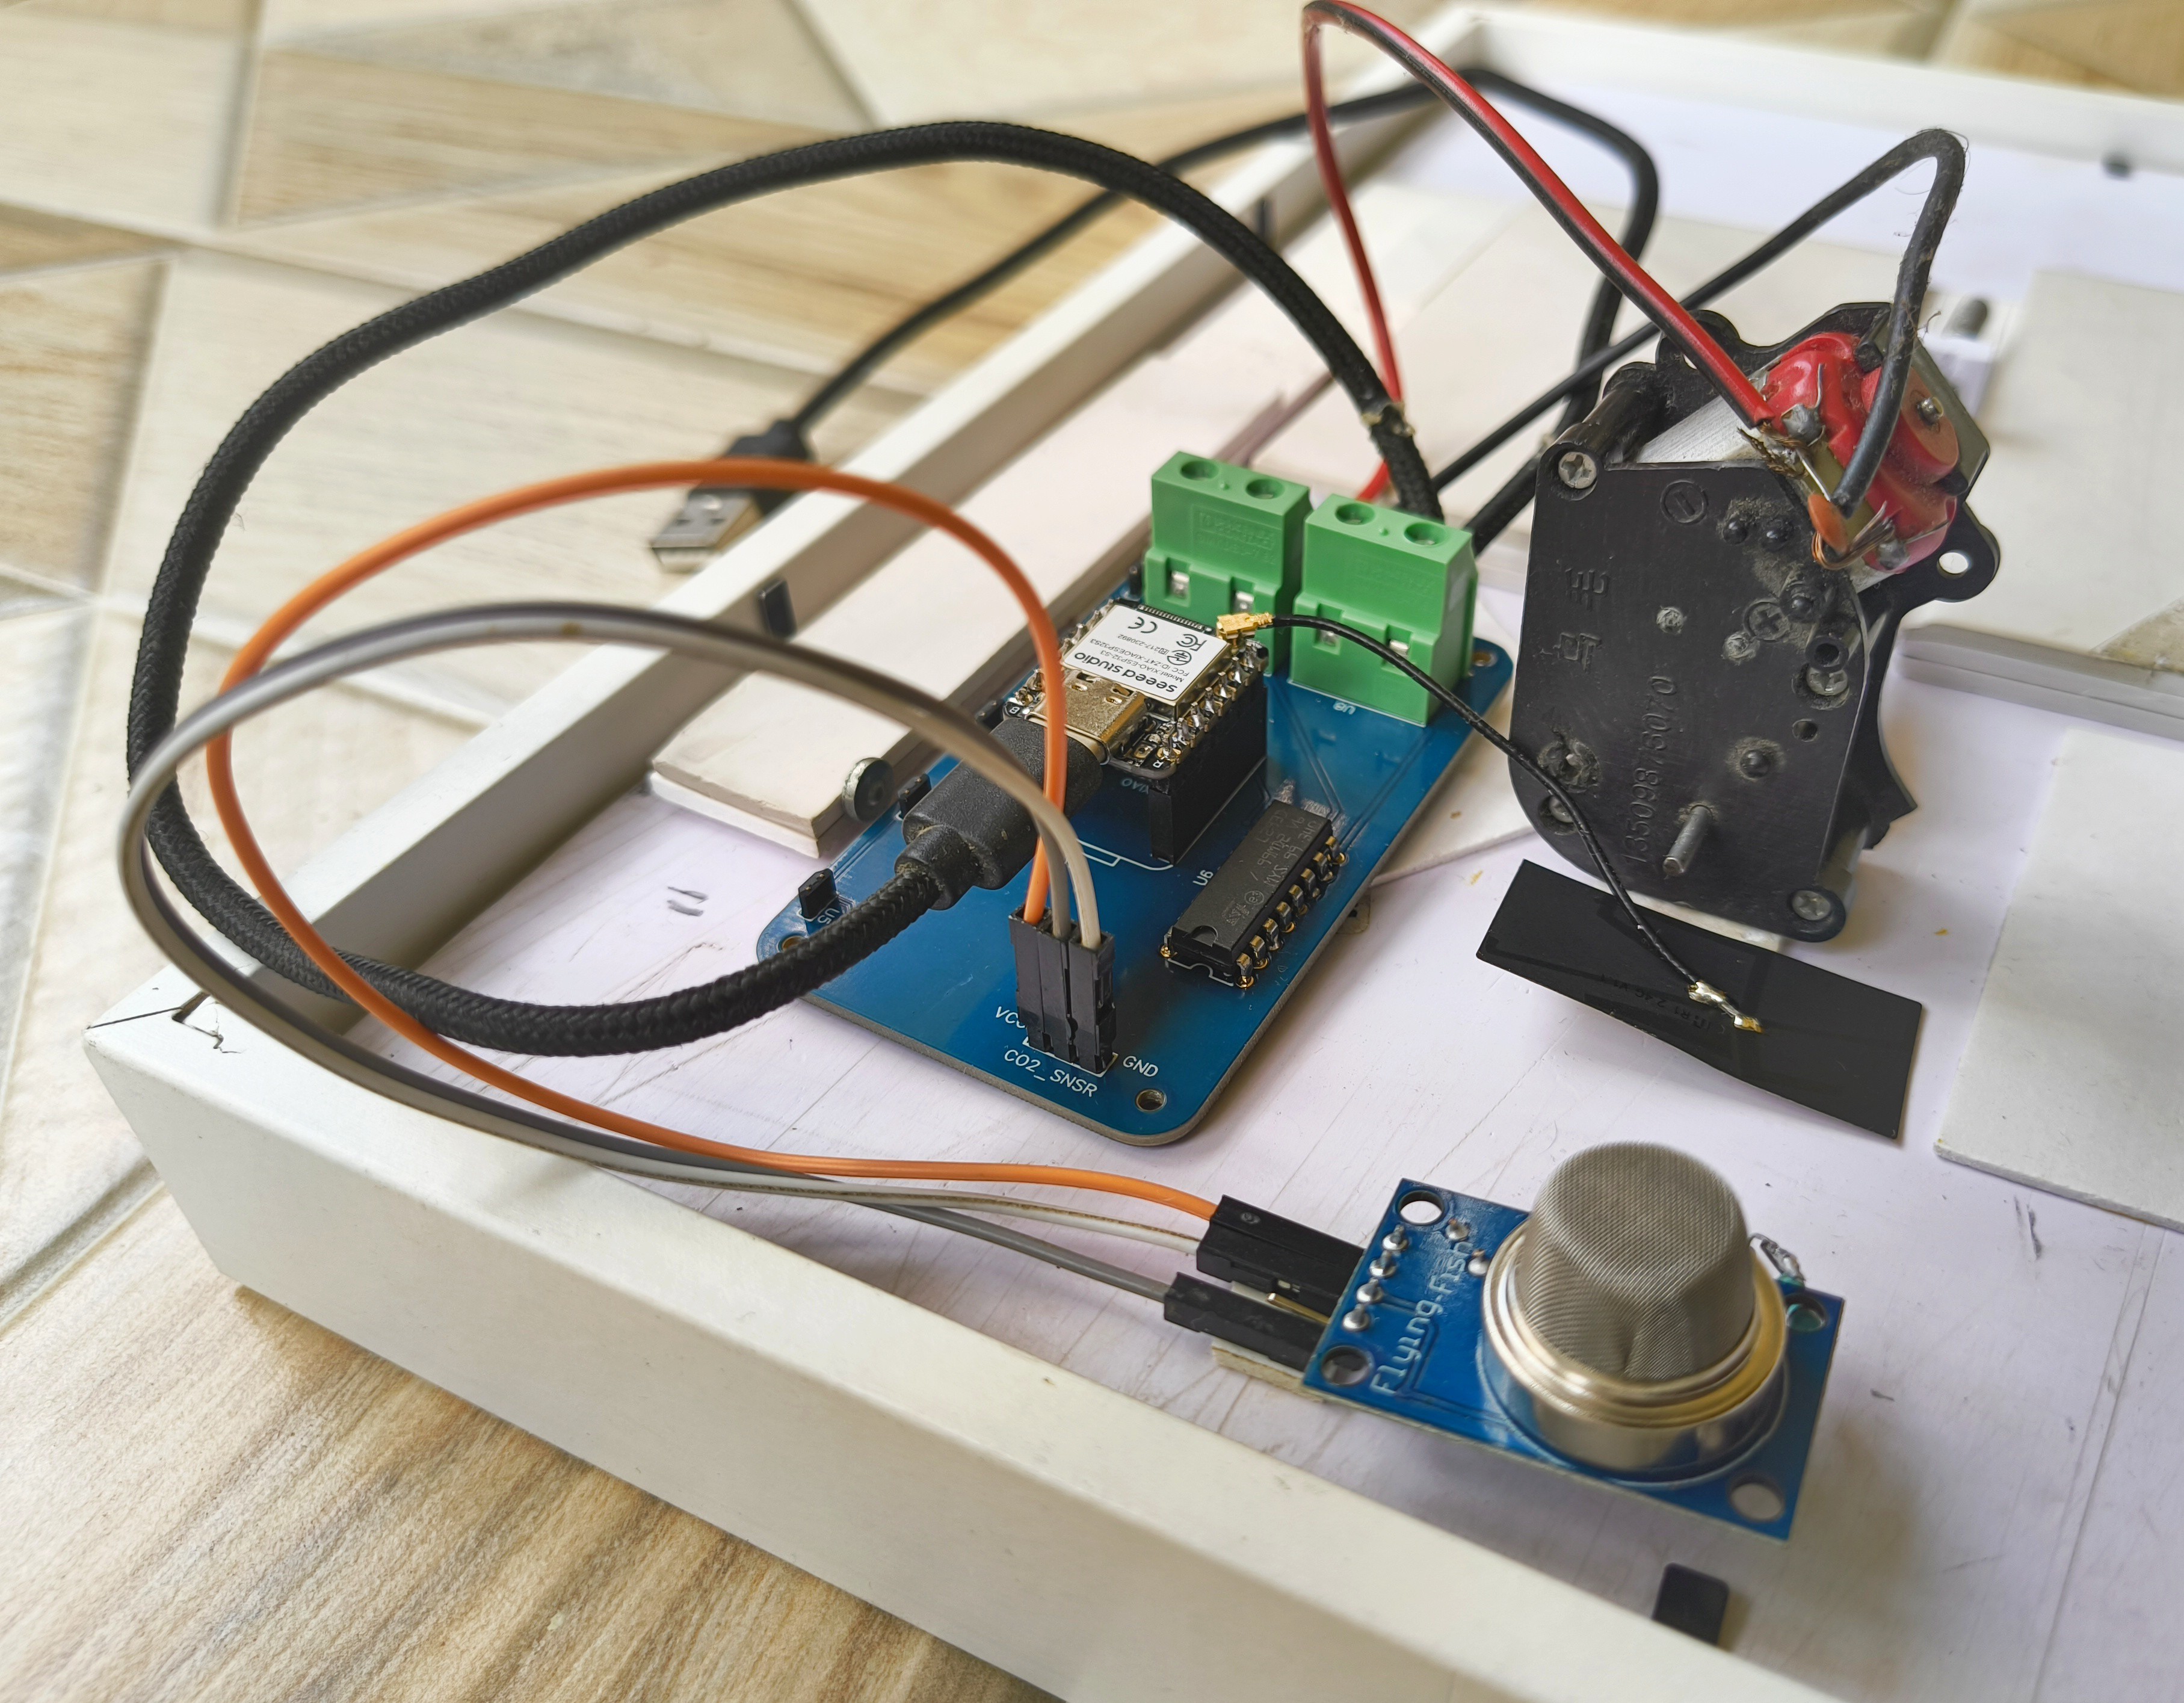
Once the assembled PCBAs and the standard PCBs had arrived, I simply made all the connections based on the labels.
I added a bare USB-C cable to the Xiao and connected to the 5v terminal (This could be done while designing the PCB, but I forgot :P).
Finally, place it inside the IKEA frame and it’s ready!
![]()
-
5Final thoughts
I placed the CO2 sensor behind to hide it from view. If you do this too, make sure the frame is not placed in the corner of the room where there is no air circulation. Otherwise your SpongeBob might always be drowsy!
The eyelids do wobble a bit while moving, but that is not an issue at all. Since they only move when there is a significant difference in the CO2 levels, you will barely see them move. However it does make some noise while moving. Mainly because of my old geared motor grinding. I think a tiny N20 motor would be a better option.
![]()
Spongebob that indicates drowsiness levels
Usually, high CO2 in a room can cause drowsiness. This Spongebob gets sleepy as CO2 level in the room rises so you can open the windows!


Discussions
Become a Hackaday.io Member
Create an account to leave a comment. Already have an account? Log In.