 Arnov Sharma
-
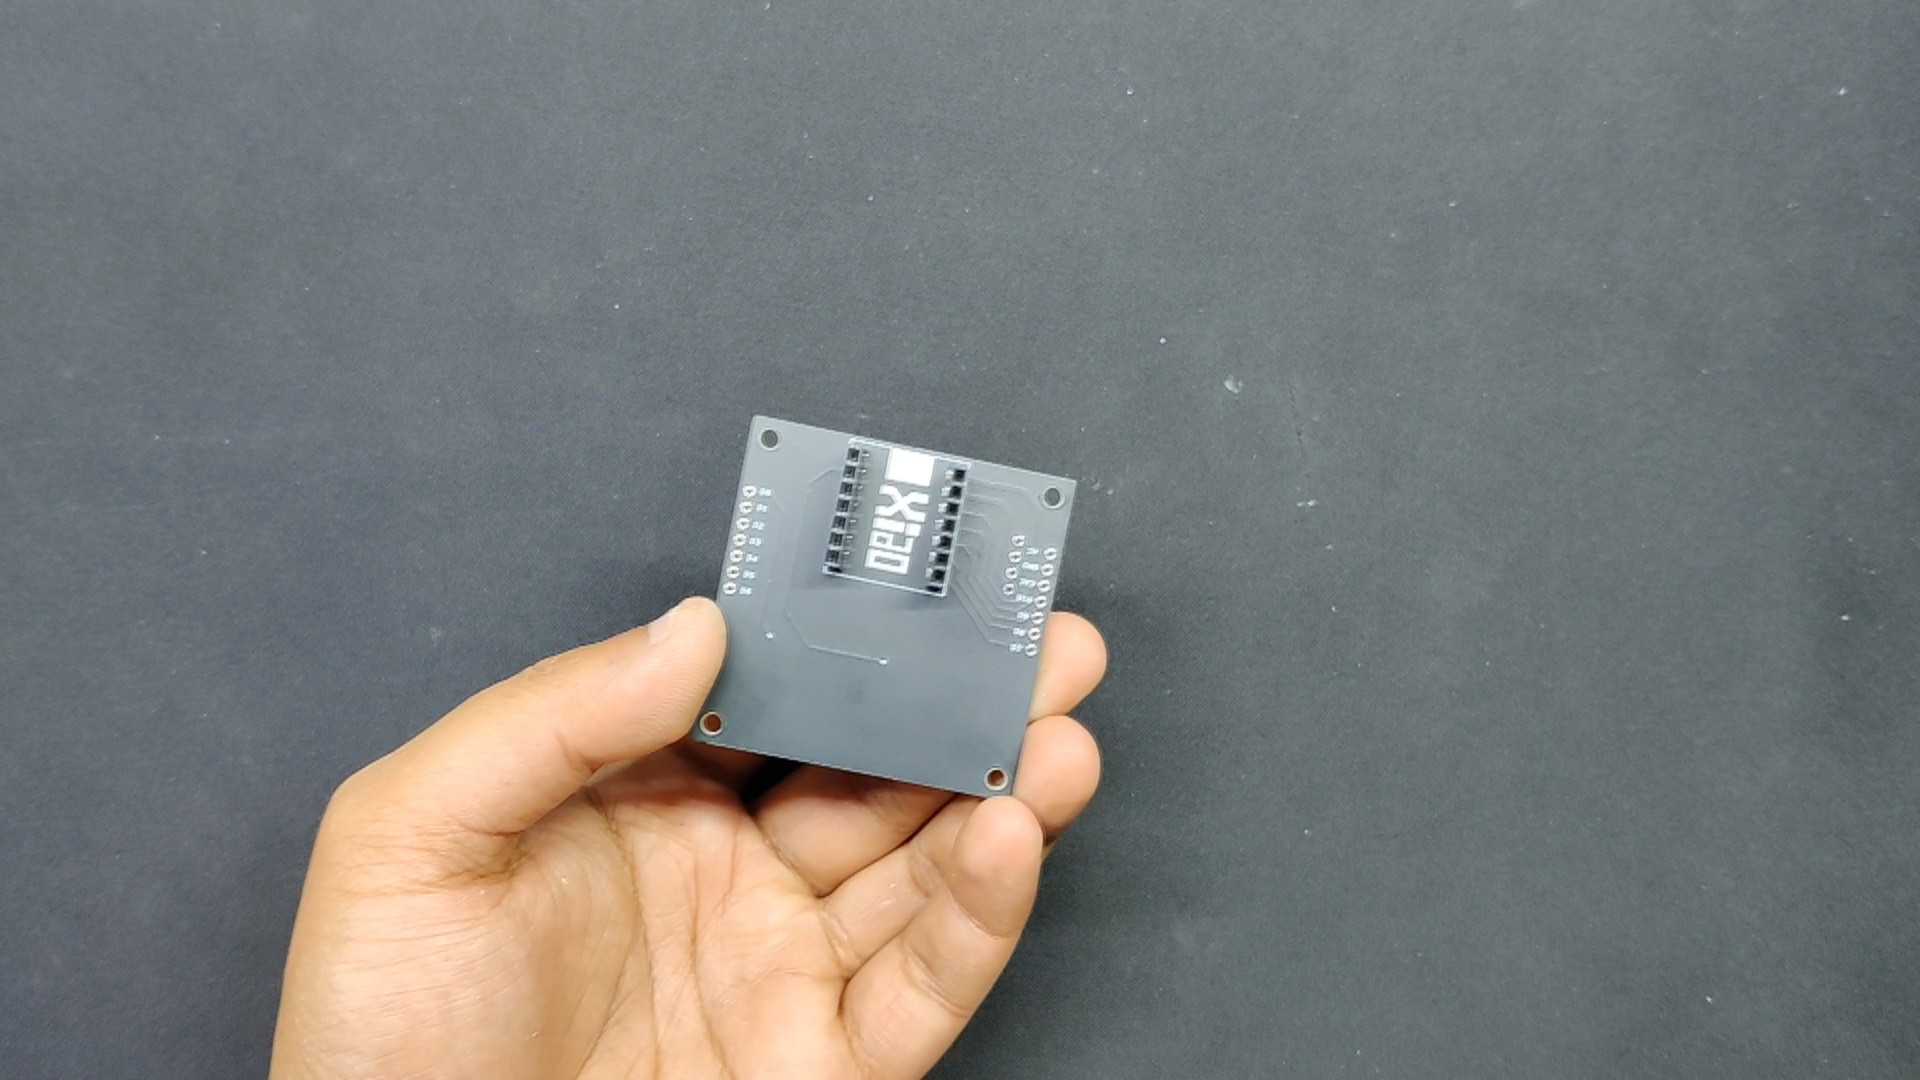
1PCB Assembly Process
![]()
![]()
![]()
![]()
![]()
![]()
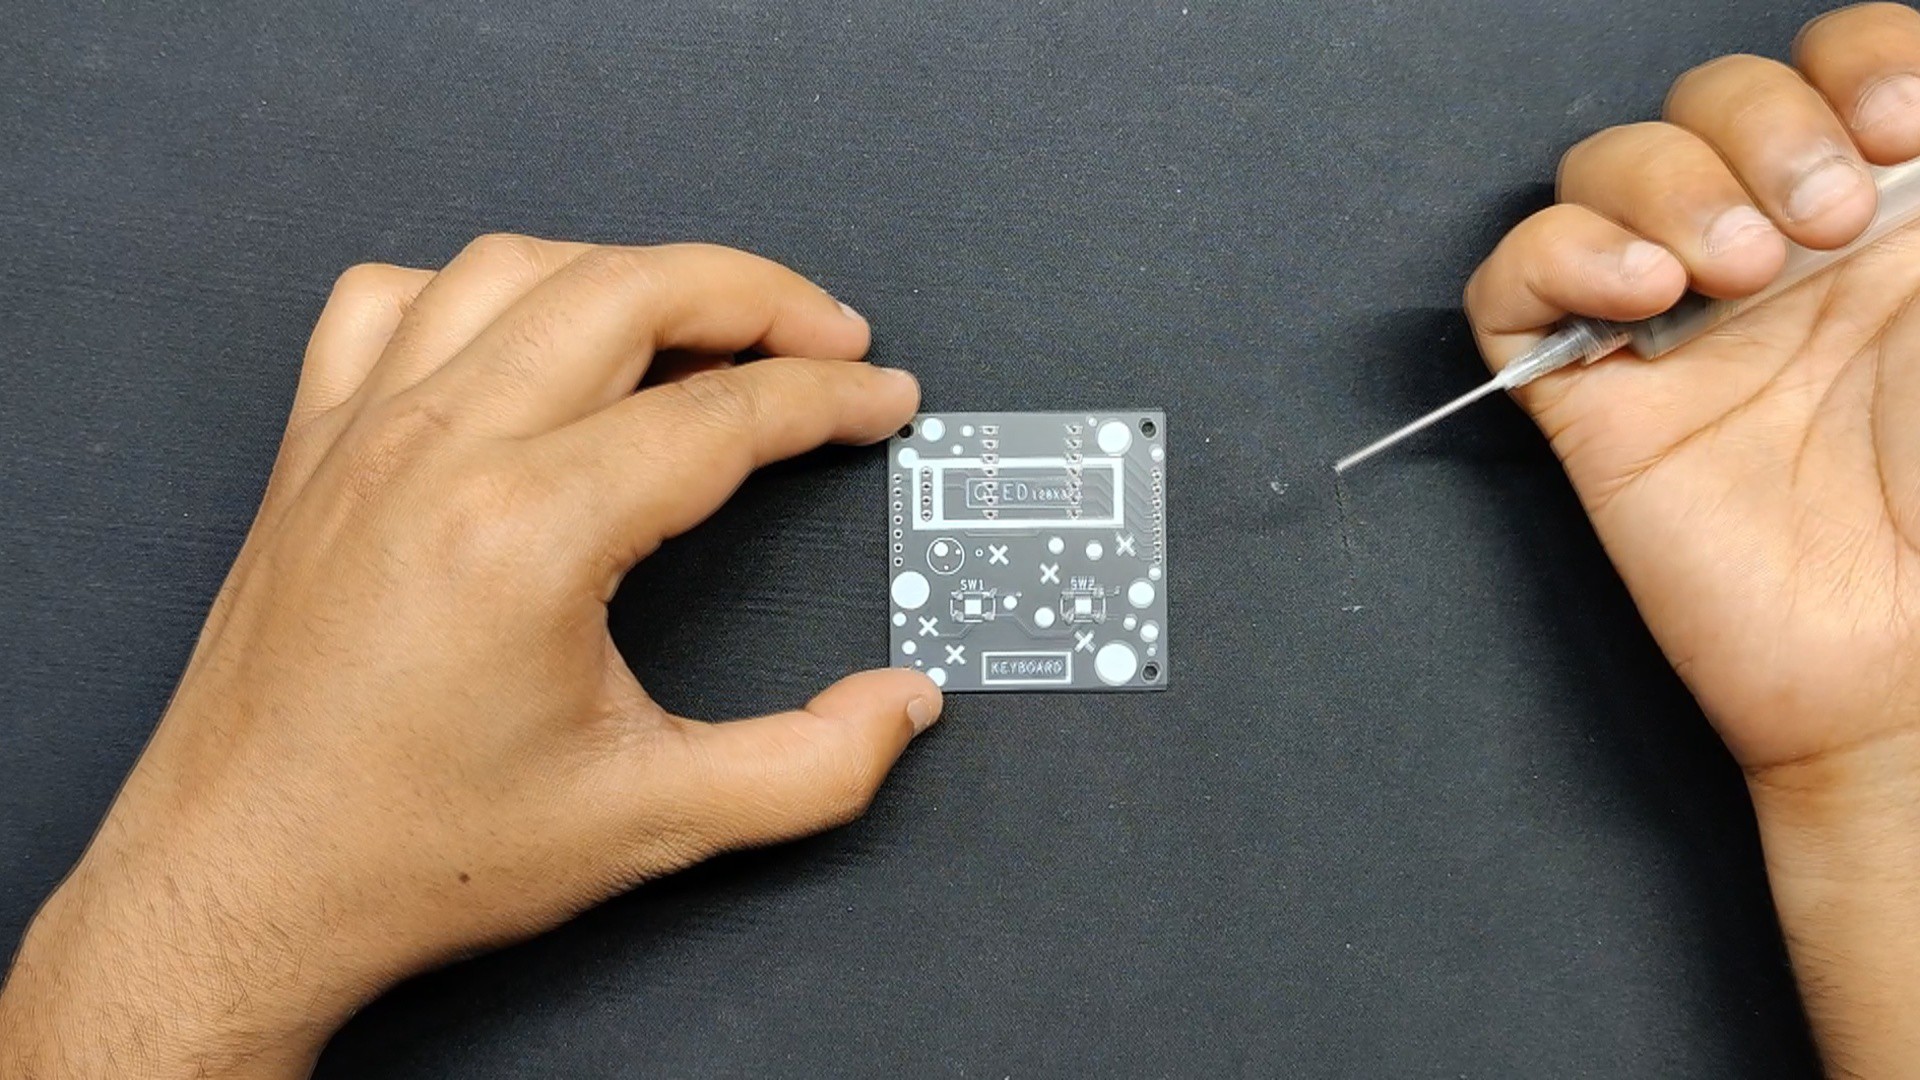
- Using a solder paste dispenser needle, we begin the PCB assembly process by putting solder paste on each component pad.
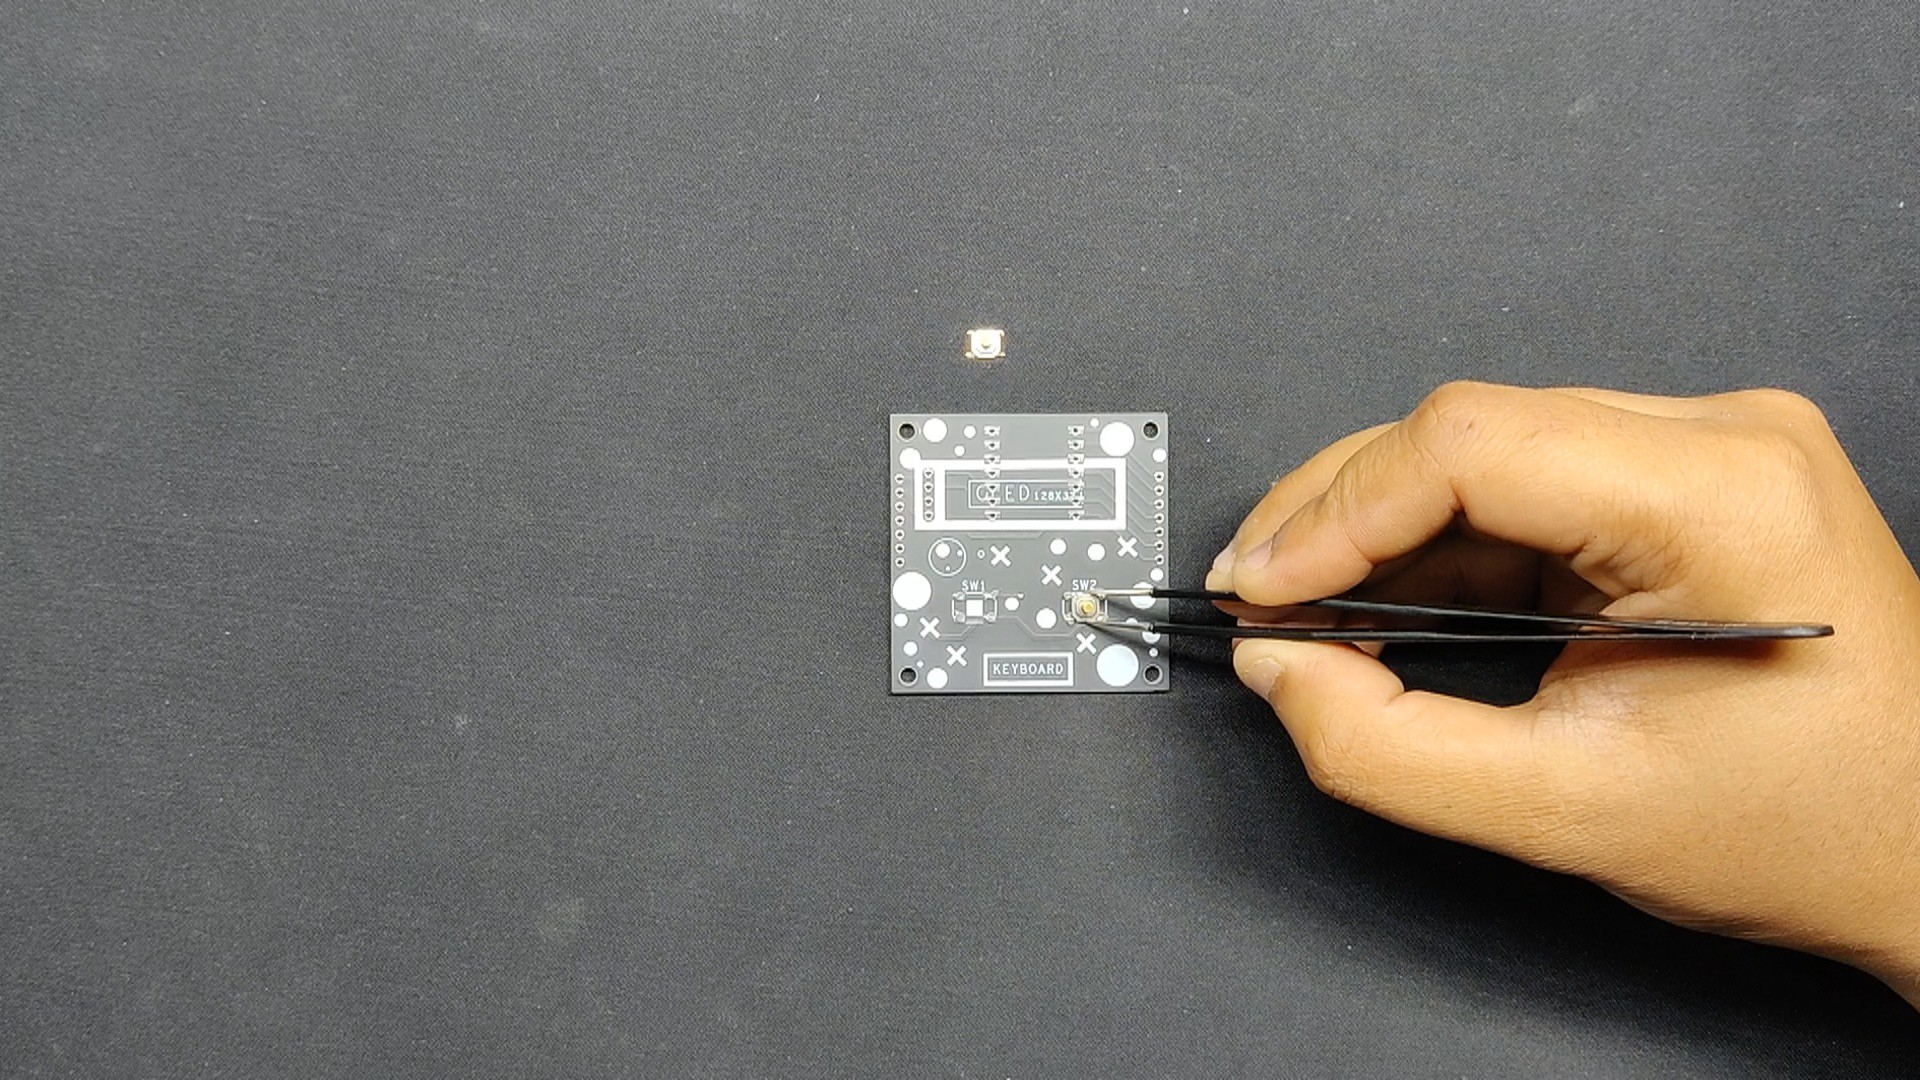
- Next, we pick and place the SMD Switch in its location using an ESD Tweezer.
- Subsequently, we remove the board and set it on our Reflow Hotplate, which raises the PCB's temperature from below to the point at which the solder paste melts and the SMD components are all connected to their pads.
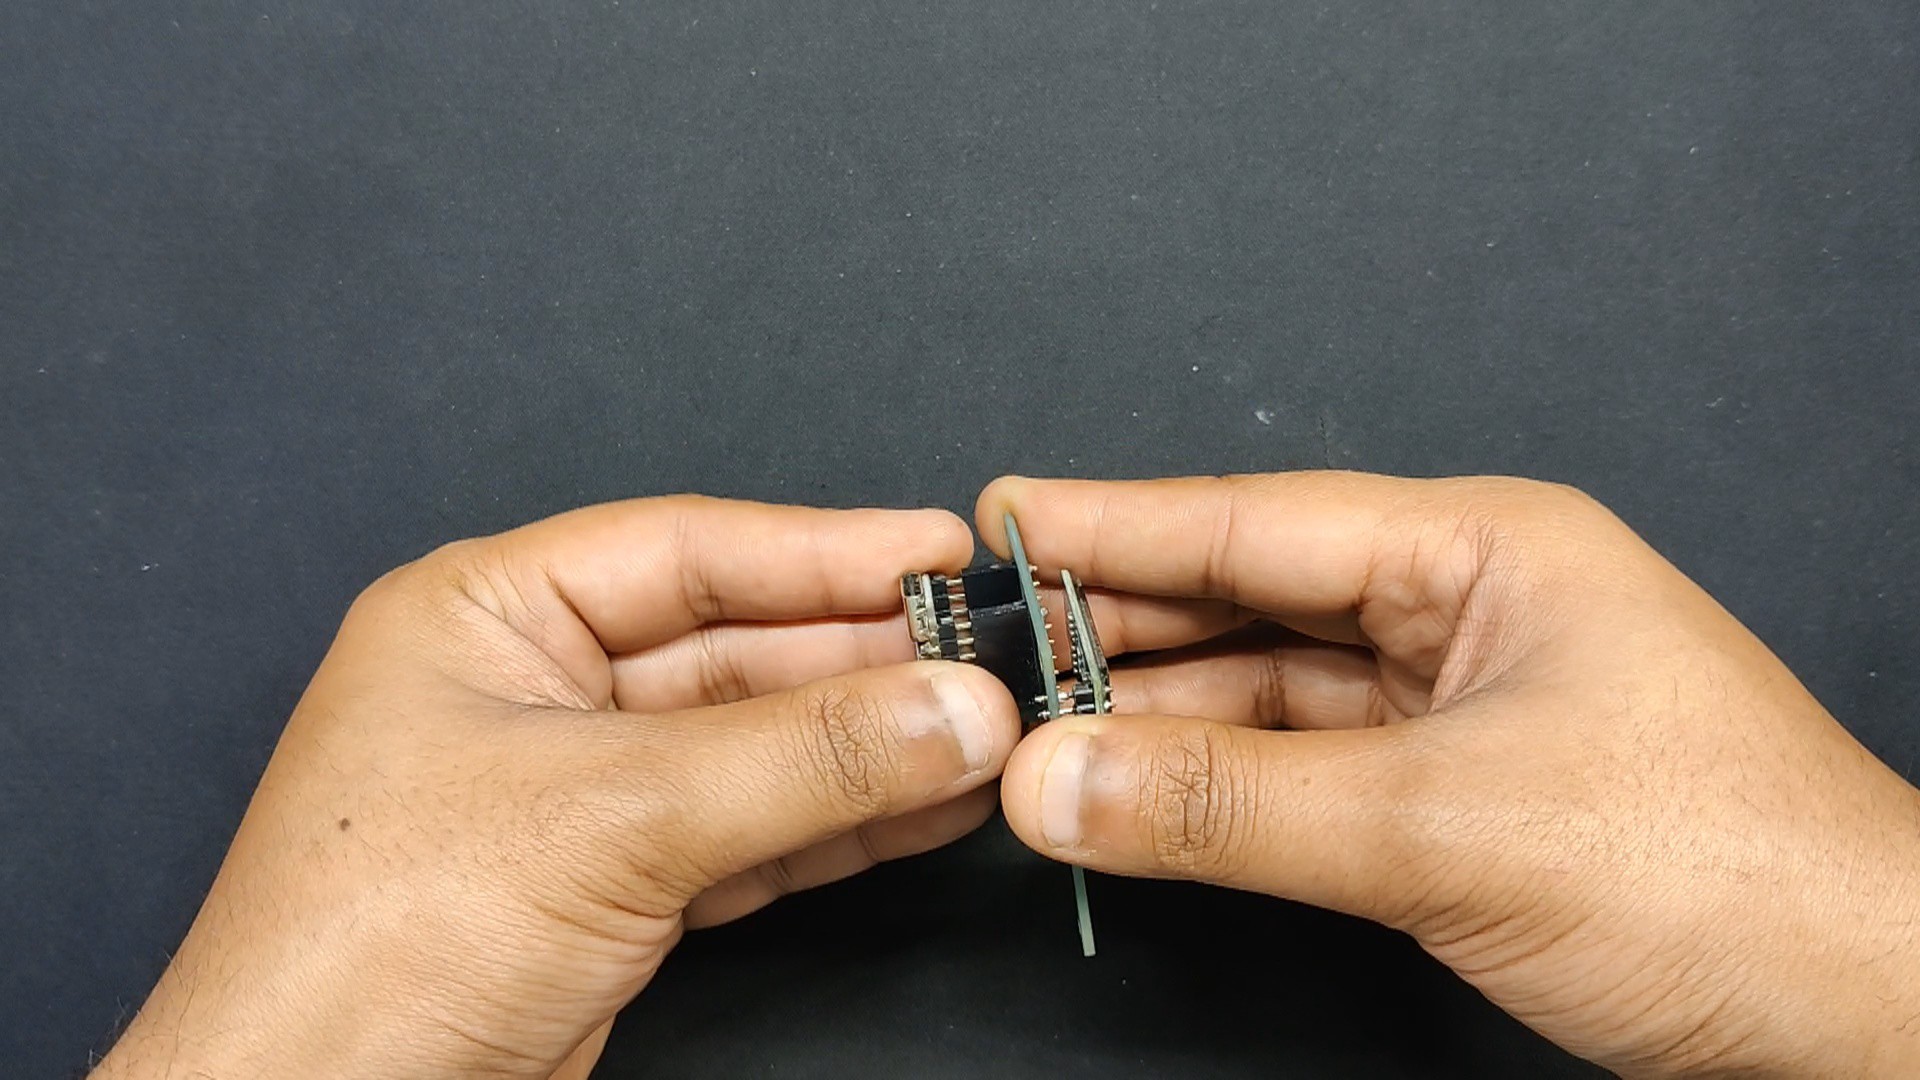
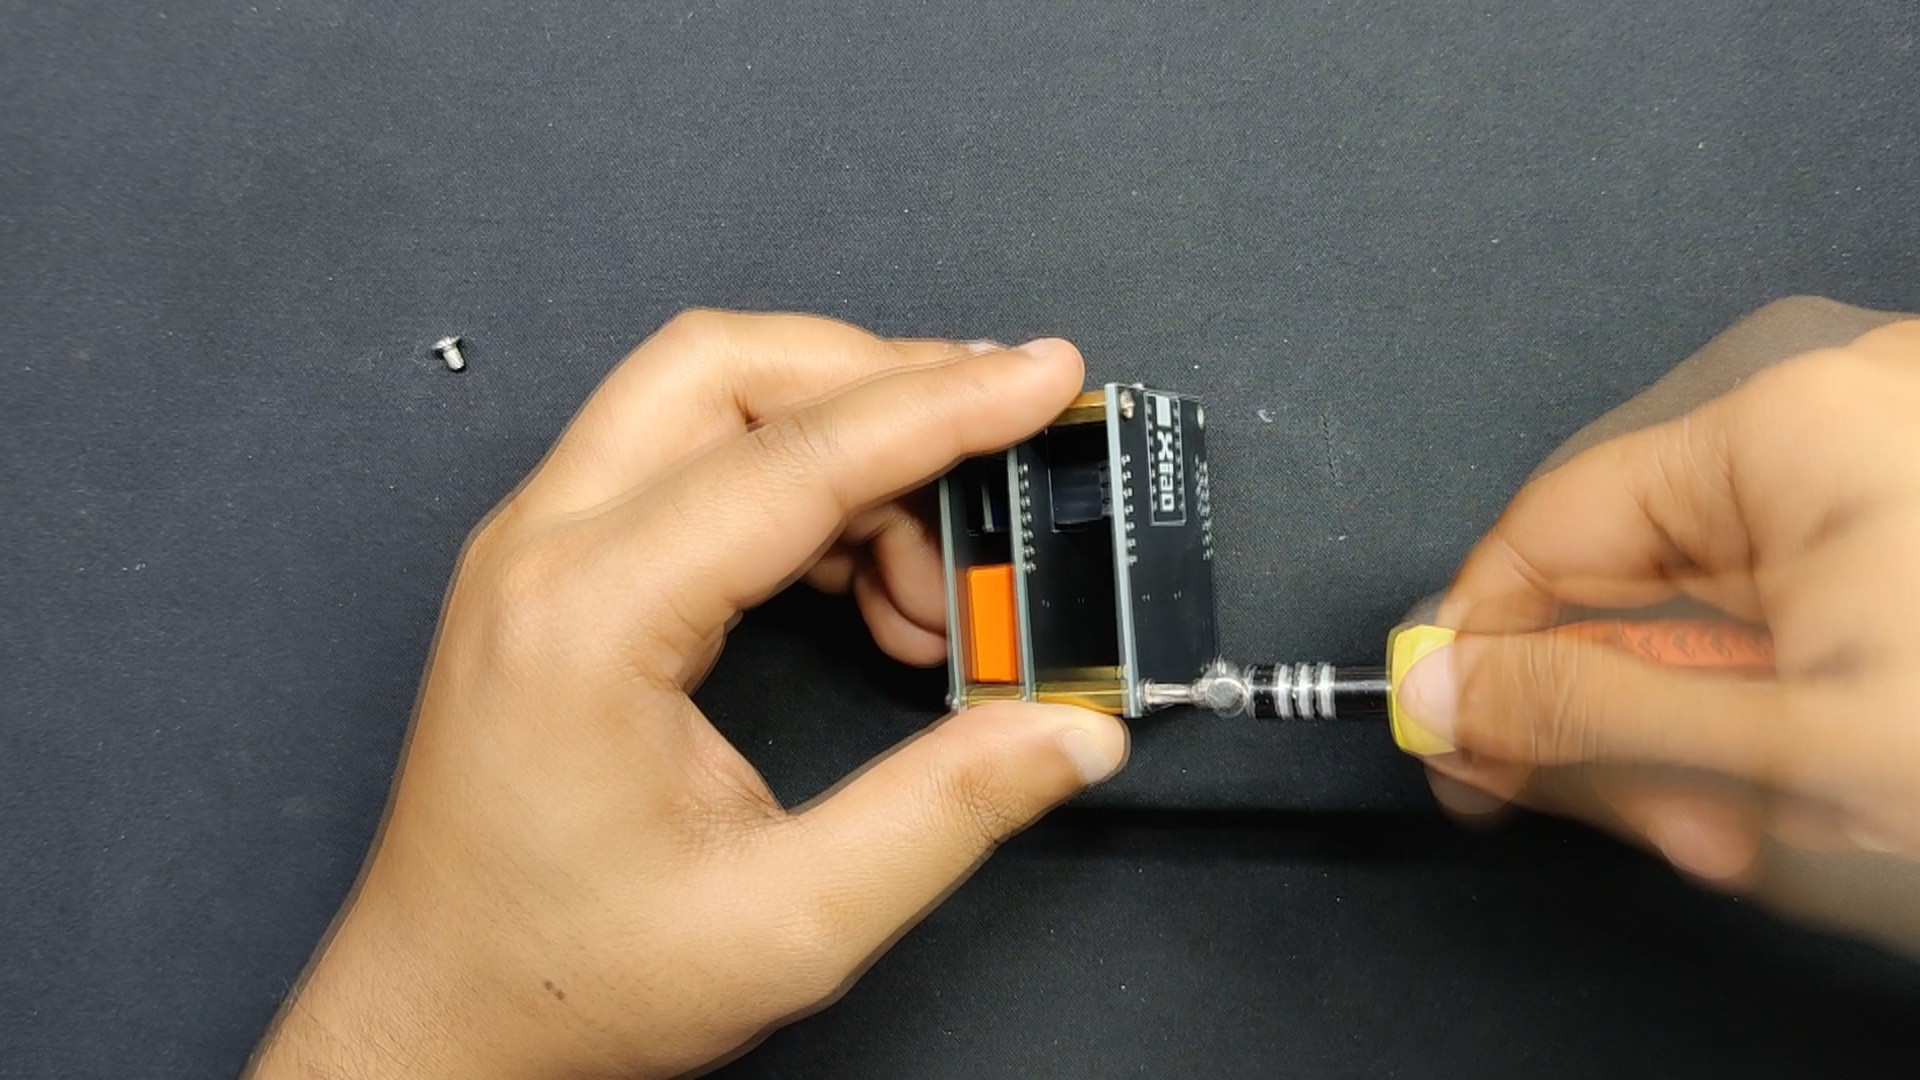
- We attached the pads of the two CON7 Female Header Pin connectors that we inserted from the back side of the PCB to the location of the XIAO Microcontroller.
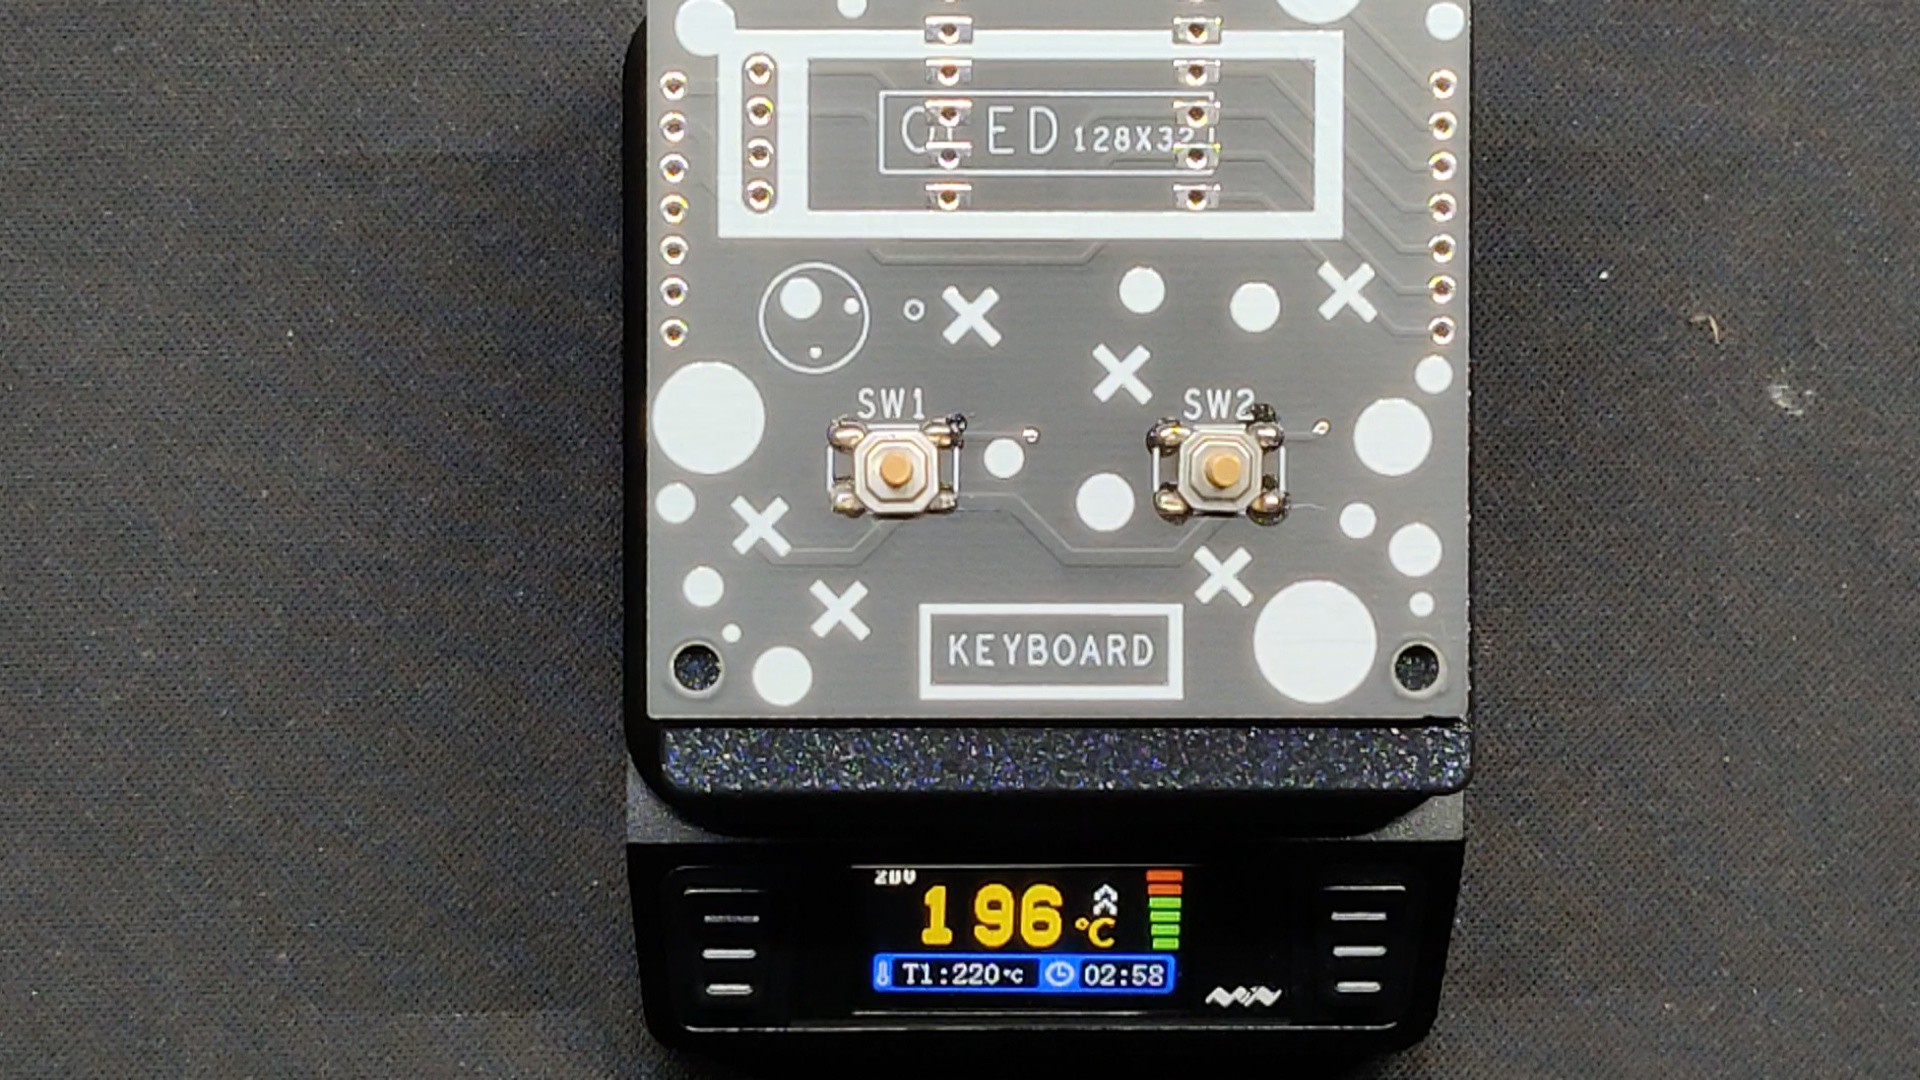
- We soldered the OLED into place after adding it from the top side.
Board assembly is now complete.
-
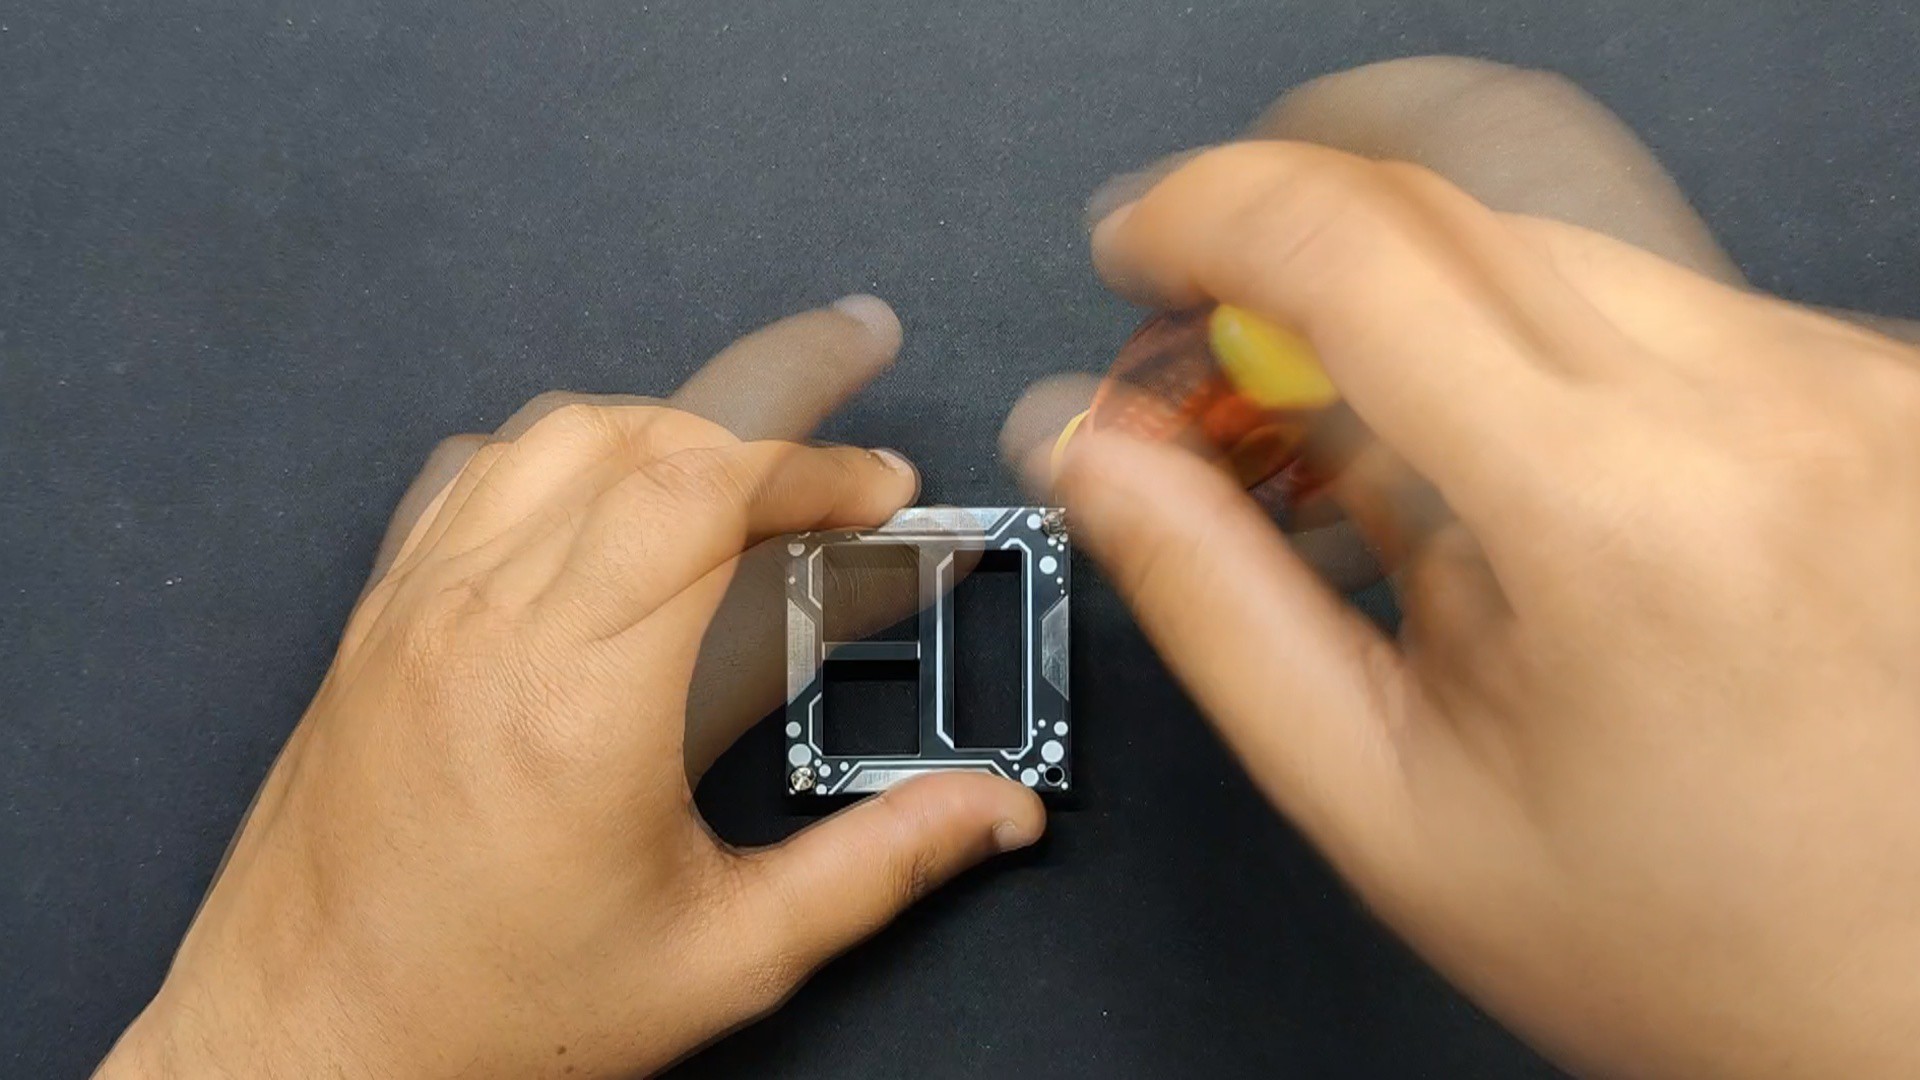
2Layer Assembly process
![]()
![]()
![]()
![]()
![]()
![]()
![]()
![]()
- Connecting the 9mm PCB standoffs to the top layer of the board via its four mounting holes is how we begin the layer assembly procedure.
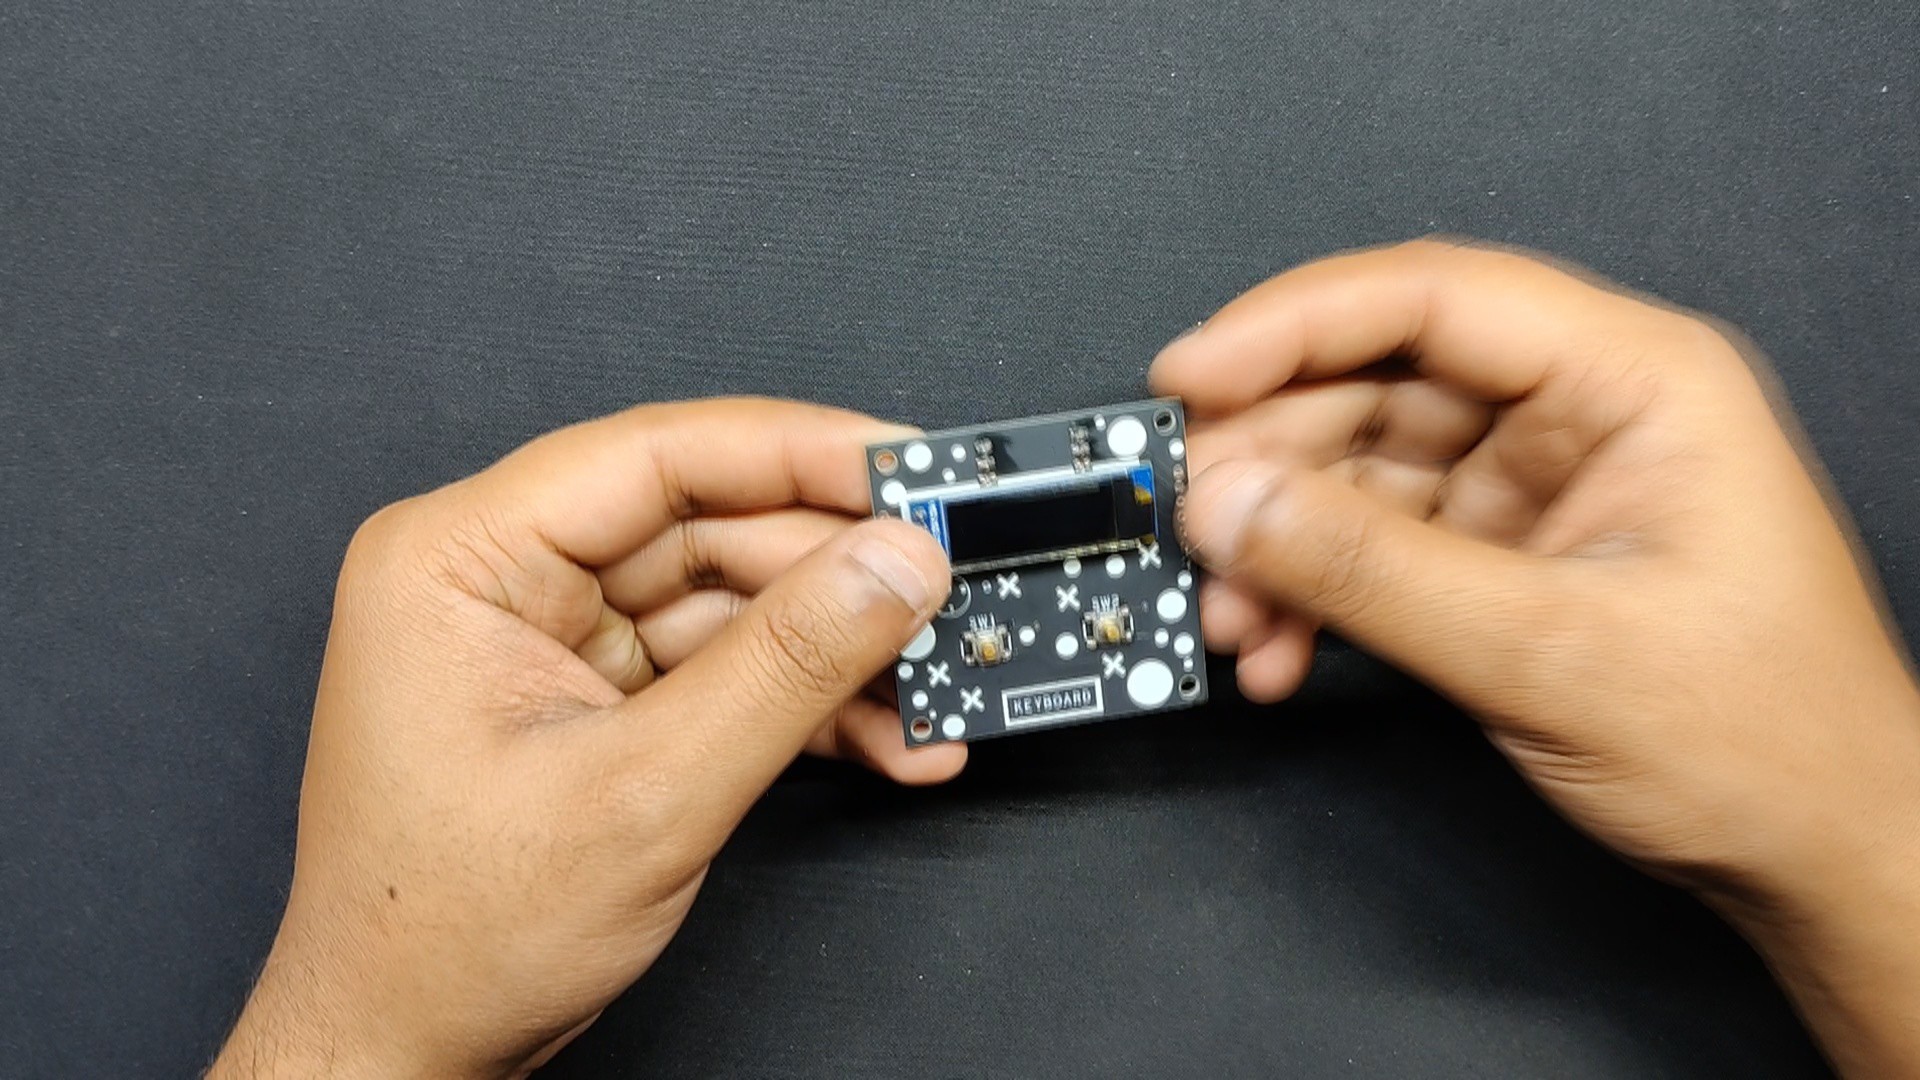
- Next, we placed XIAO in its proper spot on the bottom side of the Mid Board.
- The top layer board was flipped, and the two 3D printed switches were inserted into their designated slots. Next, the mid layer was positioned from the bottom of the top layer, and the top and mid layer boards were joined together using four 12mm PCB standoffs.
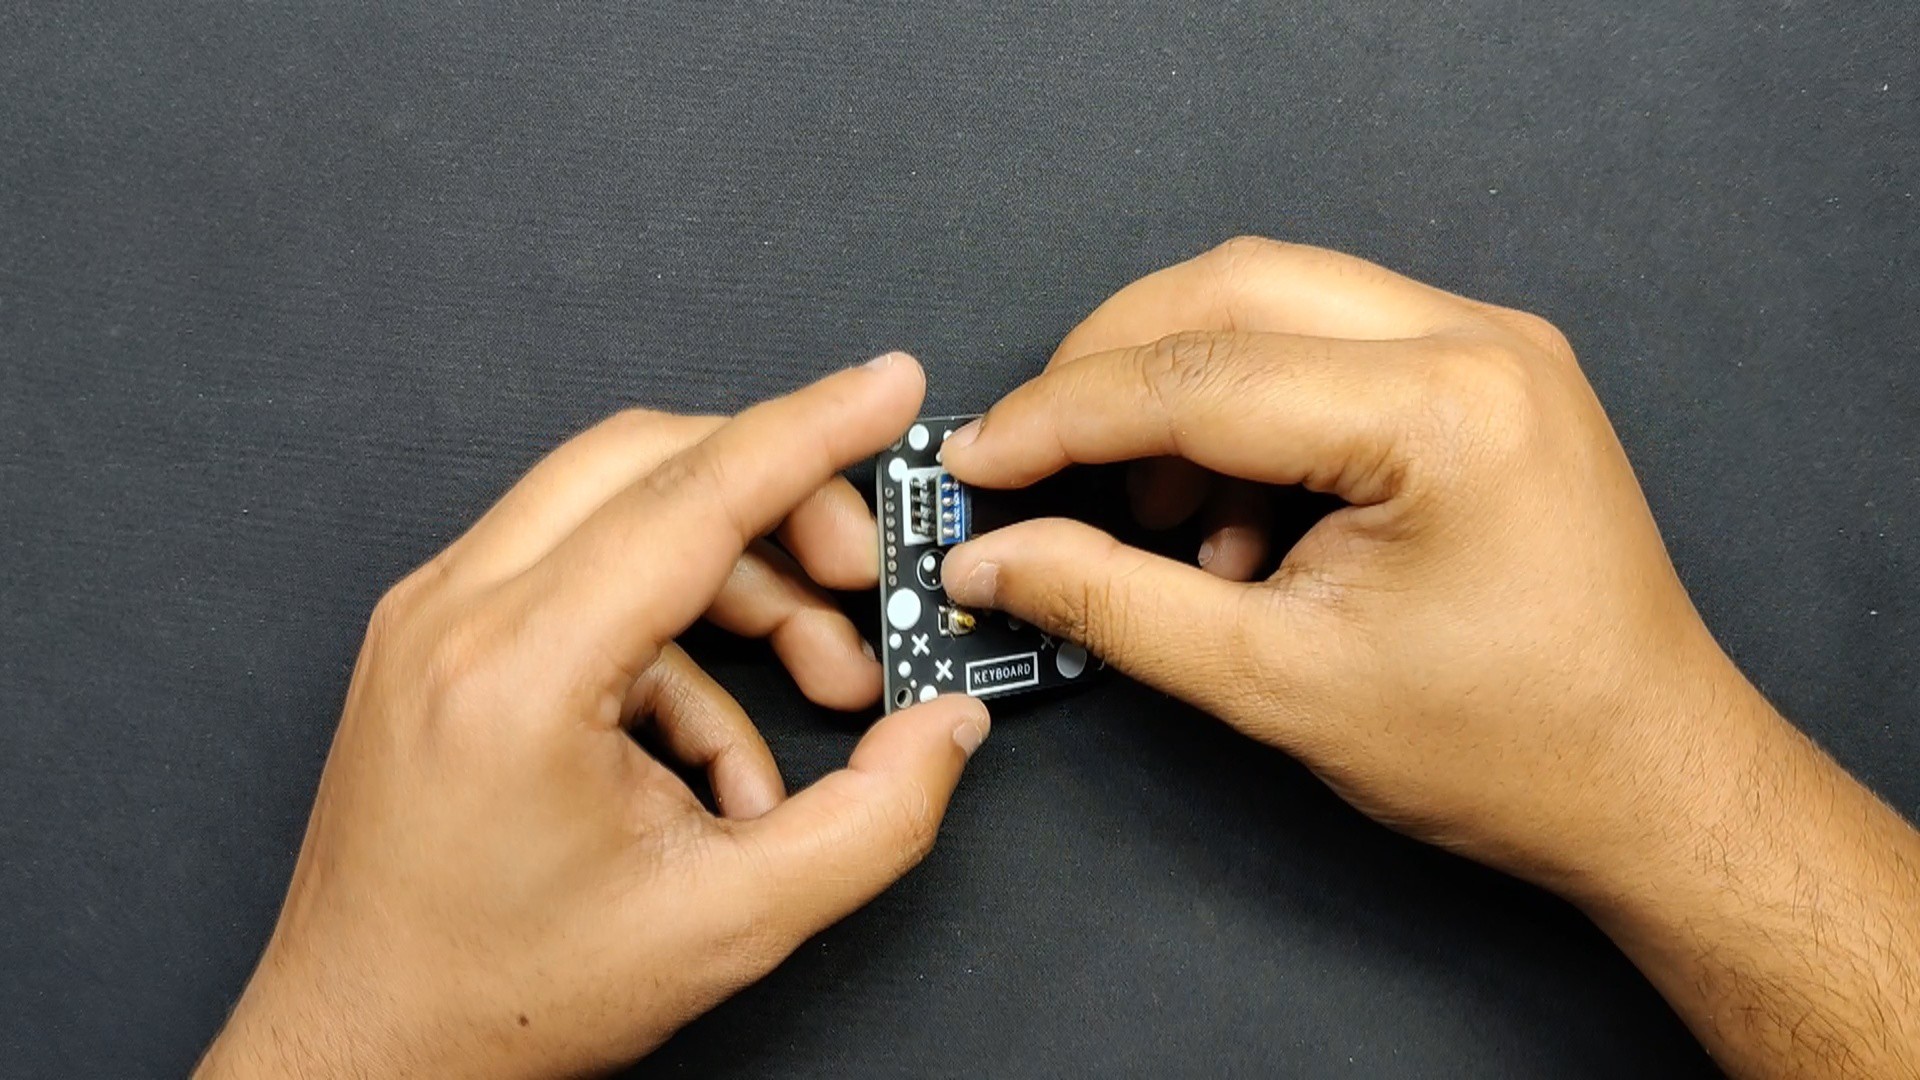
- Finally, we position the bottom layer PCB on the standoffs connecting it to the mid layer and fasten it in place with four M3 bolts.
Assembly is now completed.
-
3Main Code
Here's the code we used in this project and its a simple one.
#include <Wire.h>
#include <Adafruit_GFX.h>
#include <Adafruit_SSD1306.h>
#include <Keyboard.h>
#define SCREEN_WIDTH 128
#define SCREEN_HEIGHT 32
#define OLED_RESET    -1
Adafruit_SSD1306 display(SCREEN_WIDTH, SCREEN_HEIGHT, &Wire, OLED_RESET);
const int buttonCopyPin = 1; // Pin for the copy button
const int buttonPastePin = 0; // Pin for the paste button
void setup() {
// Initialize the OLED display
if(!display.begin(SSD1306_SWITCHCAPVCC, 0x3C)) {
Serial.println(F("SSD1306 allocation failed"));
for(;;);
}
display.display();
delay(2000);
display.clearDisplay();
// Initialize the buttons
pinMode(buttonCopyPin, INPUT_PULLUP);
pinMode(buttonPastePin, INPUT_PULLUP);
// Initialize the Keyboard library
Keyboard.begin();
}
void loop() {
if (digitalRead(buttonCopyPin) == LOW) {
display.clearDisplay();
display.setTextSize(3);
display.setTextColor(SSD1306_WHITE);
display.setCursor(20, 5);
display.print("Copy");
display.display();
Keyboard.press(KEY_LEFT_CTRL);
Keyboard.press('c');
delay(100);
Keyboard.releaseAll();
delay(500); // Debounce delay
}
if (digitalRead(buttonPastePin) == LOW) {
display.clearDisplay();
display.setTextSize(3);
display.setTextColor(SSD1306_WHITE);
display.setCursor(20, 5);
display.print("Paste");
display.display();
Keyboard.press(KEY_LEFT_CTRL);
Keyboard.press('v');
delay(100);
Keyboard.releaseAll();
delay(500); // Debounce delay
}
}
This sketch uses the Adafruit_SSD1306 library to control a small OLED screen and the Keyboard library to send keyboard inputs. Here, this macropad sends copy (Ctrl + C) and paste (Ctrl + V) commands when the respective buttons are pressed. The OLED display is used to show "Copy" or "Paste" for visual feedback whenever the respective button is pressed.
-
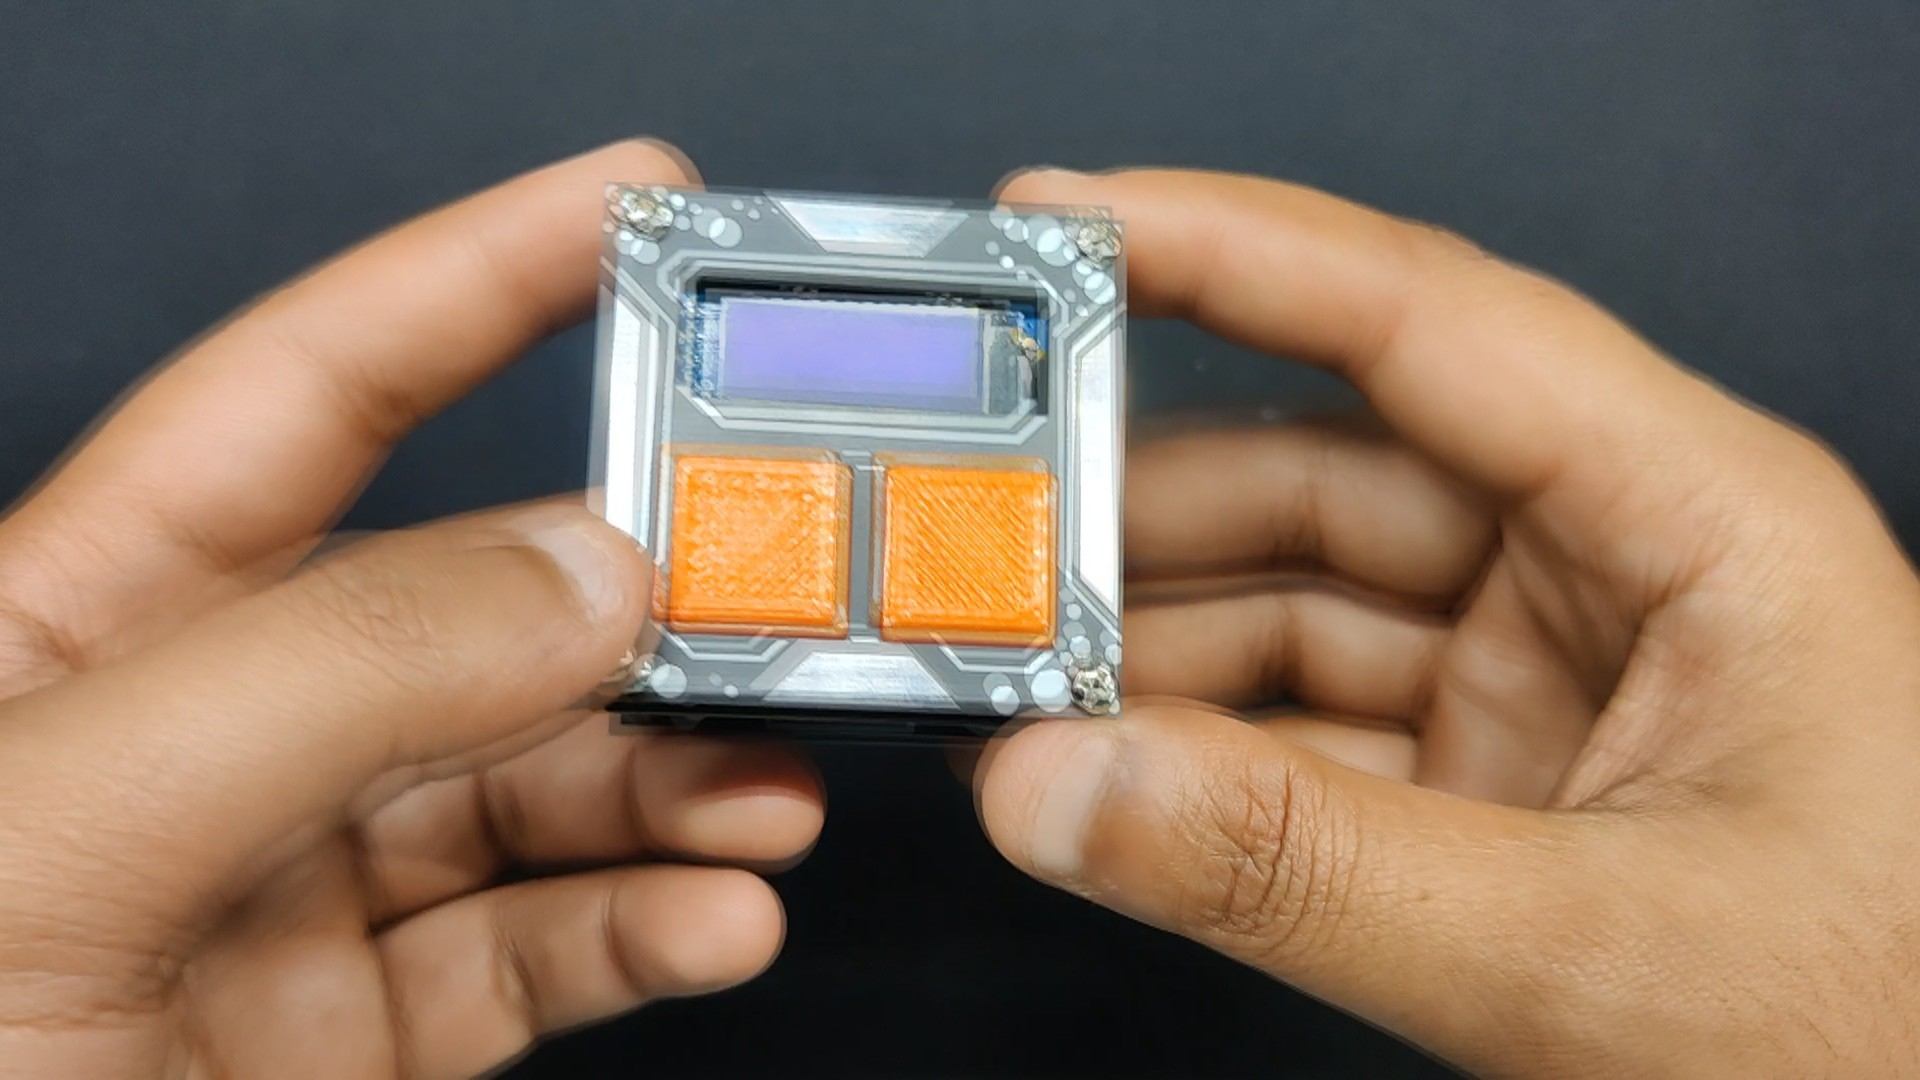
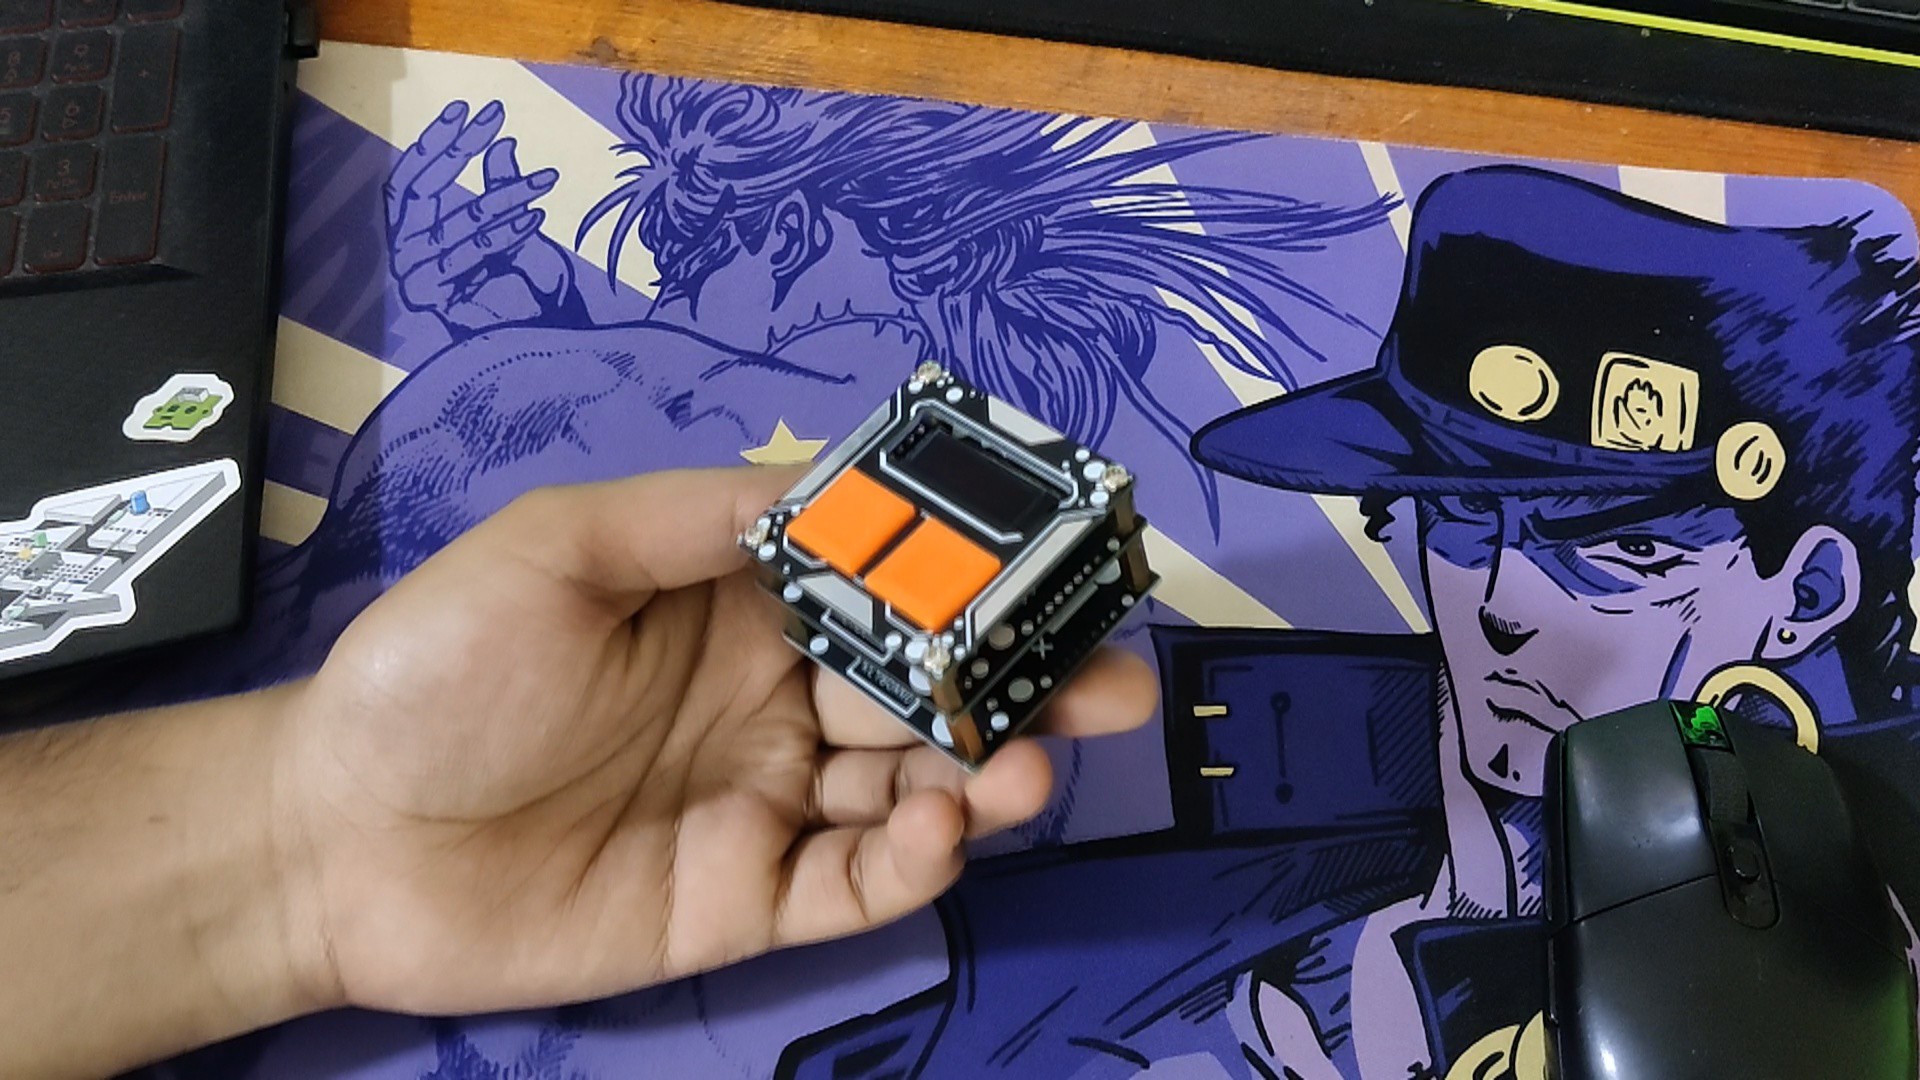
4RESULT
![]()
![]()
![]()
![]()
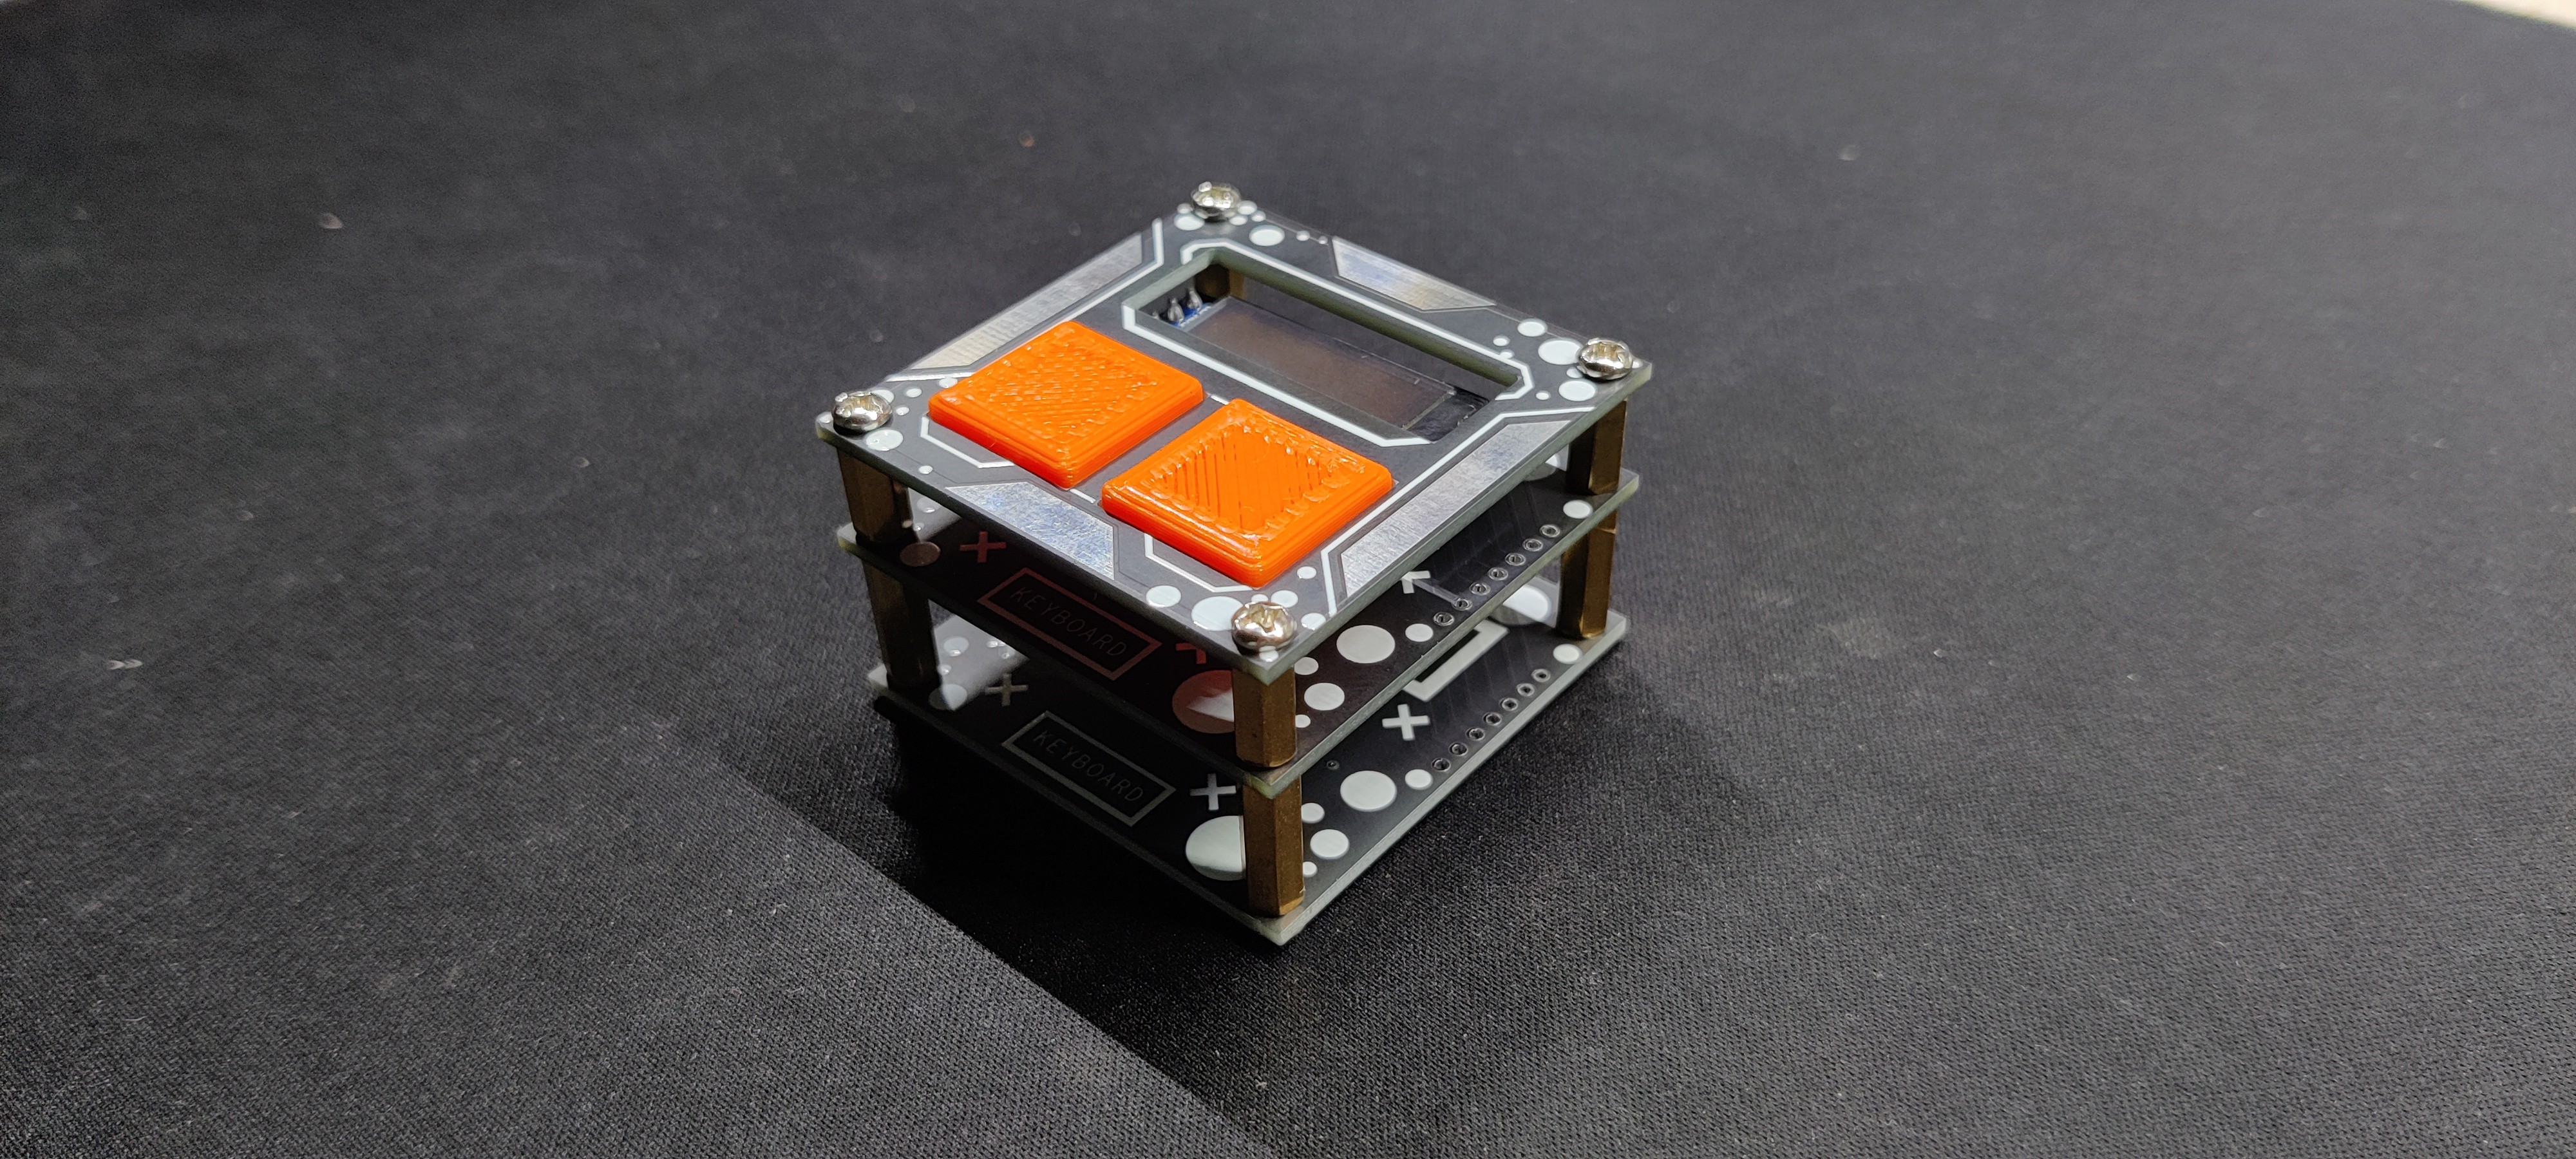
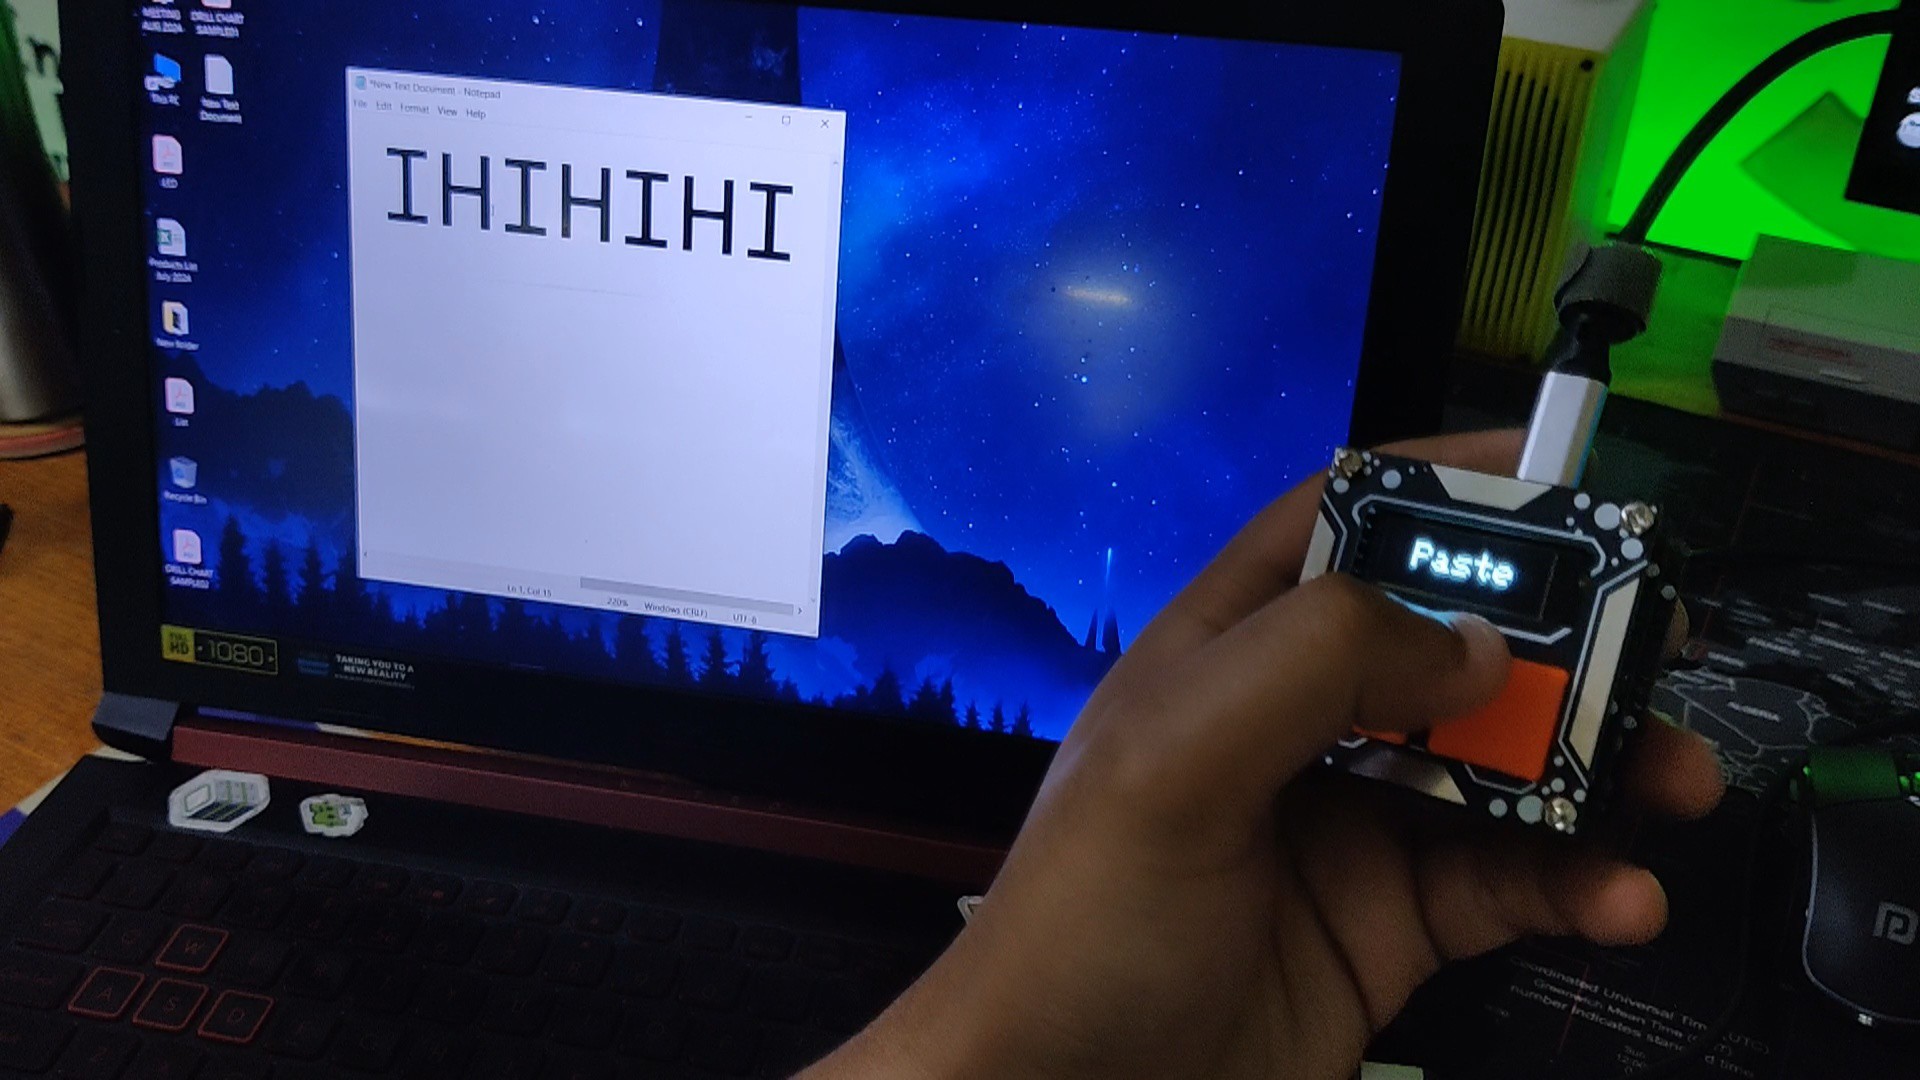
The end result of this quick but interesting project is this: a MACROPAD with two buttons that we have assigned short keys for copying and pasting. Any button can be pressed to see which command is active on the OLED.
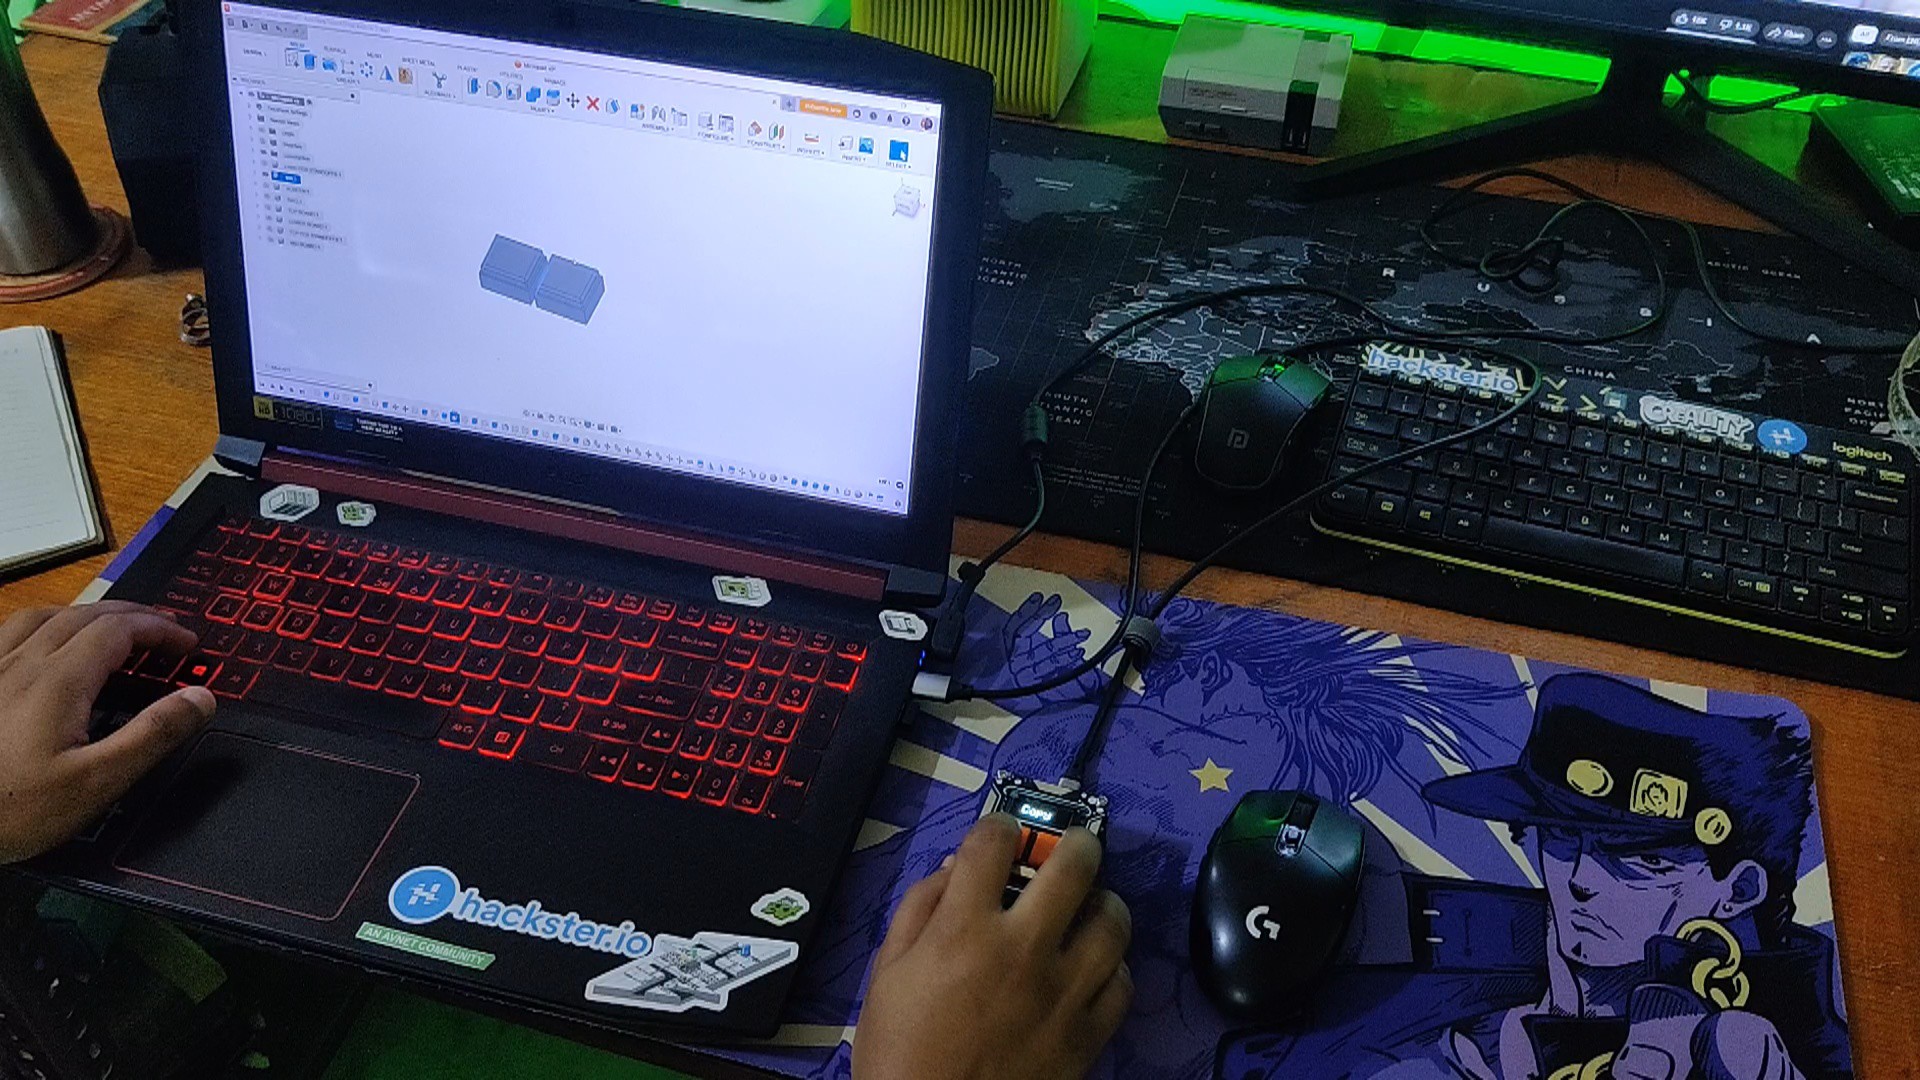
We put this device through several tests. We tried this in a notepad, and we even utilize this macropad in our Fusion360 design process, where we just choose a model and use the copy and paste command to create copies of it.
Depending on the use case, the copy paste command in macropad can even be altered. To do this, we just need to edit the code, which is very simple to achieve.
Stay tuned for the next version of this project, which will have more buttons and a mechanical switch.
Special thanks to HQ NextPCB for providing components that I've used in this project, check them out for getting all sorts of PCB or PCBA-related services for less cost.
Thanks for reaching this far, and I will be back with a new project soon.
PastePal
A simple two-button macropad for copy and paste commands, we have added a display that outputs the keypress.


Discussions
Become a Hackaday.io Member
Create an account to leave a comment. Already have an account? Log In.