The ESP32
The circuit uses an ESP32-WROOM-32. I got a 30-pin module; other versions with more pins are available.
Here's how I installed the ESP32 into the Arduino IDE:
- Open the Arduino IDE. I'm using version 1.8.16 (yes, I know there's a more recent version but I needed that version for a different project).
- Click on the File|Preferences menu item. The Preferences dialog appears.
- Set Compiler Warnings to None - my code produces a lot of warnings which I find unhelpful.
- Enter https://raw.githubusercontent.com/espressif/arduino-esp32/gh-pages/package_esp32_dev_index.json into the Additional Board Manager URLs field.
- Click OK.
- Click on the Tools|Board|BoardsManager menu item. The Boards Manager dialog appears.
- Select "ESP32" in the Type box. The Arduino ESP32 Boards listbox item appears.
- Select the "ESP32" item in the listbox (ignore the "Arduino ESP32" item).
- Select 3.0.4 from the Install drop-down box.
- Click Install.
- The Arduino IDE and Expressif may install USB device drivers. If your anti-virus software requests permission, say "Install".
- In the Tools|Board menu, select "ESP32 Arduino" then select "ESP32-WROOM-DA Module".
- In the Tools|Port menu, select the port that the new USB device driver has created. For me, it was Port 4.
Write and upload a simple test program like this to make sure it all works:
void setup() { Serial.begin(115200); } void loop() { Serial.println("Hello world"); delay(1000); }
The Display
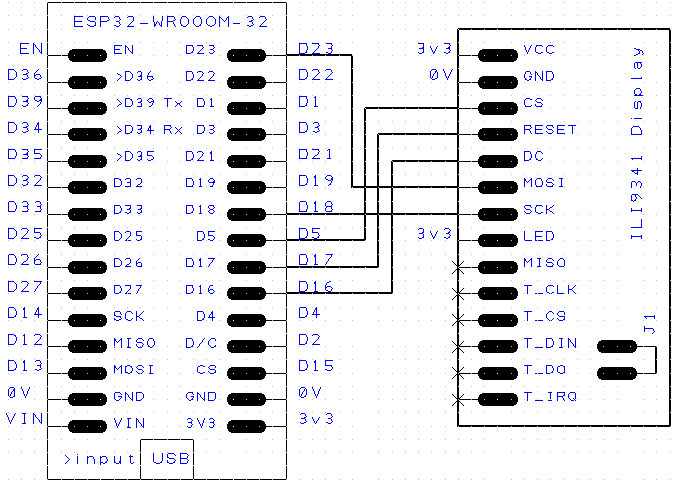
The circuit uses a 2.4" TFT screen with an ILI9341 driver chip and "without touch". It must have an SPI interface and it is 240x320 pixels.
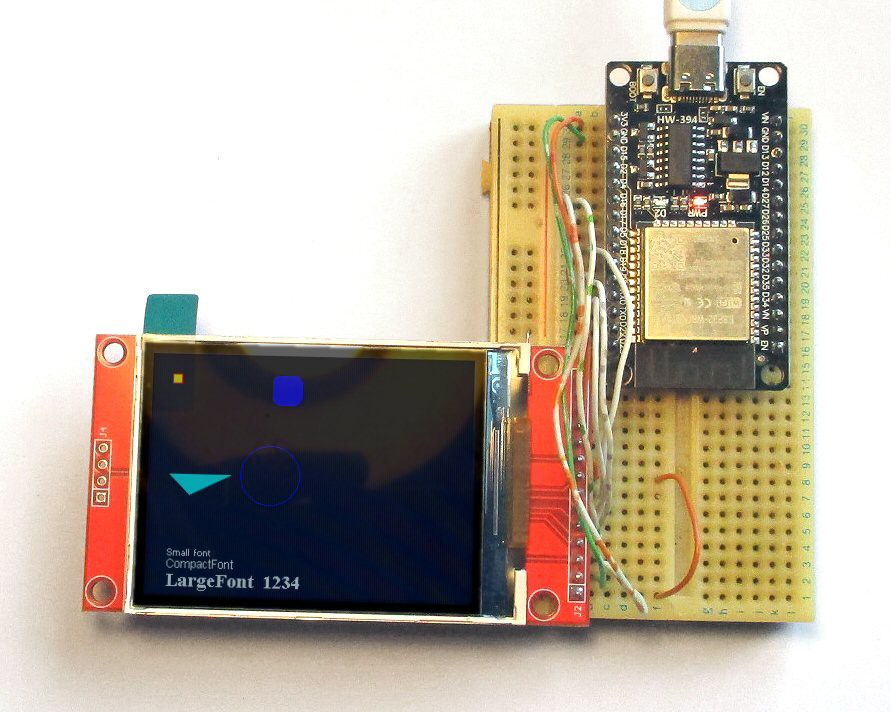
Test the display with circuit shown above. You can build it on a solderless-breadboard. Copy the following files (from my GitHub page) into a directory called "TestTFT"
- TestTFT.ino
- SimpleILI9341.h
- SimpleILI9341cpp
Compile and upload the sketch; it shows some text, a circle, rectangle, triangle, etc. (In the File|Preferences dialog, set Compiler Warnings to None - my code produces a lot of warnings which I find unhelpful.)
The Keyboard
The "keys" are sold on eBay as "5x5x1.5 Tactile Push Button". They have a little button protruding from the top which I found works well.
The keys are charlieplexed using 8 pins which means there are 28 keys:
- 8*(8-1)/2 = 28
The keys are arranged on the keyboard so as to minimise the total length of their interconnections. I soldered it all together on stripboard using self-fluxing enameled copper wire for the interconnections. (I've included PCB on GitHub if you'd prefer.)
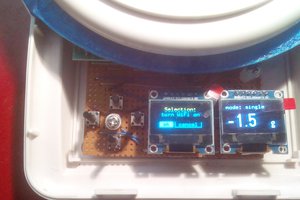
The cover for the keyboard was printed at a local photo printing shop. I 3D-printed a frame which fits between the keys to make a surface to glue the photo onto.
Copy the following file into a directory called "TestKbd"
- TestKbd.ino
If you have connected the TFT display, the TestTFT_KBD.ino sketch also prints the tag value on the TFT screen. Copy the following file into a directory called "TestTFT_KBD"
- TestTFT_KBD.ino
- SimpleILI9341.h
- SimpleILI9341cpp
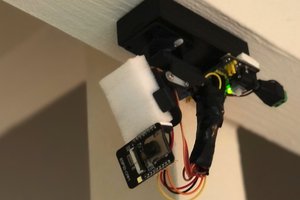
The Circuit
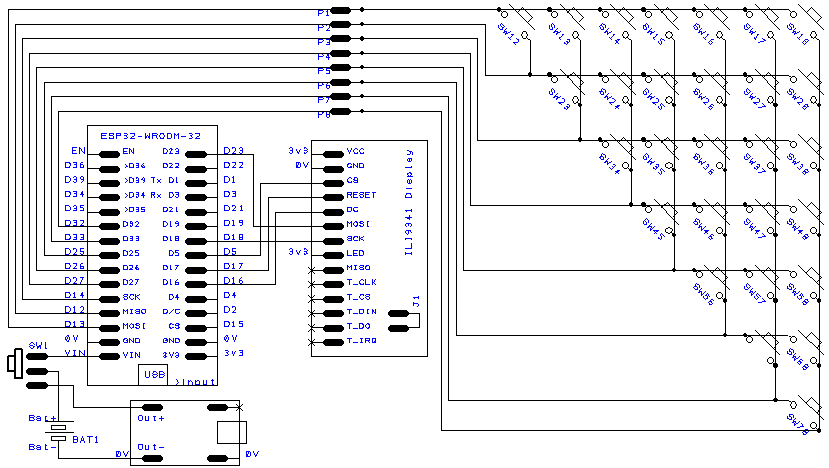
The circuit is very simple: an ESP32-WROOM-32, a TFT screen and the keypad. I didn't bother with a PCB (apart from the keypad). I just hooked up the connections with self-fluxing enameled copper wire.
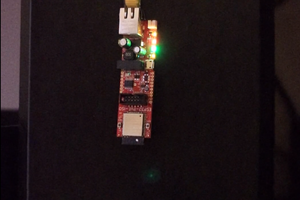
Power Supply
The ESP32-WROOM can be powered from a 3.3V supply connected to the 3V3 pin or by, say, three AA cells connected to the "5V" pin.
I used a a Lithium cell and a USB Lithium charger module. The calculator has a slide switch which connects the cell to either the ESP32-WROOM-32 or to the charger. You can see the connections in the schematic above.
The cell produces between 3.6V and 4.4V. The maximum supply of the ESP32-WROOM-32 is 3.6V and the minimum is 3.0V. The minimum dropout of the regulator at the current we're using seems to be around 0.5V. Those are the values I've measured. So the circuit I use works just fine even though it's "out of spec" according to the data sheets.
The Software
Upload the code in the Solver.zip file to the ESP32-WROOM-32. Set "Compiler Warnings"...
Read more »
 uri.shani