These libraries are included to control the I2C communication (Wire.h) and to interface with the SSD1306 OLED display (Adafruit_GFX.h and Adafruit_SSD1306.h).
const int buttonPins[] = {0, 1, 2, 6, 7, 8, 9, 10}; // Button pinsconst int buttonCount = 8;const int speakerPin = D3; // Speaker pinconst int frequencies[8] = {523, 587, 659, 698, 784, 880, 988, 1047}; // C5 to C6
This specifies the GPIO pins used for buttons and the speaker. Also defines the frequencies corresponding to each button, representing musical notes from C5 to C6.
3
Final Assembly
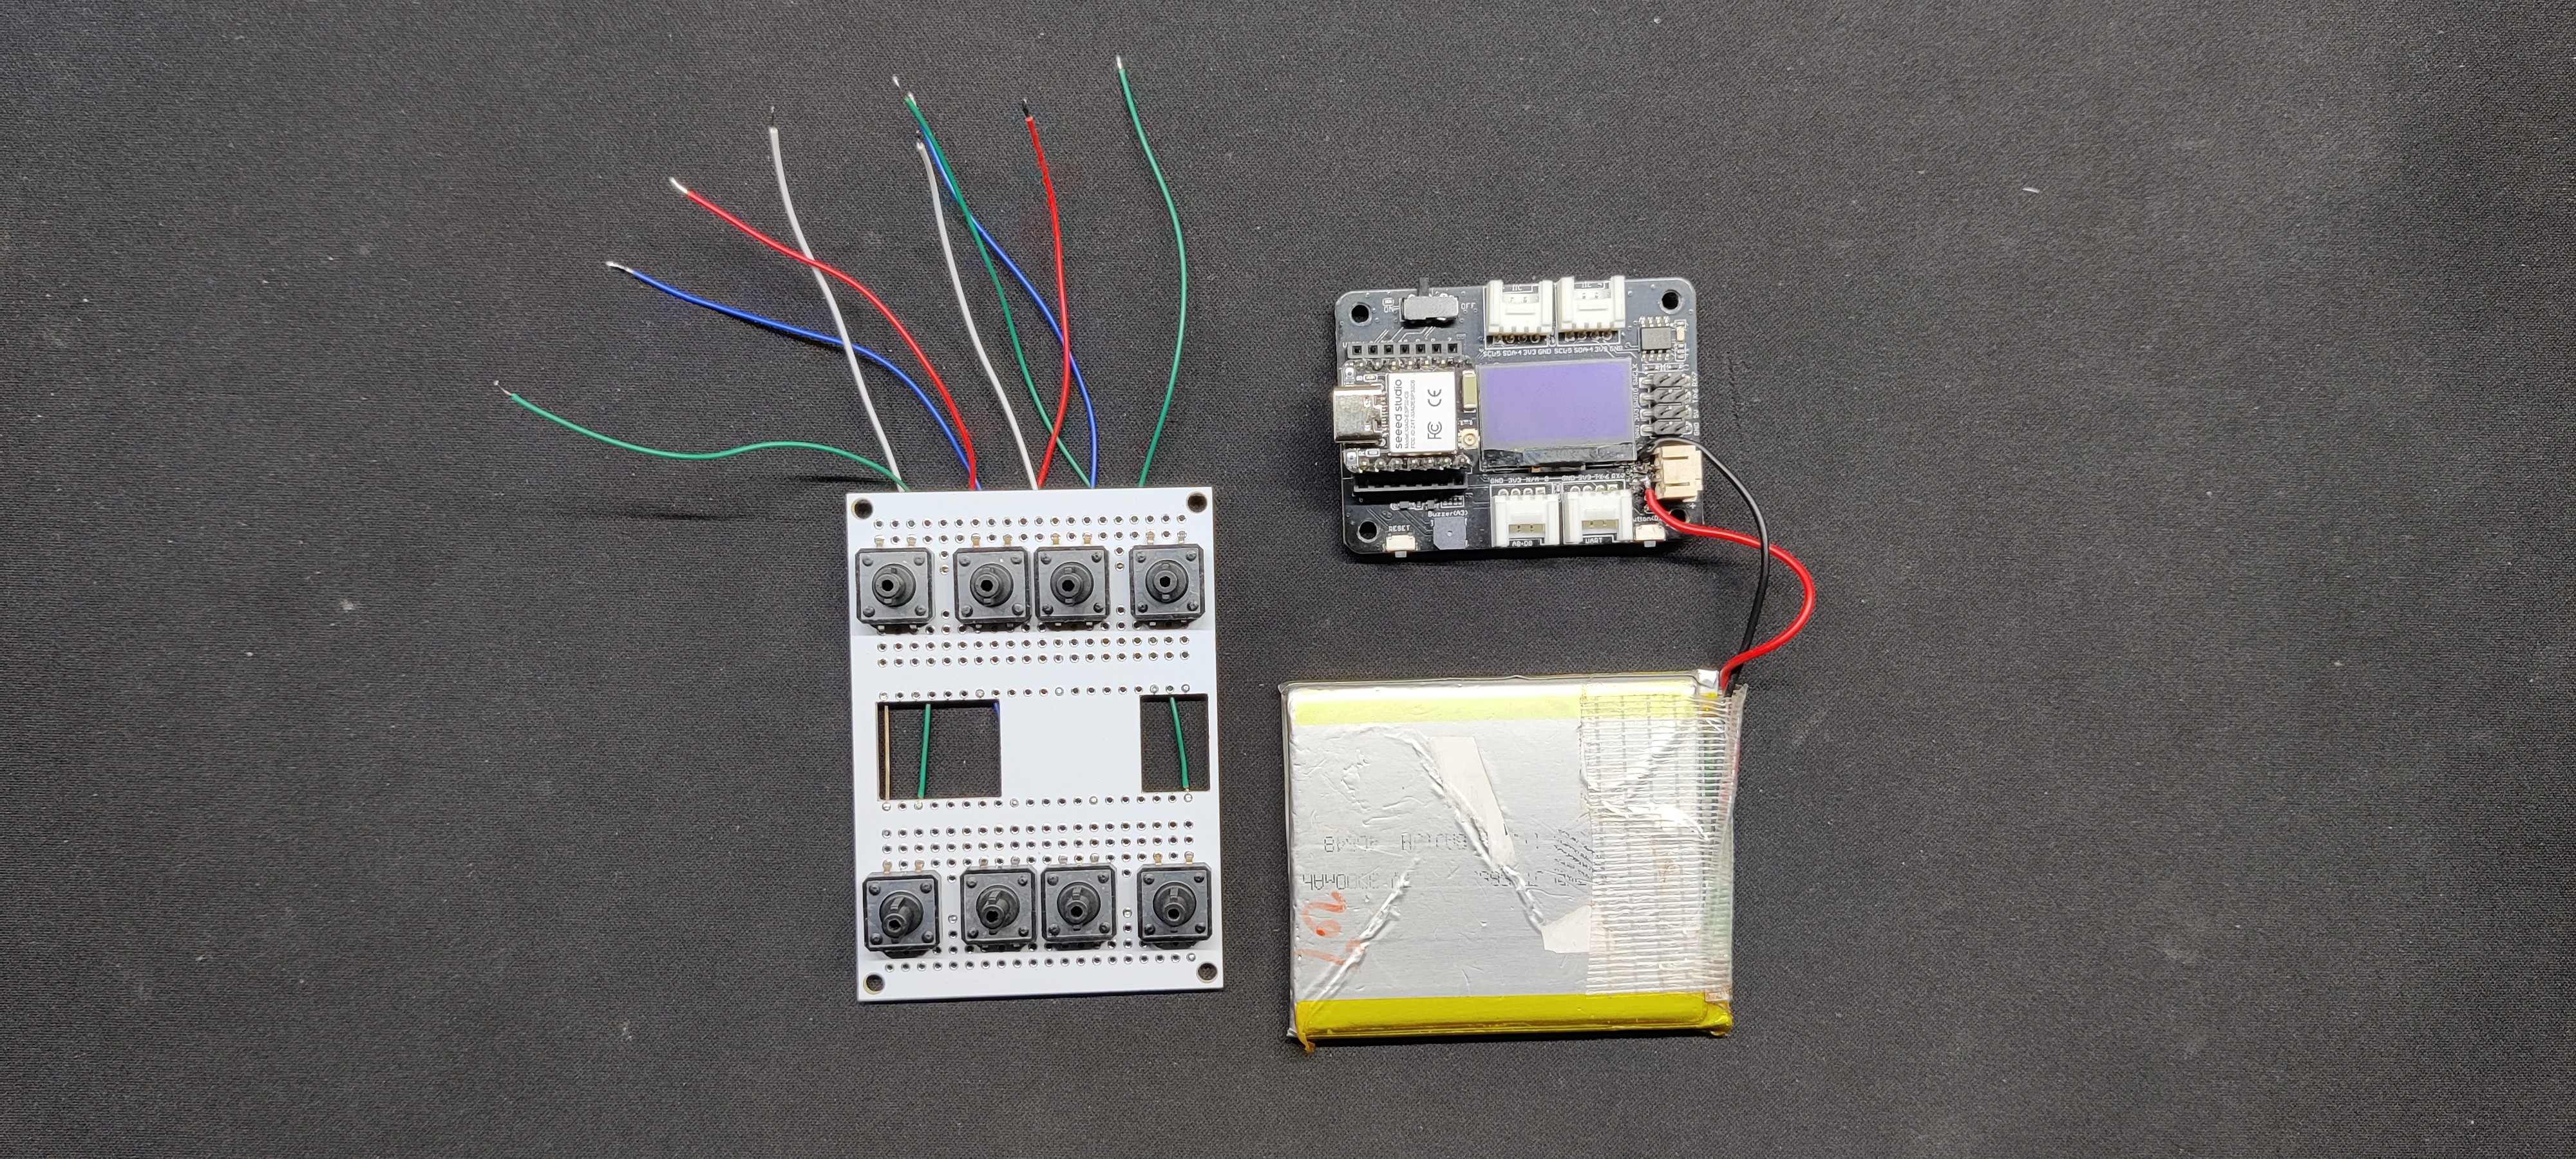
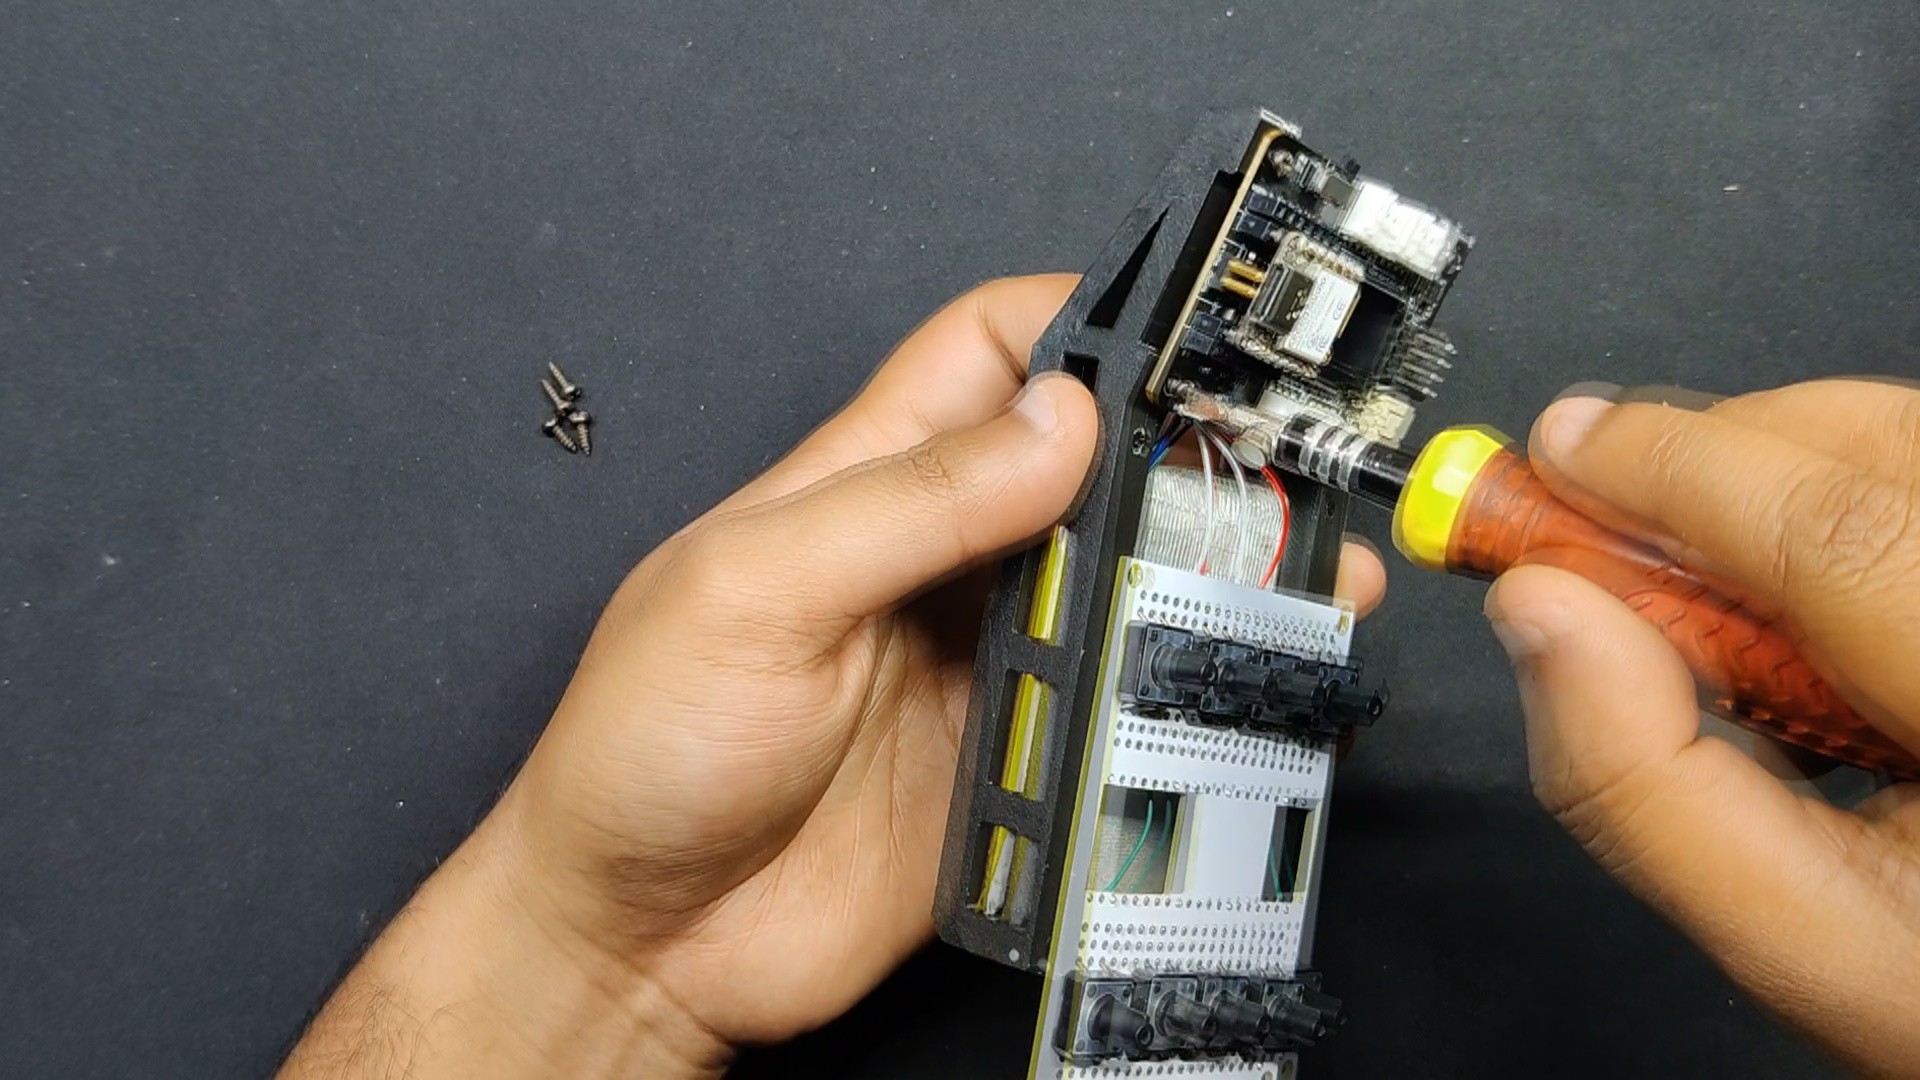
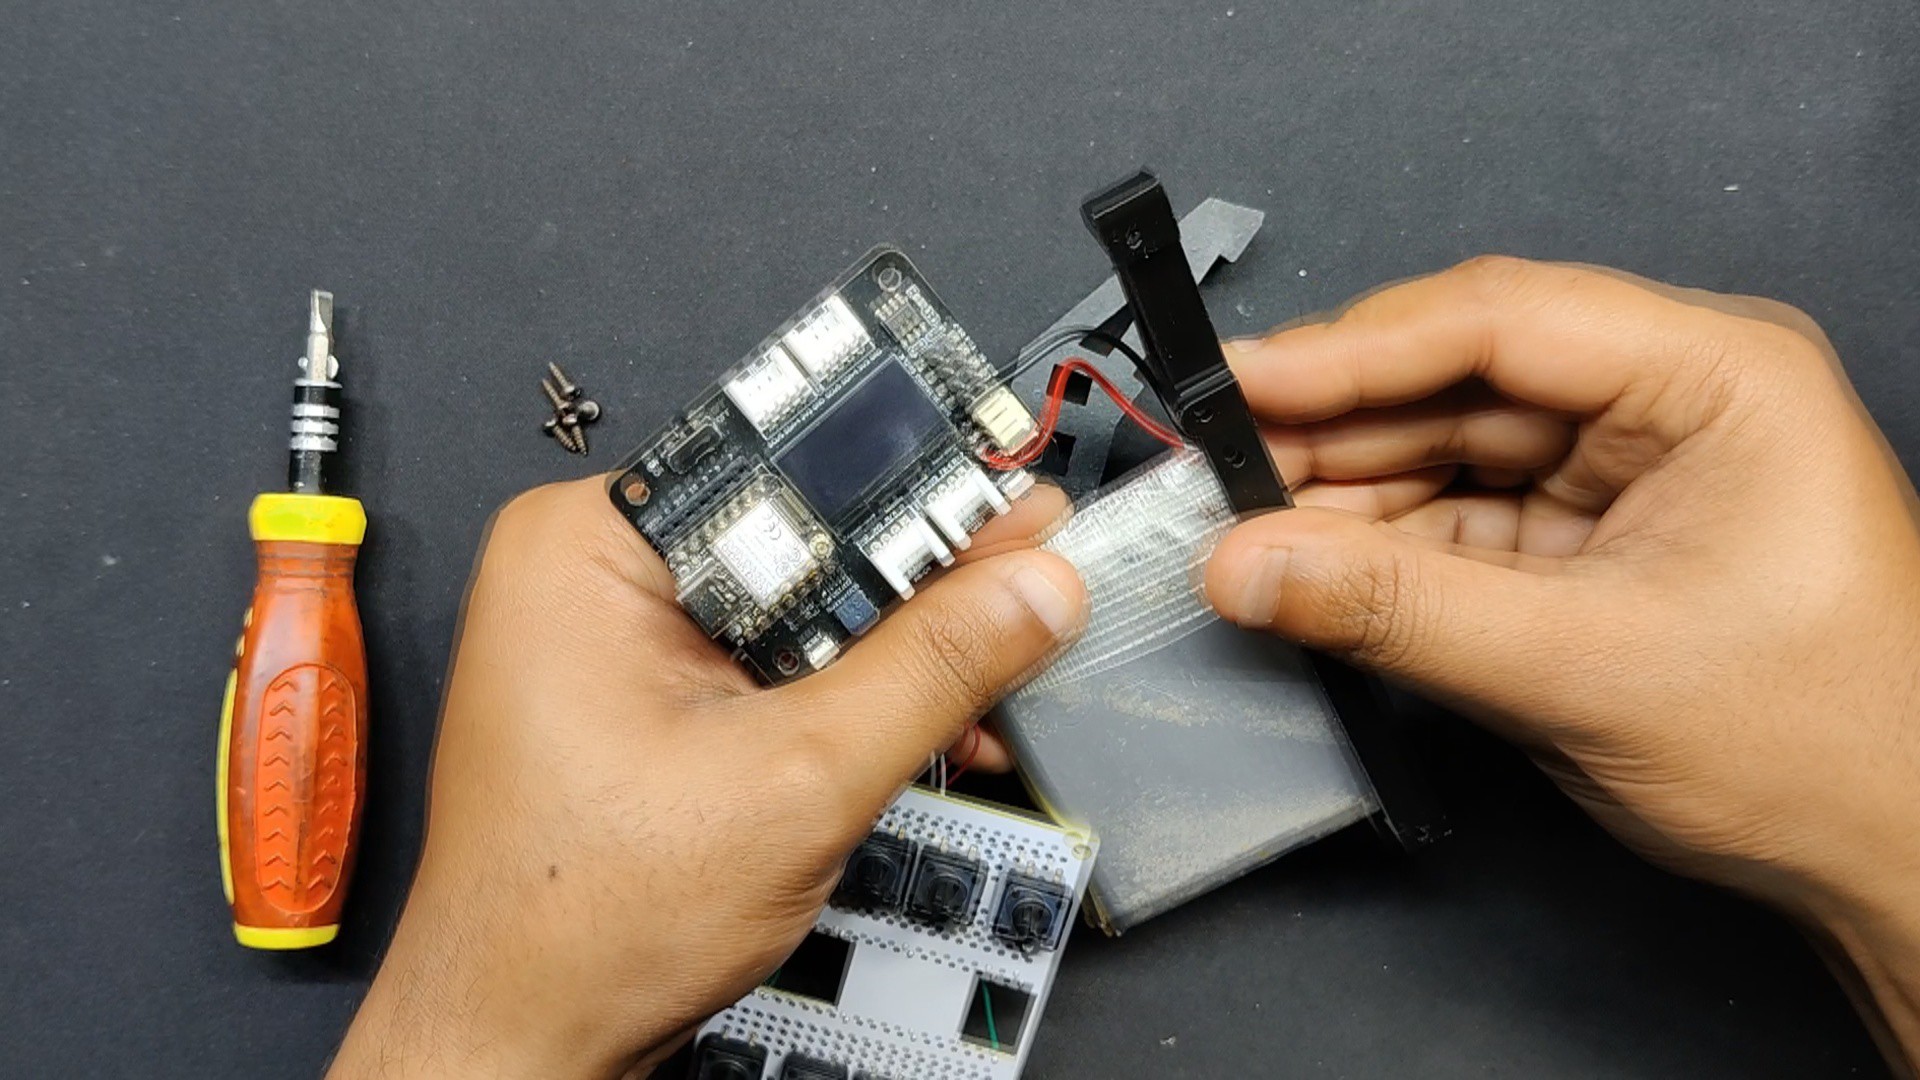
Following the completion of the electronics and coding, we began the main assembly procedure, which begins with the battery positioned between the two frames. The Xiao expansion board is then installed in its location, and it is fastened in place with M2 screws.
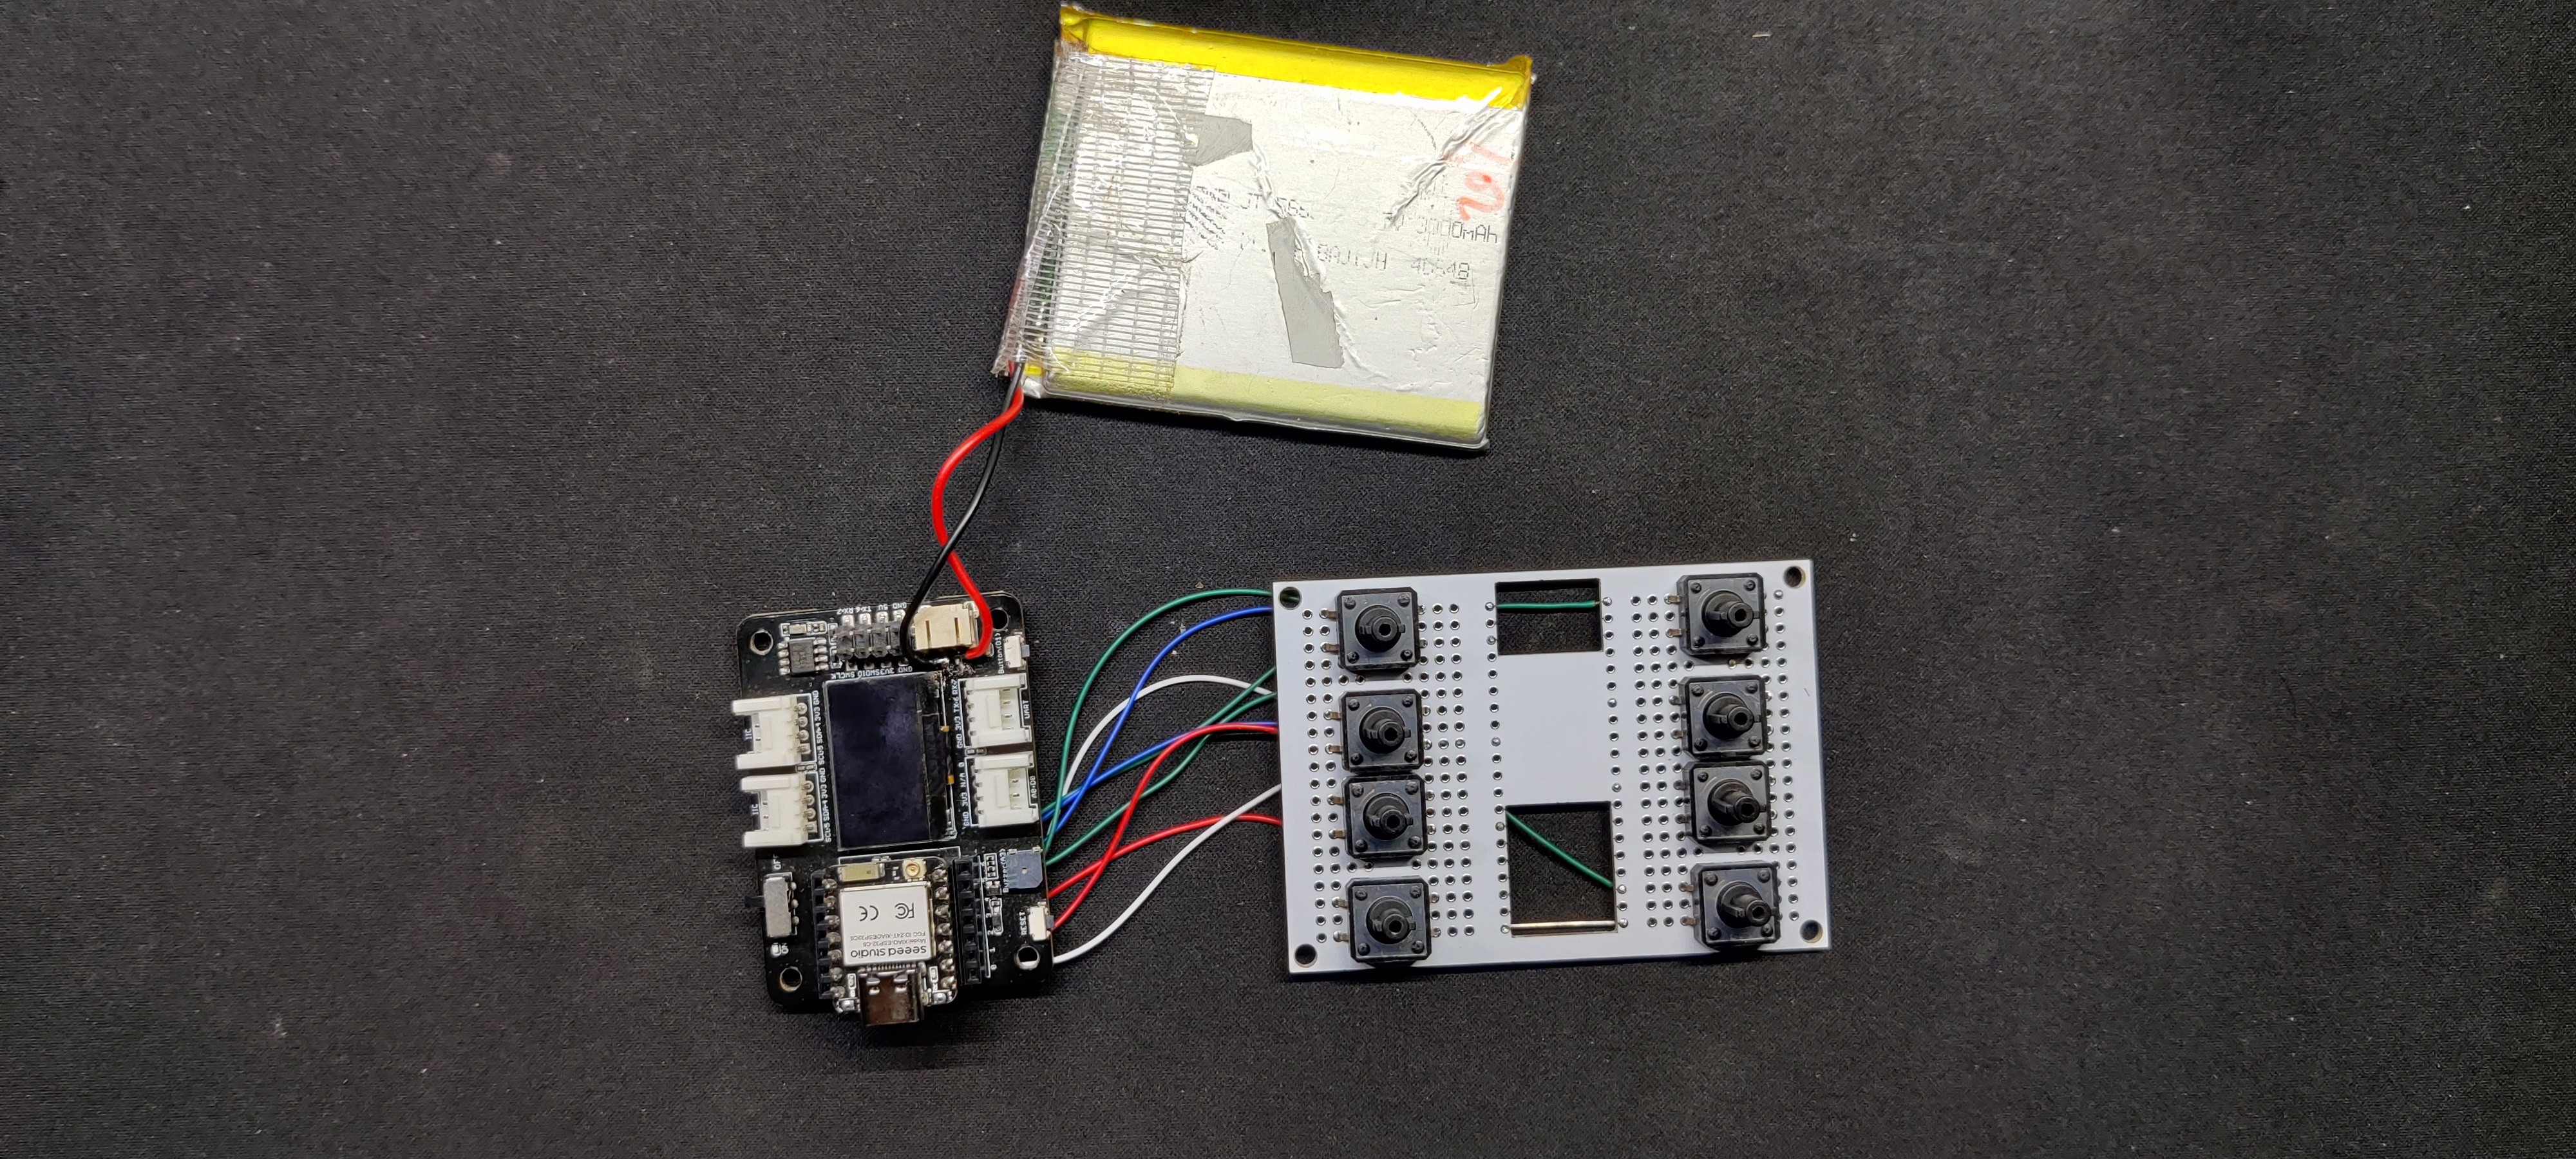
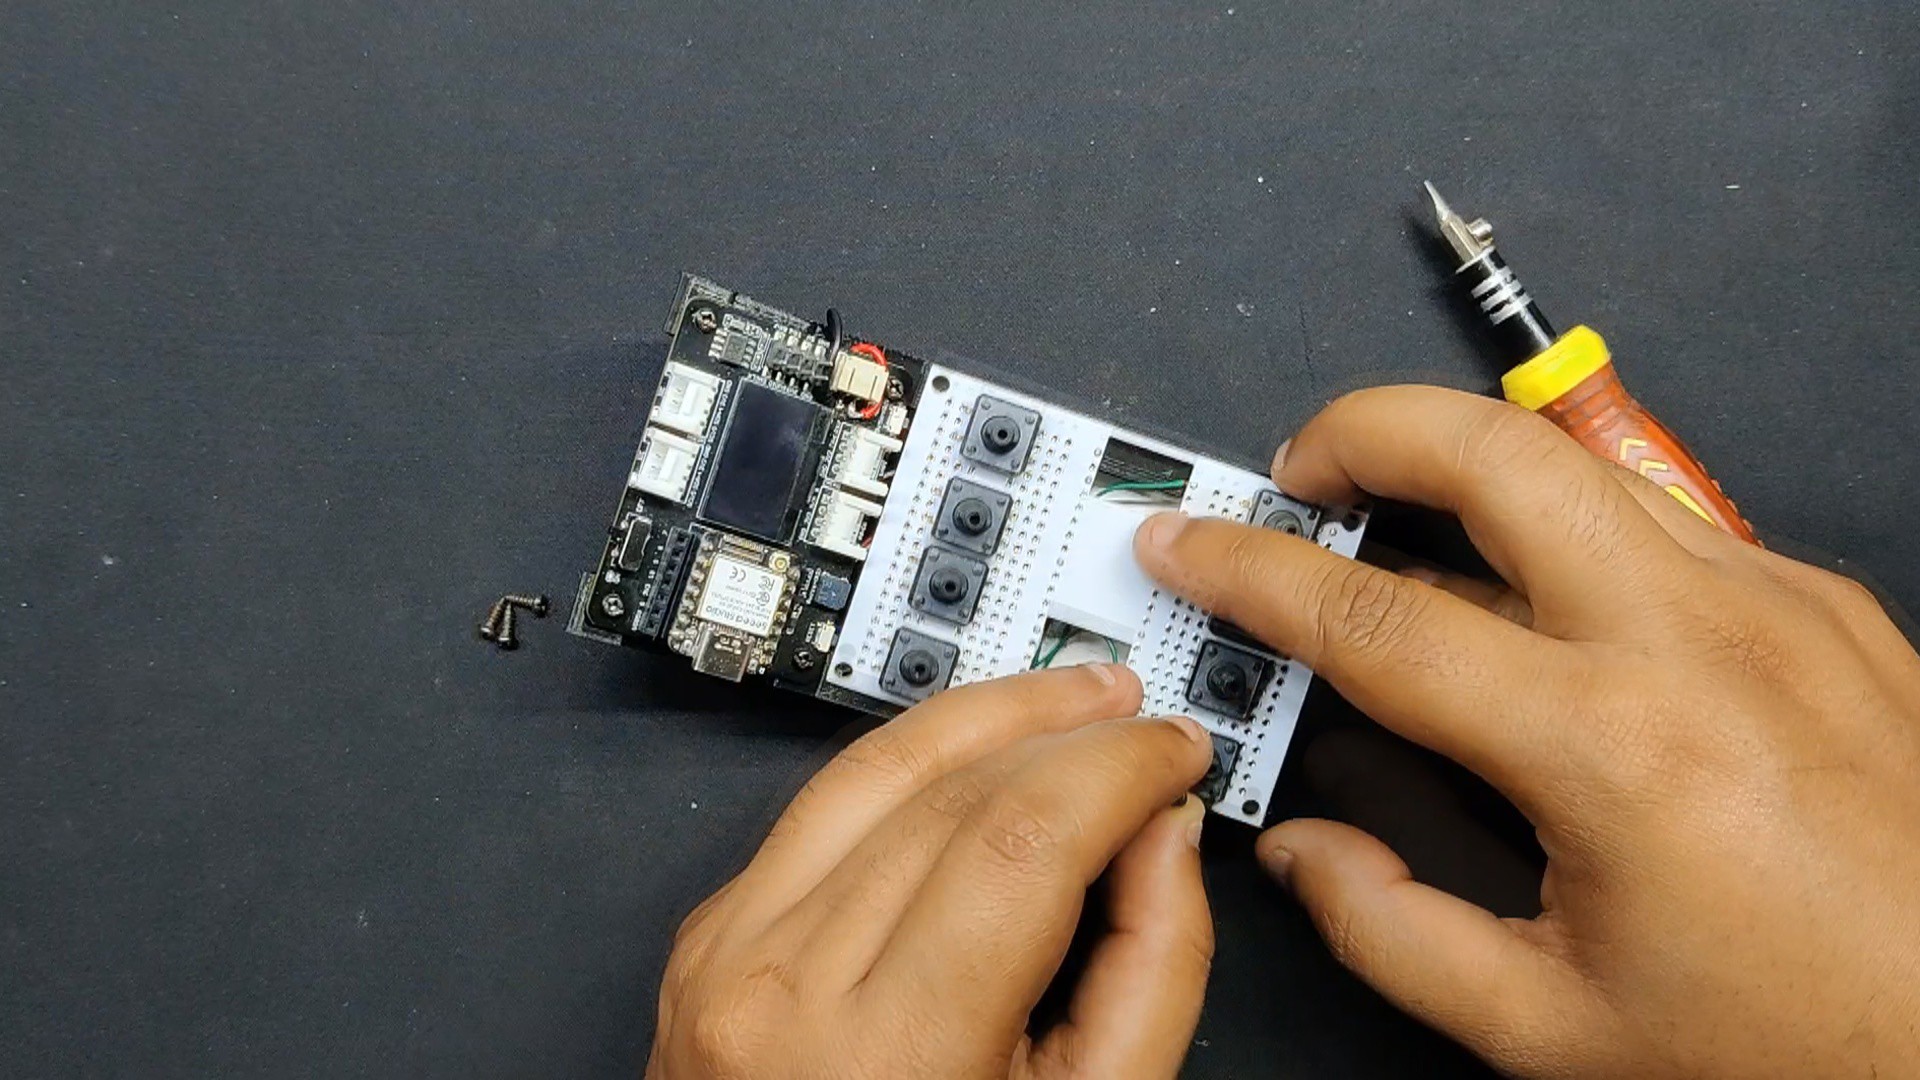
The button board is then positioned and fastened in place with M2 screws.
The assembly process is now complete.
4
Result
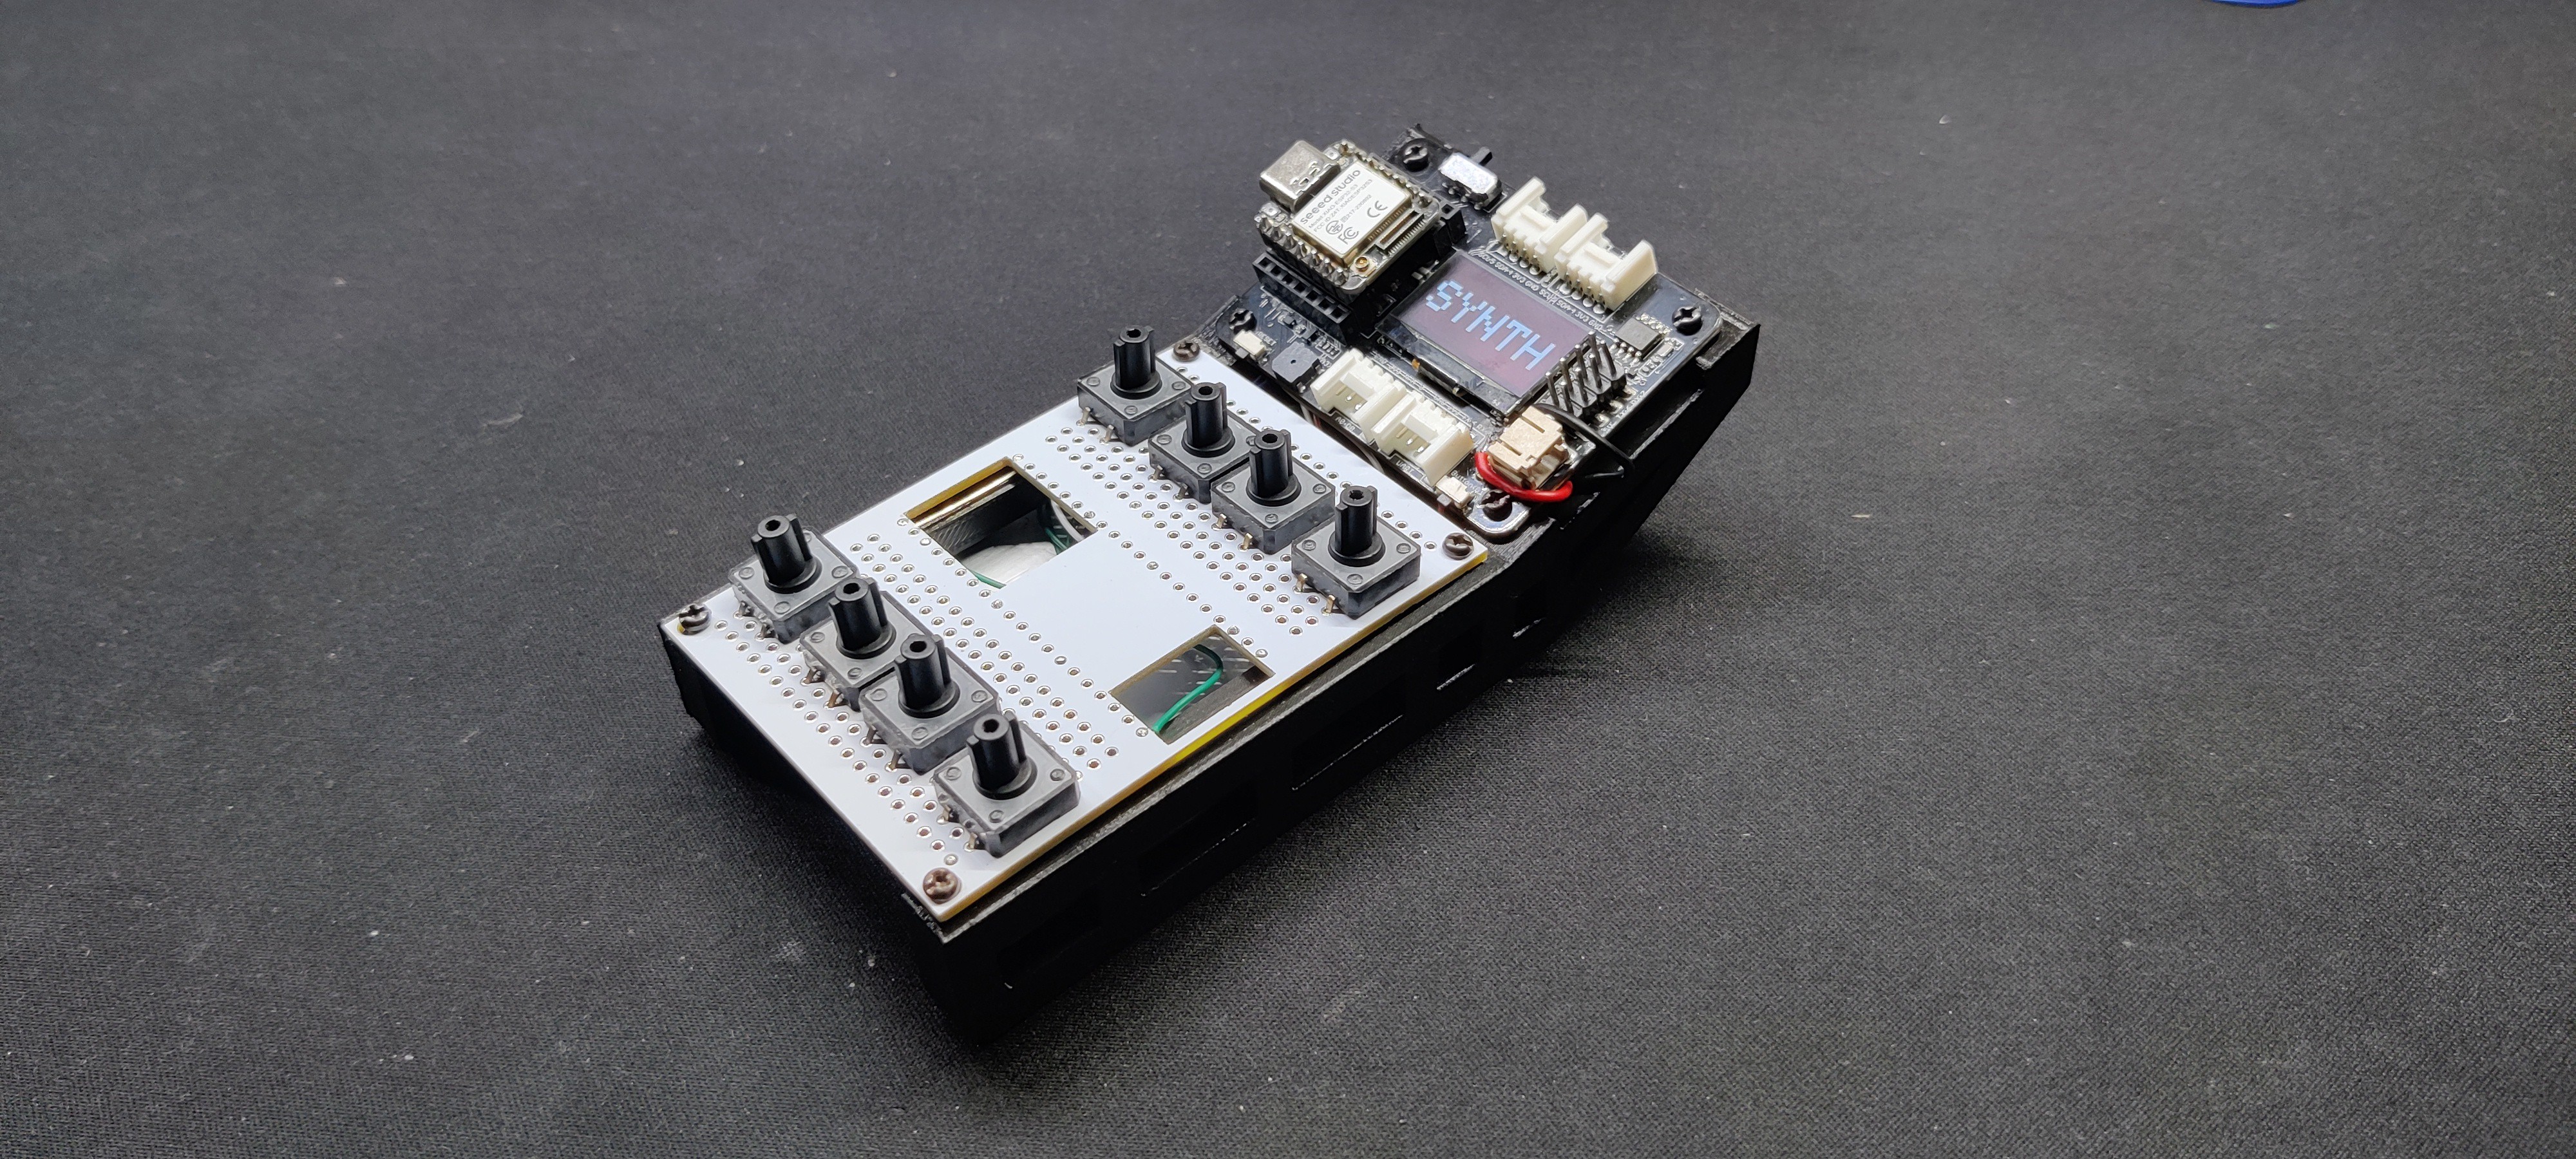
Thus, this project's end result is a functional synth that works like a standard synth yet is incredibly compact and portable.
This project's size and the fact that we were able to combine everything into a very small package are its best features. However, there are some issues with this setup, such as the output buzzer's low volume.
Additionally, we are using an expansion board, which takes up space and has other parts like an RTC and SD card reader. To further reduce the project's size, we can create a customized board, which will be significantly smaller. This is what version 2 will be focusing on.
All the details regarding this project, including files, are attached, which you can download.
Leave a comment if you need any help regarding this project. This is it for today, folks.
Seeed Fusion PCBService offers one-stop prototyping for PCB manufacture and PCB assembly, and as a result, they produce superior-quality PCBs and fast turnkey PCBAs within 7 working days.
You guys can check them out if you need great PCB and stencil service for less cost and great quality.
 Arnov Sharma
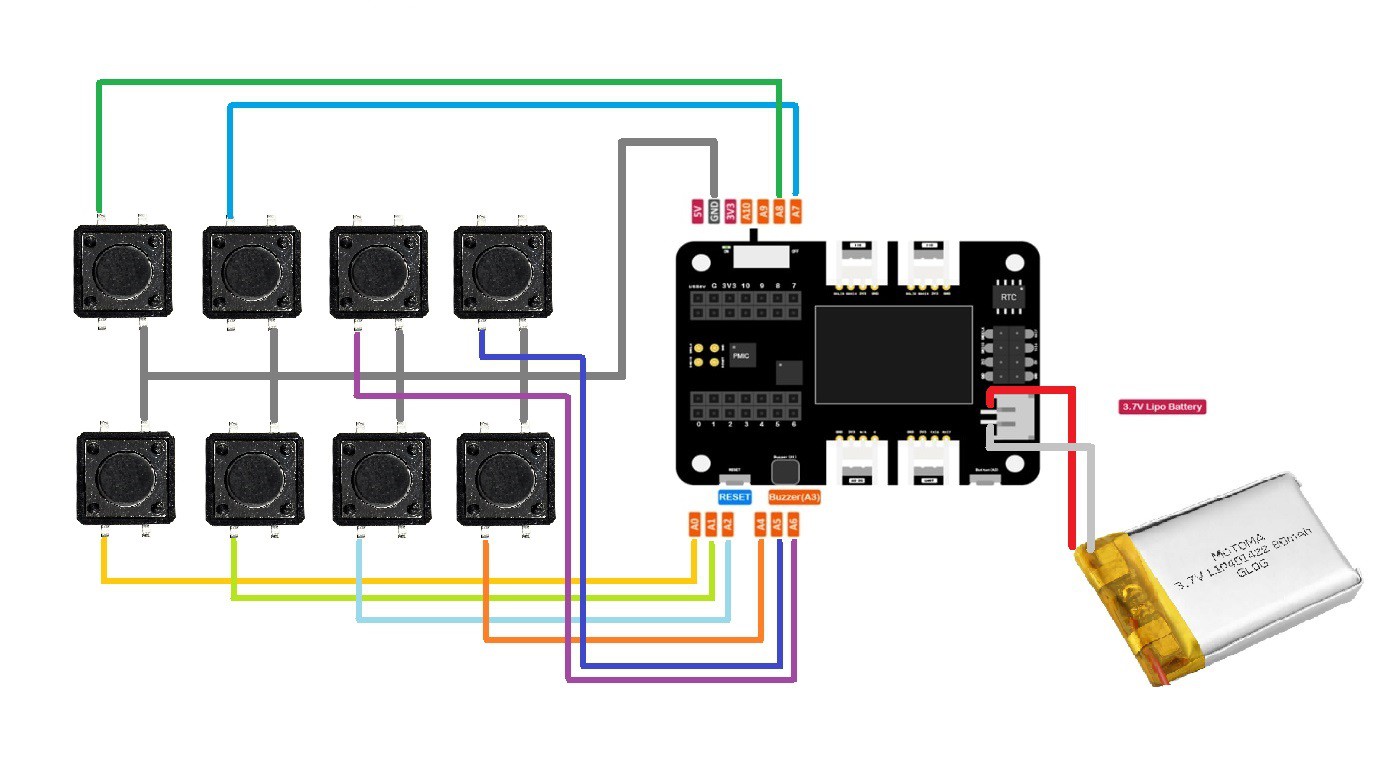

Discussions
Become a Hackaday.io Member
Create an account to leave a comment. Already have an account? Log In.