-
1Wood Laser Cutting Machine
Using a laser cutting machine, we created a wooden puzzle box that would hold and secure our controller. We designed each of the six sides of the box with the required schematics, and added the required designs to each side except the bottom. ex) Korean lettering, wire connection holes, etc..
-
2First Box dimension
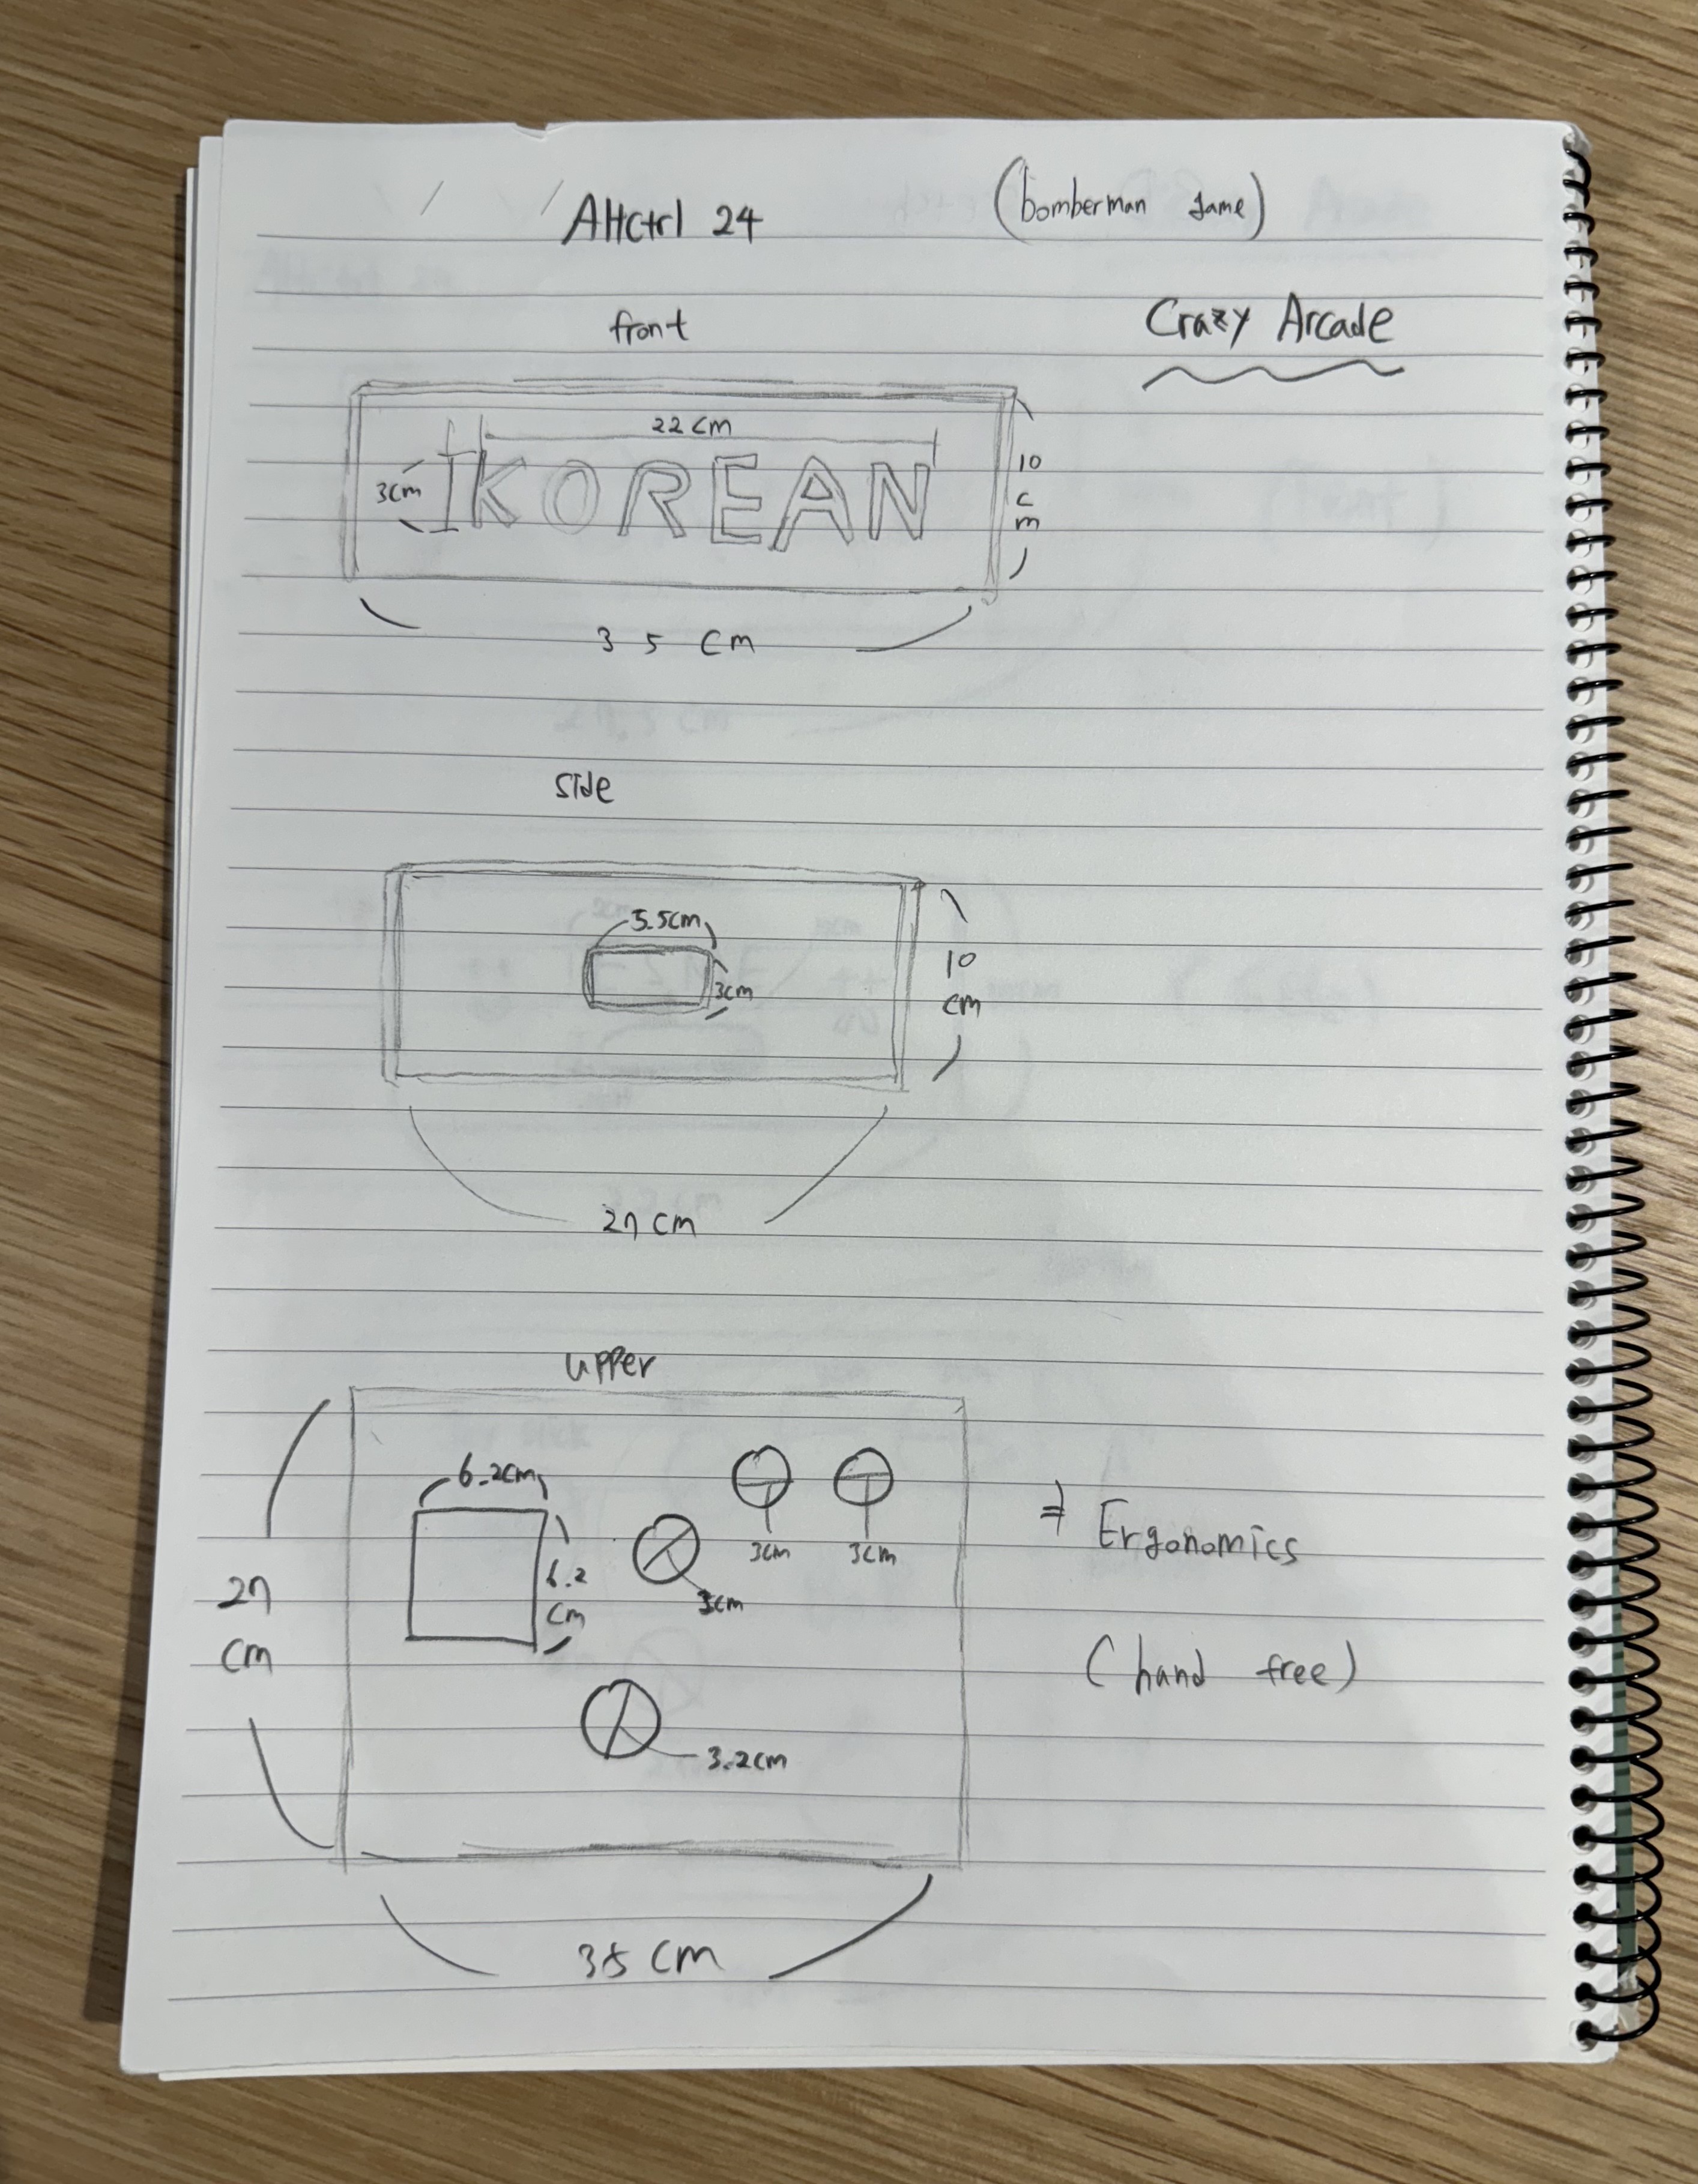
We started with a pencil design, which we then used to design using the Fusion 360 program.
We initially set the dimensions at 35X27X10.
Because we felt that, from an ergonomic standpoint, something relatively large would allow us to comfortably position our hands on a stationary object.
And we measured the diameter of the buttons directly on the floor plan and found that they were 3cm and 3.2cm in diameter, and the joystick would require a 6.2cm square hole.
![]()
-
3Final Box dimension
![]()
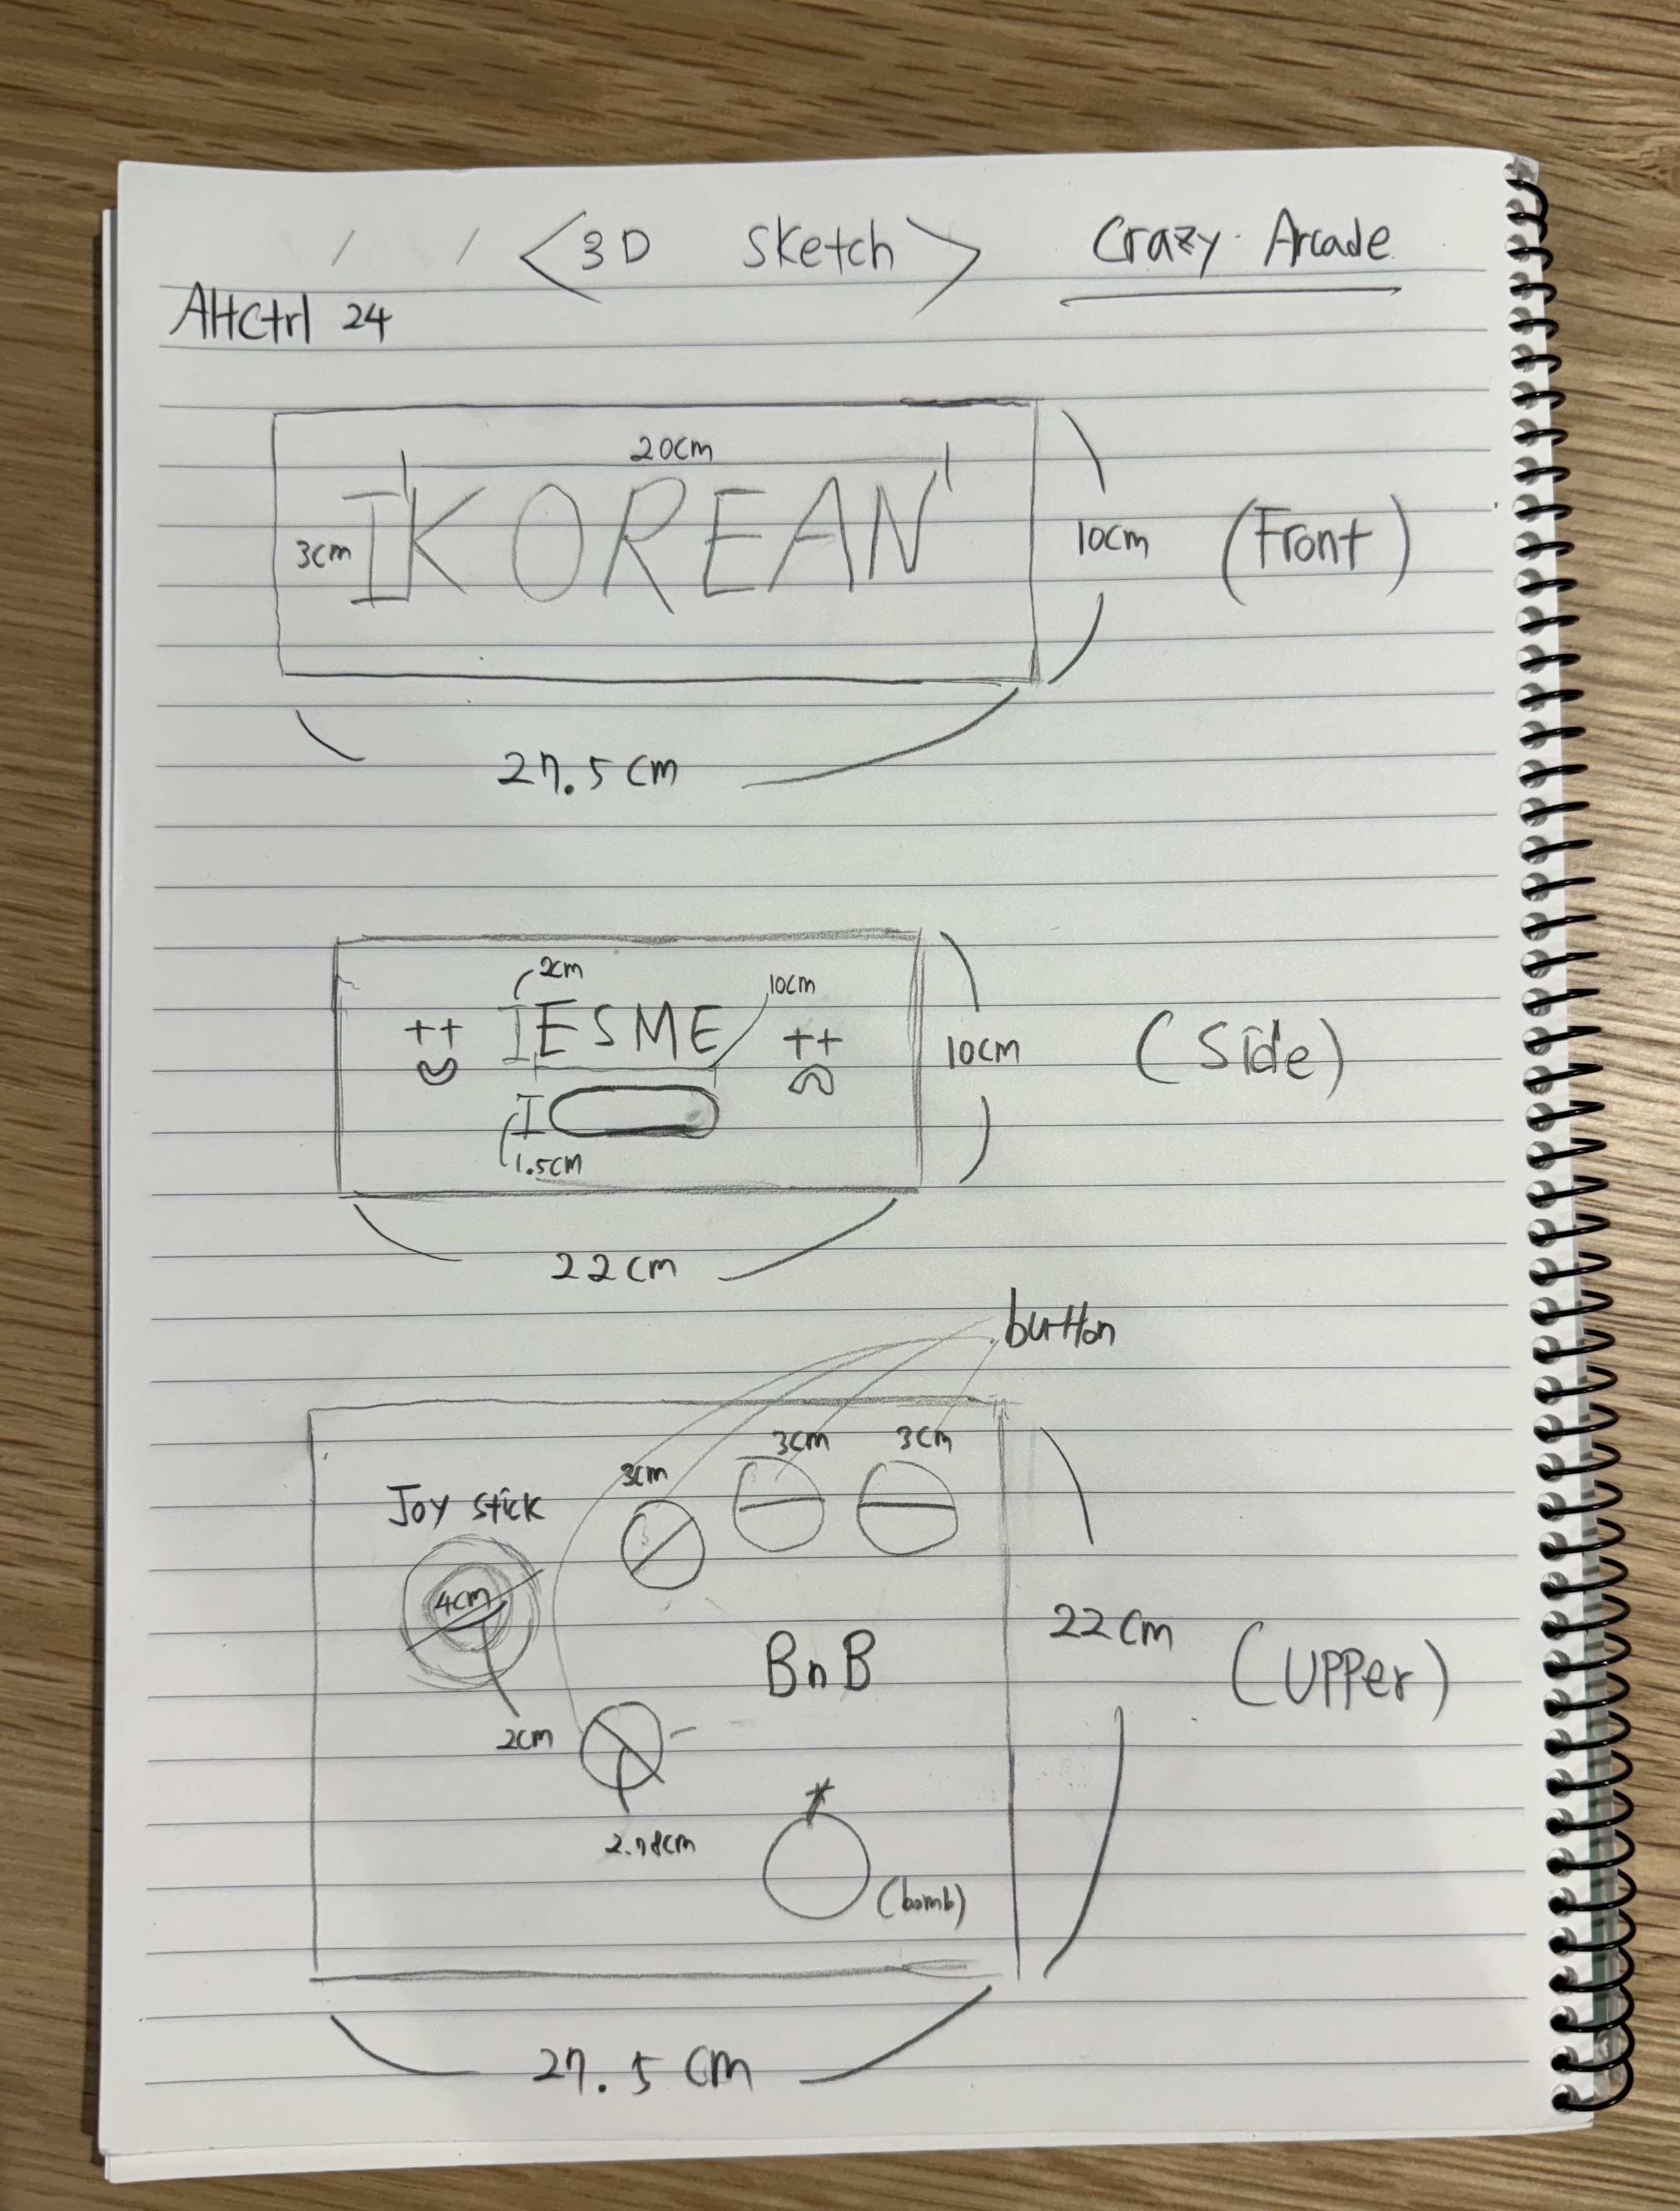
We tried to proceed with the previous schematic, but the maximum range of the laser cutting machine was 30 cm, so we scaled it down a bit.
The dimensions of the box are as follows 27.5X22X10. (Allowing for a small error due to laser cutting)
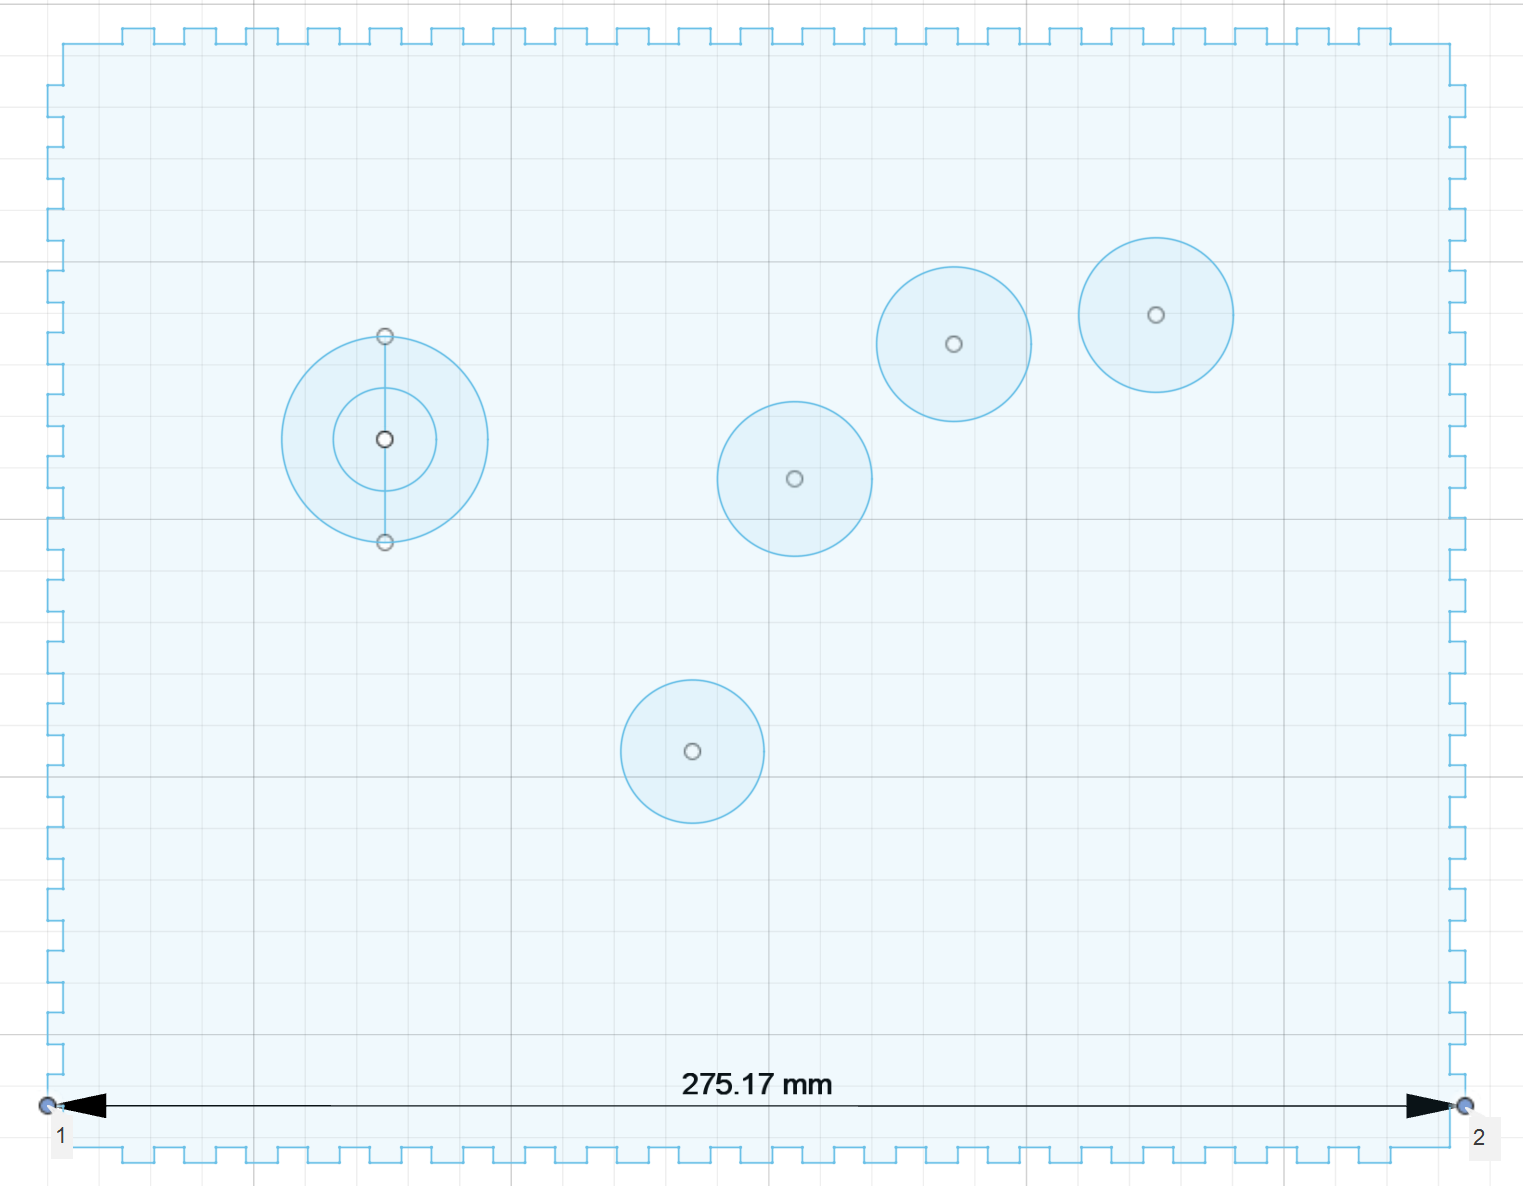
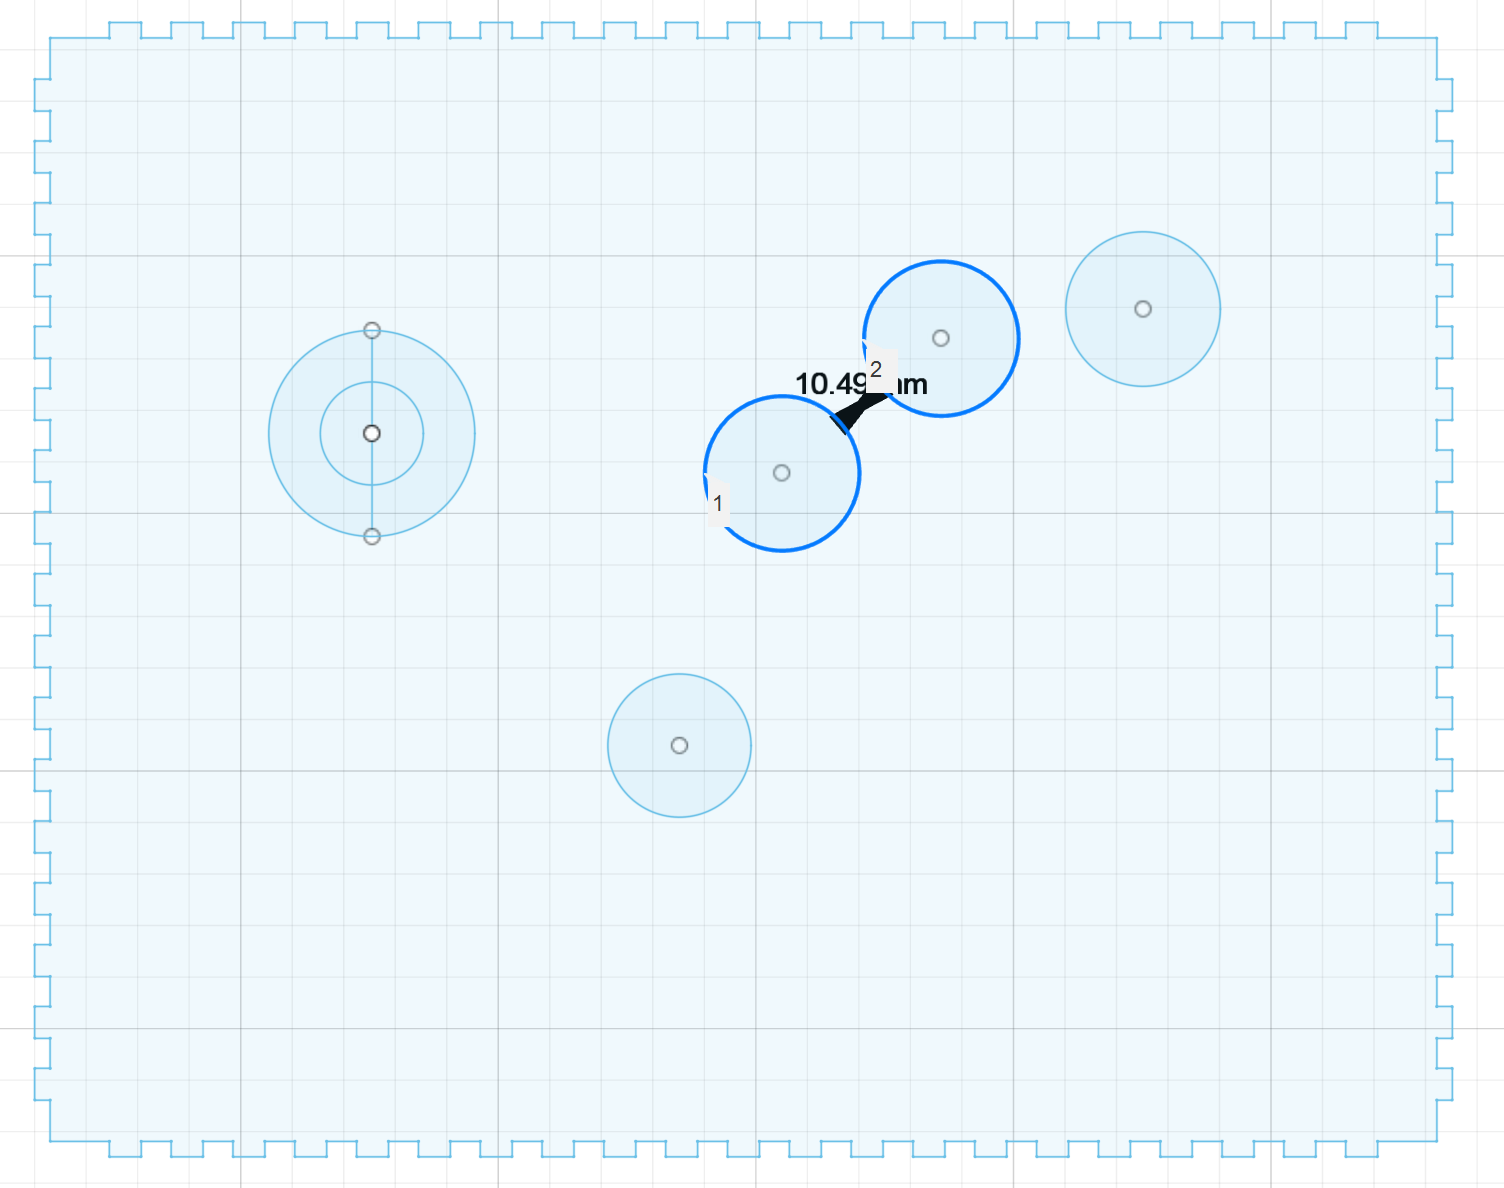
We put a lot of effort into the top view. The buttons were shortened to 2.78 cm when we decided to use different buttons, and the distance between the buttons, the position of the hands, etc. were modified several times after cutting to make the controller ergonomically comfortable. (We found that a spacing of about 1 cm between buttons felt comfortable)
![]()
![]()
-
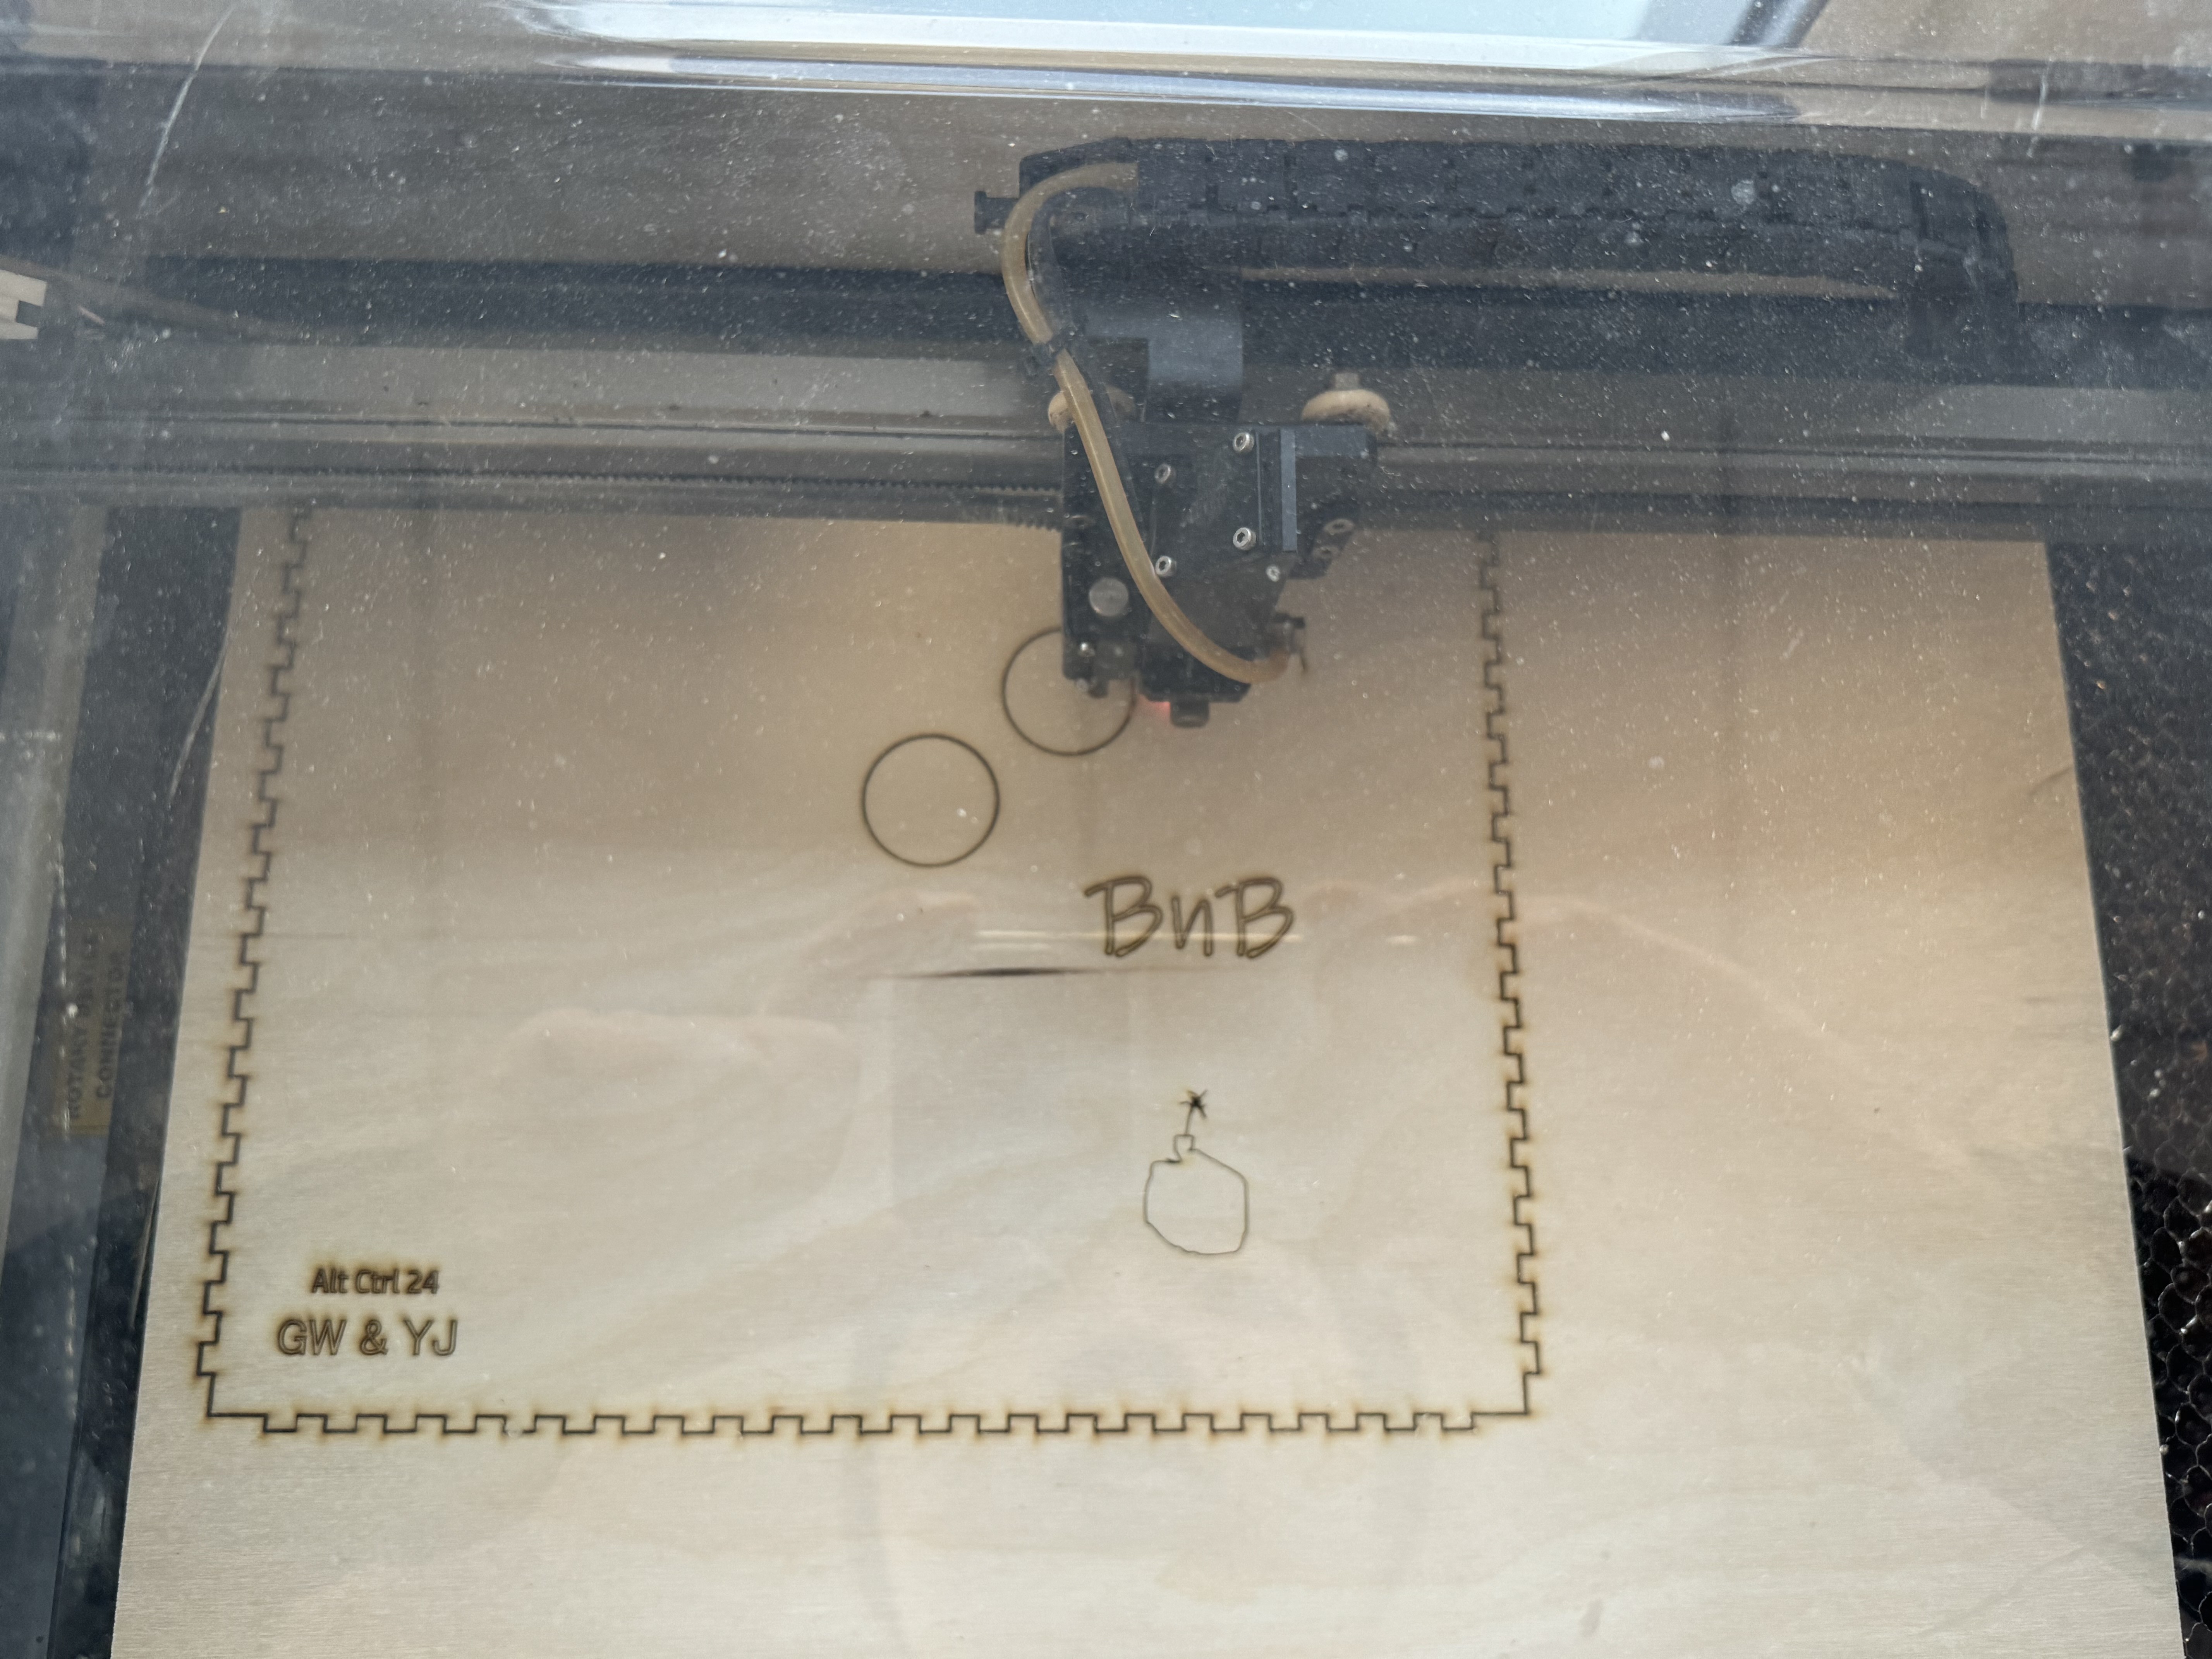
4Build the box
After creating all six sides of the design as shown above, we saved it as a DXF file to make it compatible with the laser cutting machine.
And utilized the laser cutting machine's PC (No Fusion 360 program) to design the letters “BnB,” which is synonymous with the game “Crazy Arcade,” a bomb shape that represents the concept of water balloons (water bombs), and the acronyms “Alt Ctrl 24” and “GW & YJ” the names of the team members.
Once the design was finally finalized, we start to cut out that schematic.
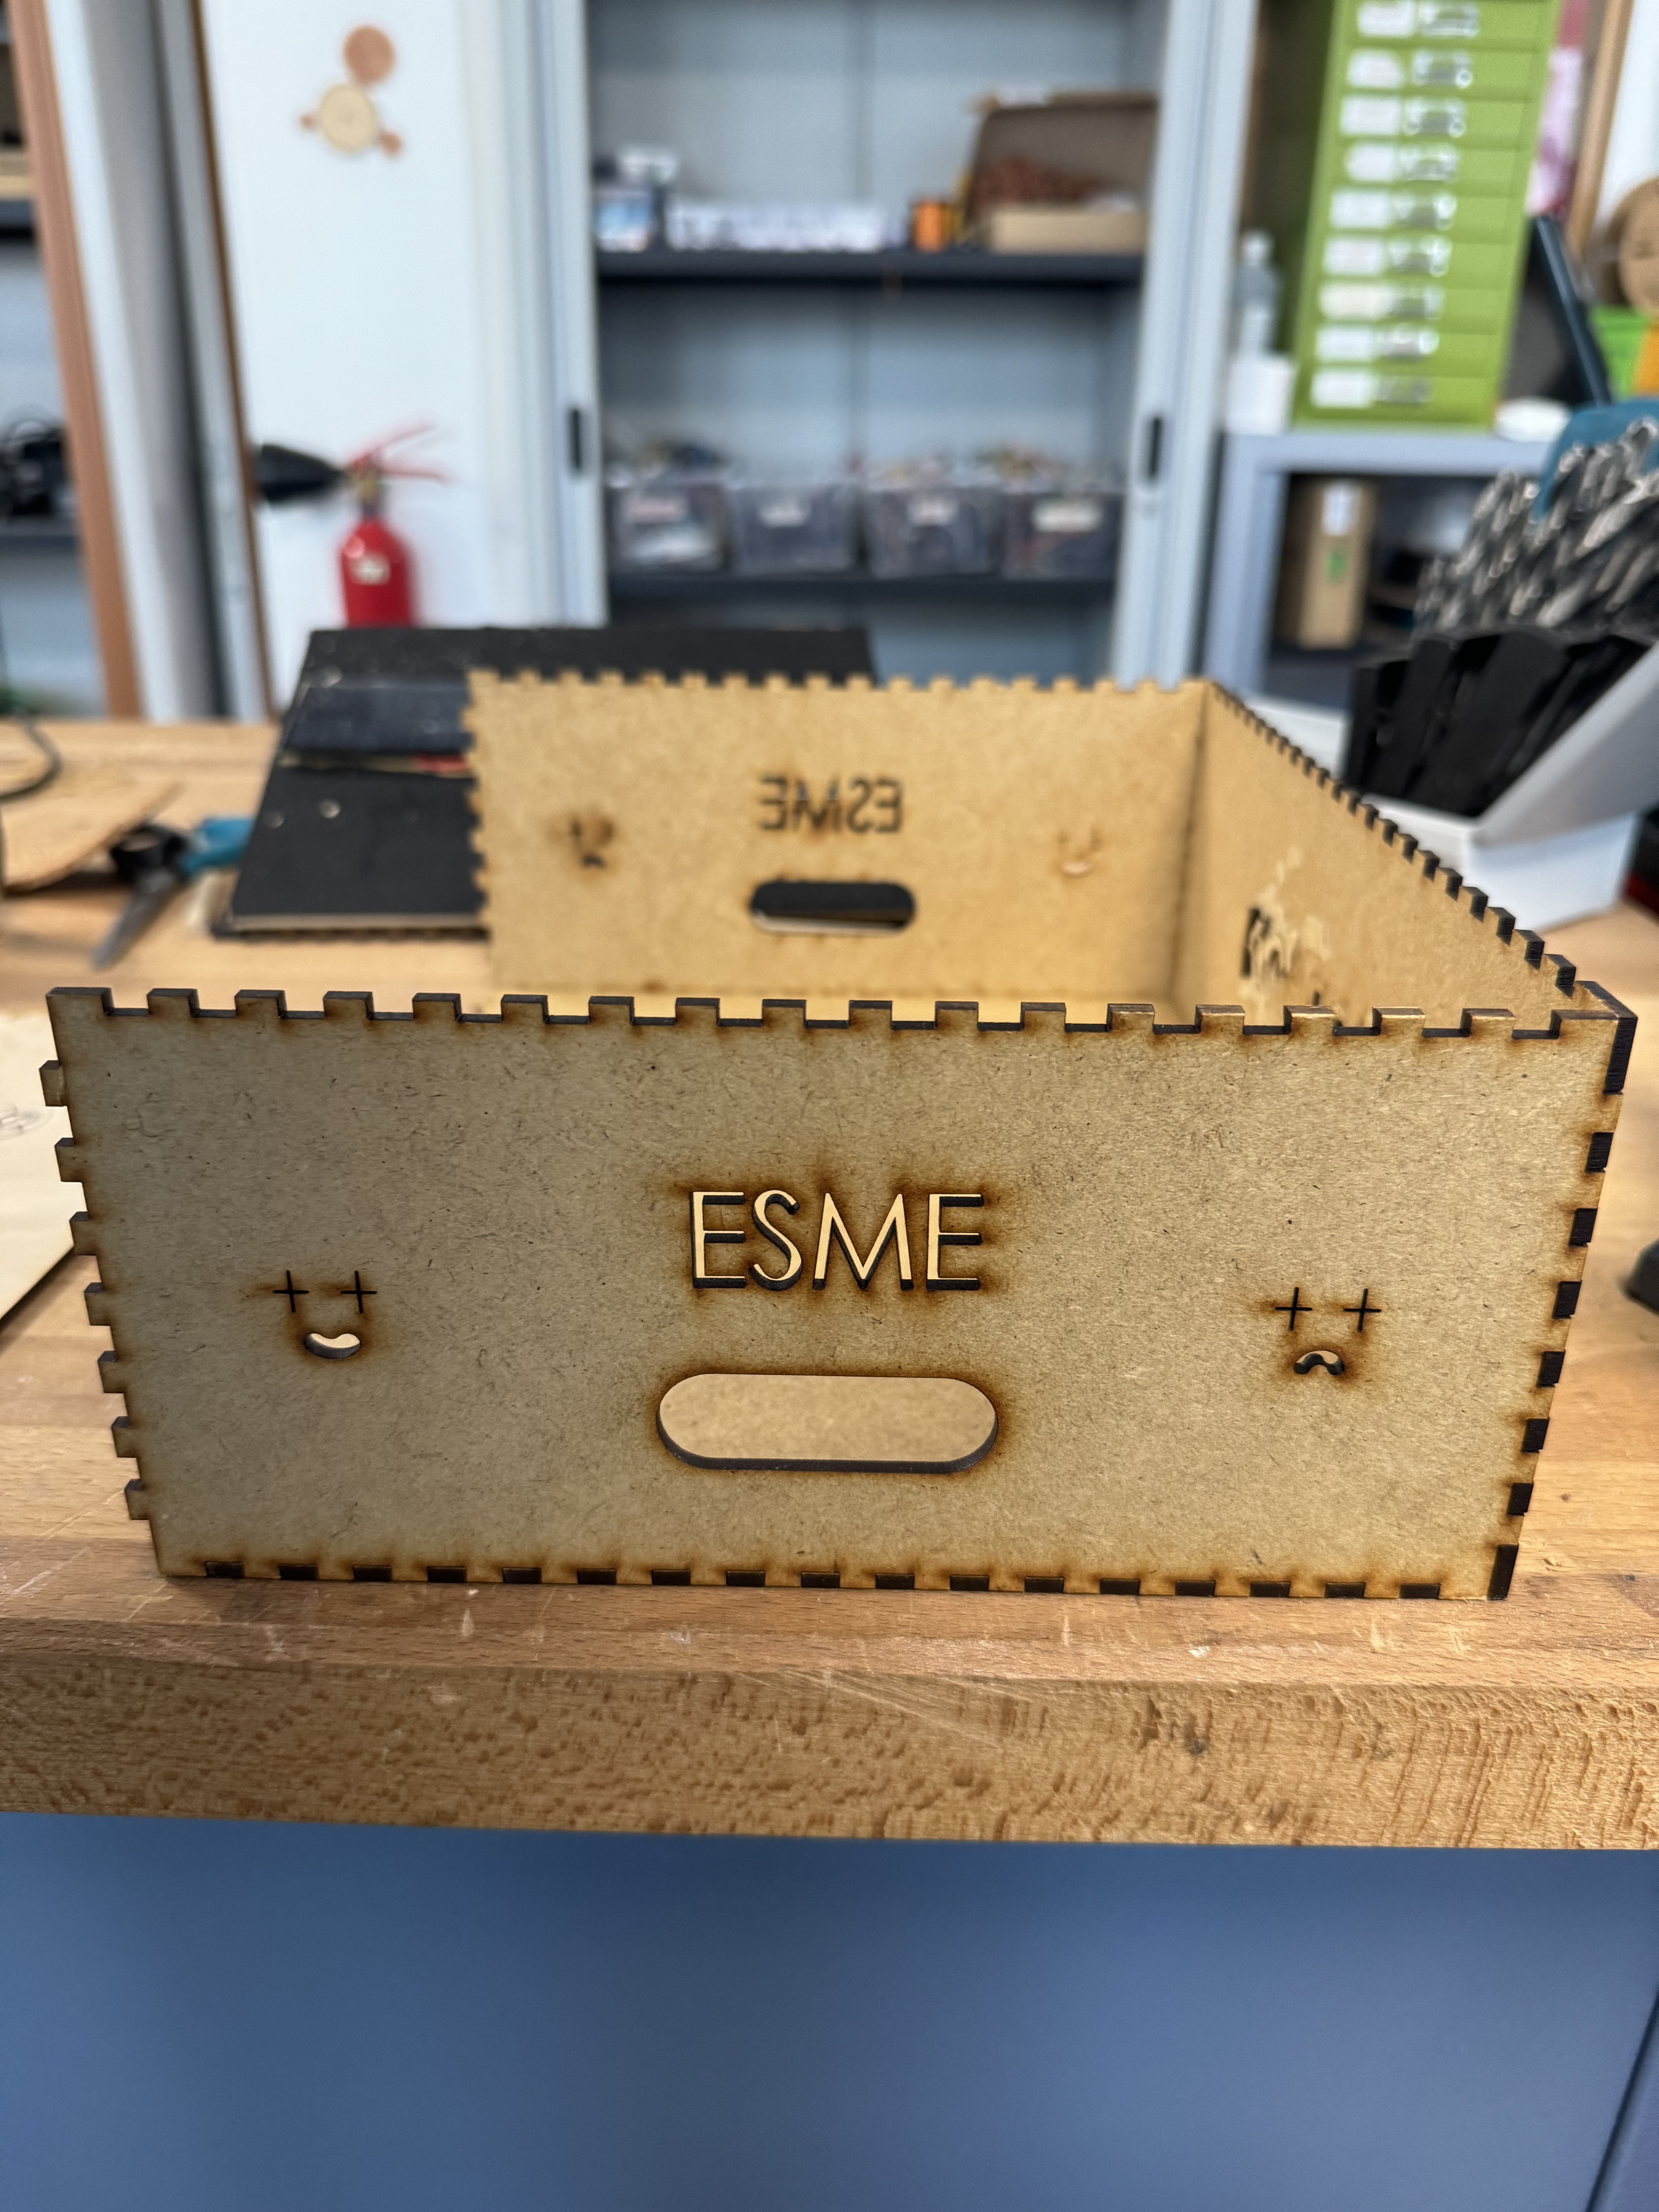
When all six sides were cut, we proceeded to add joysticks, buttons, and wiring, and gradually completed the assembly using hammers and leftover wood boards.
Finally, we used glue or a glue gun to improve adhesion where we felt the finish was lacking.
![]()
![]()
-
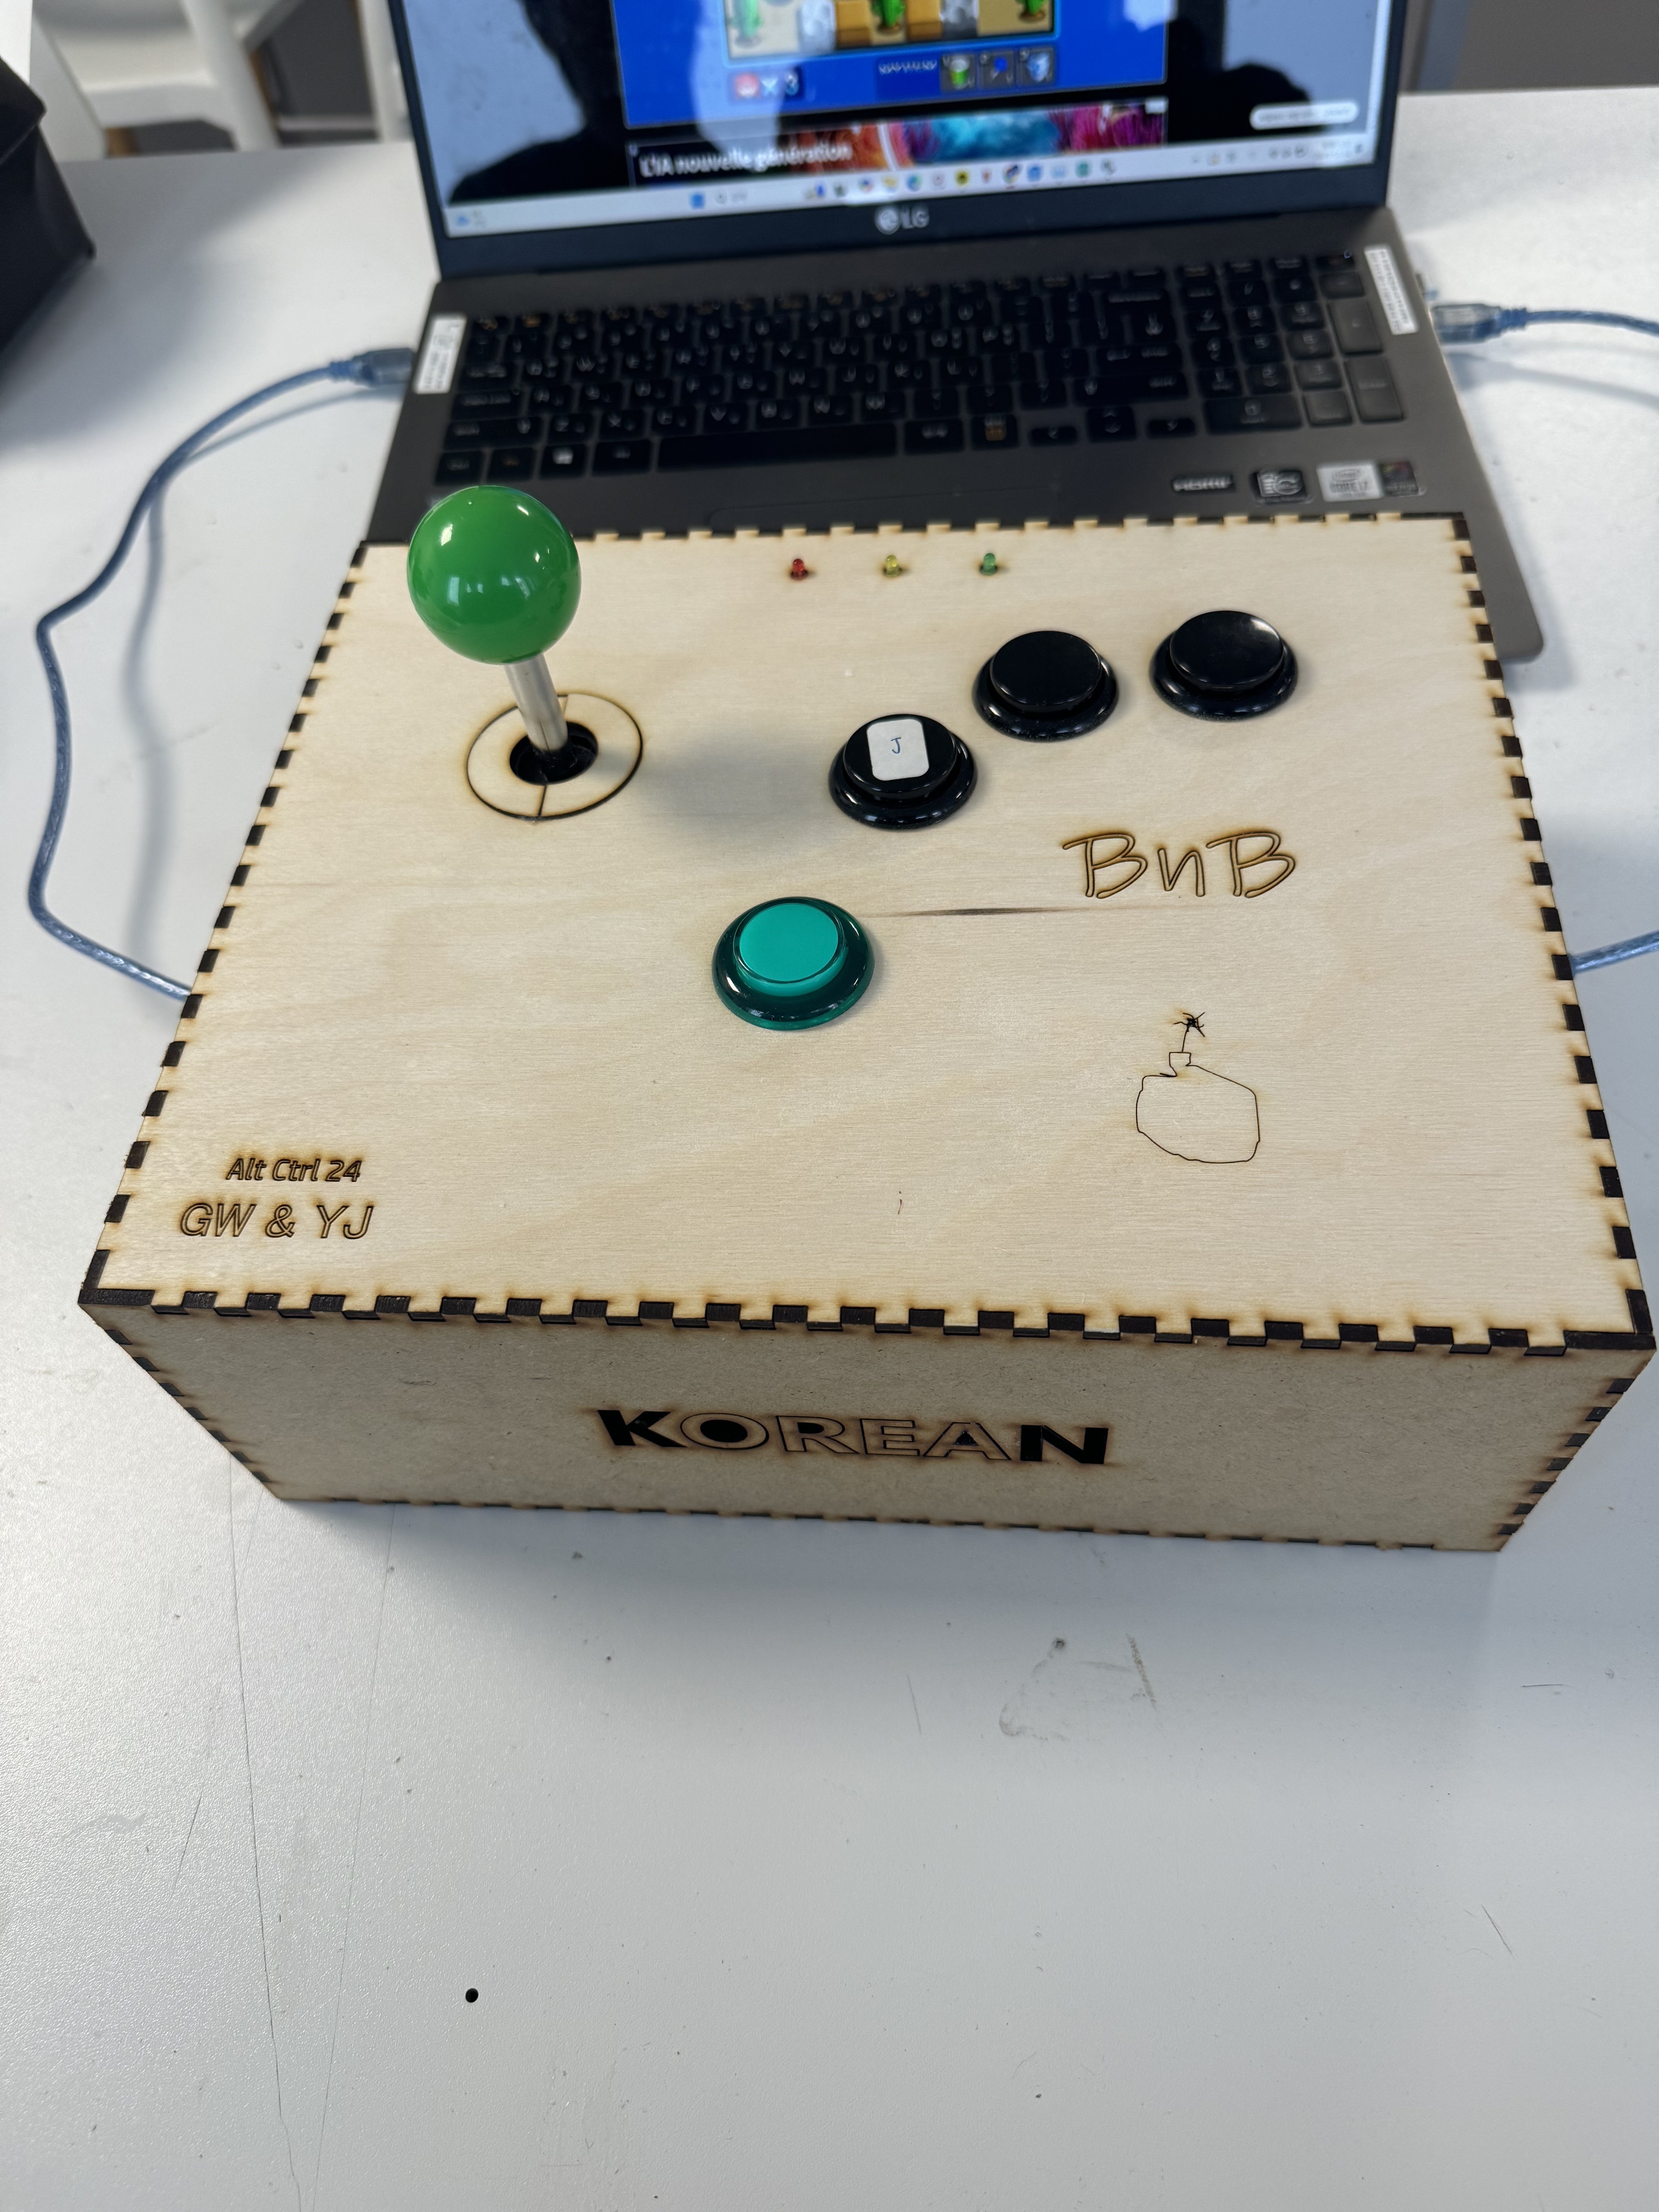
5The final box! (with all the materials inside)
![]()
AltCtl Project in 2024 with GW YJ
Alternative Controller Class in 2024 at ESME. and projects by exchange students
Discussions
Become a Hackaday.io Member
Create an account to leave a comment. Already have an account? Log In.