Close
0%
0%

Pico Stepper Motor Driver Board

Raspberry Pi PICO with A4988 Stepper Motor Driver Setup

Similar projects worth following
Greetings everyone and welcome back. Here's something useful.

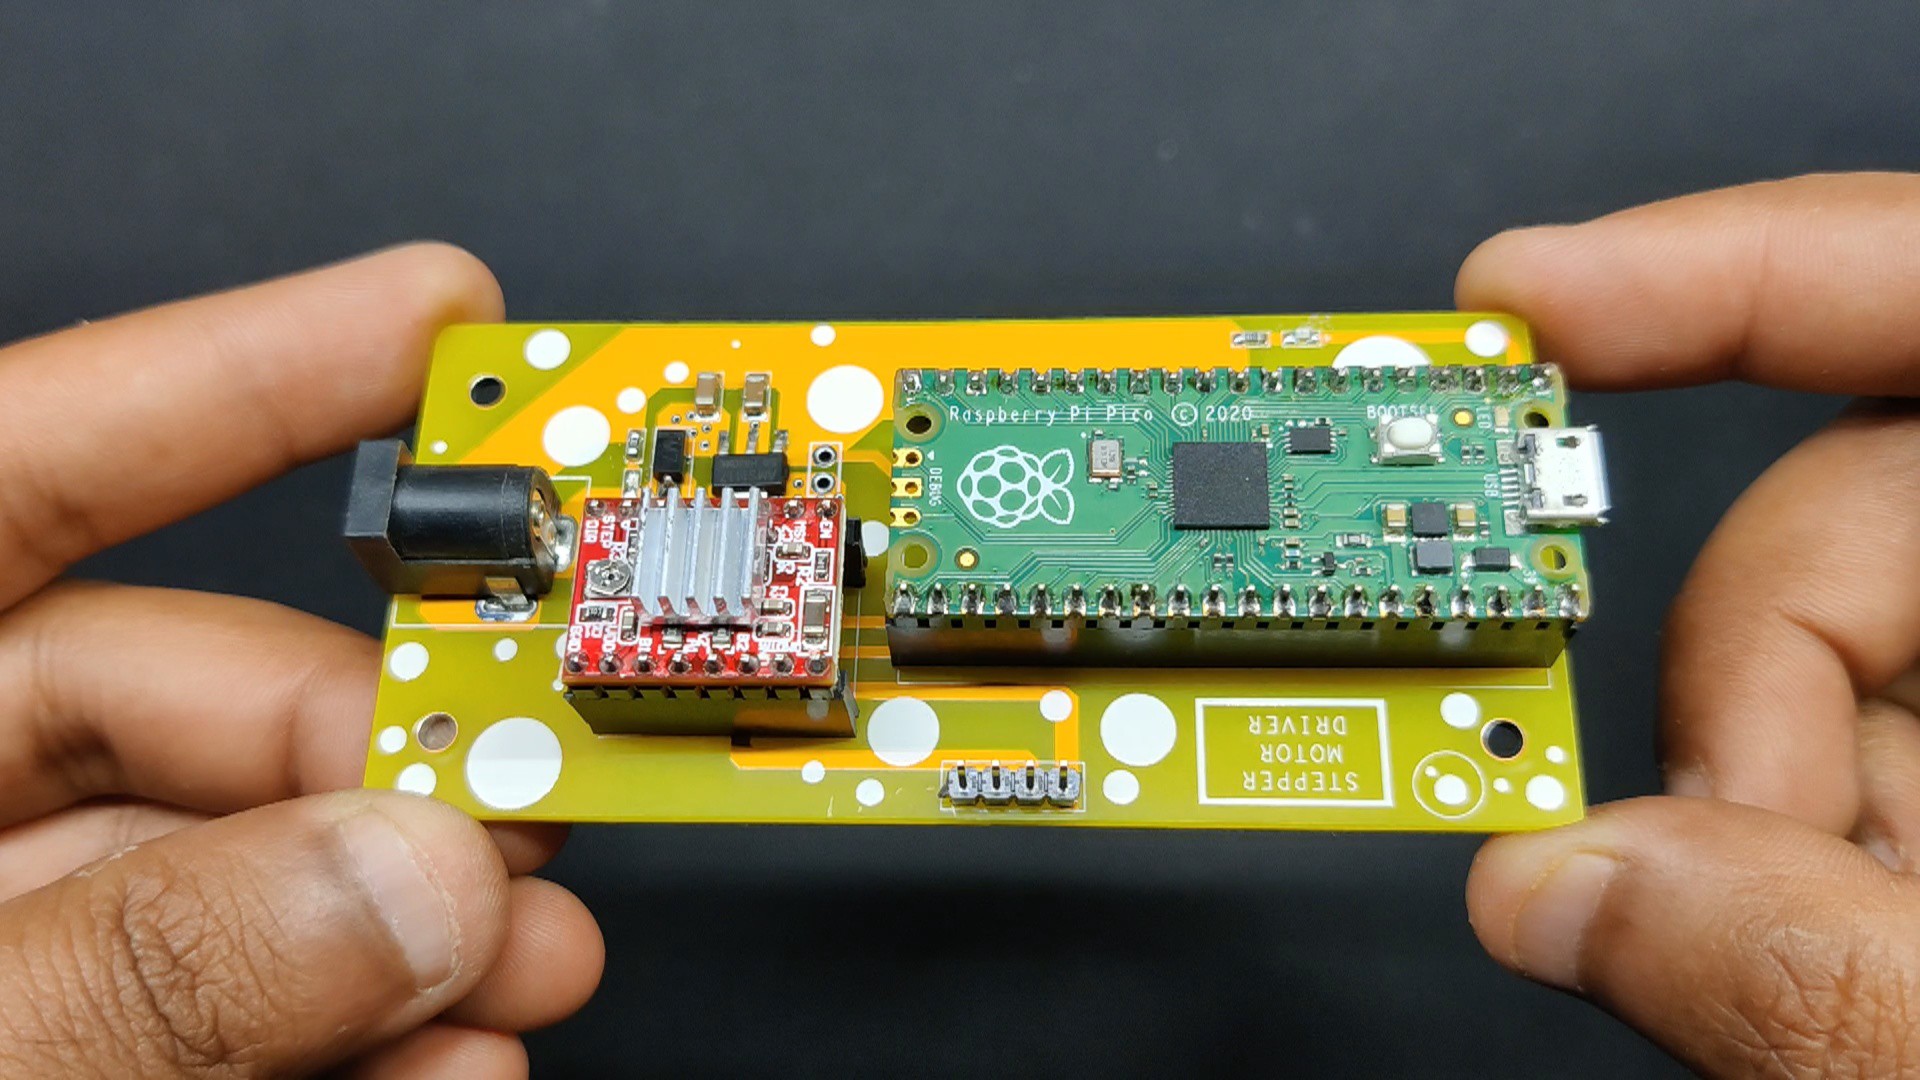
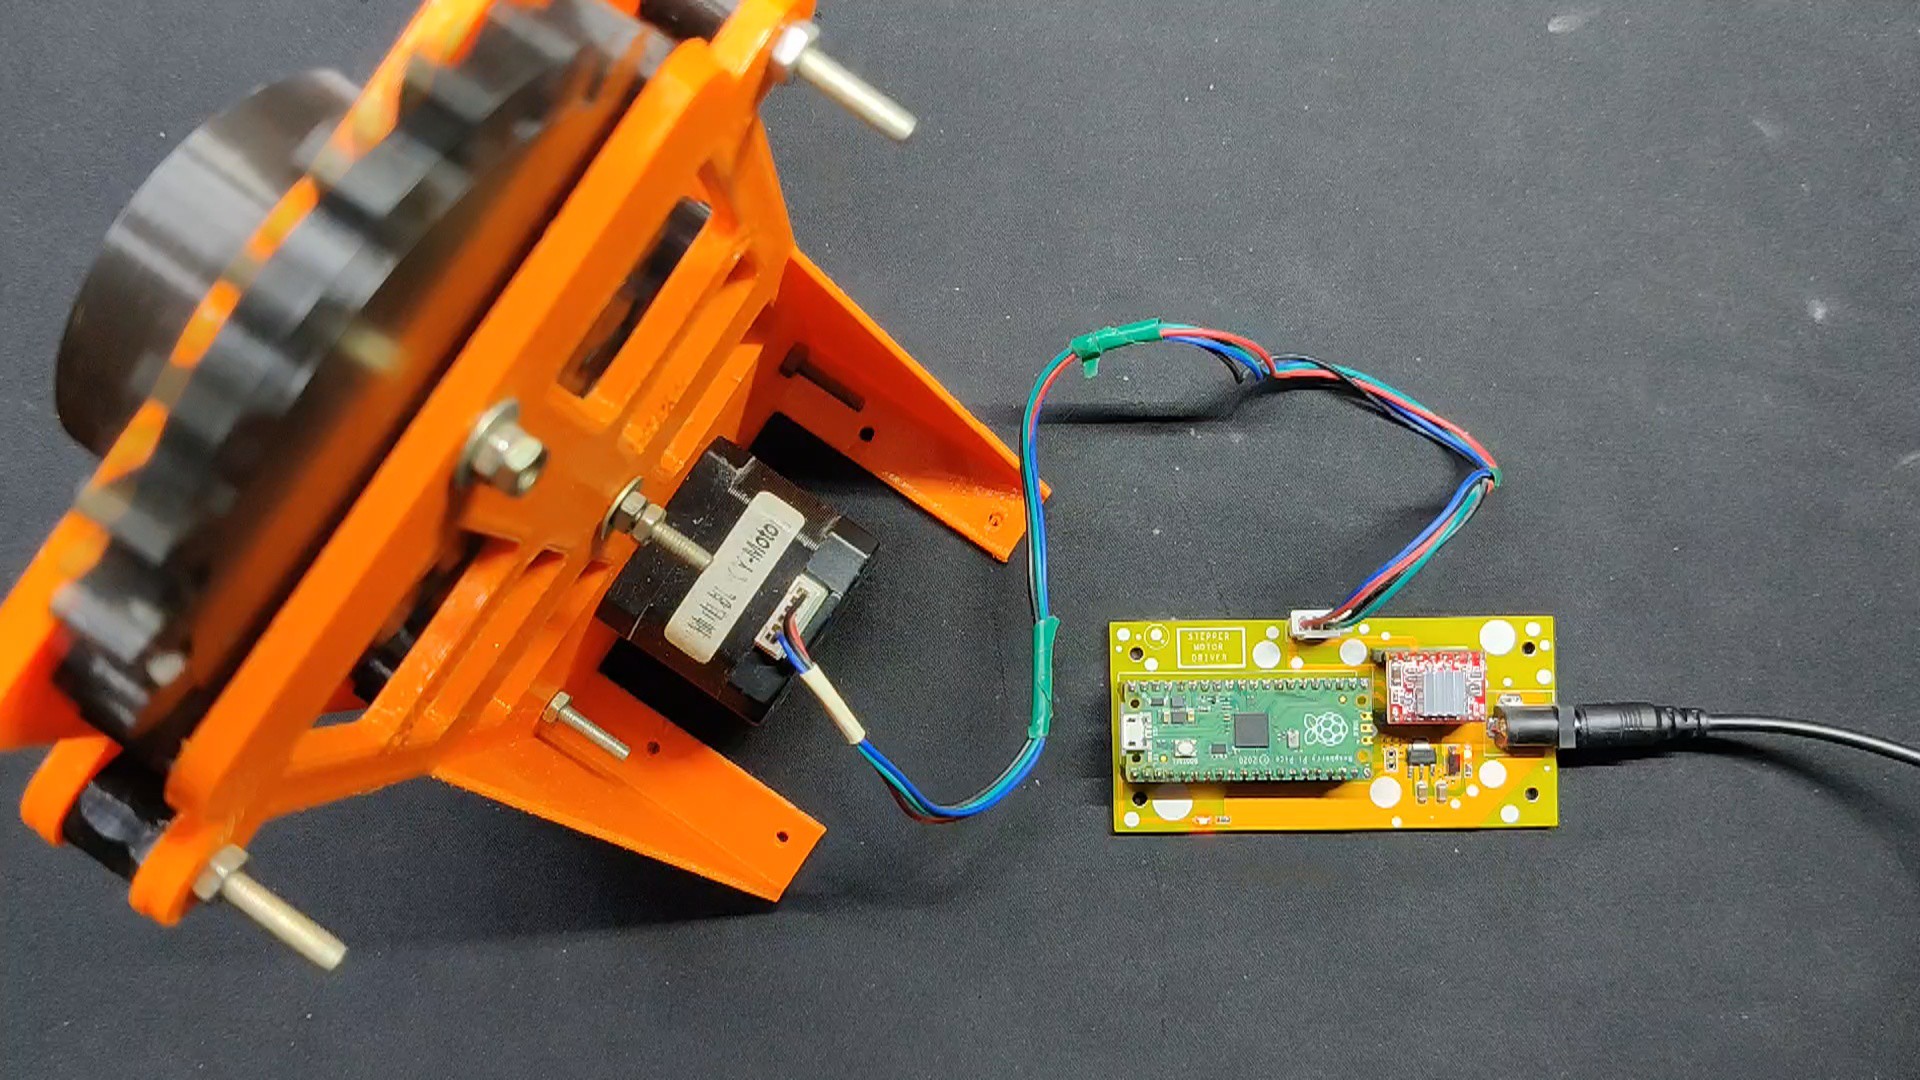
The PICO STEPPER MOTOR Driver is a do-it-yourself motor driver that was created from the ground up using the Raspberry Pi Pico as the main MCU and the A4988 motor driver.
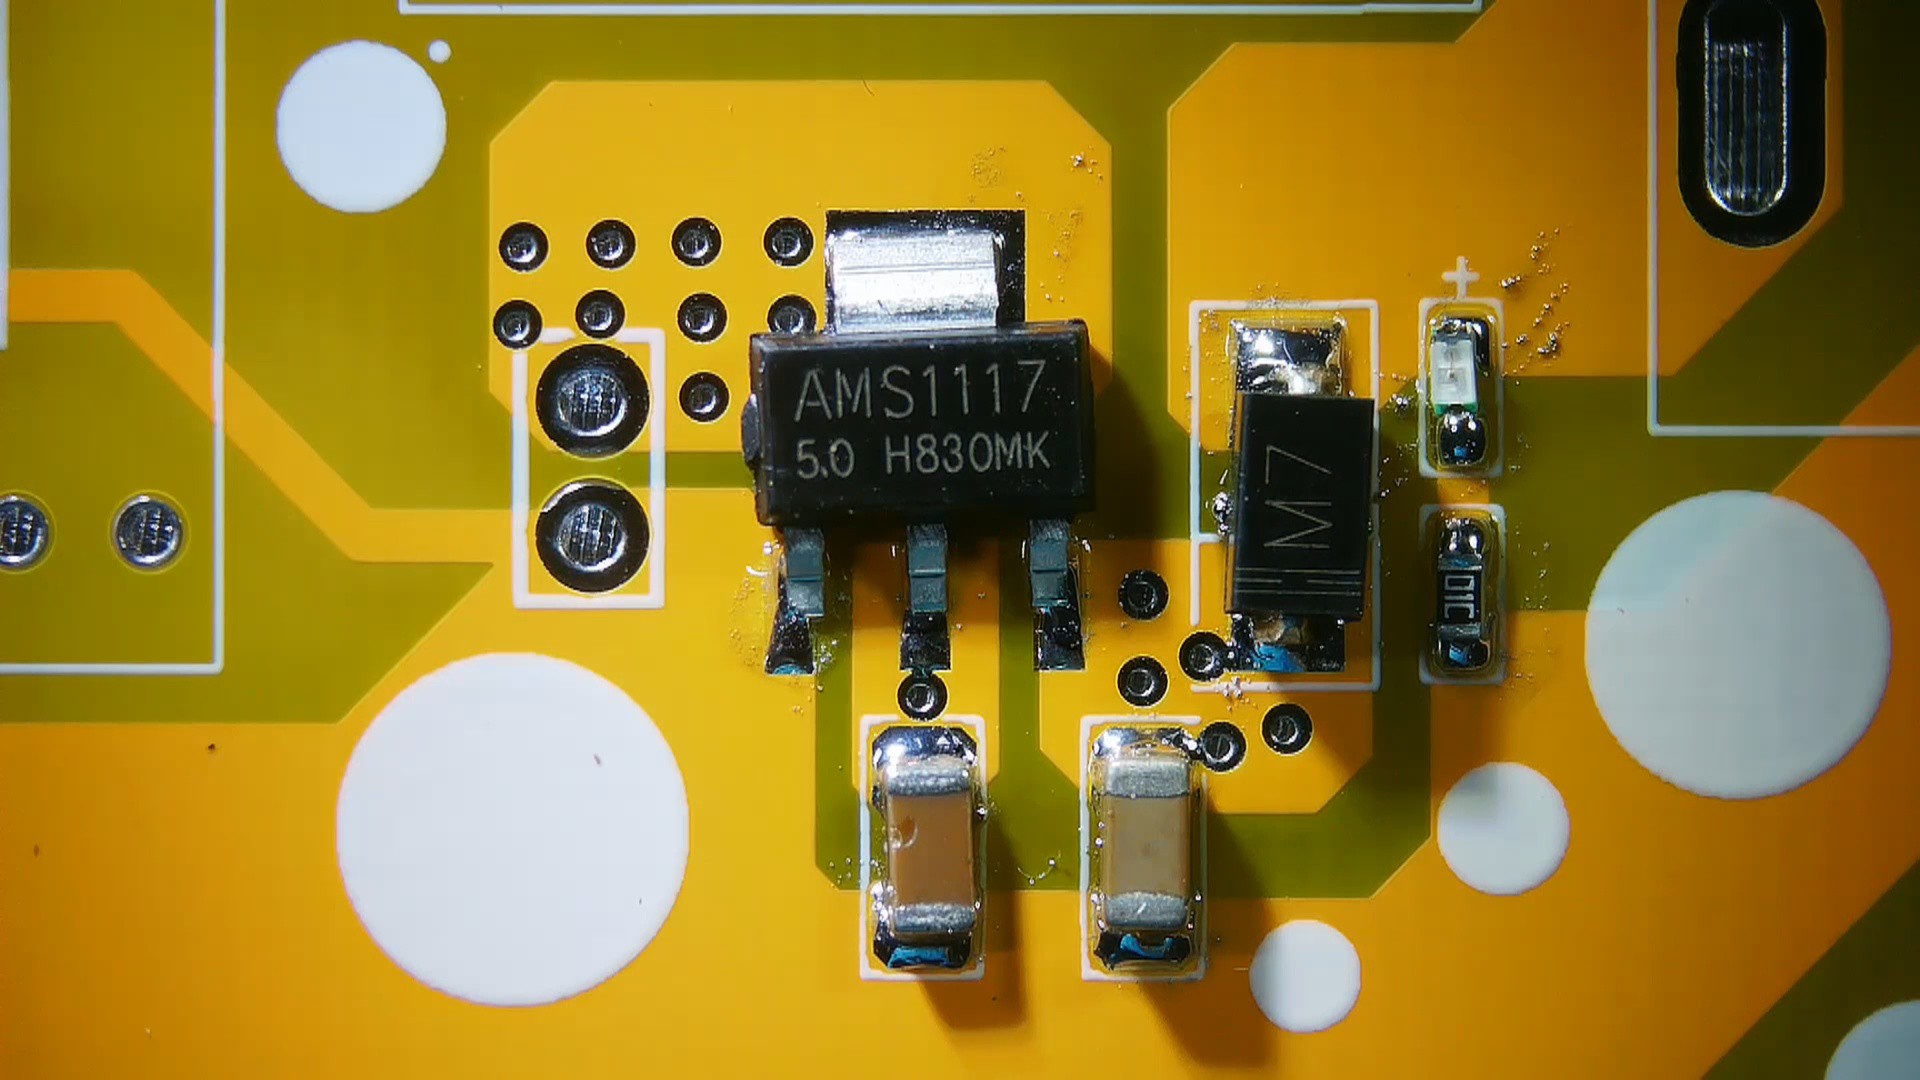
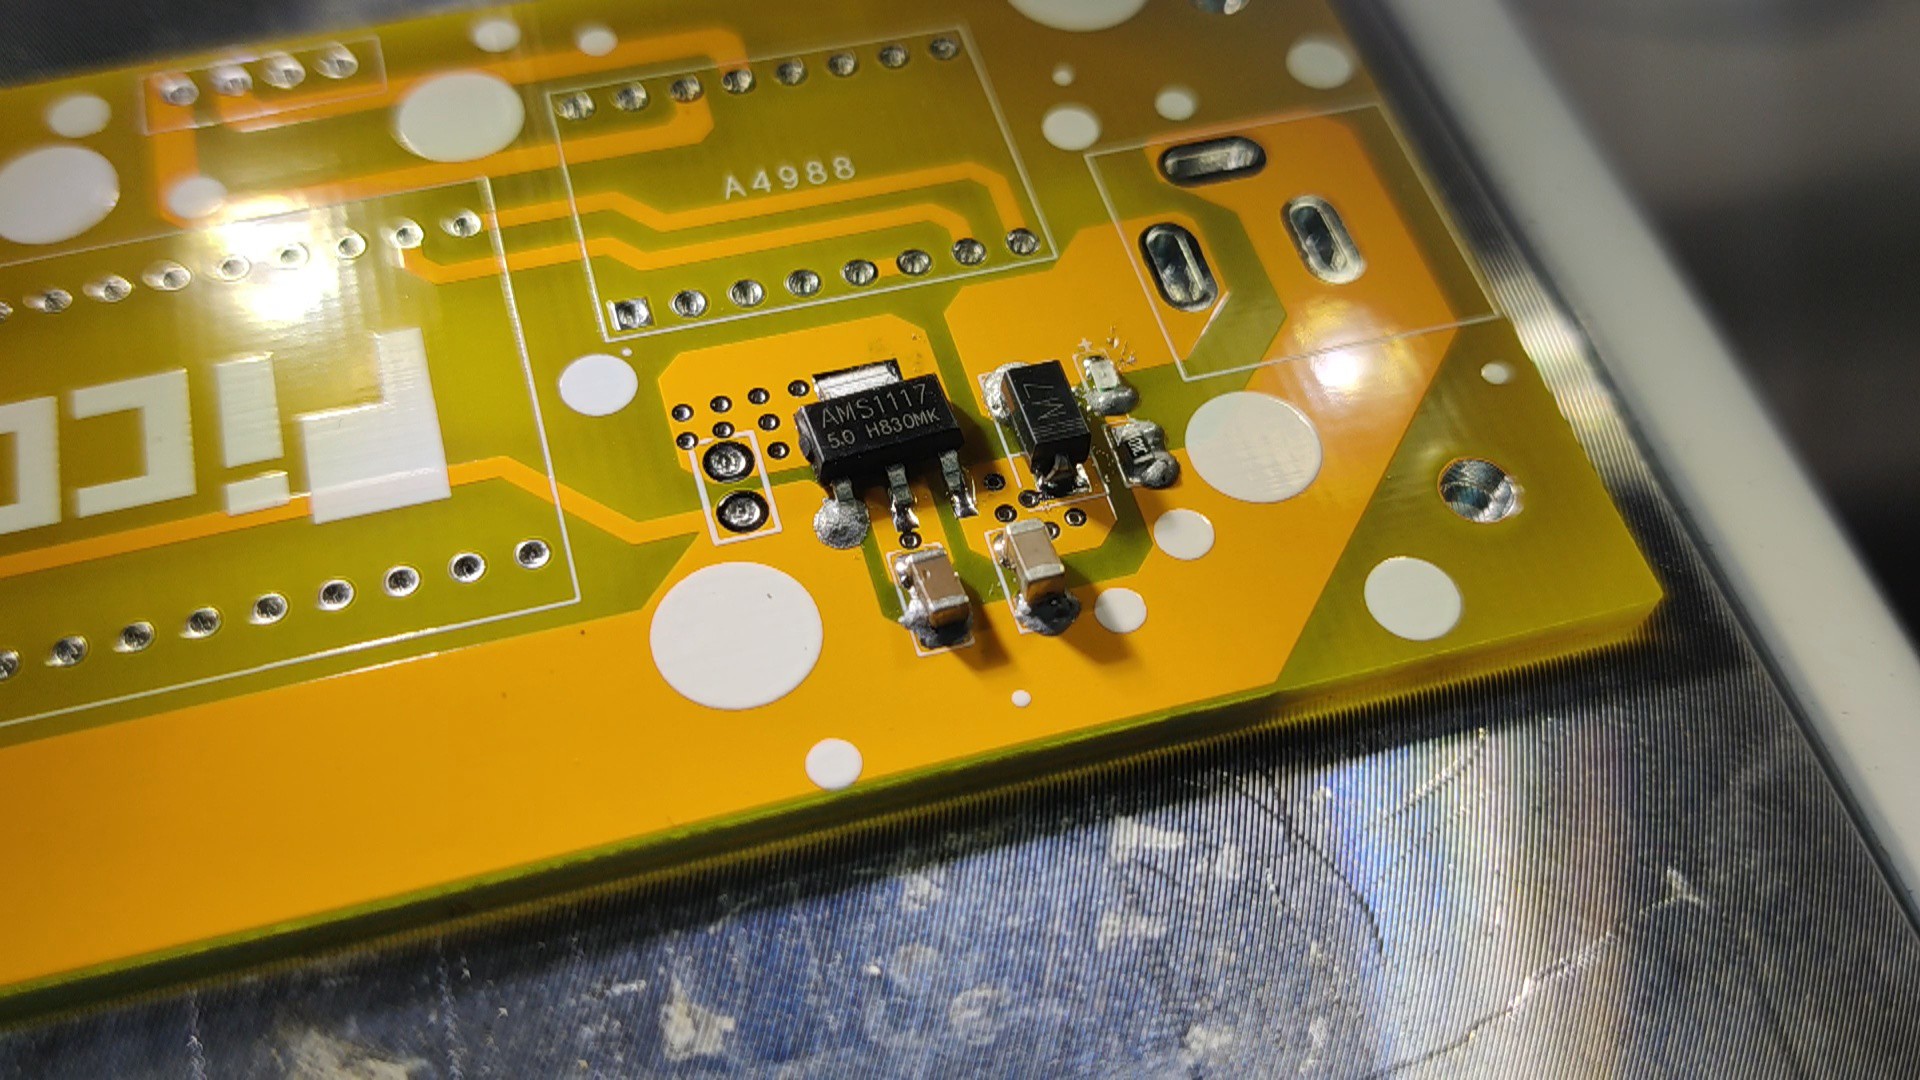
A barrel jack serves as the power source, providing the stepper motor with 12V. To power the PICO and supply 5V to the stepper motor driver, we used an AMS1117 voltage regulator arrangement, which steps down the 12V to 5V.

We included a CON4 connector to link stepper motors to this arrangement, which works at 12V and can be used to pair any type of stepper motor. The NEMA17 stepper motor, which is coupled to a custom-built Gear Box for a future project, is being used for testing.

Circuit

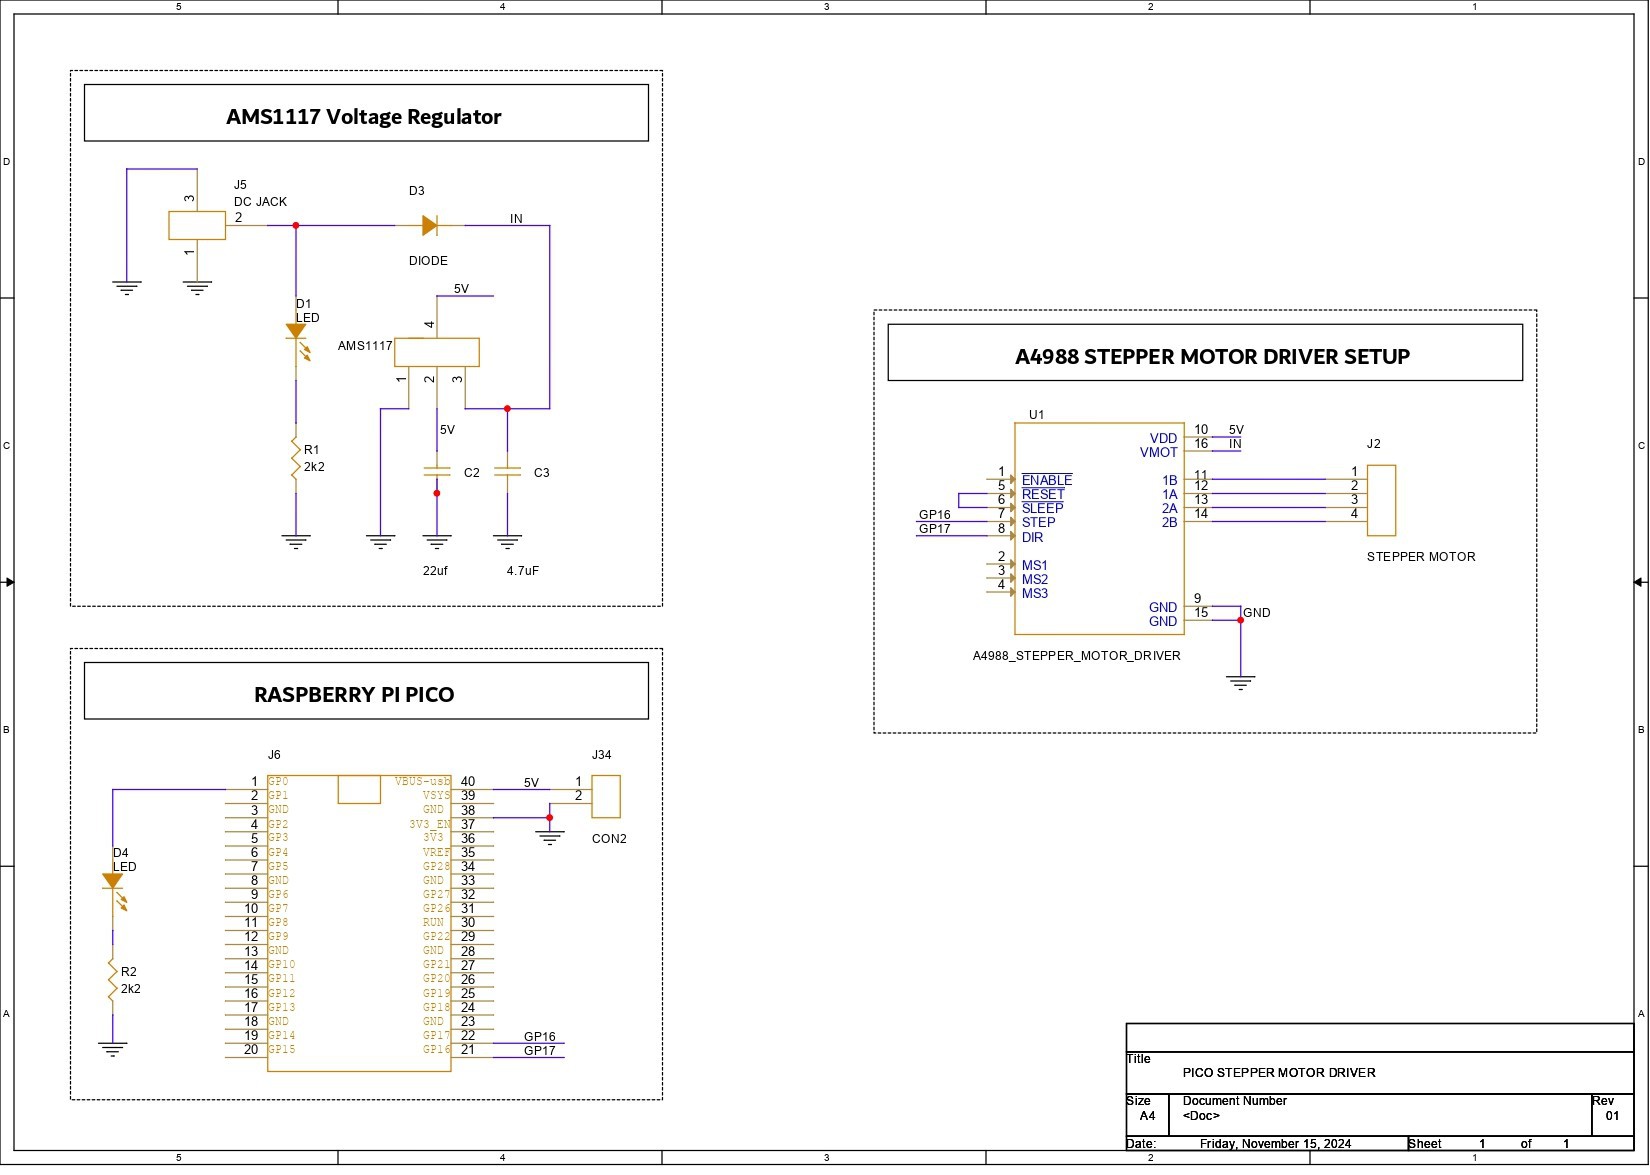
We begin by setting up the project's schematic, which is divided into three primary sections: the Raspberry Pi Pico Section, which includes a PICO and an LED that we added using the Pico's GPIO0. Additionally, we have controlled the DIR and STP pins of the motor driver using Pico's GPIO16 and GPIO17.

Next, we have the basic A4988 Stepper motor driver section. To activate the driver, we connected the sleep and reset pins.

We connected a CON4 port to pins A1, A2, B1, and B2 on the driver's stepper motor output.

Both ground pins are connected together, and we have added a 5V pin of the stepper motor driver with a 5V pin of Pico. Additionally, we have added the 12V pin of the driver with the input of the DC Jack.

The AMS1117 voltage regulator setup comes next, which consists of an AMS1117 voltage regulator in its most basic configuration with two capacitors attached to its input and output terminals. A 10 uF capacitor is added to the input, and a 1 uF capacitor is added to the output. Furthermore, we used a DC barrel jack that is connected to the AMS1117's input via an M7 diode. The AMS1117's 12V input is linked to the motor driver that supplies power to the entire system.

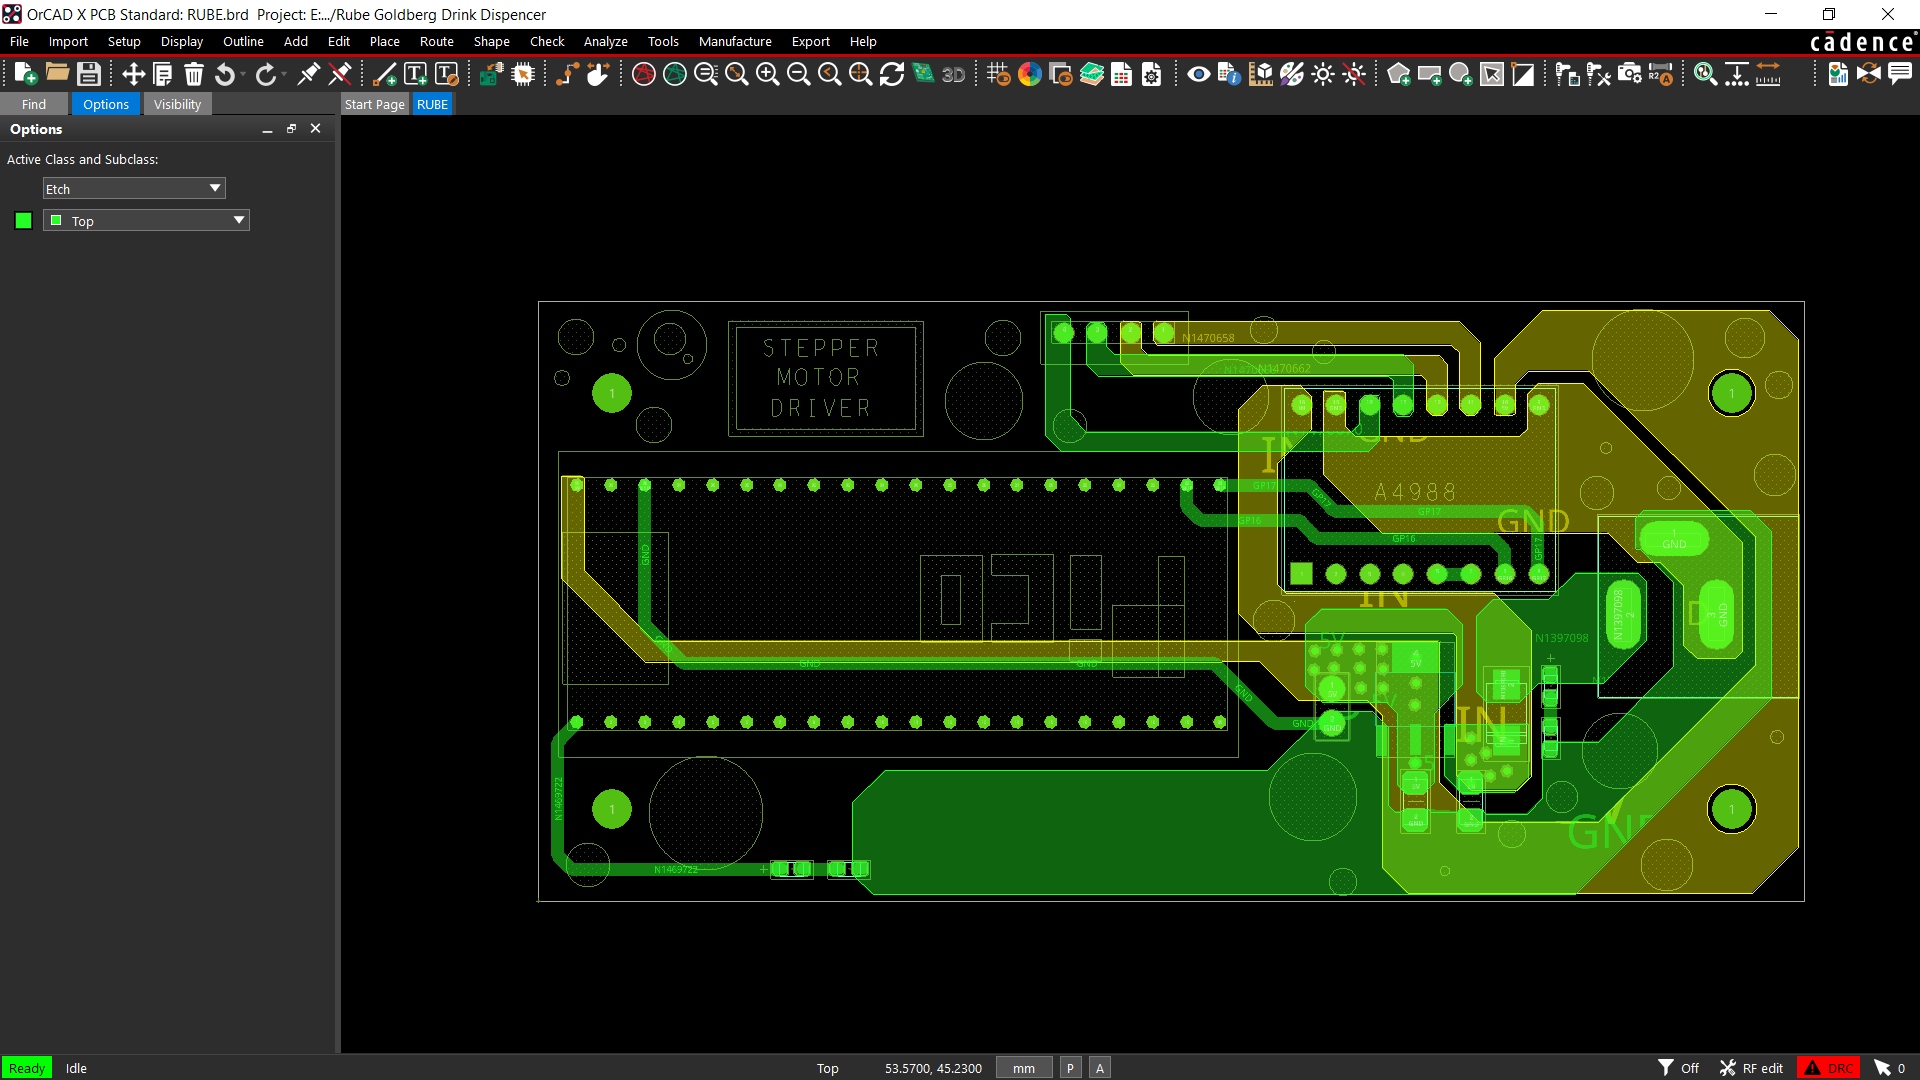
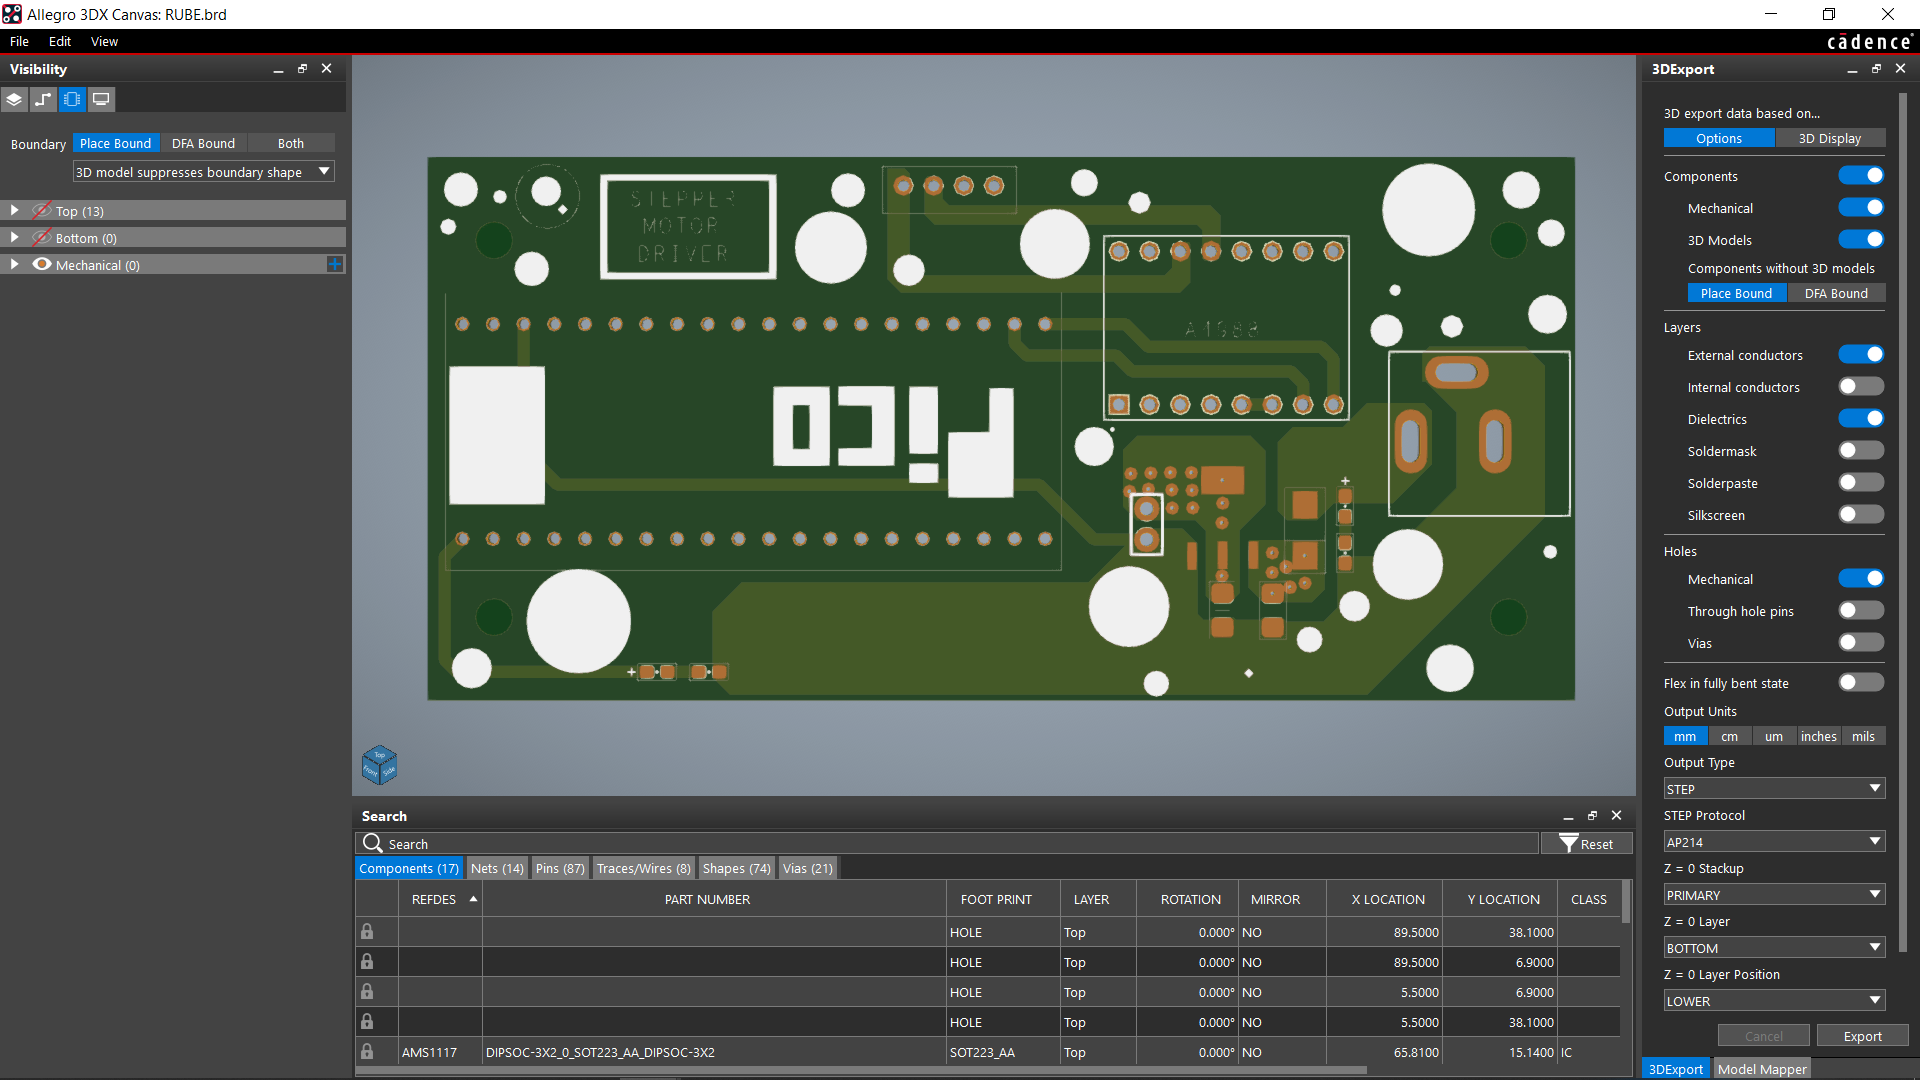
After creating the schematic, we prepared the board design and then exported the Gerber data, which will be shared with a PCB manufacturer.

HQ NextPCB Service
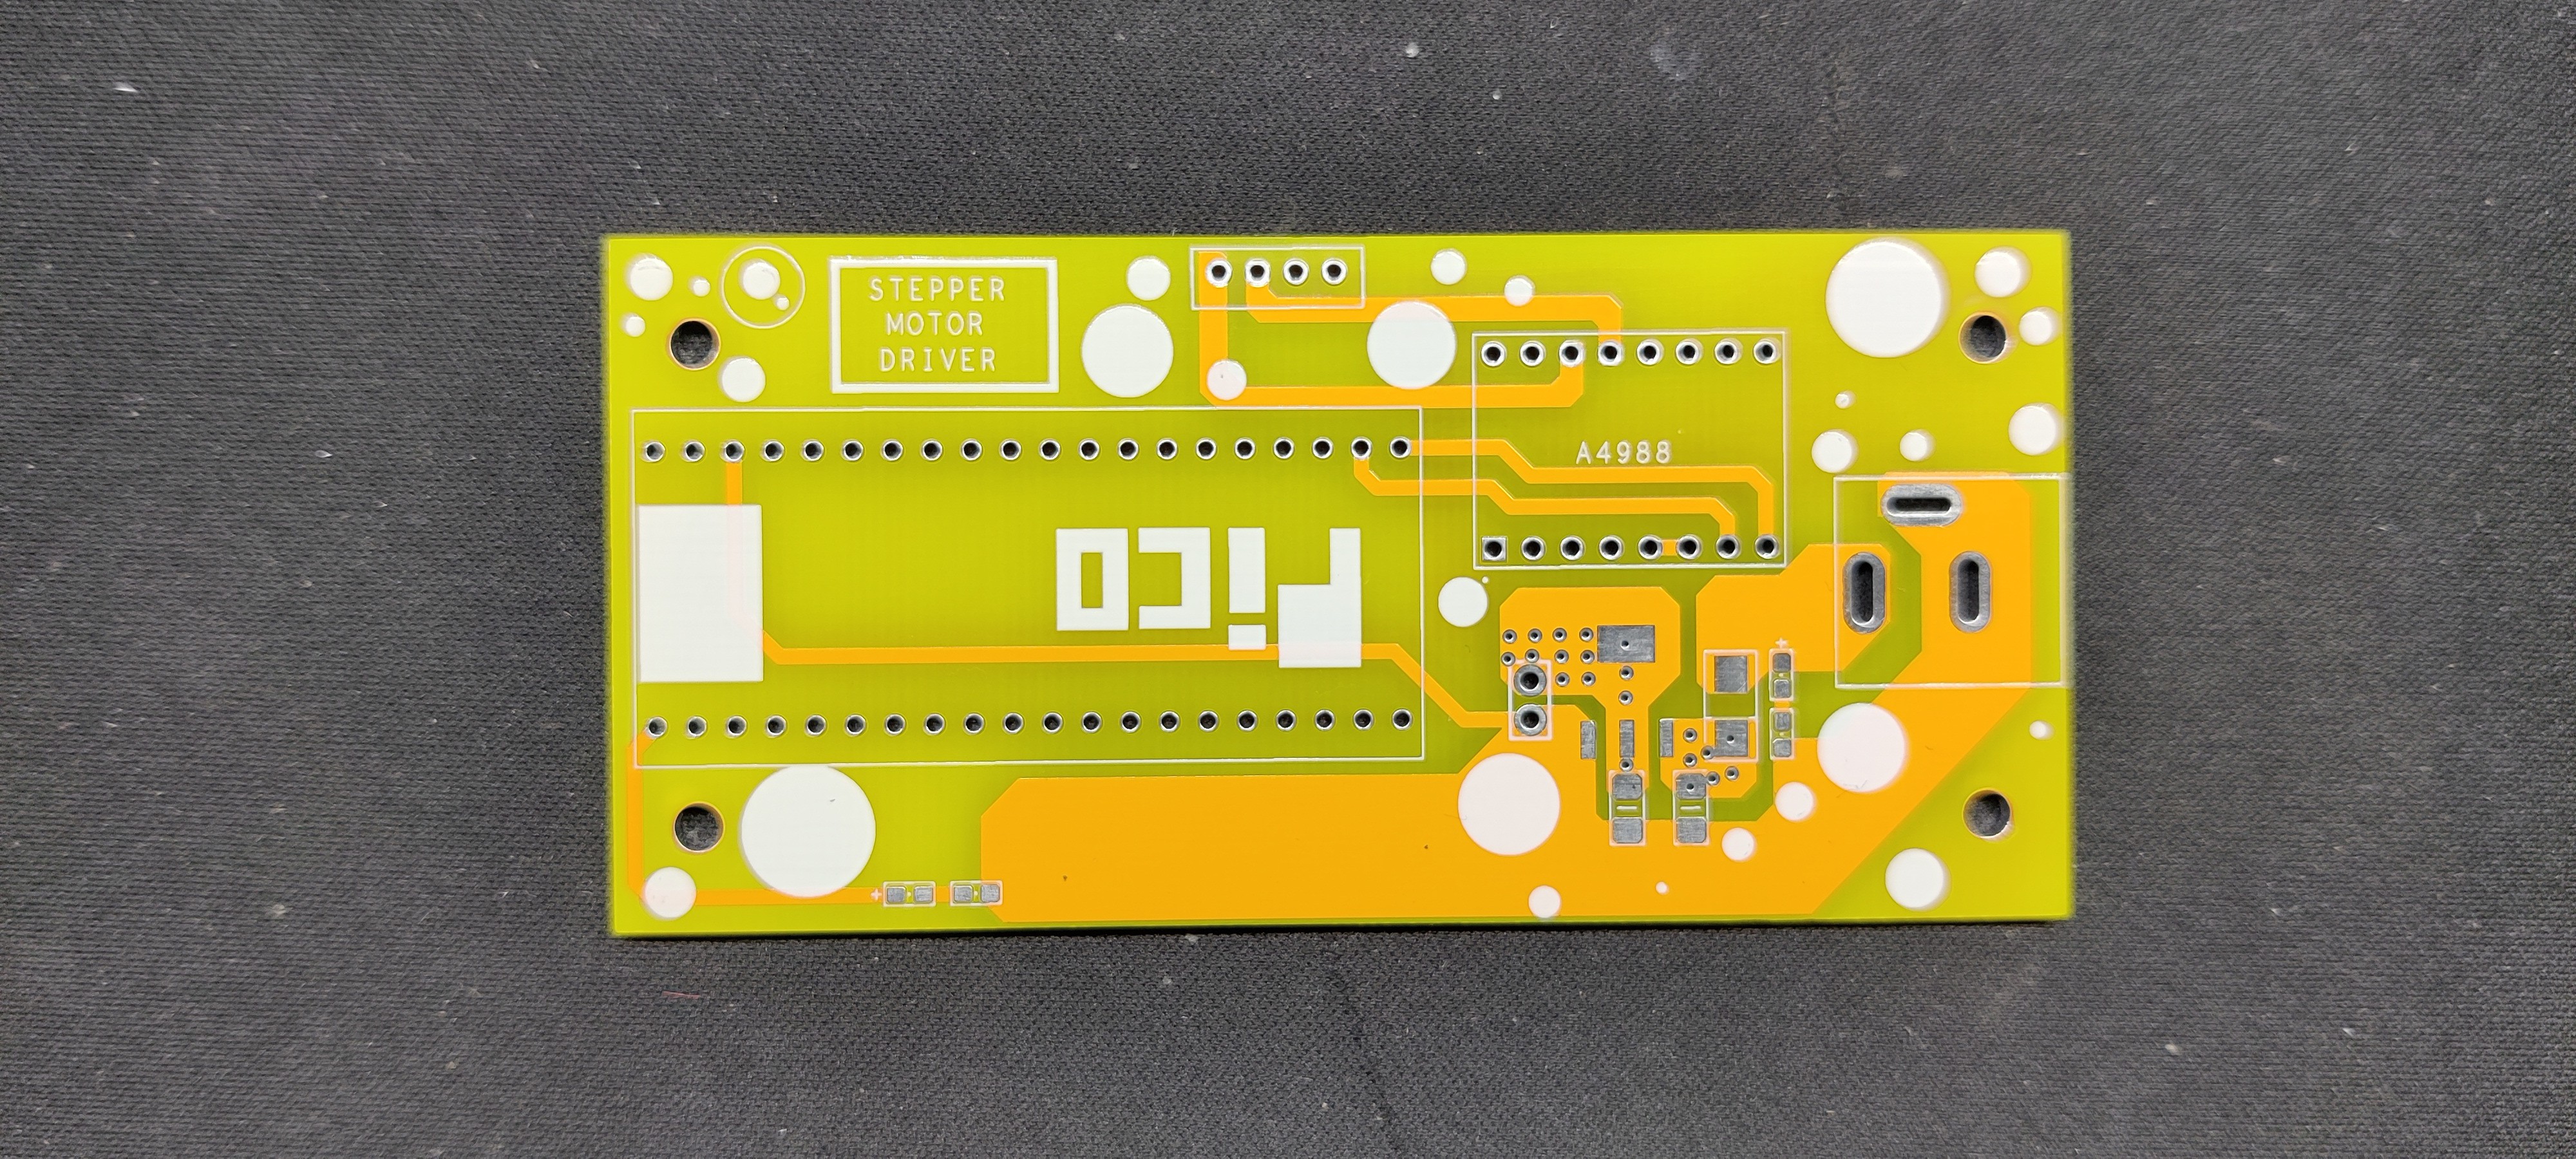
After completing the PCB design, we export the Gerber data and send it to HQ NextPCB for samples.

Gerber Data was sent to HQ NextPCB, and a Yellow Solder Mask PCB with White Screen was ordered.

After placing the order, the PCBs were received within a week, and the PCB quality was pretty great.

In addition, I have to bring in HQDFM to you, which helped me a lot through many projects. Huaqiu’s in-house engineers developed the free Design for Manufacturing software, HQDFM, revolutionizing how PCB designers visualize and verify their designs.

HQDFM: Free Online Gerber Viewer and DFM Analysis Tool
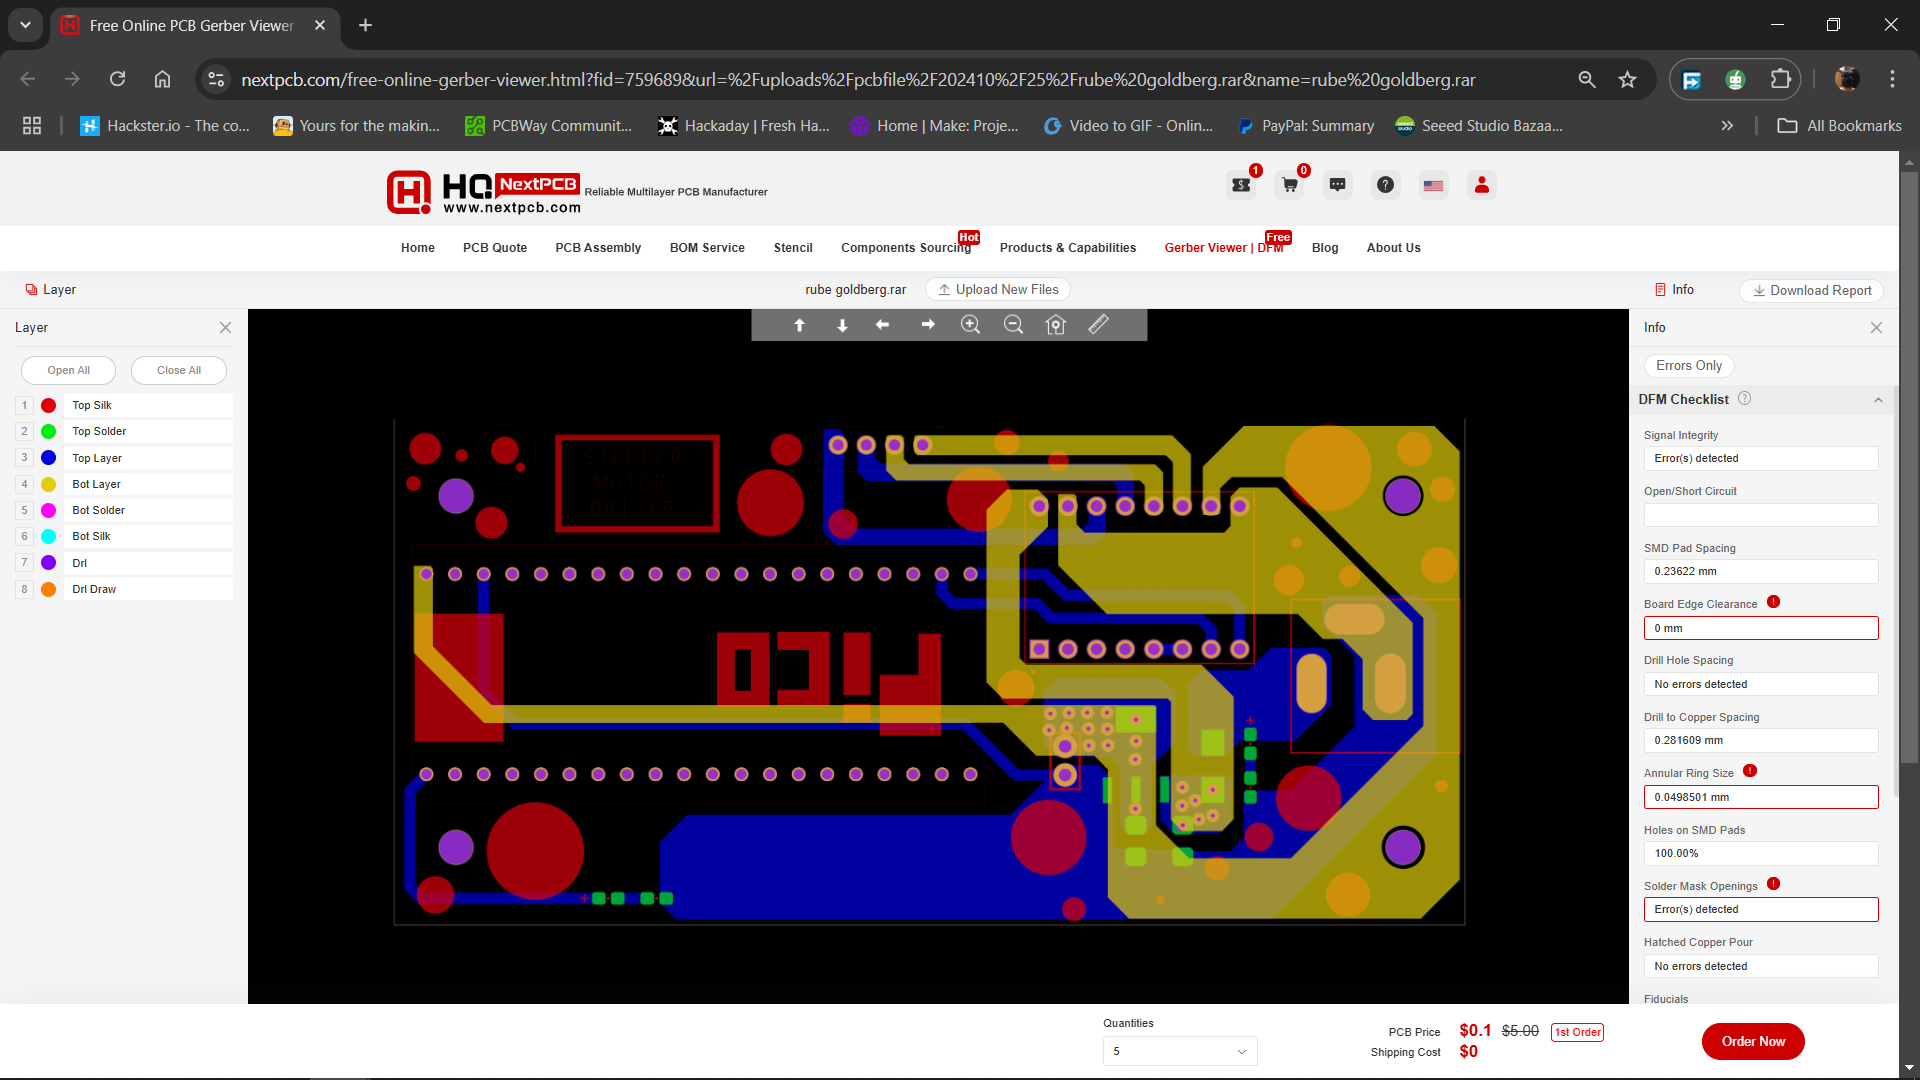
Also, NextPCB has its own Gerber Viewer and DFM analysis software.

Your designs are improved by their HQDFM software (DFM) services. Since I find it annoying to have to wait around for DFM reports from manufacturers, HQDFM is the most efficient method for performing a pre-event self-check.

Here is what online Gerber Viewer shows me. Would not be more clear. However, for full function, like DFM analysis for PCBA, you need to download the software. The online version only provides a simple PCB DFM report.

With comprehensive Design for Manufacture (DFM) analysis features, HQDFM is a free, sophisticated online PCB Gerber file viewer.

It provides insights into advanced manufacturing by utilizing over 15 years of industry expertise. You guys can check out HQ NextPCB if you want great PCB service at an affordable rate.

Rube Goldberg machine v3.f3d

fusion - 11.66 MB - 11/17/2024 at 07:54

Download

rube goldberg.rar

RAR Archive - 10.70 kB - 11/17/2024 at 07:54

Download

MOTORDRIVERSCH.pdf

Adobe Portable Document Format - 183.79 kB - 11/17/2024 at 07:53

Preview

  • 1
    Circuit Assembly Process
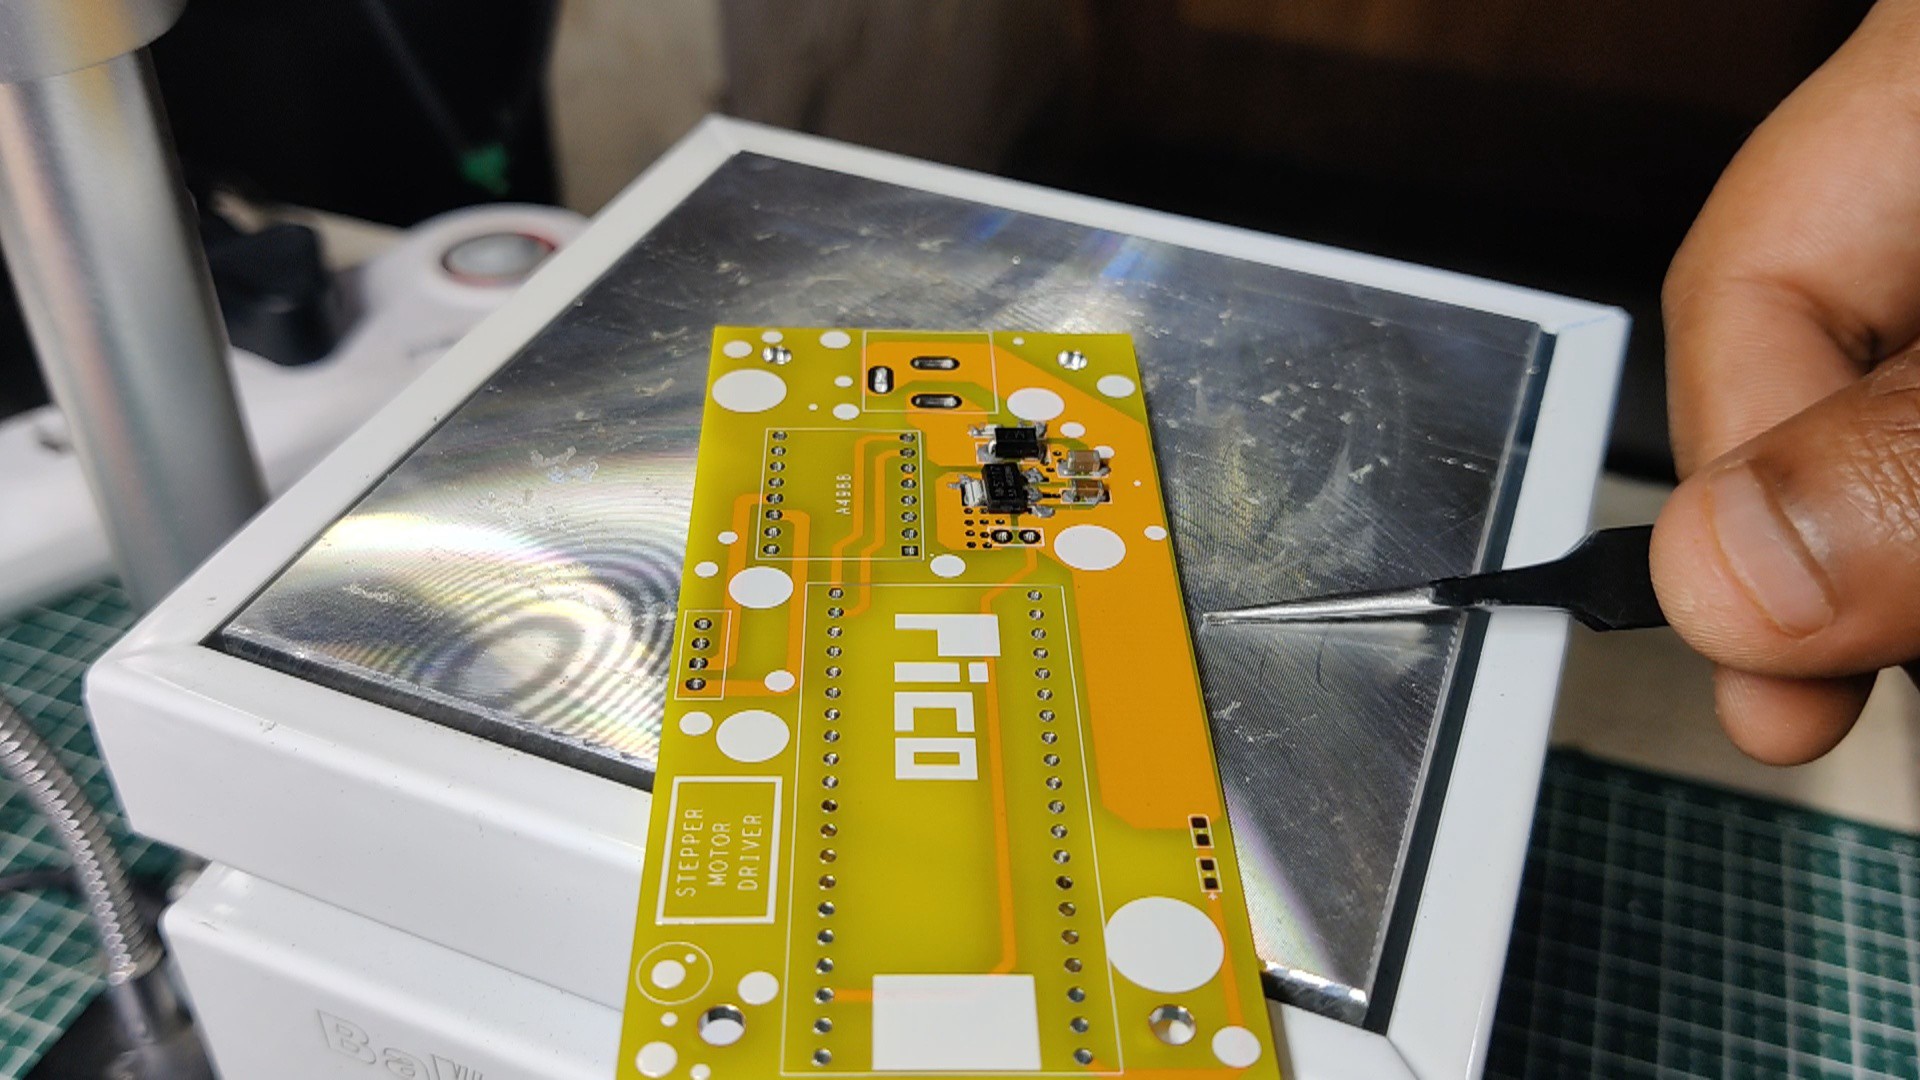
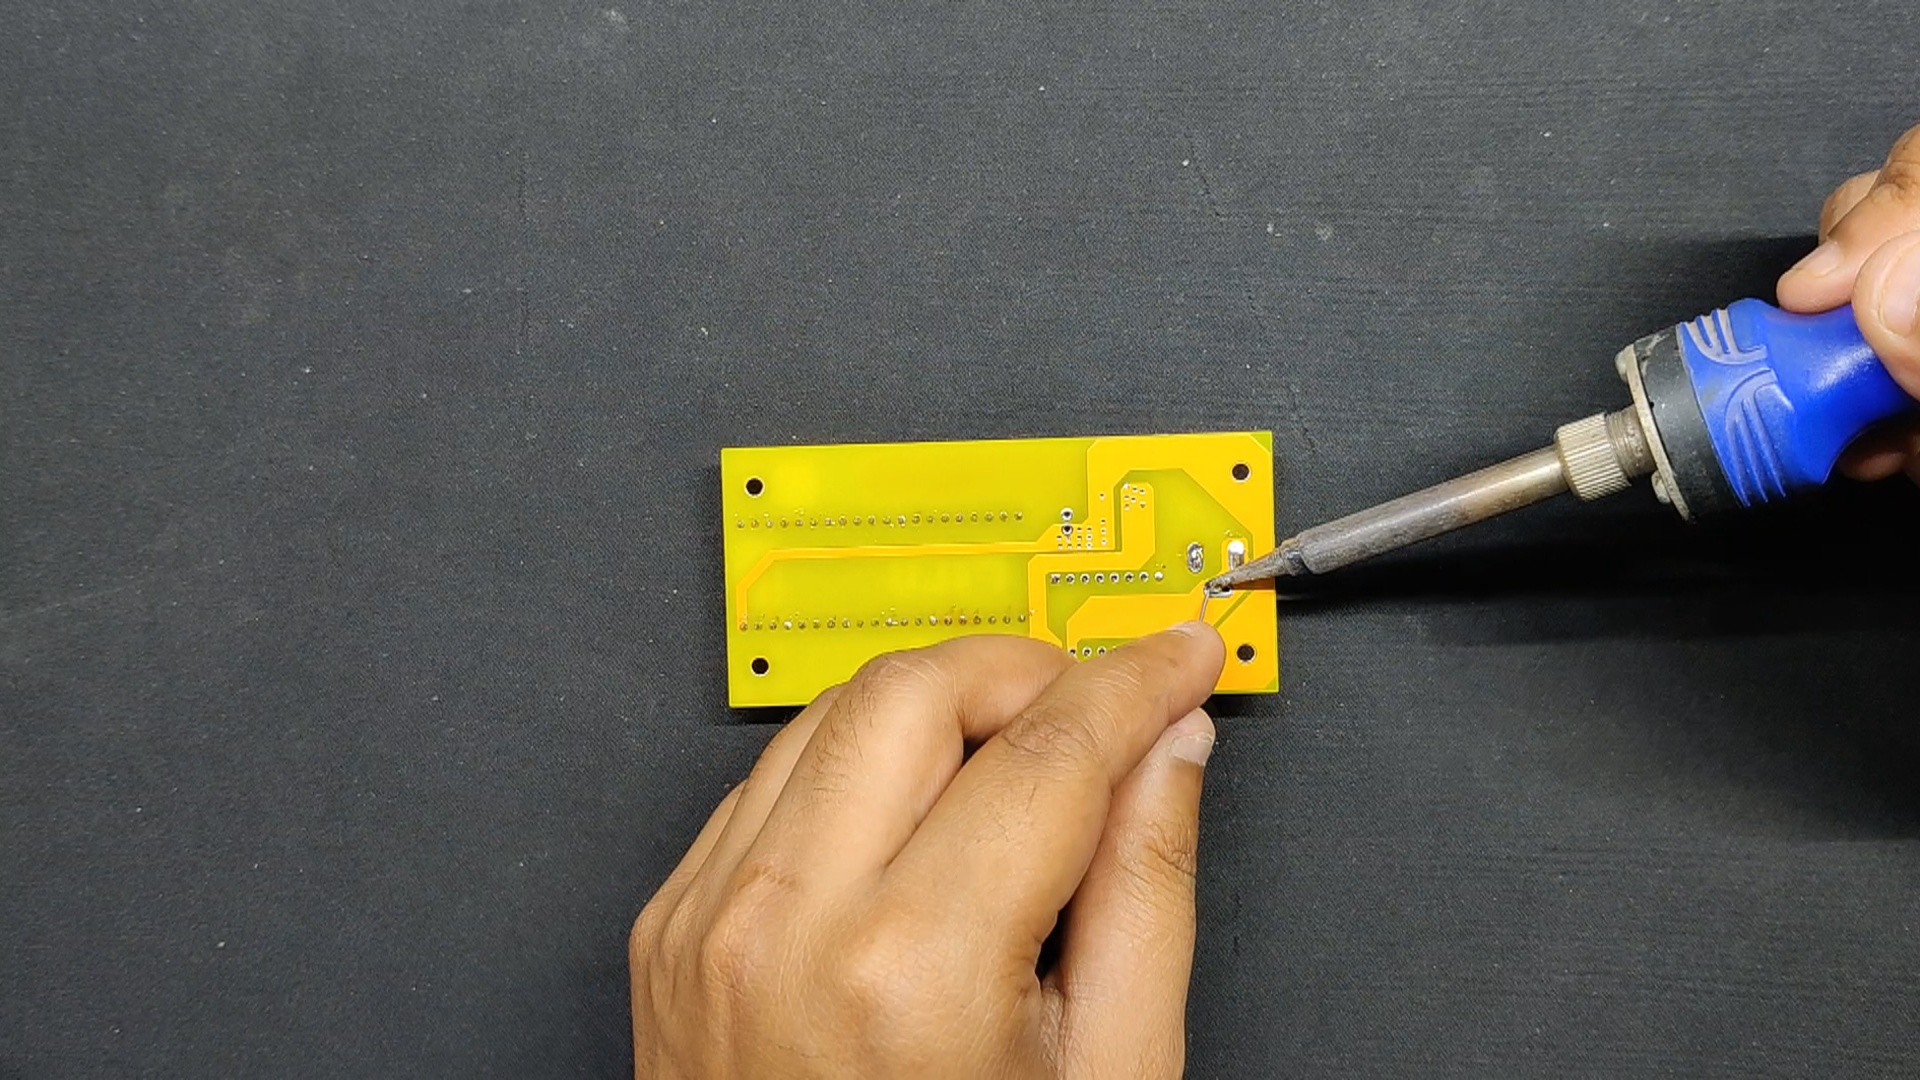
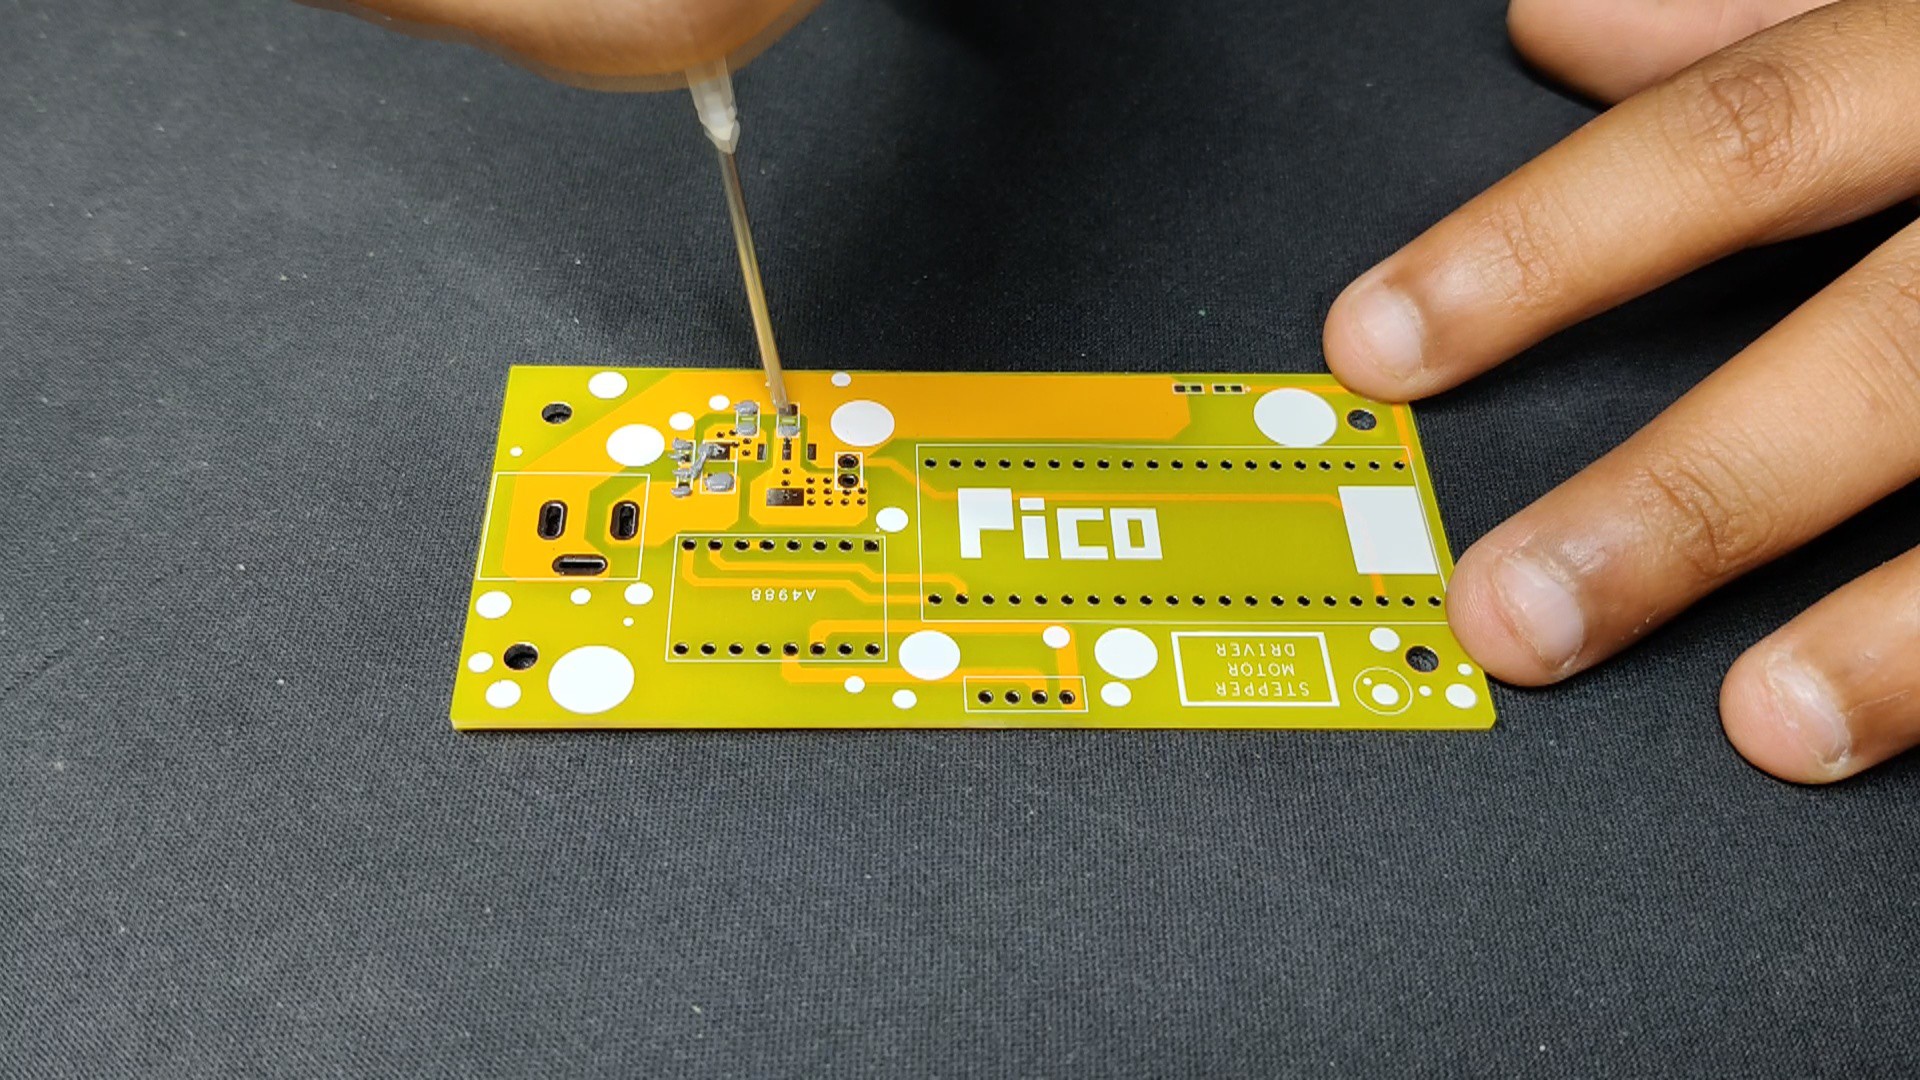
    • We begin the circuit-built procedure by utilizing a solder paste dispensing syringe to add solder paste to each pad of the SMD components. In this instance, the 63/37 Sn/Pb Solder paste, which melts at the temperature of 190° Celsius, is being used.
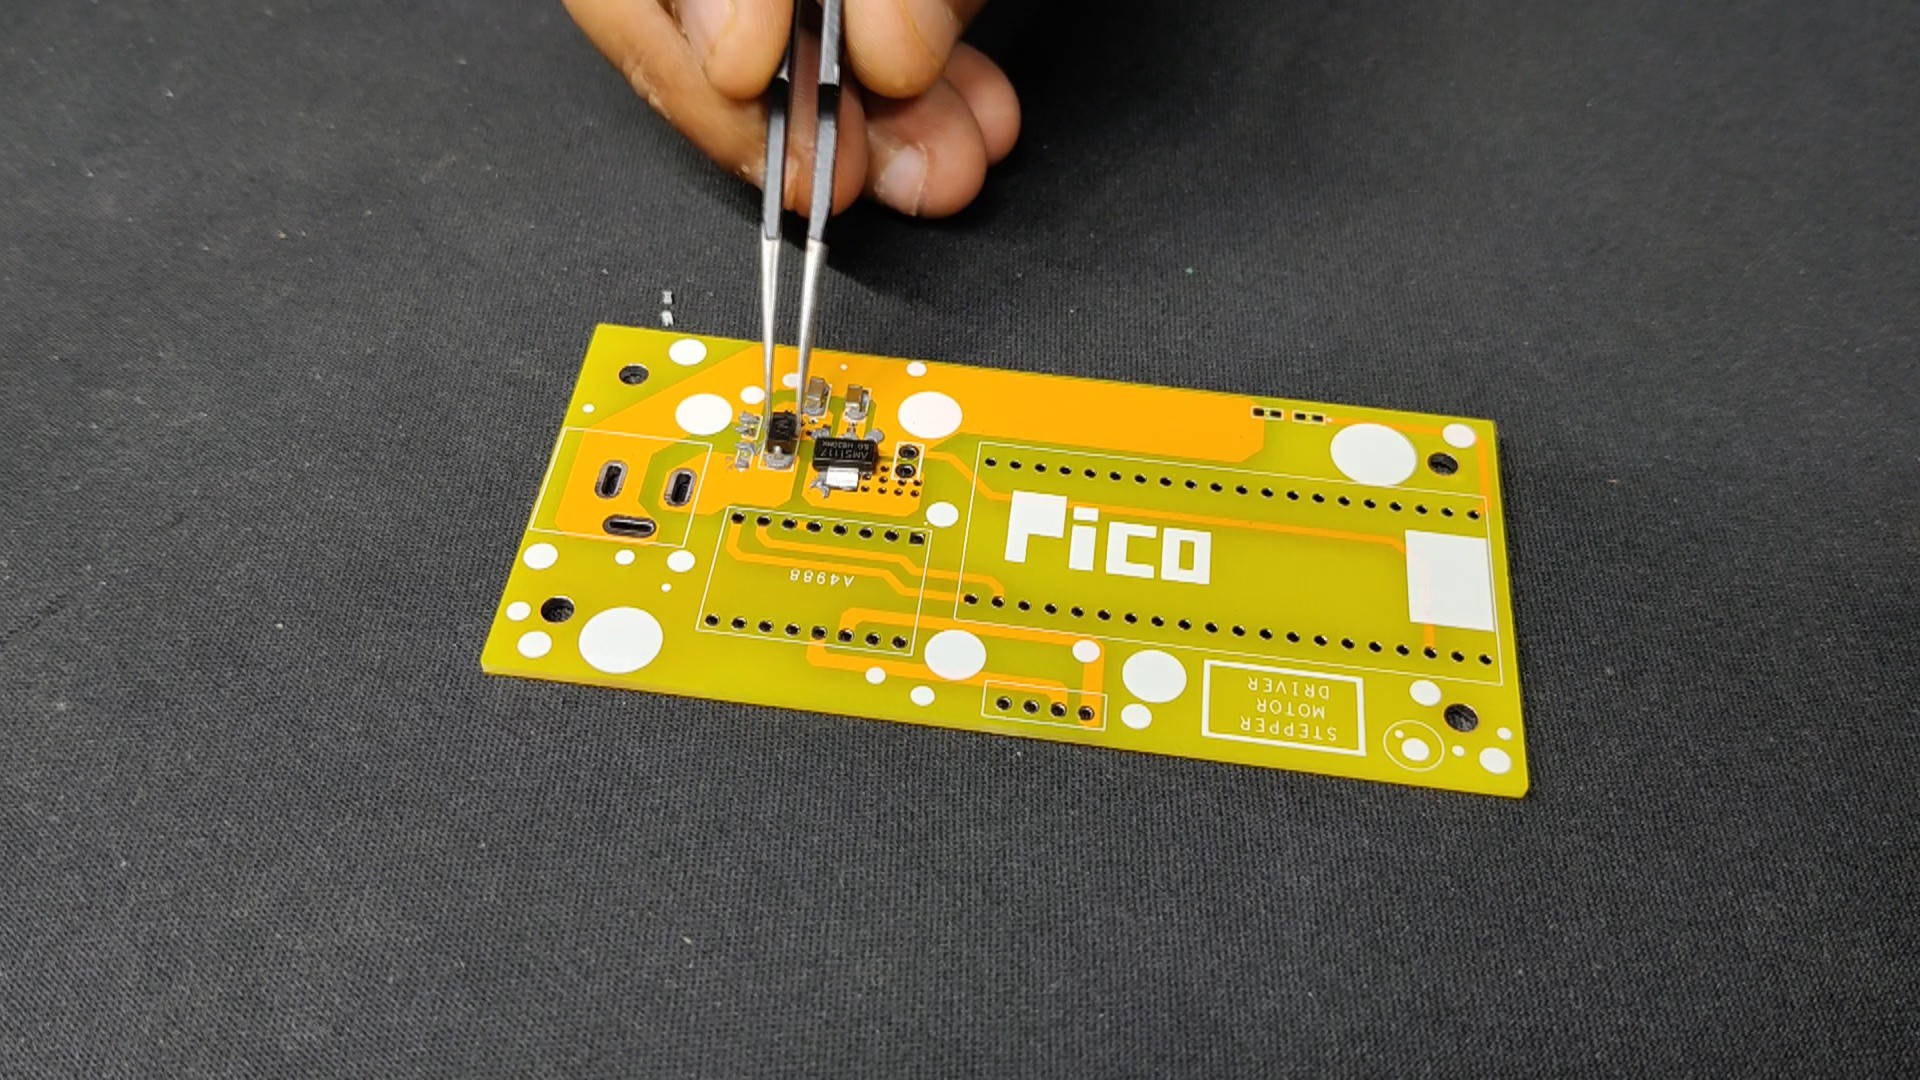
    • We next pick and place each SMD component in its proper location using an ESD Tweezer.
    • All SMD components are then permanently soldered to their pads when the entire circuit board is placed on the reflow hotplate, which heats the solder paste to its melting point.
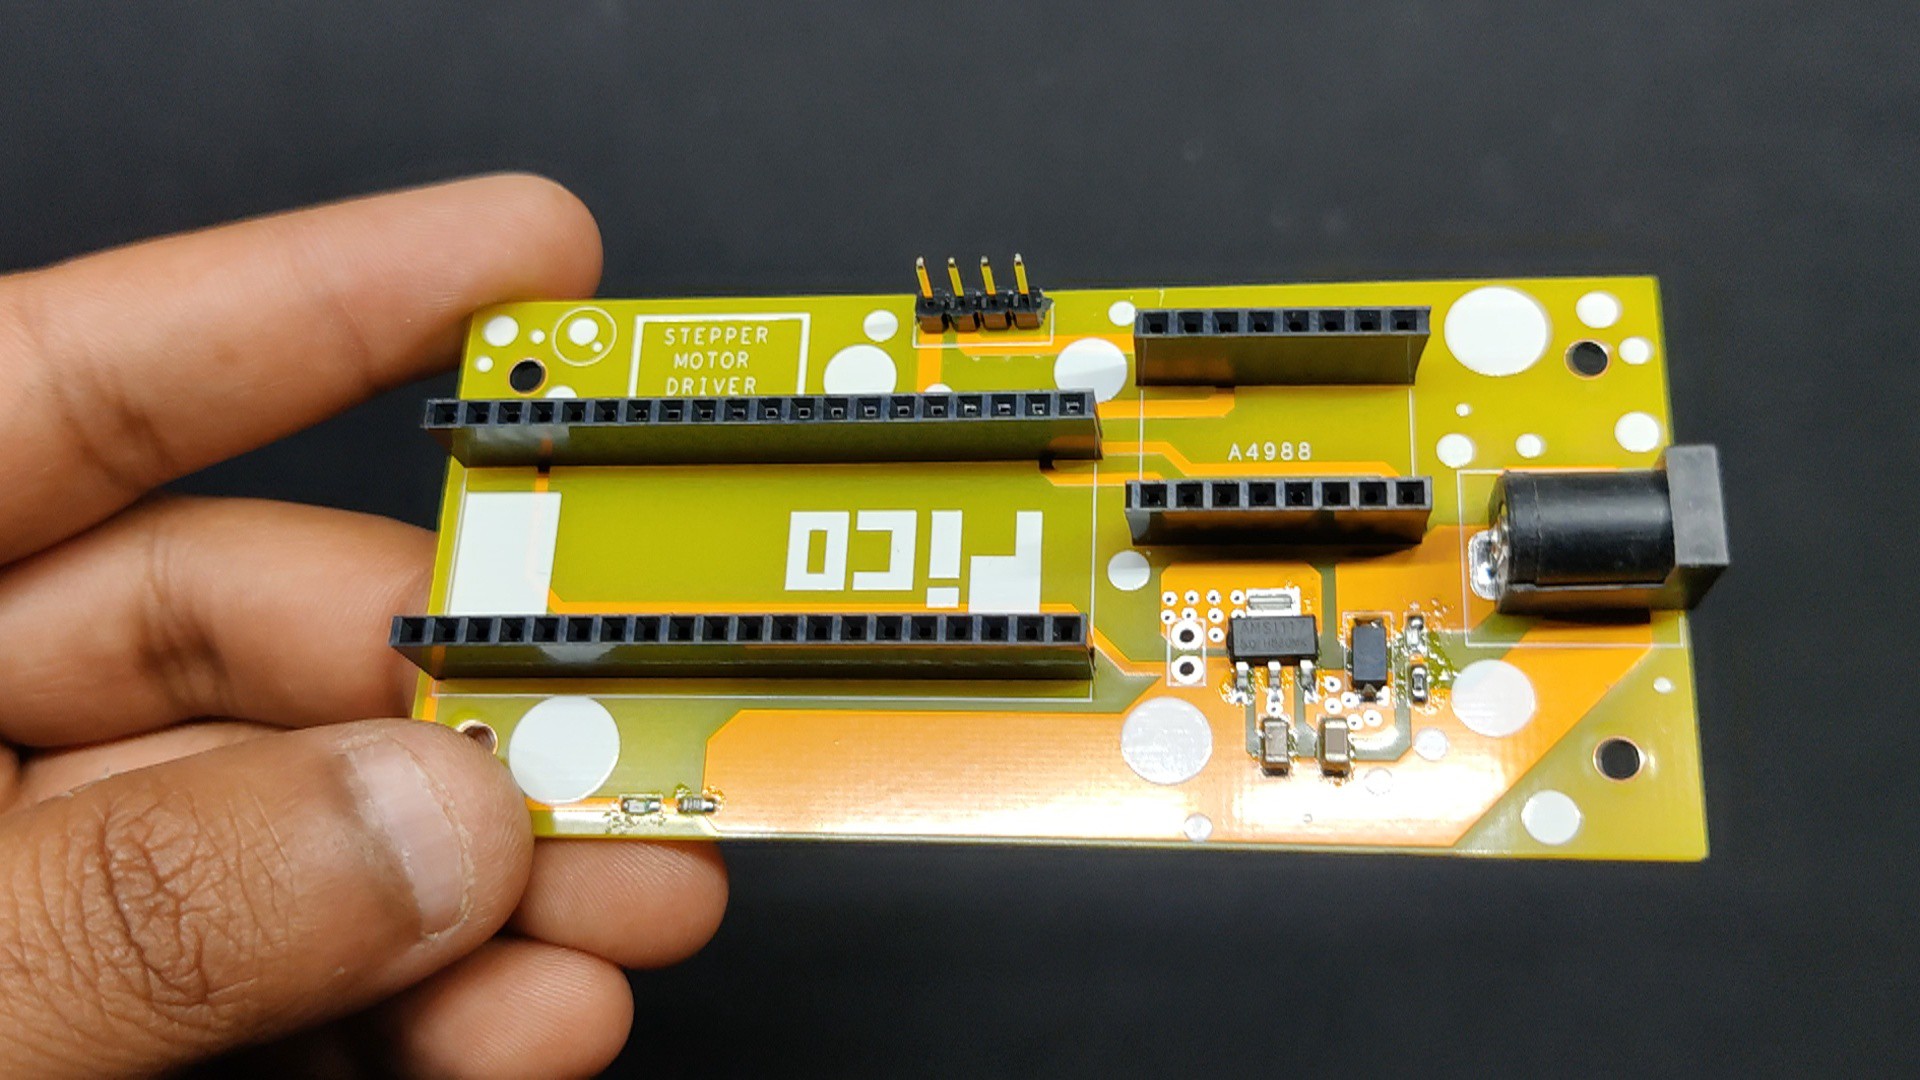
    • The THT components, such as the male header pin, female header pin connectors, and DC barrel jack, are then positioned in their proper positions, and their pads are soldered with a soldering iron.
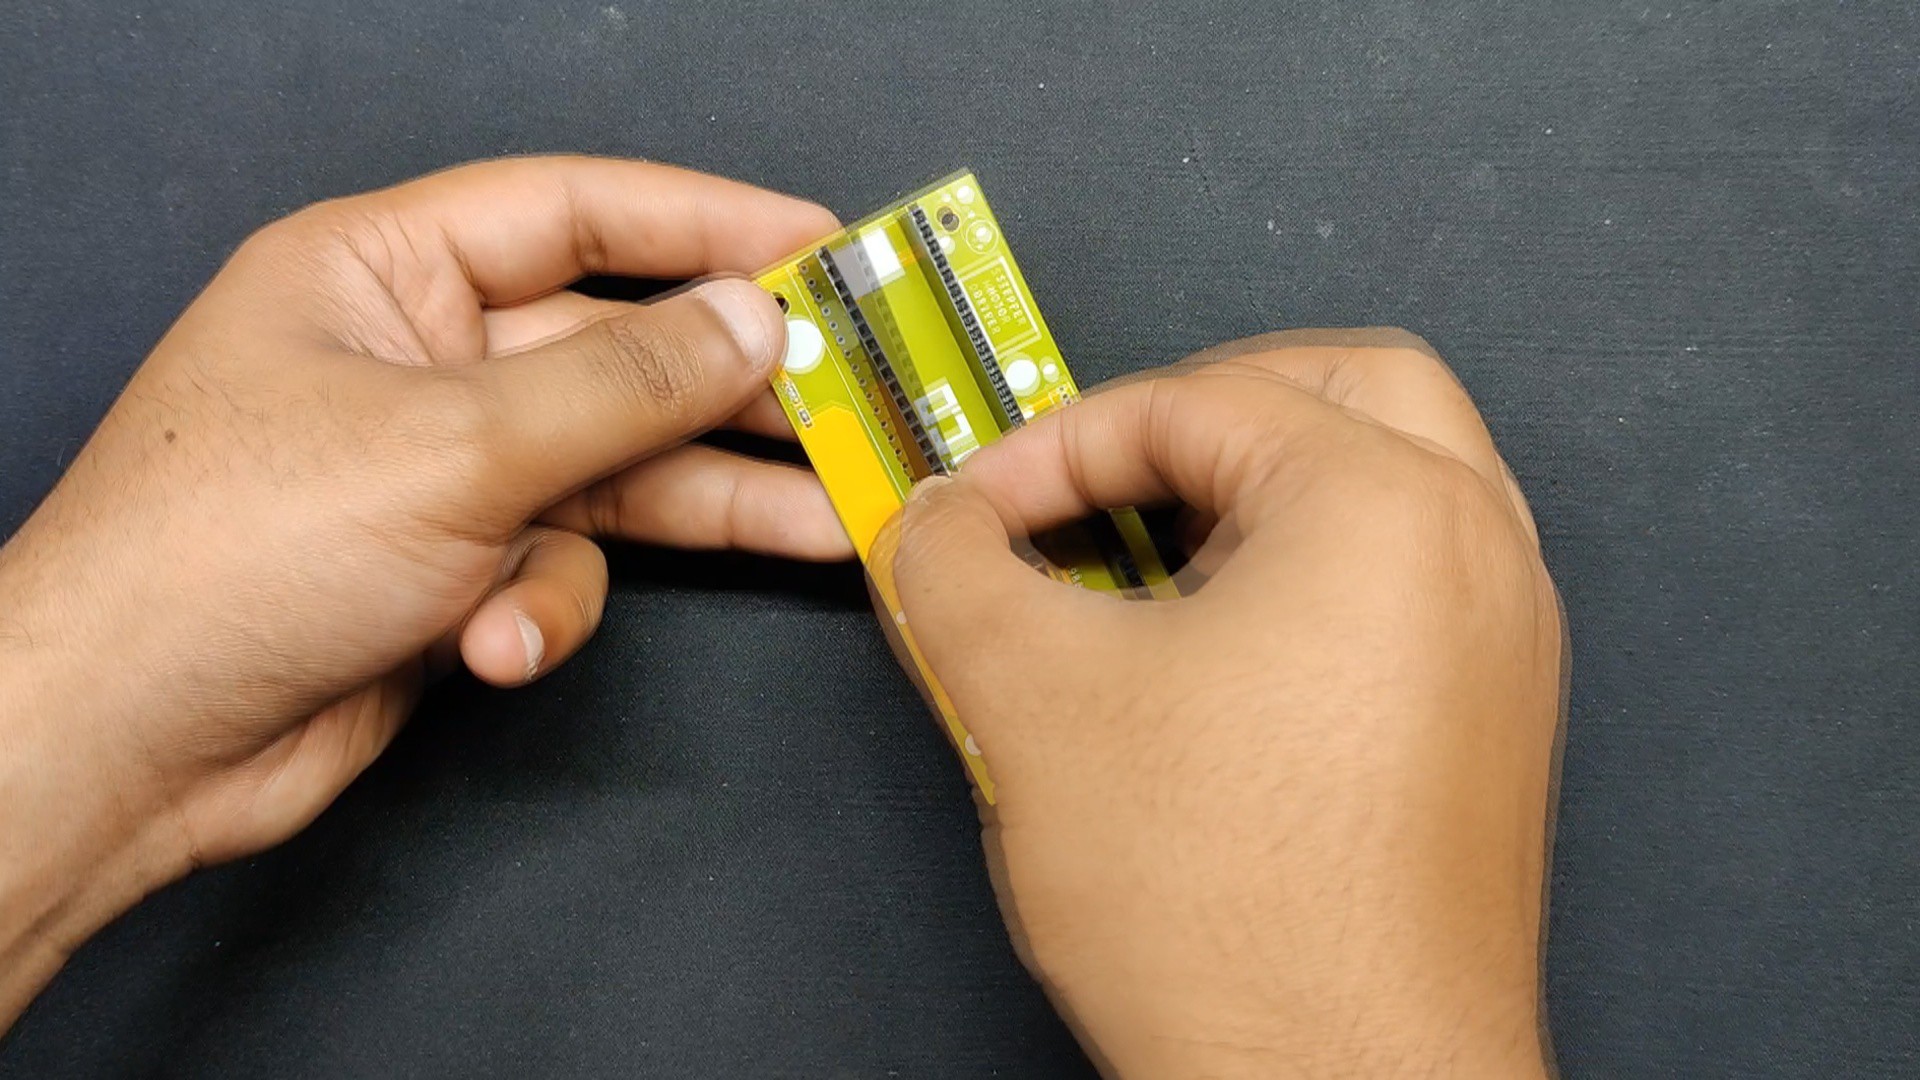
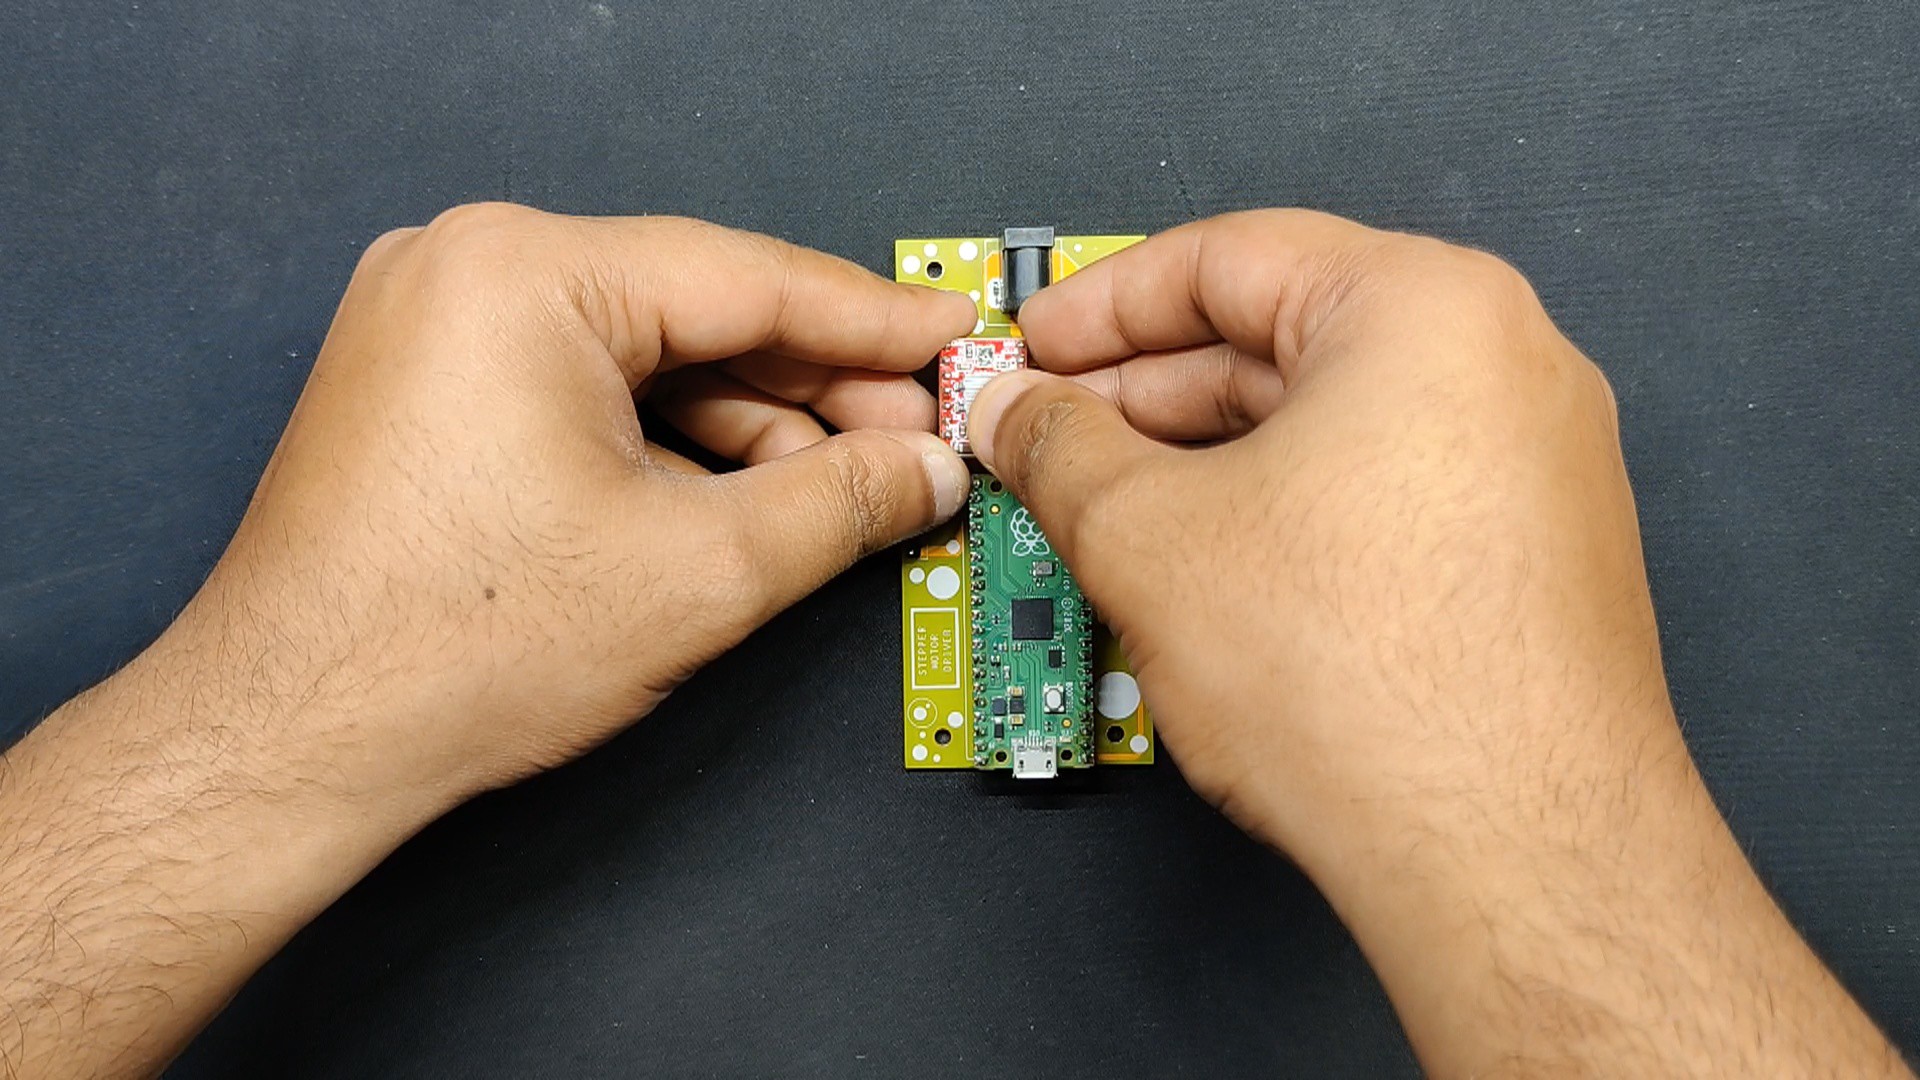
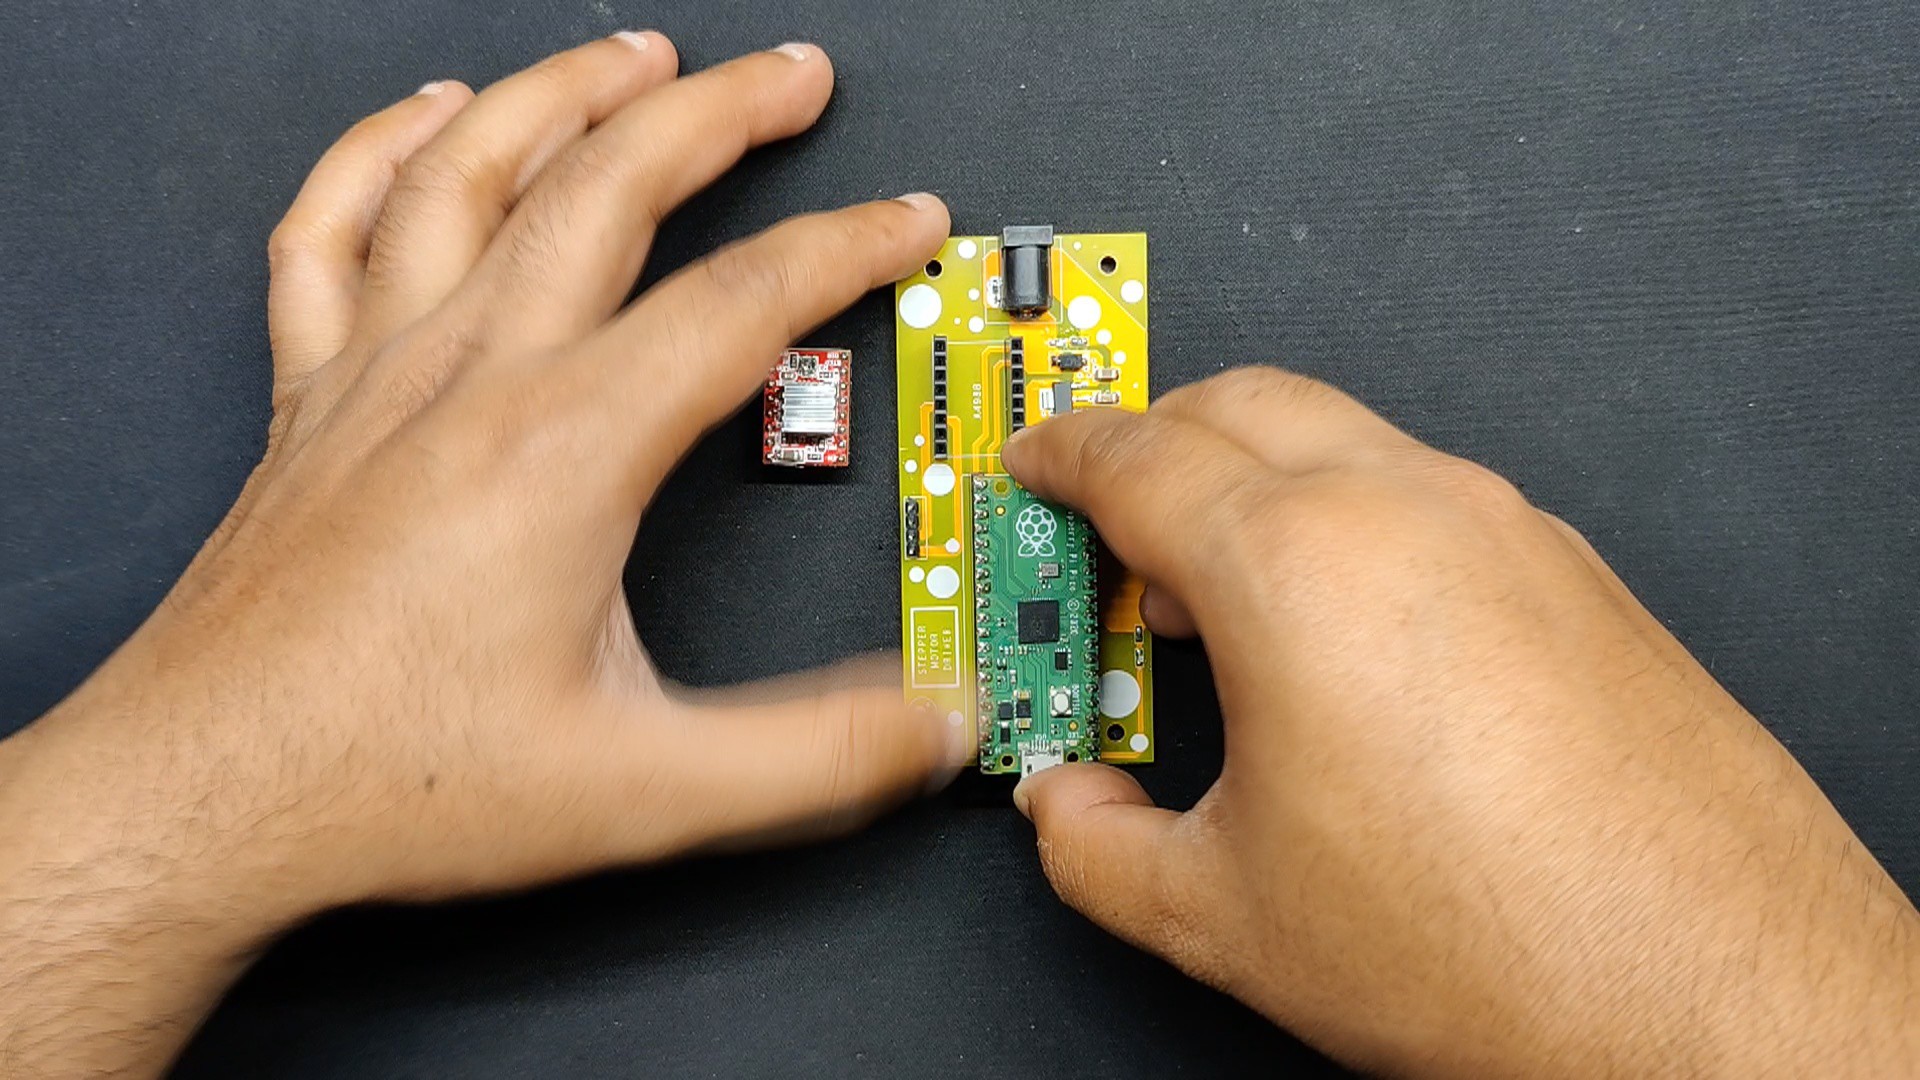
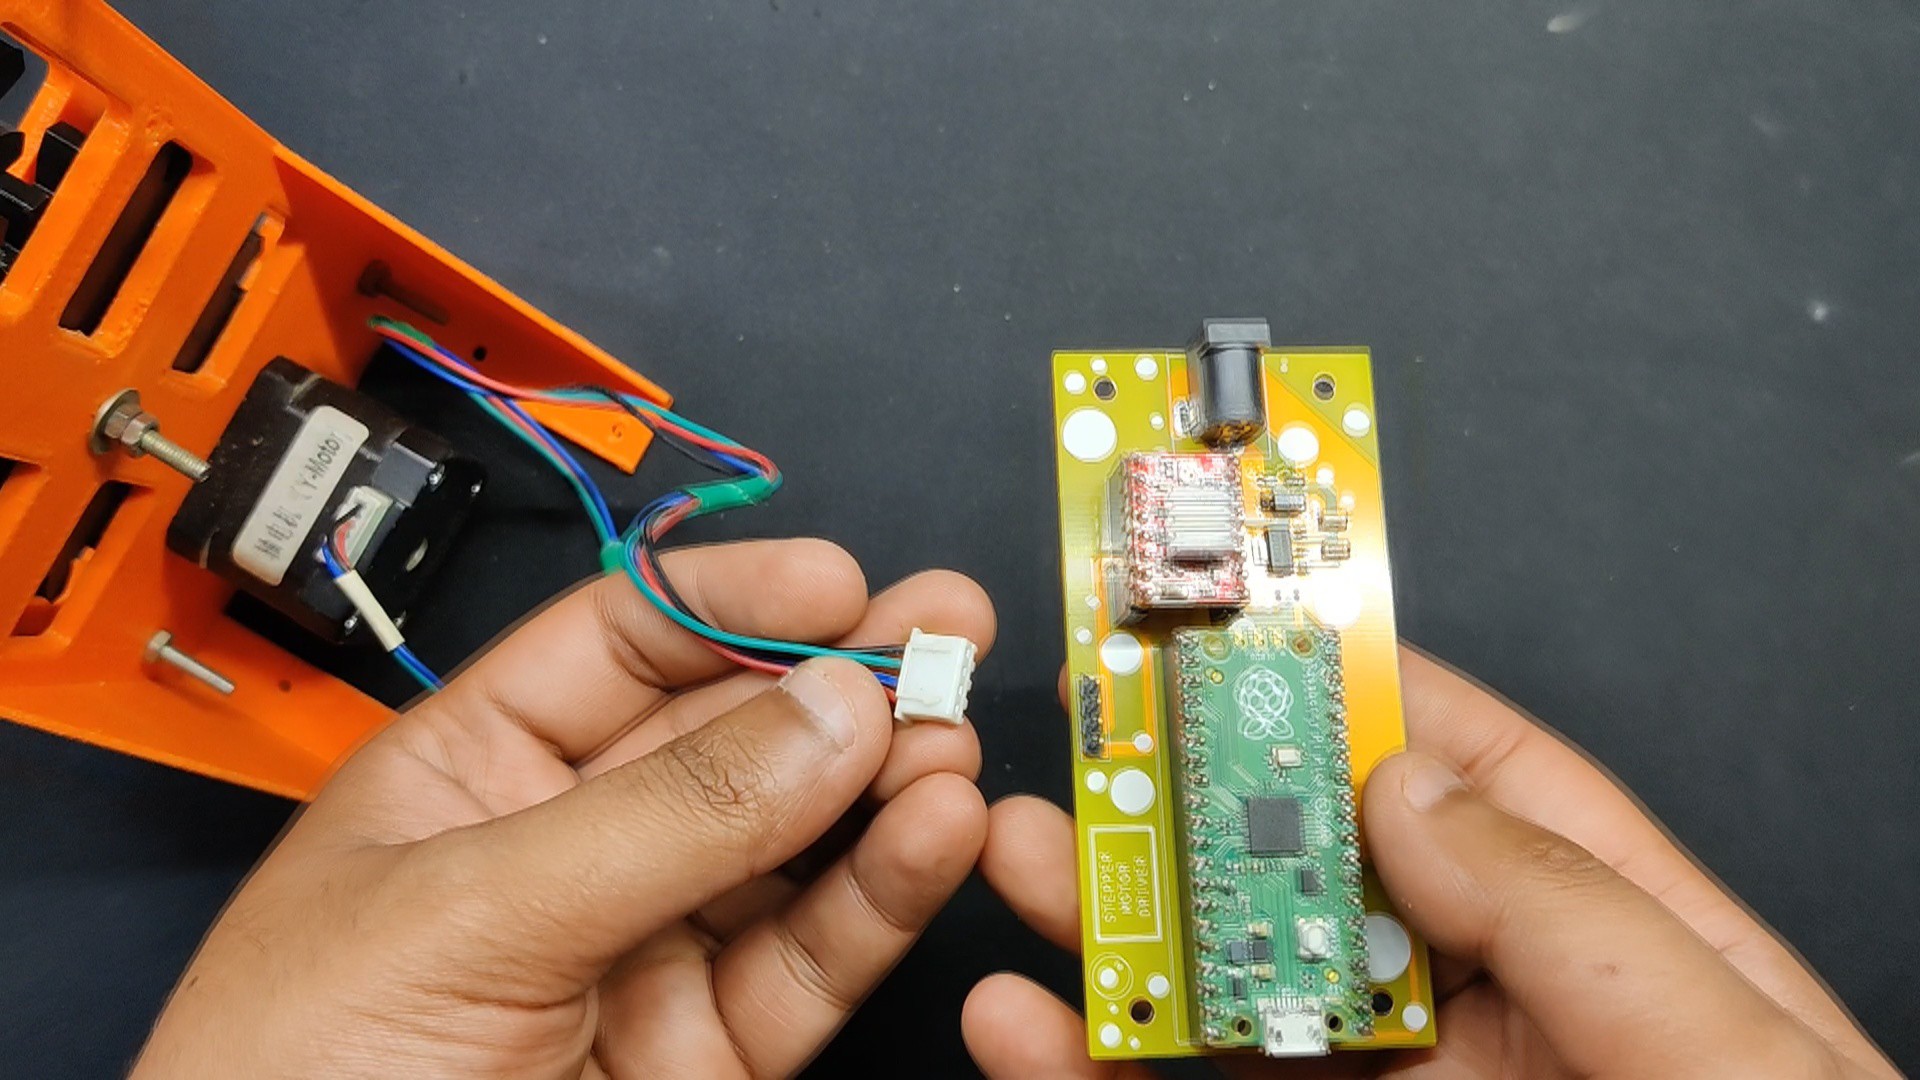
    • After that, we position the A4988 Motor driver in its proper location and place the Raspberry Pi Pico on the female header pins.

    Circuit assembly is now complete.

  • 2
    CODE

    We next uploaded the below sketch into our Raspberry Pi Pico.

    const int dirPin = 16;
    const int stepPin = 17;
    const int ledPin = 0; // Pin connected to the LED
    const int stepsPerRevolution = 200;
    const int maxSpeed = 1000; // Maximum speed in microseconds
    const int minSpeed = 2000; // Minimum speed in microseconds
    void setup()
    {
    // Declare pins as Outputs
    pinMode(stepPin, OUTPUT);
    pinMode(dirPin, OUTPUT);
    pinMode(ledPin, OUTPUT);
    }
    void loop()
    {
    // Blinking LED when motor is moving
    digitalWrite(ledPin, HIGH);
    // Set motor direction clockwise
    digitalWrite(dirPin, HIGH);
    // Ramp up speed from low to high over 5 seconds
    for (int speed = minSpeed; speed >= maxSpeed; speed -= 20)
    {
    for (int x = 0; x < stepsPerRevolution; x++)
    {
    digitalWrite(stepPin, HIGH);
    delayMicroseconds(speed);
    digitalWrite(stepPin, LOW);
    delayMicroseconds(speed);
    }
    delay(50); // Small delay to avoid skipping steps
    }
    delay(2000); // Hold at max speed for 2 seconds
    // Set motor direction counterclockwise
    digitalWrite(dirPin, LOW);
    // Ramp up speed from low to high over 5 seconds
    for (int speed = minSpeed; speed >= maxSpeed; speed -= 20)
    {
    for (int x = 0; x < stepsPerRevolution; x++)
    {
    digitalWrite(stepPin, HIGH);
    delayMicroseconds(speed);
    digitalWrite(stepPin, LOW);
    delayMicroseconds(speed);
    }
    delay(50); // Small delay to avoid skipping steps
    }
    delay(2000); // Hold at max speed for 2 seconds
    // Turn off LED when motor stops
    digitalWrite(ledPin, LOW);
    delay(1000); // Optional delay between cycles
    }

    This is a simple sketch that we created that does not require any libraries to function. The stepper motor and an LED are essentially controlled by this code, which causes the motor to accelerate in both directions and blink the LED when the motor is running.

  • 3
    STEPPER MOTOR SETUP

    We developed a gearbox for the stepper motor test, which will be used in a future project. This driver circuit is just a part of that project.

    • A gearbox with three gears—two 22-teeth gears with a 5mm modulus and one 10-teeth gear with the same 5mm modulus—is included here. We used a Nema17 stepper motor that we salvaged from an old Anet A8 3D printer to connect the smaller 10-teeth gear.
    • We connected the stepper motor's wire harness connector to the driver's CON4, which is connected to the A1, A2, B1, and B2 terminals of the A4988 driver.
    • The motor begins to rotate when the device is switched on by plugging the DC jack of a 12V 2A power adapter into the circuit, via DC barrel jack.

View all 4 instructions

Enjoy this project?

Share

Discussions

Similar Projects

Does this project spark your interest?

Become a member to follow this project and never miss any updates