-
Bread Boarding the LCD panel
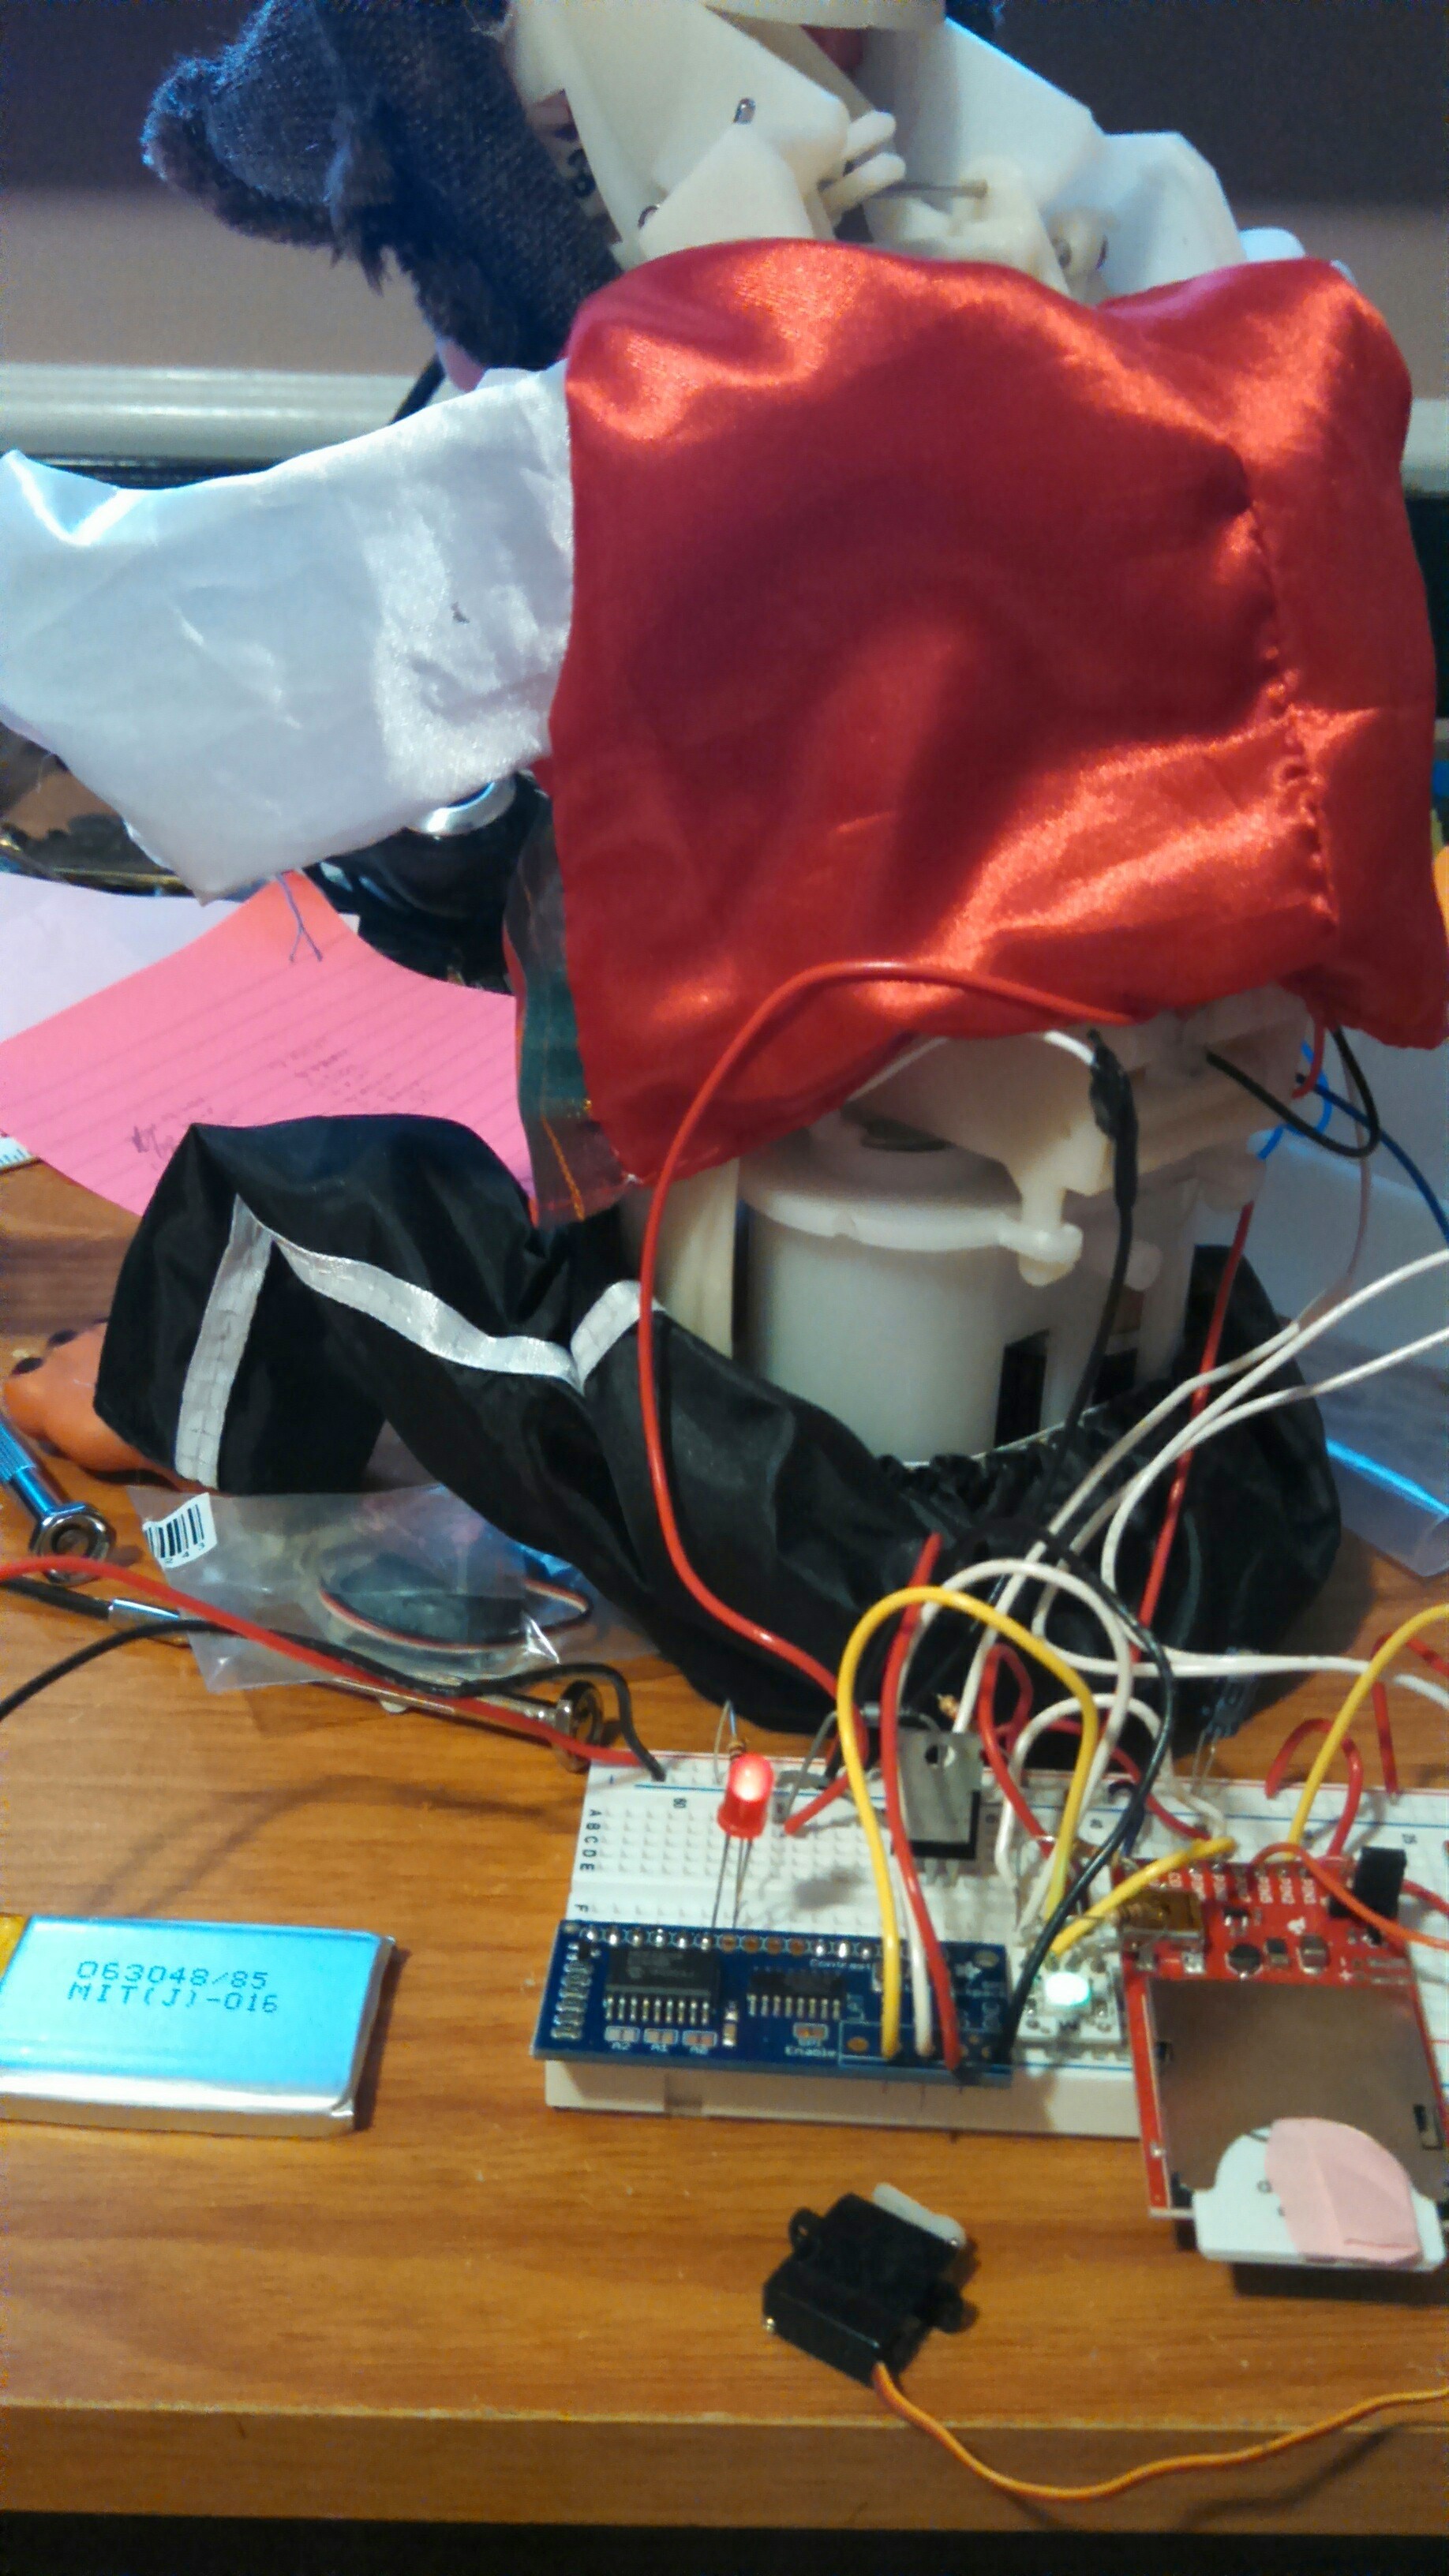
08/10/2014 at 21:53 • 0 commentsI left the monkey alone for starters and started injecting control points via the MOSFET and LCD panel.
![]()
The small micro was for testing. In the end I needed something a little bigger. The paper jammed in the socket was to overcome an issue with the IMP, Pin 1 and the Sparkfun socket.
-
Trusty Arduino for Prototyping
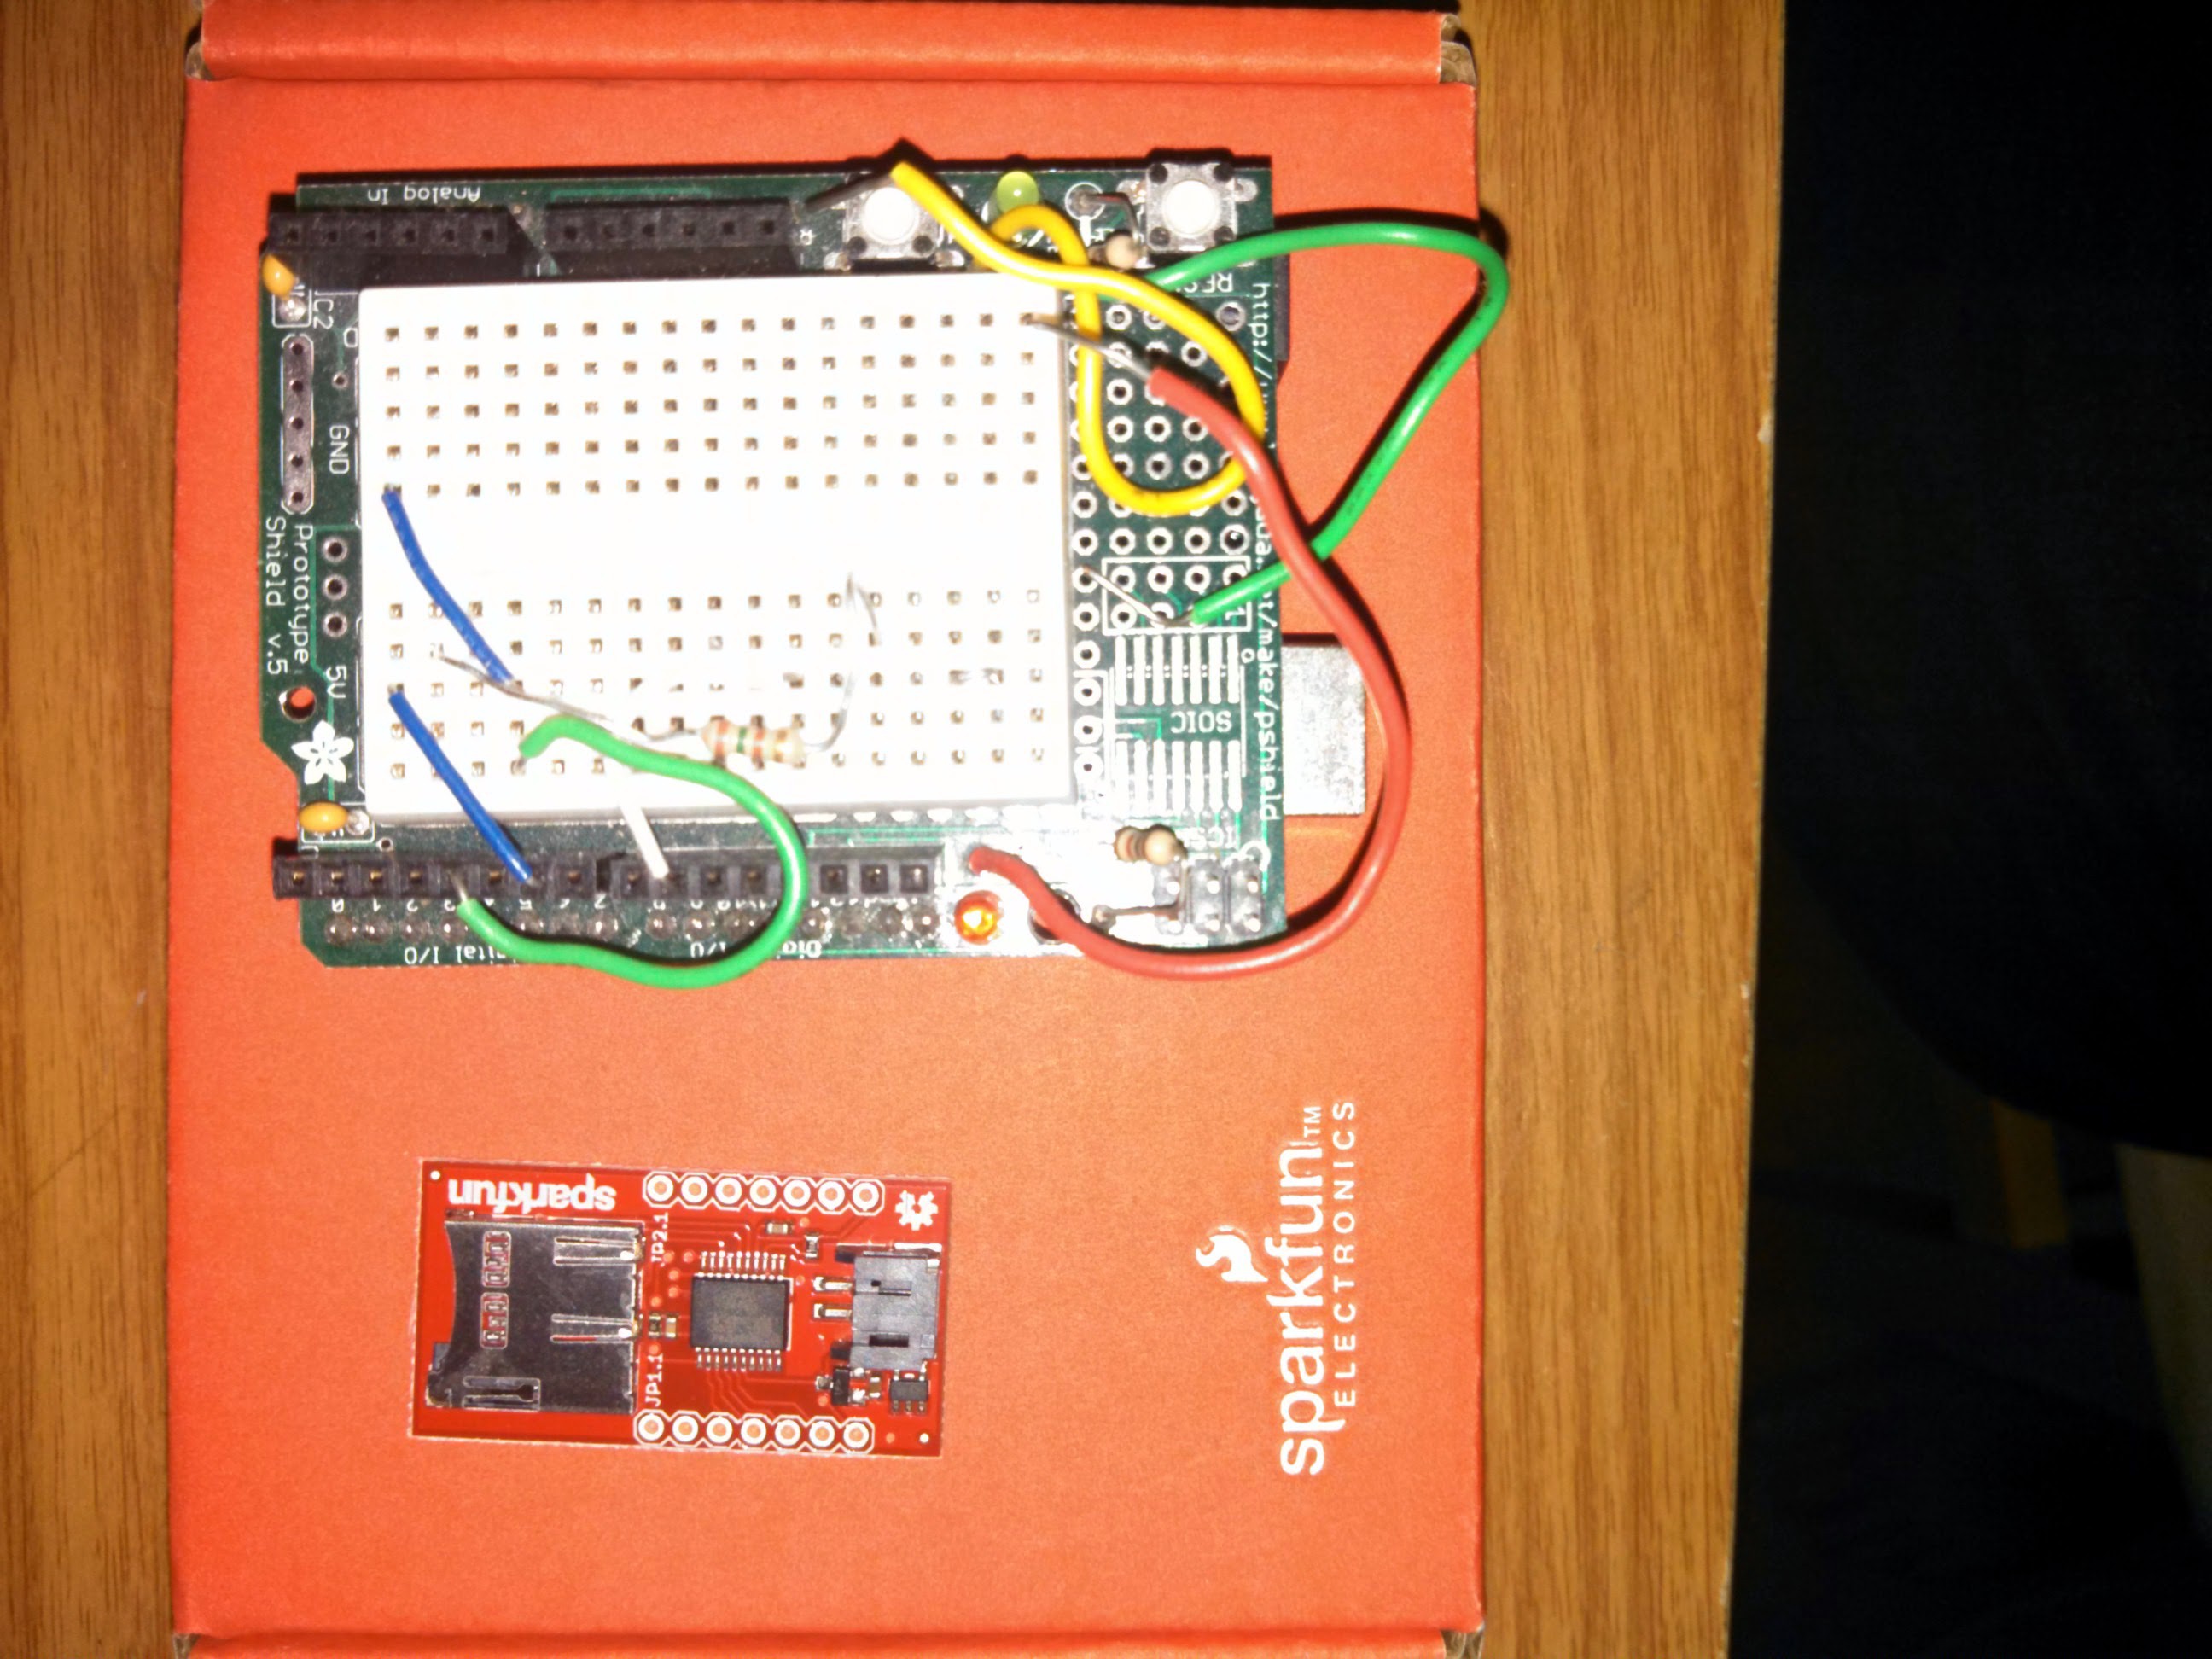
08/10/2014 at 21:51 • 0 commentsI started with the SParkfun voice playback module but ended up going with a smaller module for space reasons. I used the Arduino's exisiting library to gtet it up and running. It allowed me to sort out issues with how to format the SD card so it would work with the module and the funky audio format it uses.
I used a formatting tool from the SD industry standards site. I had to google around to get a tool that would conver audo into the format used by the VM unit..
nce I had that all straight, porting to the IMP was very straight forward. Pretty much all I had to do was replace Arduino lib code Squirrel language constructs and it worked. I prettied it up into a class.
![]()
-
Preparing for surgery
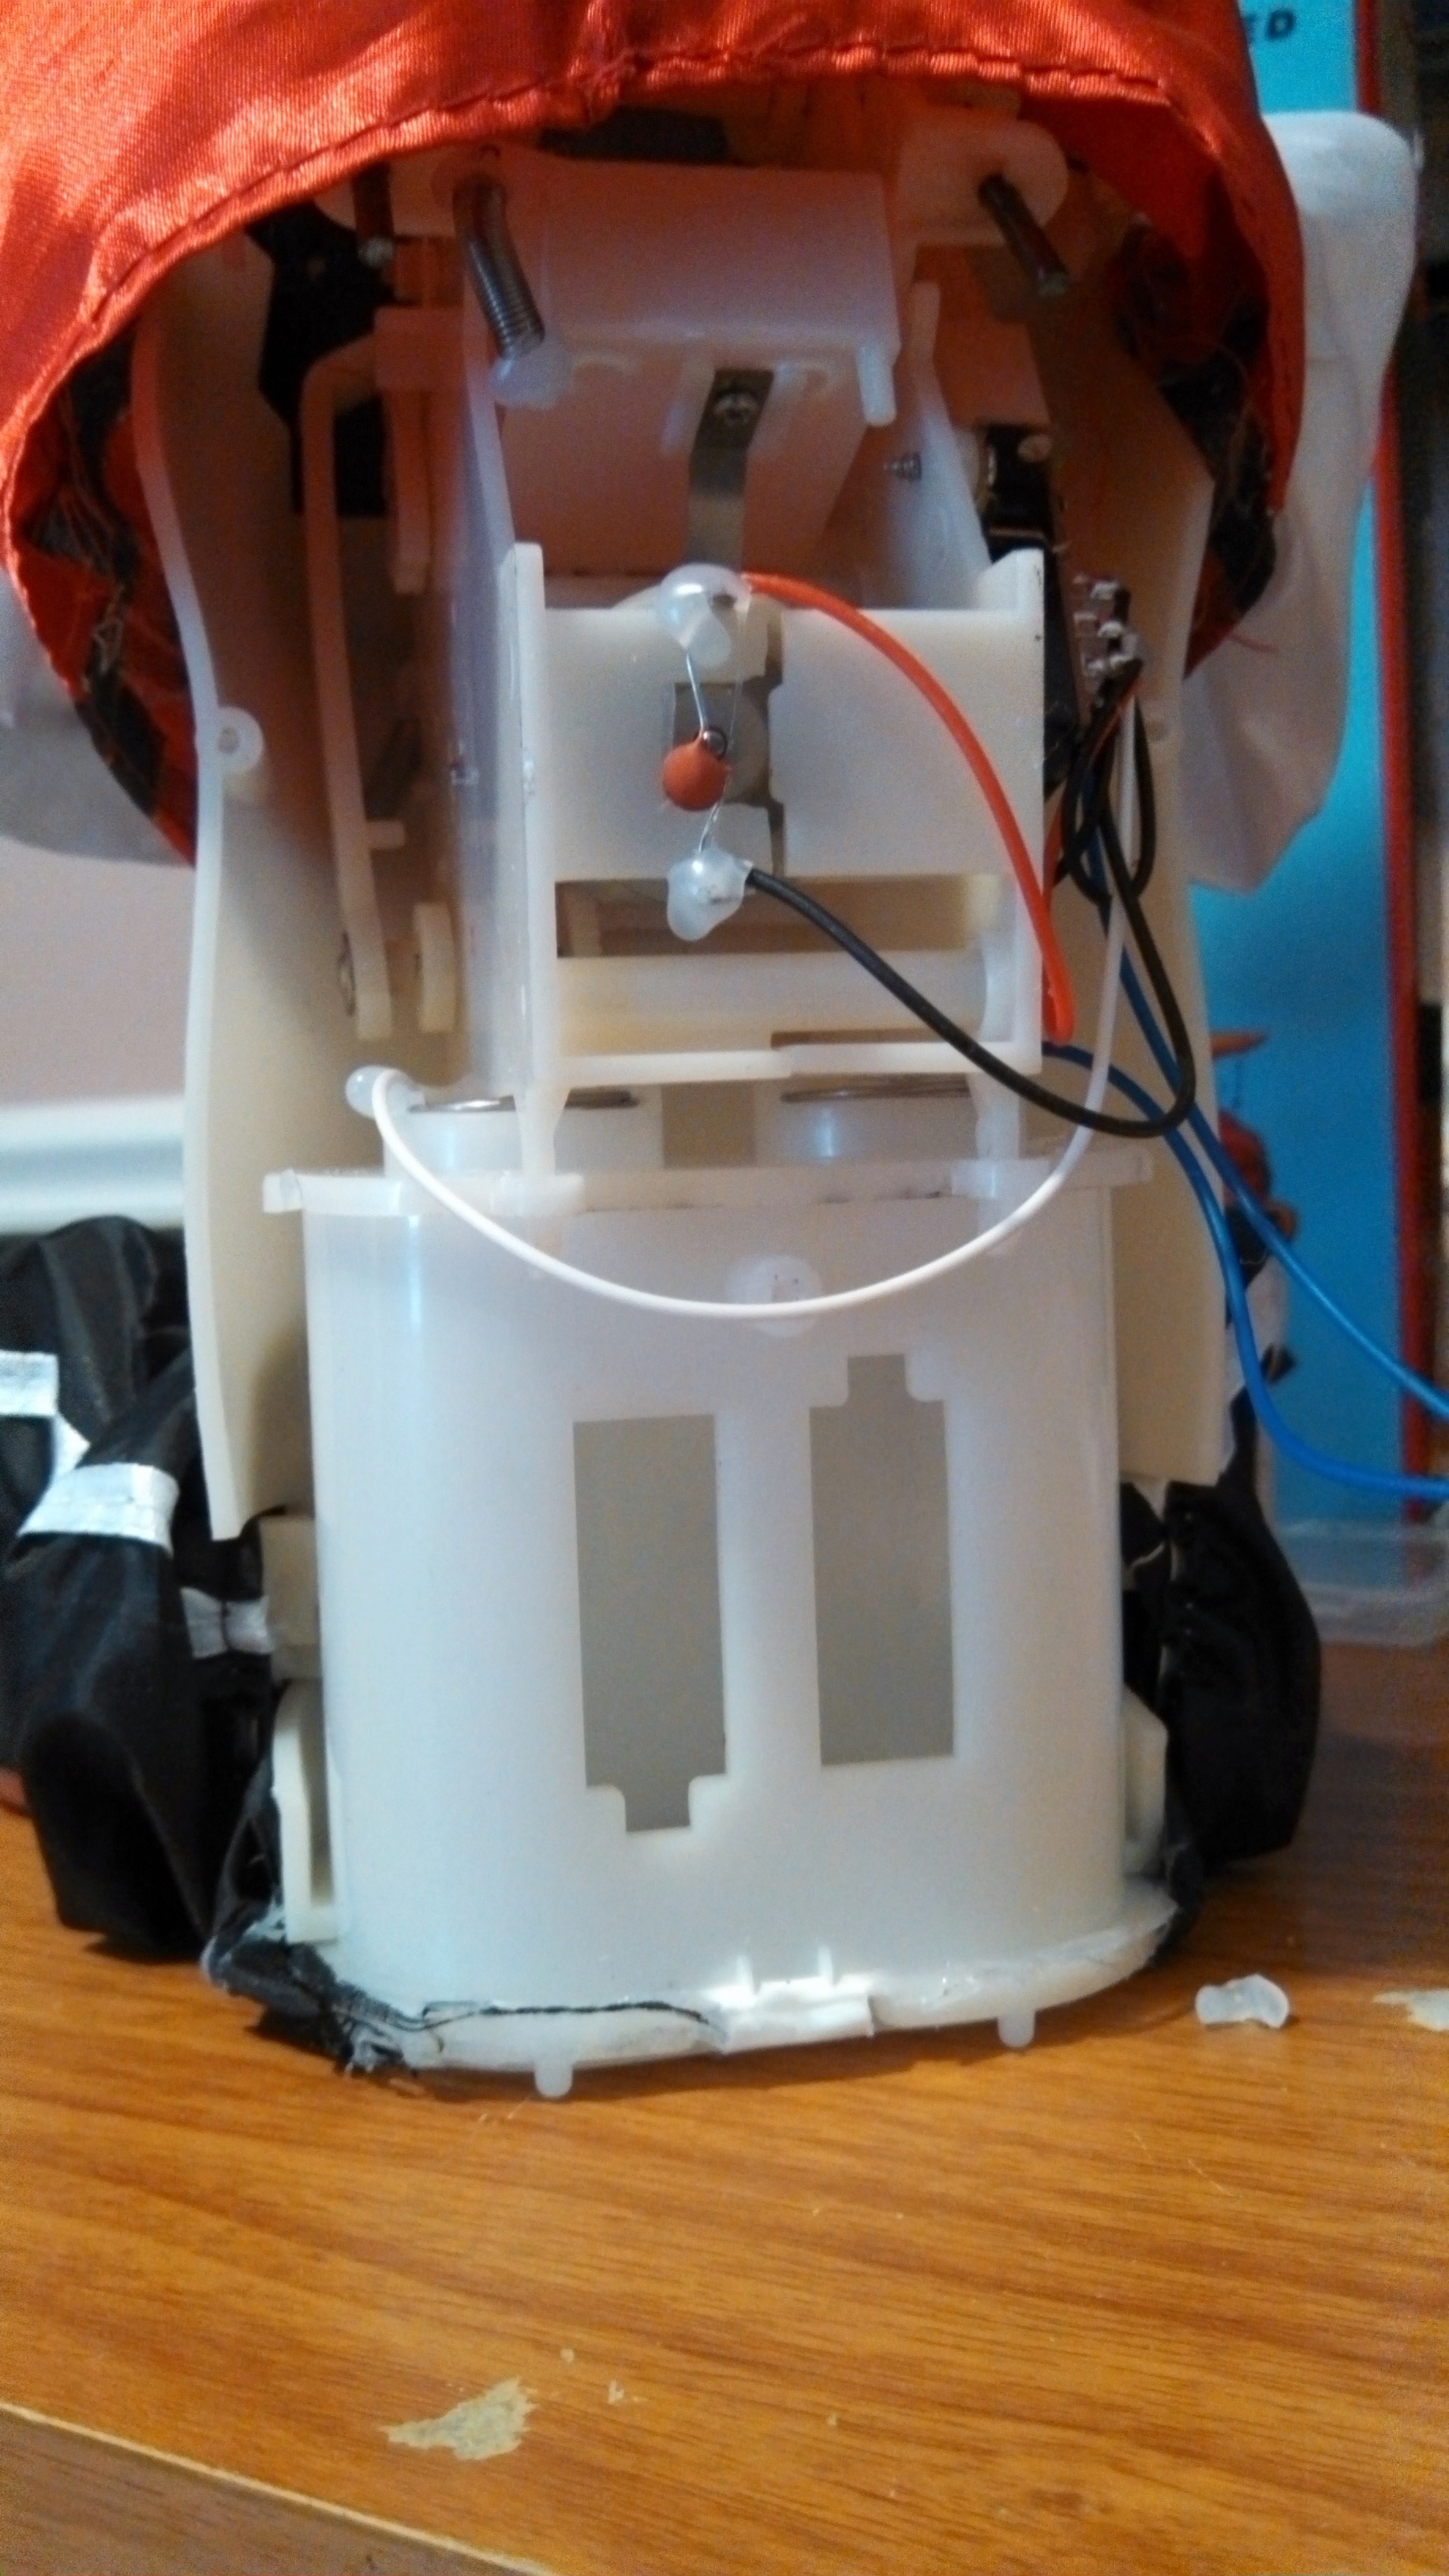
08/10/2014 at 21:46 • 0 commentsWhen you remove the clothes the inner workings are covered by a shell. I was able to remove just the back shell to get at the guts. The small capacitor is for starting the DC motor. The battery cabinet is where I would stuff the electronics.
![]()
-
What the toy looks like
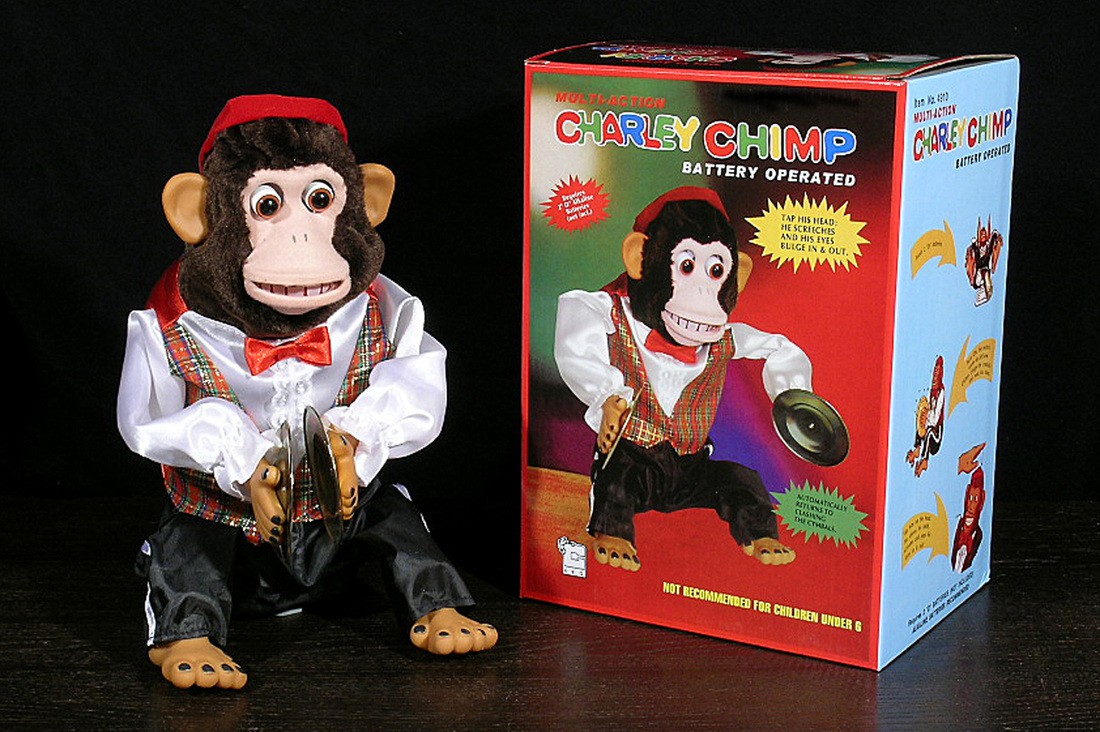
08/10/2014 at 21:43 • 0 commentsHere is the toy and packaging
![]()
 Guy Winterbotham


