-
11Step 11
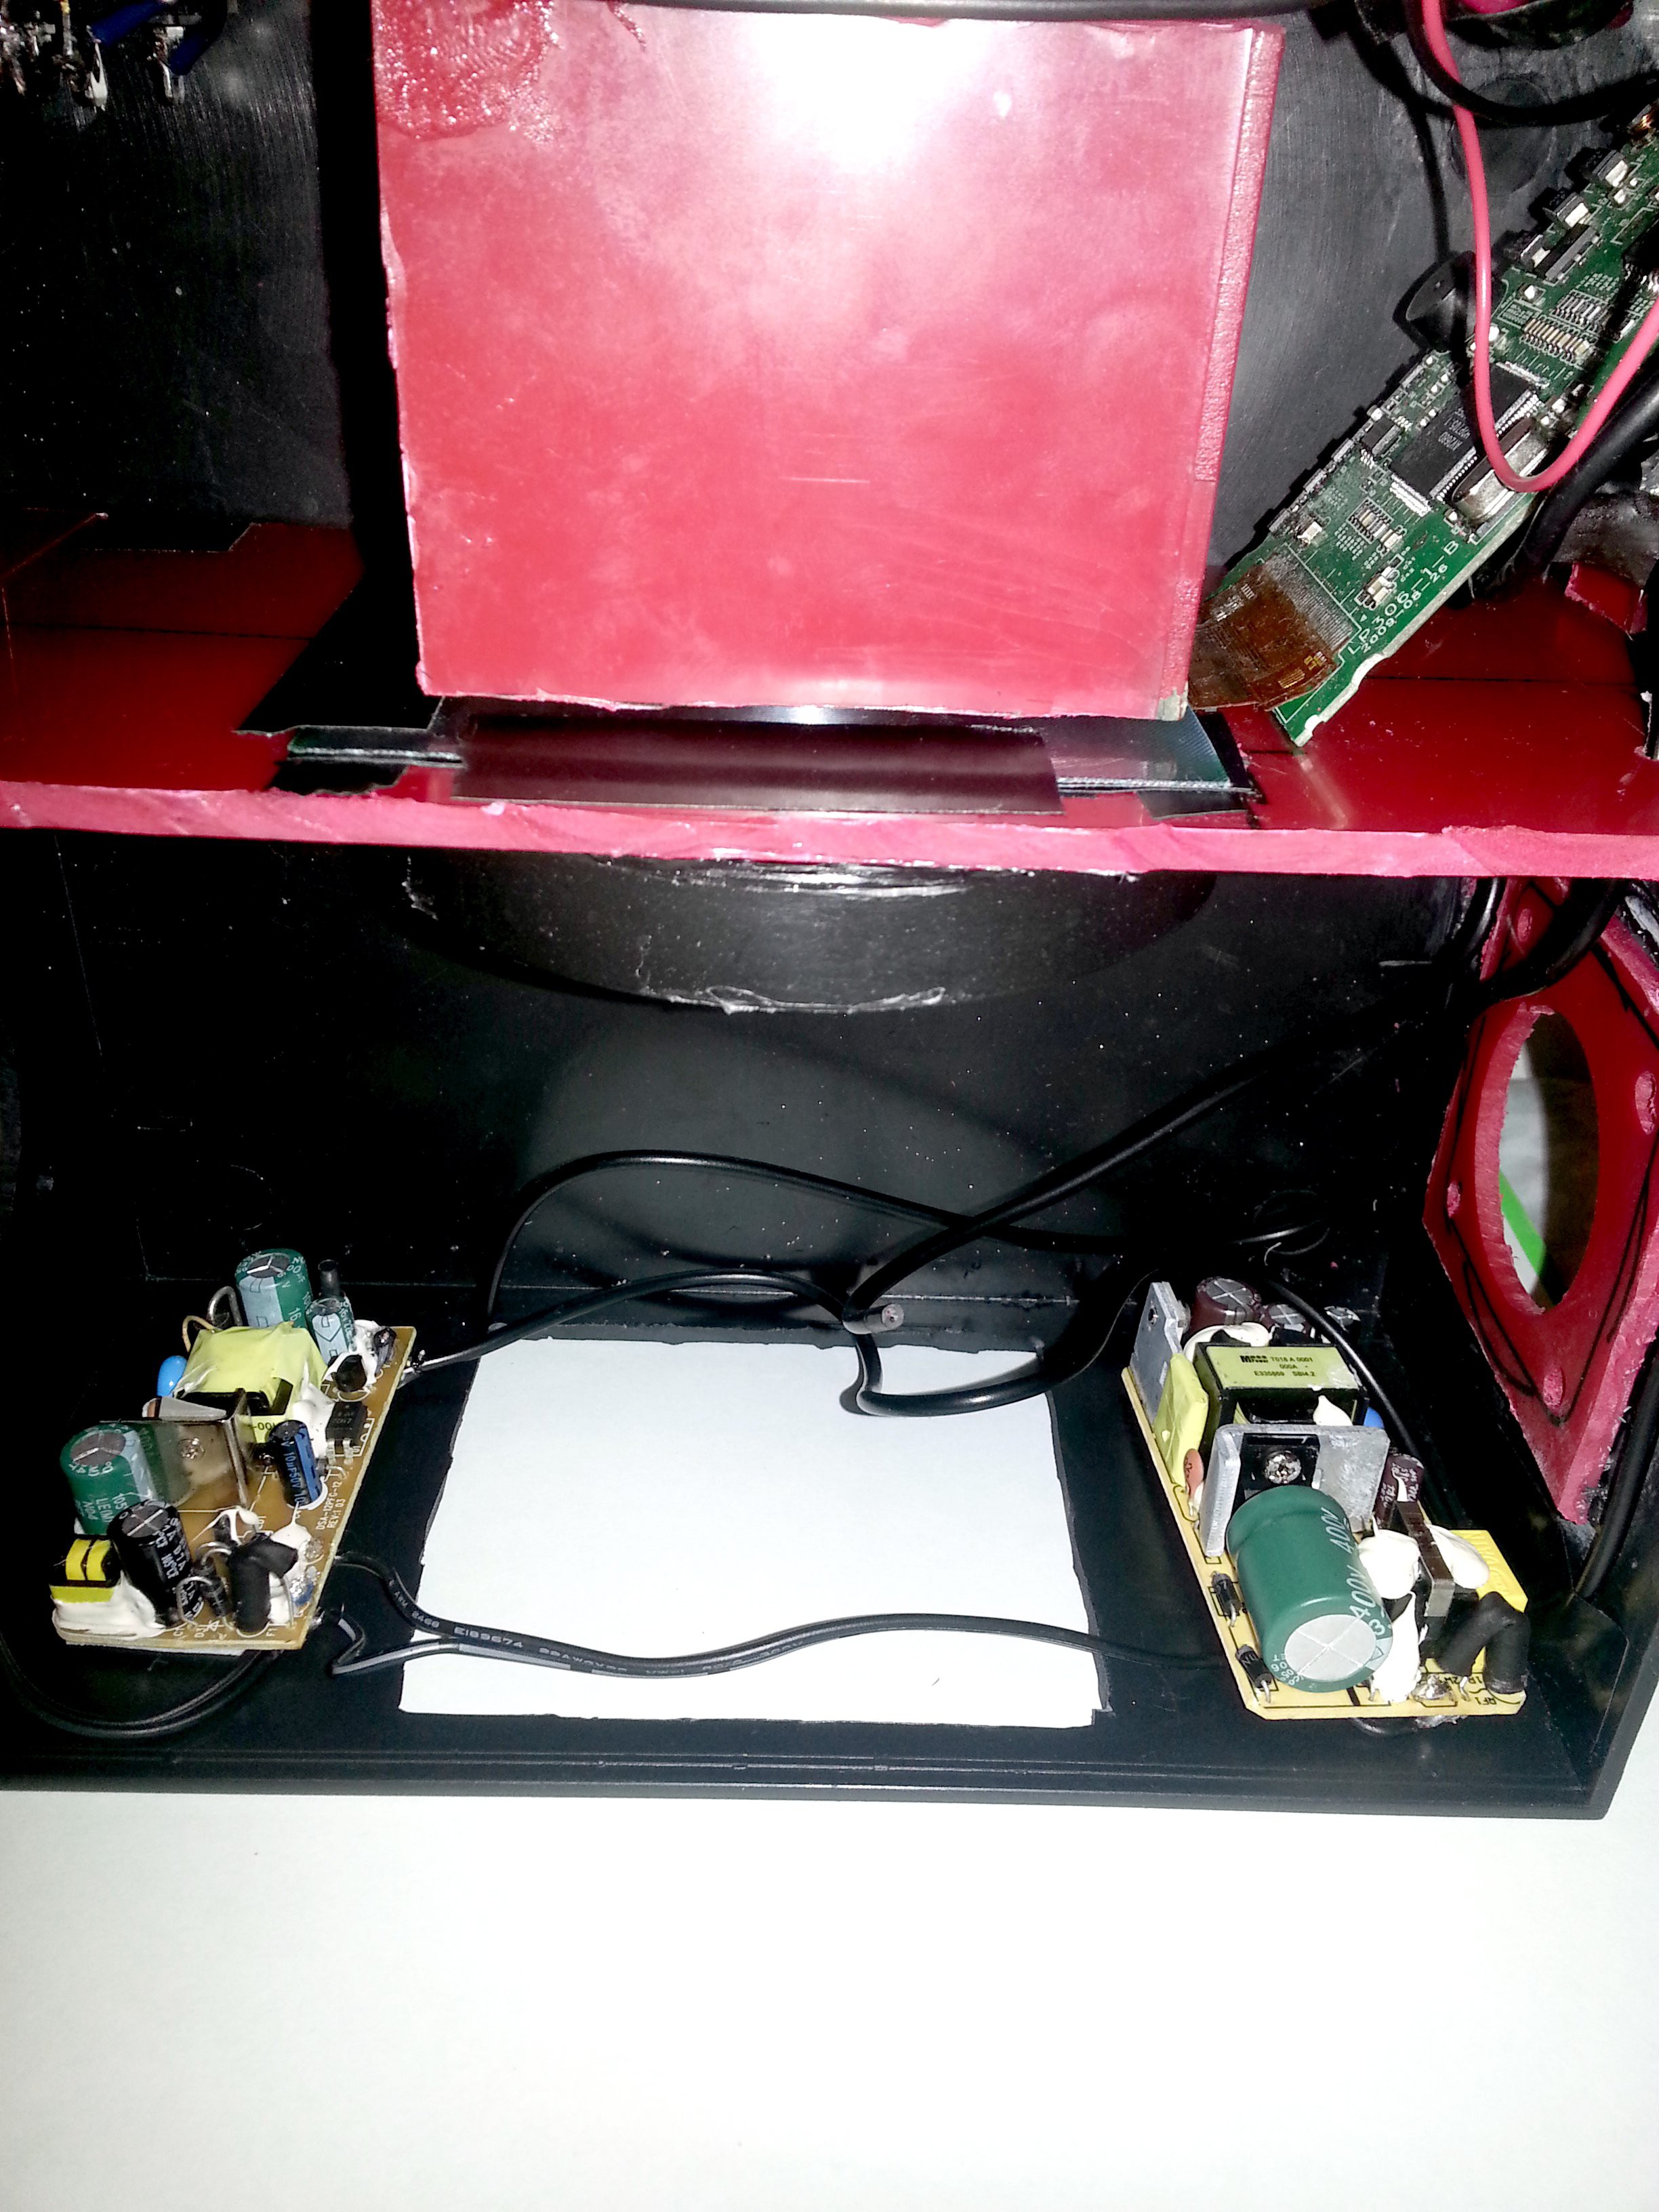
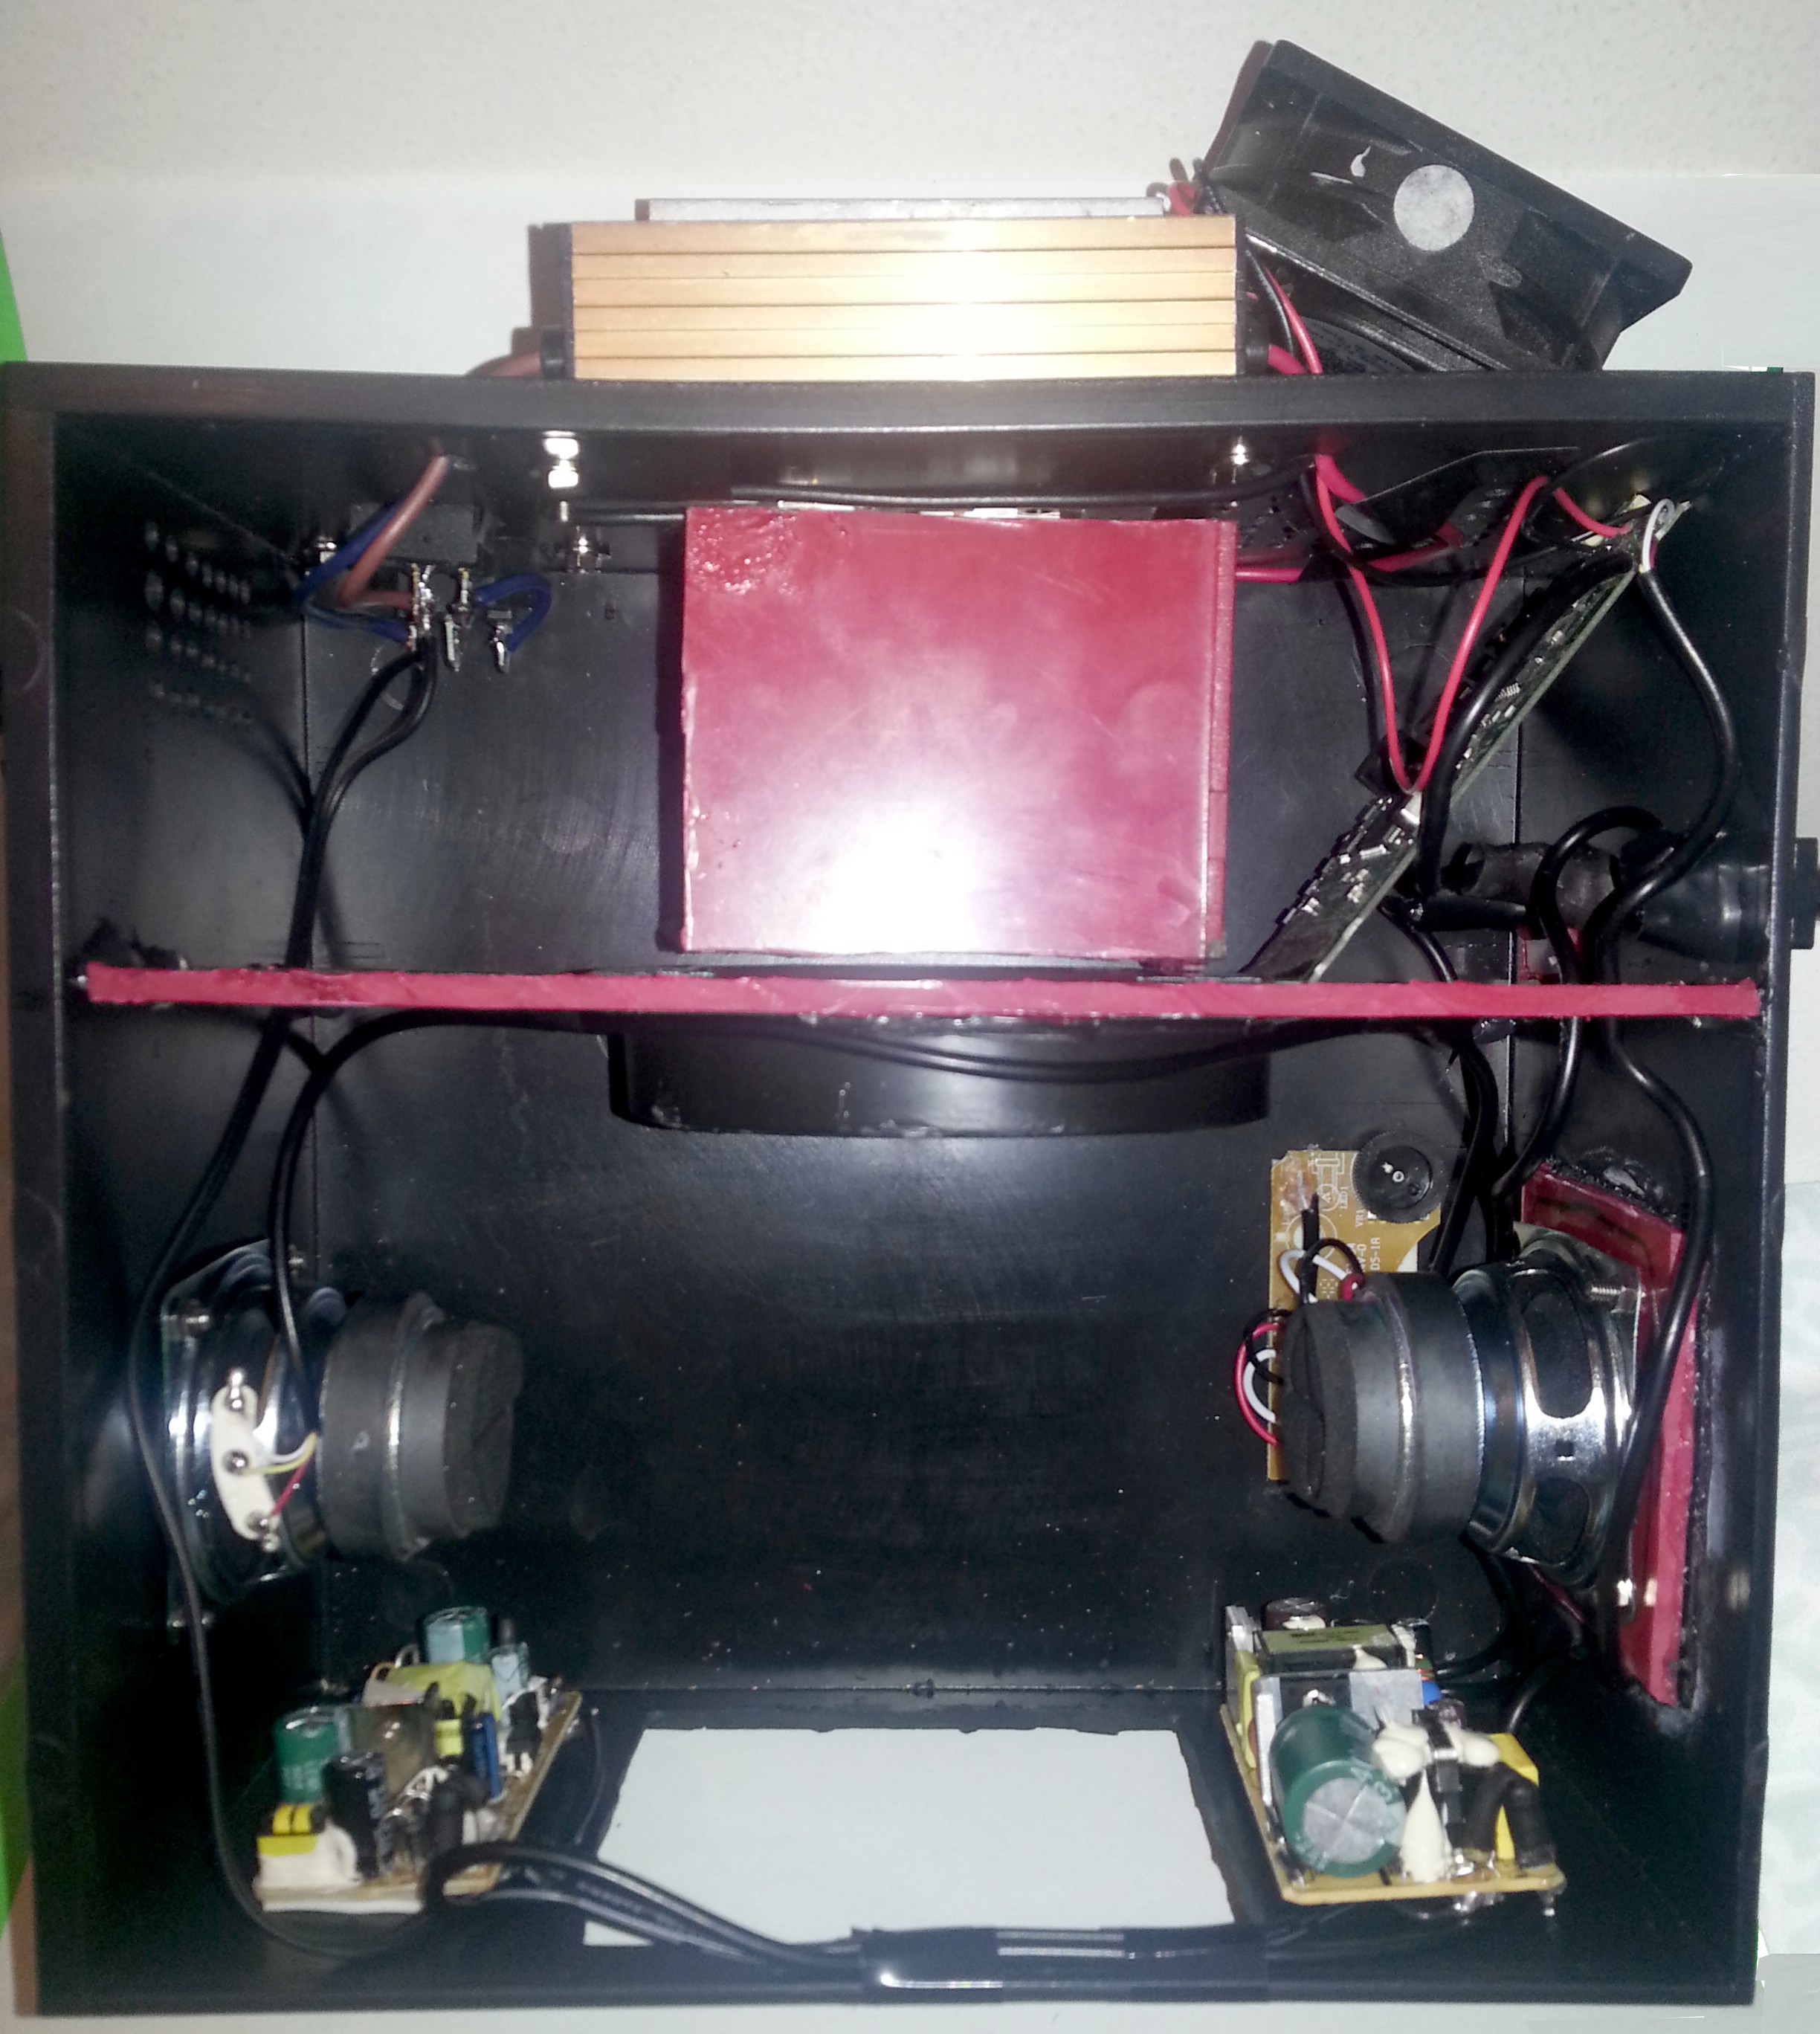
The next step is place the power system in the right place ( using double-side tape, to paste the circuits in the front vertical side), solder the main AC power to the adapter circuits and get the 5V and 12V power outputs. The 5V are used for the speaker system and the external device. The 12V delivers power to LCD screen and the fan.
![]()
![]()
-
12Step 12
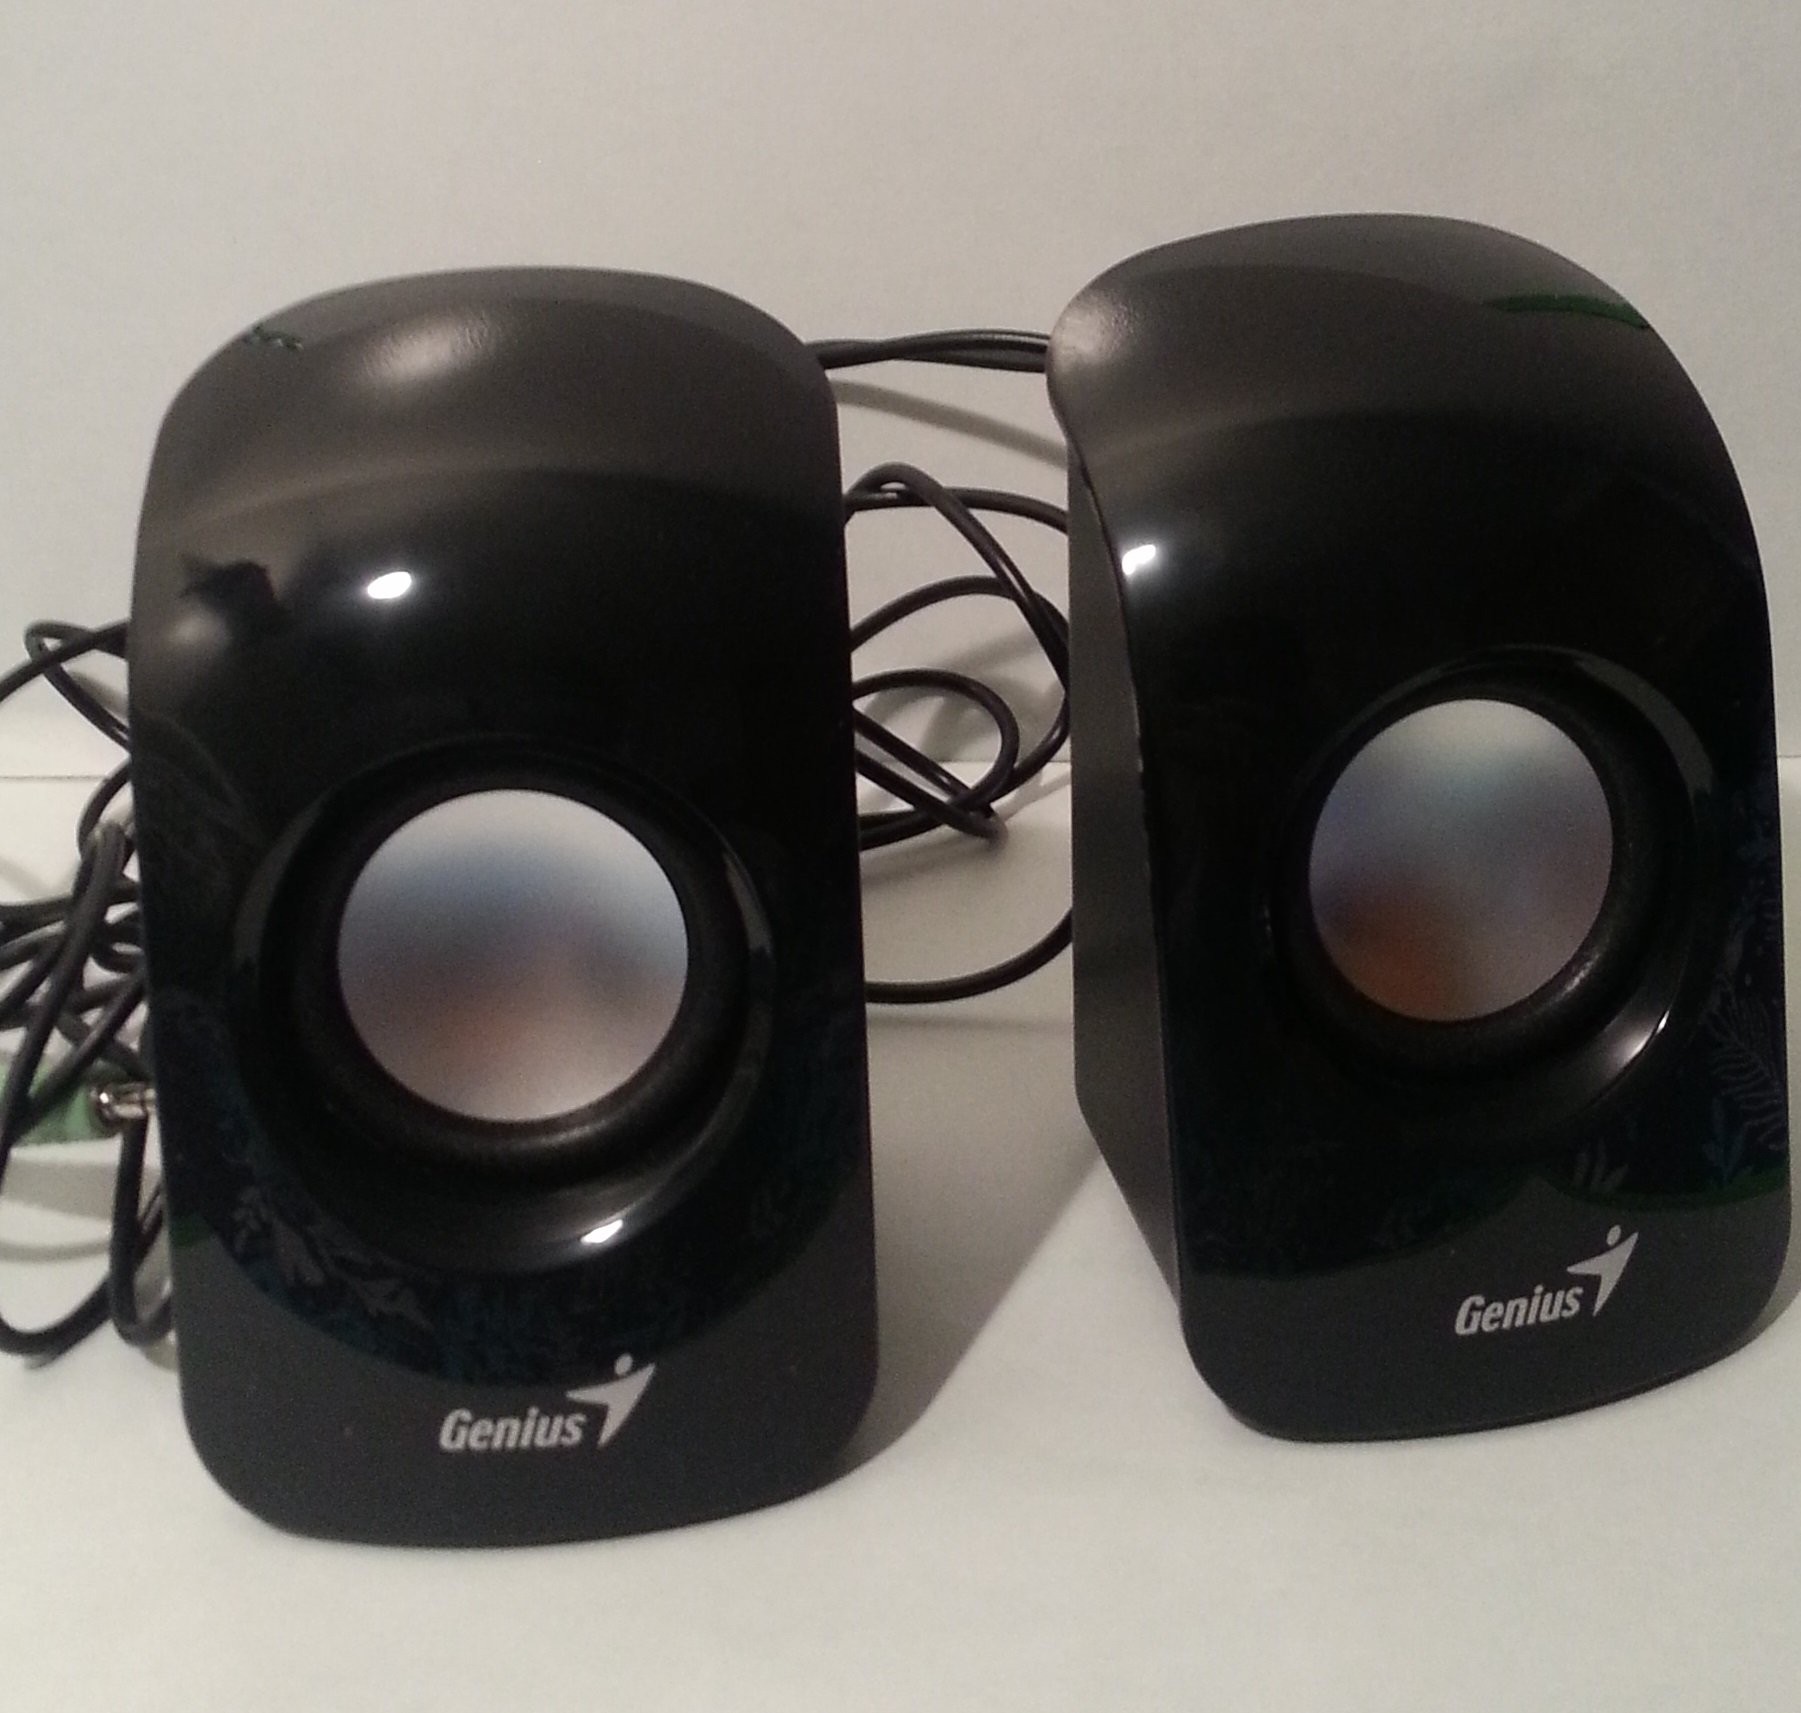
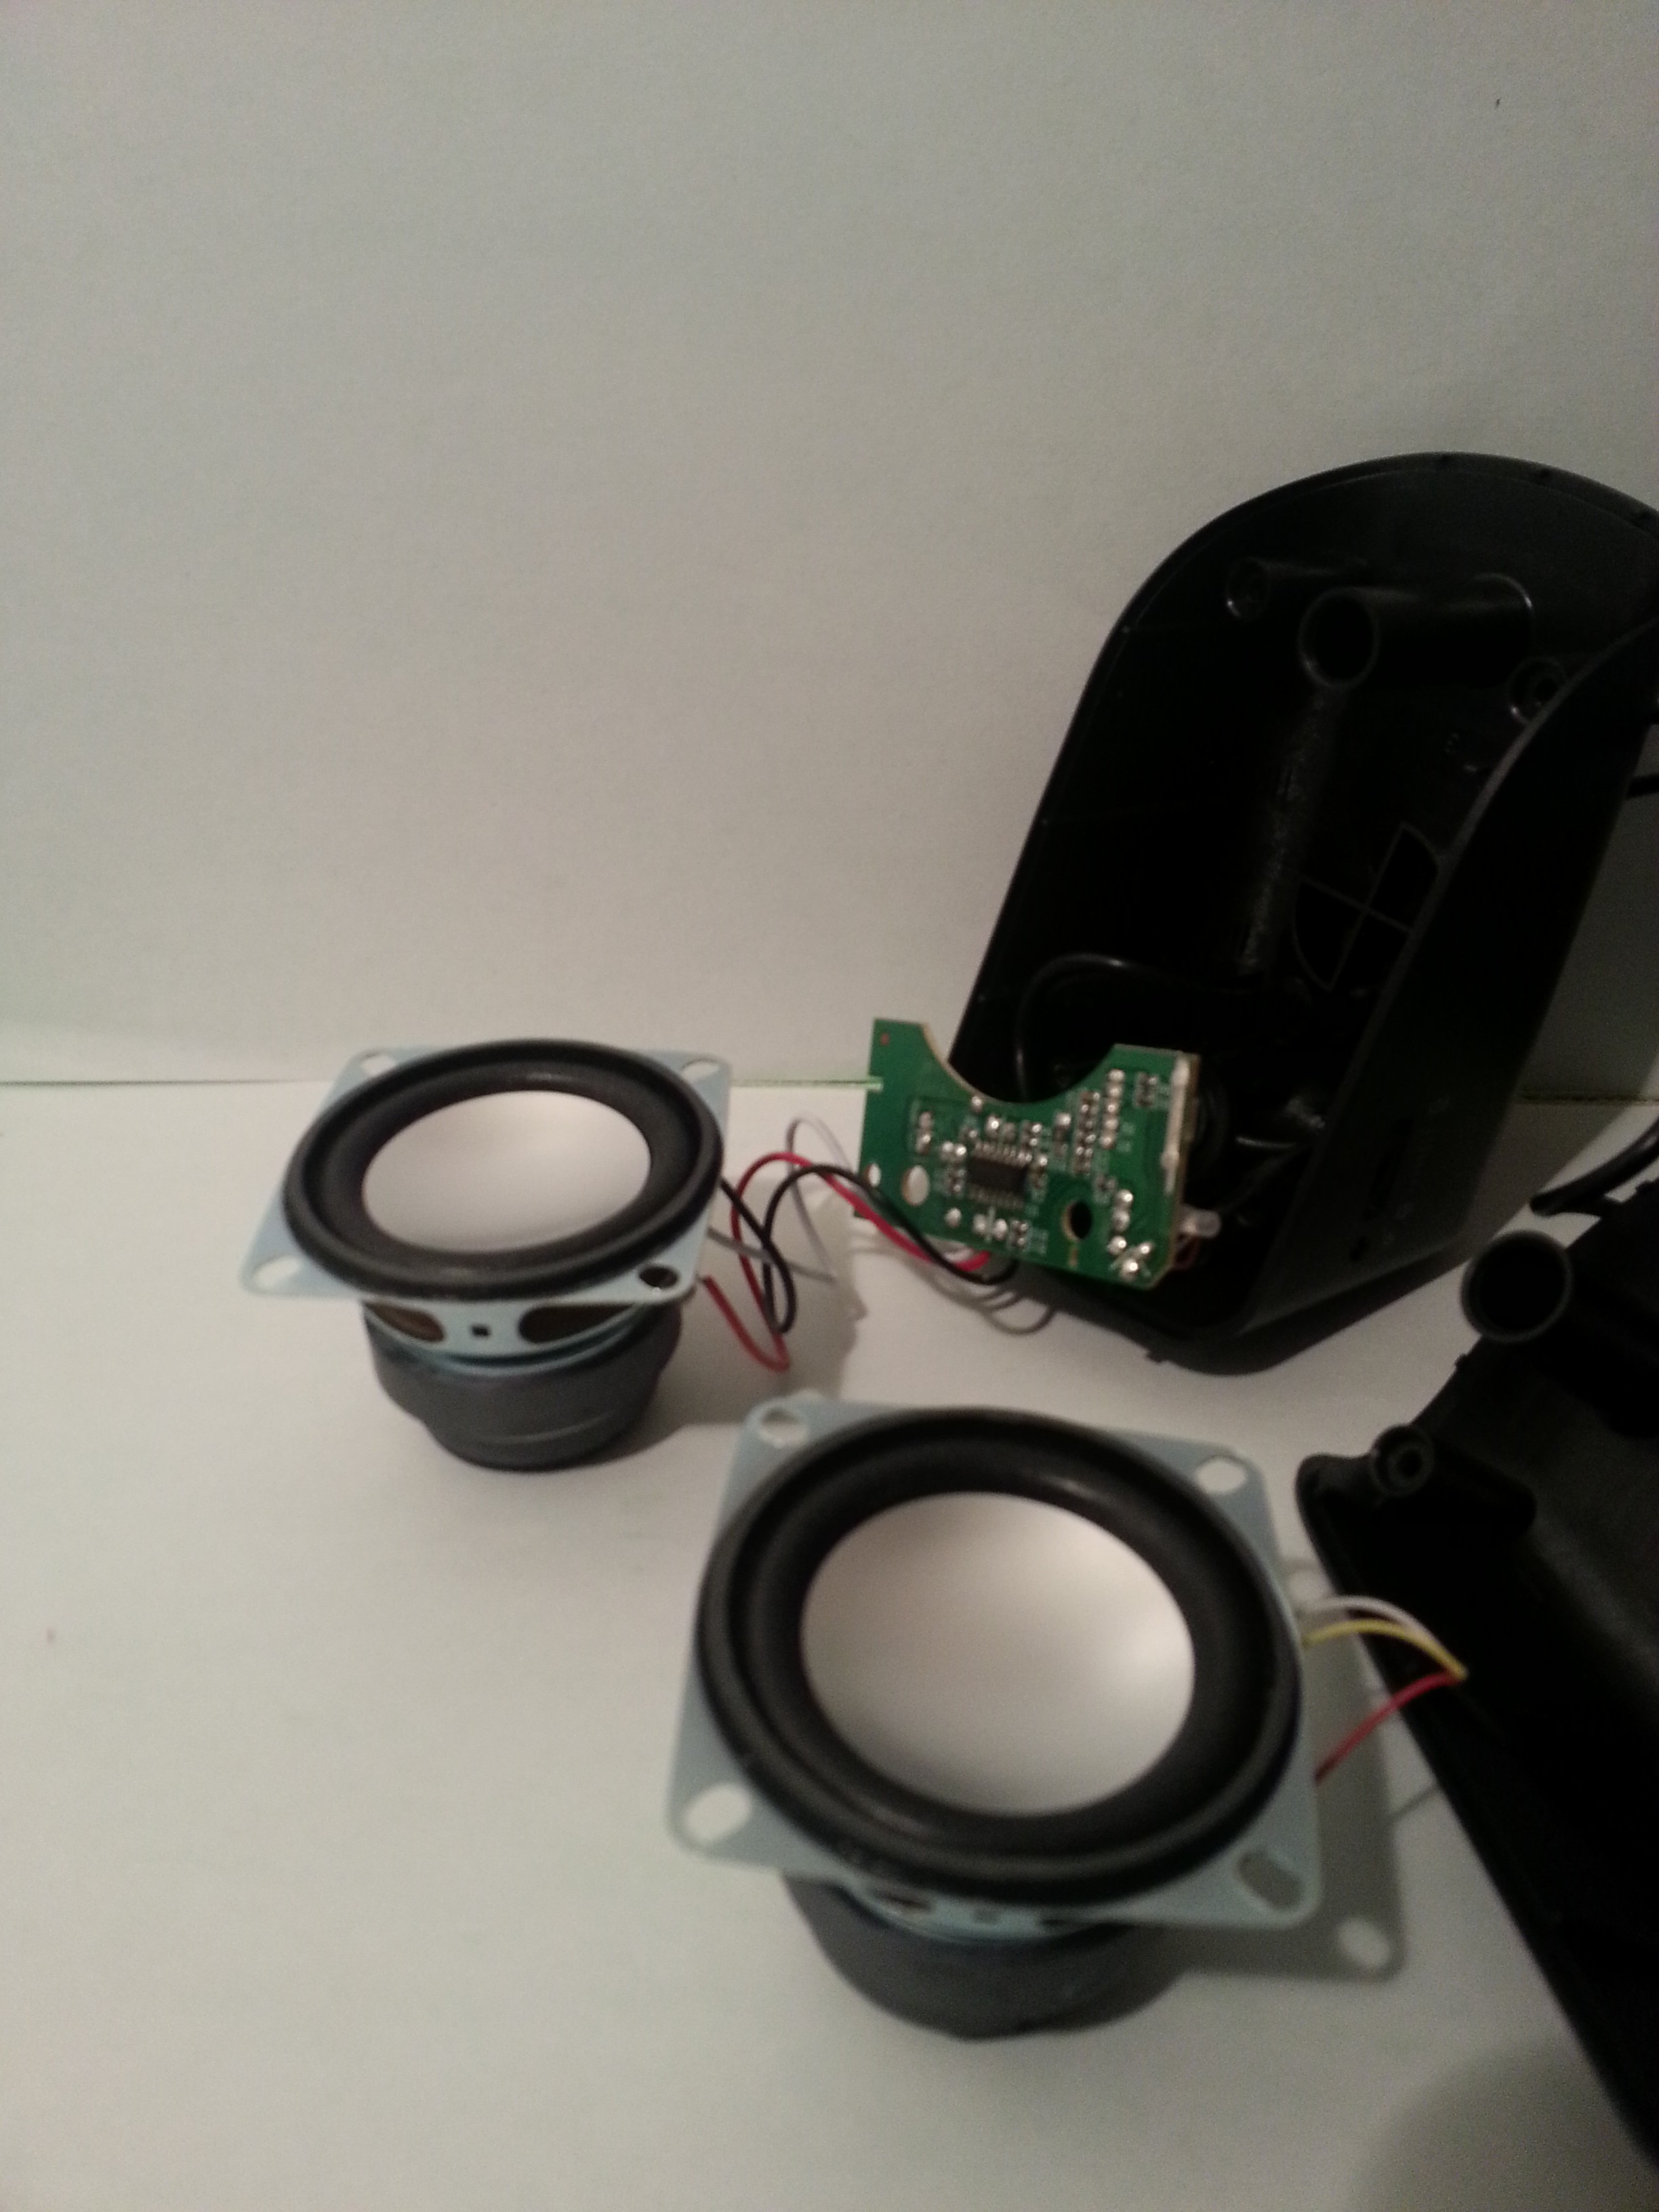
The sound system is based on a Genius Speakers SP-U115. For this I take off the circuit and speakers from the case.
![]()
![]()
![]()
-
13Step 13
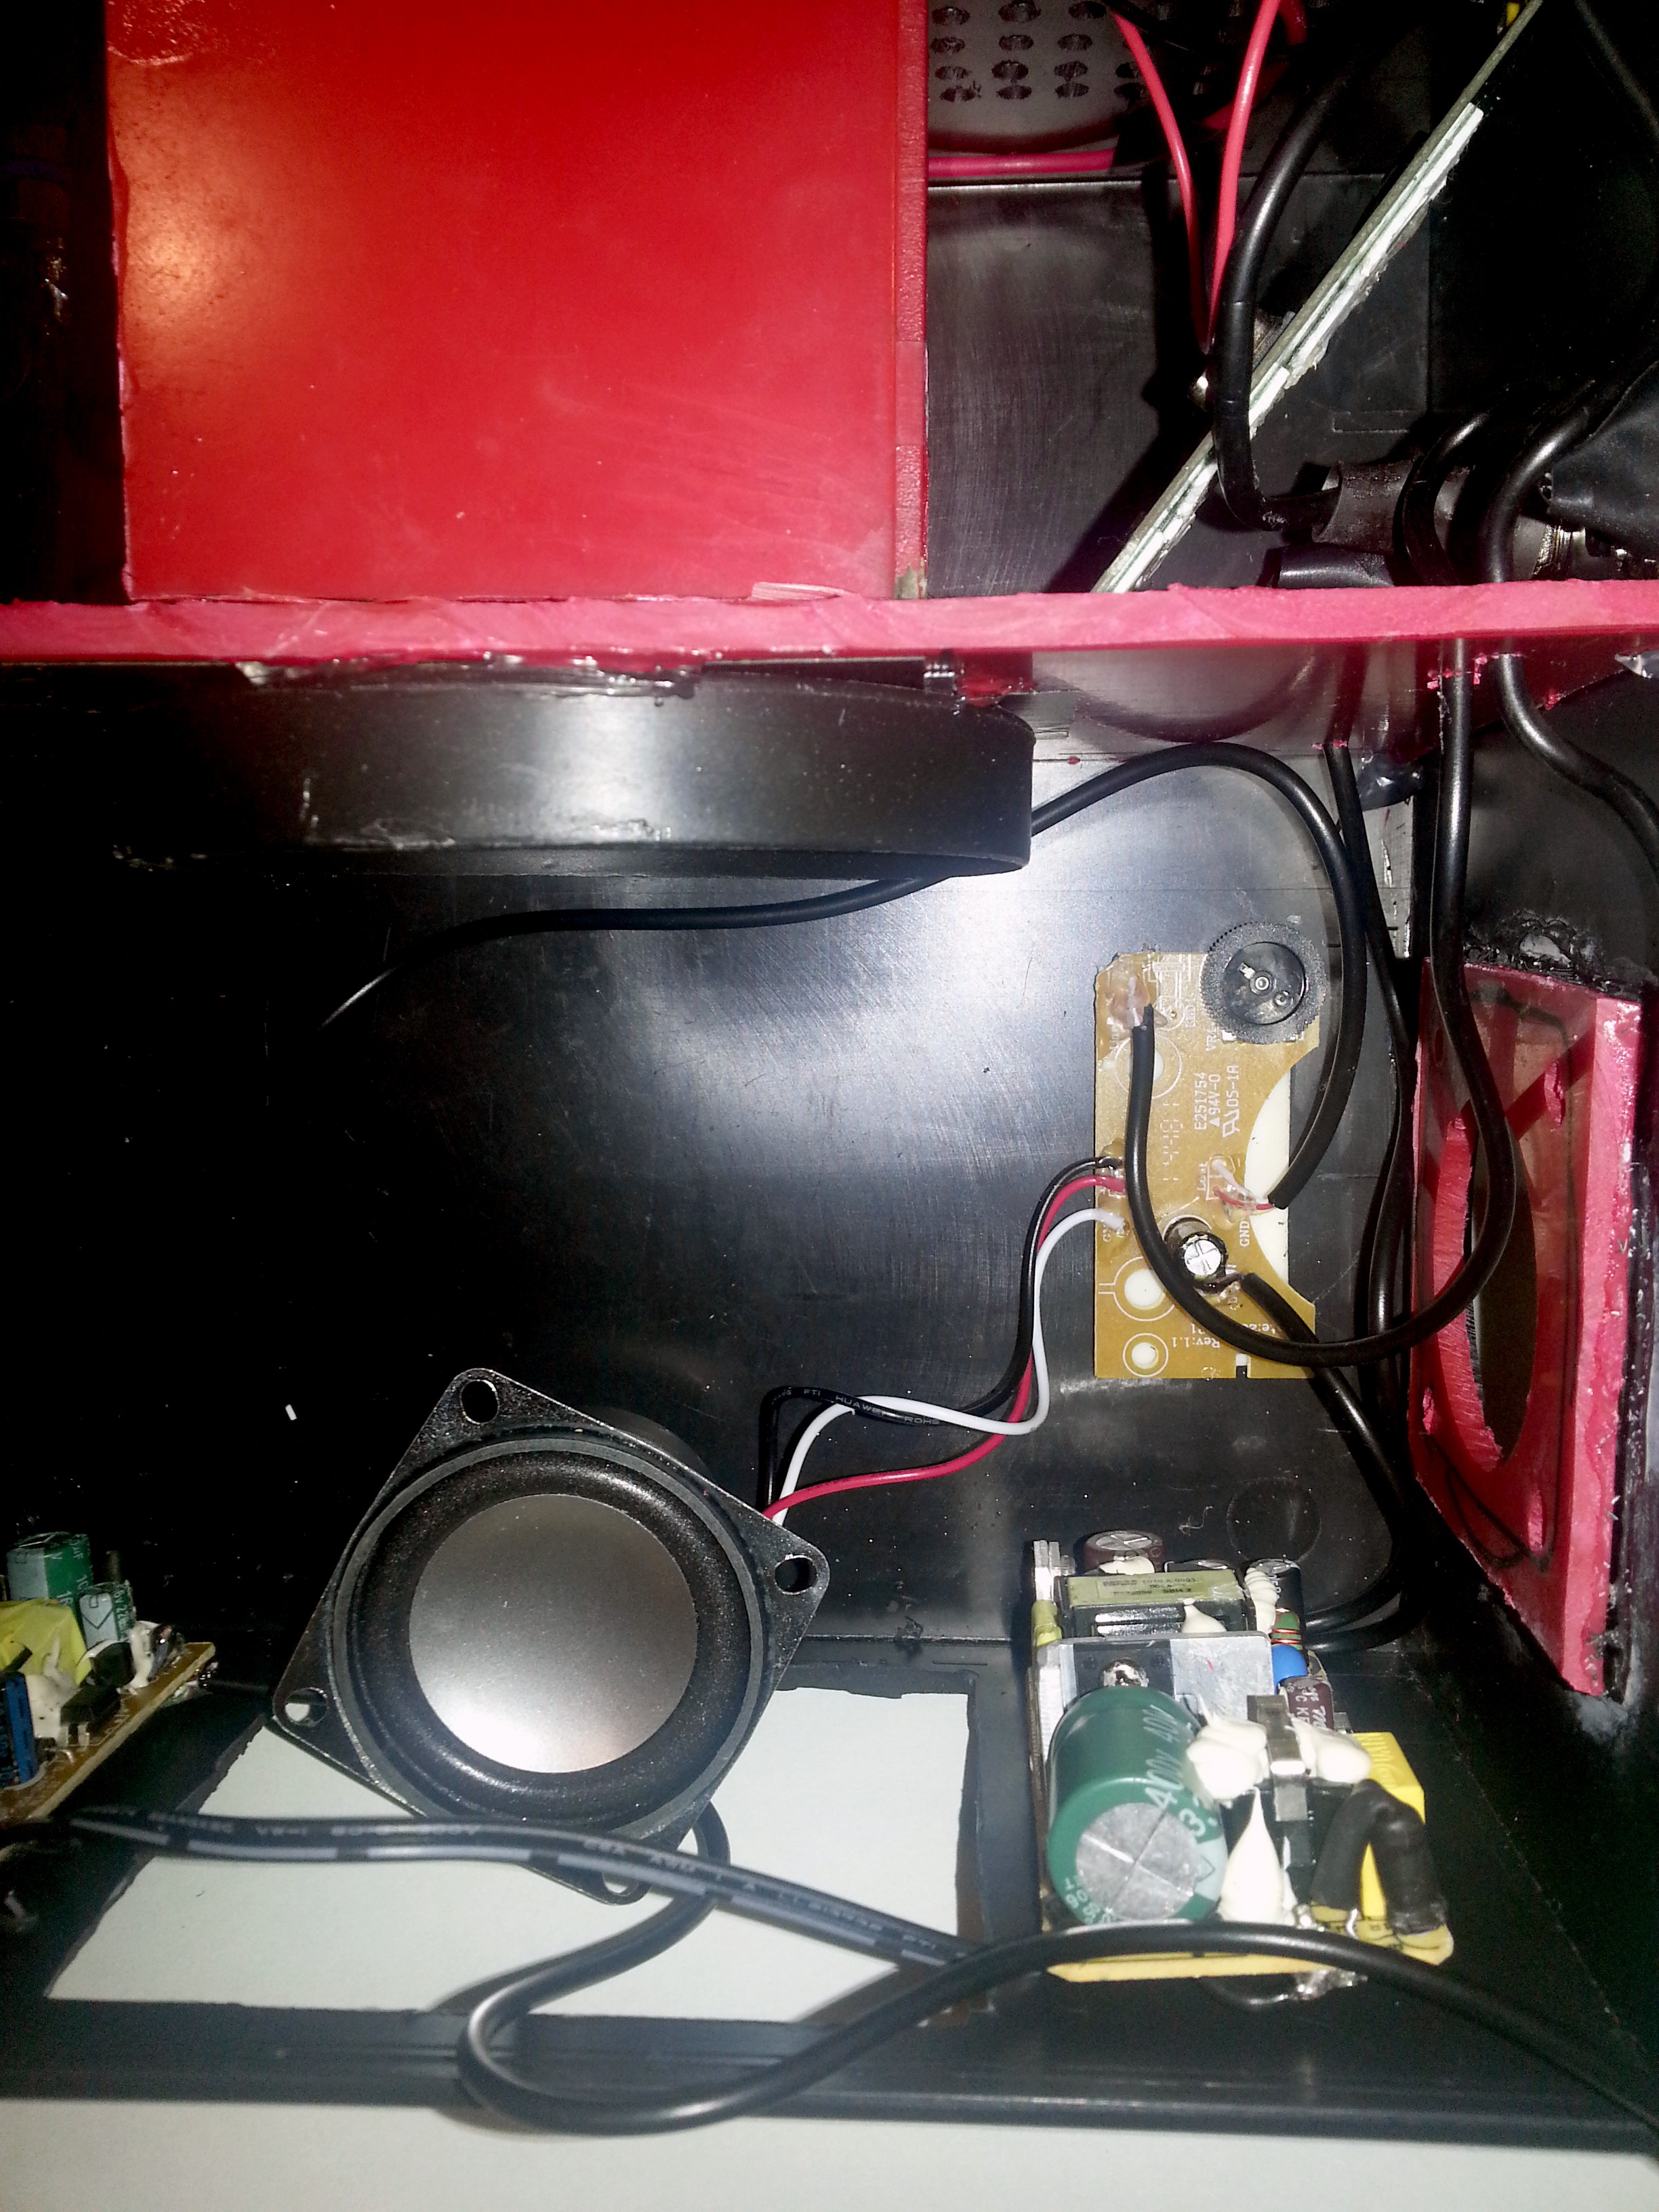
The sound system is mounted using the deatached circuit and the individual speakers. Here I've soldered the 5v power to the circuit, the audio input and mounted the speakers in the lateral holes. Thus the projector it's almost done.
![]()
Edit
![]()
-
14Step 14
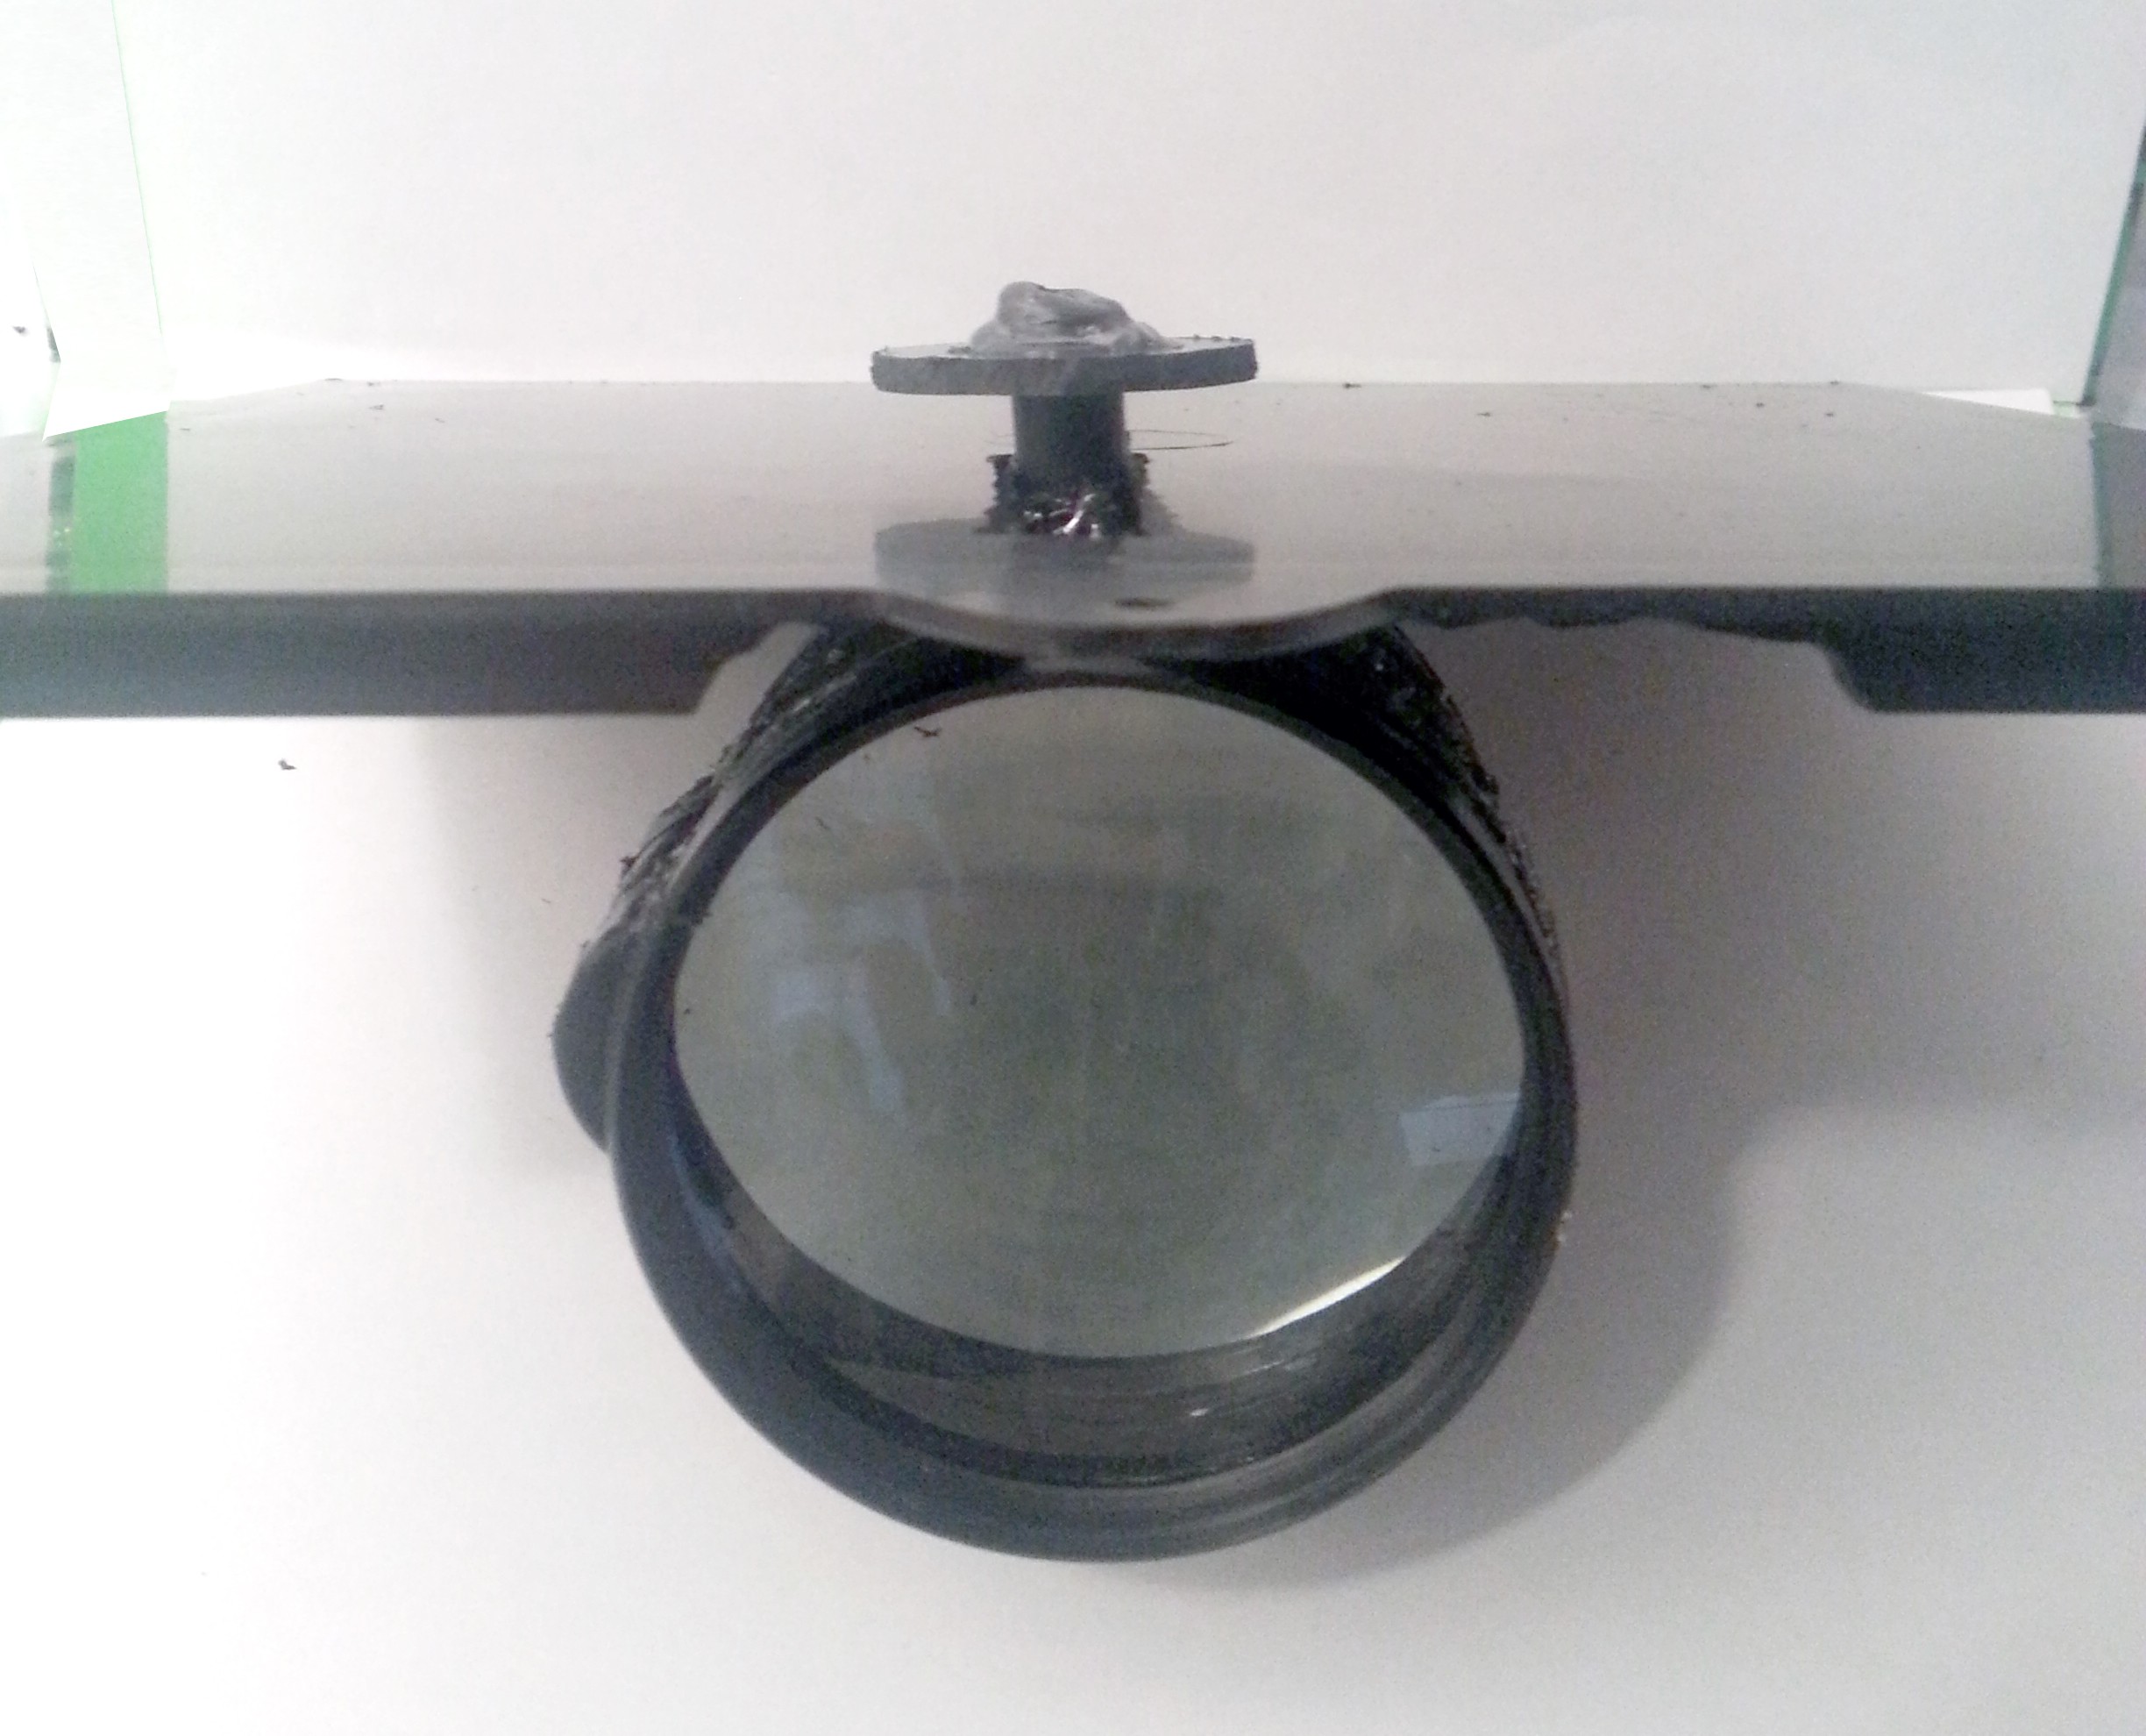
Cut the stick of each 70mm magnifying glass. Then, glue all together. Finally add one of those sticks to the center of the group.
![]()
![]()
-
15Step 15
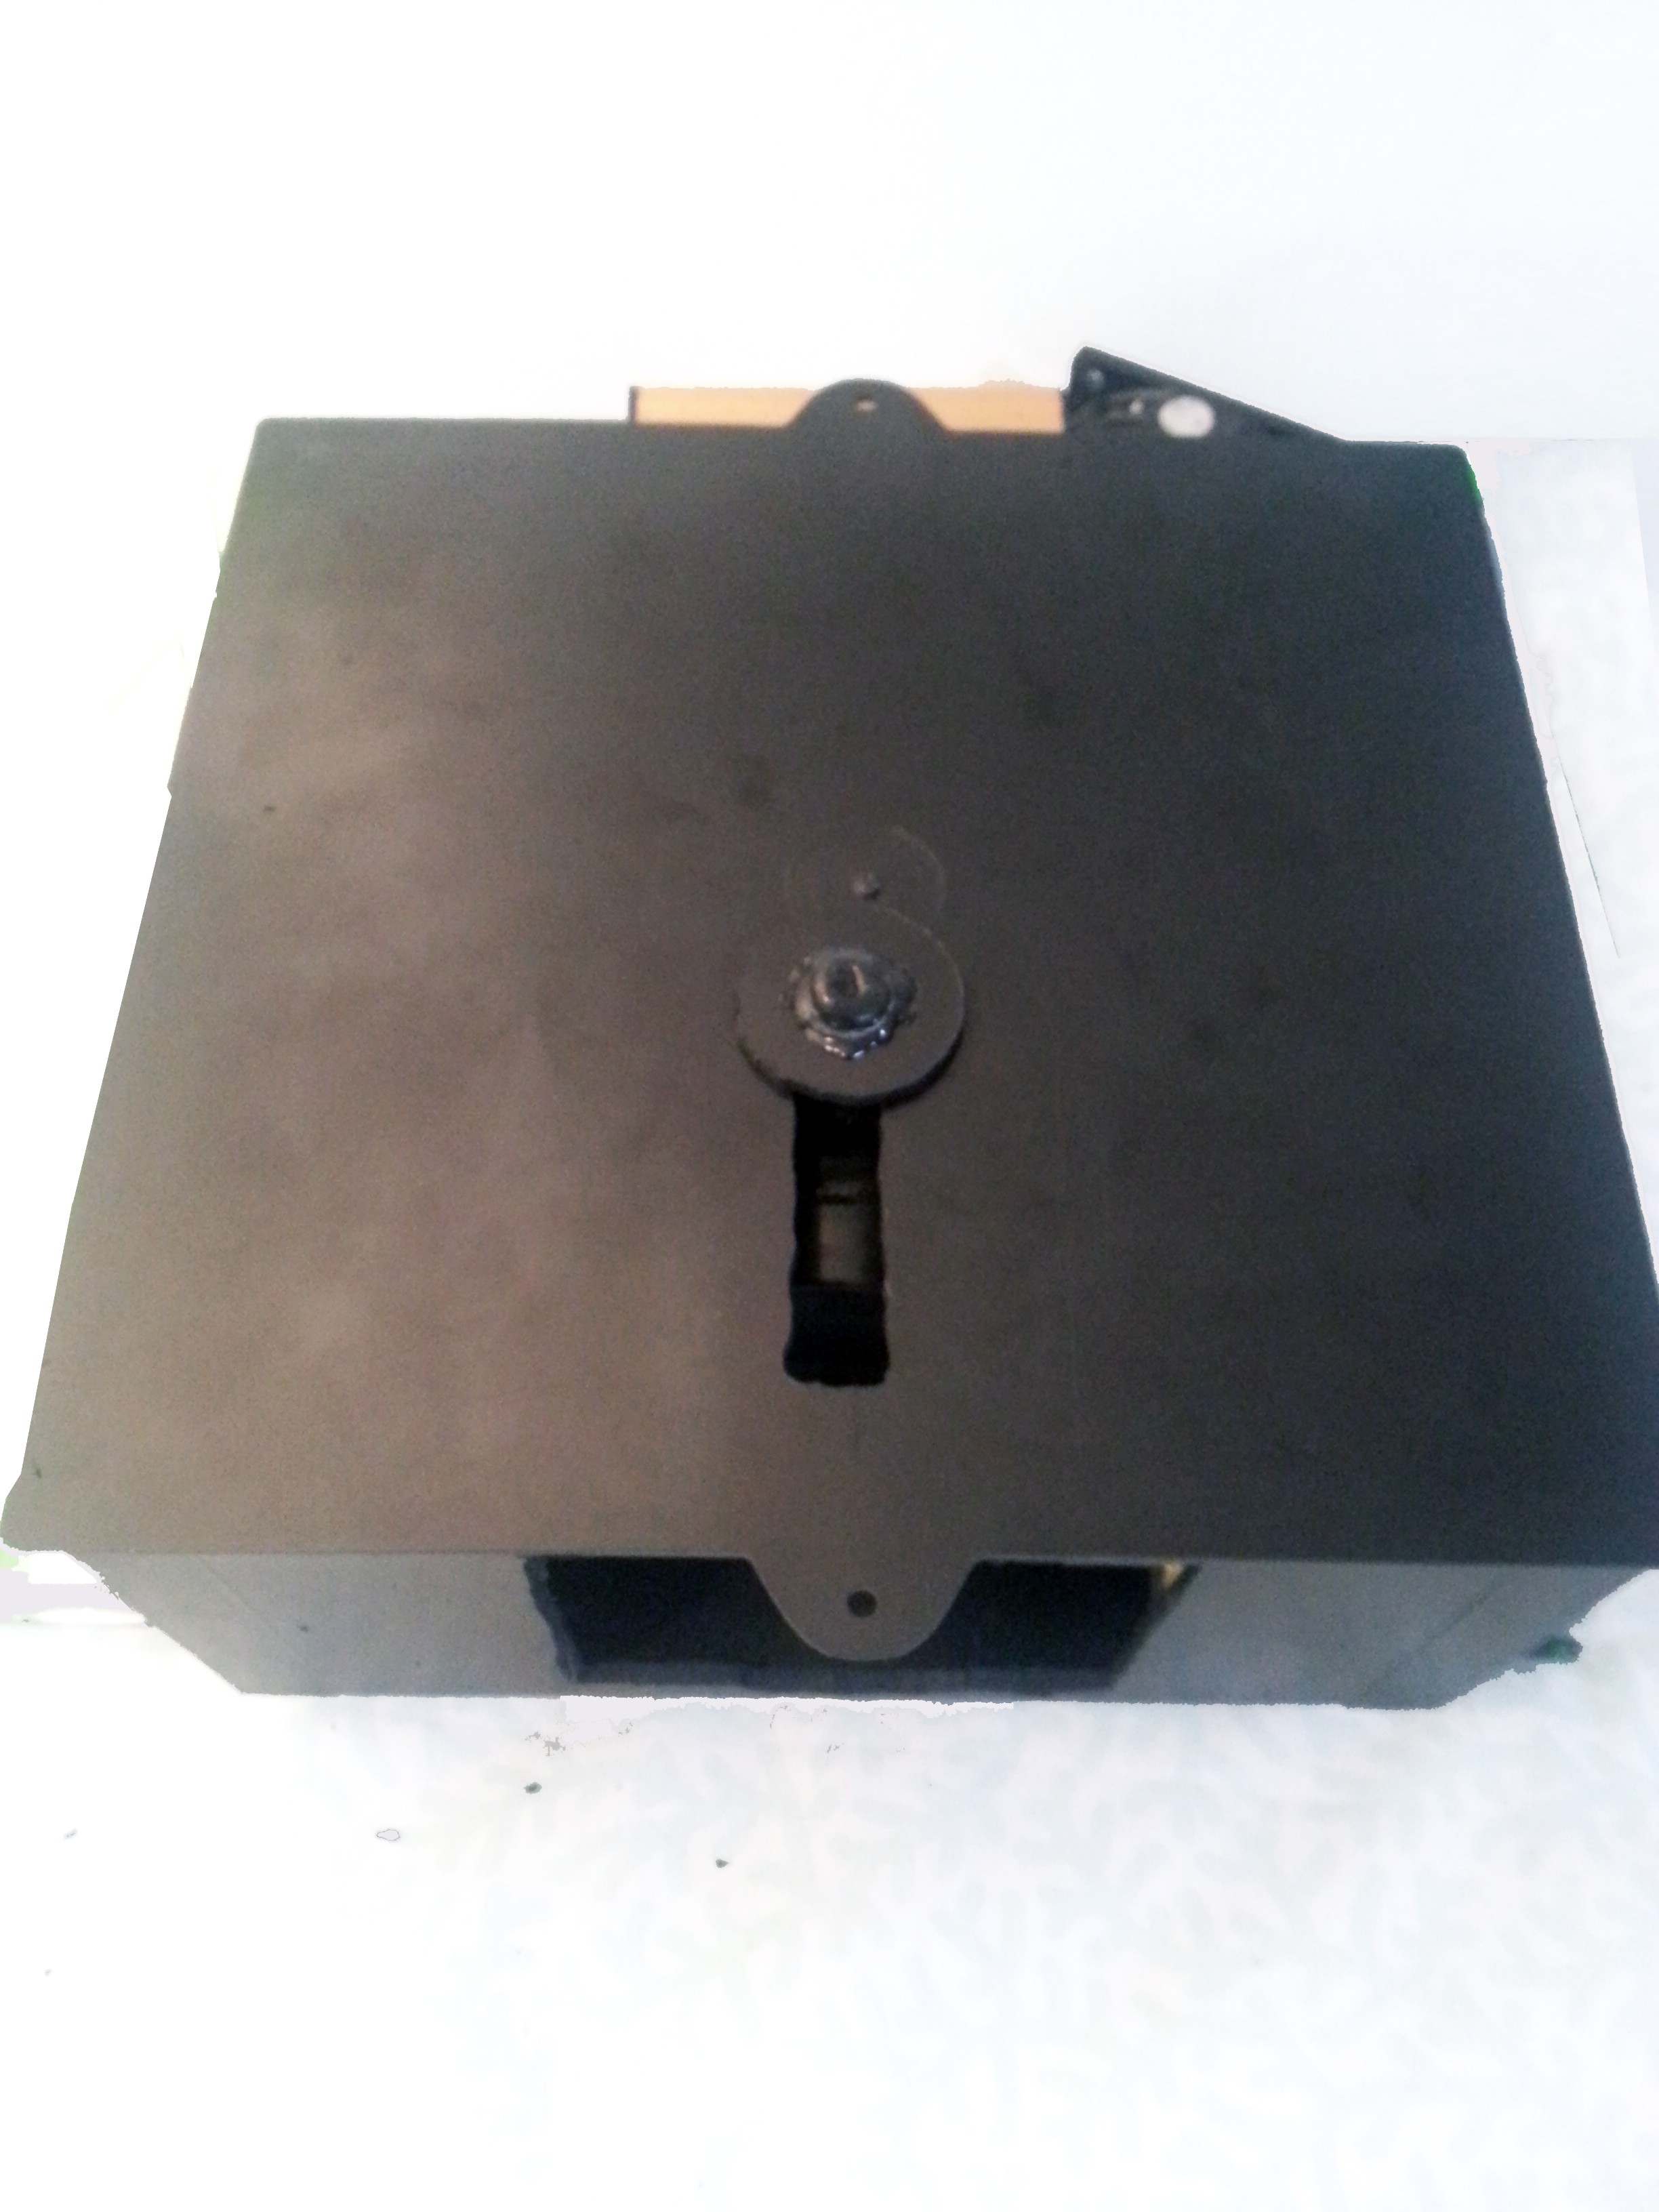
The last step is the focus system. It's composed by the four 70mm magnify lenses and a holder througt the top of the box's cover. In this way you can move the lenses group to adjust the projector focus, and the light can be projected to the wall via the front hole.
![]()
![]()
Yet Another DIY Projector
A simple and afordable DIY projector using a LCD, a LED and a few lenses
 AndresRengifo



Discussions
Become a Hackaday.io Member
Create an account to leave a comment. Already have an account? Log In.