Close
0%
0%

PUZZLE: radio building blocks

Or how to build a HF transceiver and learn along the way!

Similar projects worth following
HF radios are fascinating. Those devices, coupled with an appropriate antenna,
can help establish contacts spanning thousands of kilometres, sometimes with less than 5W of RF power!

When you pass your HAM radio license, you have to prove you know how SSB transceivers work, what the building blocs are, what the theory behind it is, ...
Now, a book is nice and all, but I'd like to see how it applies in real life and understand the implications!

Any standard HAM radio exam asks for the building blocks of a simple transceiver, plus some details, to some extent.

I enjoy theory as much as the next guy, but I'd like to see how that applies in real life:
-How does a broadband amplifier behave at different frequencies?
-How to design such boards?
-If I want to modify my transciever to make it operate at different frequencies, how will I do it?
If you'd like a crash course on SSB radios, I can't recommend you enough this excellent HaD article series, written by Gregory L. Charvat.


To answer those questions (and more), I'm making boards for all those building blocks:
-VFO
-BFO
-RF amplifier
-Power amplifier
-Audio amplifier
-Mixer
-Product detector
-Quartz filter
-BandPass filter


Now, this is not going to be my own work at first: I'd like to first replicate a very well-known design of transciever: the BitX, designed by Ashhar Farhan. That'll give me the opportunity to build something I know should work, then start modding from there (and hopefully learn something along the way)!The boards will be a mashup of Farhan's BitX40, Minima and BitX20; which would allow me to quickly swap the modules out to change the radio's final behaviour.

The aim is to build a working single-band, single-conversion SSB transceiver, and work form there, modify it to expand its capabilities.

Boards.zip

KICAD Project Files

x-zip-compressed - 1.09 MB - 08/29/2020 at 20:21

Download

BOM.ods

BOM for all the boards. BPF components are not included yet.

spreadsheet - 8.46 kB - 03/16/2017 at 09:27

Download

Gerbers.zip

Gerbers for the panelized board

x-zip-compressed - 225.78 kB - 03/15/2017 at 12:38

Download

  • PCB's here!

    M.daSilva04/11/2017 at 09:43 4 comments

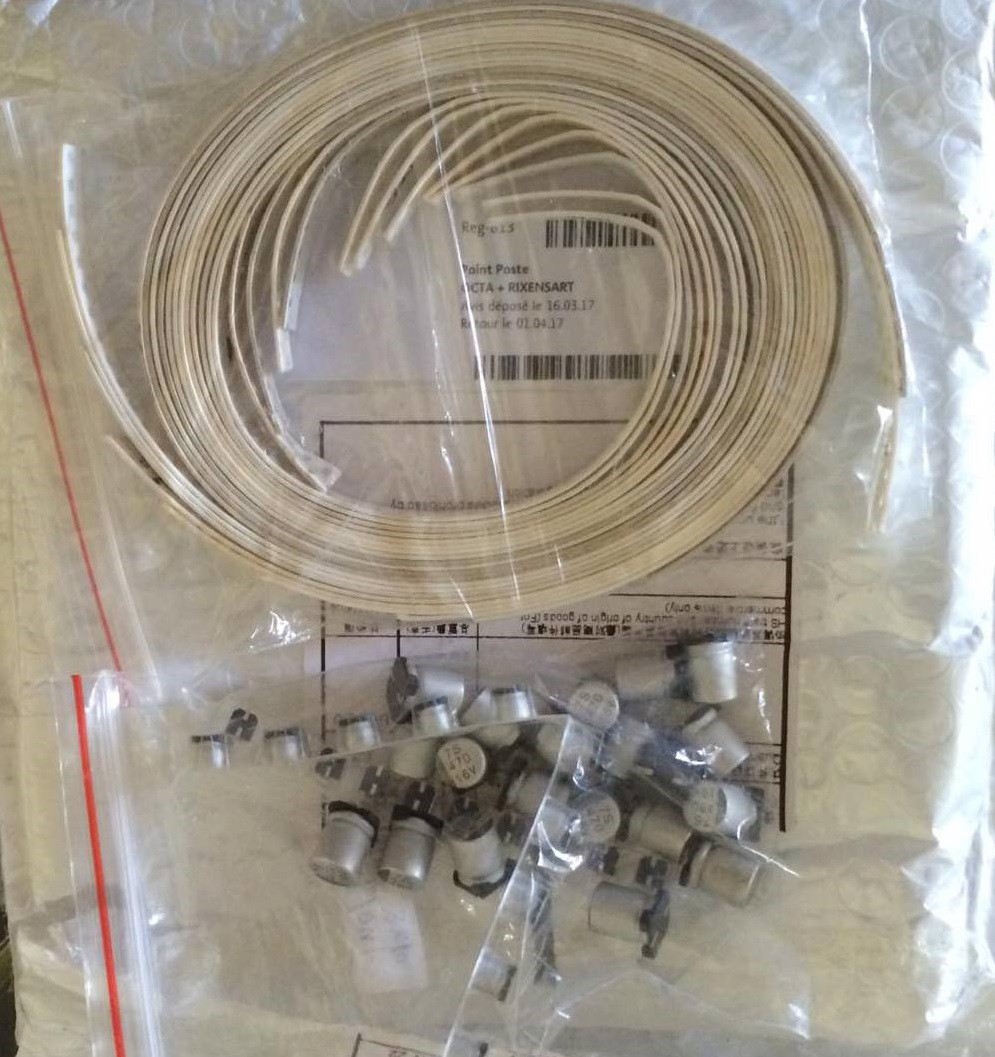
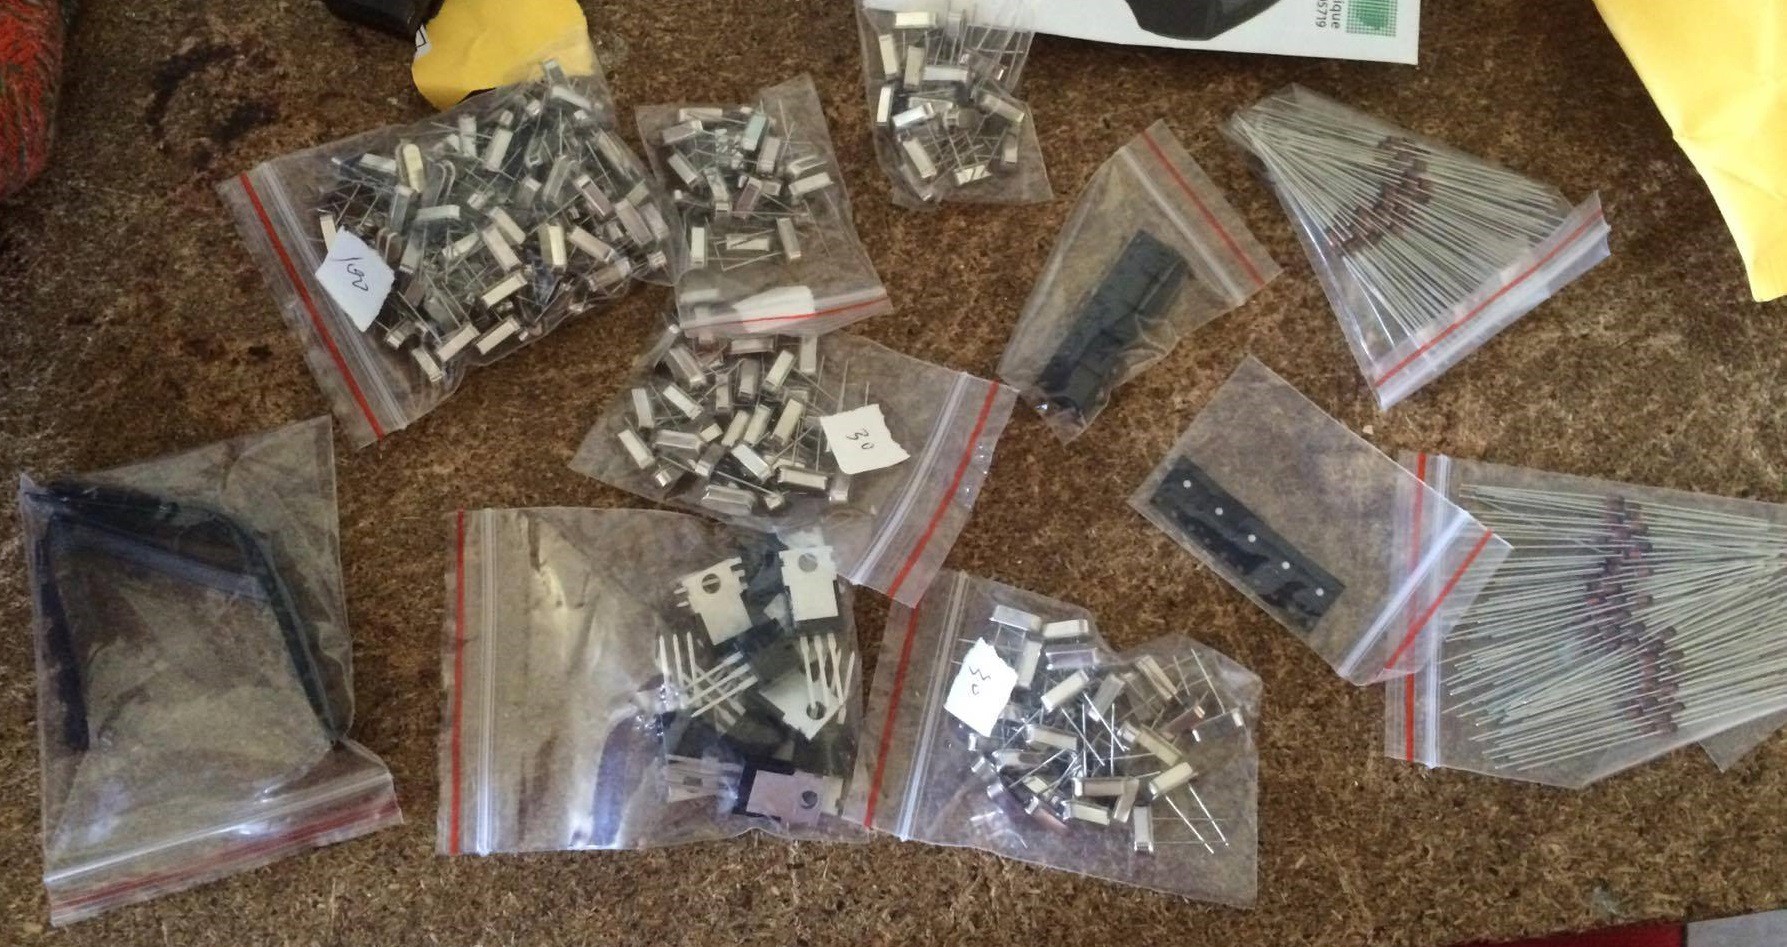
    Components are coming, one envelope after the other...

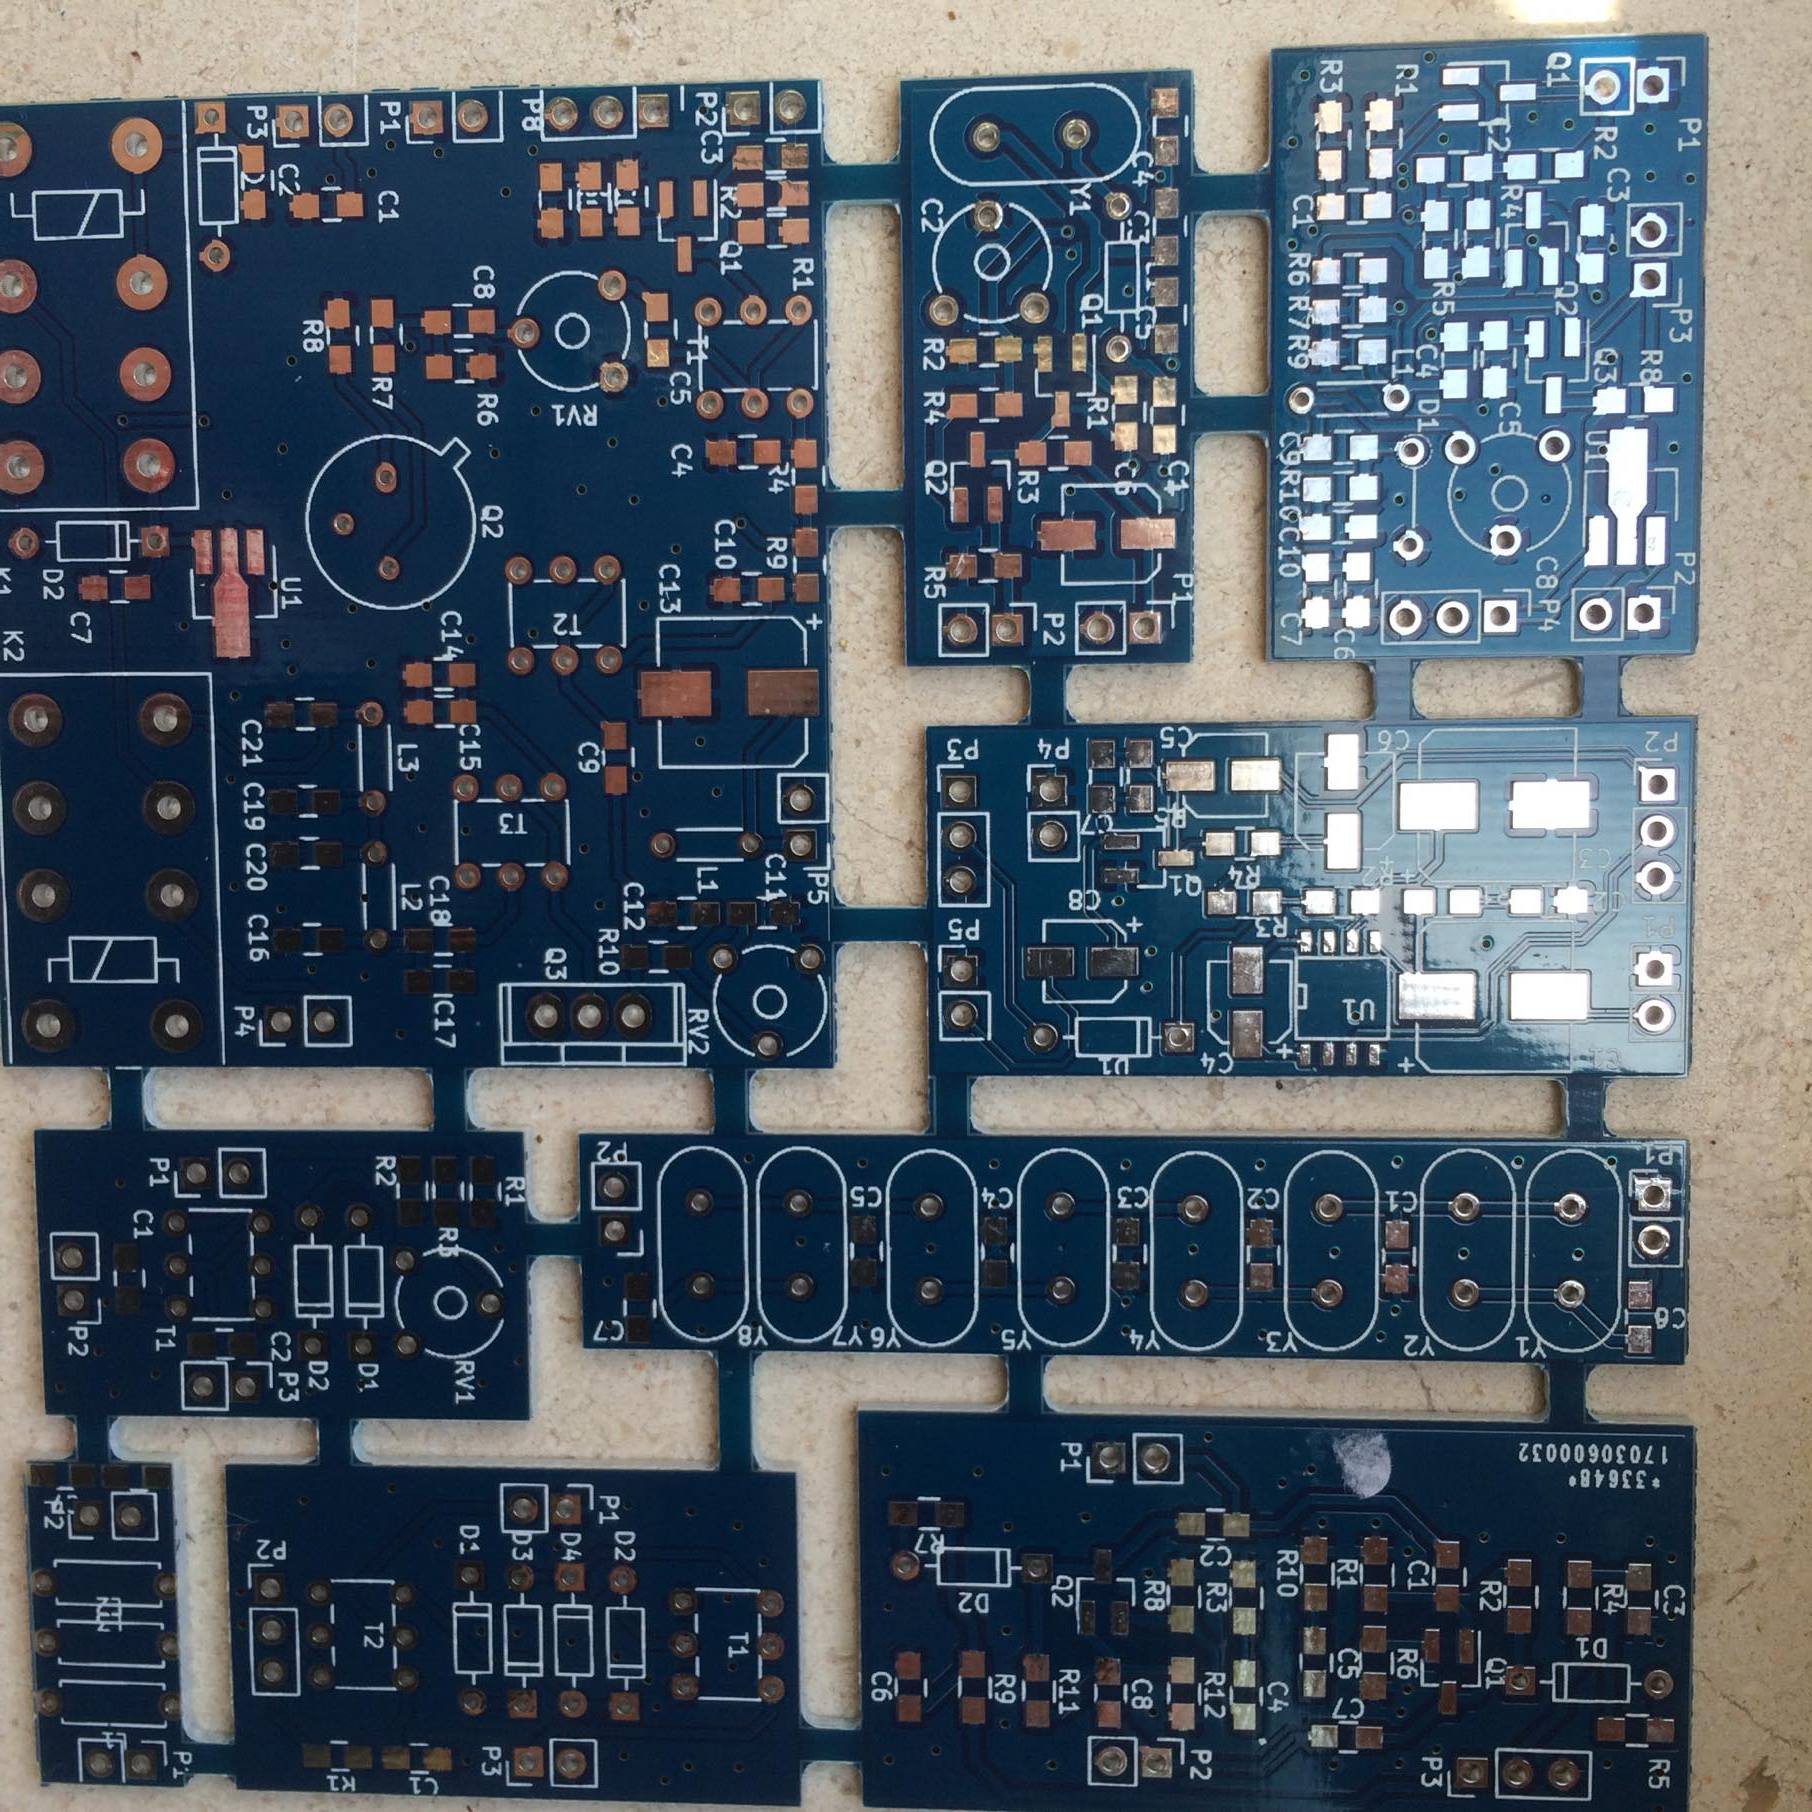
    And this showed up the other day!
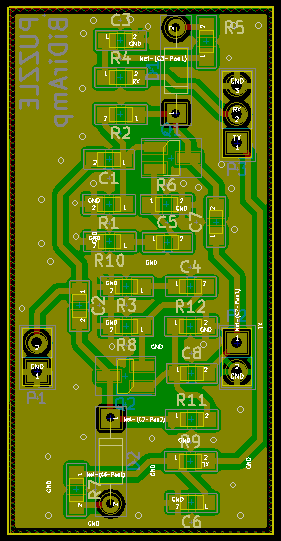
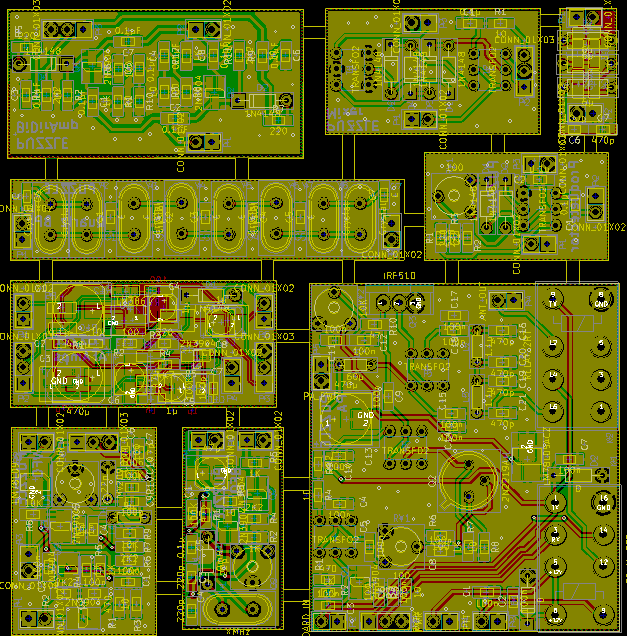
    It looks better than I expected! The cutouts are really nice, I'll be able to break the boards away pretty easily. Next time, I'll add some vias on the tabs, to make them easier to separate. I could've put the boards closer together too...

    There's nothing else I can so far, everything is in Belgium, and I'm 1200km away :) might get some stuff done next week (I'll be there for three days), no promises!

  • Board is ordered!

    M.daSilva03/03/2017 at 15:59 6 comments

    Just sent the order to dirtyPCBs, only thing left is ordering the BOM components, then wait a bit!

    Sadly, I'l have to wait until I'm back at my place (end of May) to start assembling the boards, since everything will be delivered there. Sorry Ireland, but I don't trust your postal services when things come from China...

  • PCB design, part 2

    M.daSilva03/02/2017 at 19:43 0 comments

    Okay, here are the two last boards.

    PA

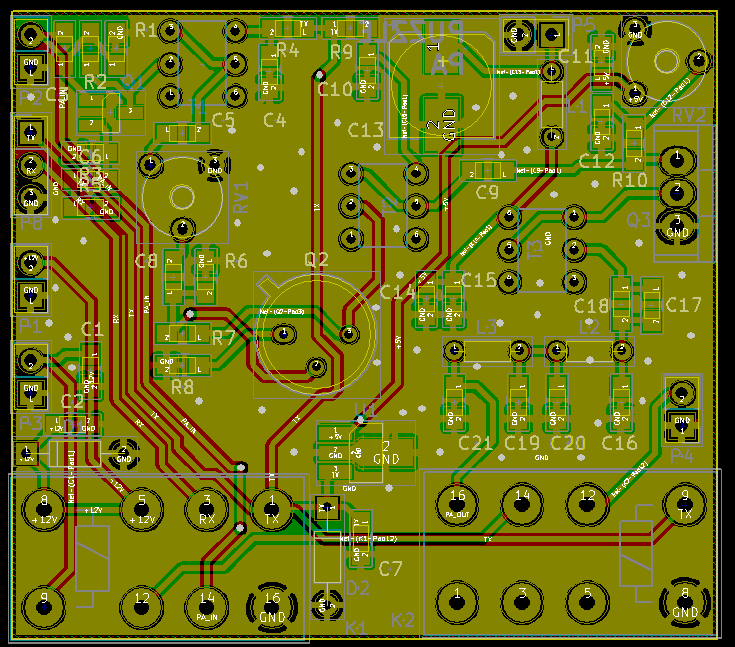
    The radio's power amplifier board was probably the most involved. It includes three stages, each with its own bifilar transformer. All the power traces go to the bottom part of the board, the others stay on the upper section as much as possible.

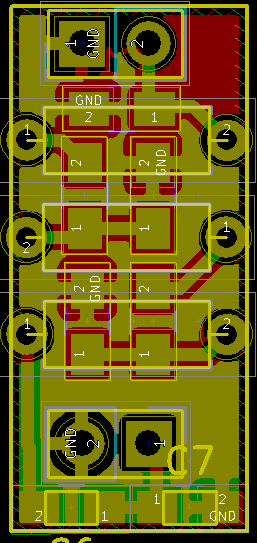
    BPFilter

    As I was panelizing everything, I noticed there was just a 10x20mm spot left... I kinda crammed everything there, one of the inductors will have to be placed on the other side of the board!

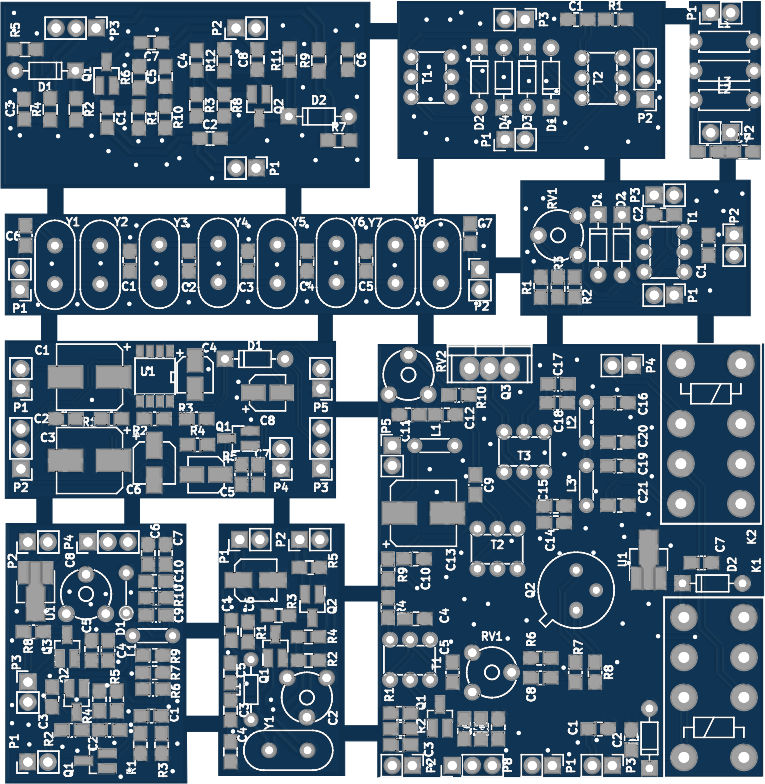
    Panelized board

    And here it is, in all its glory, the entire board!

    I'll wait 24hrs before running the order through Dirtypcbs, to triple-check everything!

  • PCB design, part 1

    M.daSilva02/28/2017 at 16:04 0 comments

    So, next step is redrawing every circuit on individual PCBs, while trying to make them as "flexible" as possible, ie allow some headroom for some later mods.

    Now, this is the part where I start looking at other versions of this transceiver and accommodate for the differences there may be between designs. I'll take a look at the Minima (Mk. 3) and the Bitx20, the 14MHz version of the Bitx40.

    In order to make the modules "breadboard-friendly", all the headers are .1" and are grid-snapped.

    The modules are gonna be as small as possible... I'd like to fit them in a 10x10cm panel! SMD will be extensively used throughout the design. 0805's aren't that hard to hand-solder once you get the hang of it :)

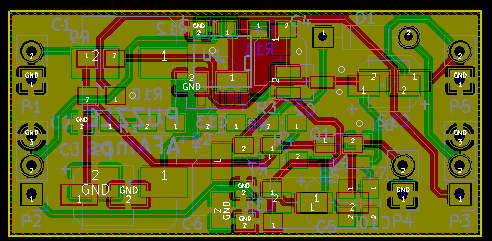
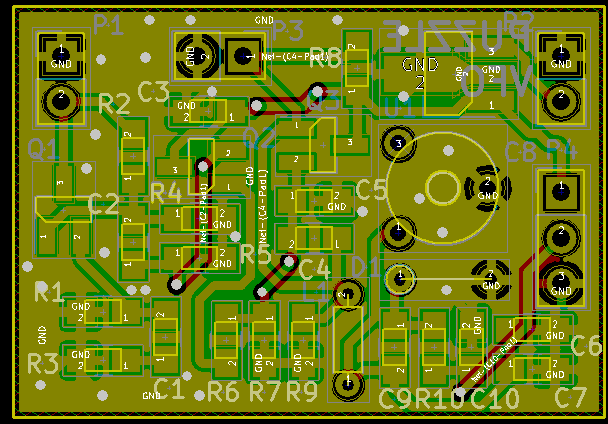
    AFAmps

    Nothing extremely complex here, a transistor preamp coupled with a LM386 audio amp are used for the speakers, and three other transistors are used for the mic amp. Speaker amp is on one side of the board, while the mic amp is on the other side.

    BiDirAmp

    RF and IF amps. I took more care here and kept everything single-sided. I tried some "via stitching" (which BTW is a pain in KiCAD) to keep the parasitic capacitance to a minimum. No idea if it's really significant at those frequencies (I'm more used to seeing that kind of thing in 100MHz and above rigs), guess it can't hurt doing it... Or can it? I could try doing a via-less design and another with vias, and compare the two!

    The input and output caps have to be set in accordance with the amp's position in the transceiver.

    QuartzBP

    Depending on the designs, there may be 4, 8 crystals, with or without caps in series. This board takes that into account. Building a 4-crystal filter? Short the two outermost crystal footprints! Same goes for the caps.

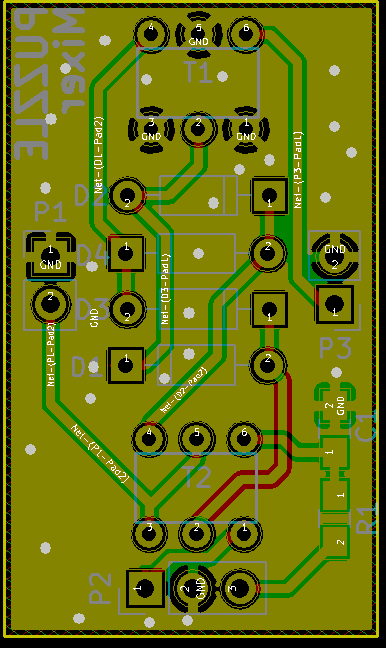
    Mixer

    That one was a mind-twister. Transformers always bugged me; I'm not always sure I'm connecting the correct windings, whether they're wound in the correct direction, ... I checked this at least 7 times with hand schematics to make sure every tap was going to the right pin in the footprint. Kept Farhan's idea of using a DIP-6 footprint, compact enough! A FT37-43 core with a trifilar winding should fit right in!

    Some personal fail here: one of the traces had to go to the bottom layer of the PCB :( perks of using somewhat thick traces...

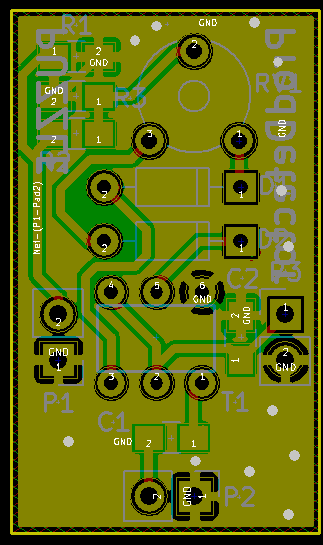
    ProdDetector

    Same thing here; even though Farhan doesn't use a trimpot to balance the mixer on the kits anymore (as a double diode is directly installed), I'd like to keep this possibility.

    VFO

    Fail again, three bottom layer traces :( . To my defense the board was getting pretty crowded! I don't think I'm gonna use the complete VCO, a DDS will most likely be directly connected to this, using the VFO as a buffer amp.

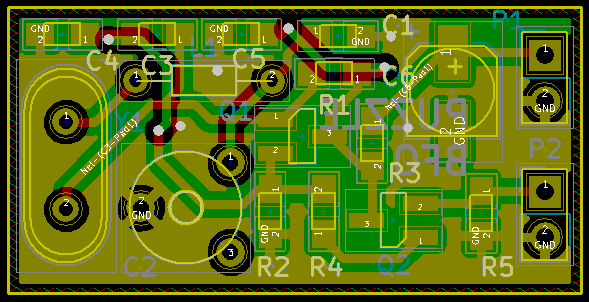
    BFO

    That's the last one for today. Pretty versatile design, although I will add a USB/LSB switch (with a second variable cap) in the next version. Let's keep things simple for now!

    Still to be done: the Band-Pass filter and the PA, the latter being a bit more challenging...

  • BitX analysis

    M.daSilva02/28/2017 at 14:00 0 comments

    Okay, let's use the BitX40 7MHz transceiver as a baseline, and break its latest iteration down to its building blocks. I'm not going to re-explain everything Farhan did on his website, this is just an extremely short summary.

    PA

    This stands for Power Amplifier: it boost the signal up to 7W through three transistor stages. A low-pass filter makes sure the harmonics are attenuated as much as possible. In this version, the filter is designed for 7MHz. Operating the amp at other frequencies means changing the filter.I also need to do some more reading about the last MOSFET stage, apparently something there has to be changed for other bands...

    The PA is only used while transmitting. When receiving, a pair of relays bypass the circuit altogether.

    BPFilter

    This is a Band-Pass Filter that attenuates any out-of-band signals. It's used while transmitting and receiving signals. Another band-dependent component, specifically designed for 7MHz.

    BiDirAmp

    Bidirectional Amplifier. I love this block. It seems so simple, yet so clever!

    • It can work in both directions: while receiving, the upper part is energized, the RF signal comes in from the left and goes out on the right. While transmitting, the lower part (an exact, reversed copy of the upper part) is powered, amplifying any signal that comes from the right.
    • Its gain is independent from the transistor choice; the resistors are responsible for that.

    Mixer

    This takes the RF signal as an input, plus another variable signal coming from a local oscillator, and down- (or up-)converts it to a fixed intermediate frequency. The topology here follow the one of a diode ring mixer. Apparently pretty broadband.

    I still want to figure out how a mixer can be additive or subtractive, and how (if?) its typology changes.

    The IF in this version is at 12MHz.

    QuartzBP

    This Quartz Band-Pass filter has an extremely narrow passband with a few kHz, with sharp edges. The crystals have to be carefully selected, with very close centre frequency (+-50Hz?), amongst other things. Bidirectional by design.

    ProdDetector

    Second mixer. Feeds gets the IF signal and converts it down to the audio frequency (AF) range, thanks to a second oscillator, the BFO. Also bidirectional.

    BFO

    The Beat Frequency Oscillator generates the signal for the product detector. Its frequency is slightly above or under the IF frequency, for Upper Side Band or Lower Side Band. Farhan doesn't seem to need to tune the BFO when manufacturing his kits, as he carefully selects the crystals to match the ladder filter's frequency.

    VFO

    Variable Frequency Oscillator. Well it's actually a VCO (Variable Controlled Oscillator), whose frequency is set through a potentiometer. An additional connector allows to connect a DDS, for more a more wide, precise frequency range. The VFO's frequency in the Bitx40 is 5MHz, which mixed with the 7MHz of the received signal gives an IF of 12MHz.

    AFAmps

    This blocks contains the amplifiers for the microphone and the speakers. Depending on the state of the transceiver (RX or TX), either amps are energized.

    All the assumptions here may be wild guesses! We'll see how it turns out to be once the boards are made!

  • /Rant

    M.daSilva02/27/2017 at 16:41 0 comments

    I'm tired of using black boxes. When I started the hobby, I had the idea of building equipment, antennas, and such. However, when the ticket arrived, laziness crept in; I bought my antennas, my transceivers, etc... I had became some would refer as an "appliance operator"! Of course I built some stuff, DDS frequency controllers, computer/rig interfaces, portable antenna+tuners, ... But custom-built rigs always seemed extremely complicated, and I guess that kind of held me back from breaking it down to their simple components.

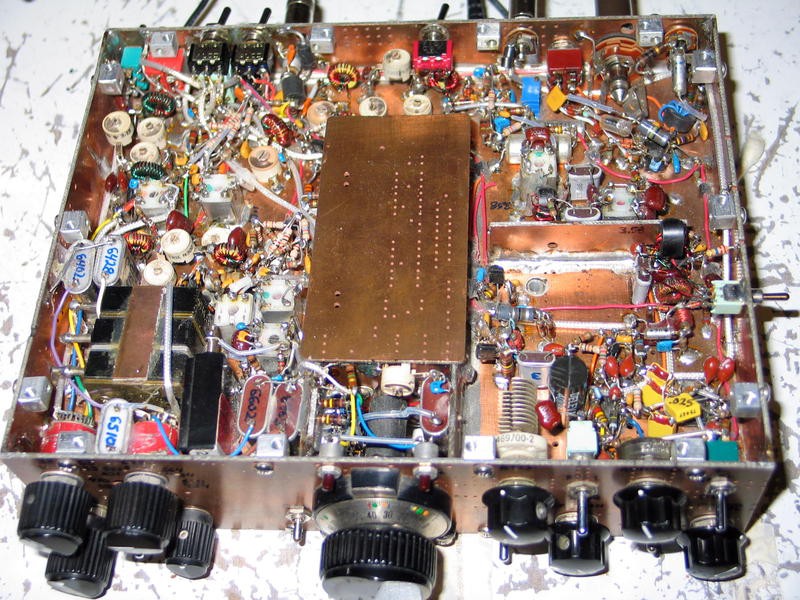
    (KX0R's multiband superhet rig. Although an amazing build, I need to start with something simpler before even dreaming to understand how this is built.)

    Then the Bitx40 kit came out. Designed by Ashhar Farhan aka VU2ESE, this board can receive and transmit voice on the 40m (7MHz) band, for 59$! When you know how much a modern SSB transceiver costs, even nowadays, it's extremely cheap. I started studying the schematics, the extremely well laid-out board, and very quickly recognized which part of the circuit did what.

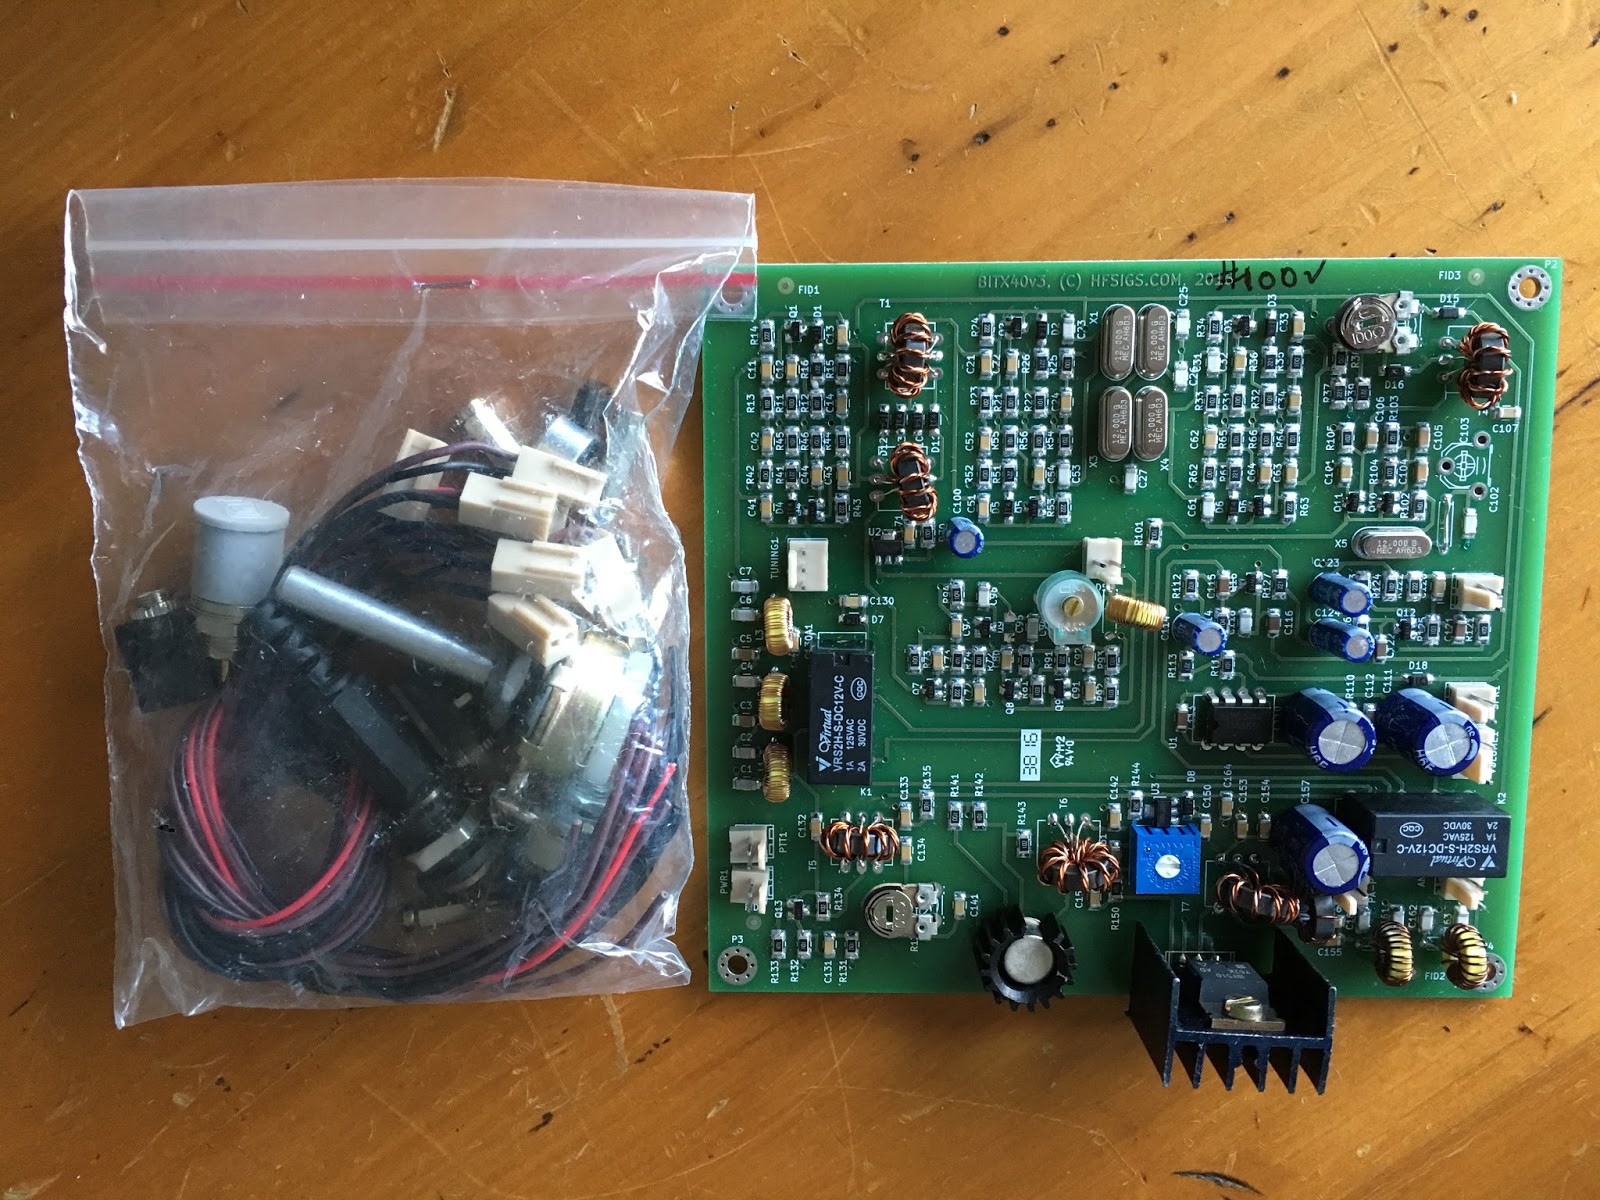
    (Bitx40 board, pic taken from http://blog.marxy.org/2016/11/pre-built-bitx40-review.html )

    One of these kits is on the way; I'm sure I'll have lots of fun playing with it. However, I don't want to stop there, I feel like this transceiver could be easily modified: change the IF frequency, turn it into a biband/multiband transceiver, ... As I don't want to risk ruining this nice board, and I want to learn some more, I'll respin my own! To help me understand how each block works and interacts with the others, they'll be divided into units I can play with individually.

    Considering the price of custom PCBs today, this seems to be a sound decision.

    I'm not an expert on that matter, I'm really hoping to learn more about RF design, how amplifiers behave, how significant impedance matching is, along with some other things!

    I feel like the hobby has more to offer for me, off to make something more involved!

View all 6 project logs

Enjoy this project?

Share

Discussions

maribomba wrote 03/16/2017 at 09:02 point

Do you have the BOM somewhere?

  Are you sure? yes | no

Duke Circuit Co.,Ltd wrote 03/04/2017 at 03:14 point

How many layers for this Boards?

  Are you sure? yes | no

M.daSilva wrote 03/04/2017 at 11:01 point

Two! Although you probably can get away with putting everything on one side if you choose to use thinner tracks, and slightly bigger PCBs :)

  Are you sure? yes | no

Capt. Flatus O'Flaherty ☠ wrote 03/03/2017 at 11:20 point

Very well explained - thanks! I'm currently designing/building BP filters for microwave. Have you any thoughts about component tolerances? For example, using  inductors with 5% tolerance throws my design out the proverbial window. I ended up incorporating variable inductors in parallel in the hope of tuning them with a spectrum analyser.

  Are you sure? yes | no

M.daSilva wrote 03/03/2017 at 11:41 point

Thanks! I would say using variable inductors (or capacitors) are your best bet to tune your filter, you'll have to check if the tuning range of those components will be enough to compensate the tolerances. Downside is indeed that you'll have to use a network analyser (or a spectrum+noise source)... 

Besides that, I wouldn't be able to tell much more, working with SHF compared to HF is a completely different can of worms. What frequency are you working at?

  Are you sure? yes | no

Capt. Flatus O'Flaherty ☠ wrote 03/03/2017 at 12:04 point

I'm starting off at 800 MHz and looking at 3 different solutions to the BP filters, including some huge ceramic duplexers from CTS corp. Another solution is some tiny chips from Epcos and Triquint which are probably beyond my current soldering skills although I'm building a very cheap CNC pick and place machine with some success.

The 3rd option is using inductors and capacitors similar to your design. The design software indicates high probability of the design NOT working without the variable inductors and about 95% probability of it working with them. I'm going to try and use a high end software defined radio as a spectrum analyser. Hopefully, as you said, HF has more amenable worms inside.

  Are you sure? yes | no

M.daSilva wrote 03/03/2017 at 17:01 point

@TegwynTwmffat

Guess it depends on how much you want to pay for your boards, and how you want the filter to behave. Best of luck with the designs! (and your CNC pick and place got me curious!)

  Are you sure? yes | no

Similar Projects

Does this project spark your interest?

Become a member to follow this project and never miss any updates