-
Completed!
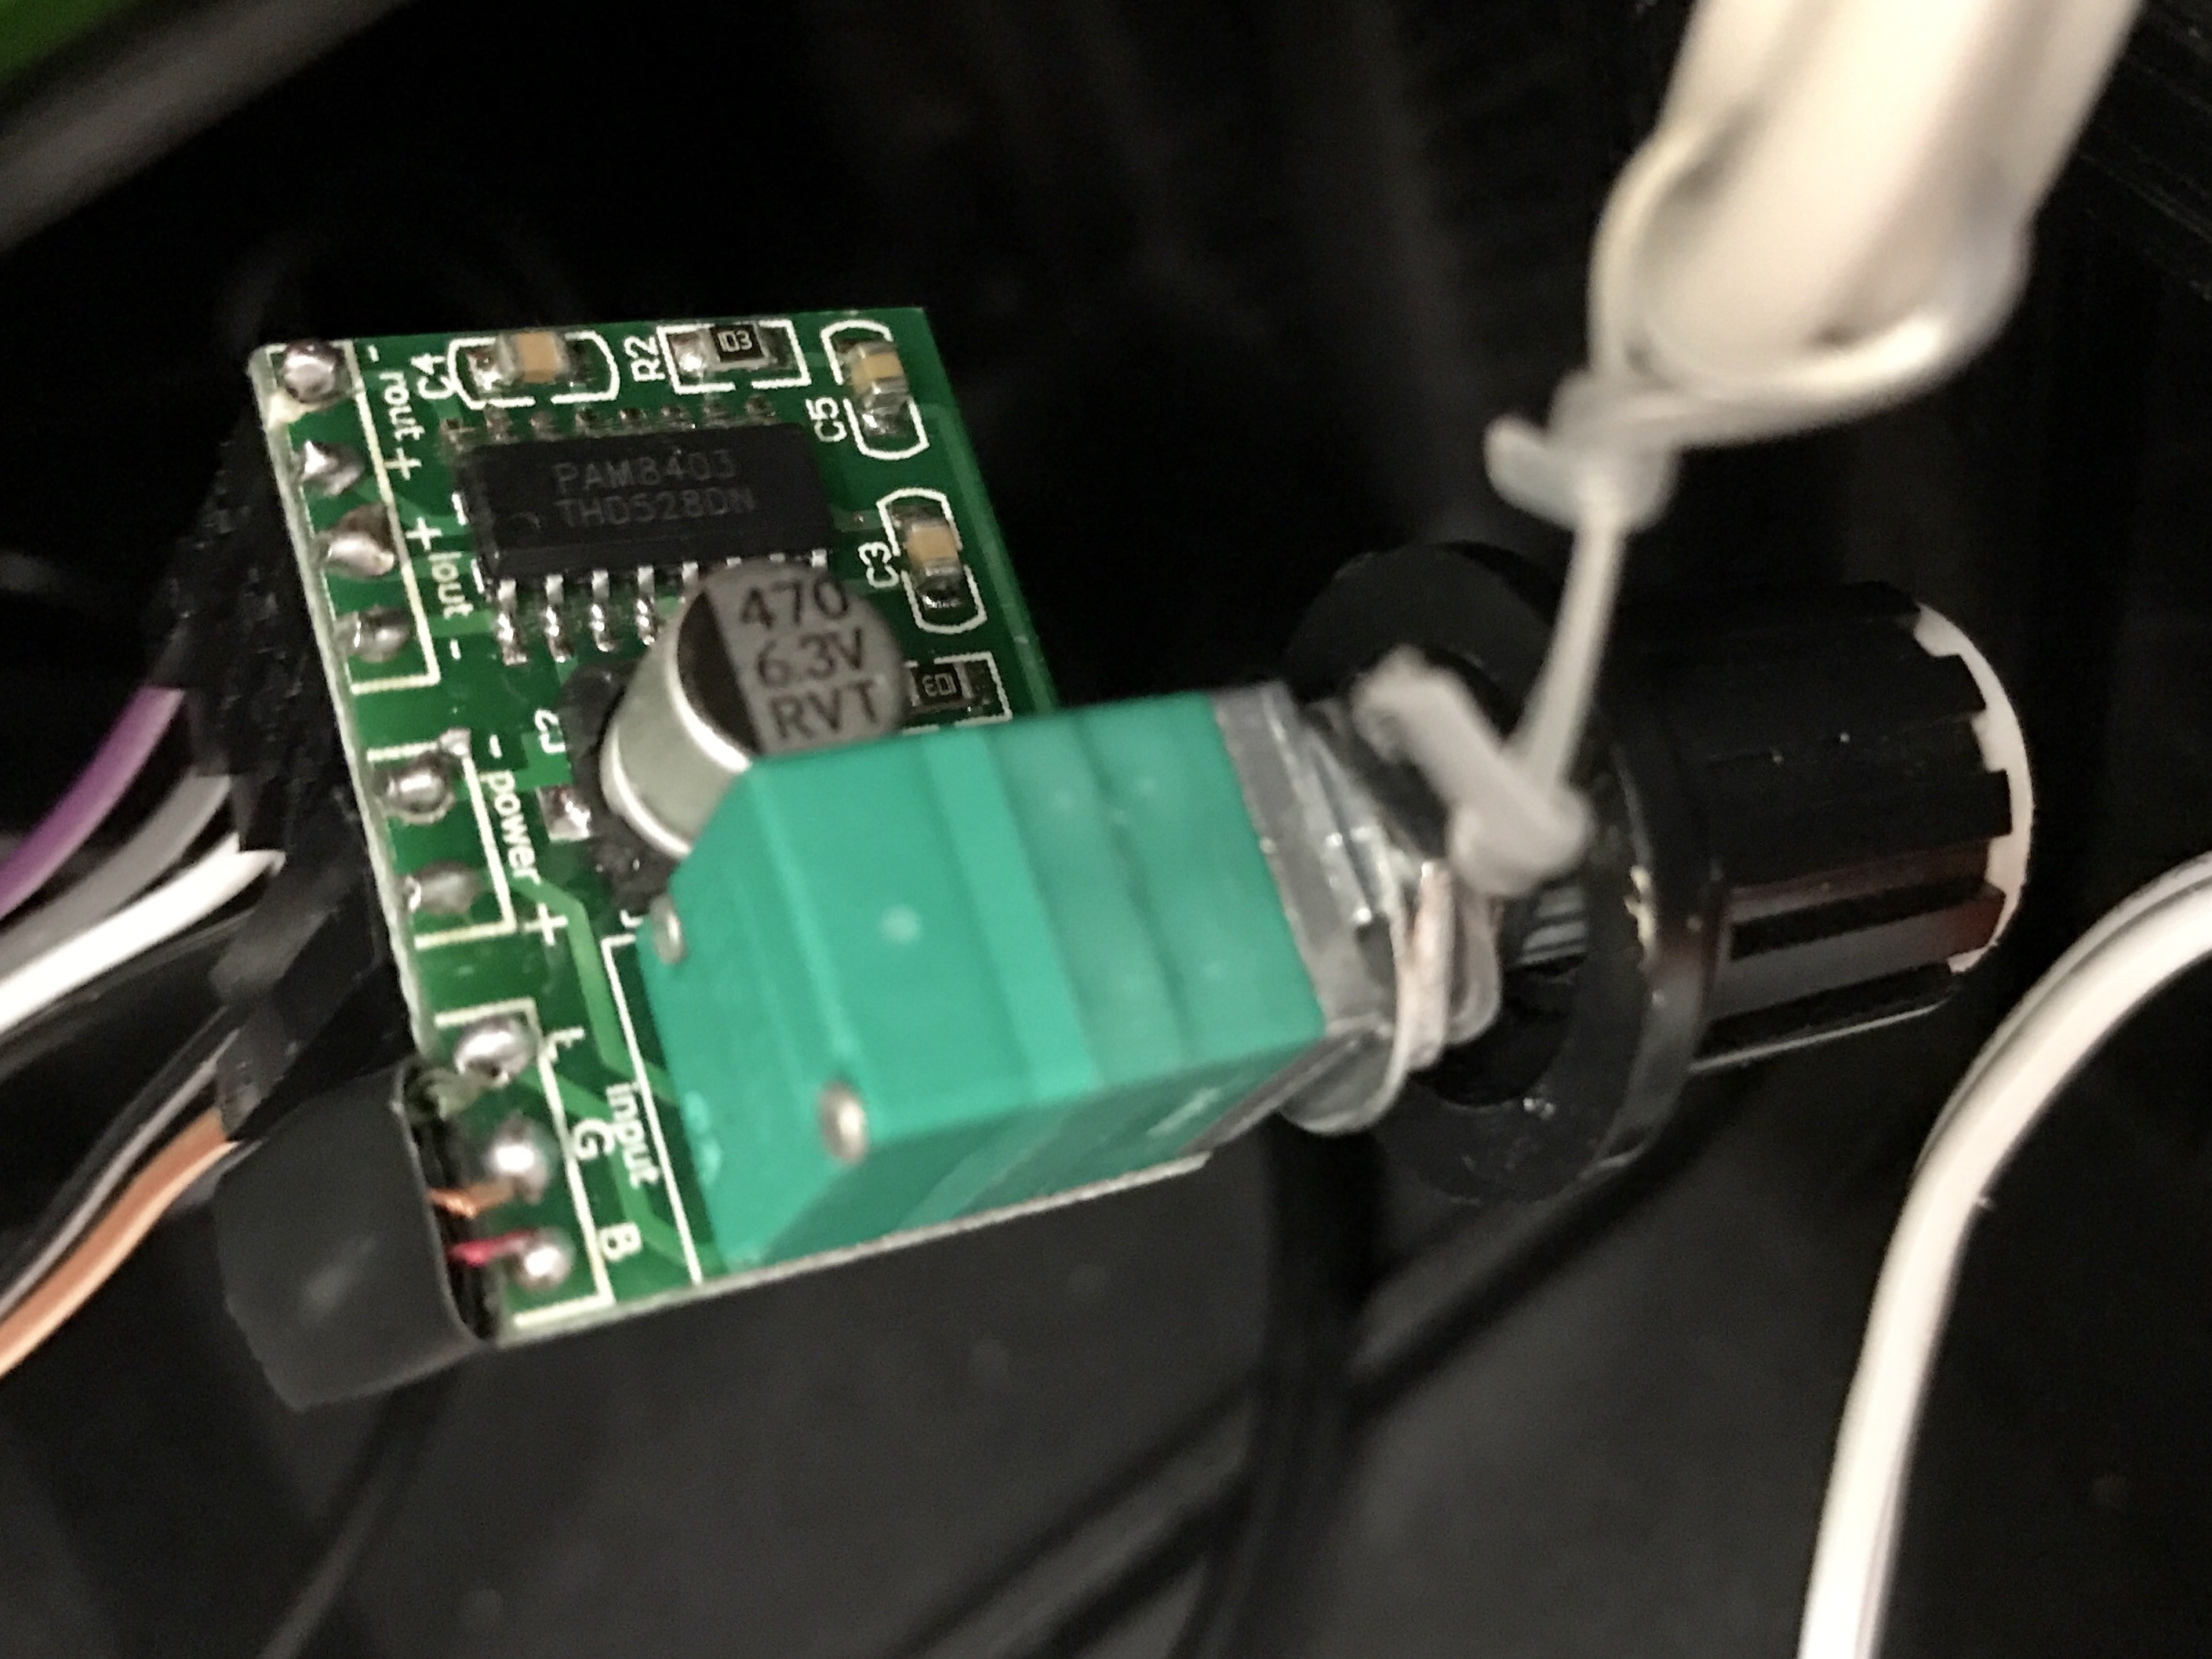
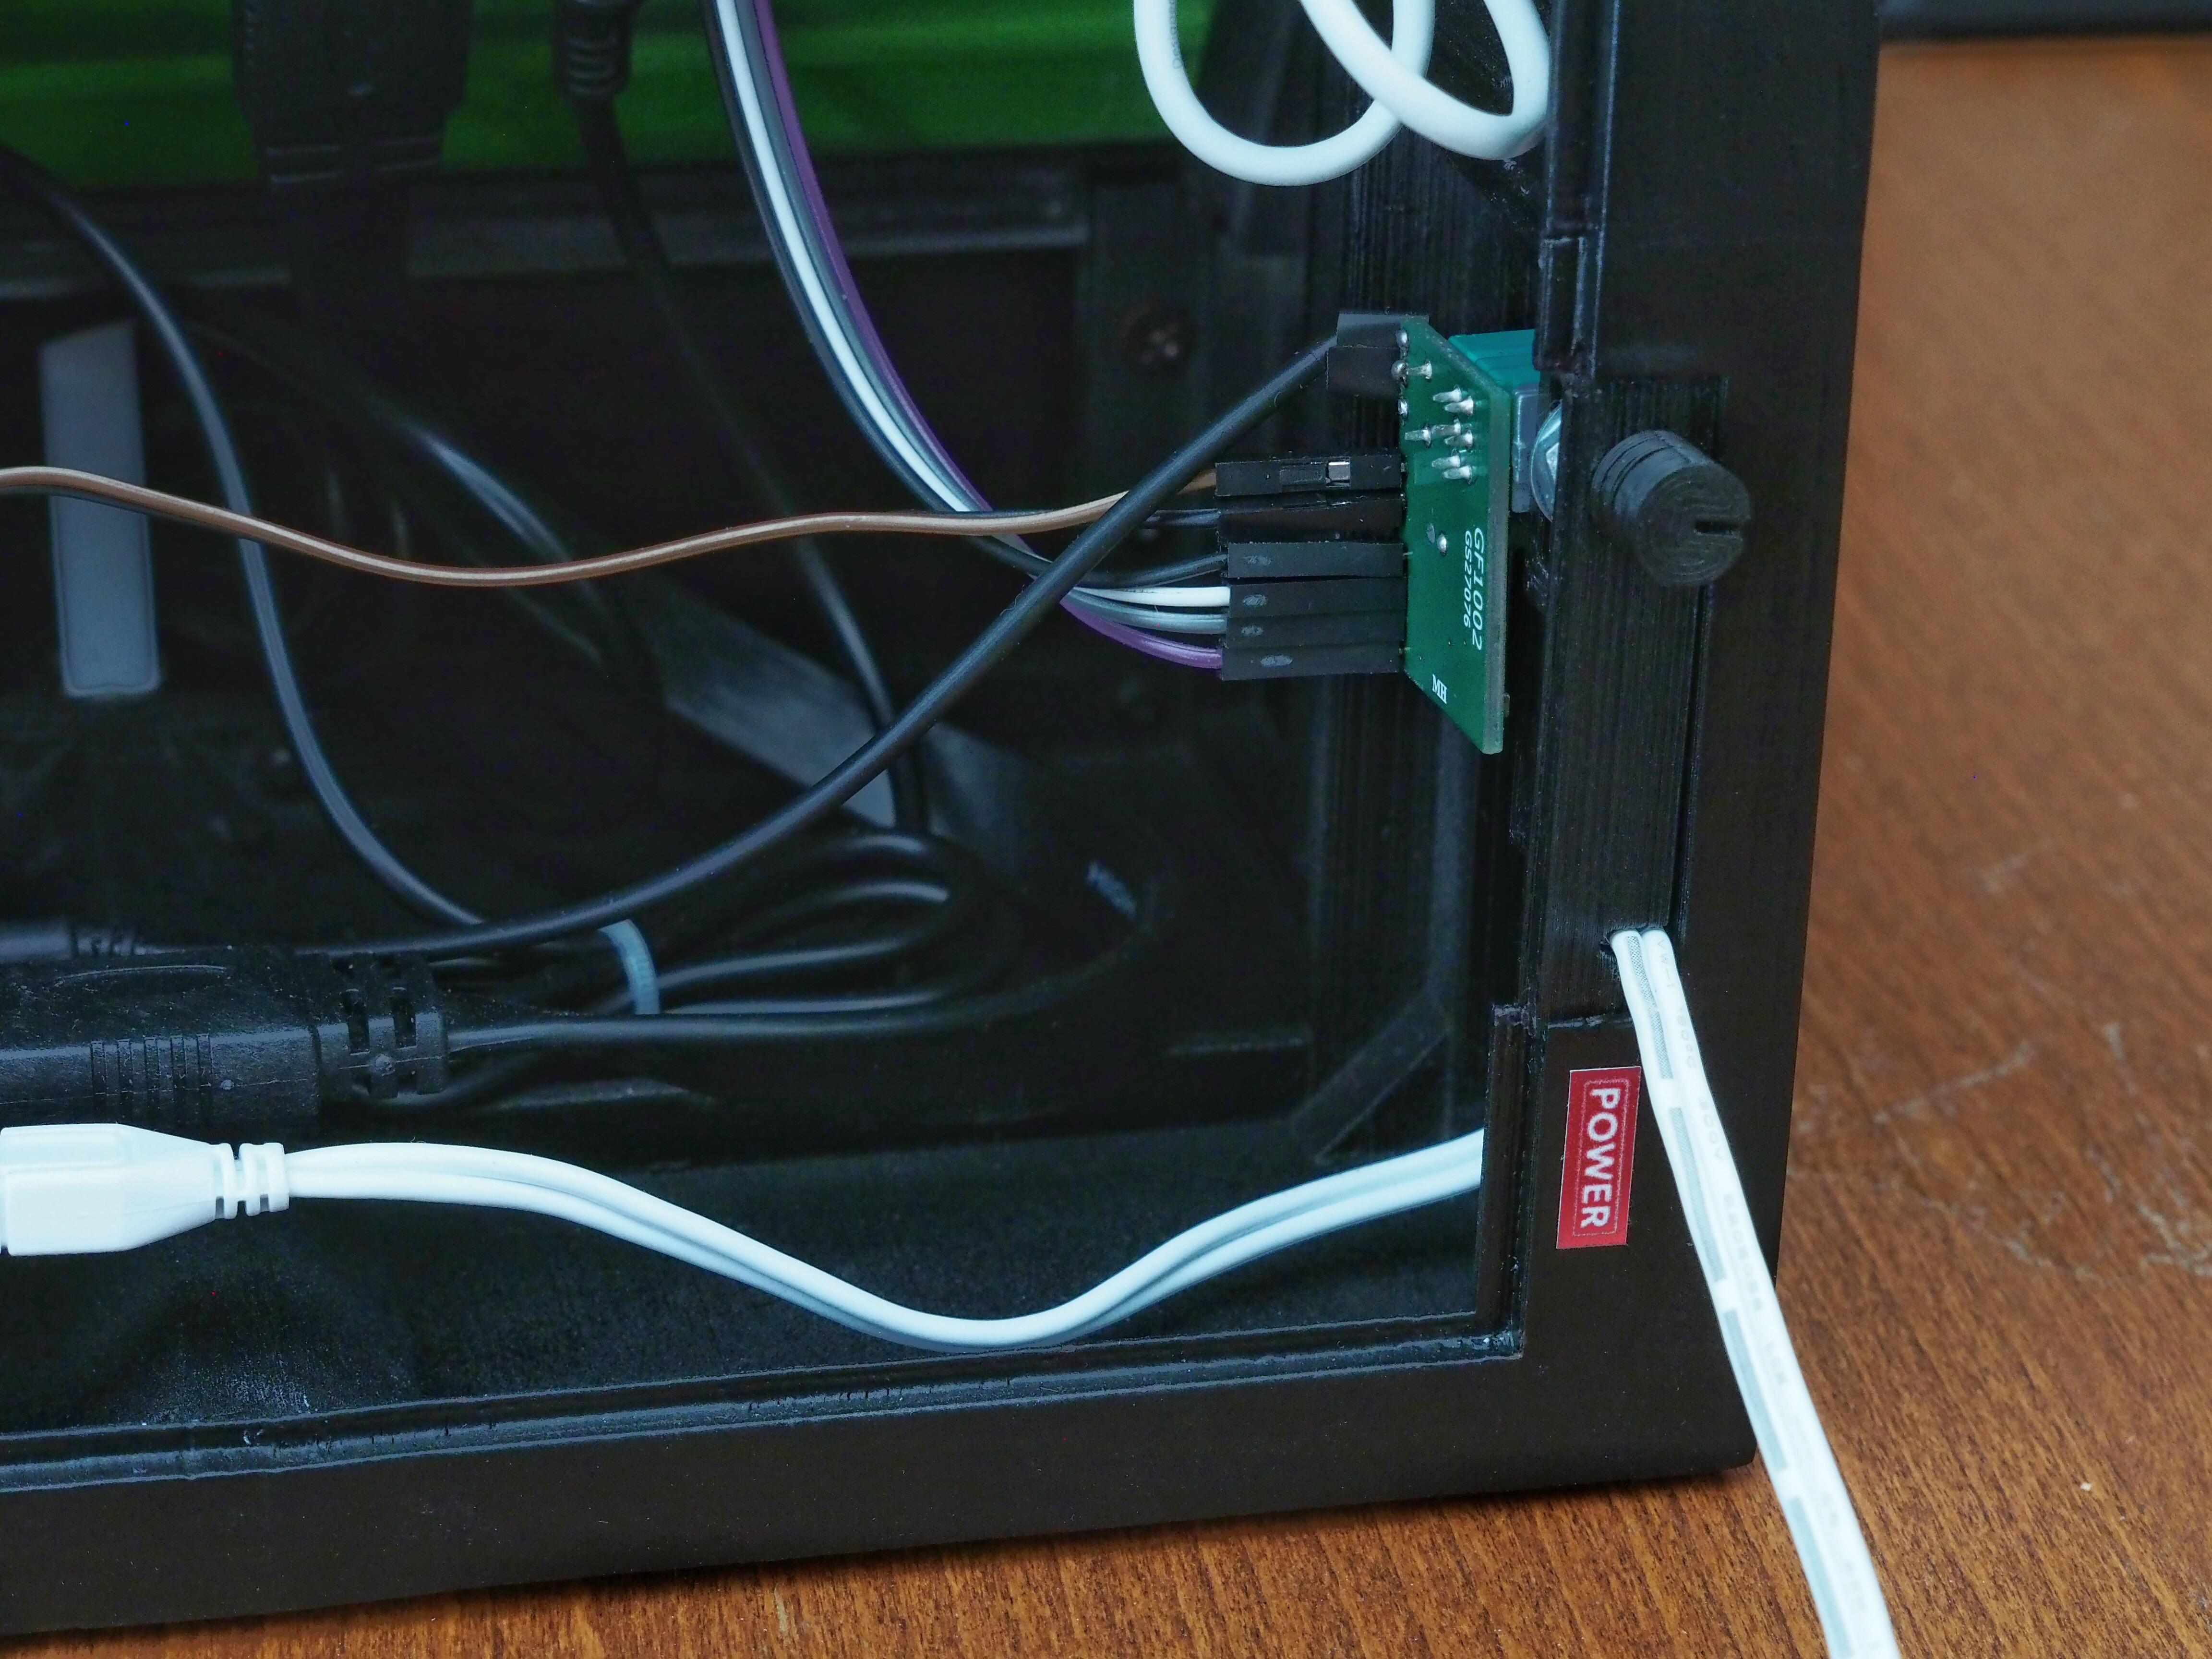
03/17/2017 at 15:42 • 0 commentsFinally, the audio amplifier arrived in the mail! So, soldered all the connections, plugged in the power to Raspberry Pi's GPIO pins and off we go! So, everything in this project (display, sound, lights) are powered from the RPi.
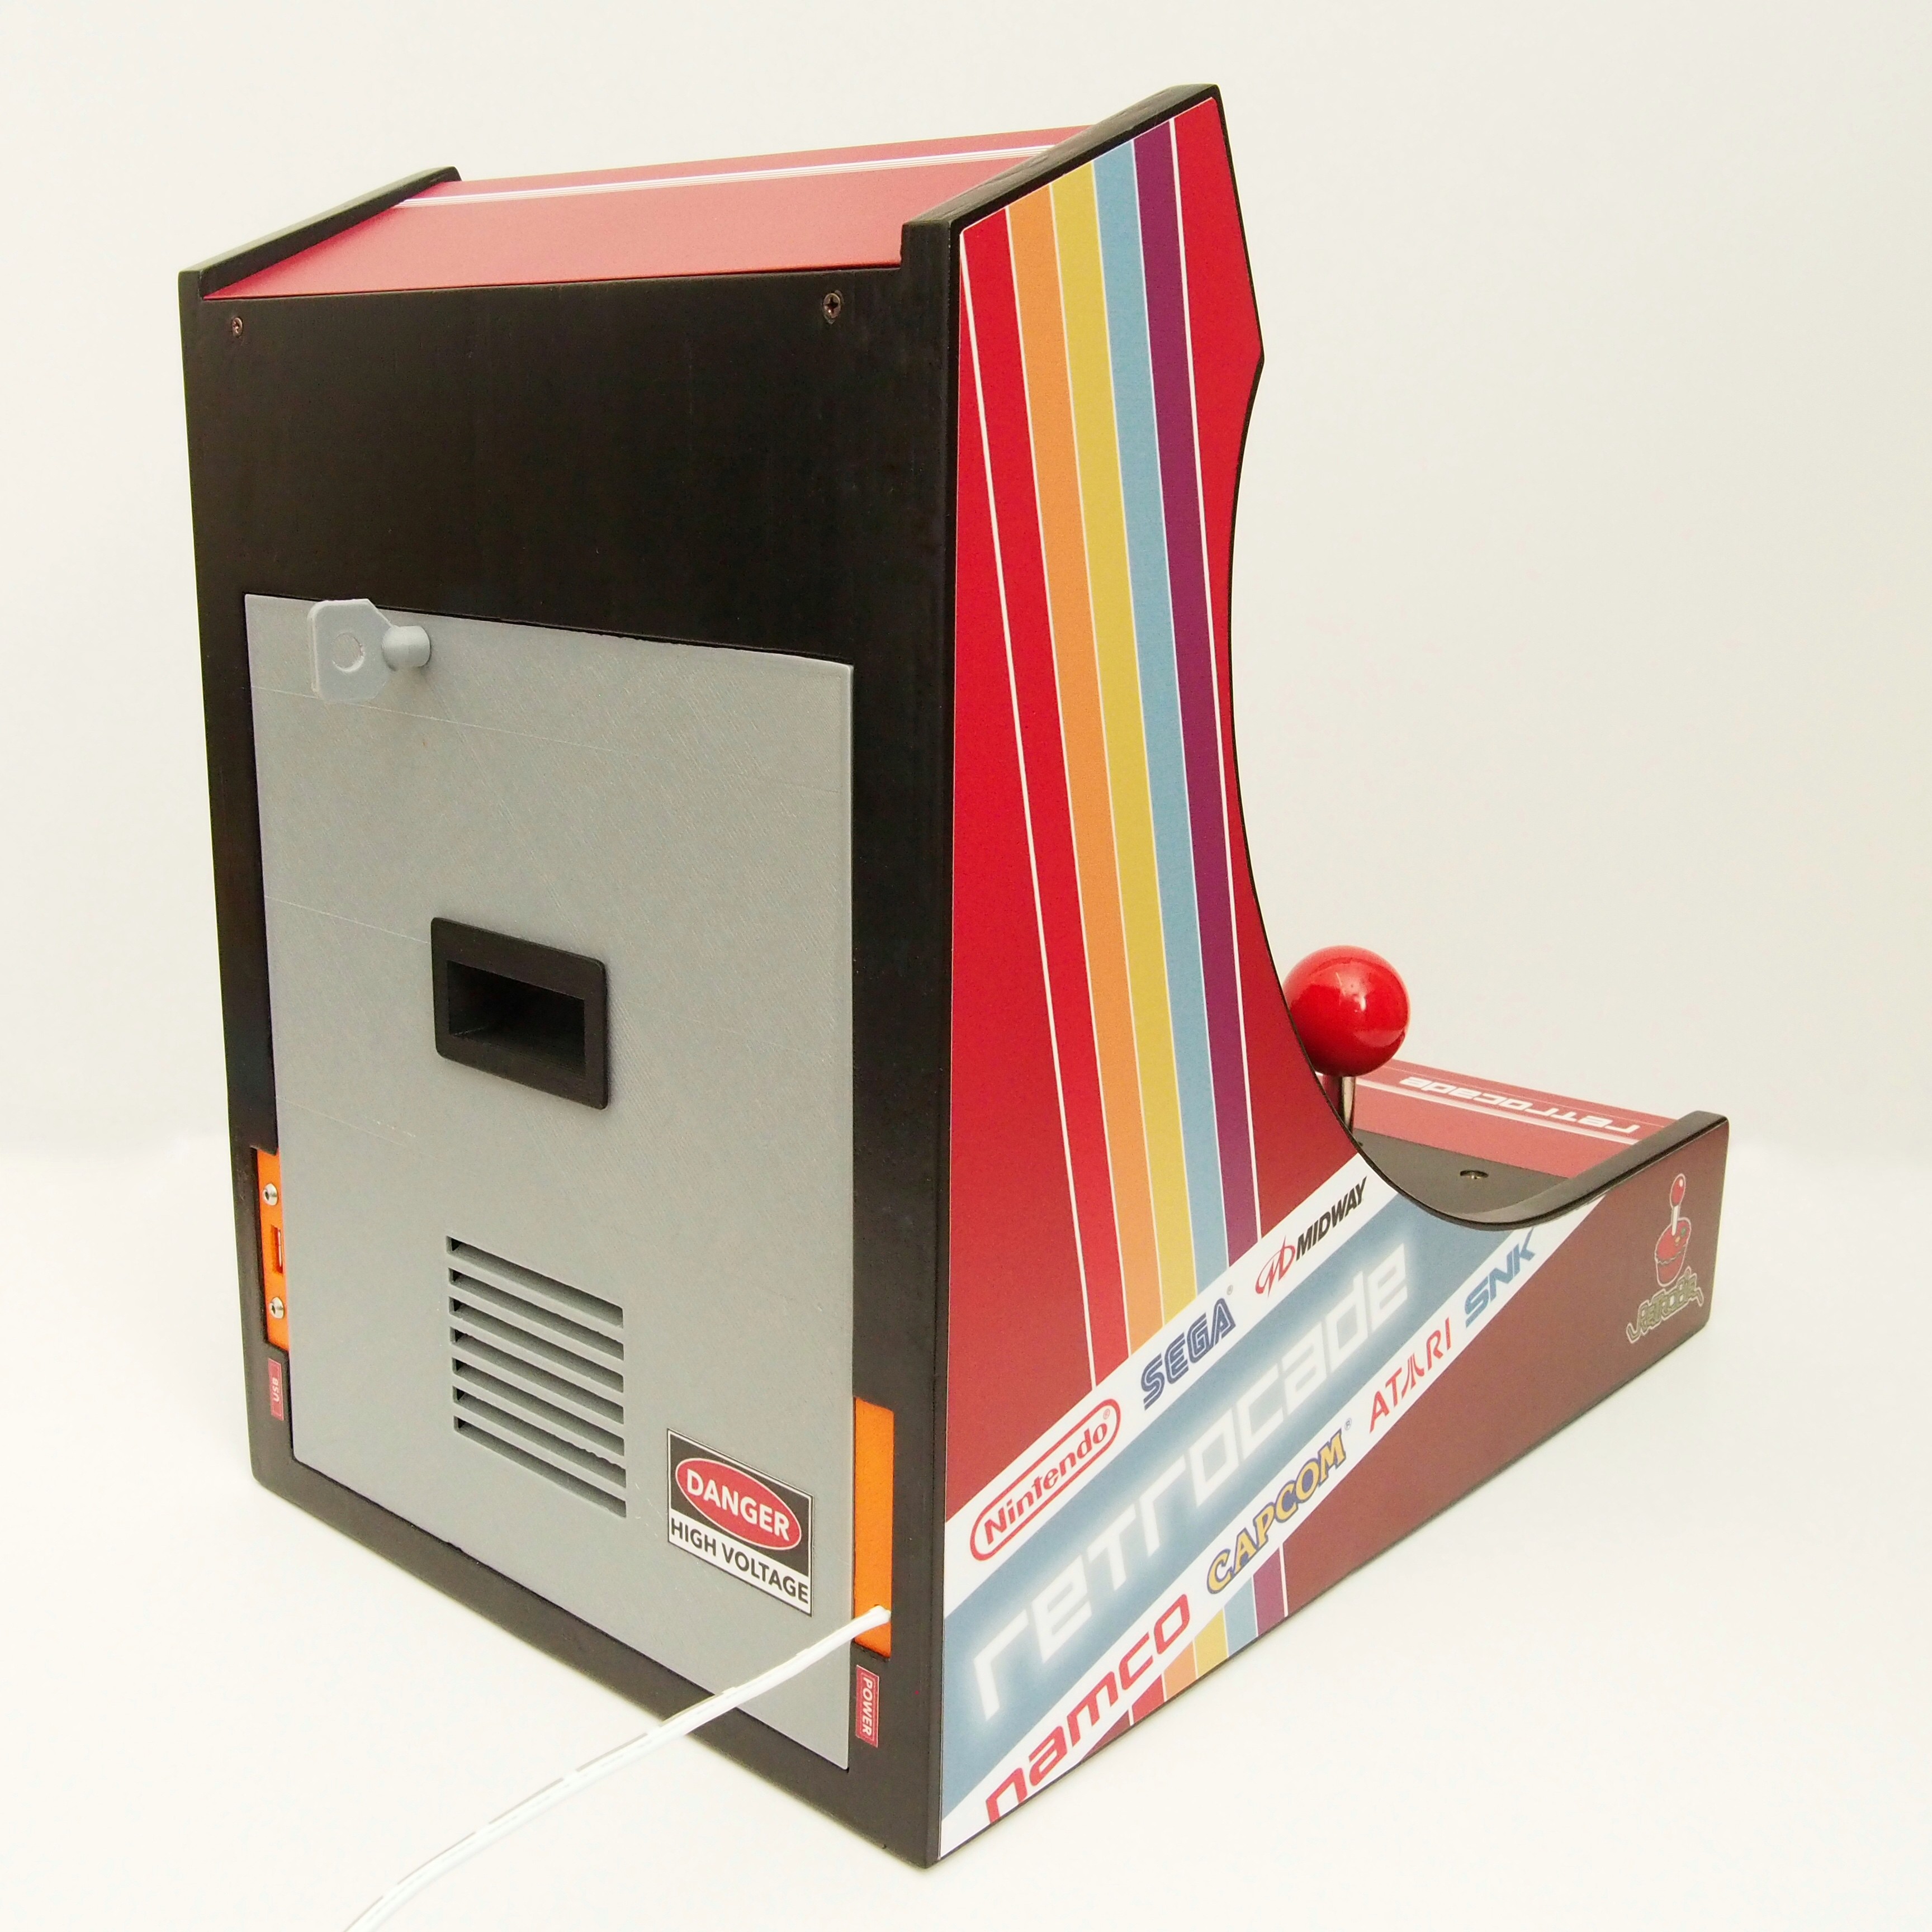
Designed the removable panel to allow the amplifier to be mounted and you can adjust the volume using a small knob.
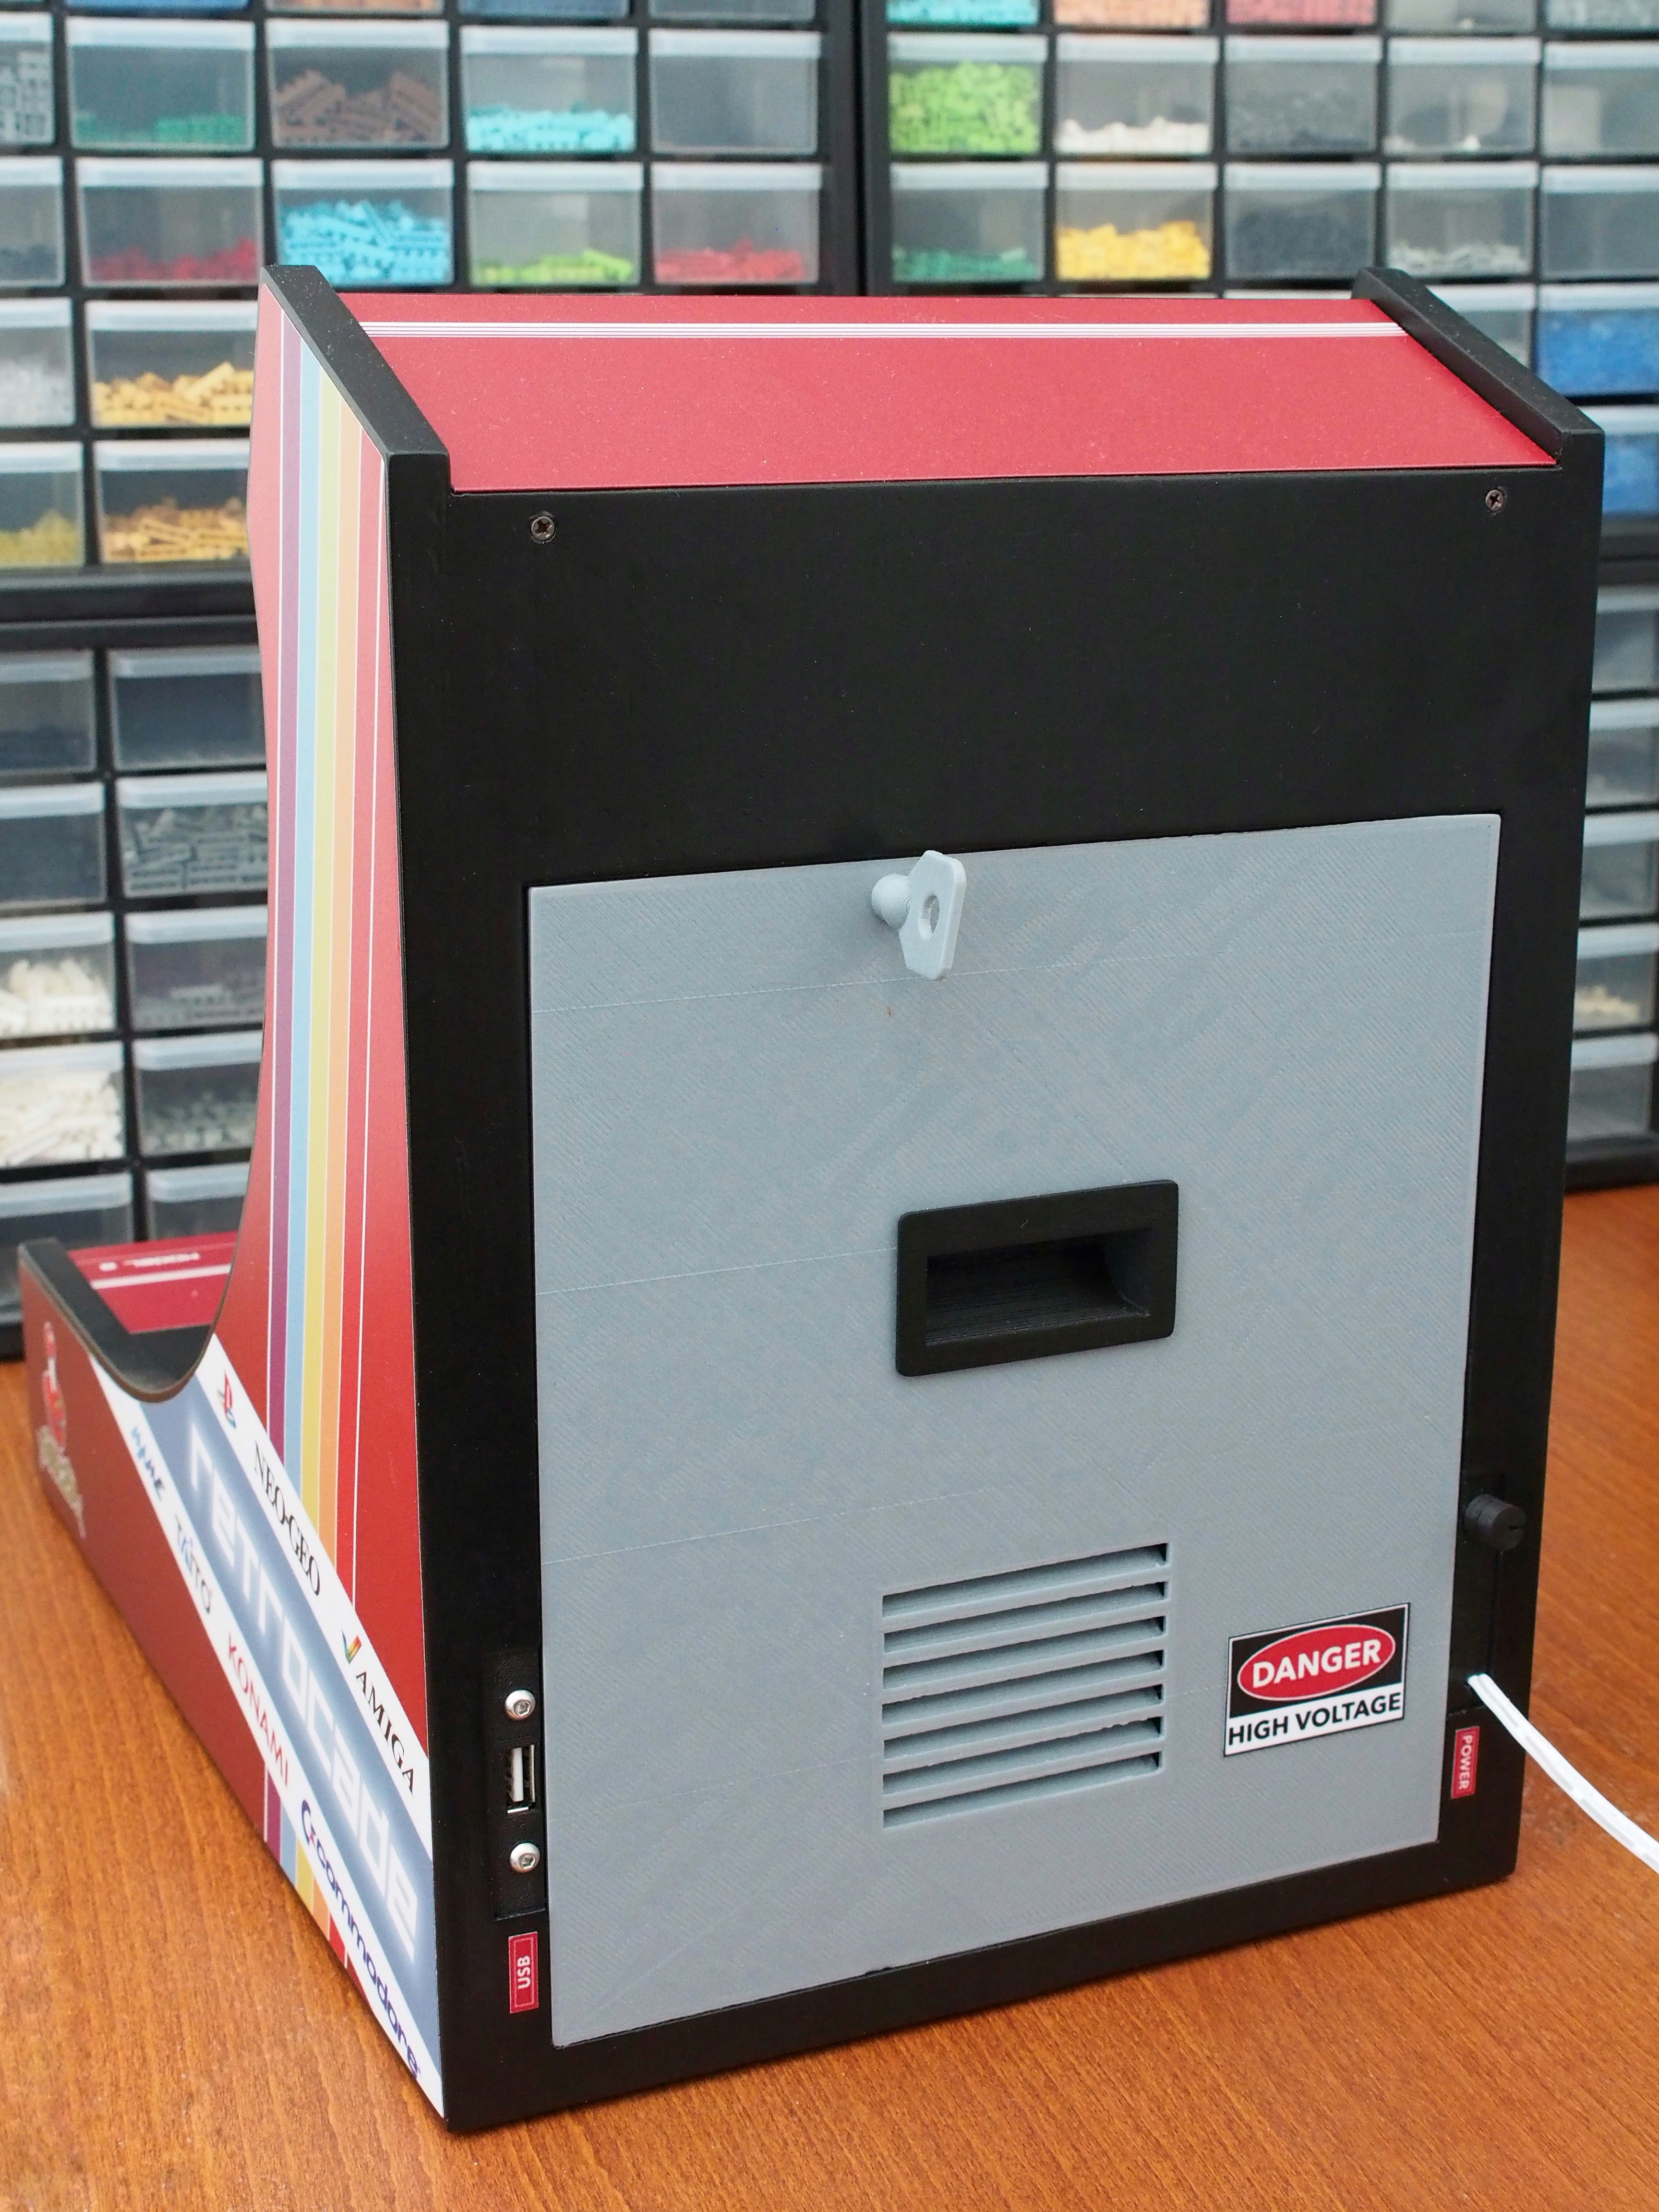
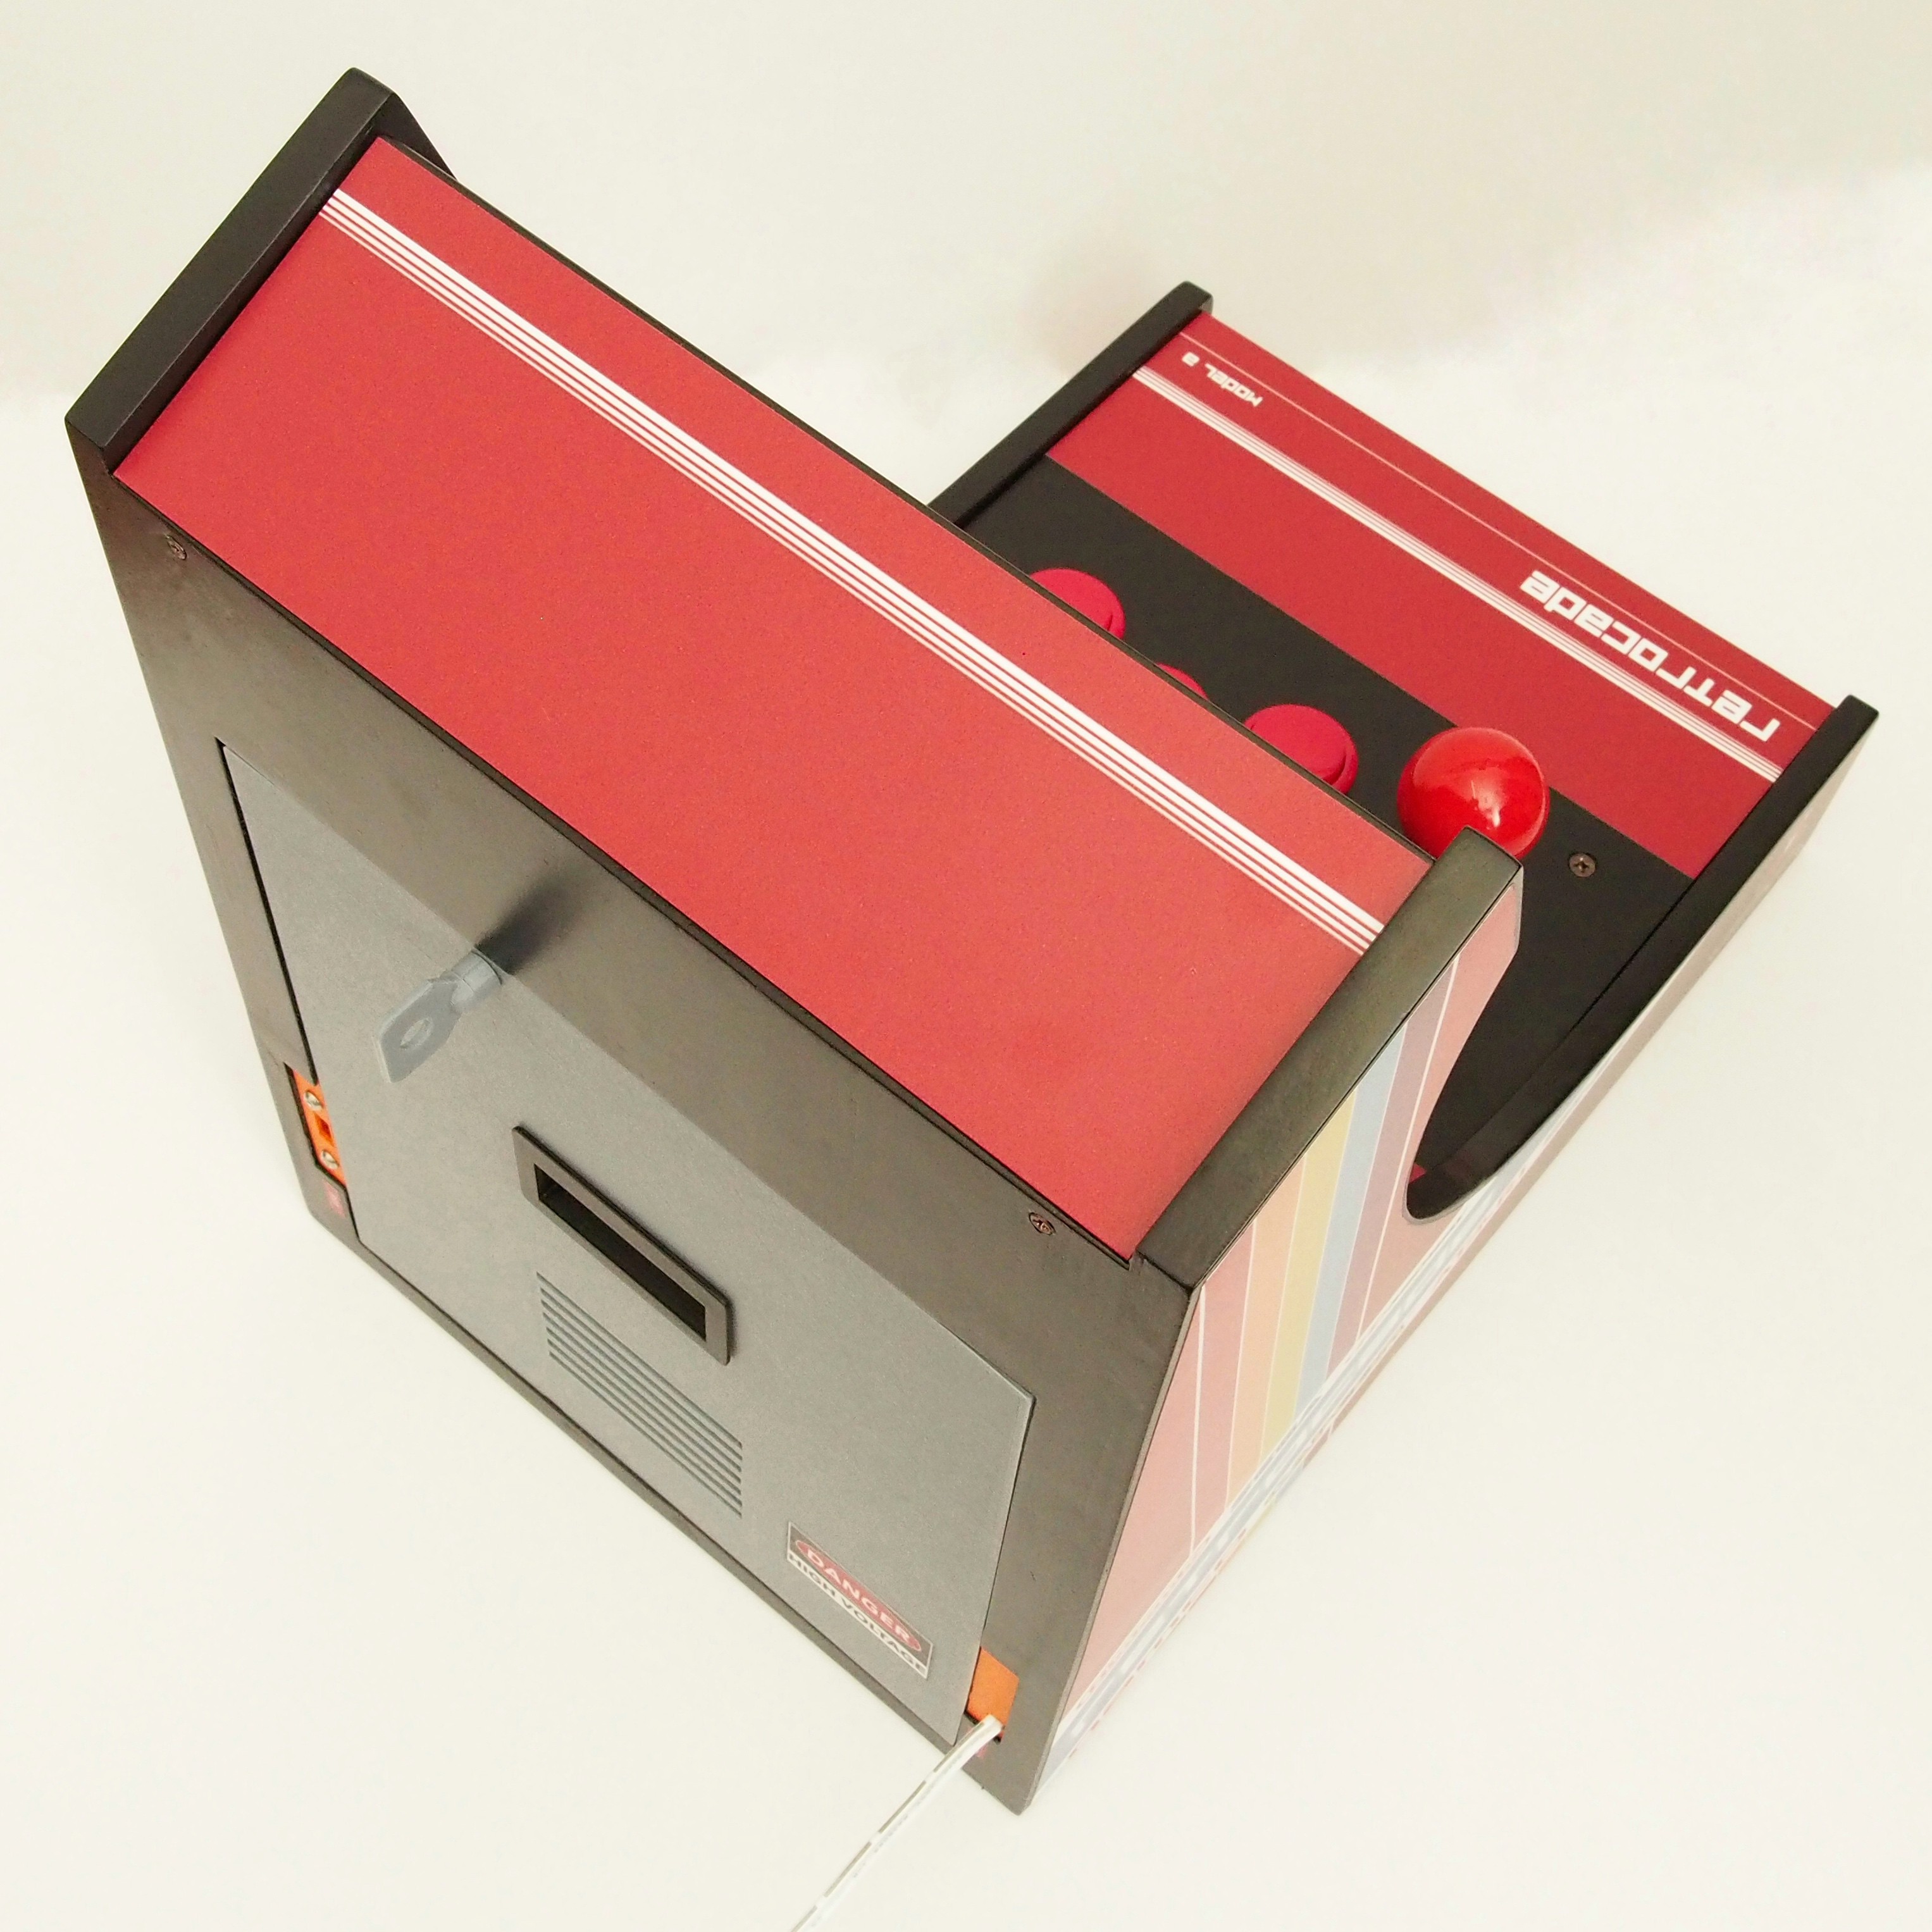
And this is how the back of the arcade machine looks like now in the final design.
Here's the full video of the completed project.
At long last, after what seems like forever ... Hahahaaa! -
Stickers Are Ready!
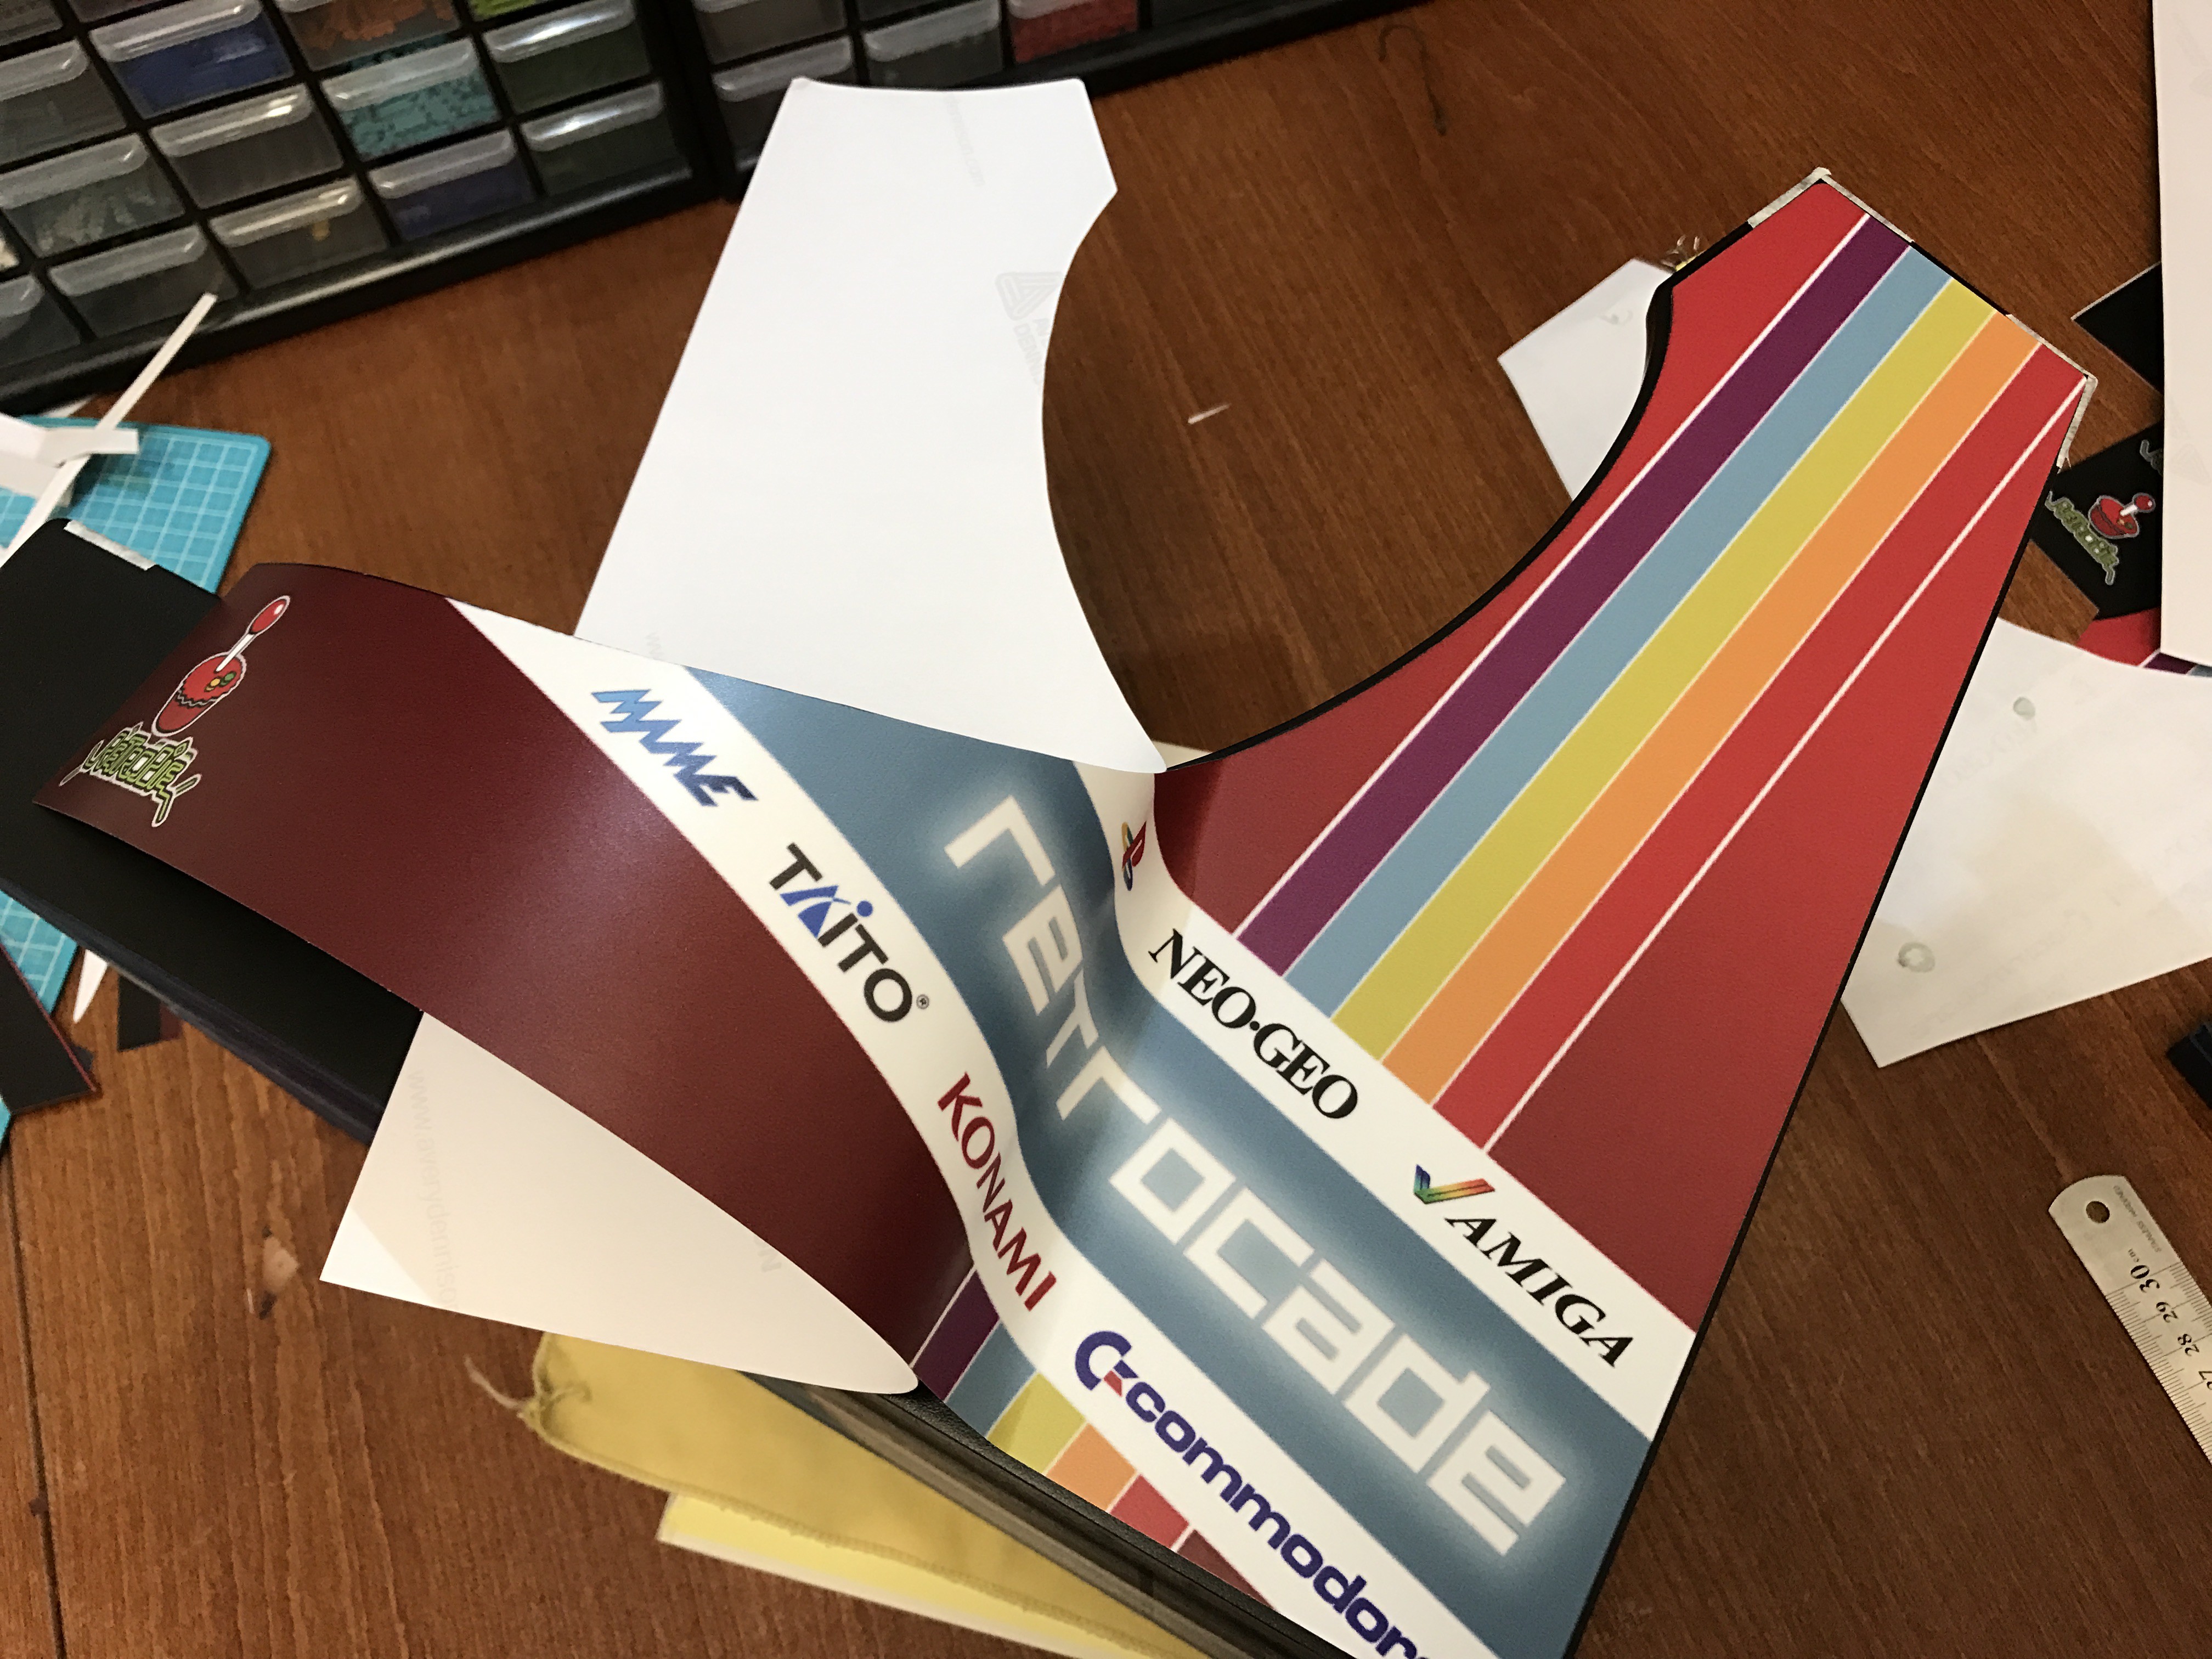
03/16/2017 at 12:35 • 1 commentFinally got the vinyl sticker back from the printers!
Cutting and pasting stickers!
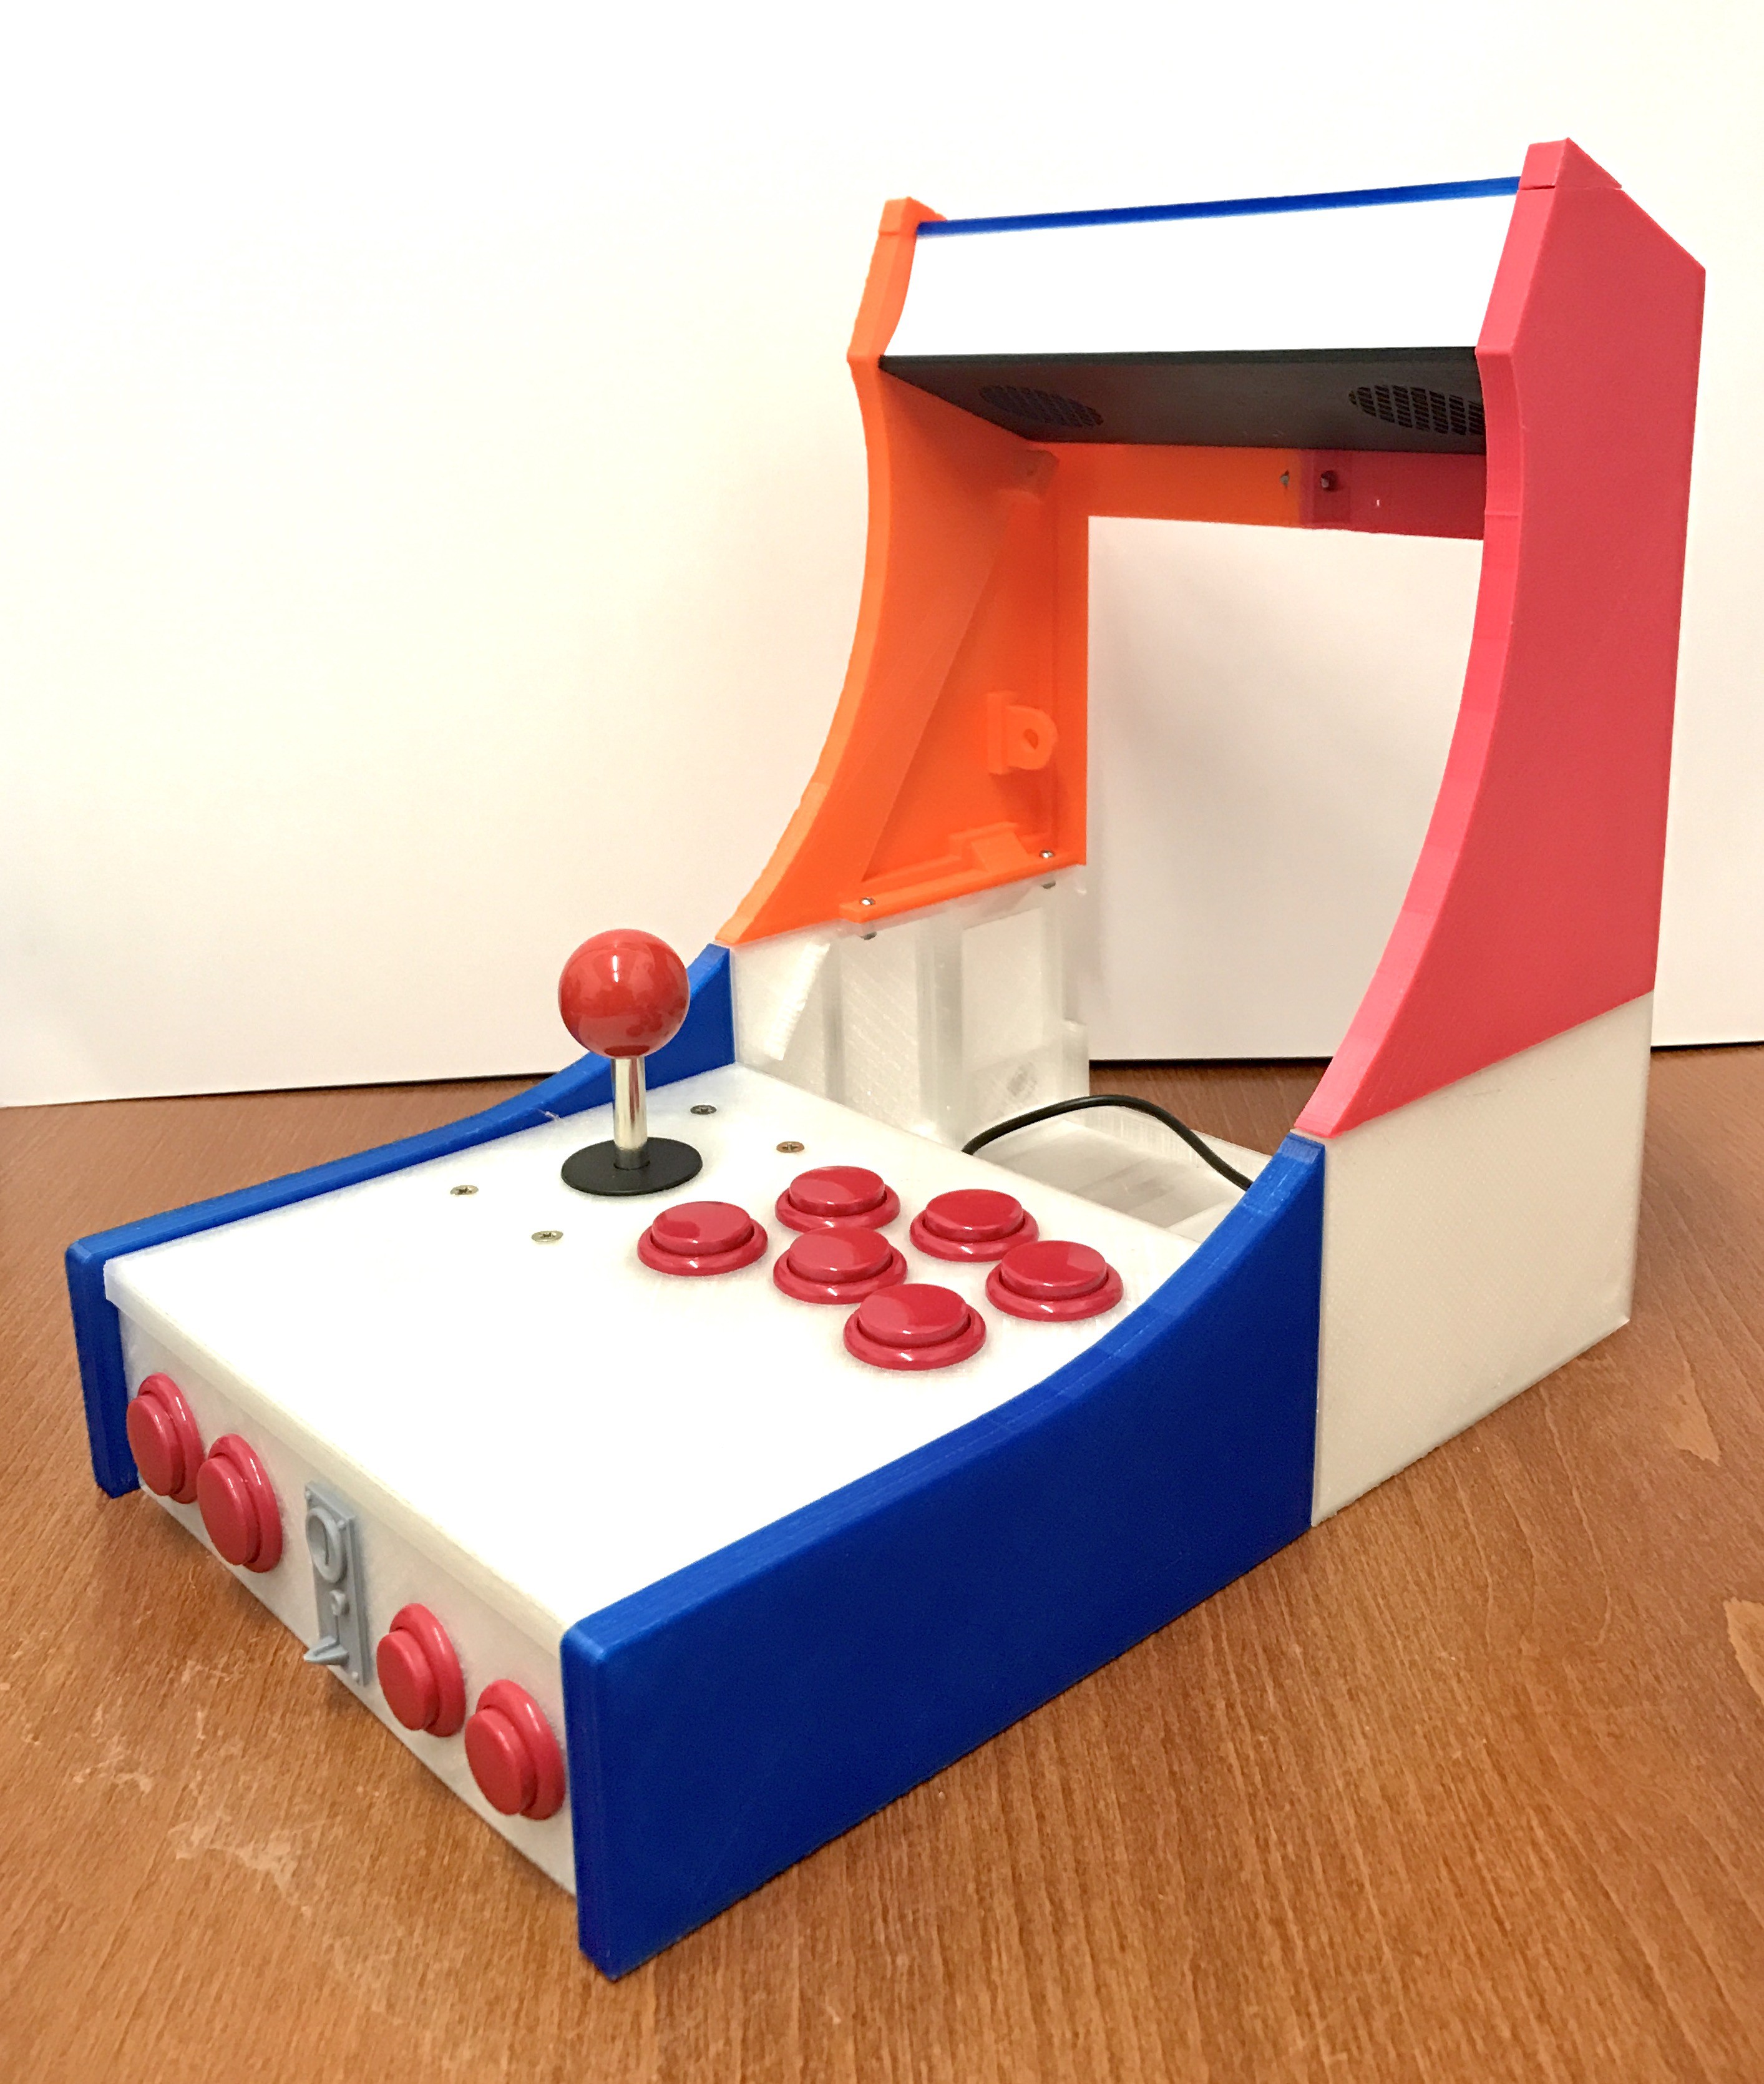
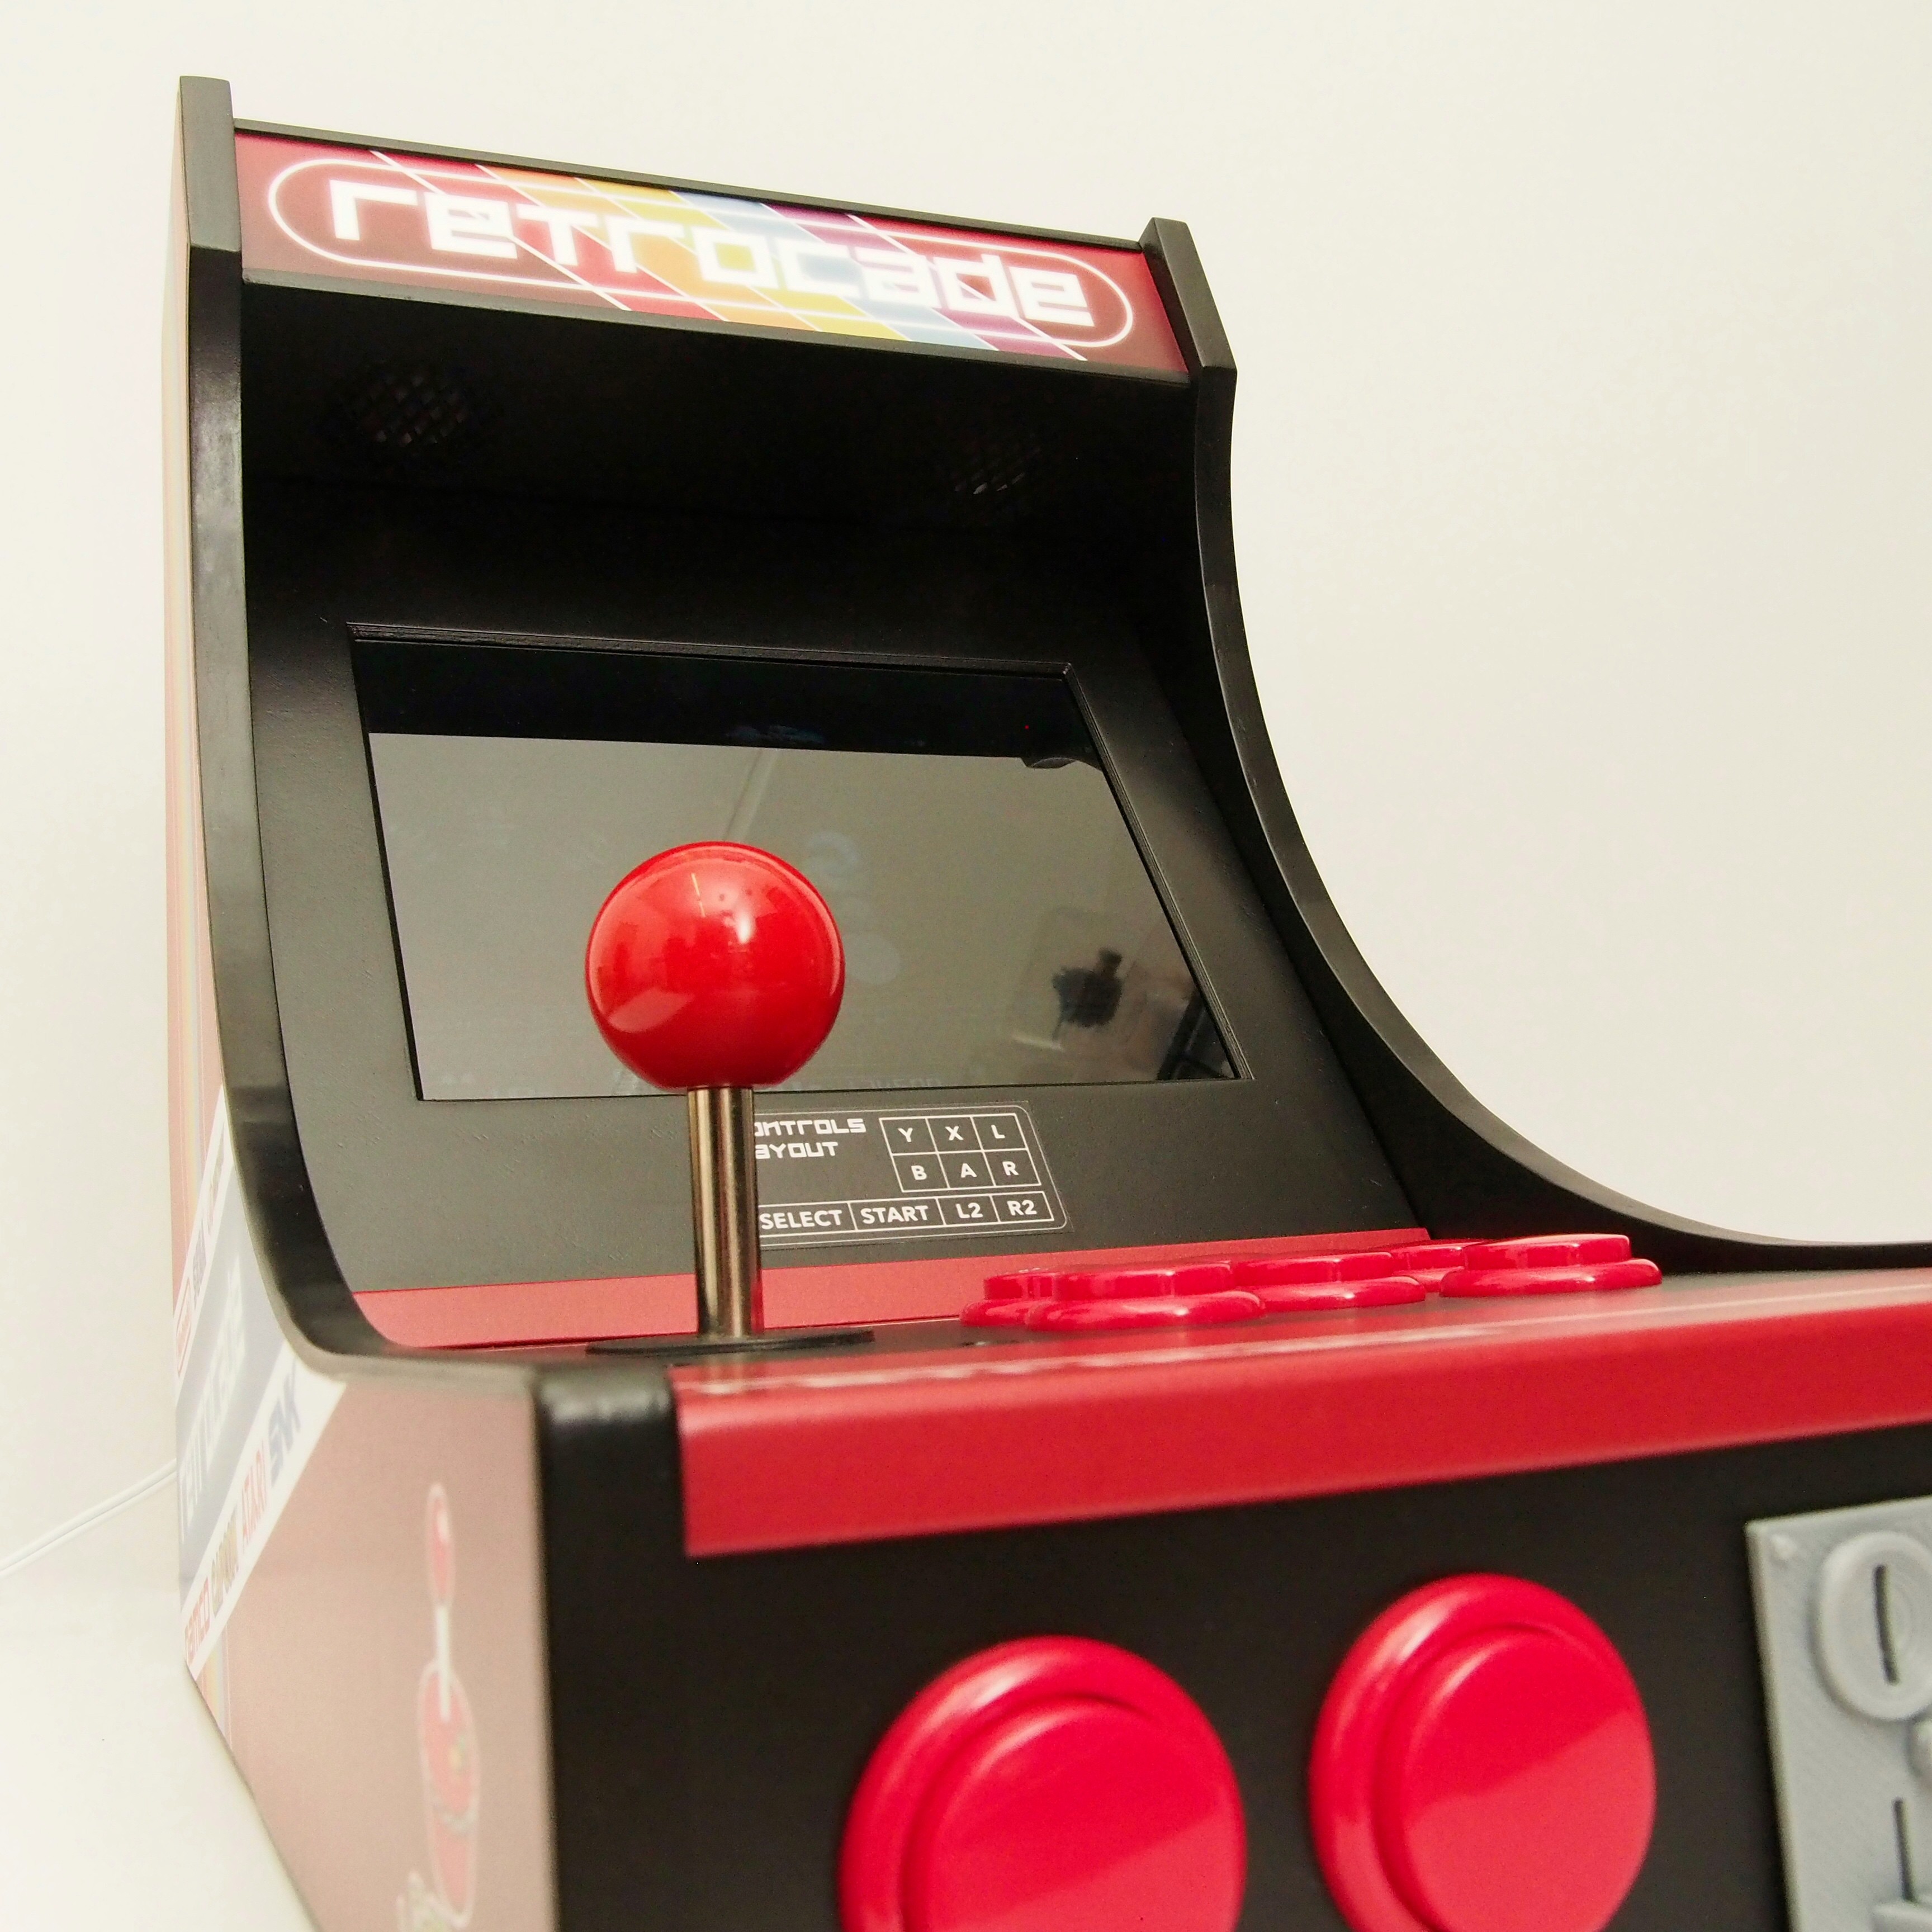
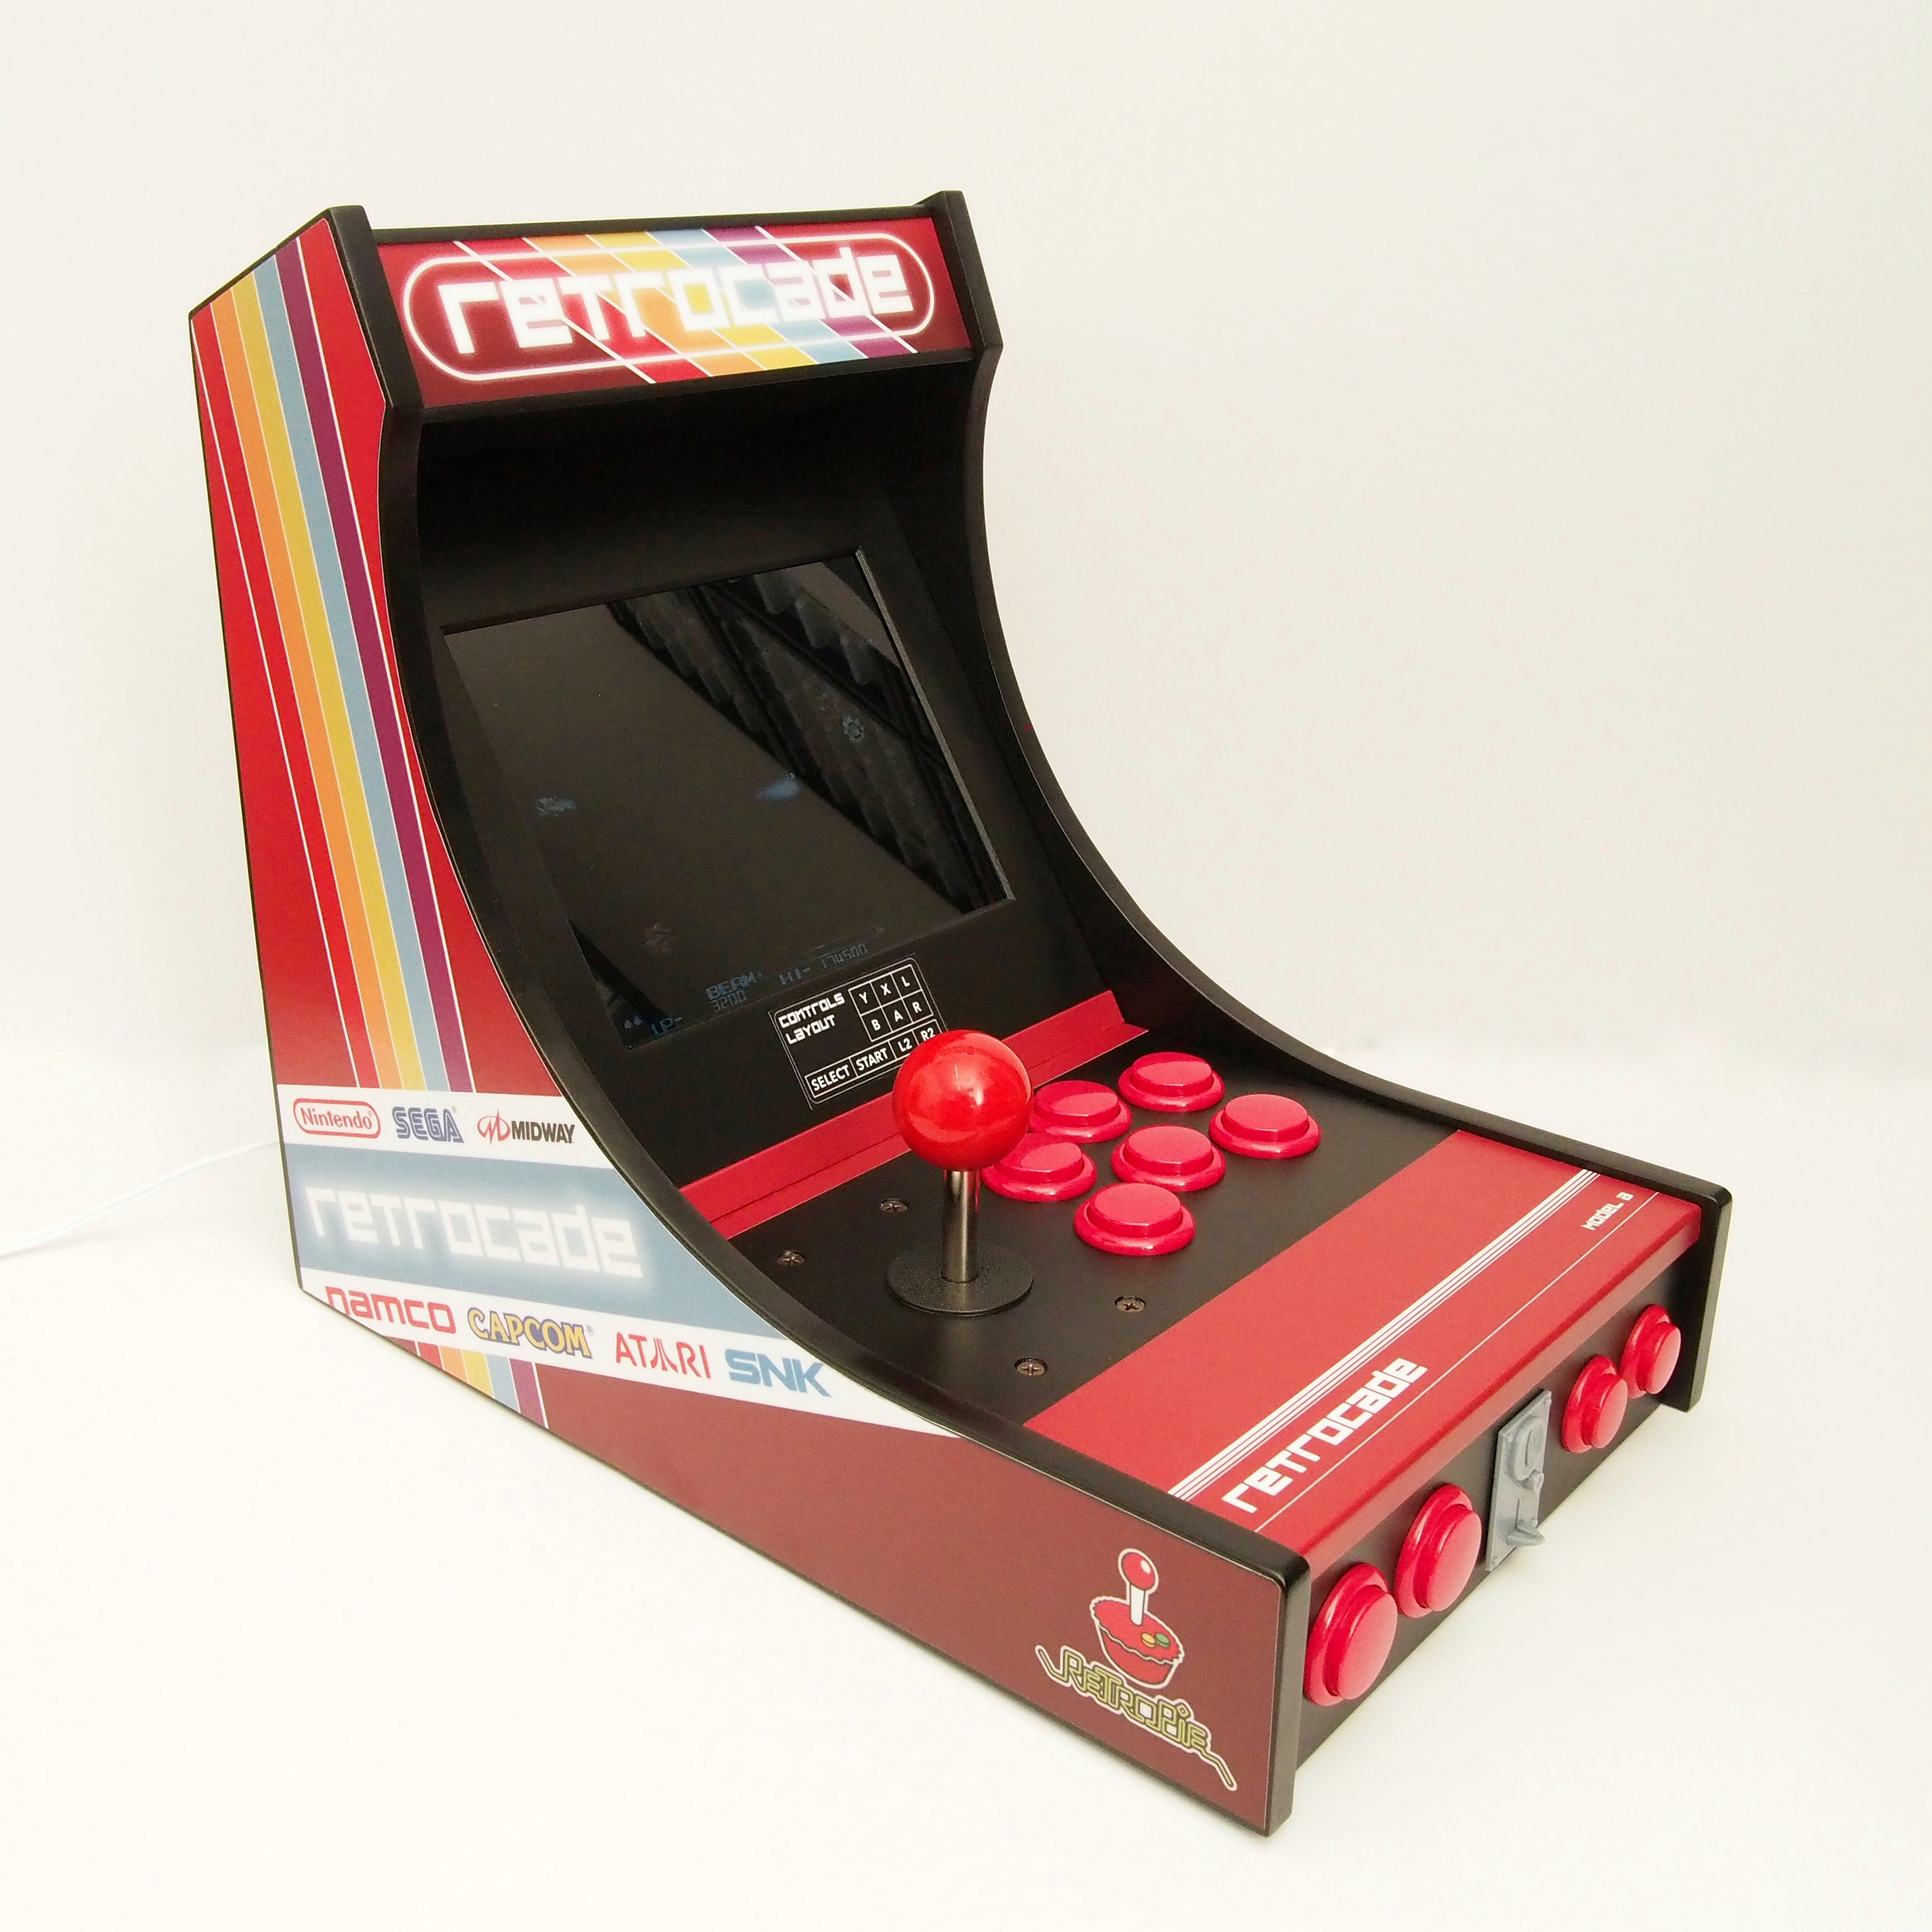
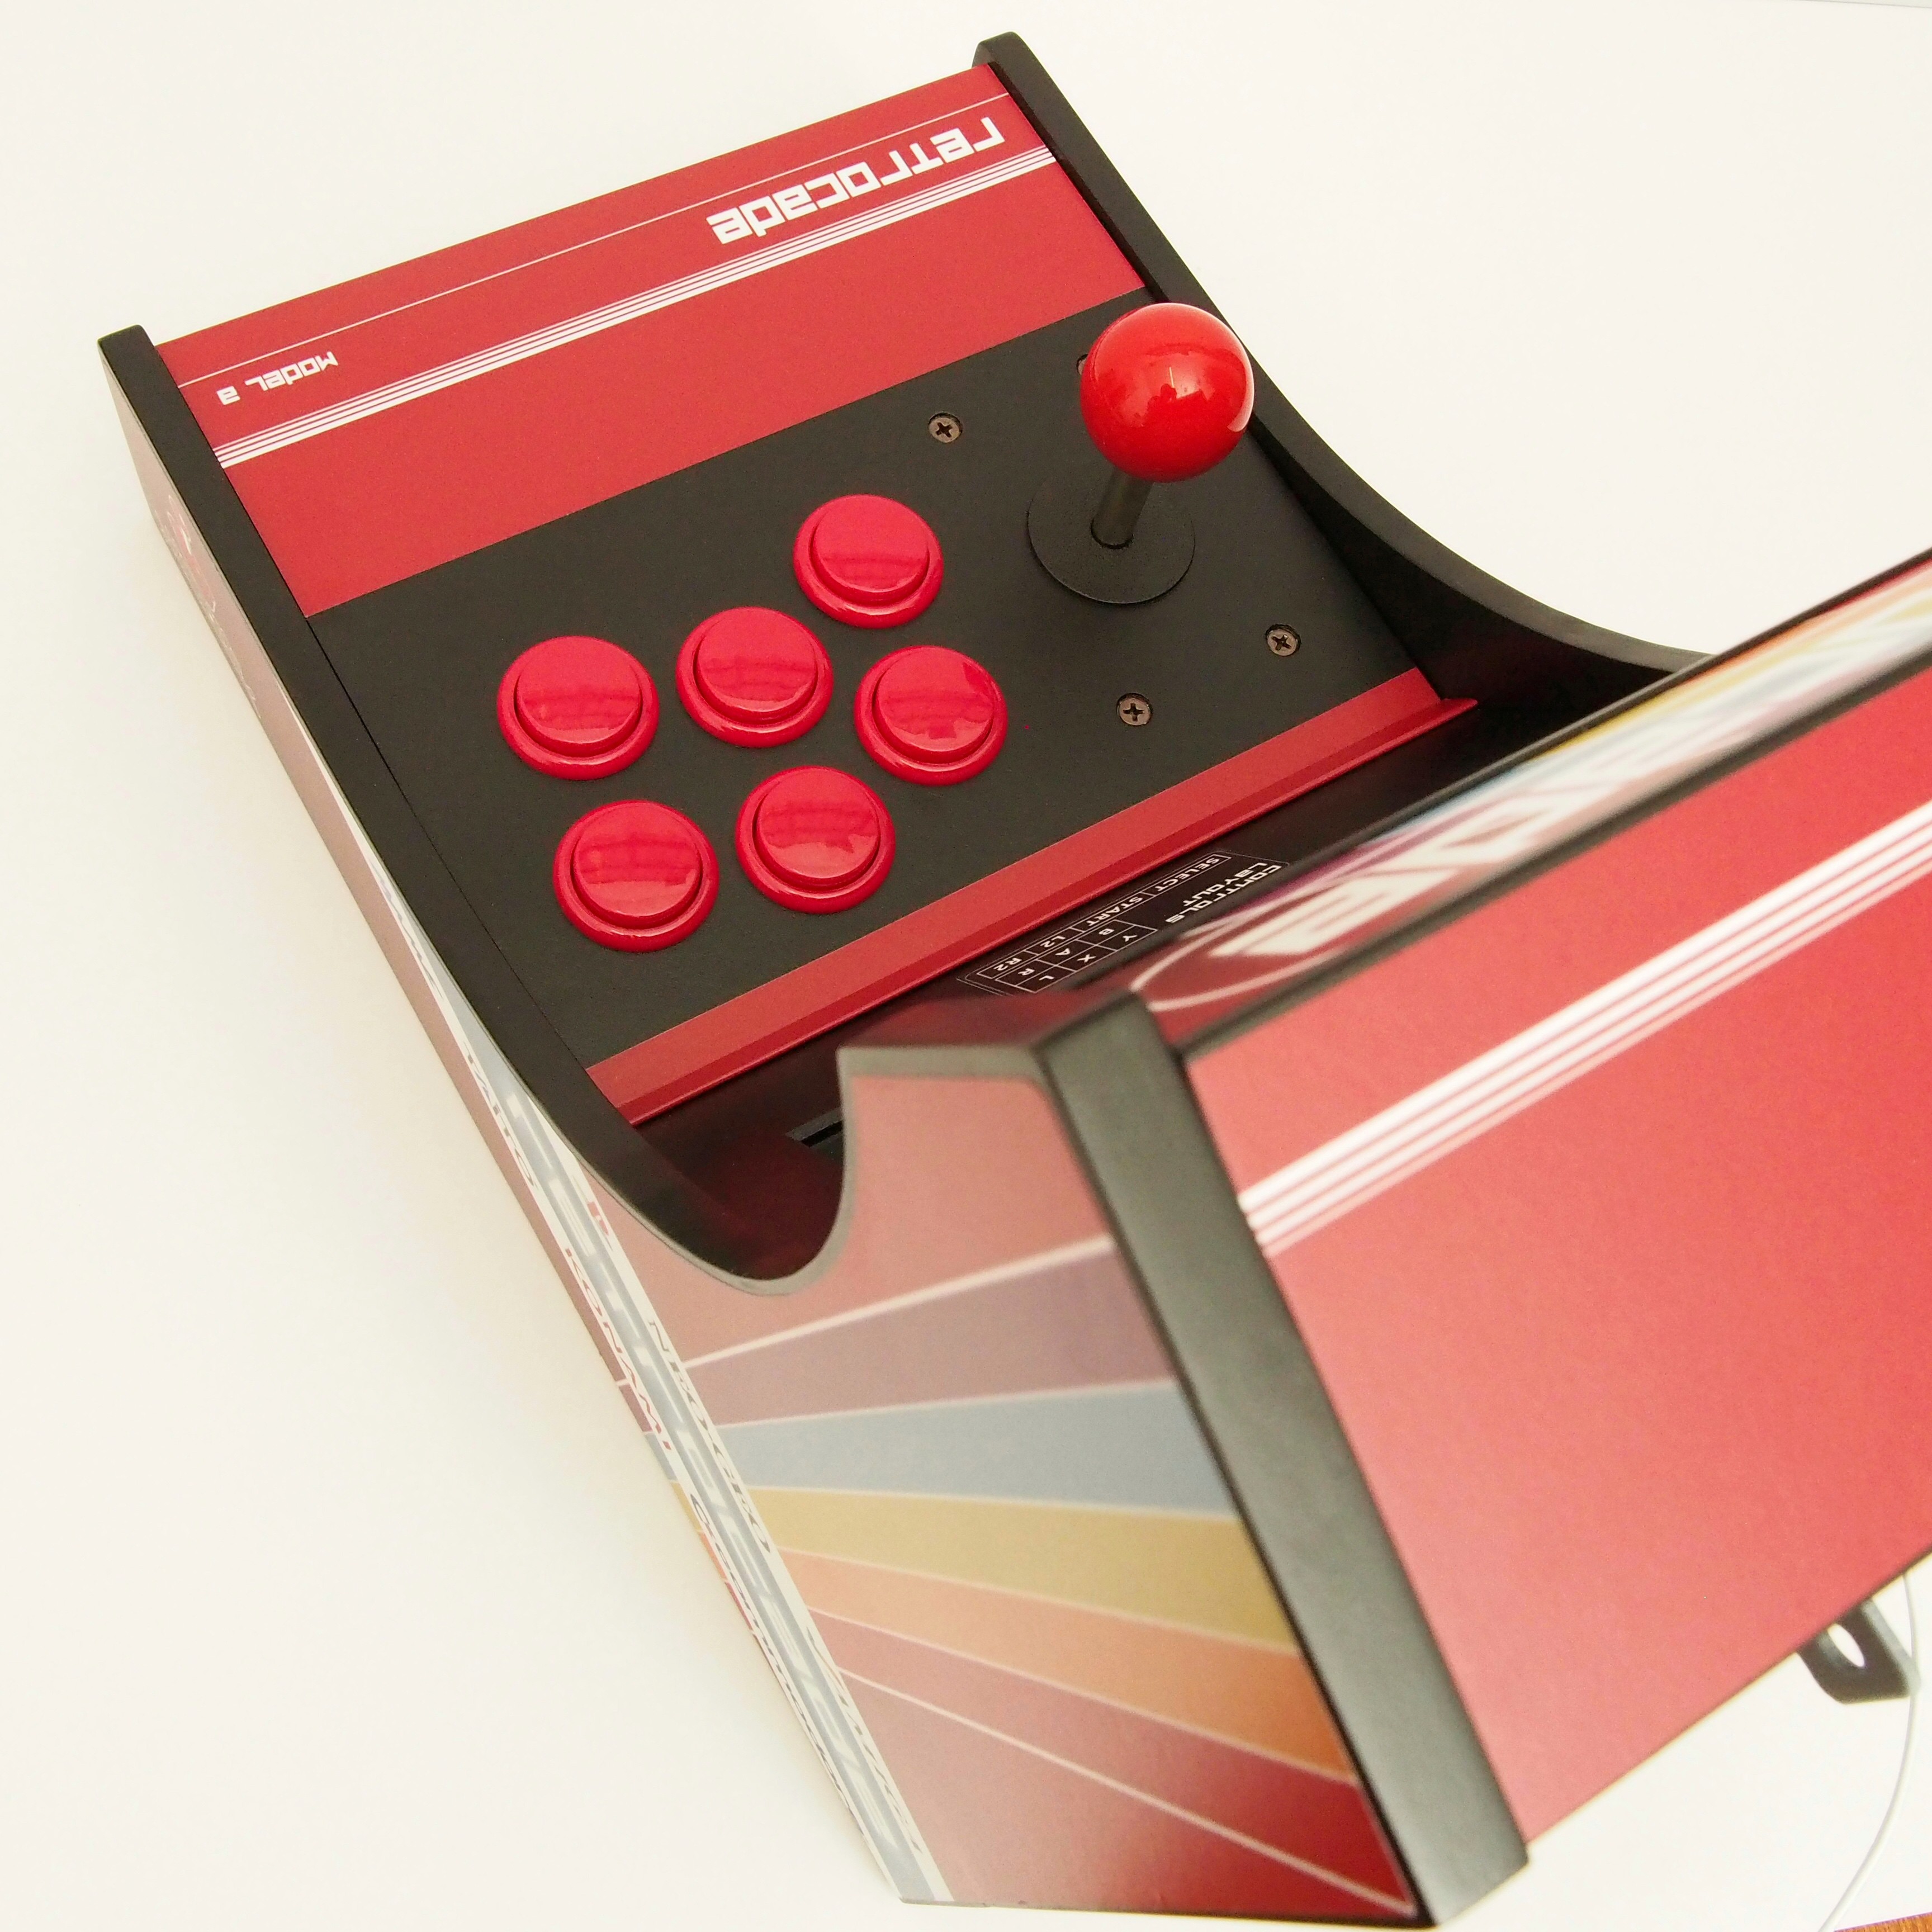
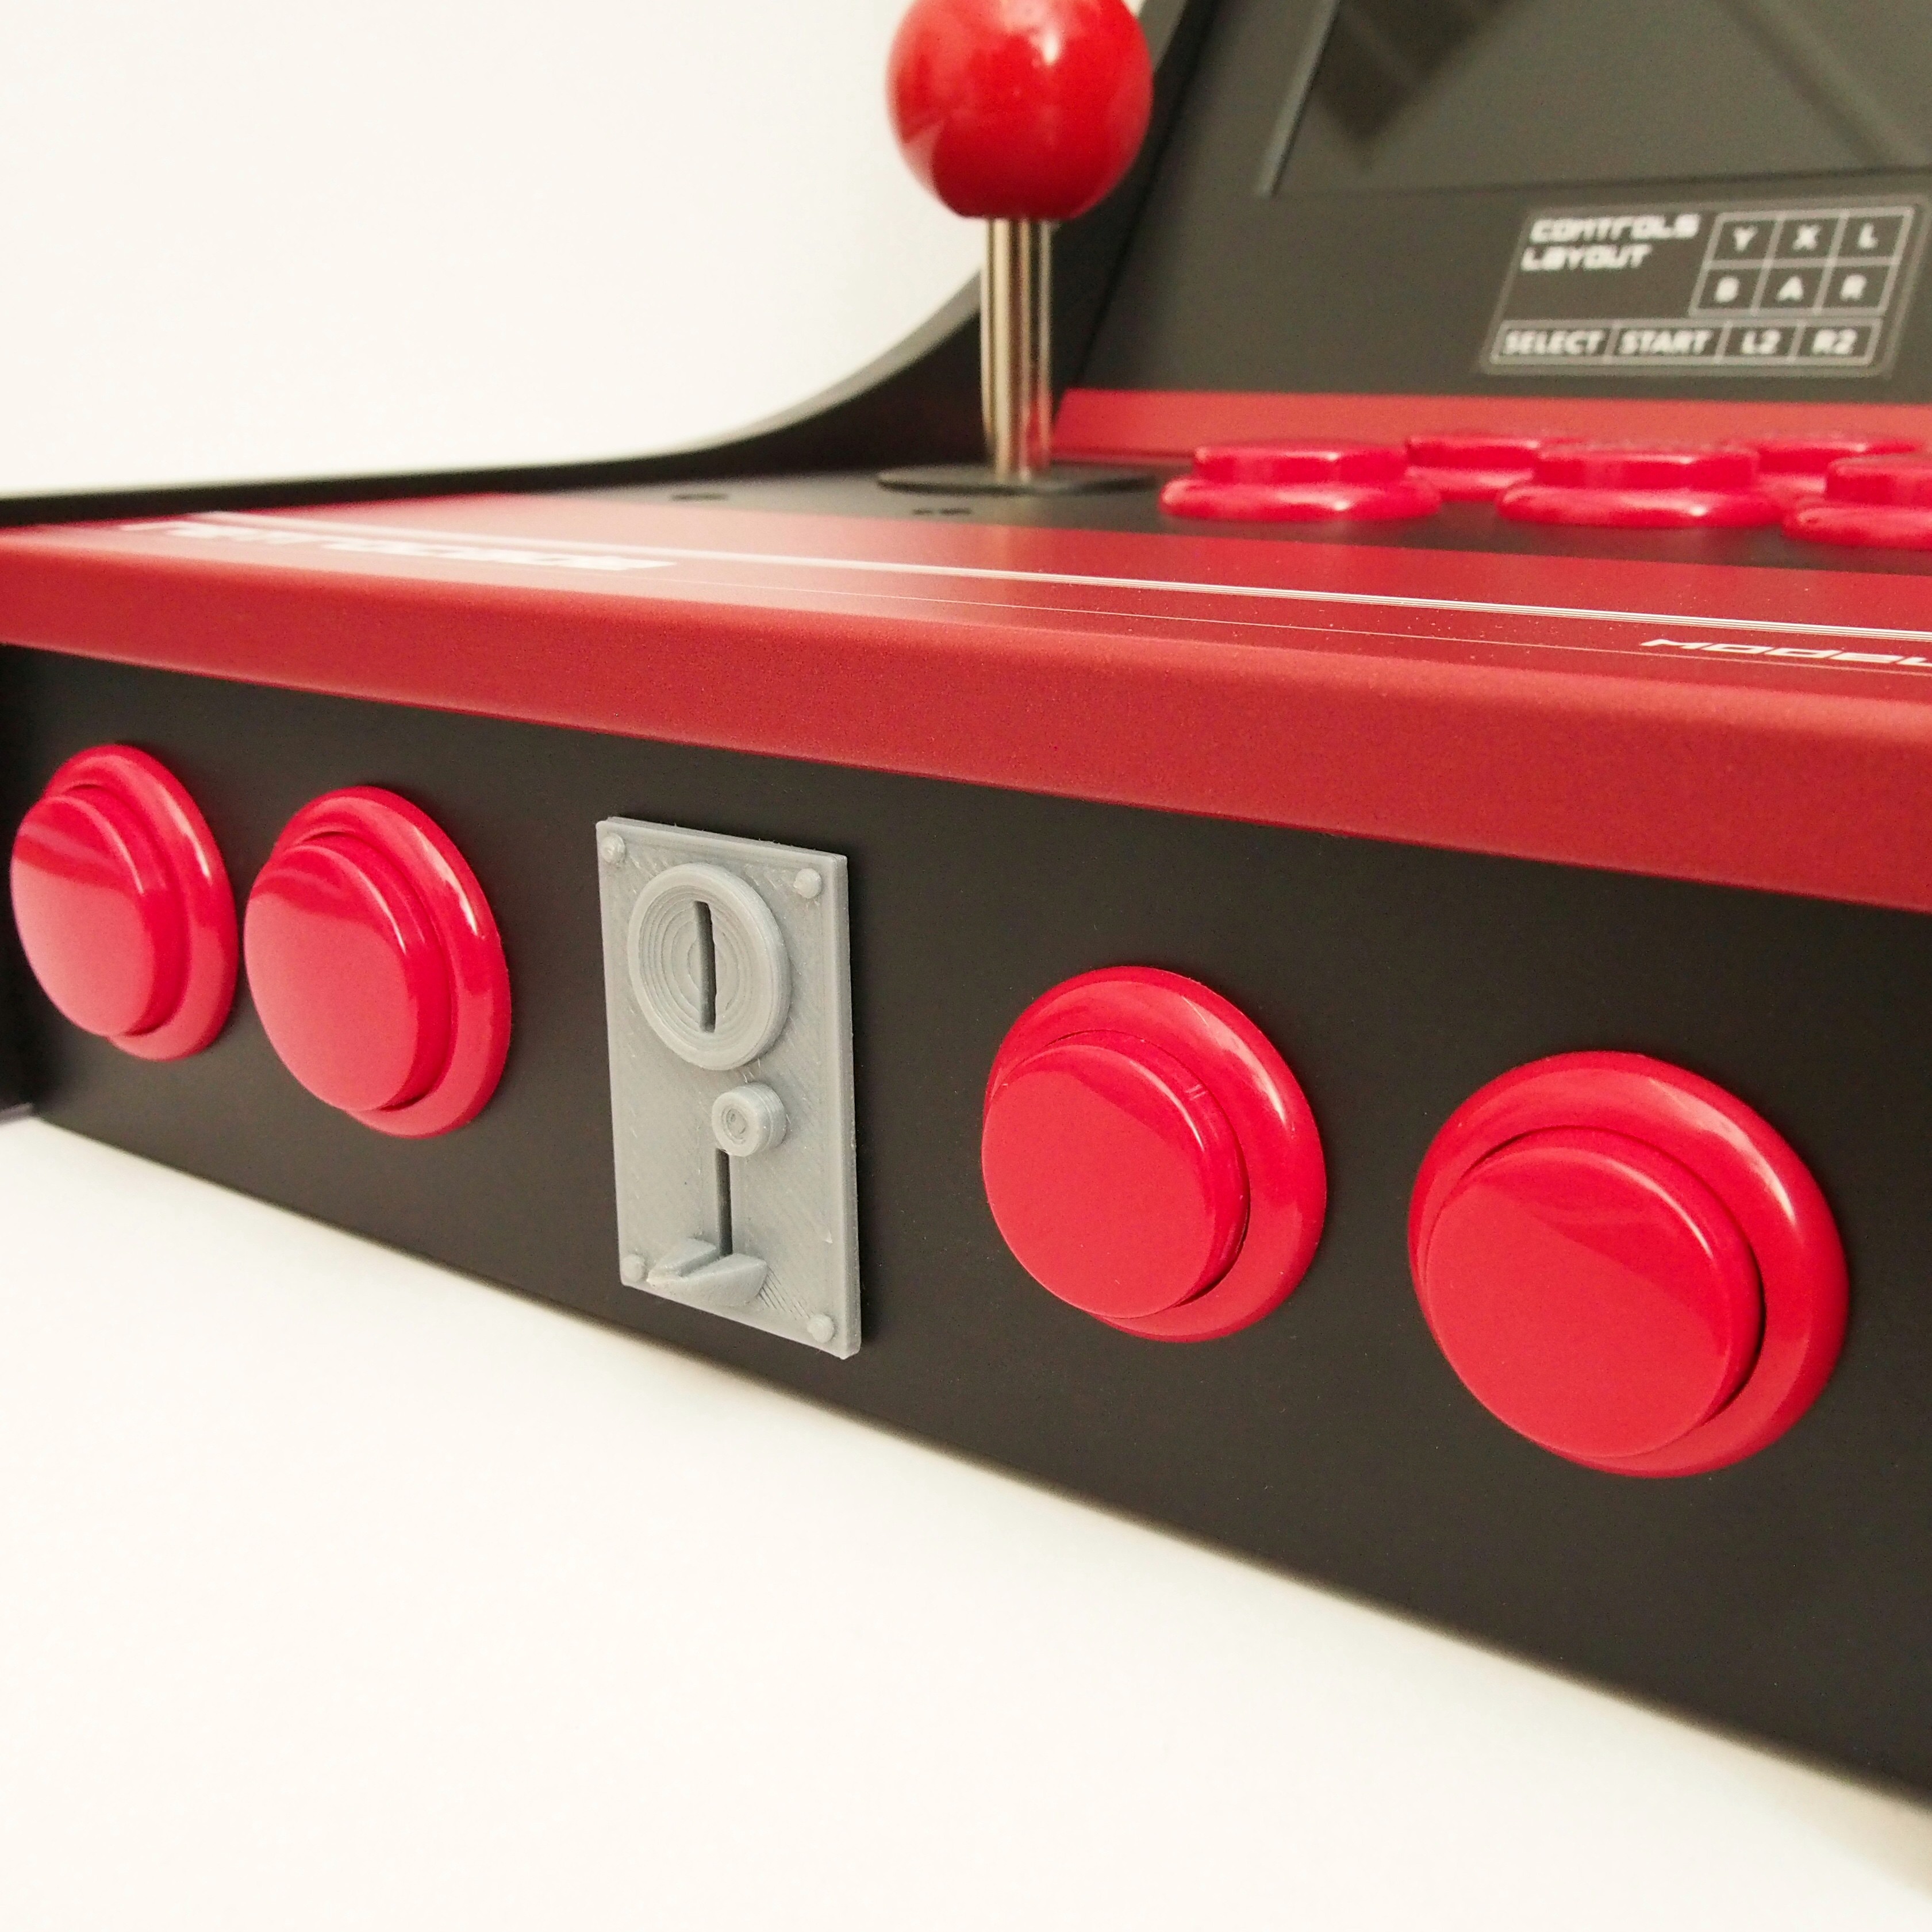
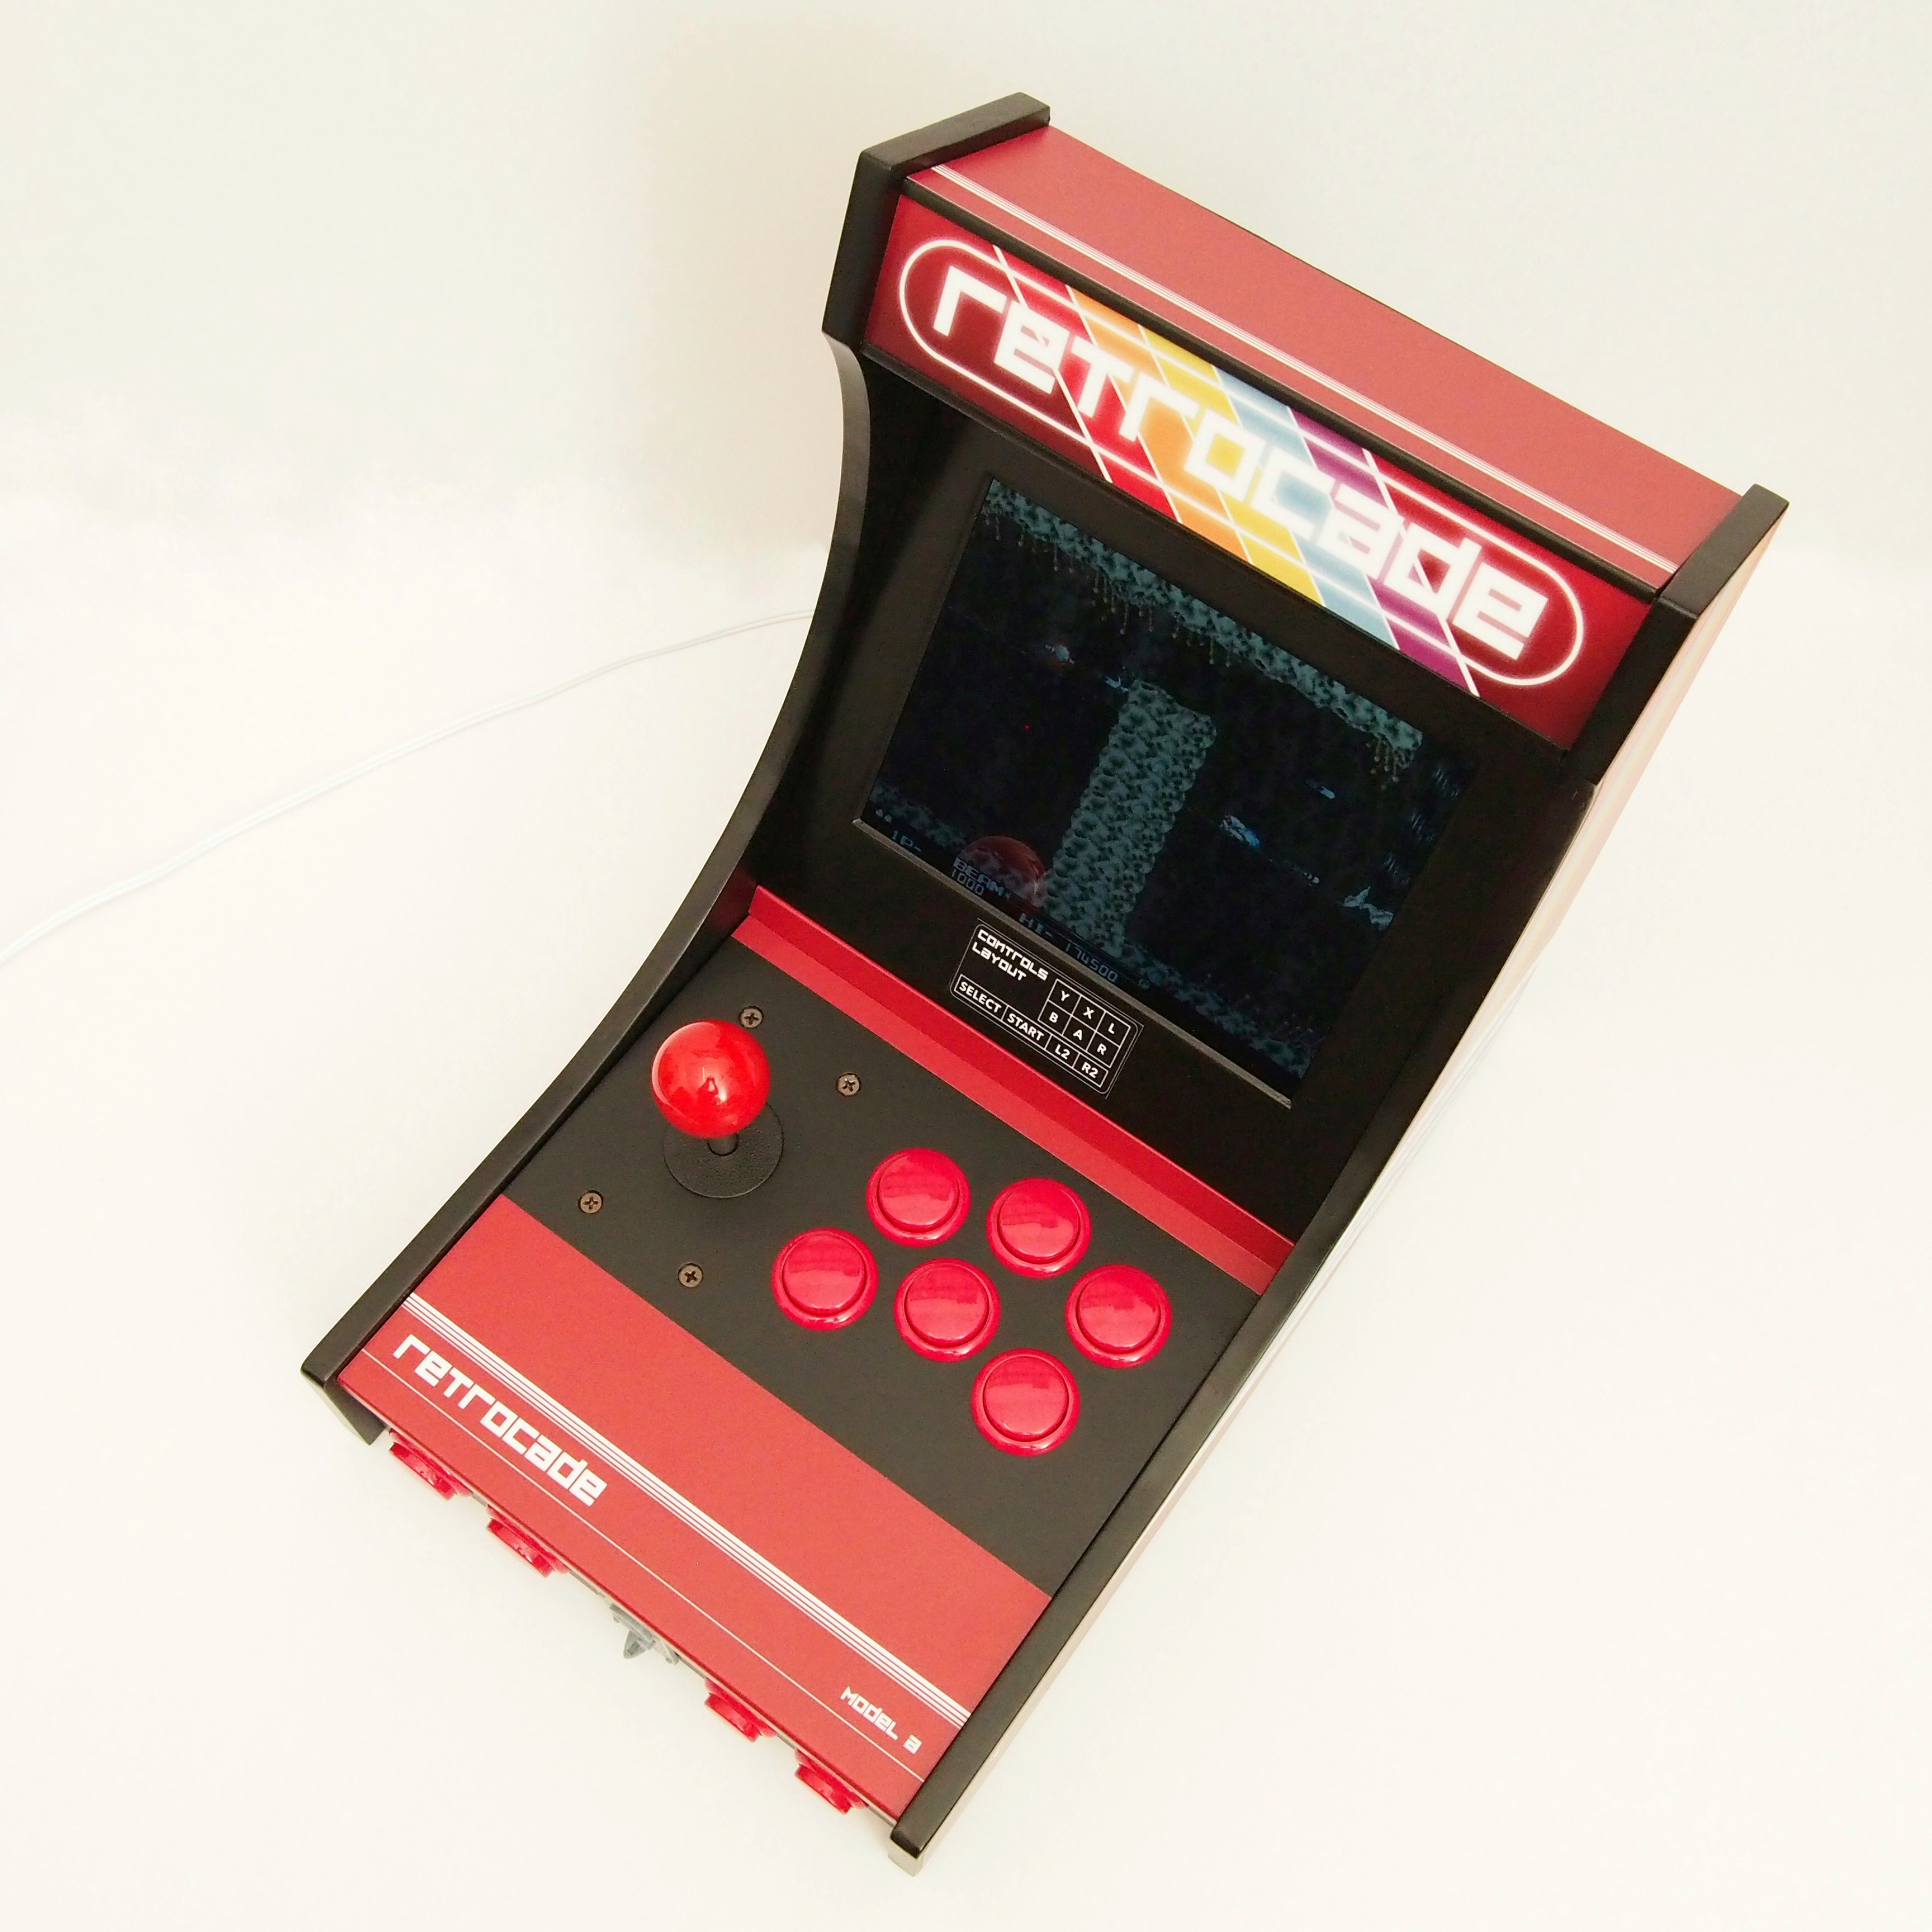
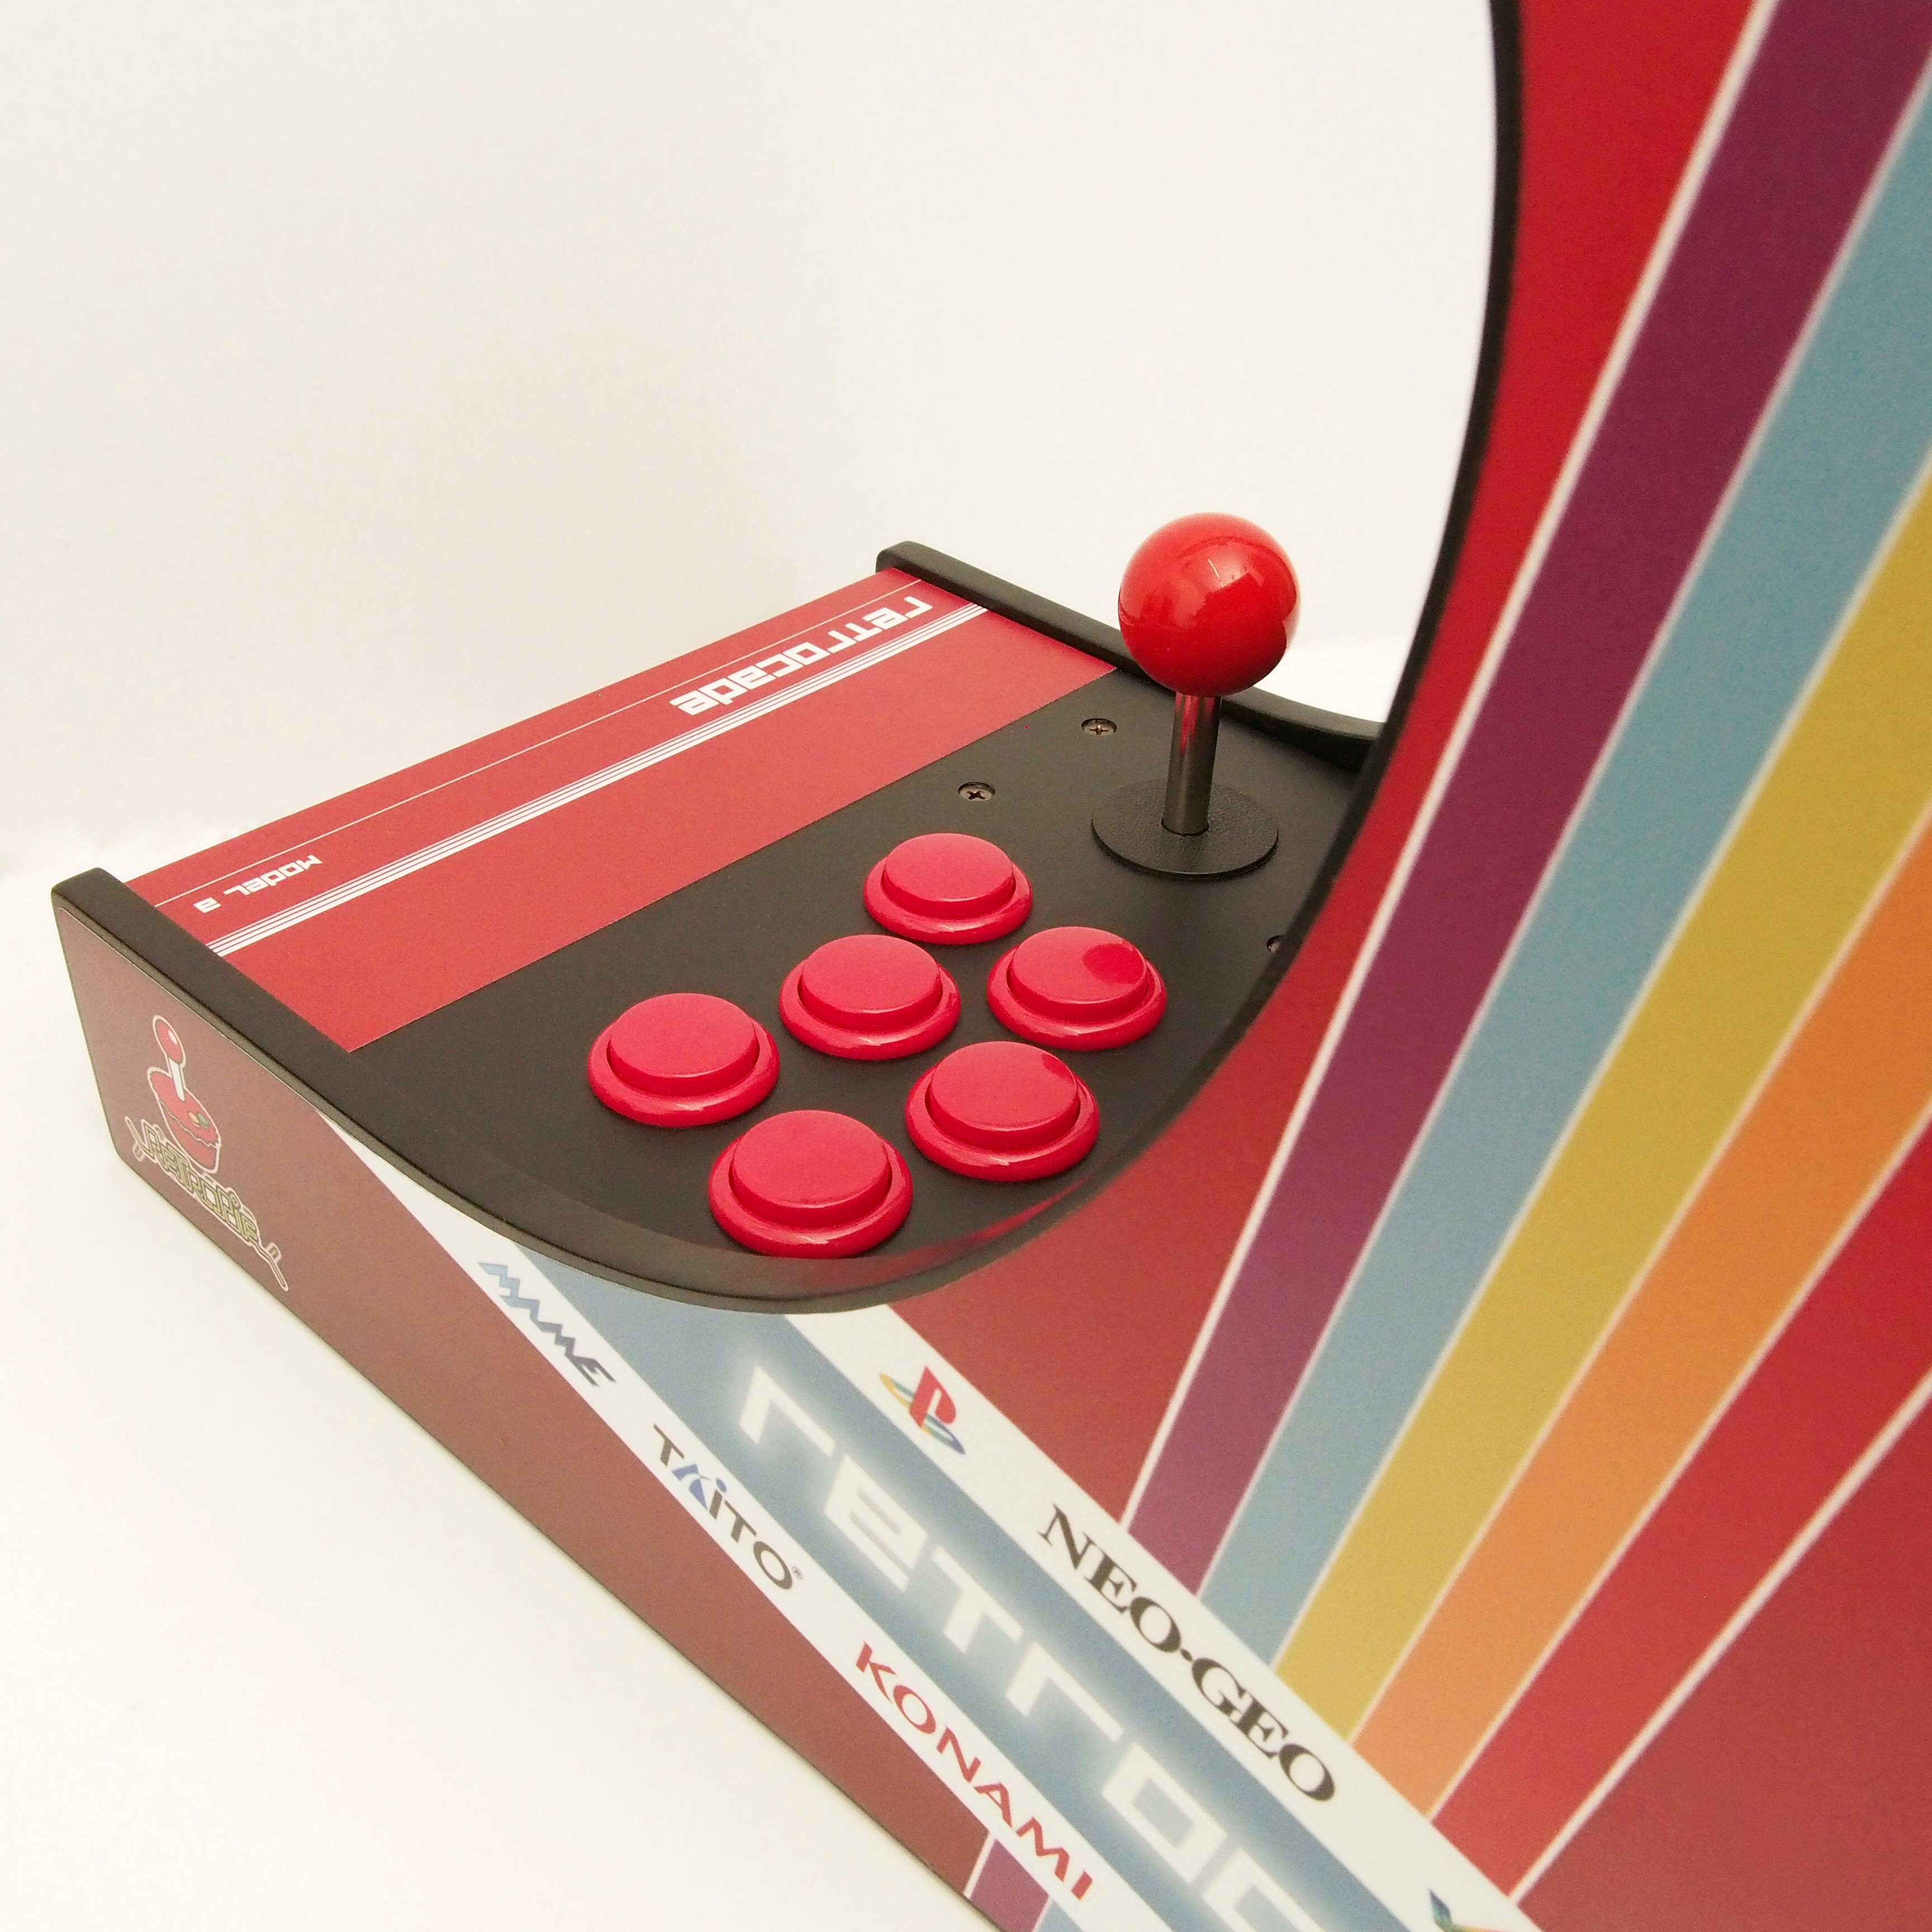
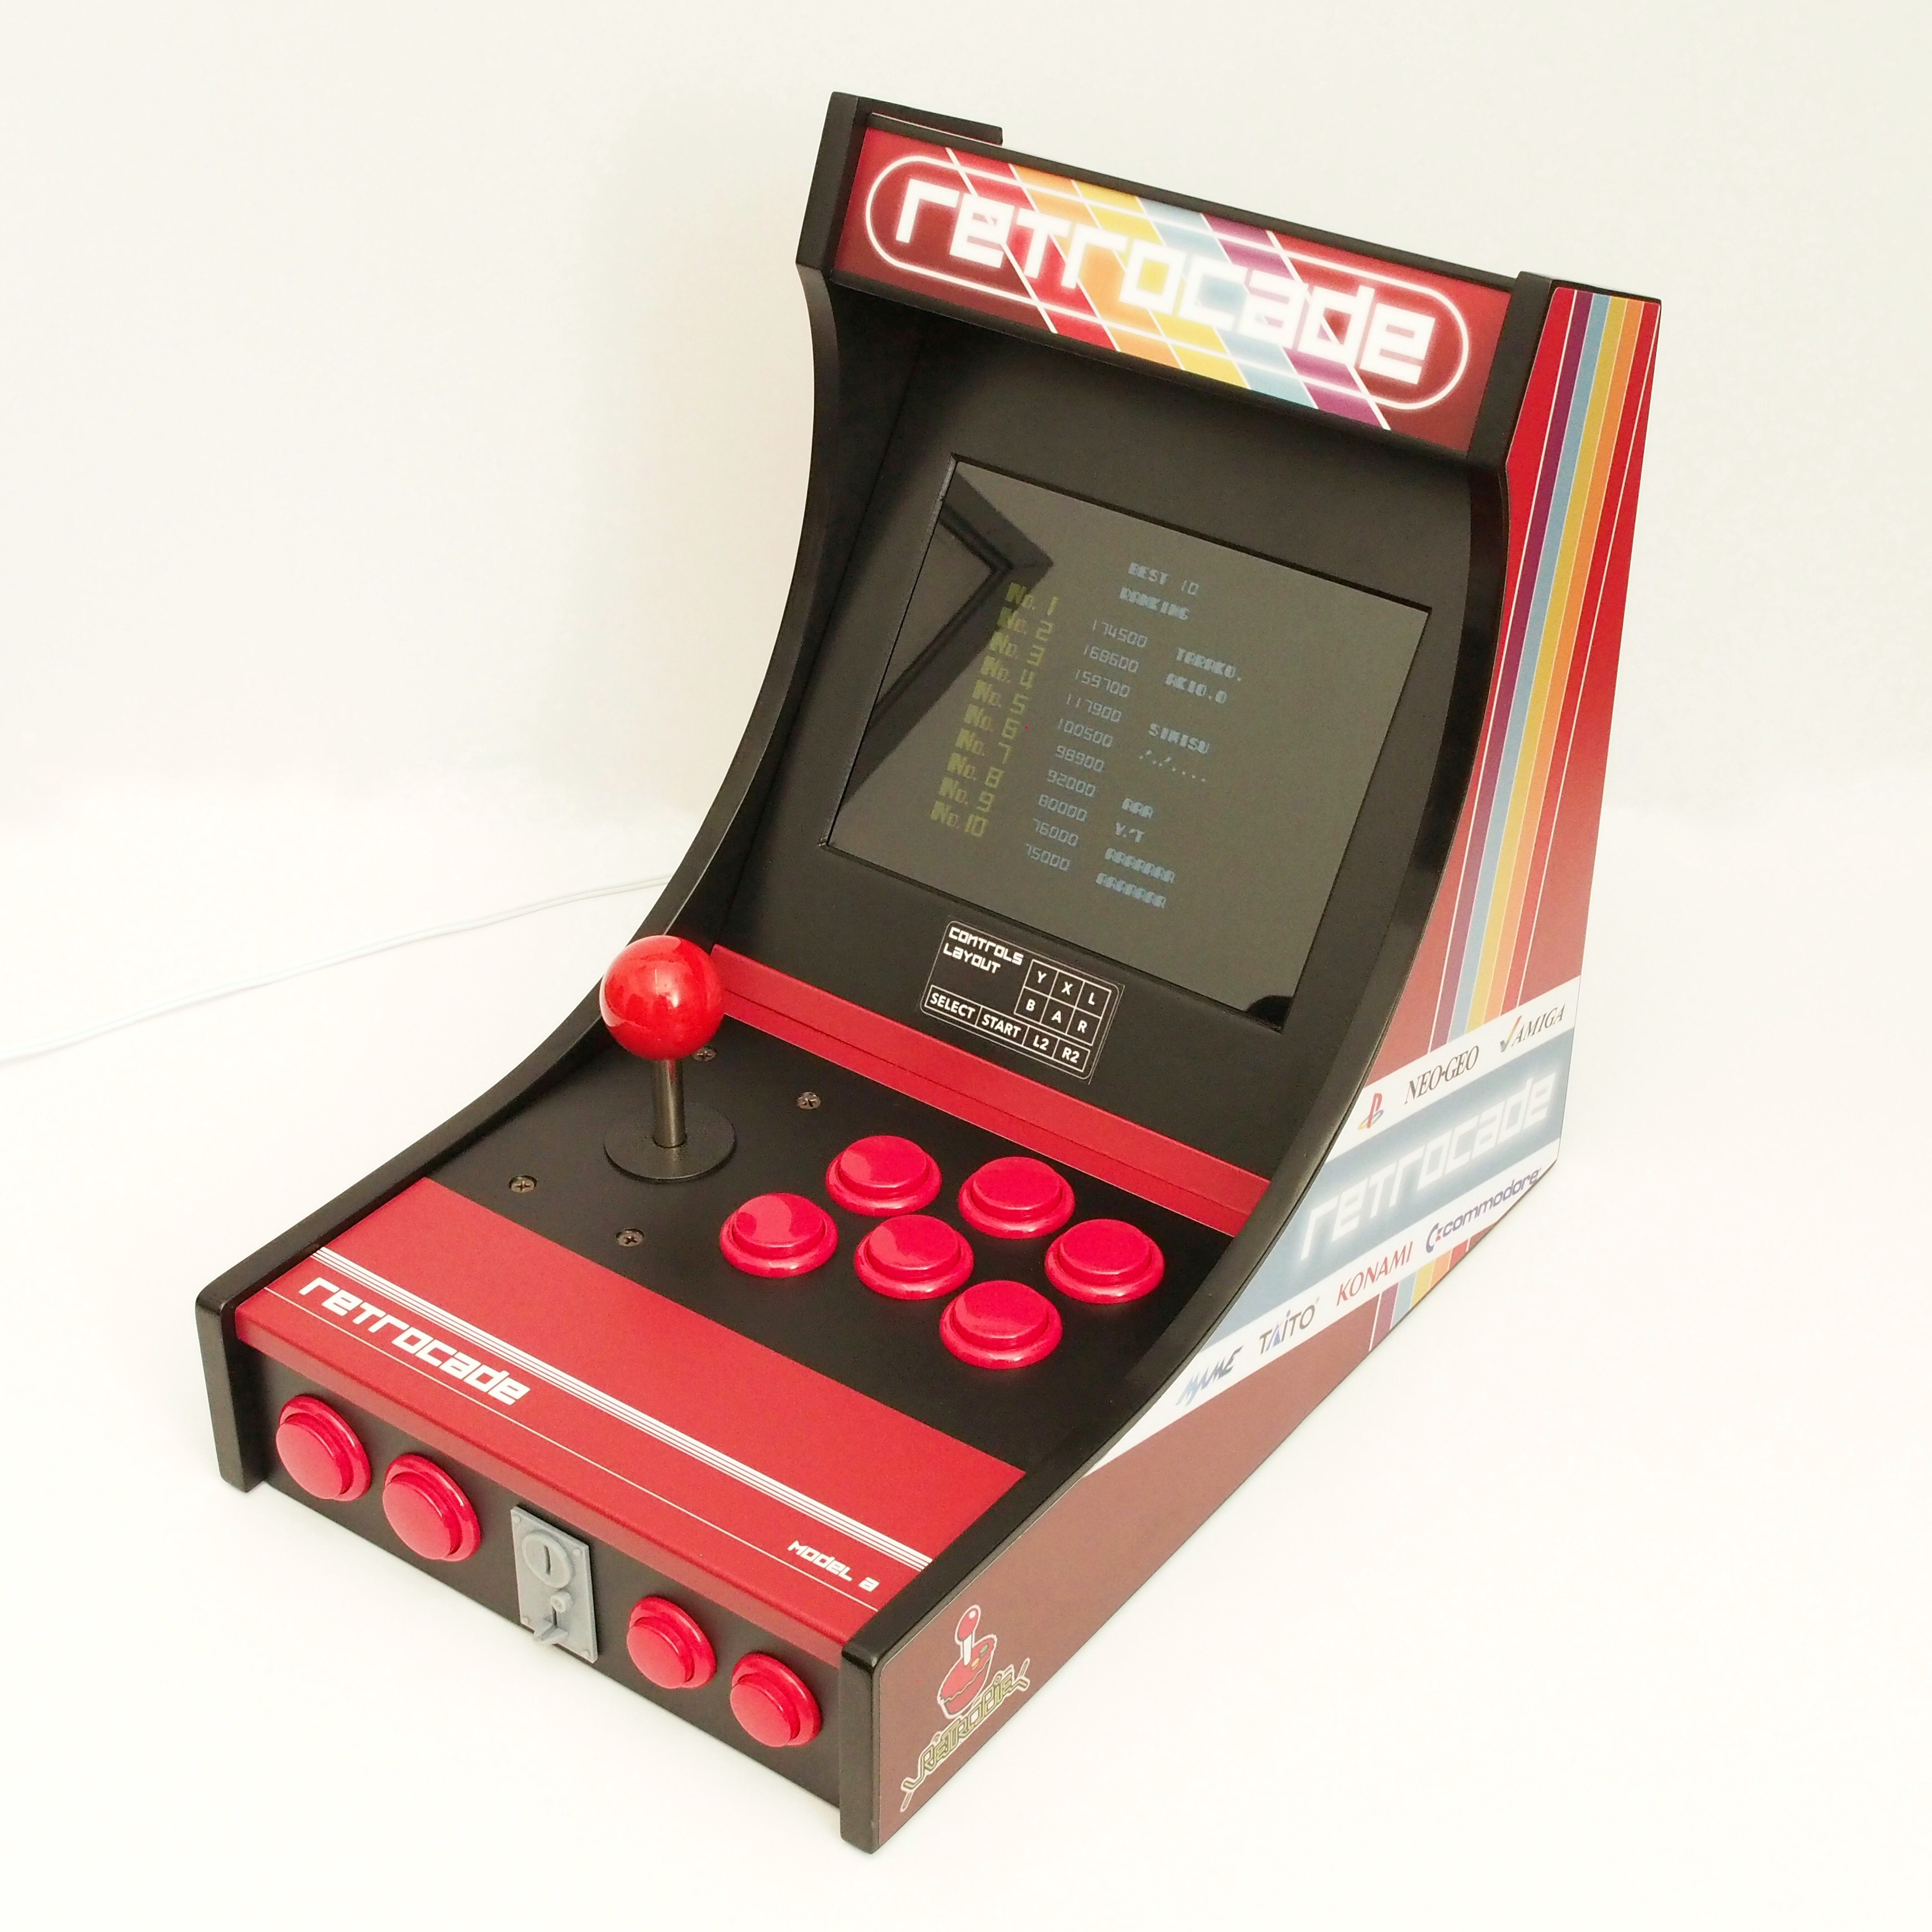
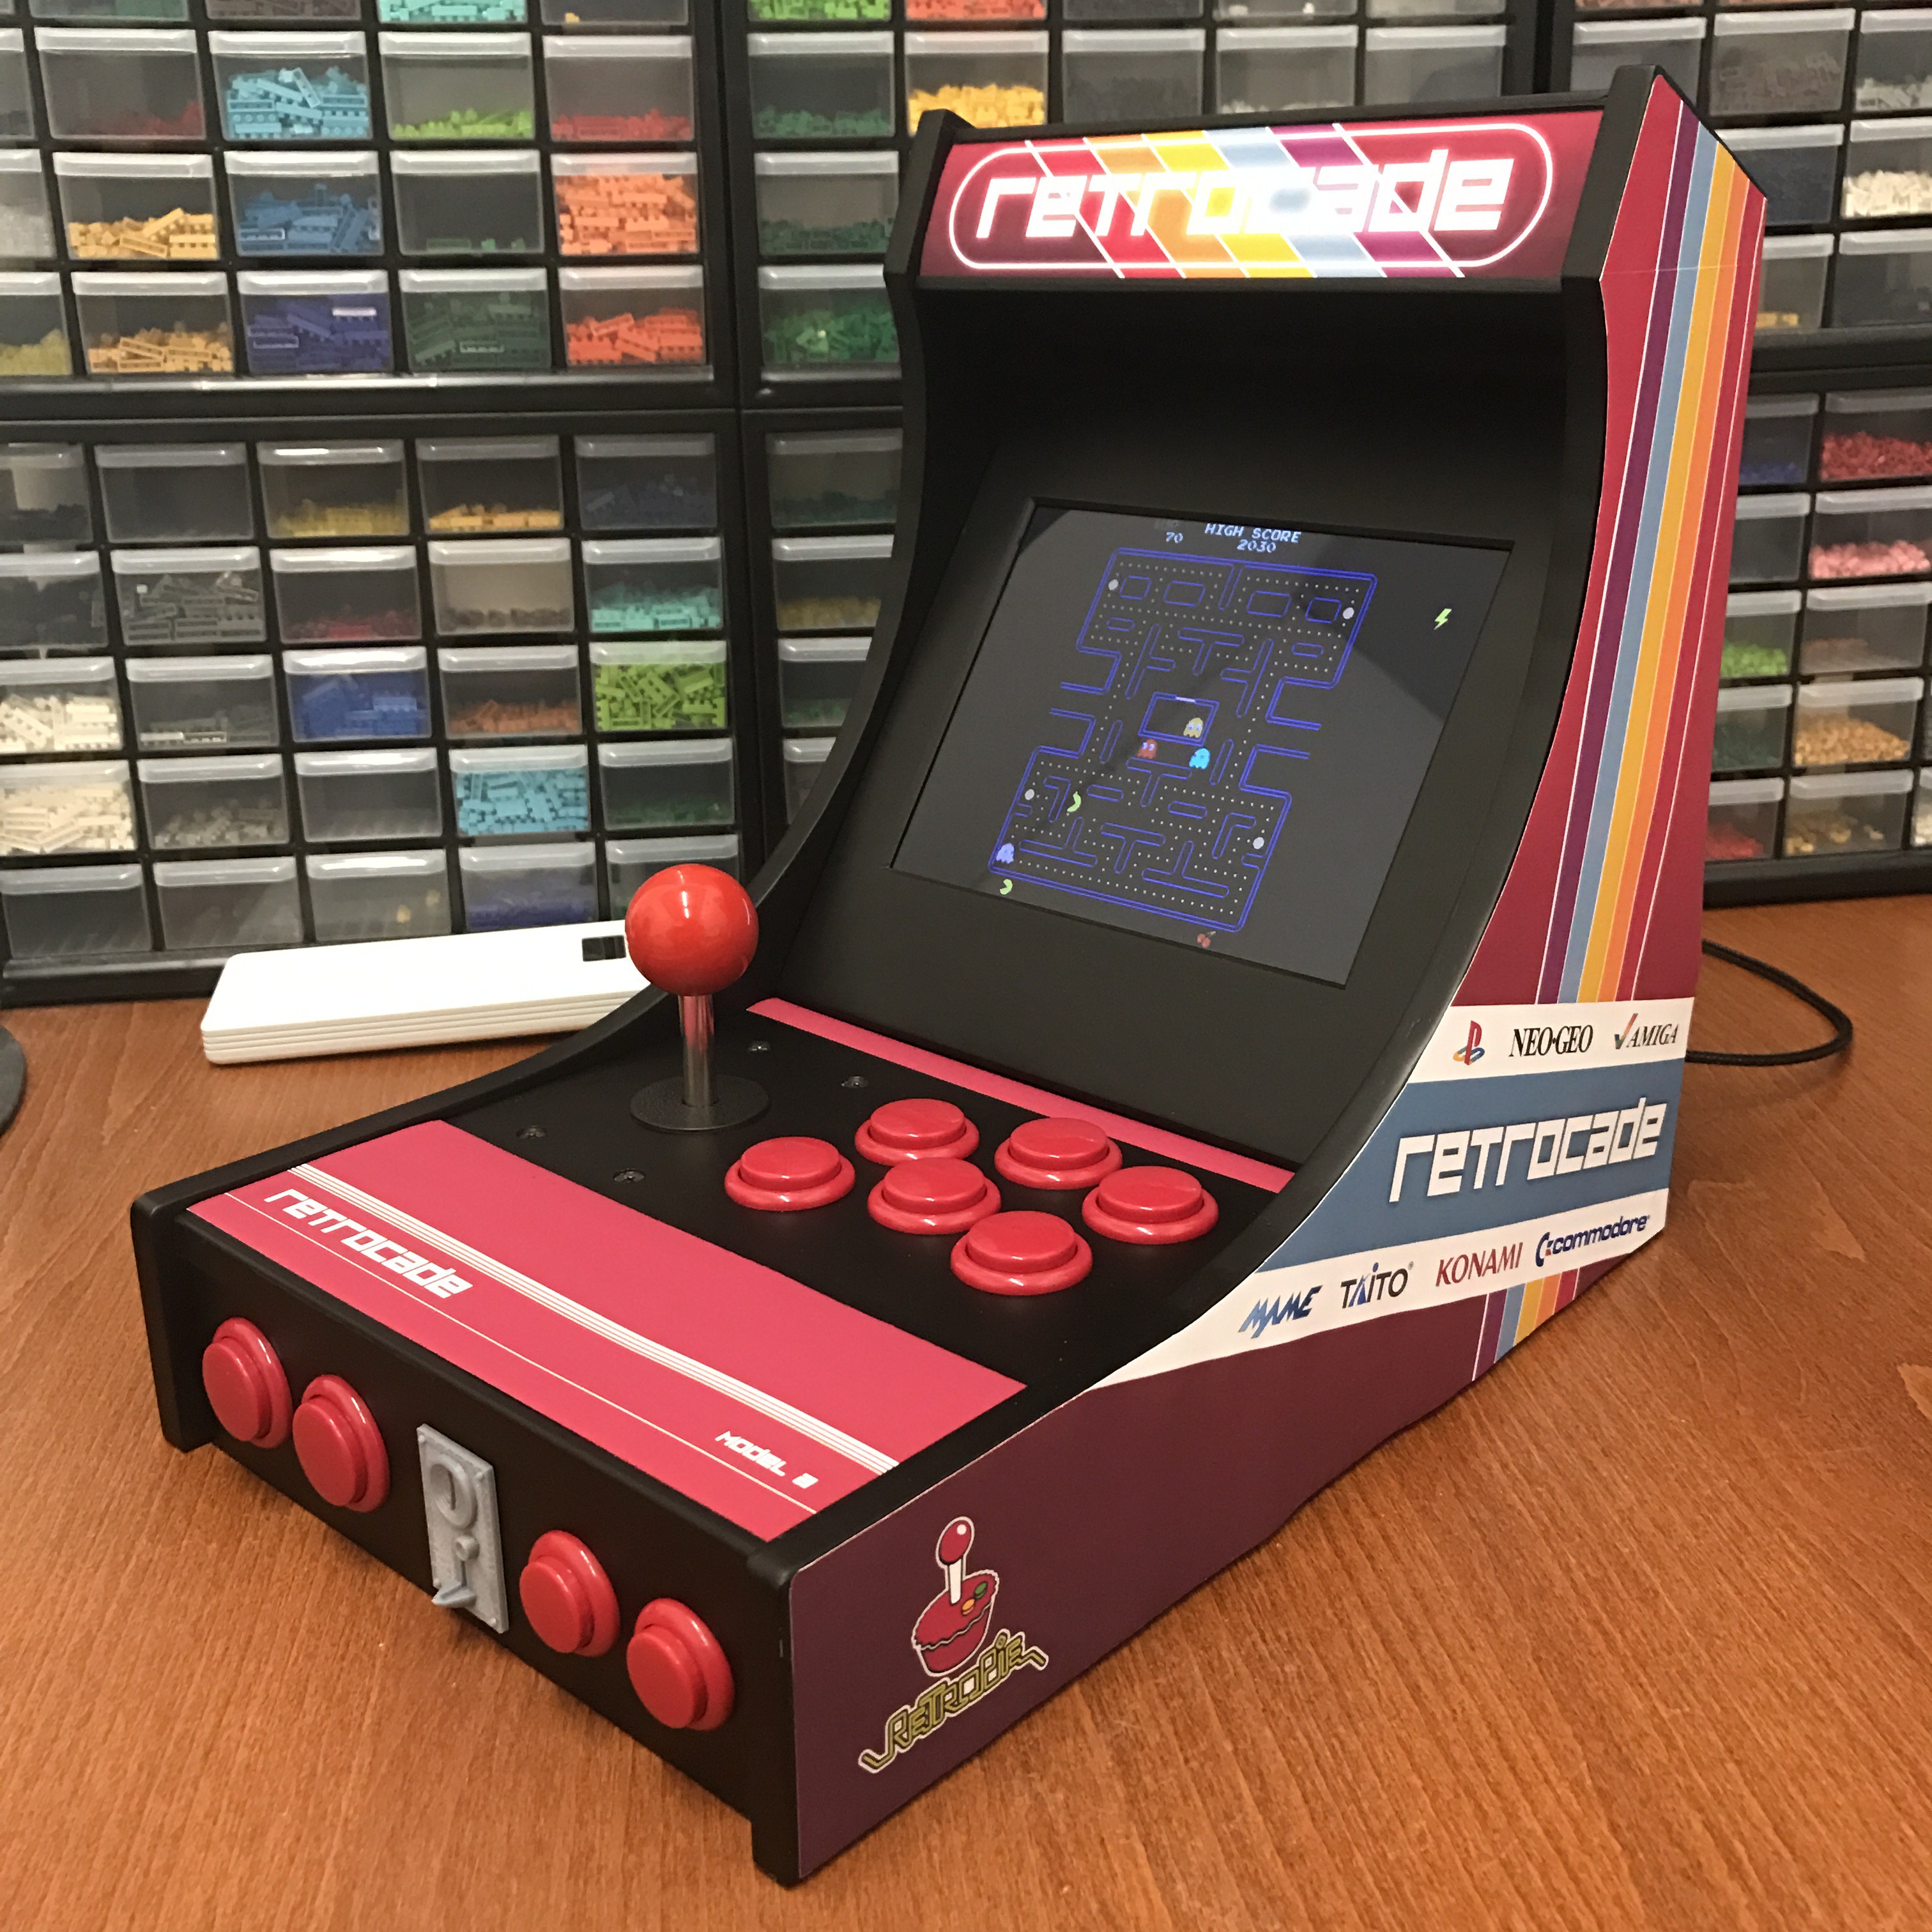
Here it is, now it looks fully complete for the first time! The only thing left to do is to integrate the audio amplifier once it arrives in the mail.
In the mean time, here's a proper video of my arcade machine =)
And photos, lots of photos! Enjoy! =D ... Please excuse the washed out screen as I was shooting with flash lighting.
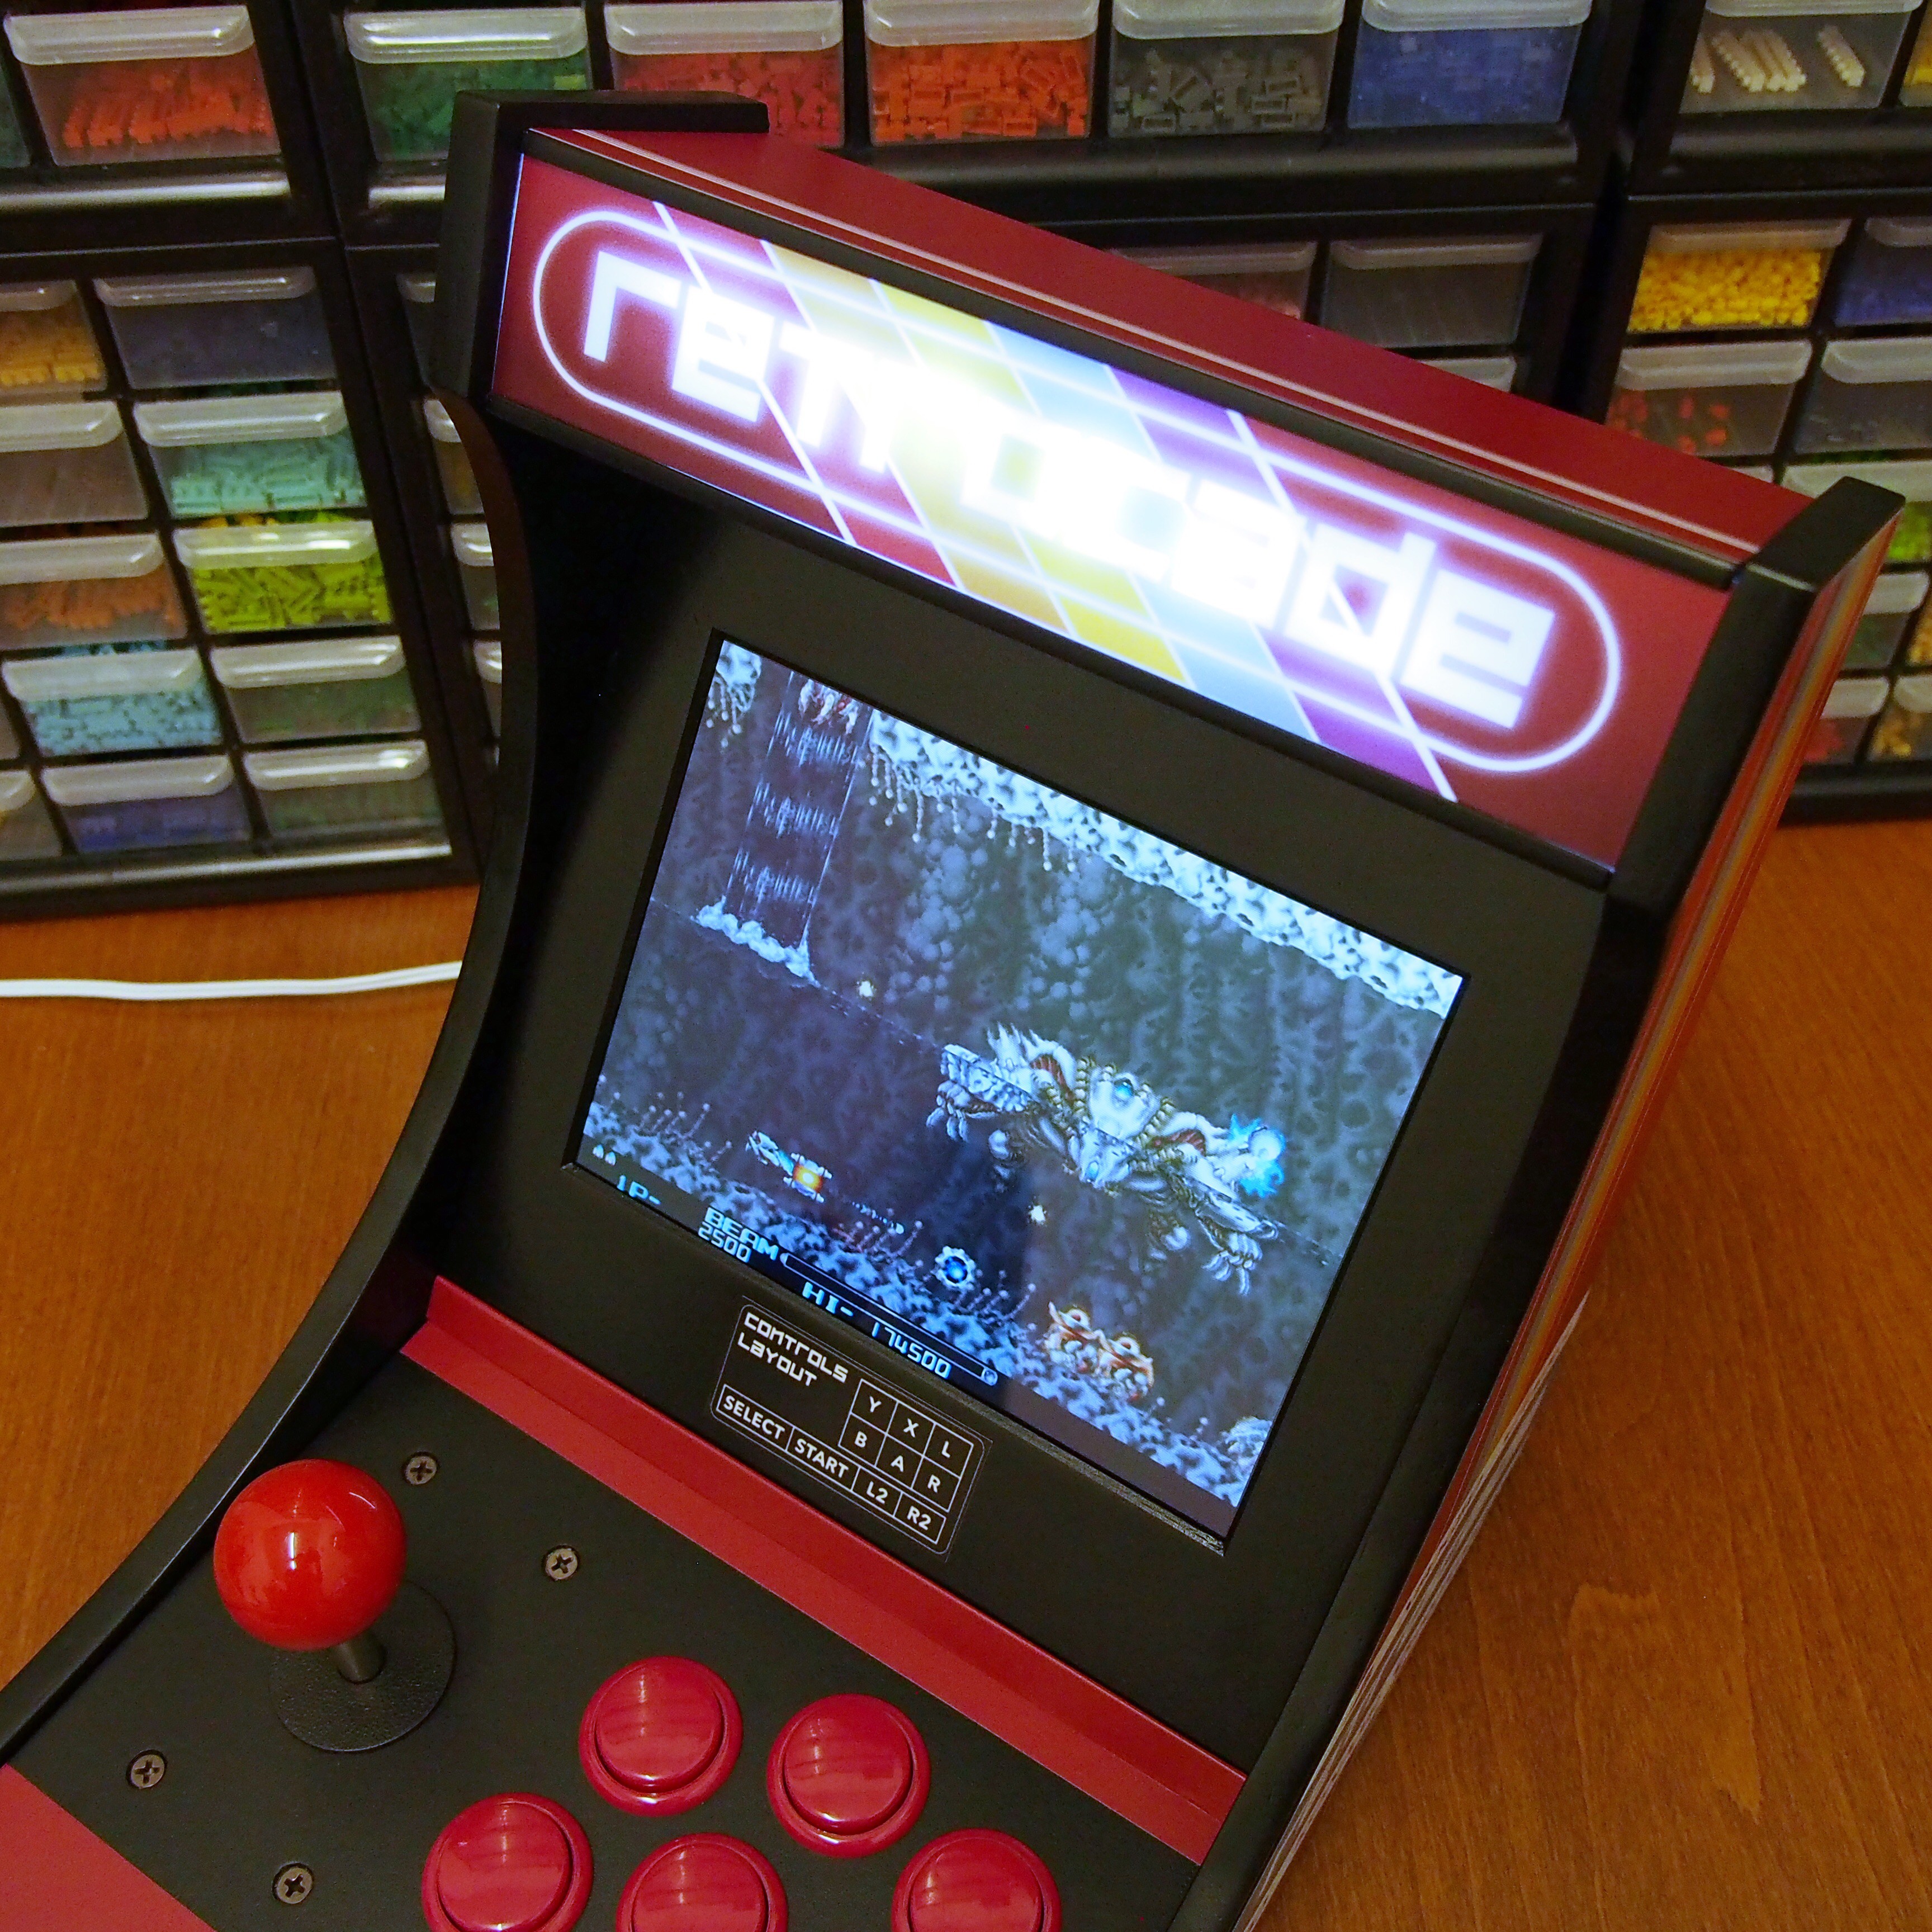
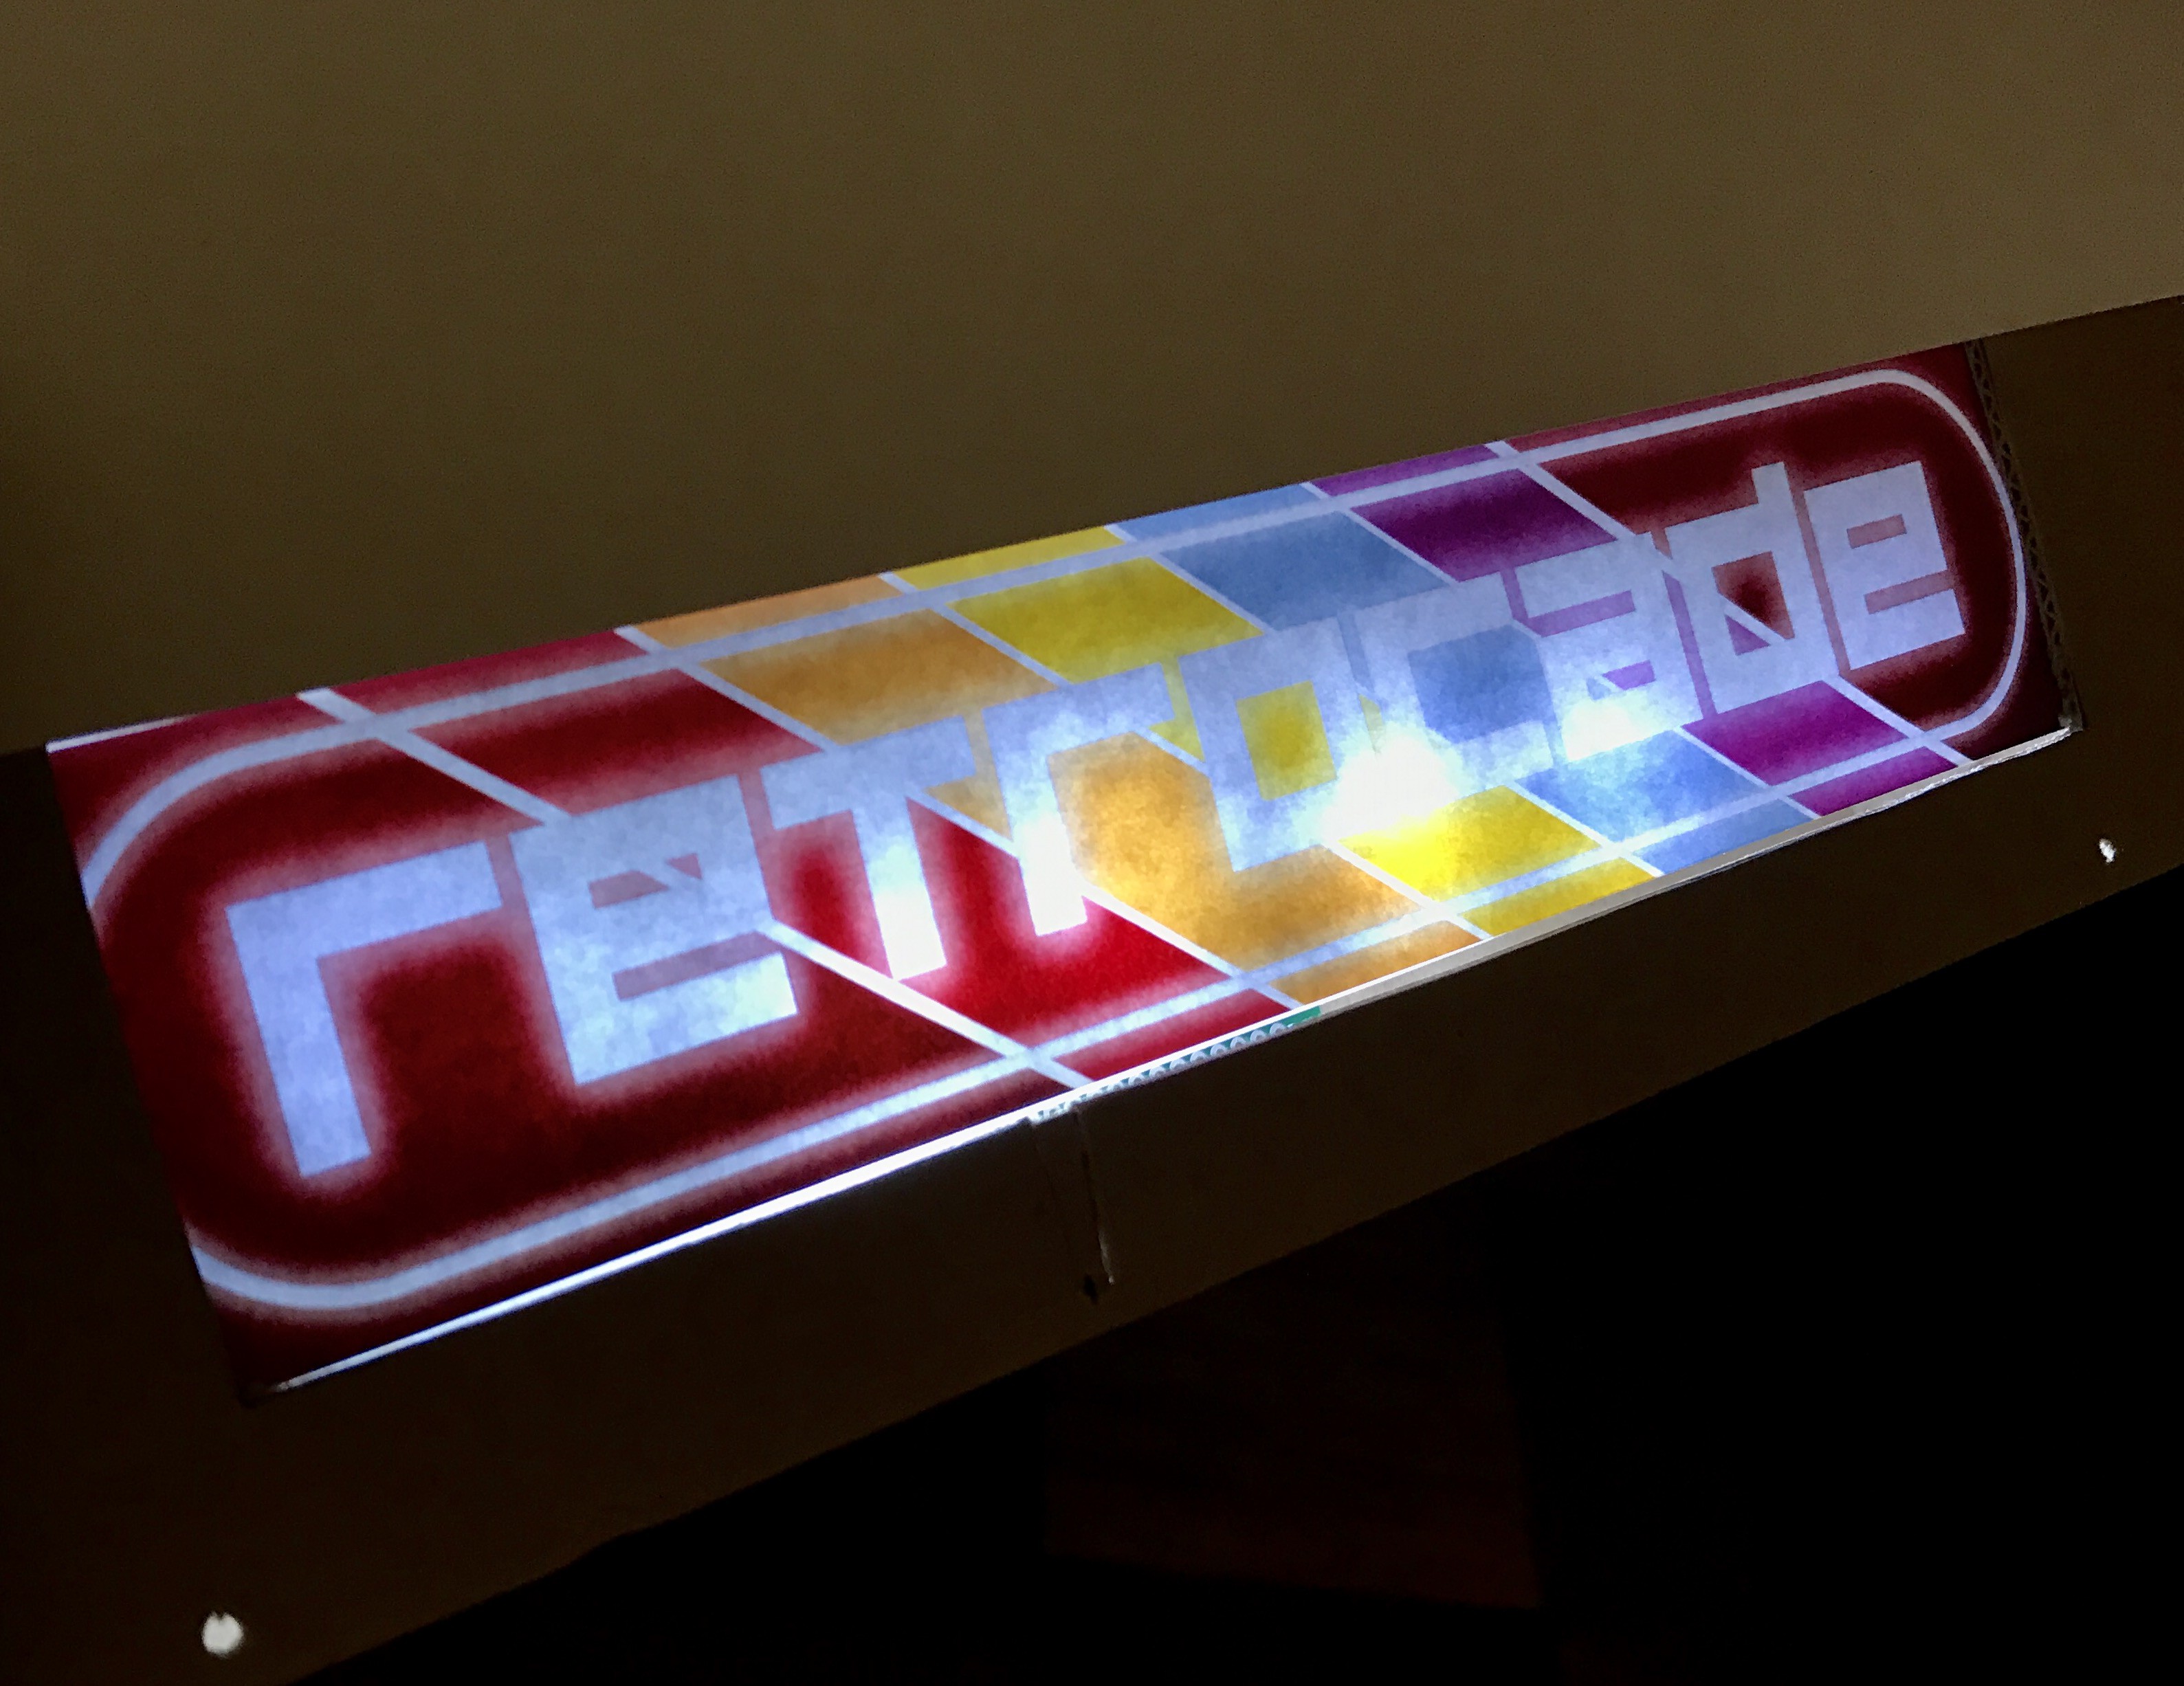
Here's one taken without flash so you can see the screen properly and I also turned on the marquee backlight for this.
-
Finishing Touches 1
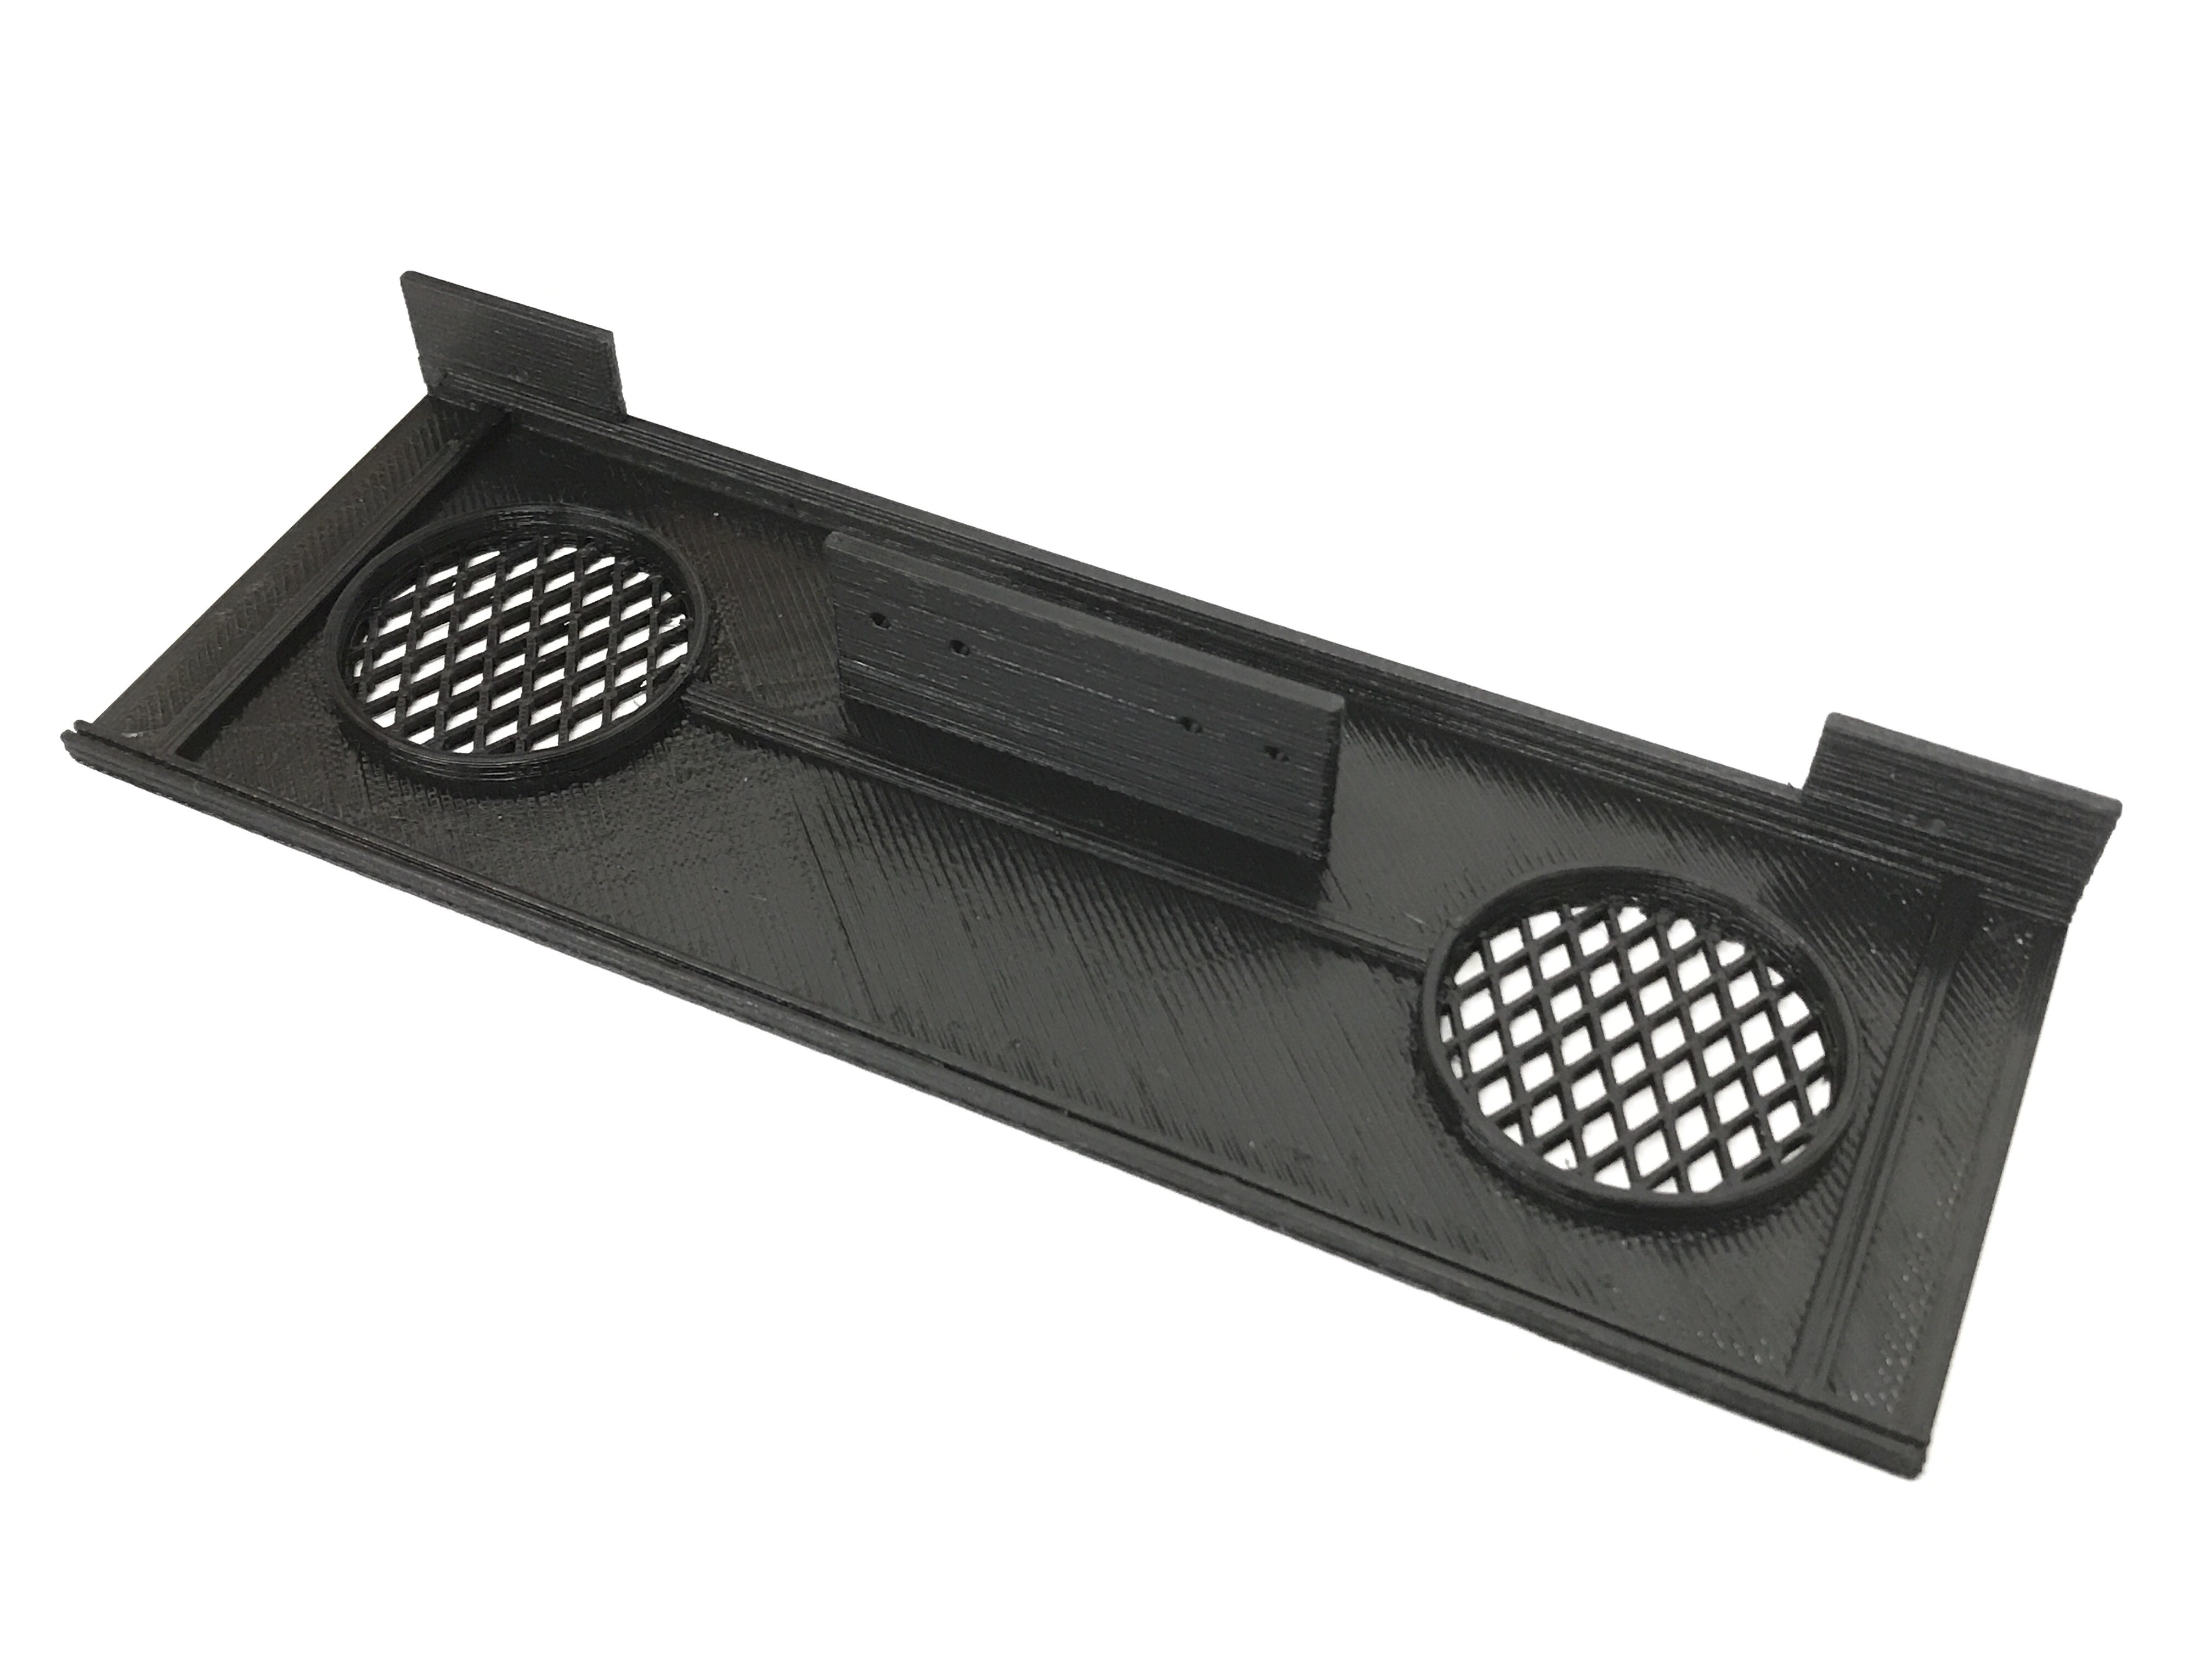
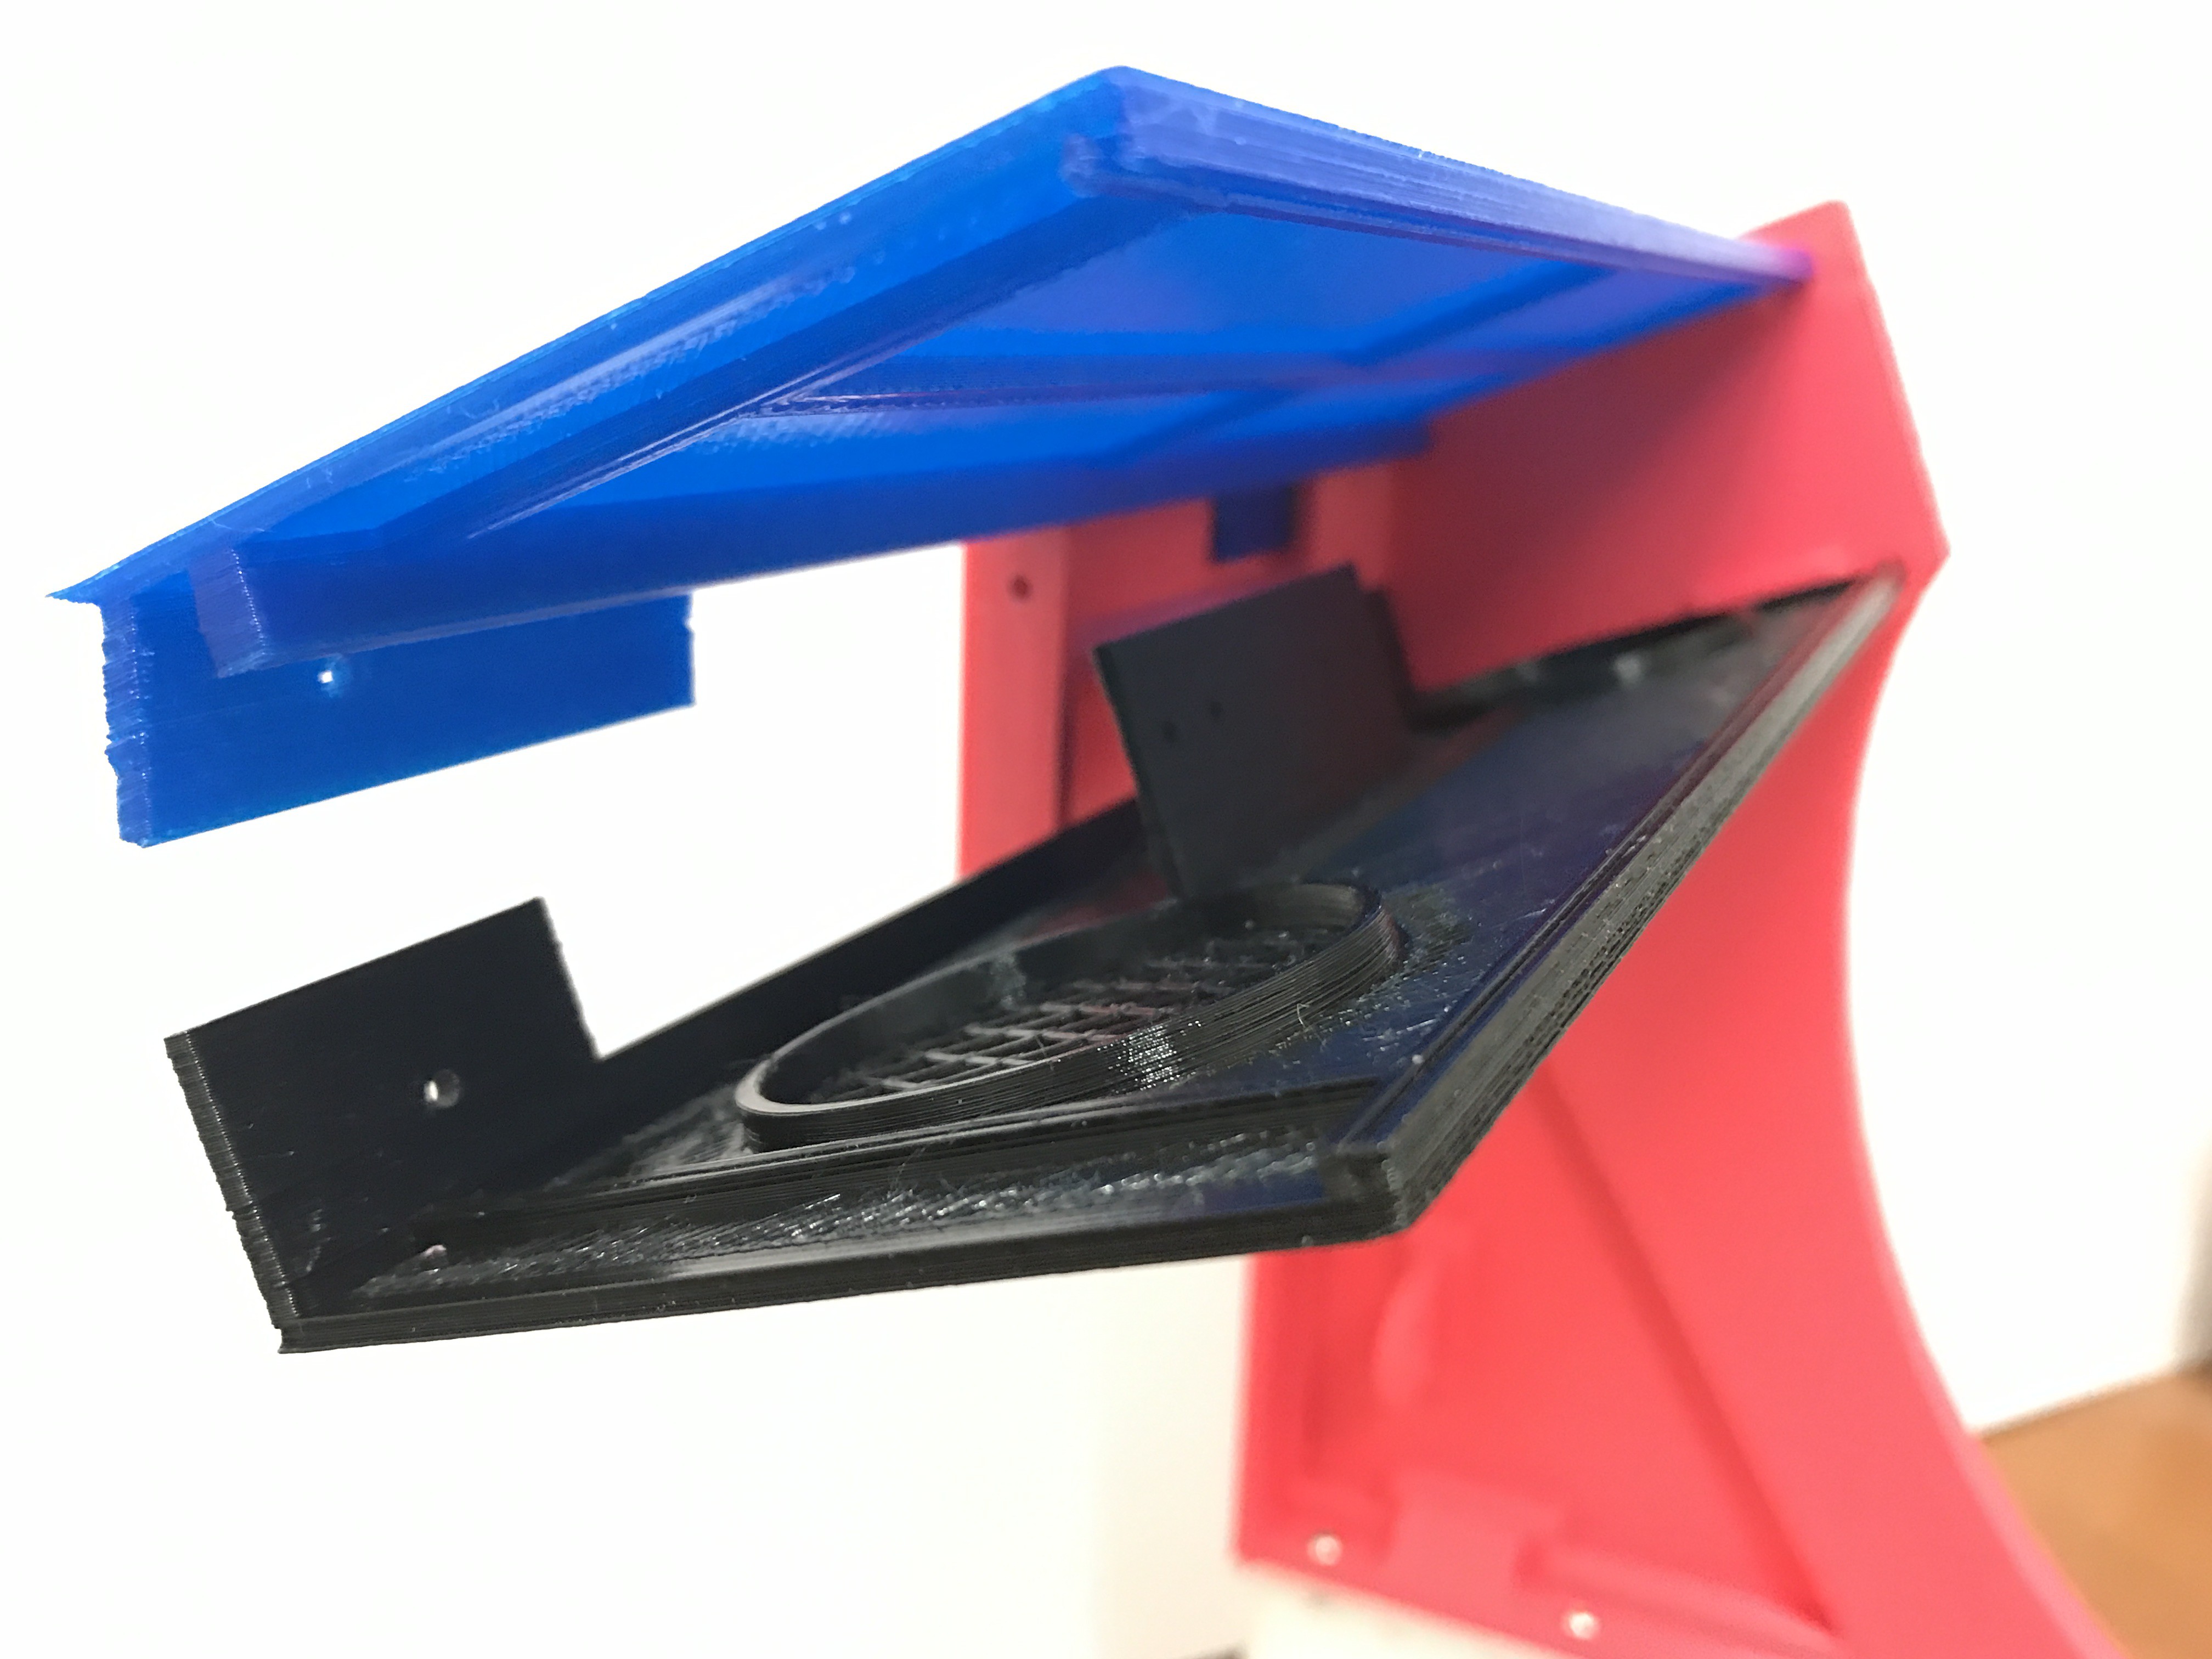
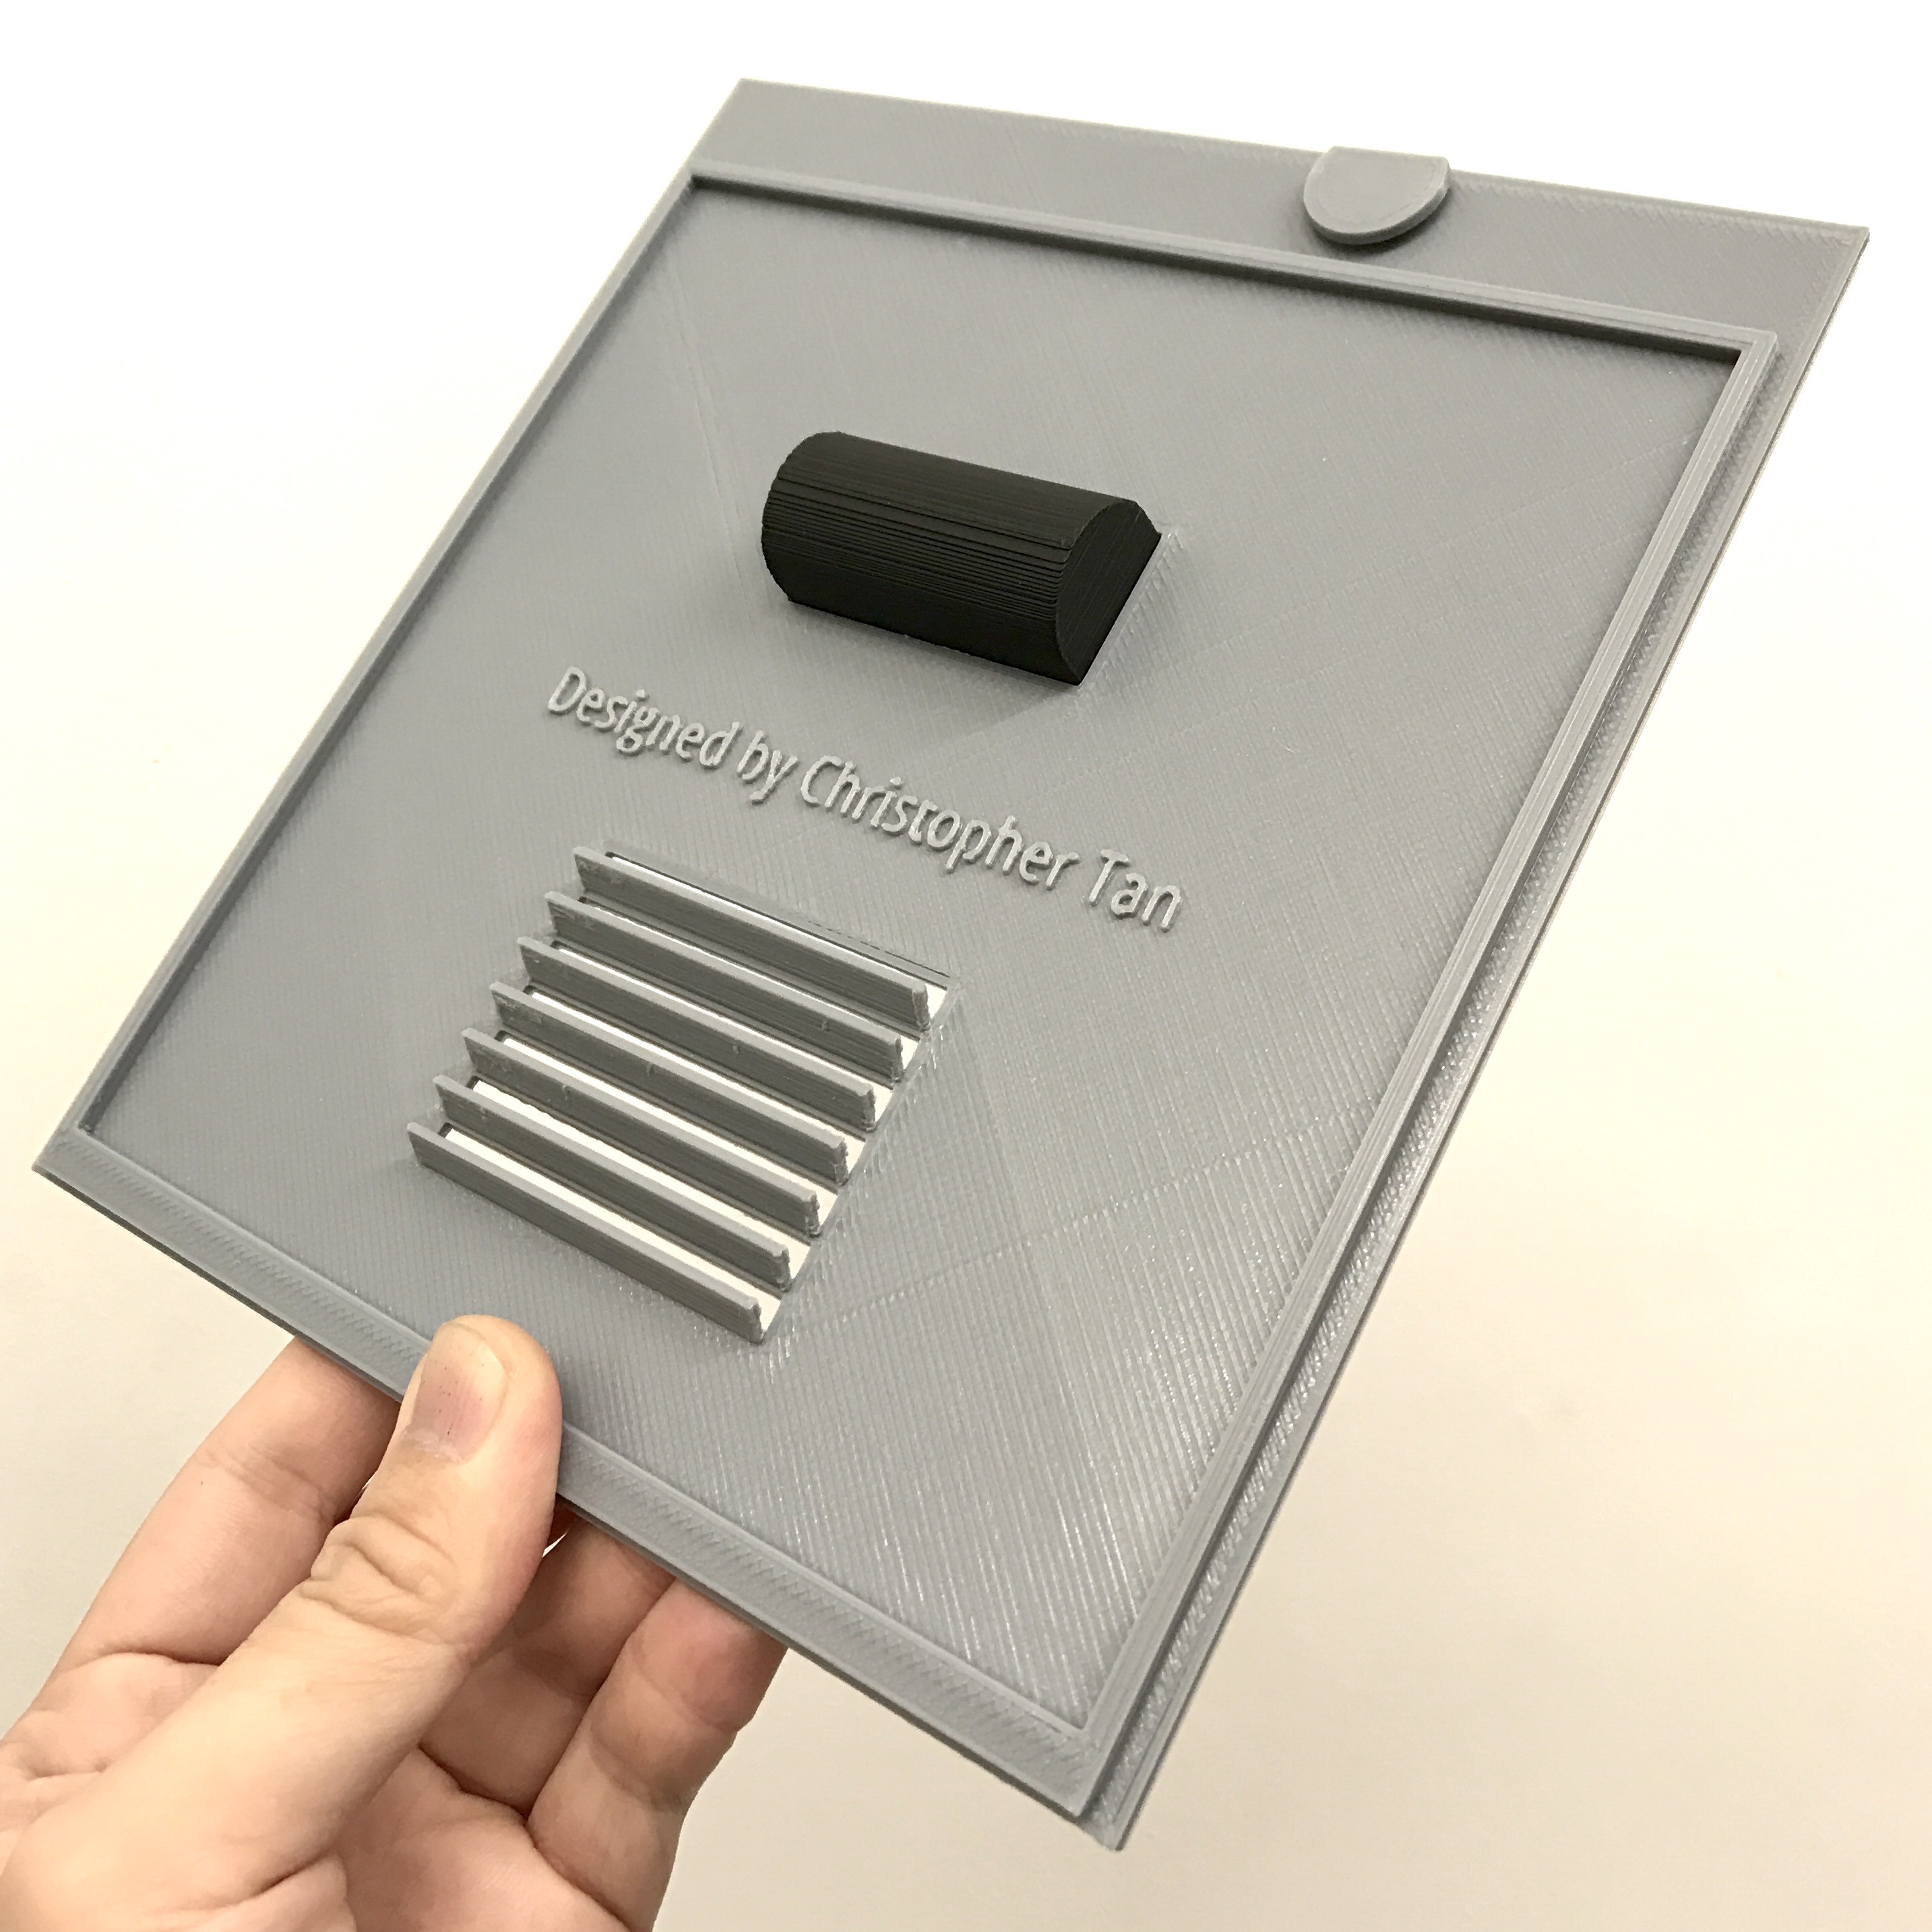
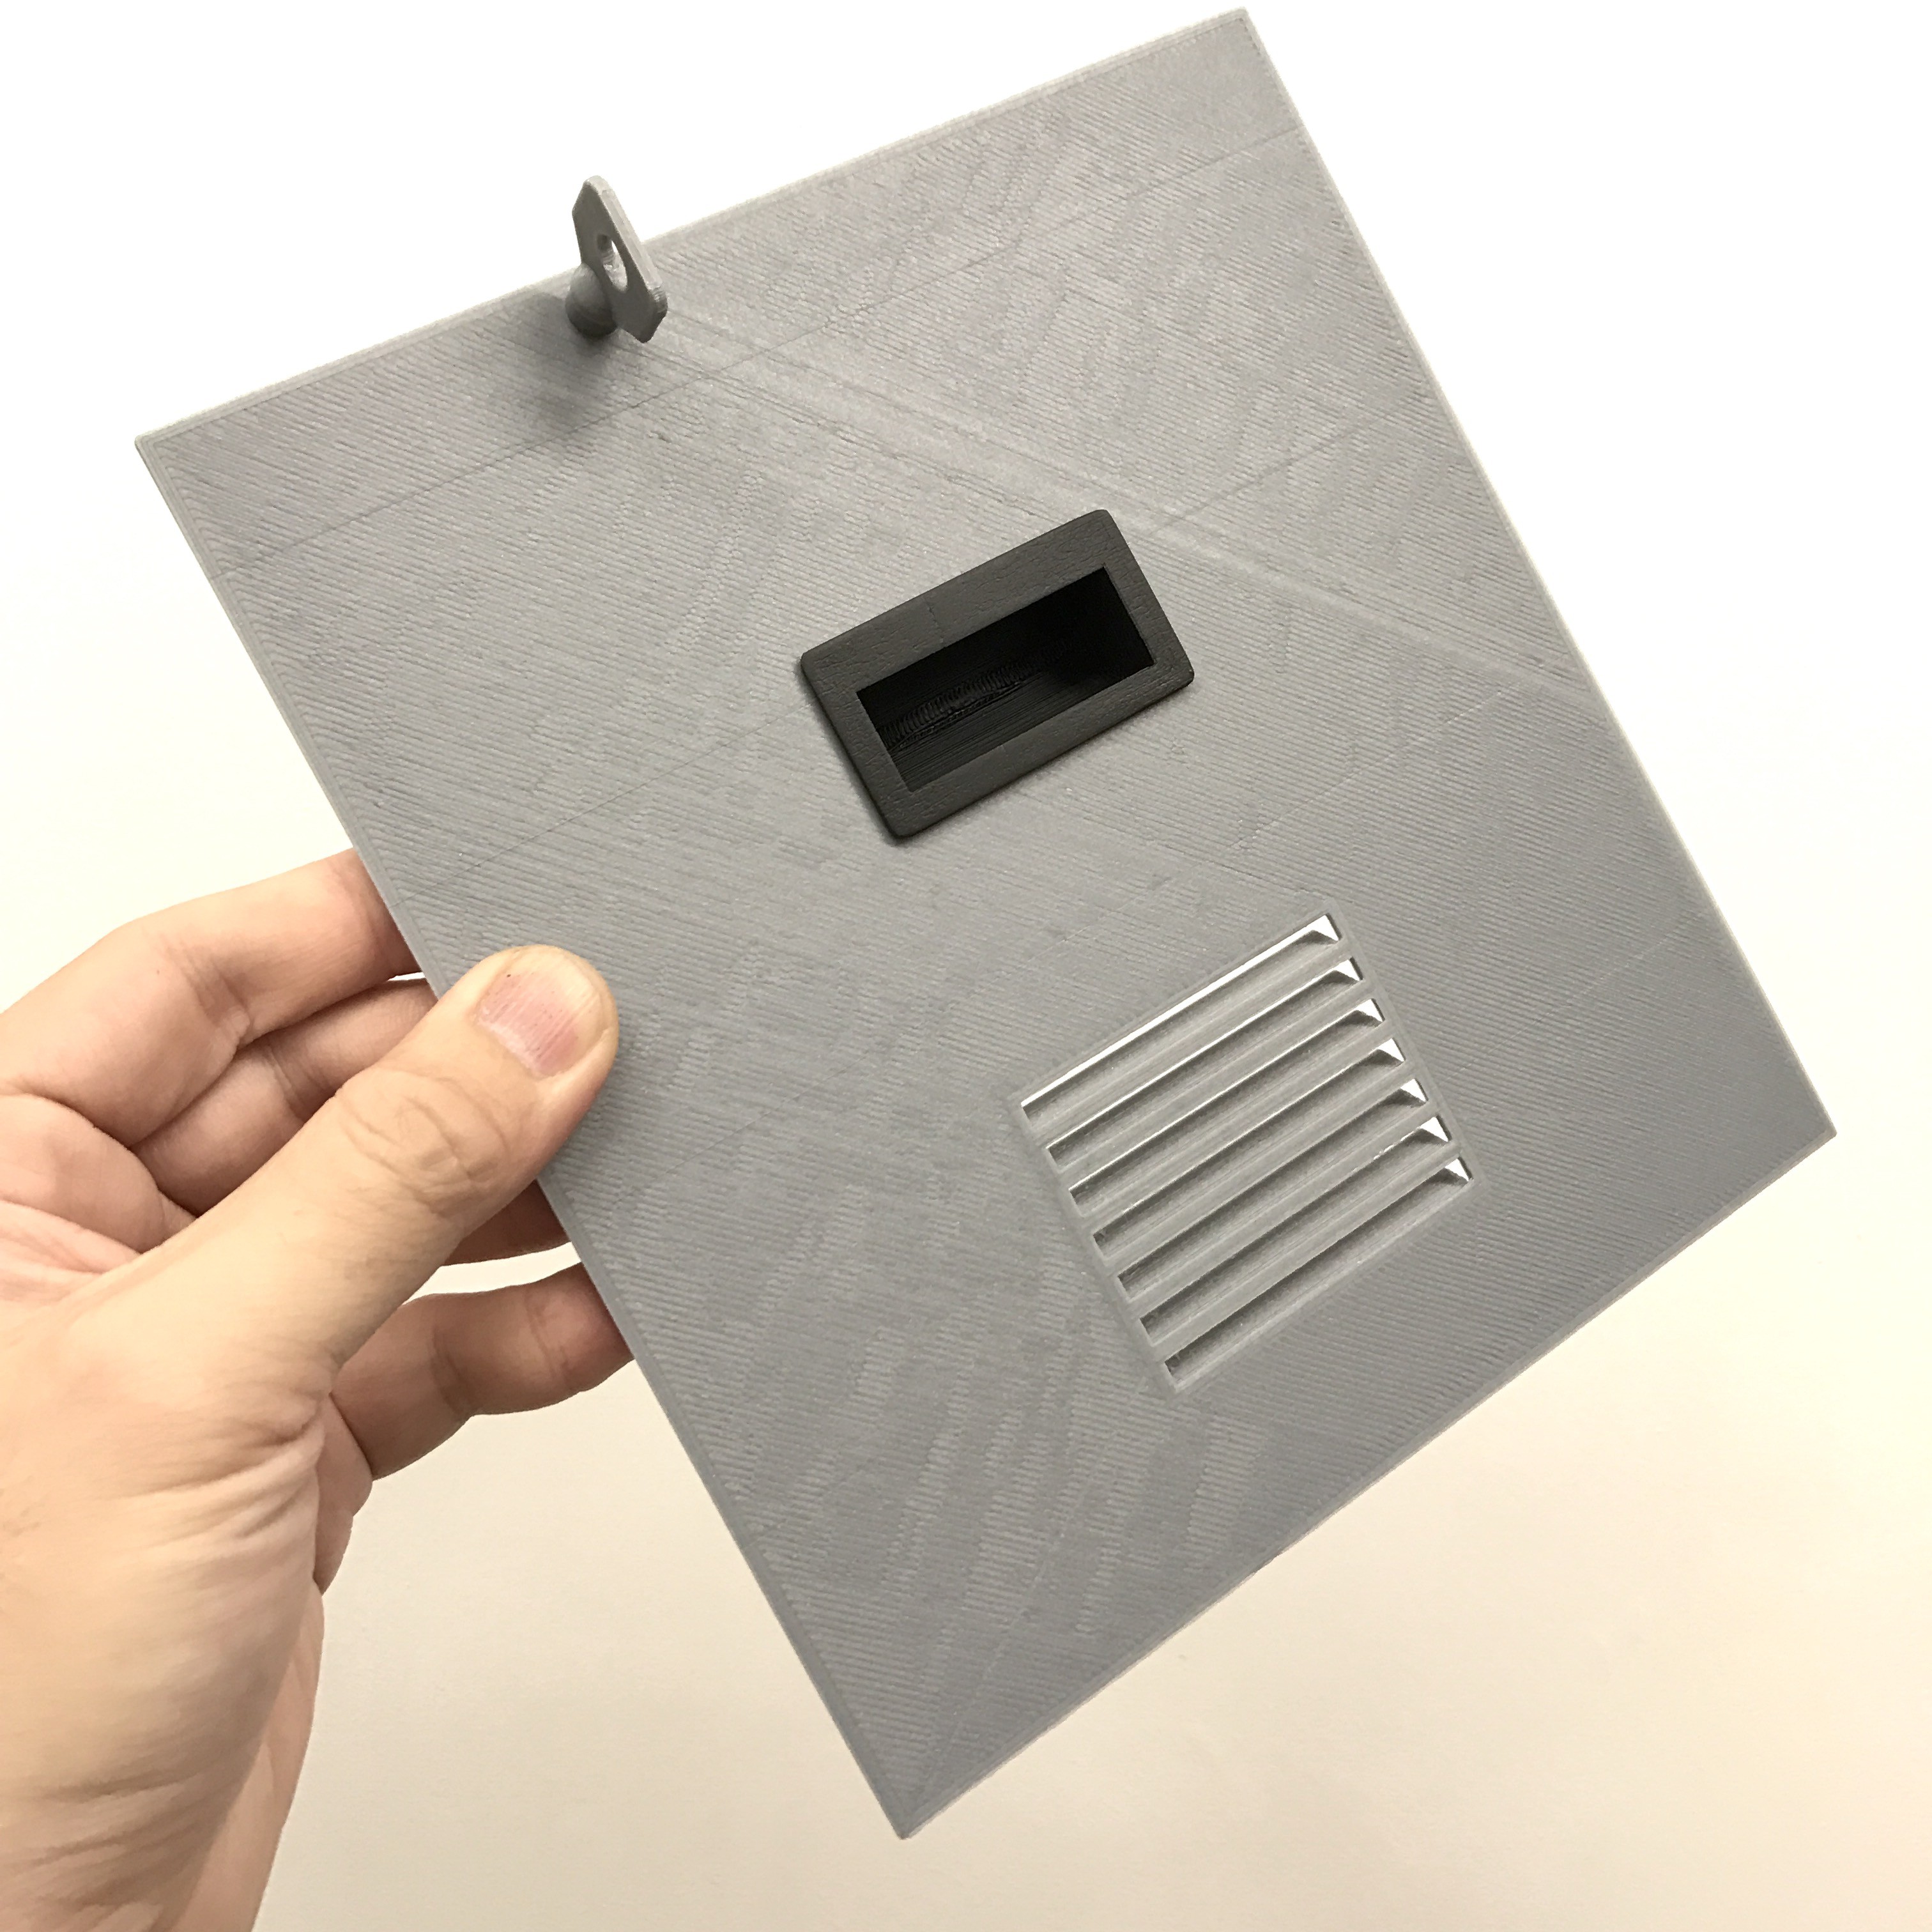
03/13/2017 at 01:50 • 0 commentsI just realised I forgot to put in ventilation holes, so I redesigned and reprinted the back panel. They were designed this way so that the insides of the machine remains unseen.
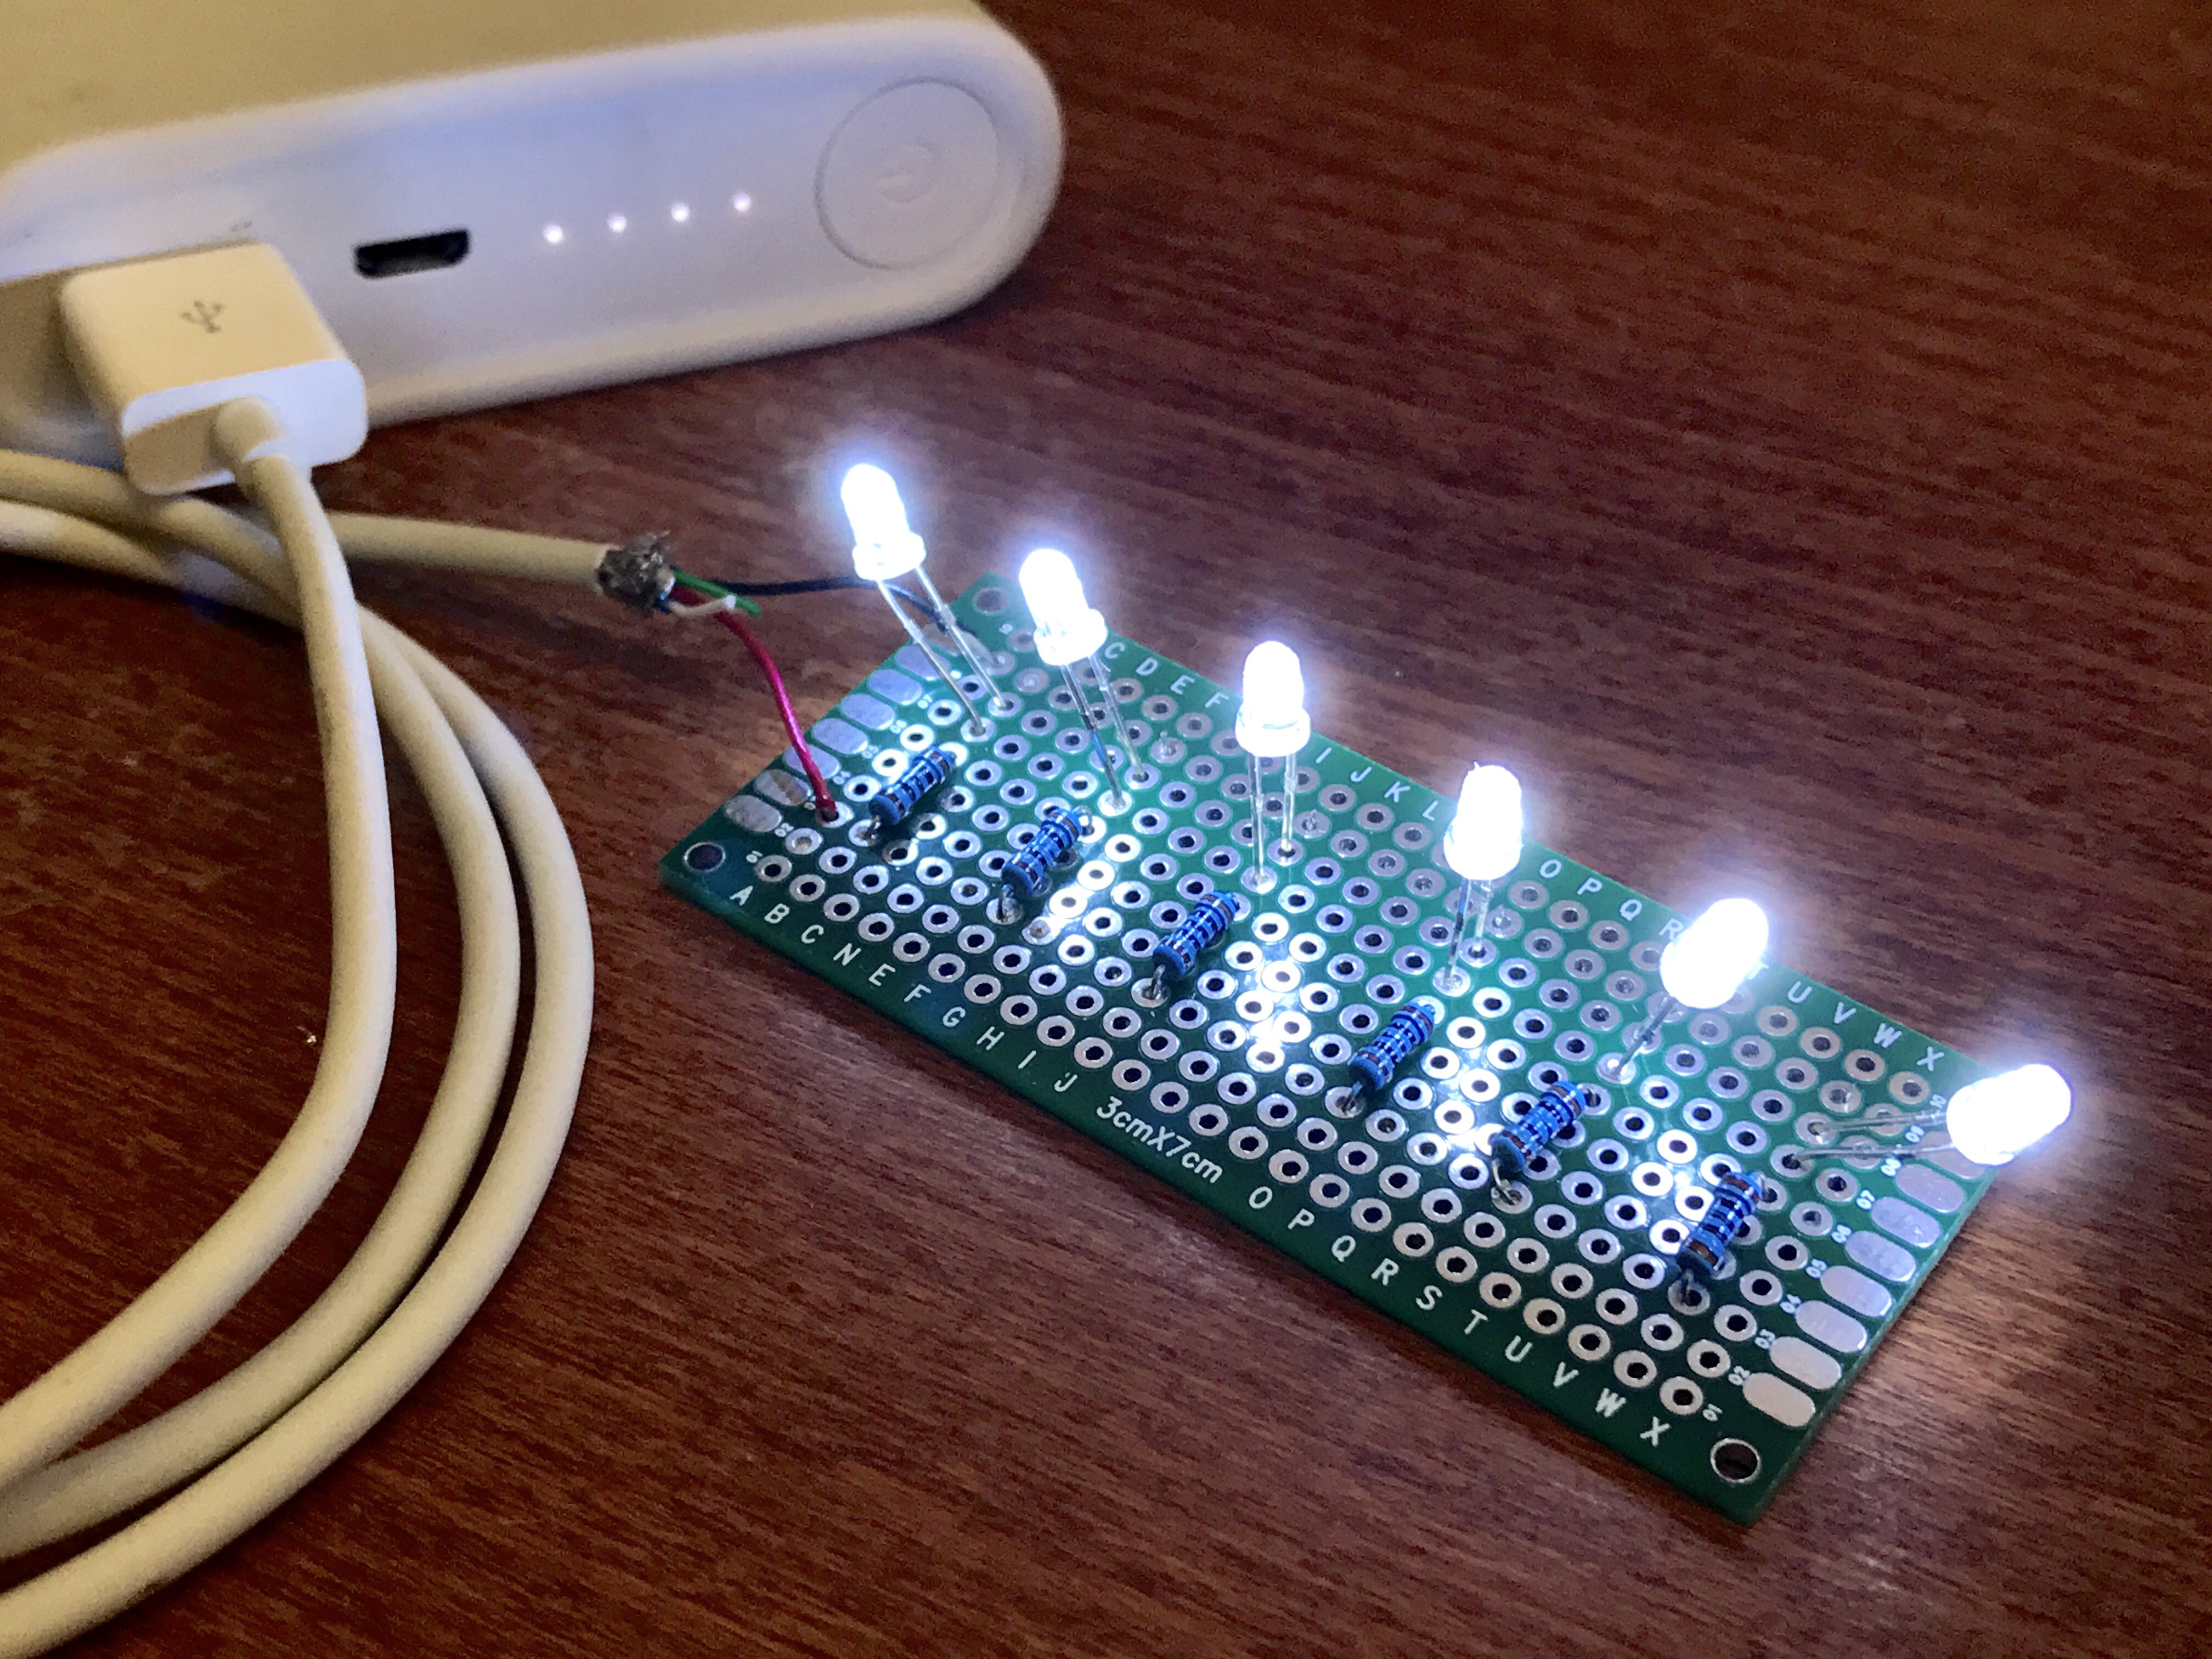
Soldered the LEDs together for the marquee lighting. They are being powered from USB, so I will just plug this into the Raspberry Pi 3.
A quick test to see if it would be bright enough to backlight the marquee. I think it's fine, don't want to be blinded by it ... Hahaha
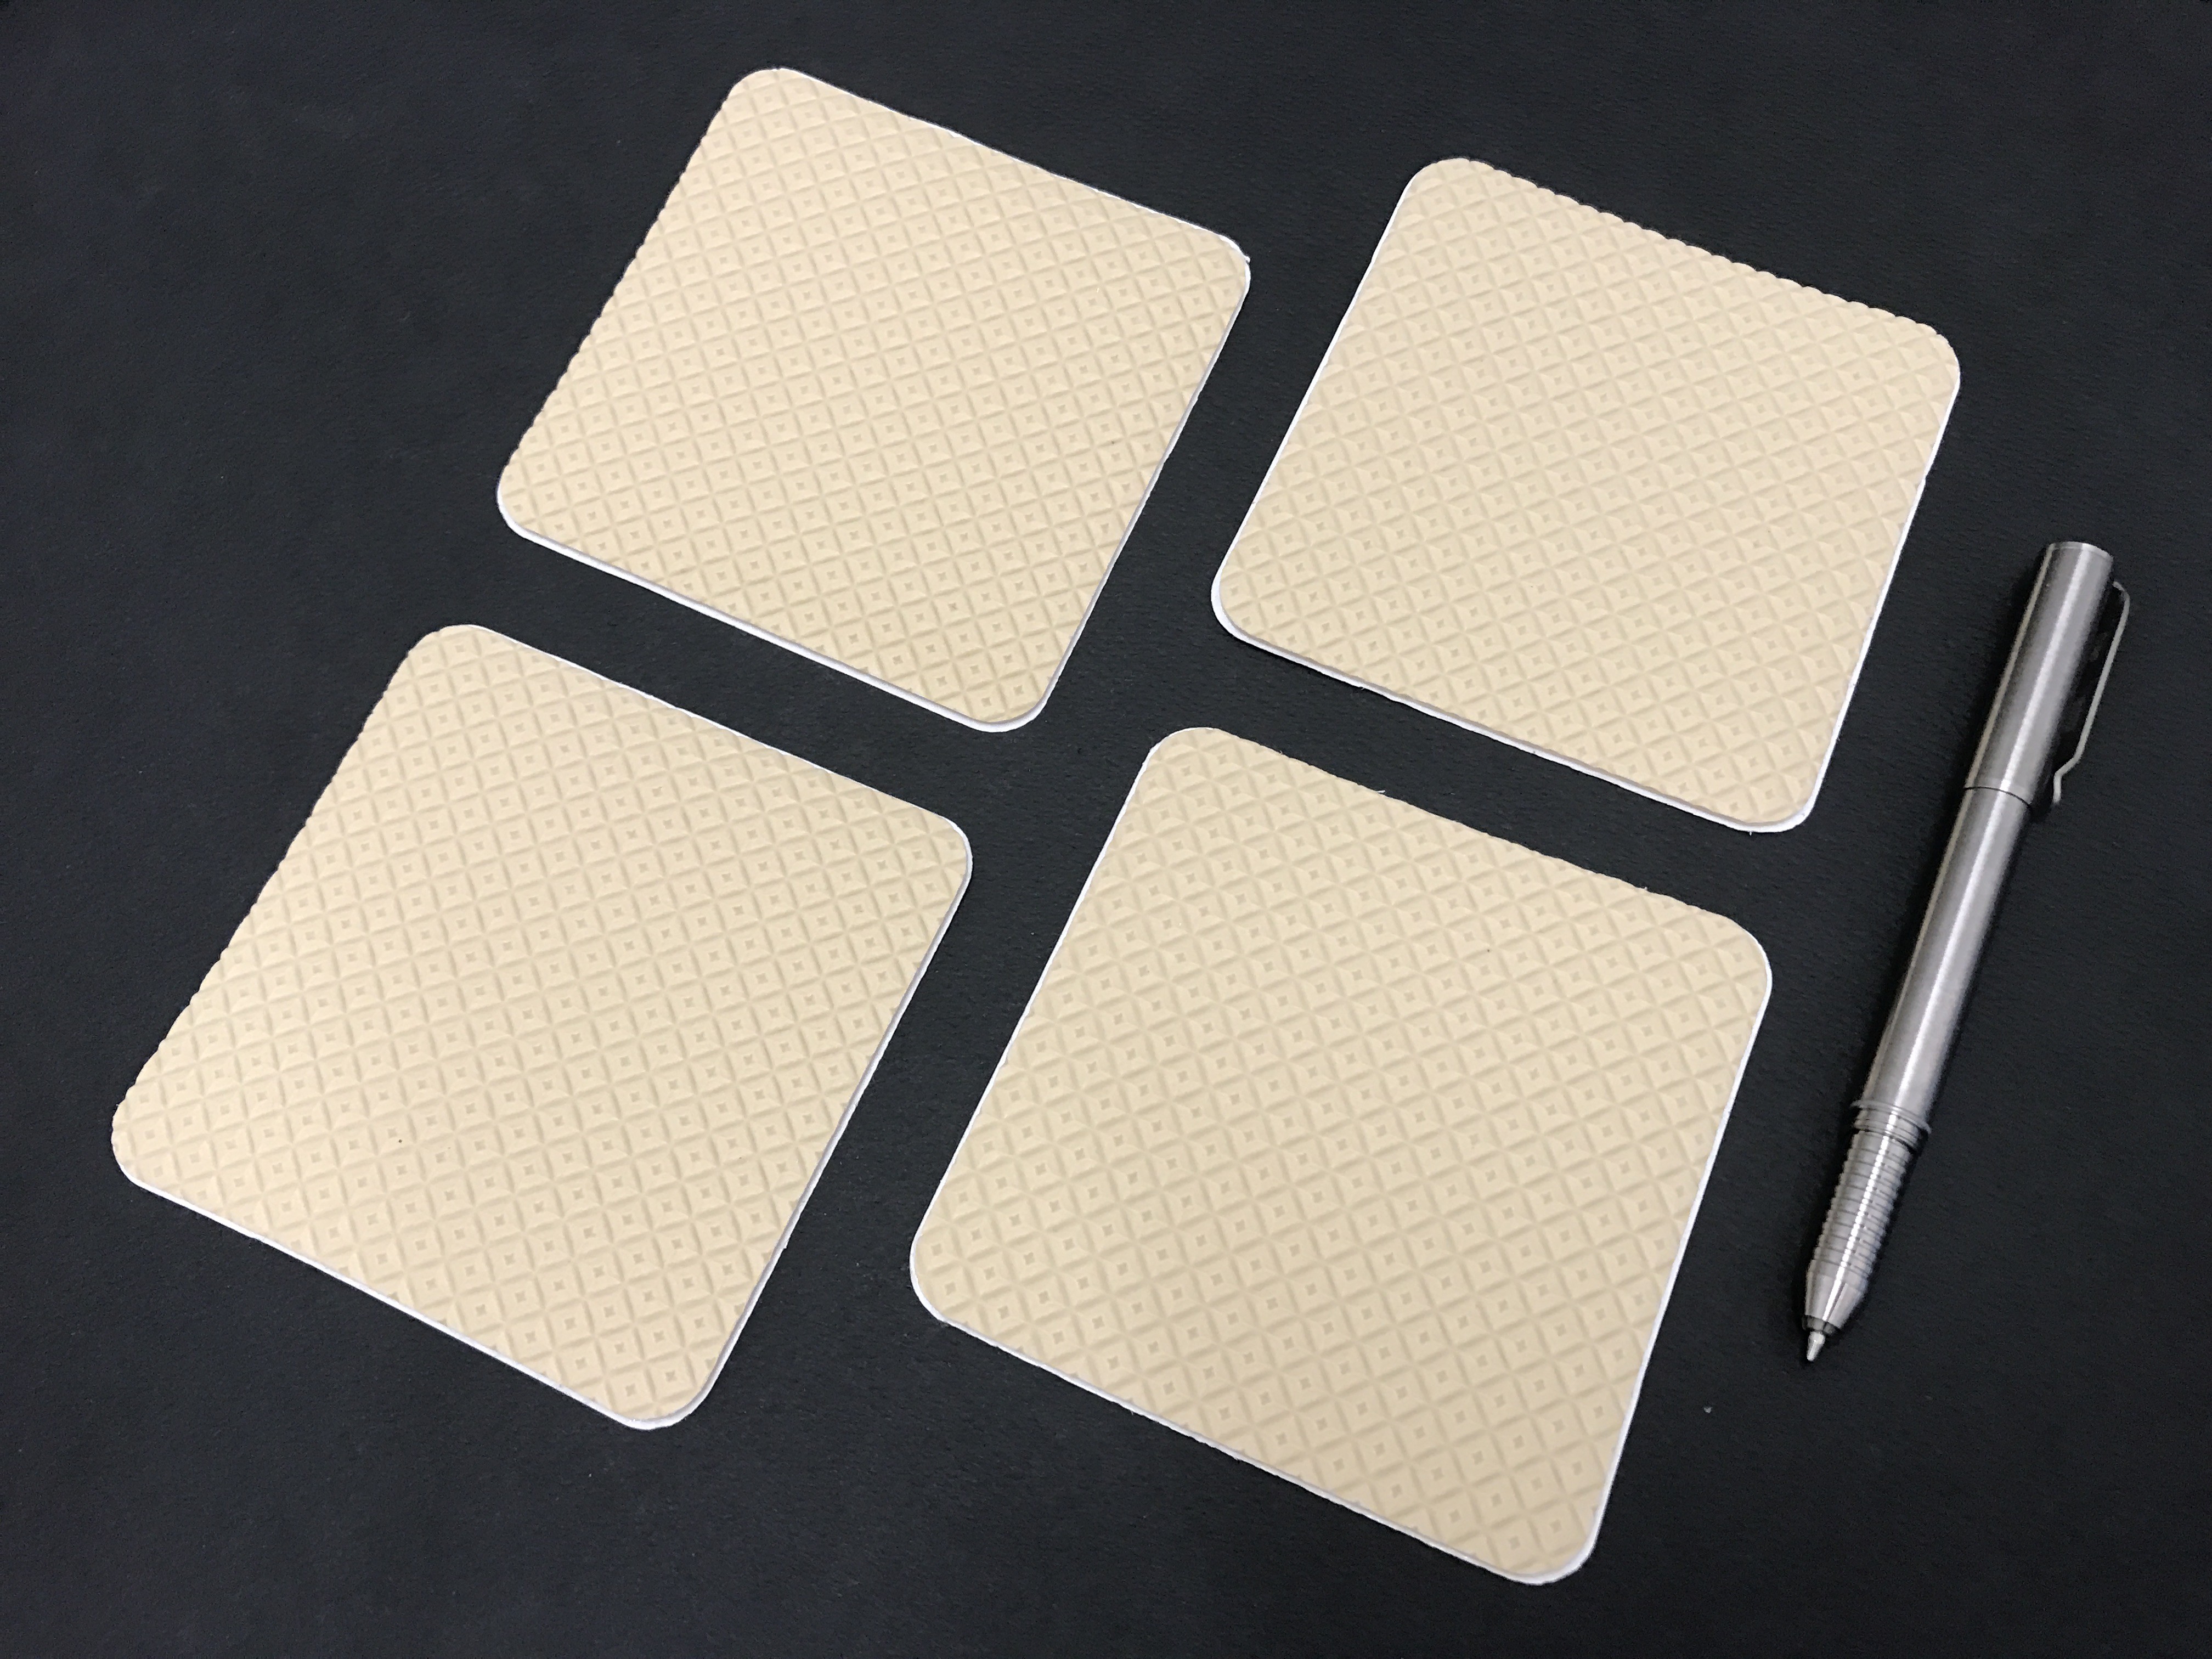
Bought these giant anti-slip pads from Daiso. Will stick these under the arcade machine to keep it from moving around.
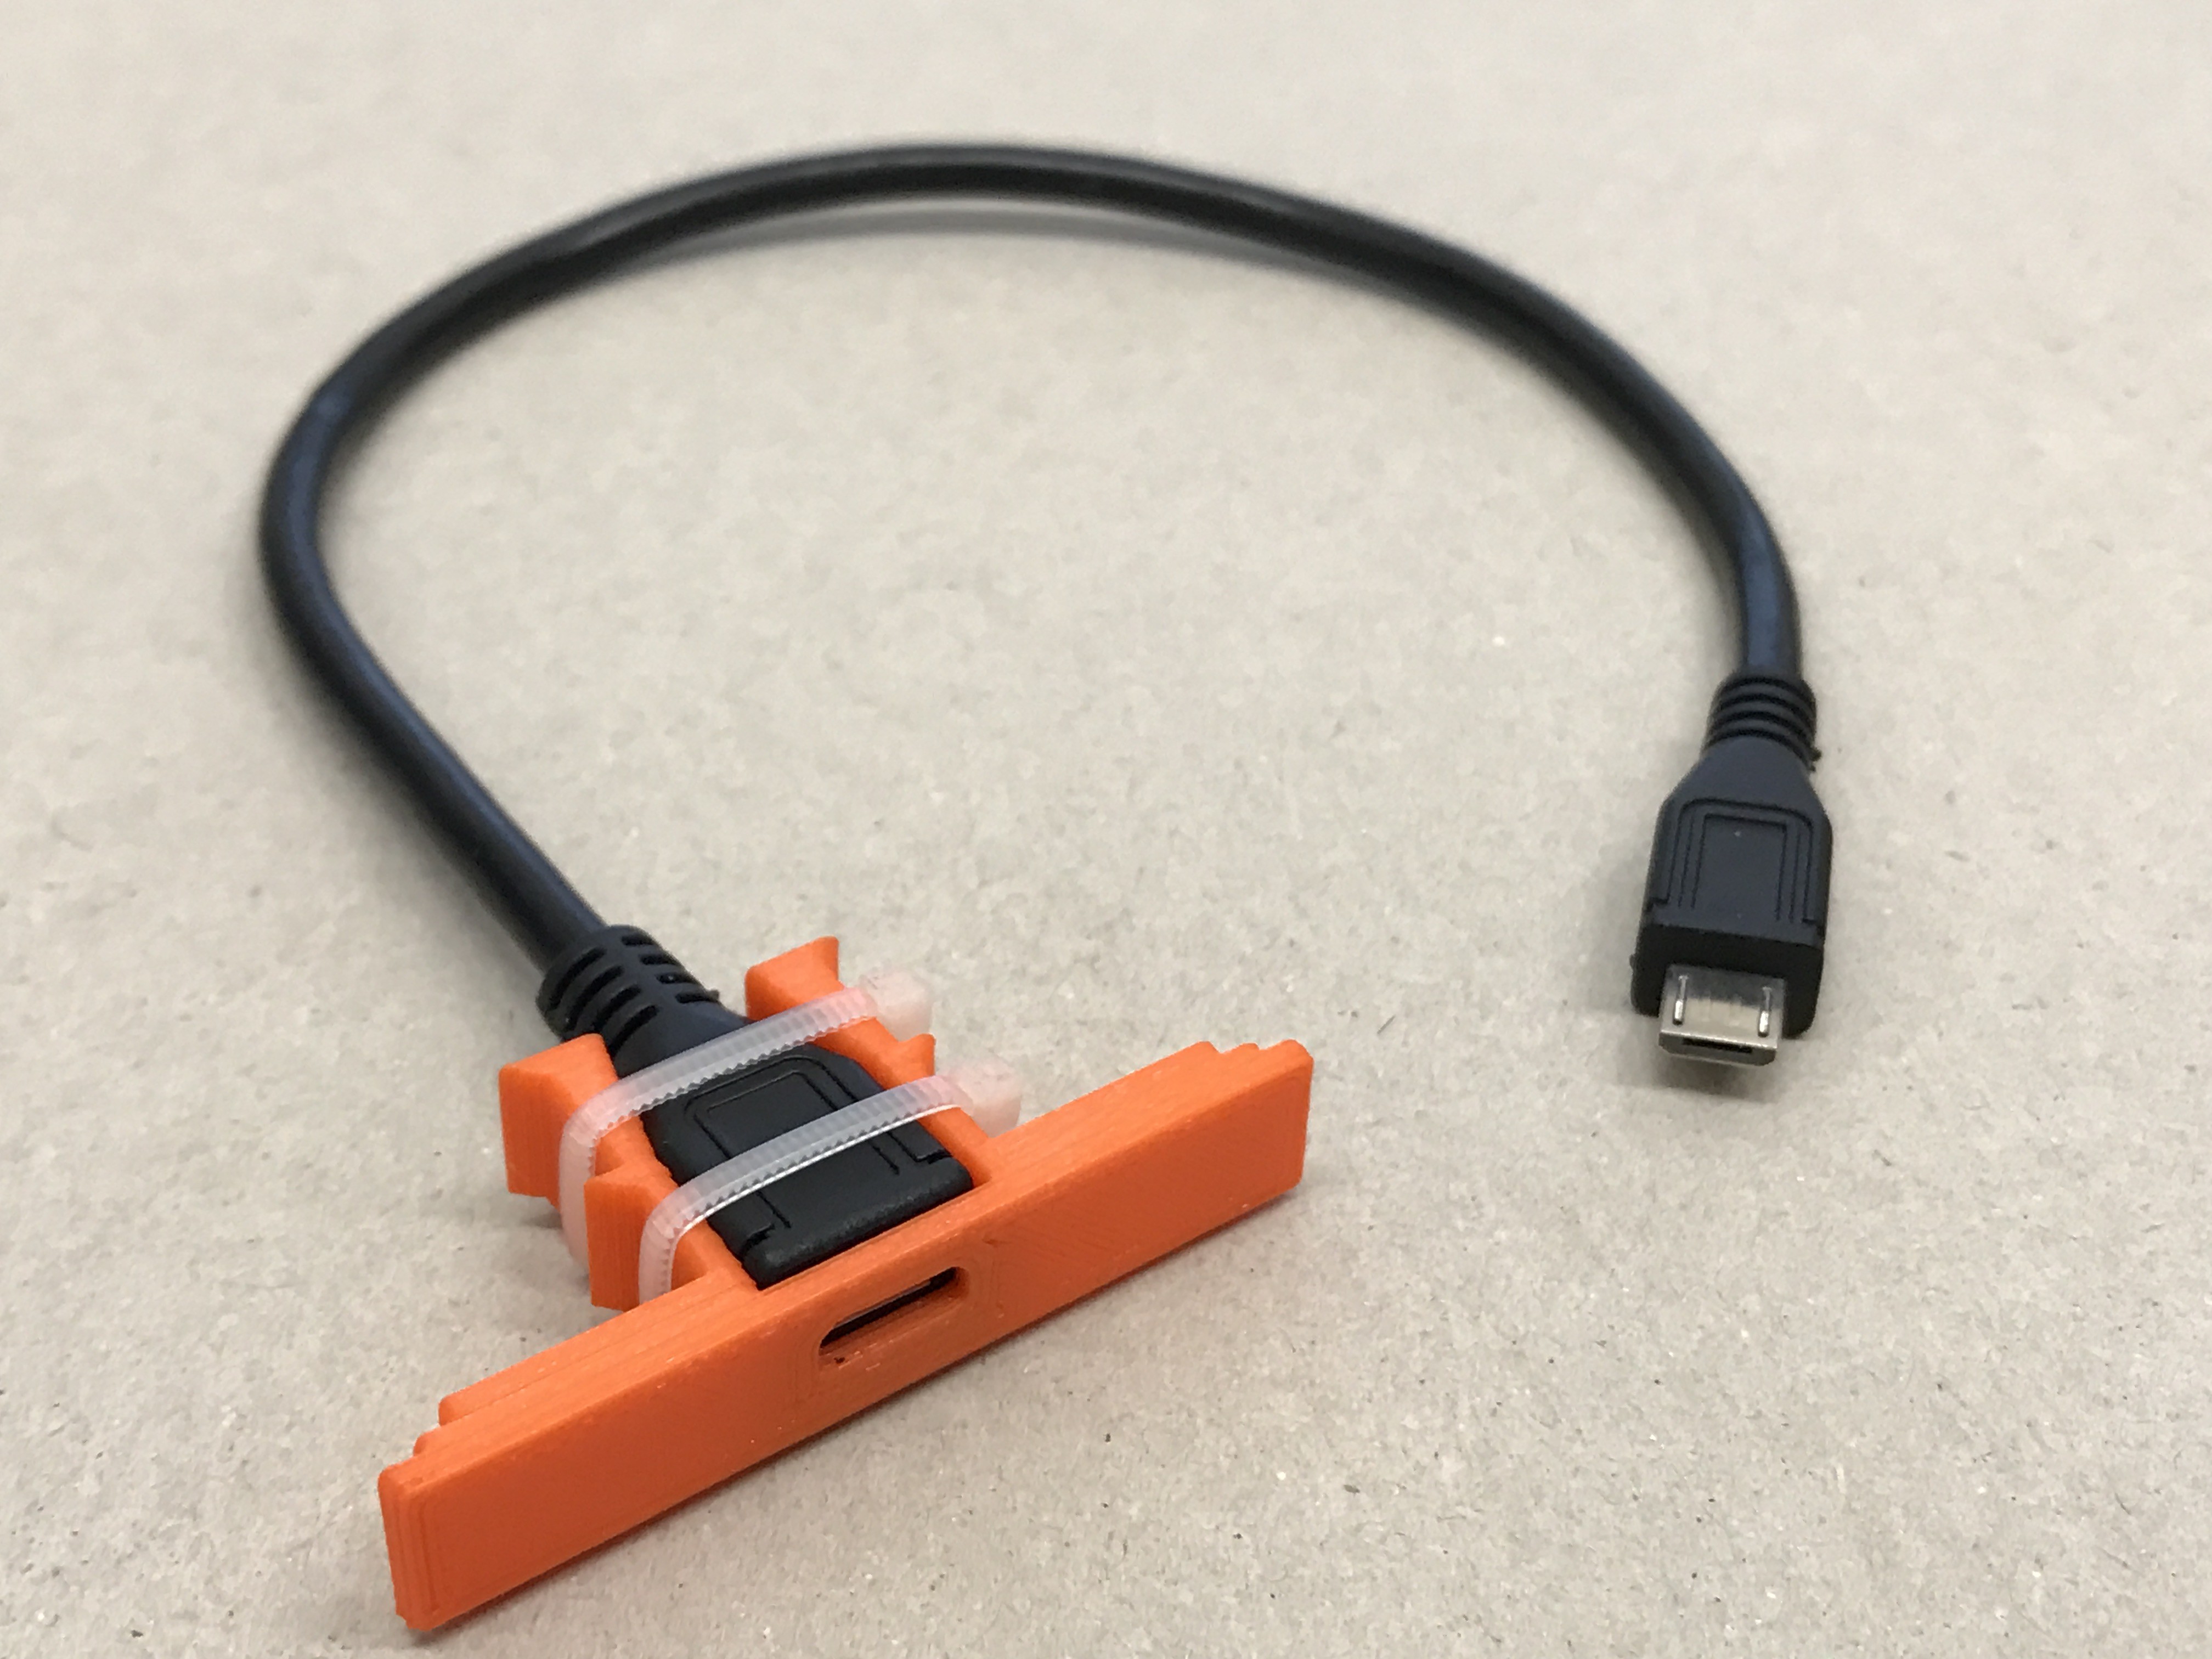
The micro USB male to female extension cable just arrived, so I designed and printed this piece. It will slot into the back of the machine so that I can easily connect/disconnect the power supply to the RPi.
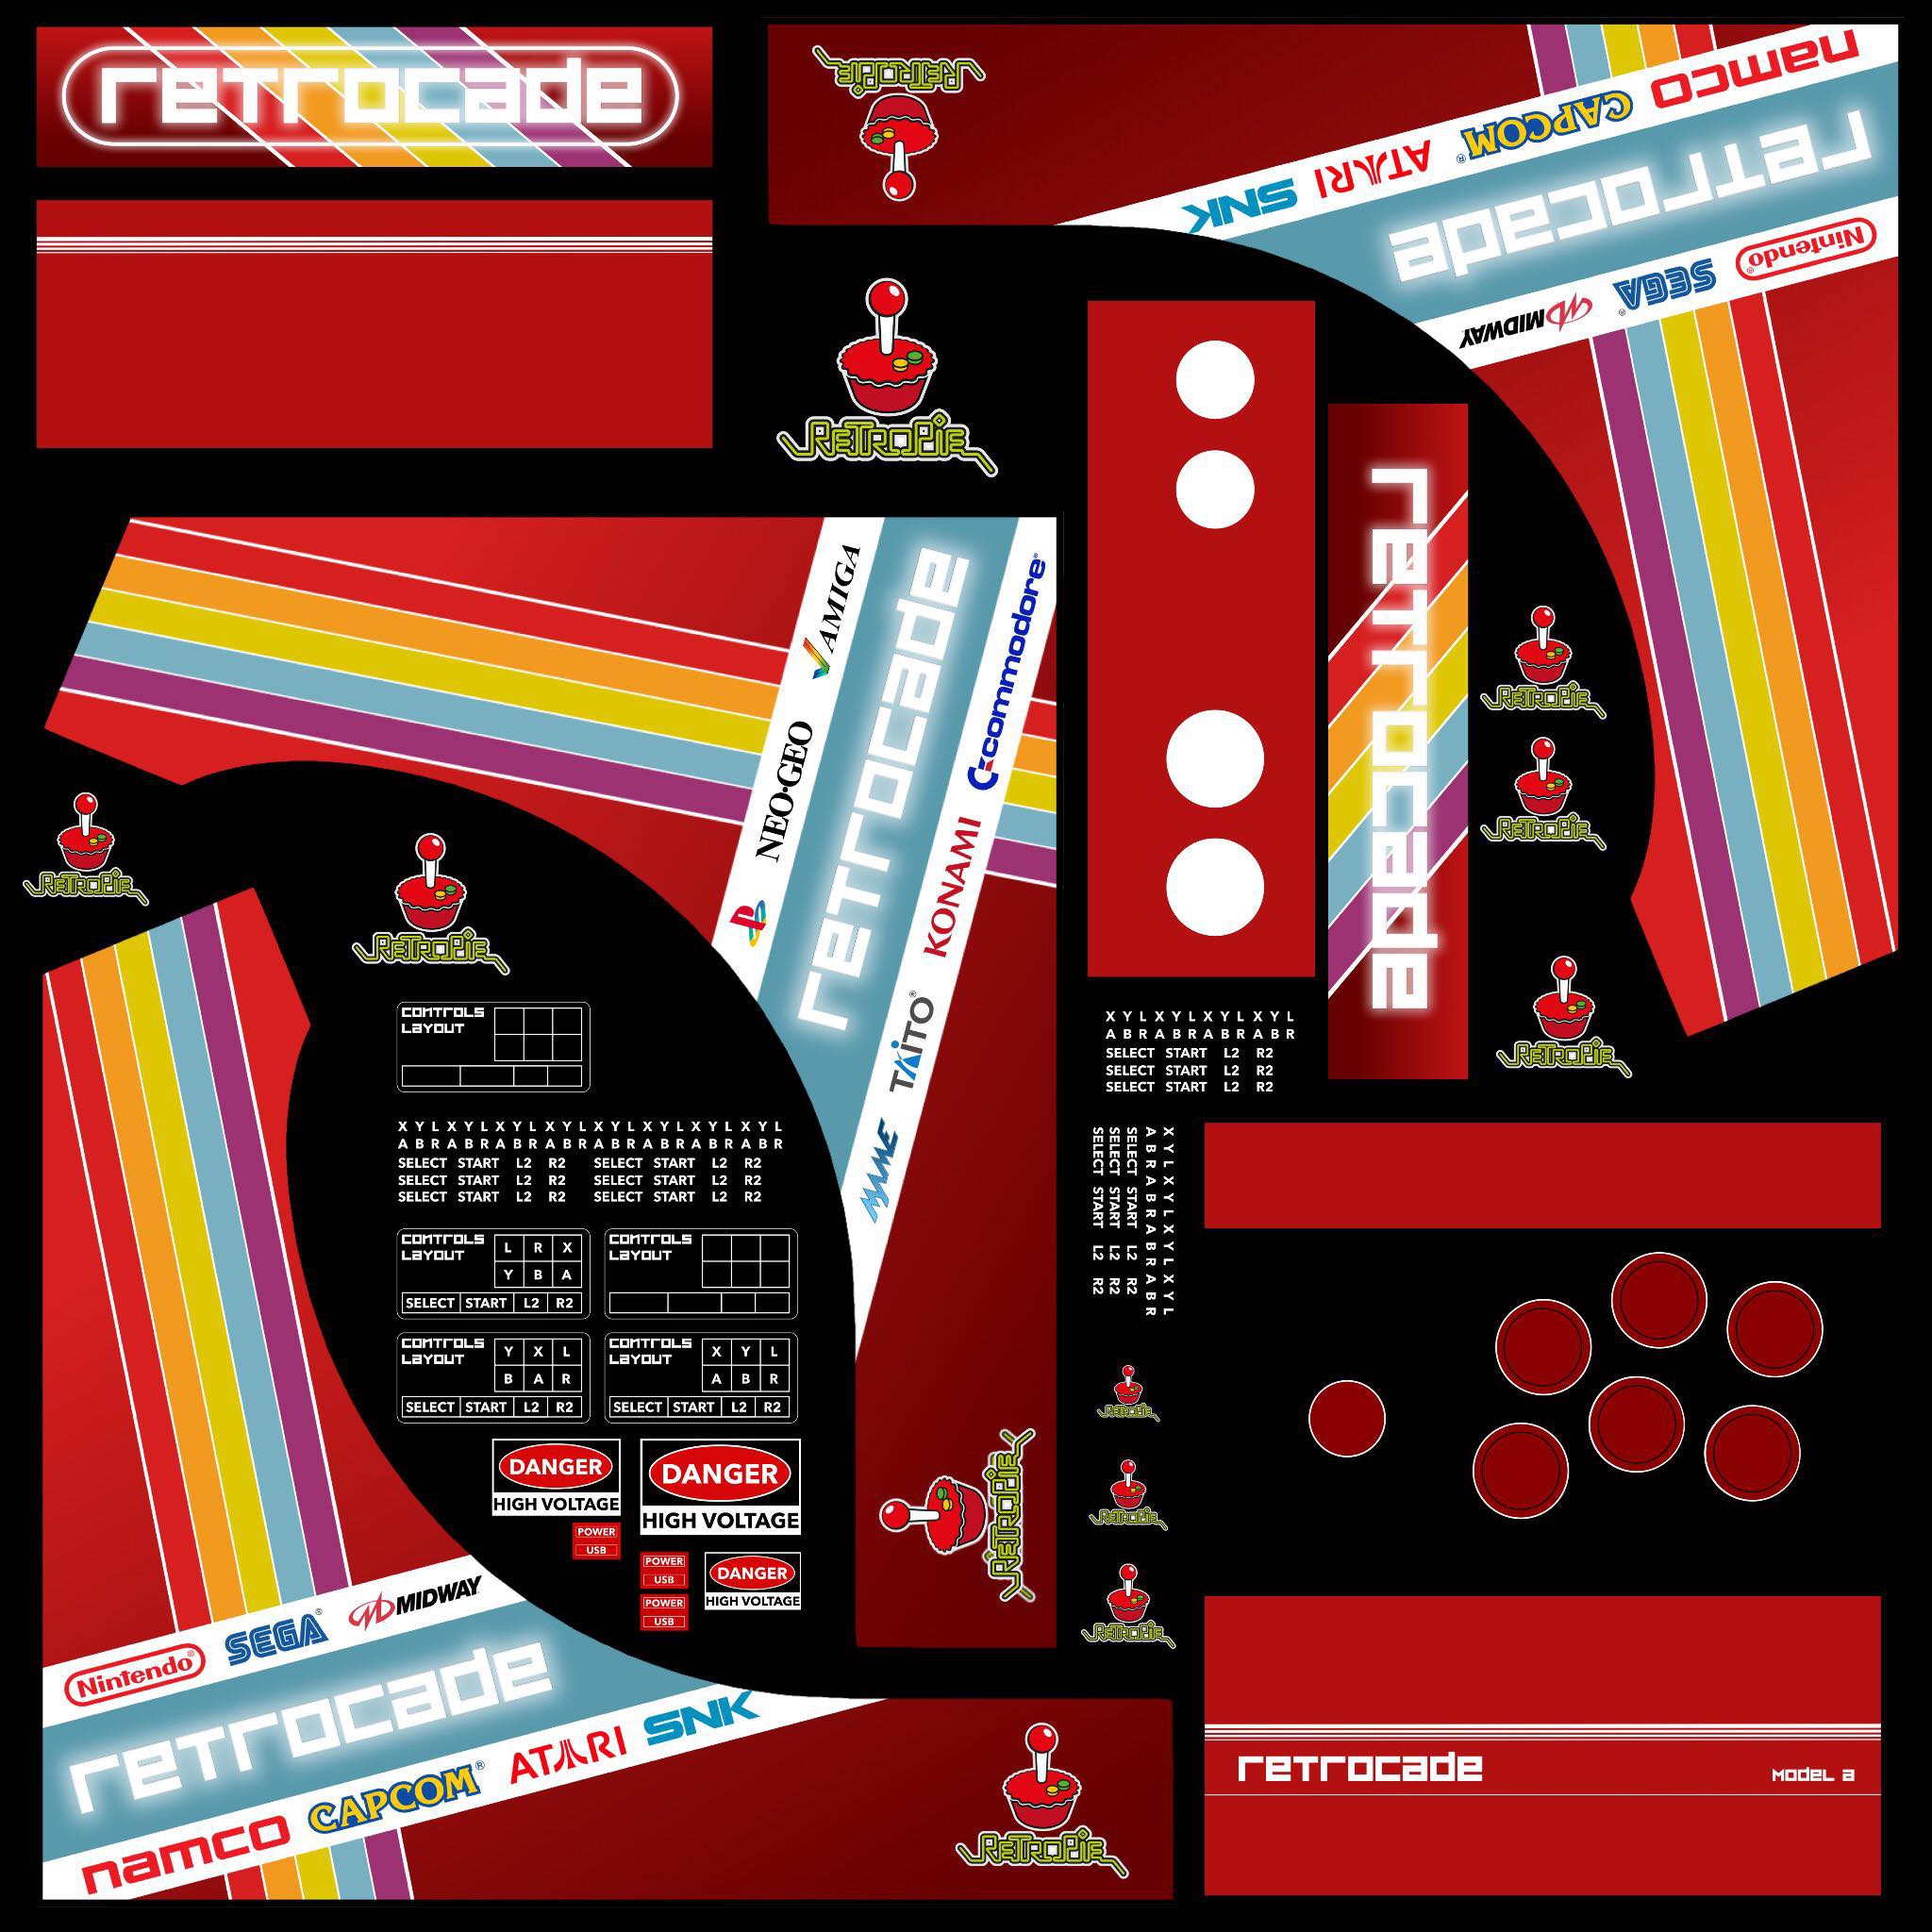
Lastly, I put together all the artwork I created and sent it to a commercial printer to get them printed as vinyl sticker.
![]()
Hopefully, all my remaining parts (speaker, amplifier, USB-A extension cable) arrive this week and I should be able to fully complete my build this weekend! =D ... Can't wait!
-
Assembly
03/08/2017 at 06:37 • 0 commentsNow for the fun part, finally putting it all together!
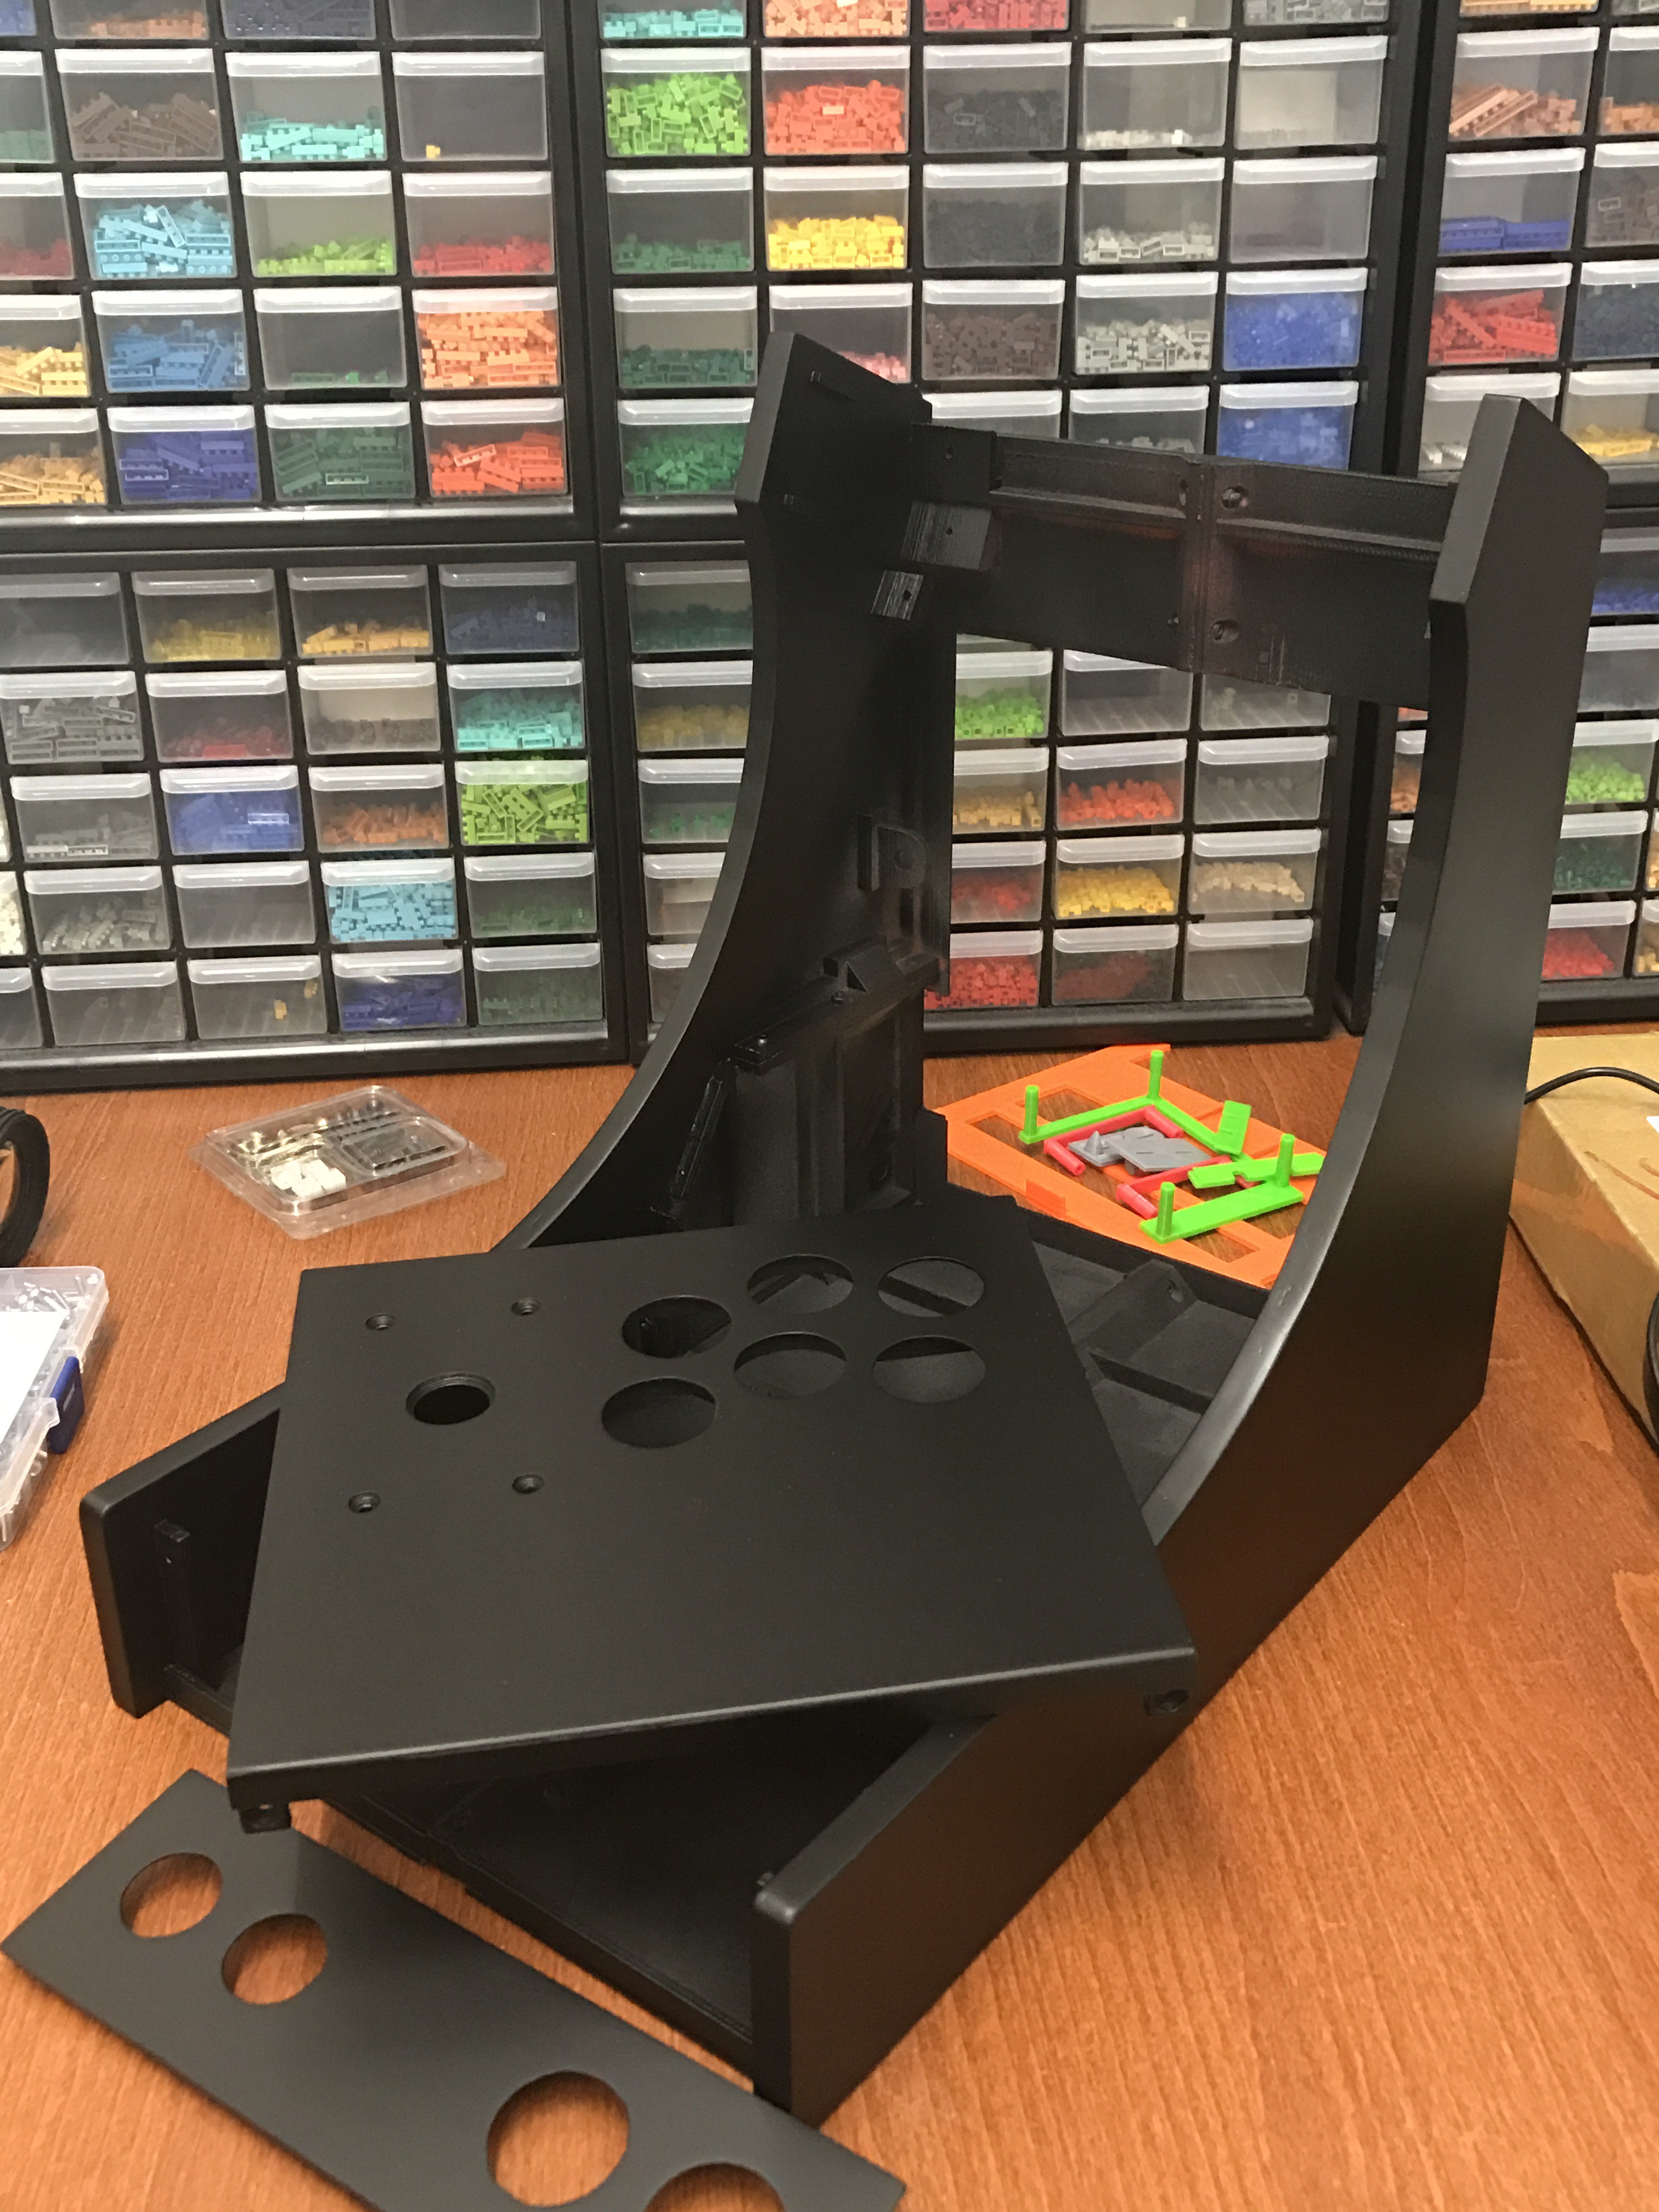
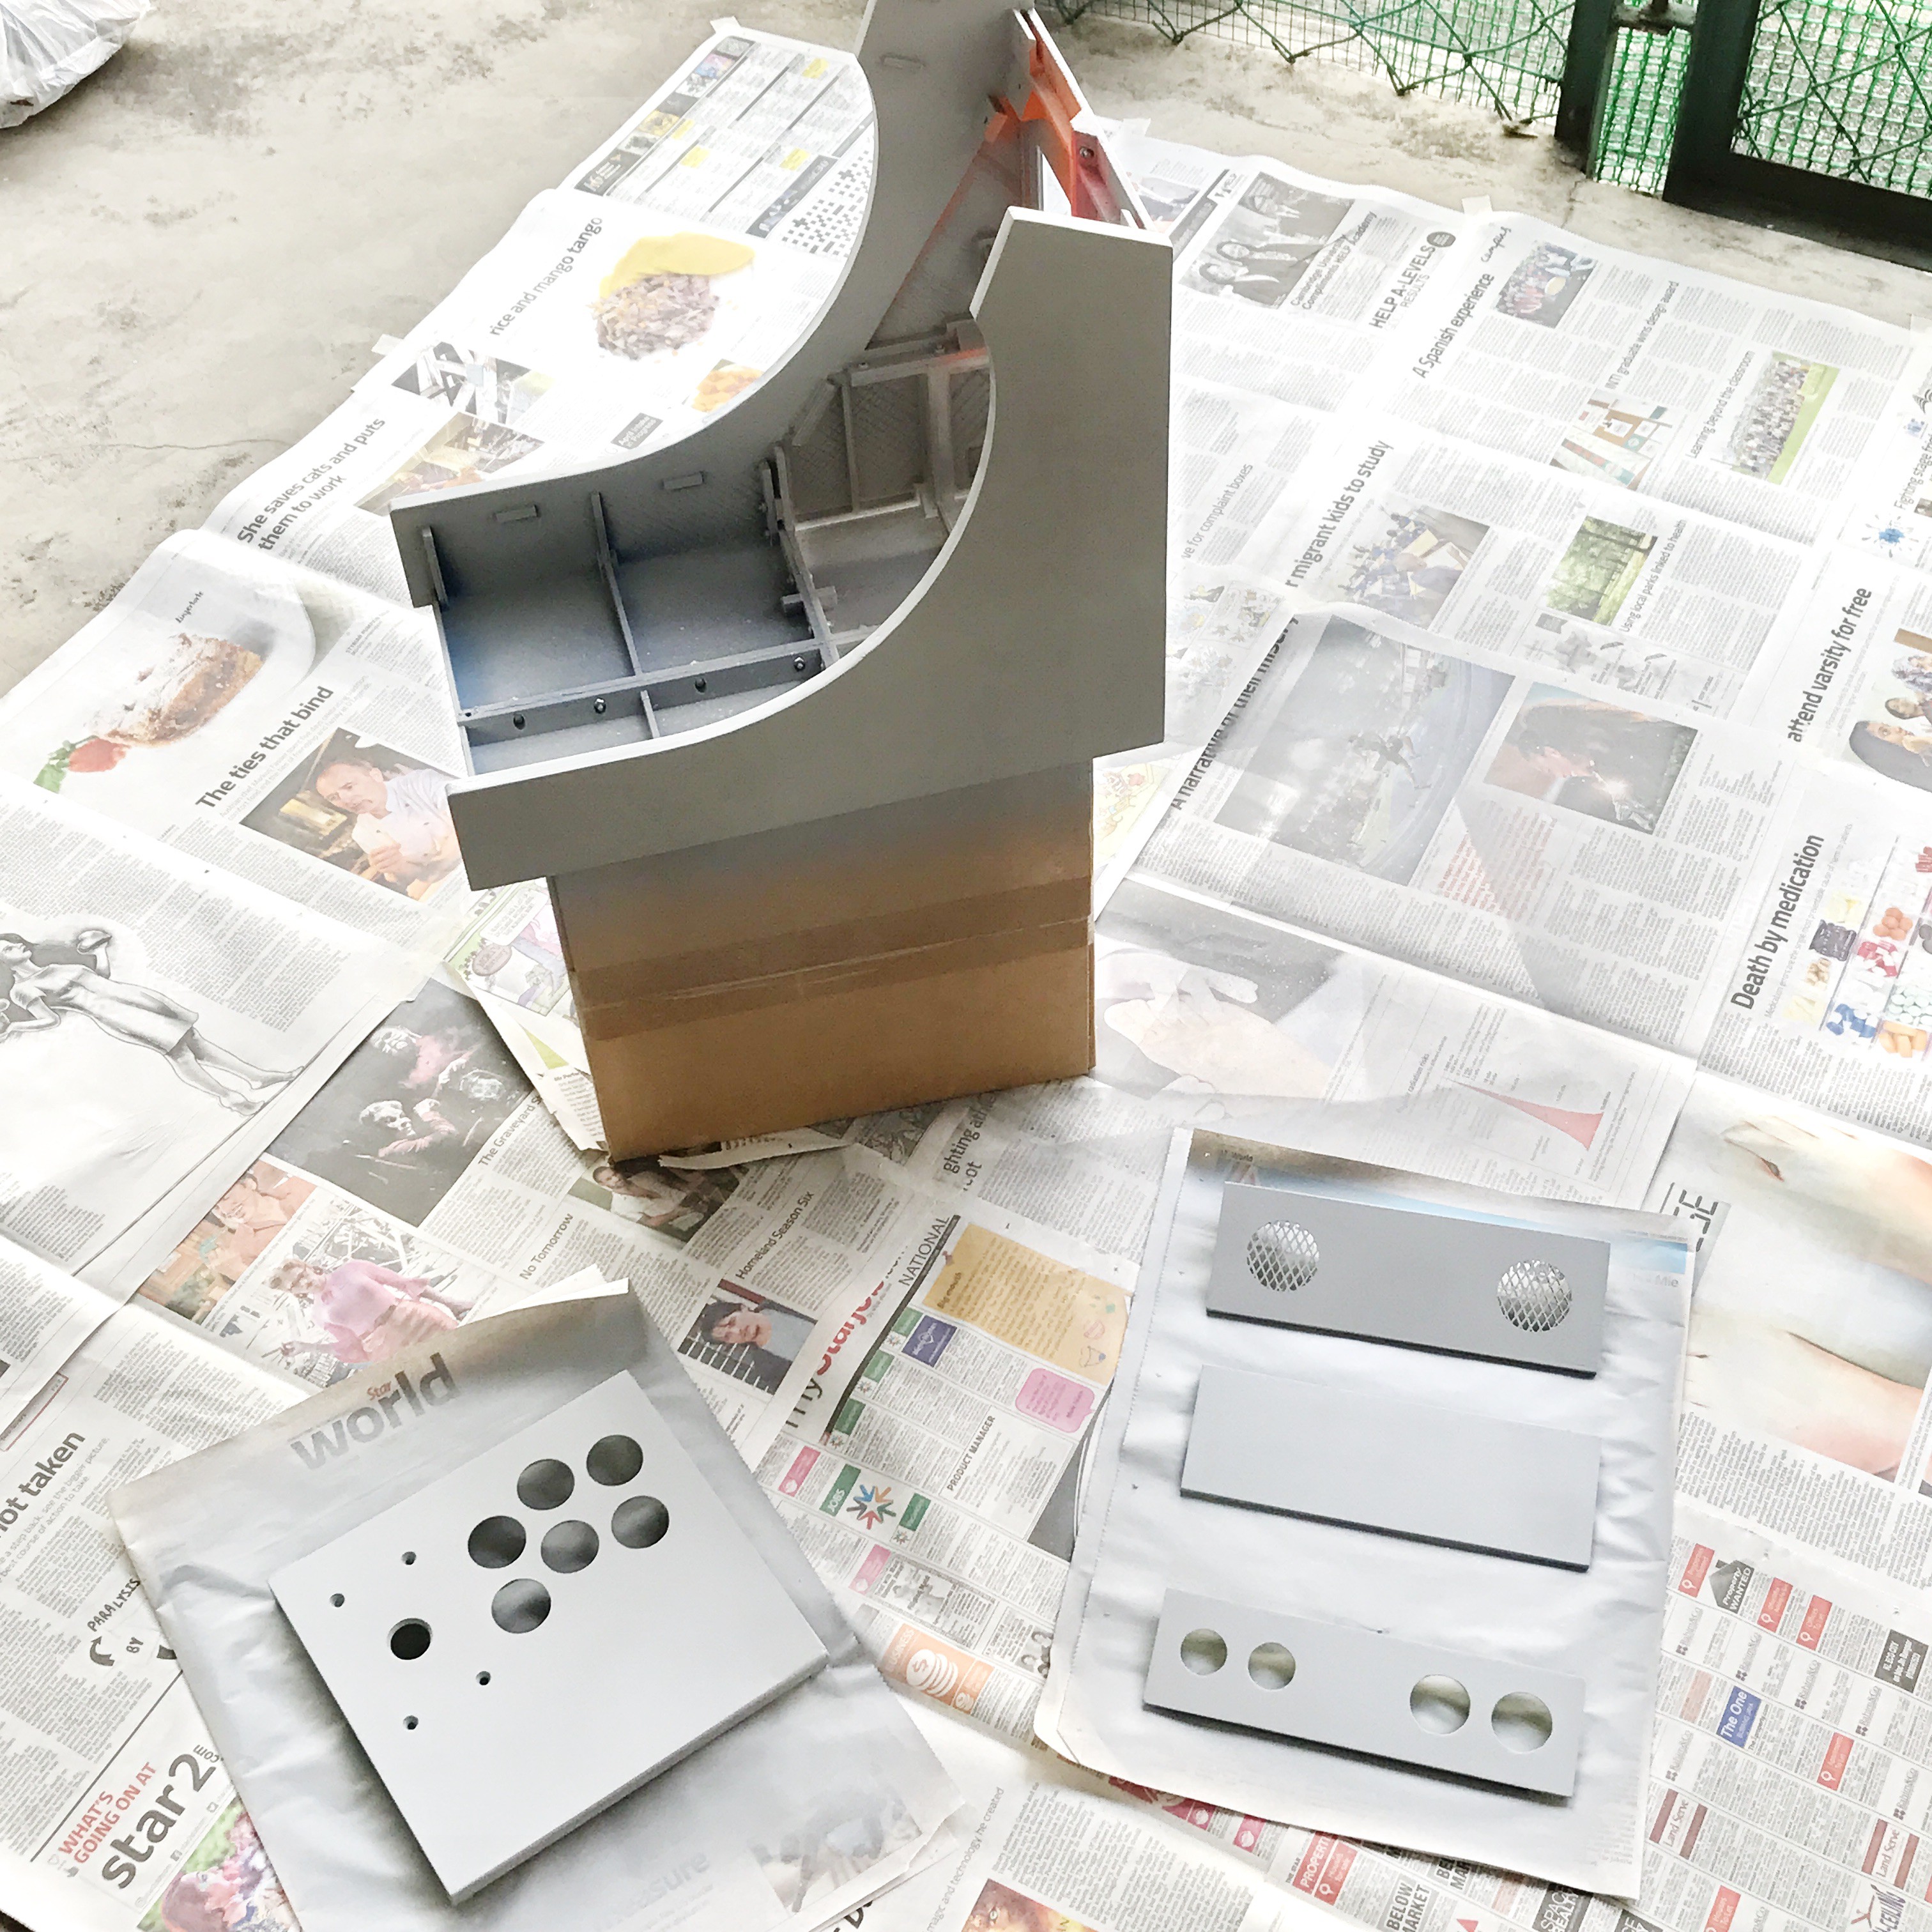
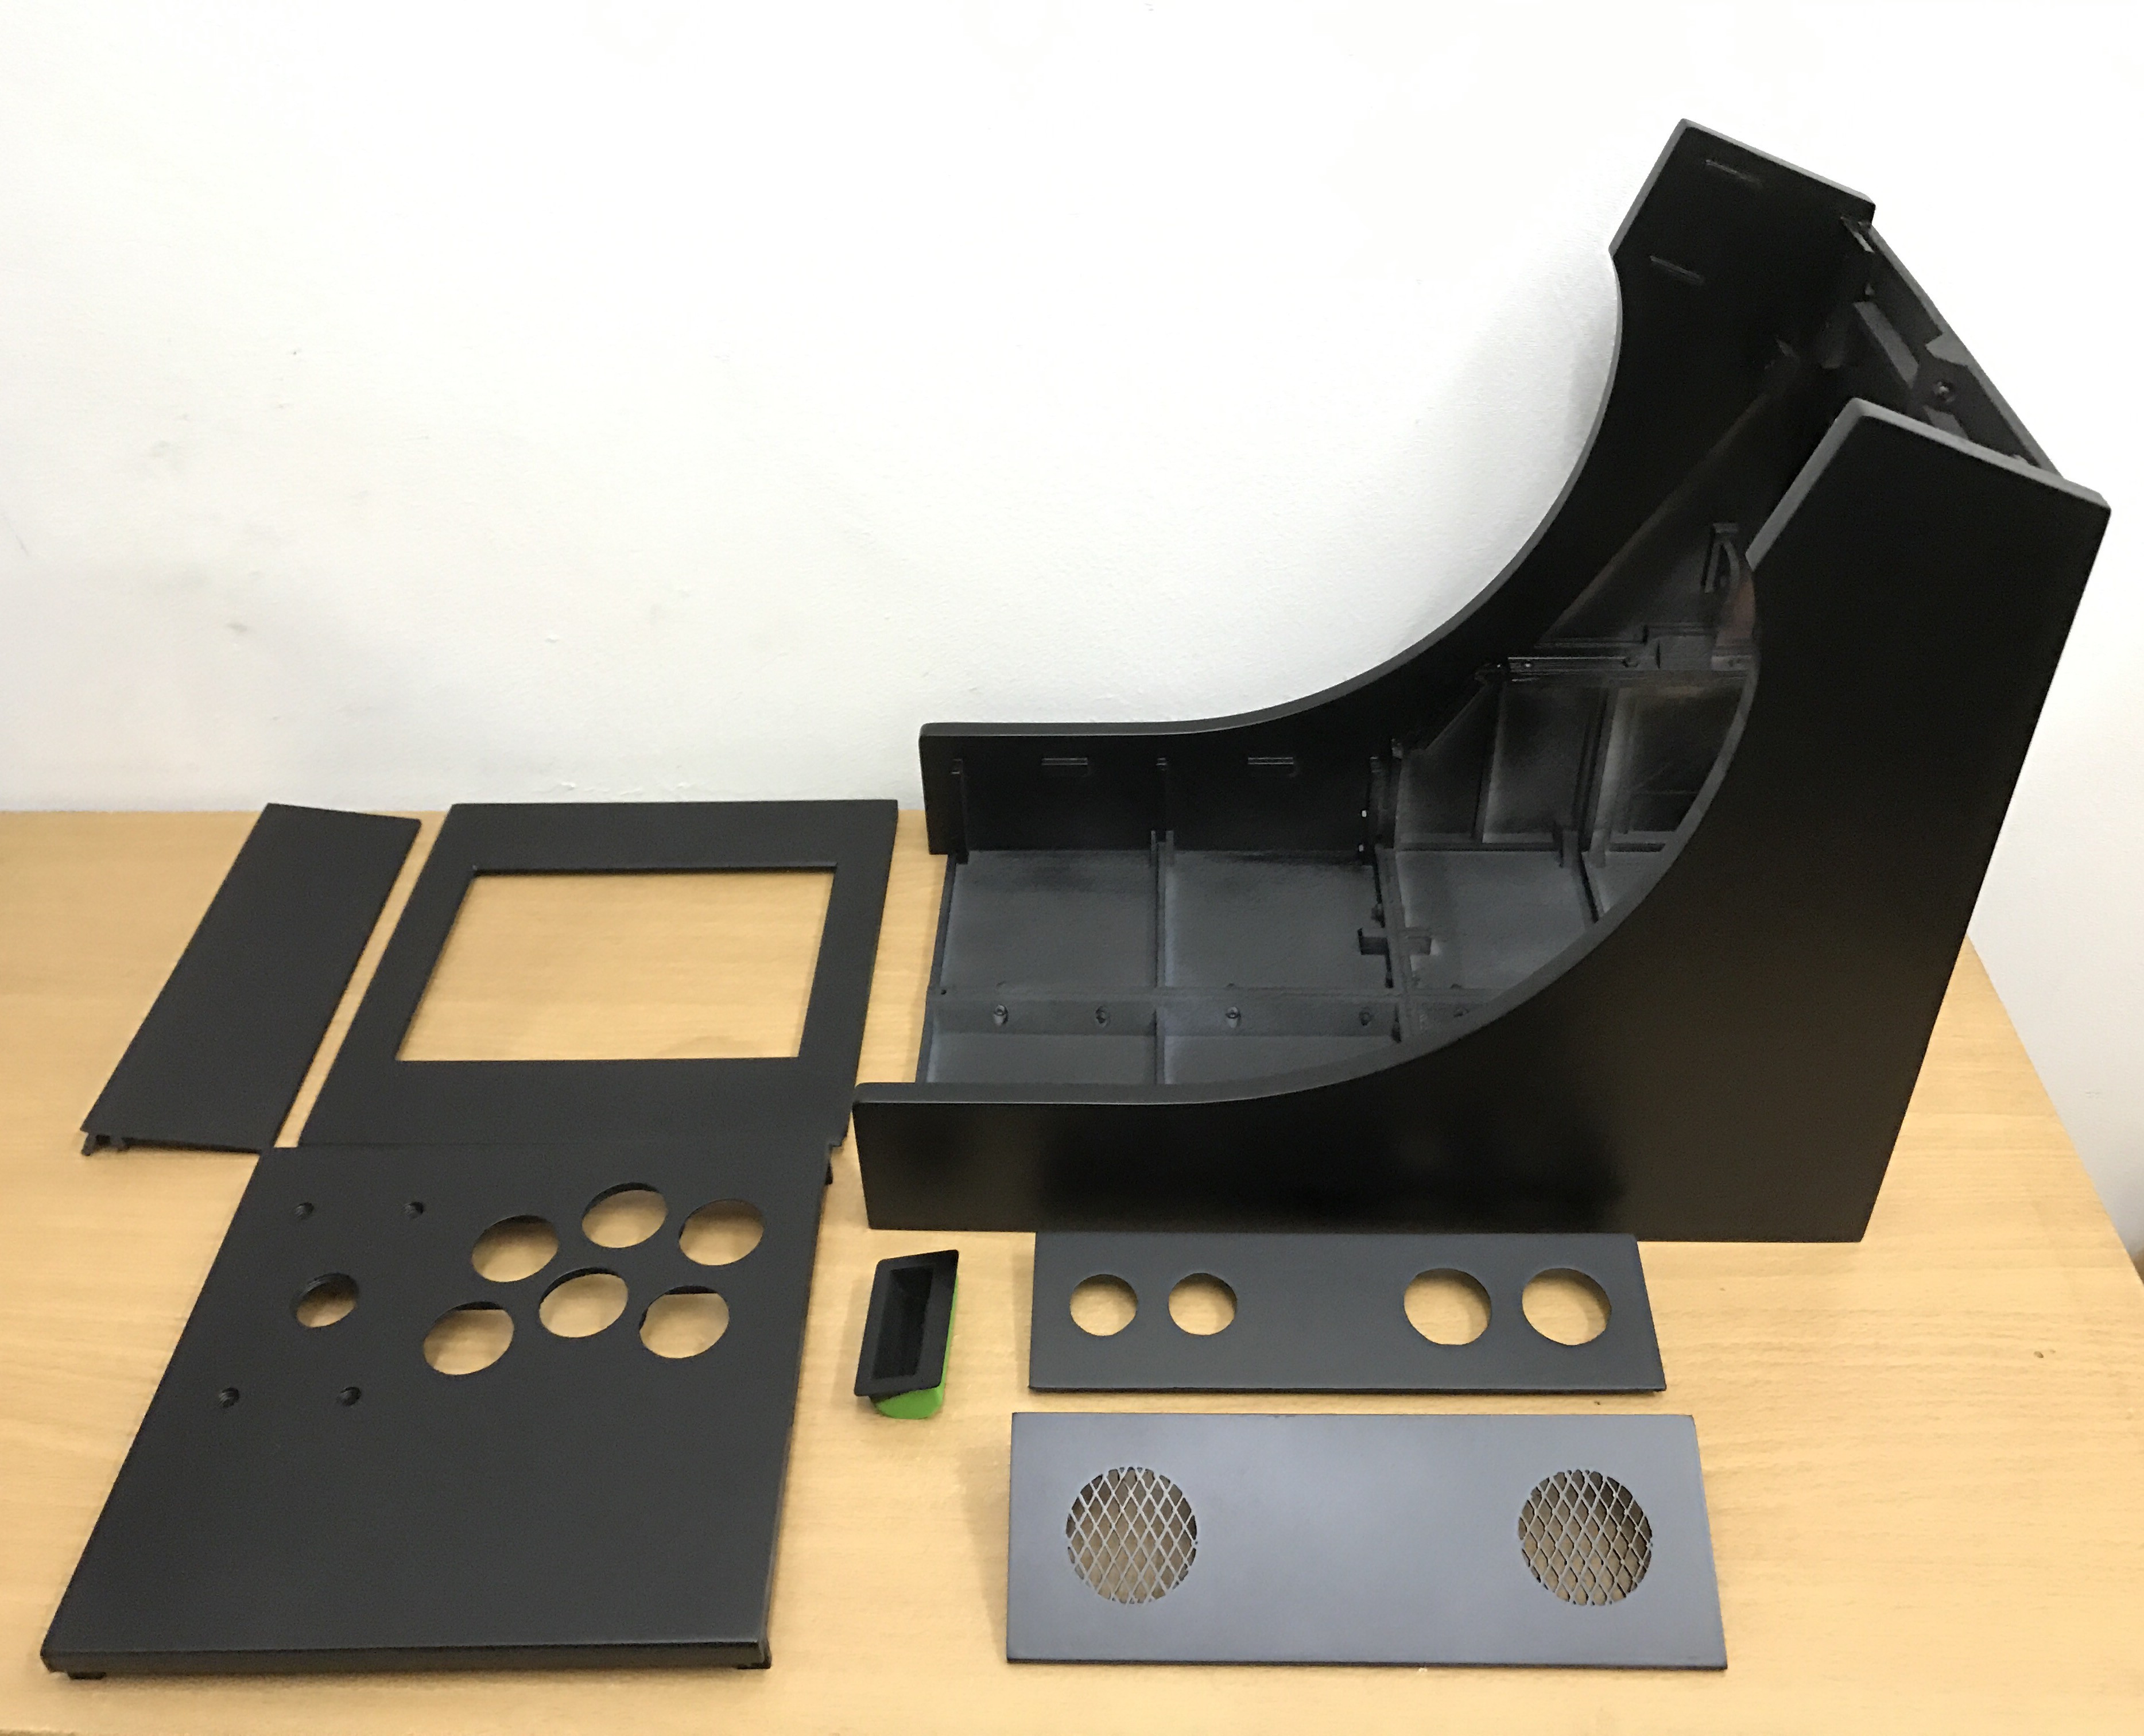
Here are the parts. I know they're not like 100% perfect, but I ran out of primer and didn't want to wait anymore, so here we are ... LOL
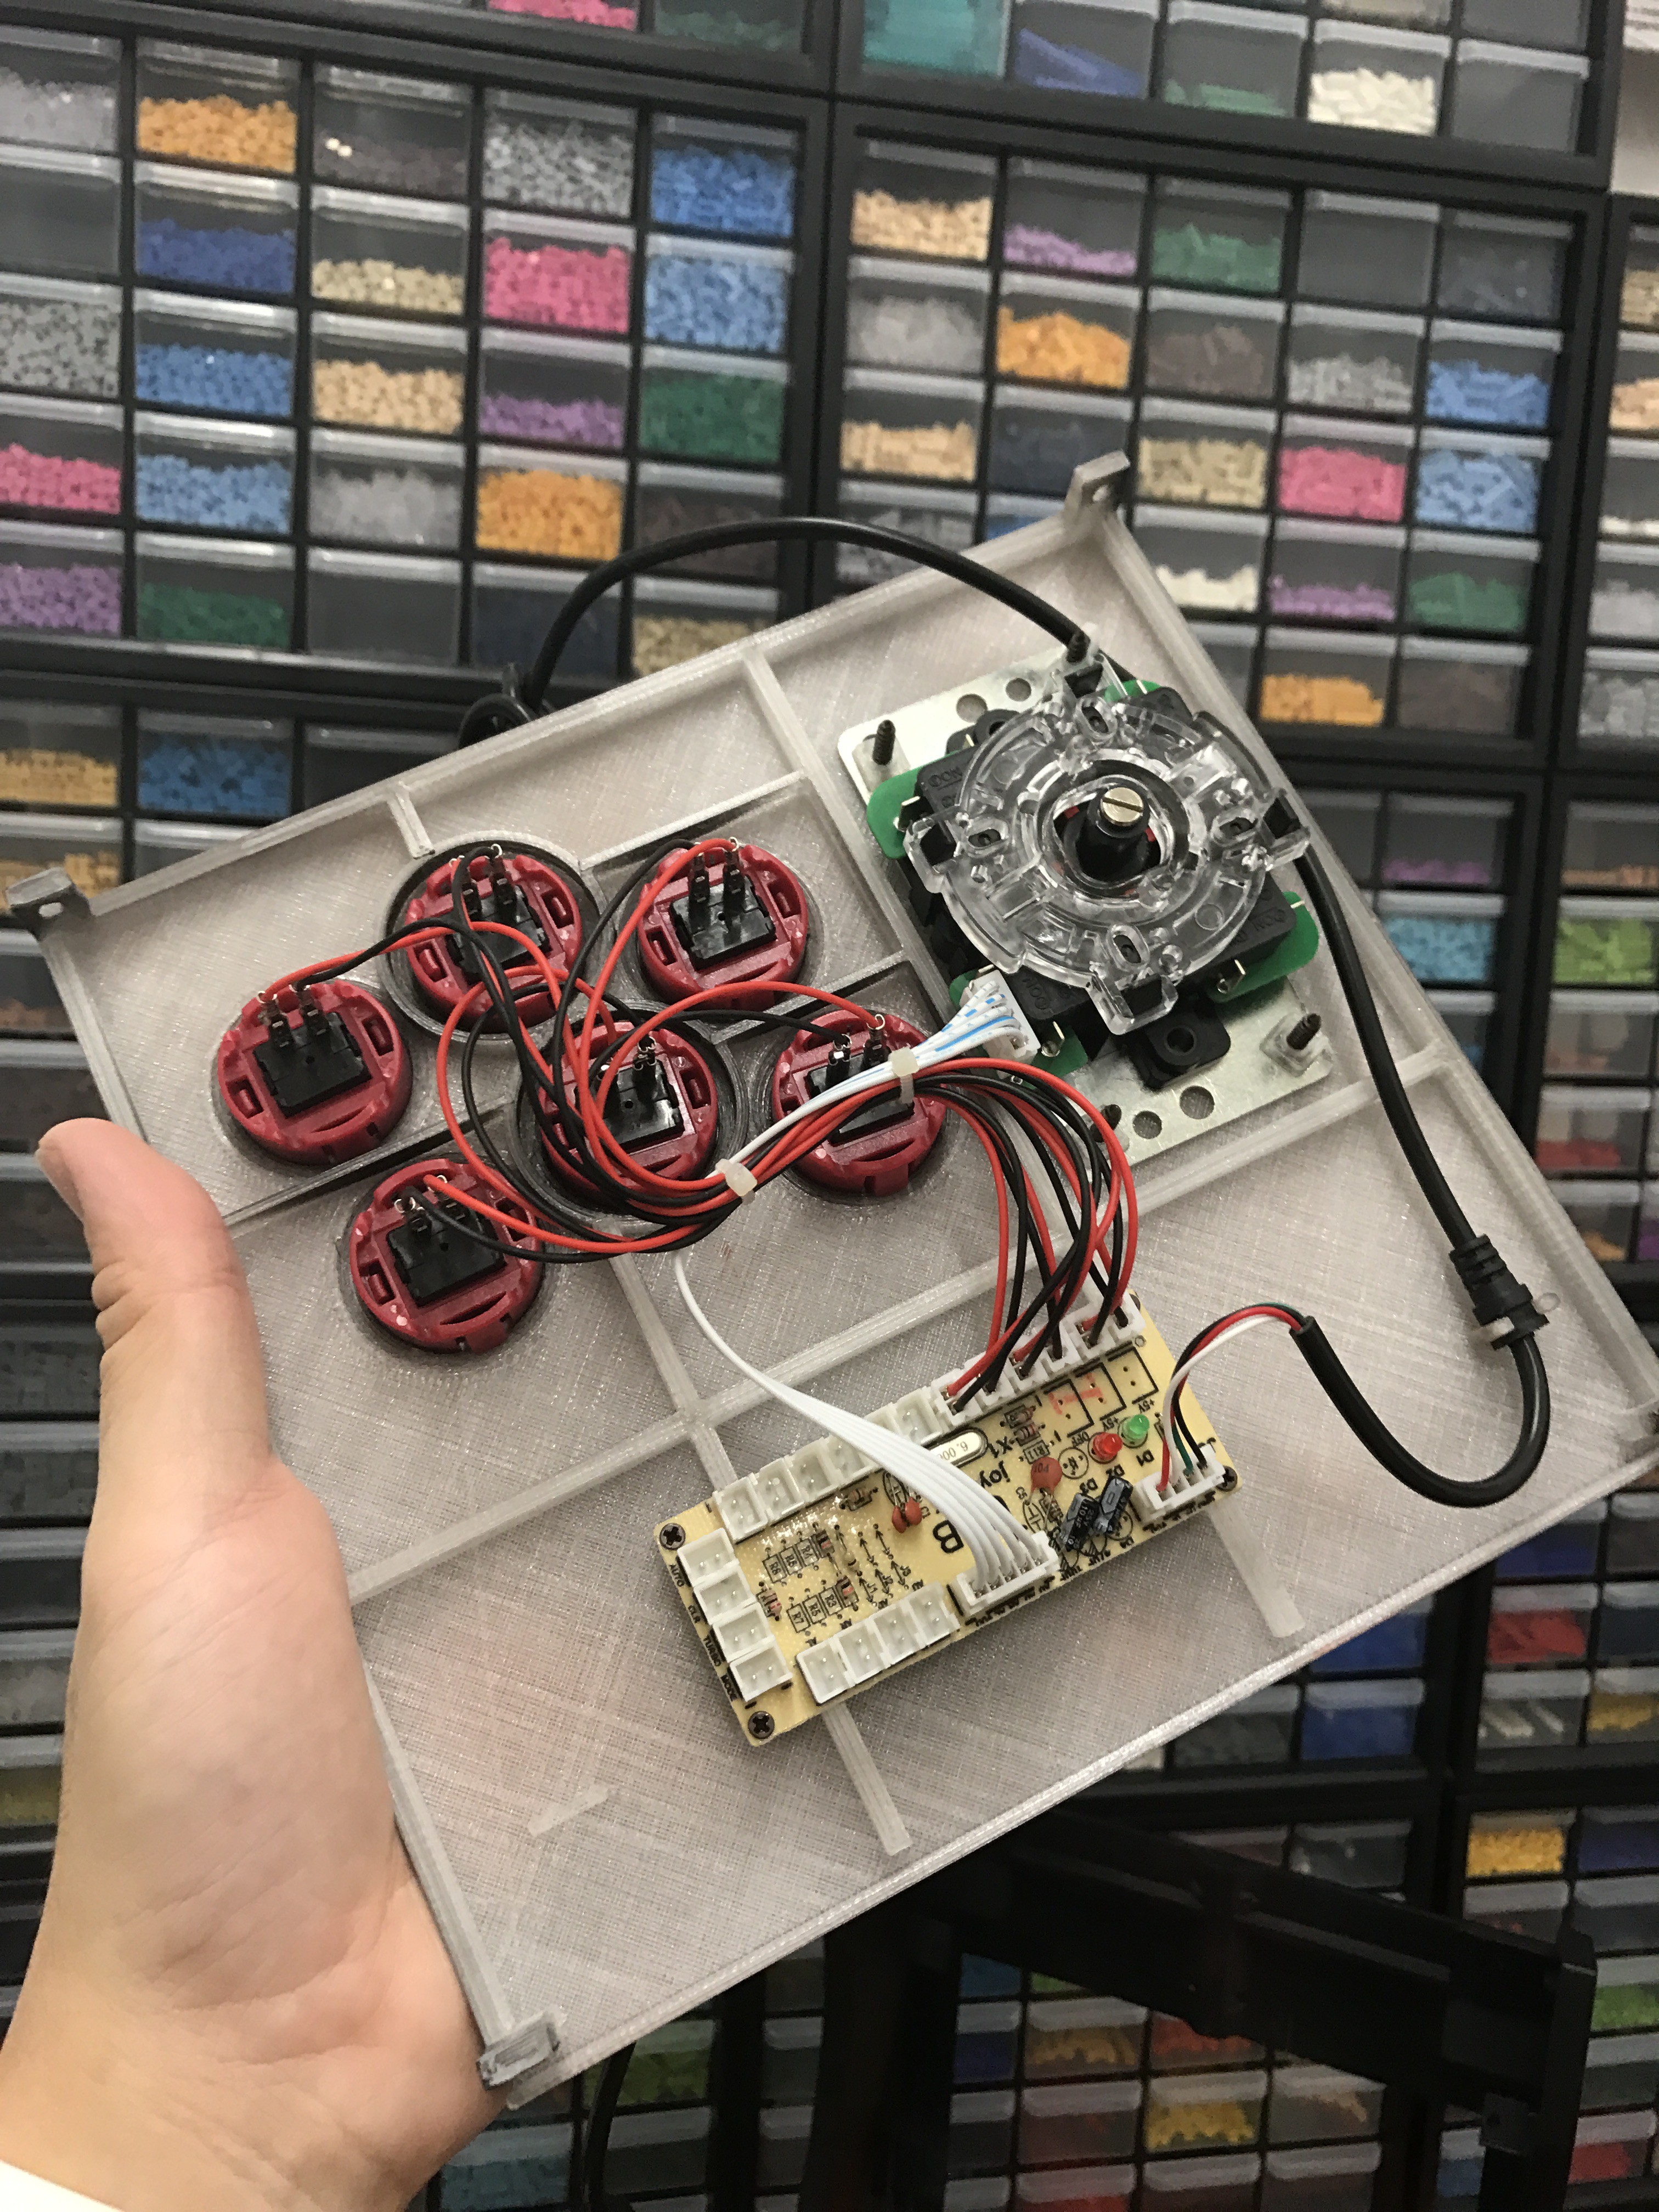
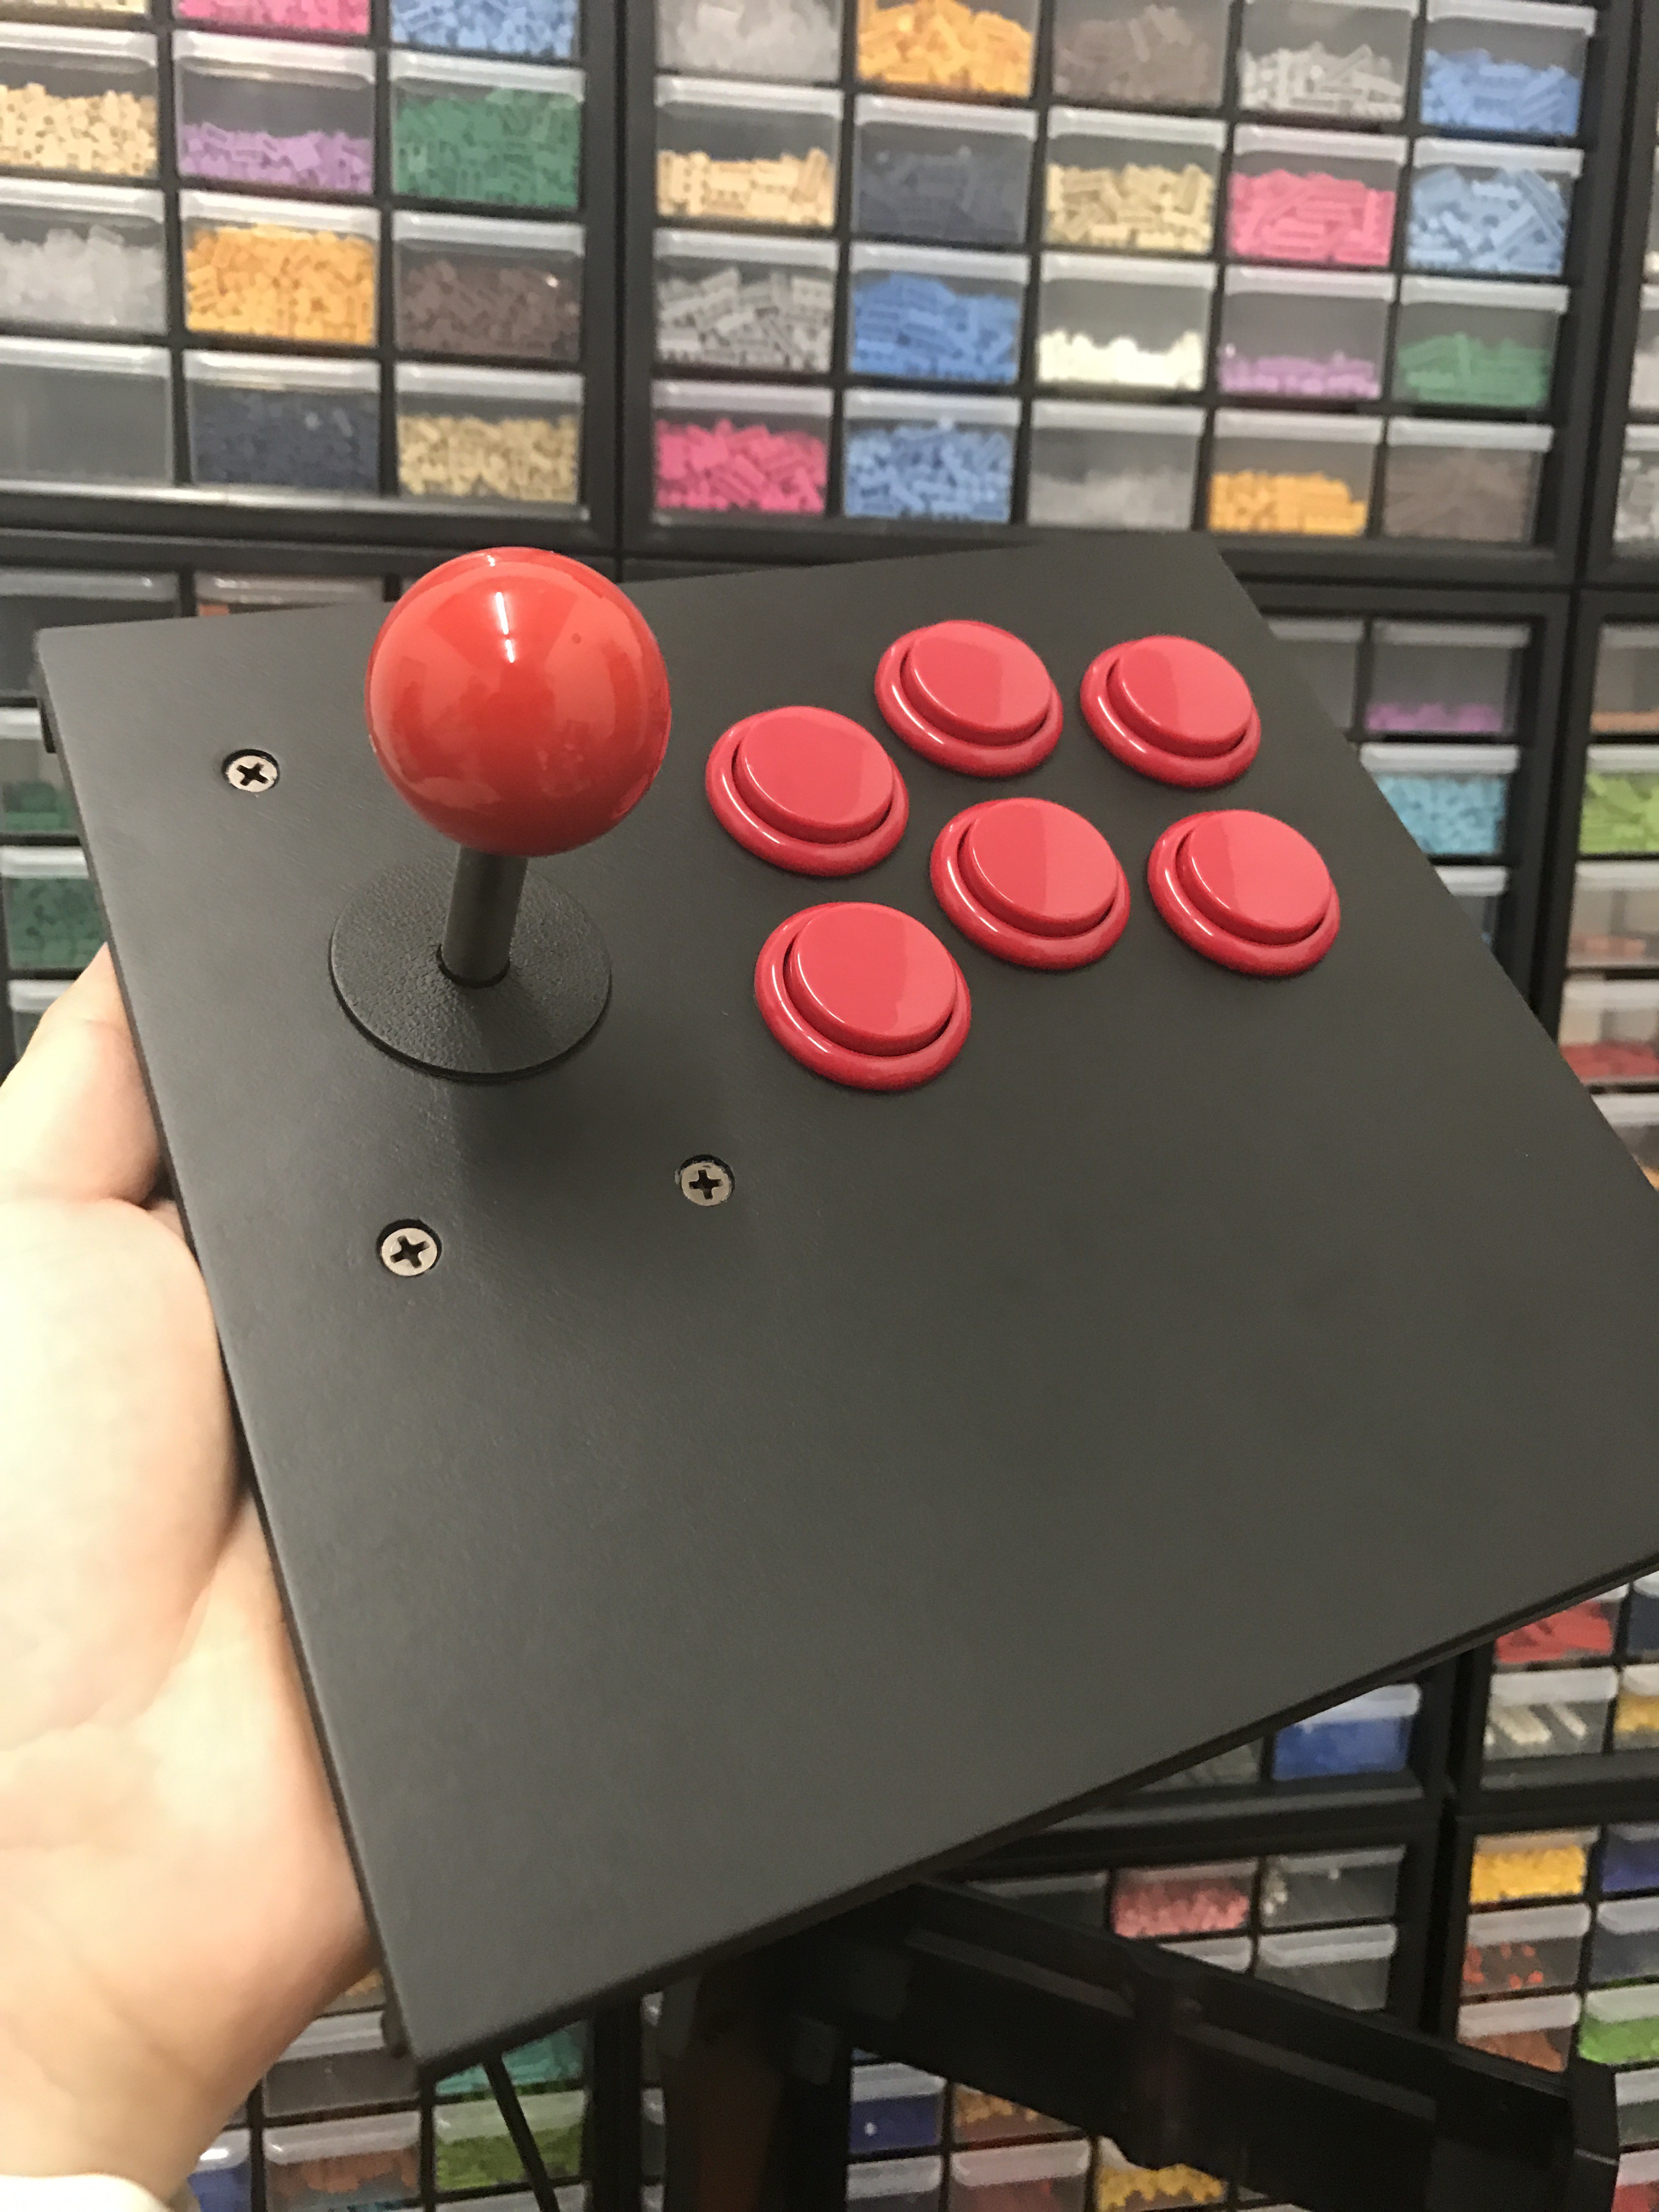
First, putting all the buttons and joystick into the panels!
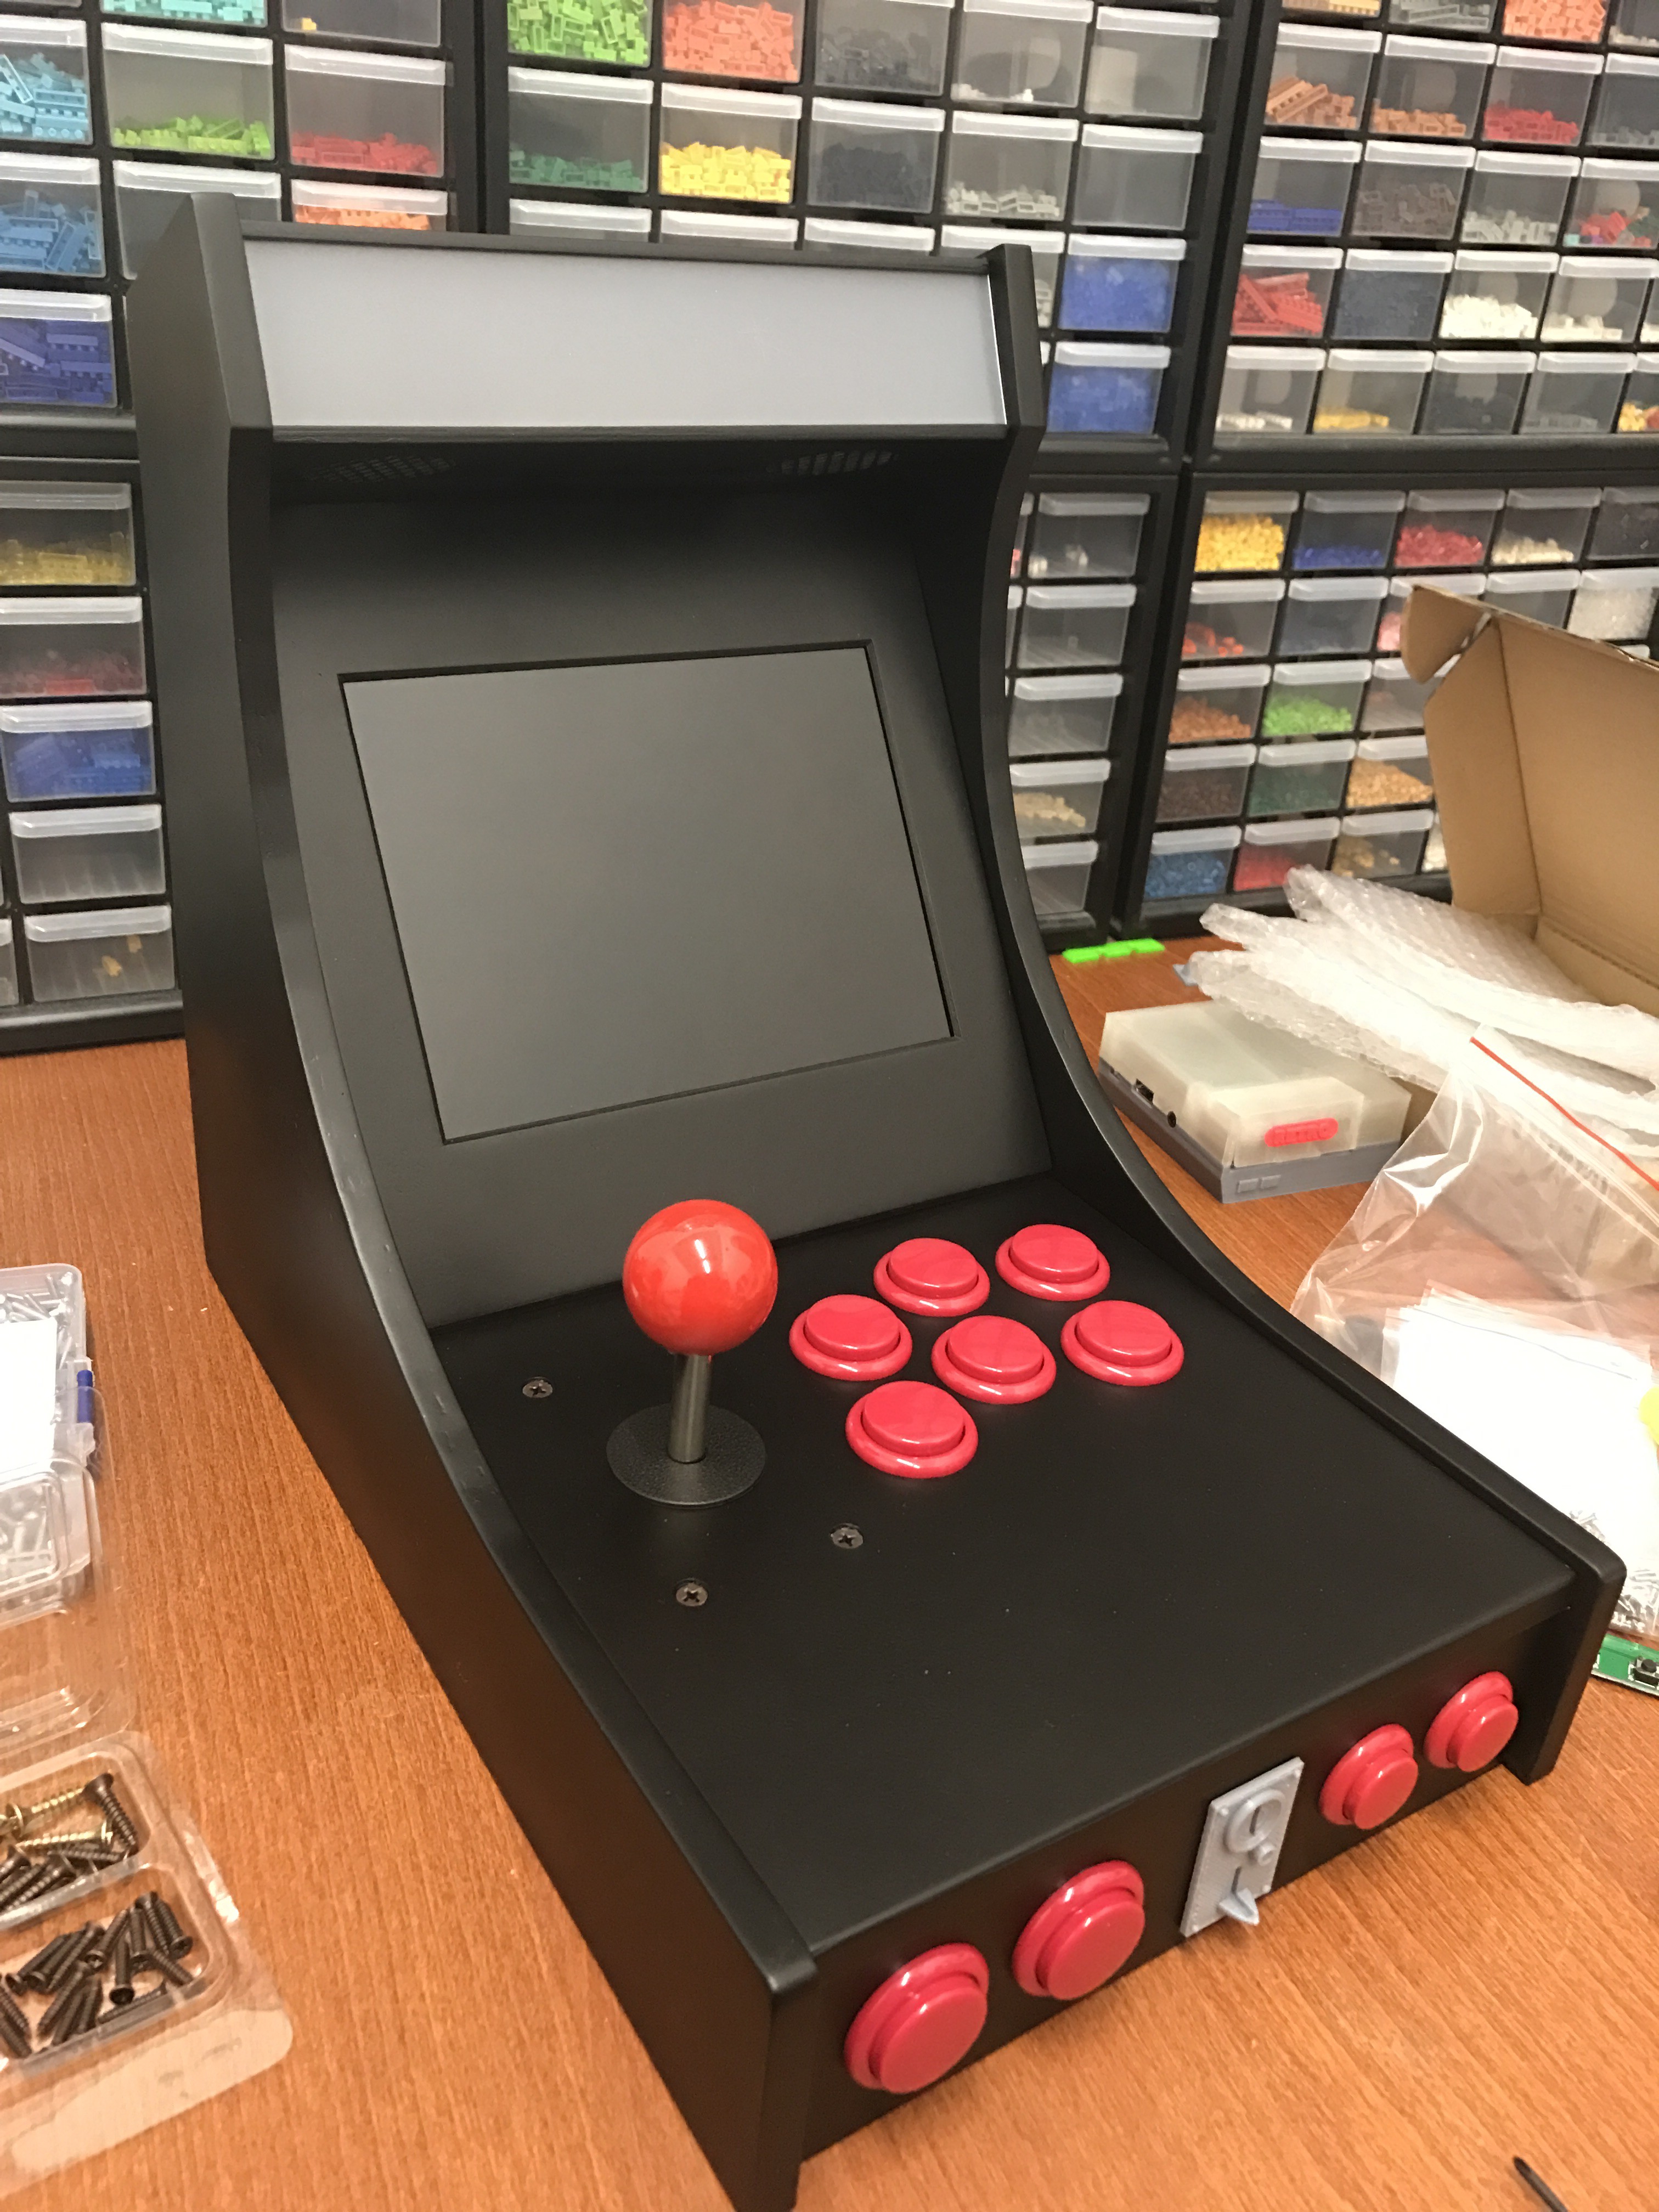
Next, we mount the controller panels on the body. Looks good right?
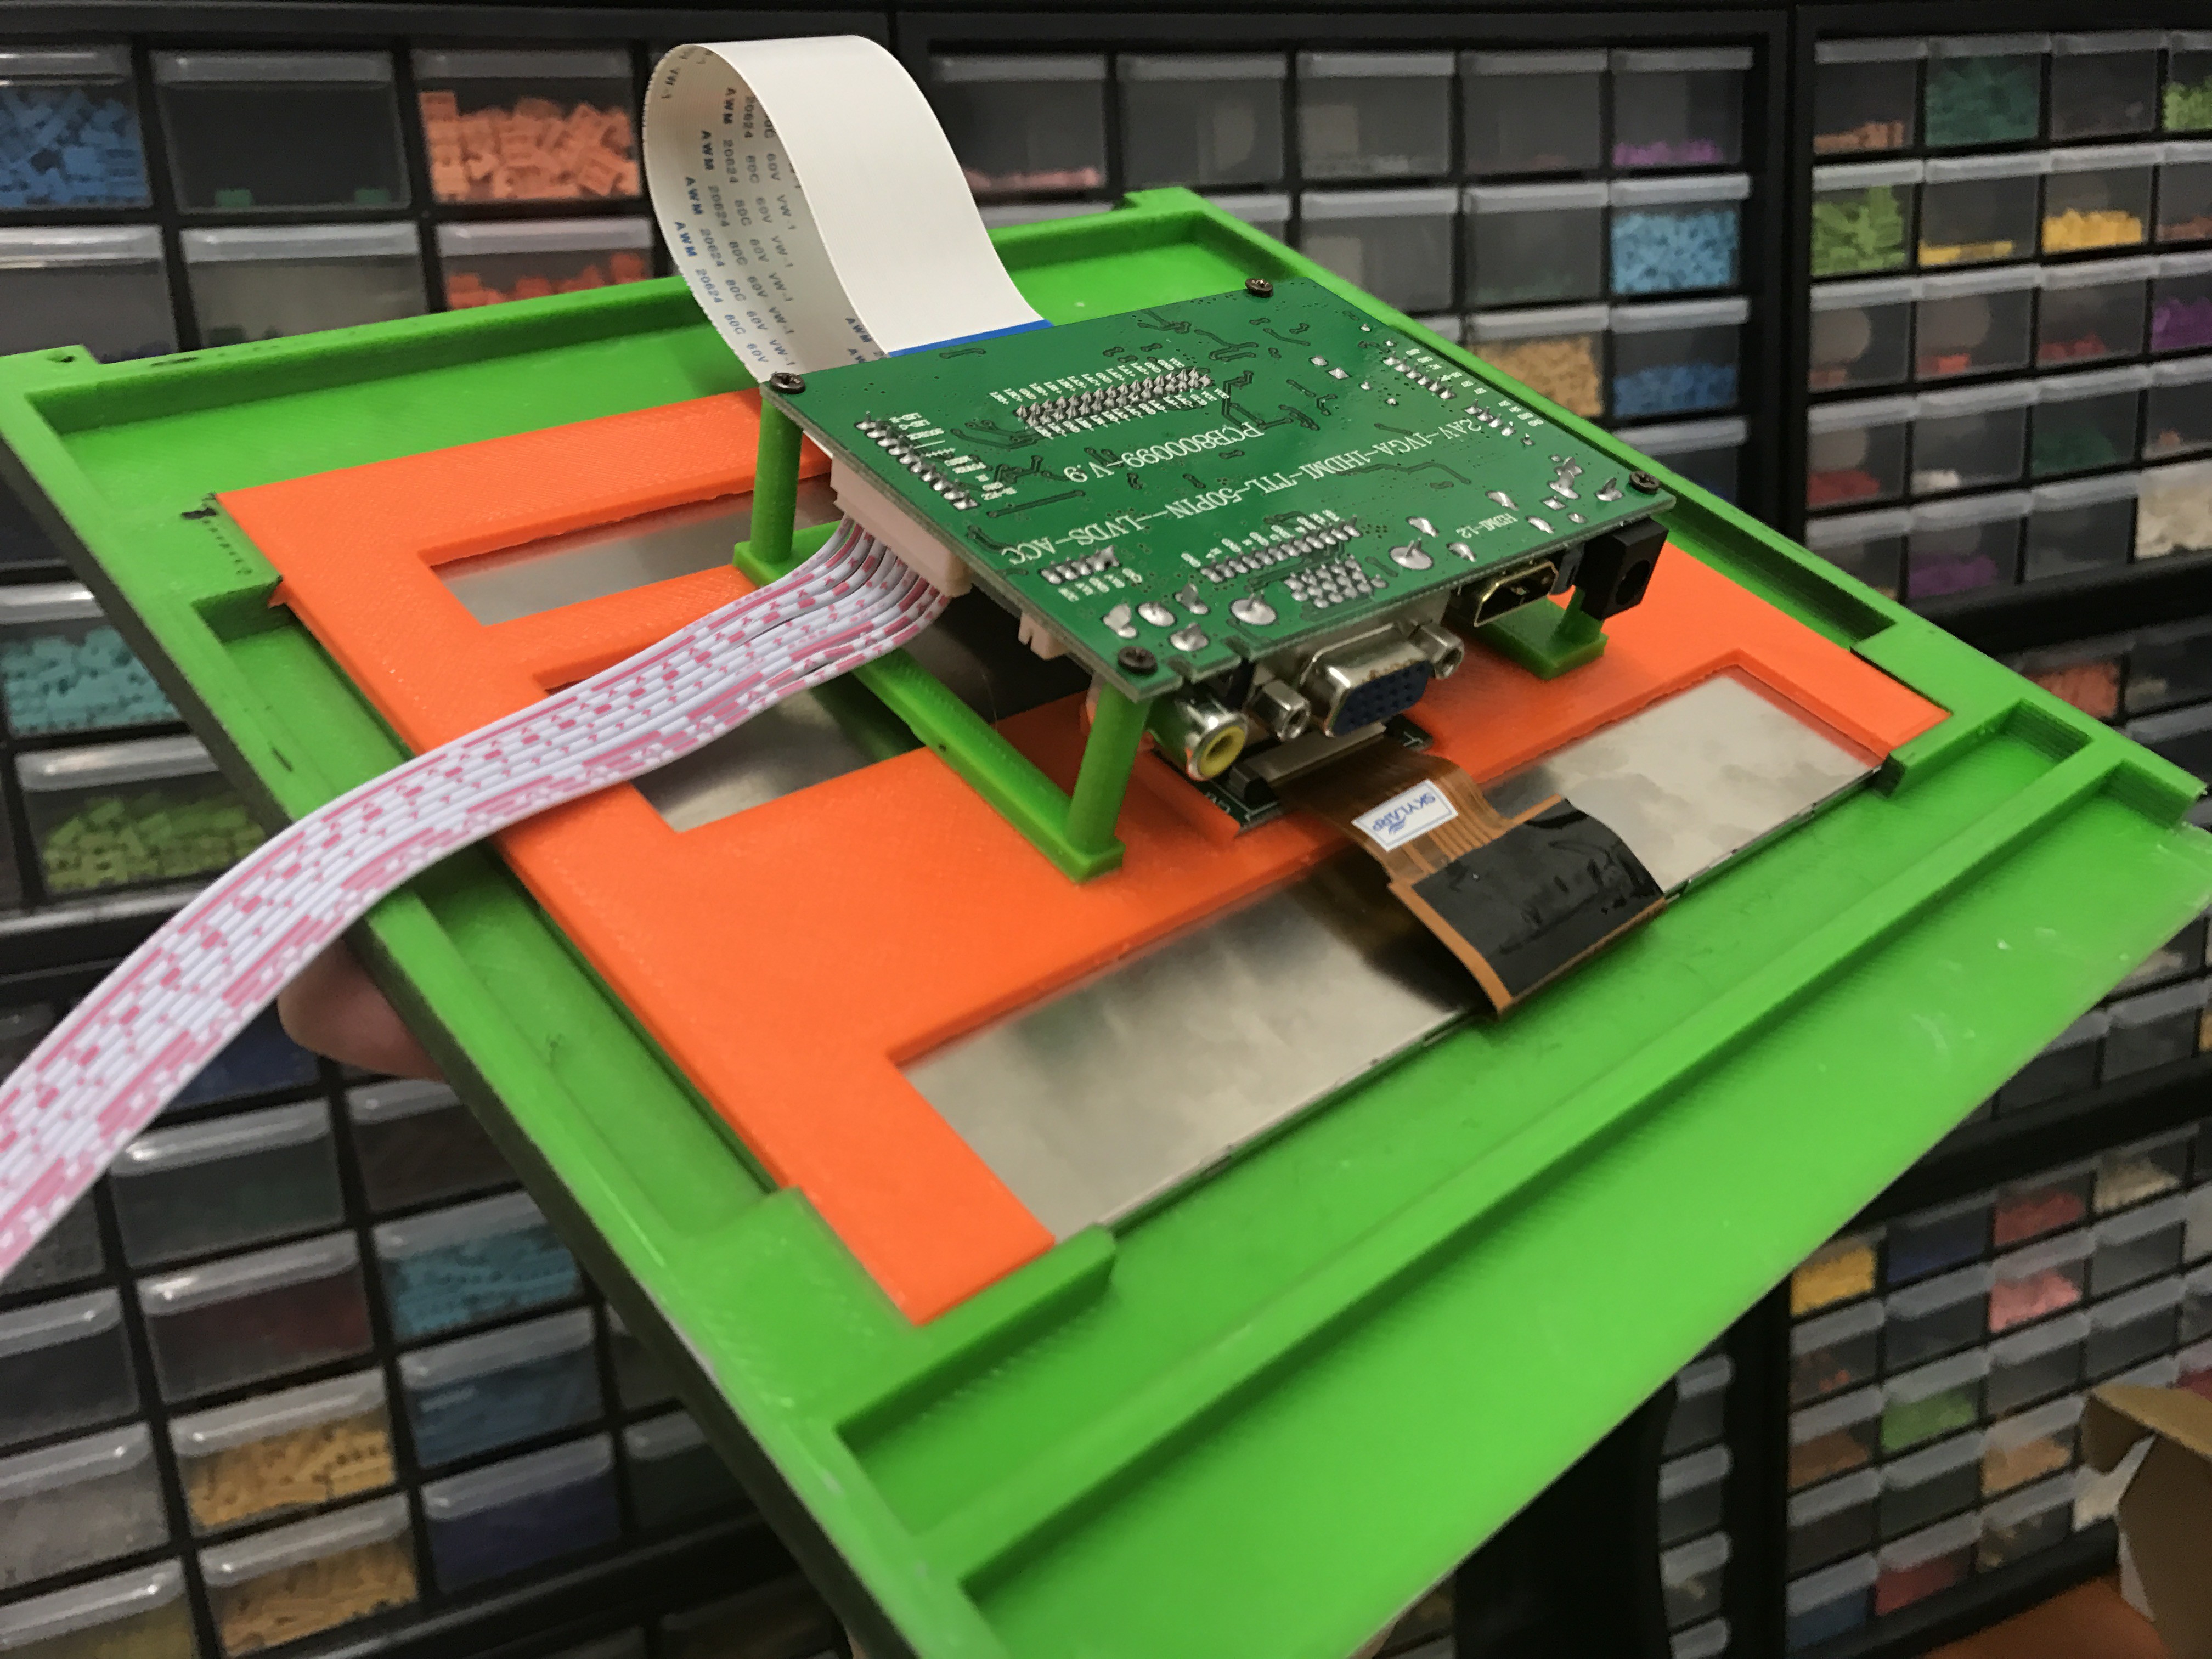
Now for the display assembly. Here you can see the 8" IPS LCD mounted with the driver board attached behind it.
Here's how it looks like mounted on the body.
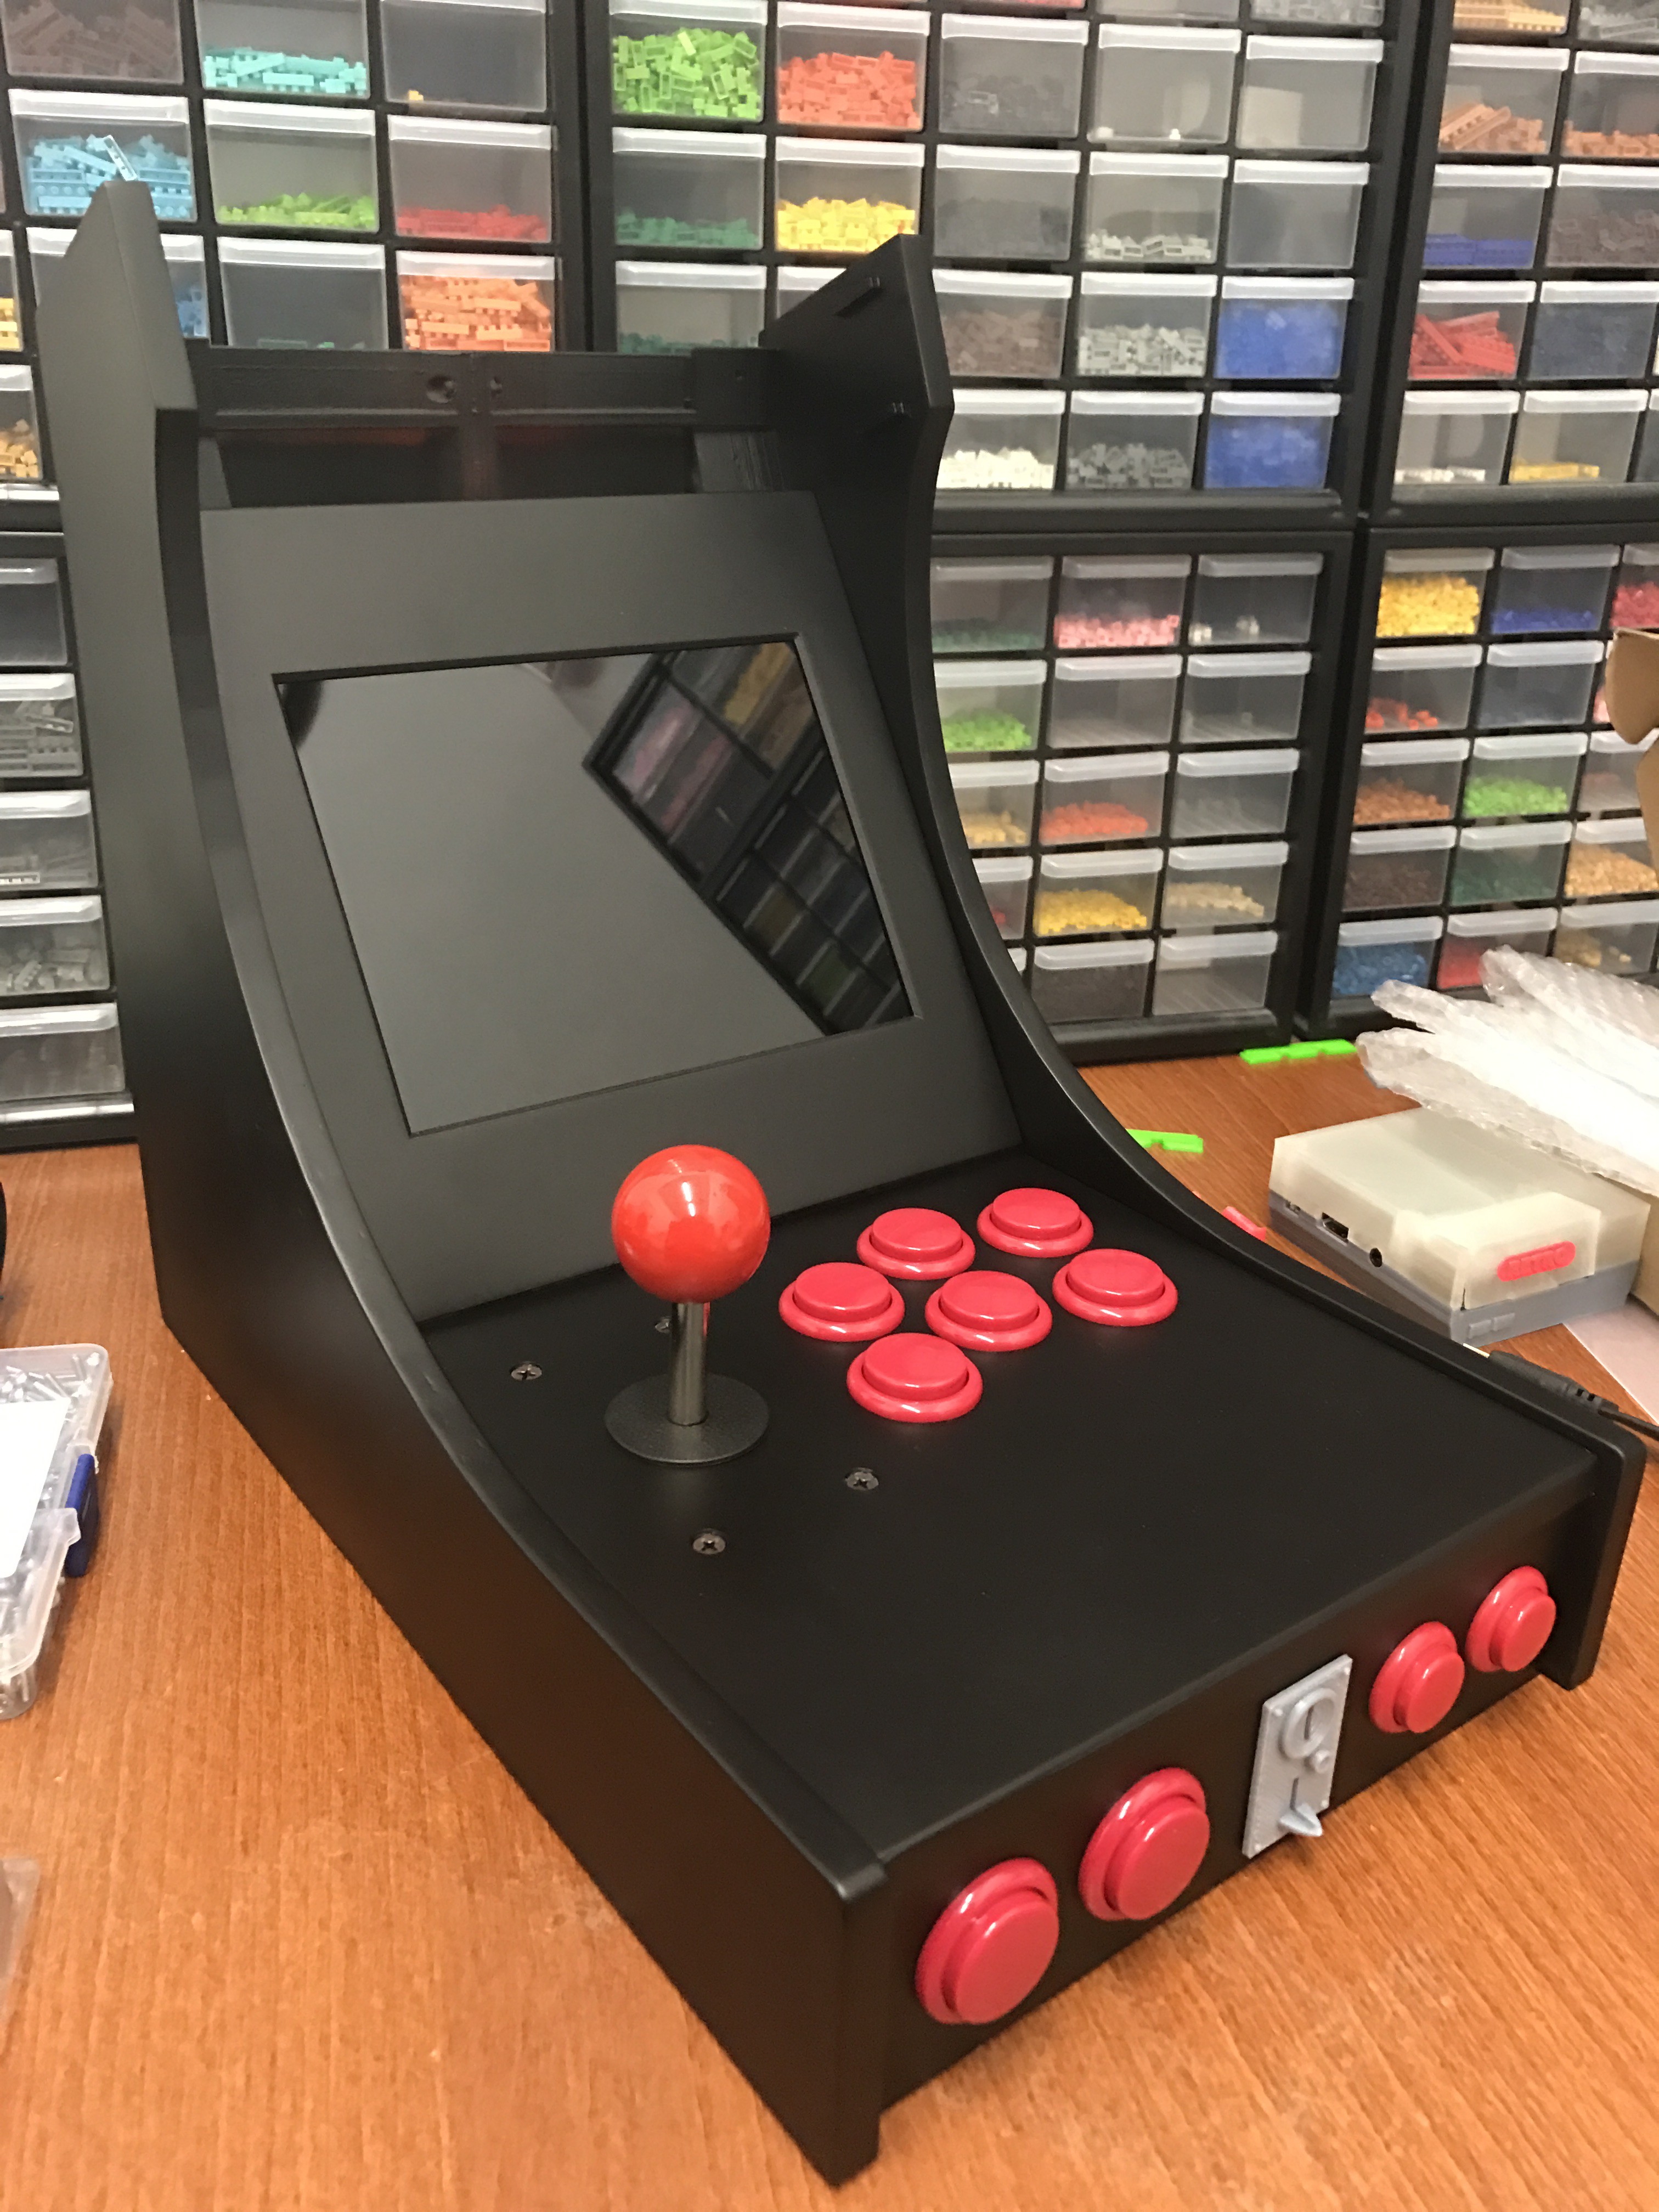
Finally, the top panels for the marquee are mounted as well and it now looks complete! =D
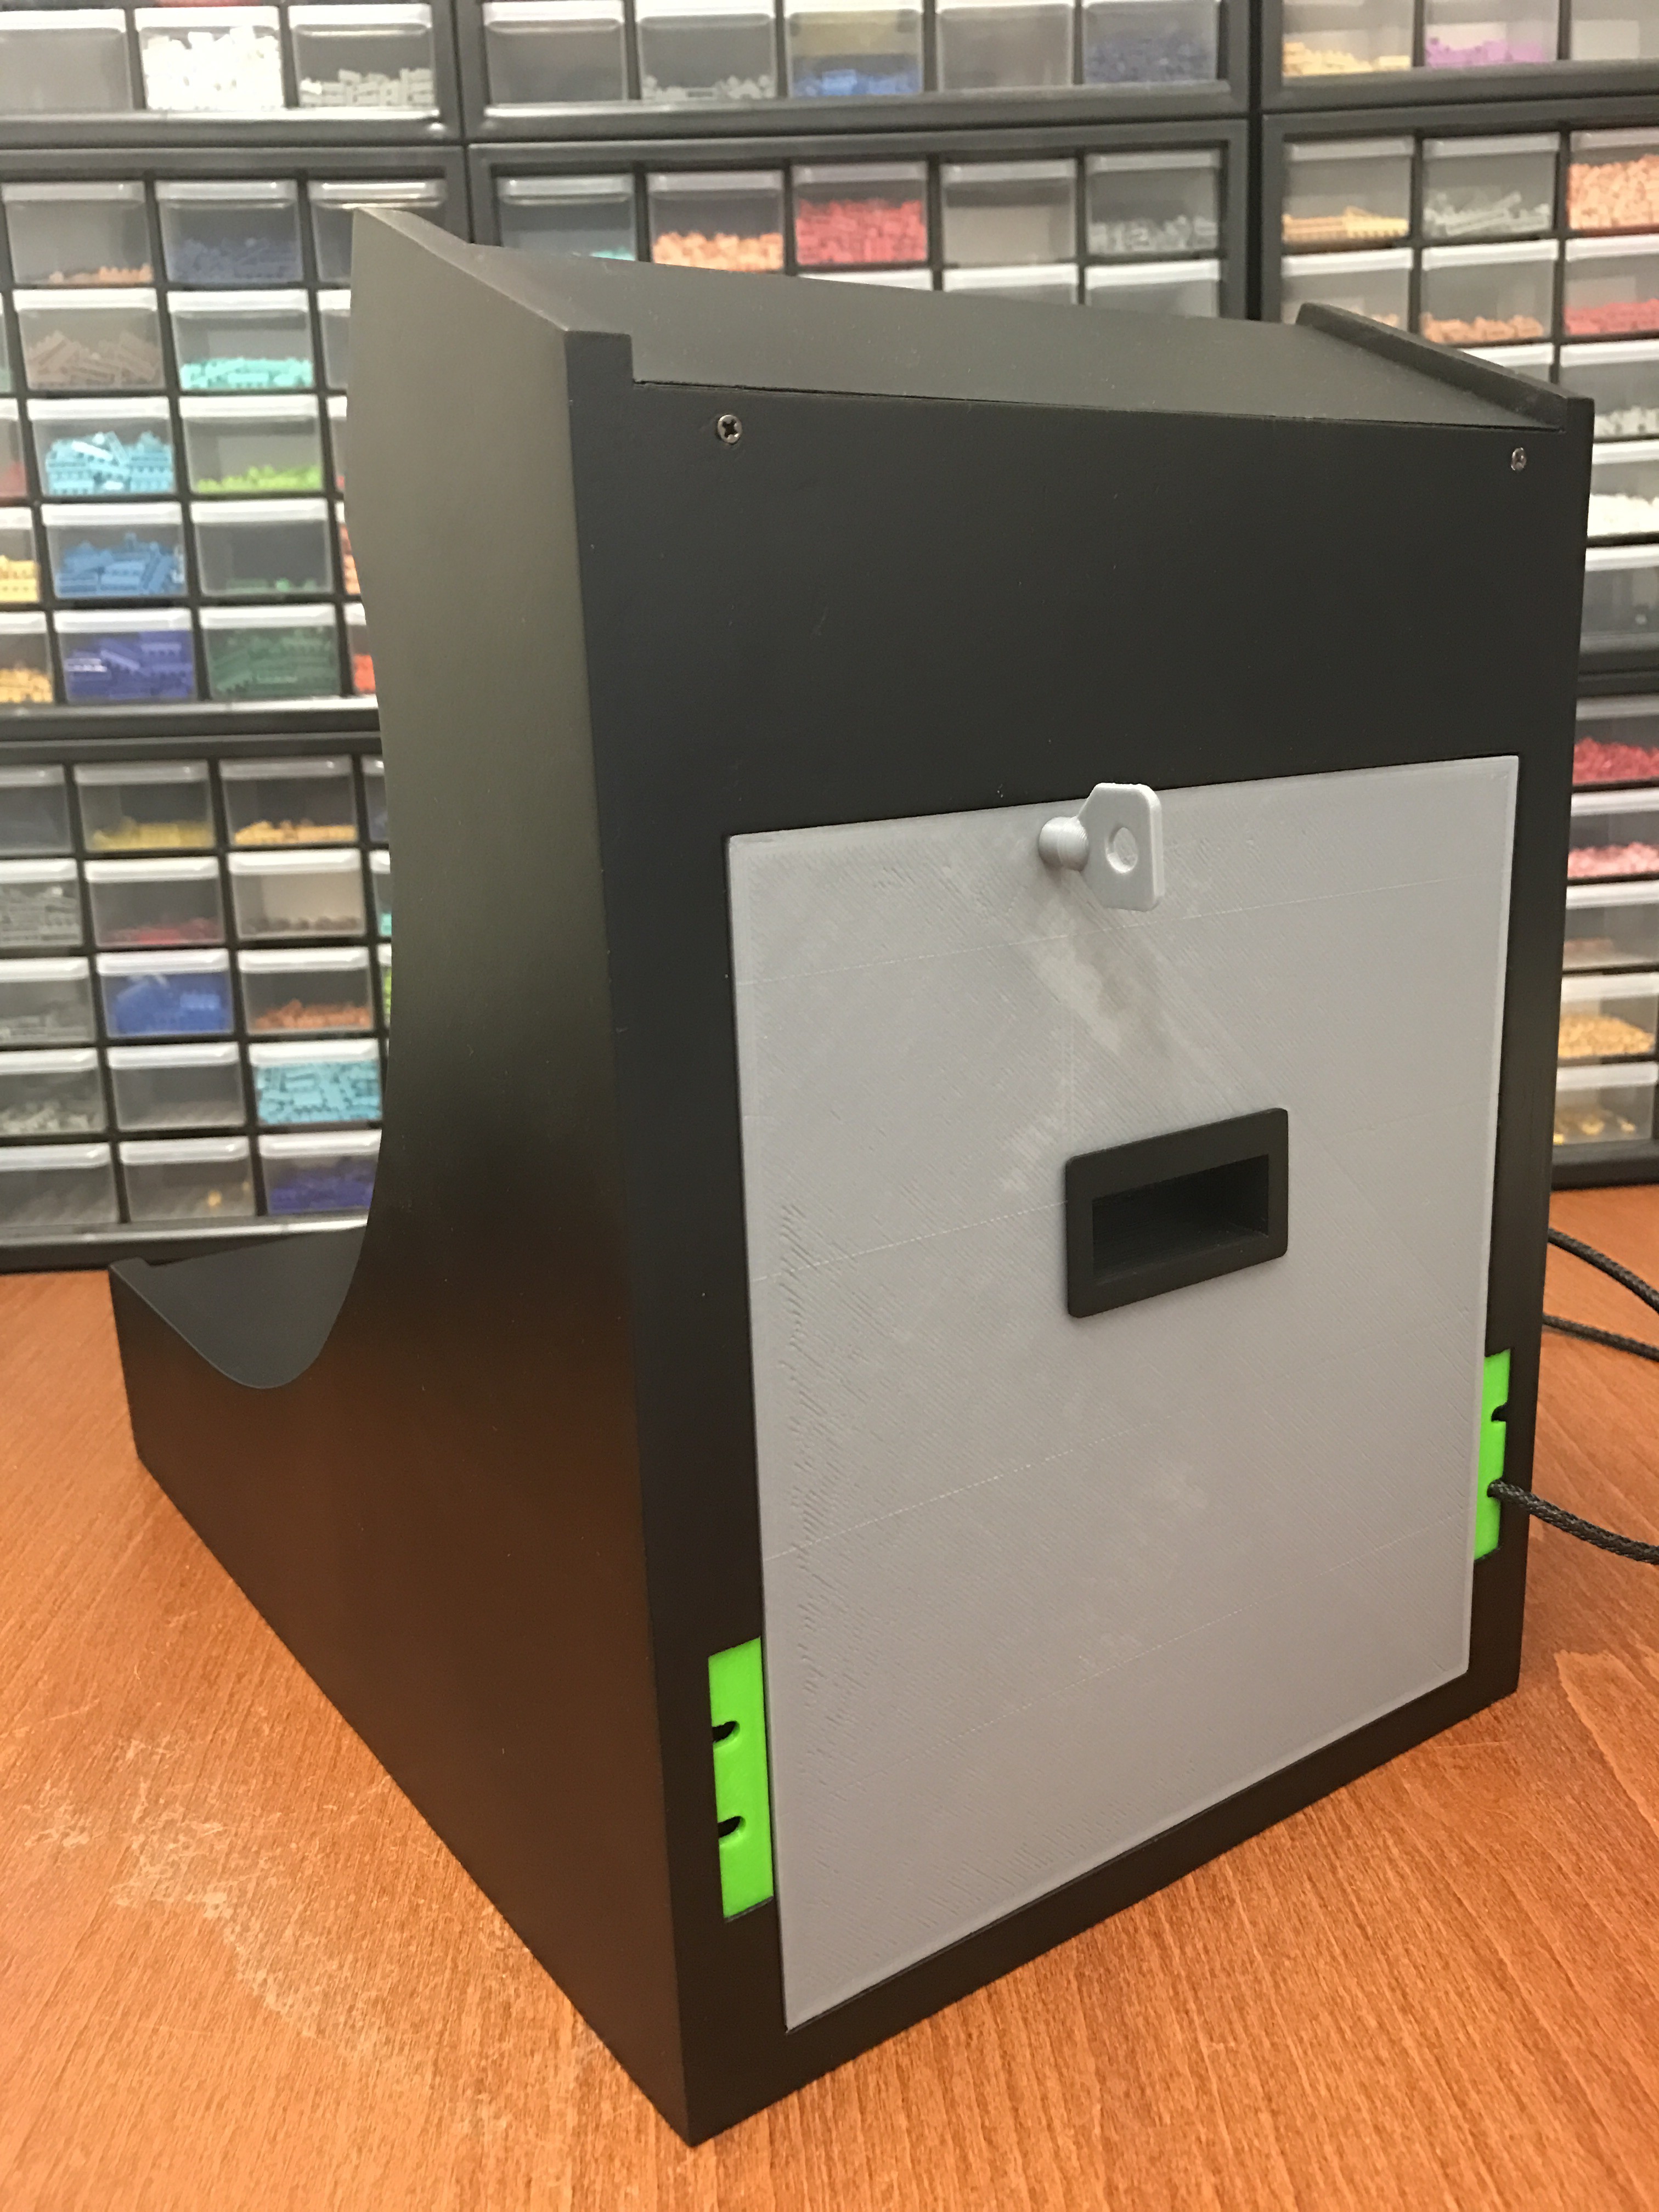
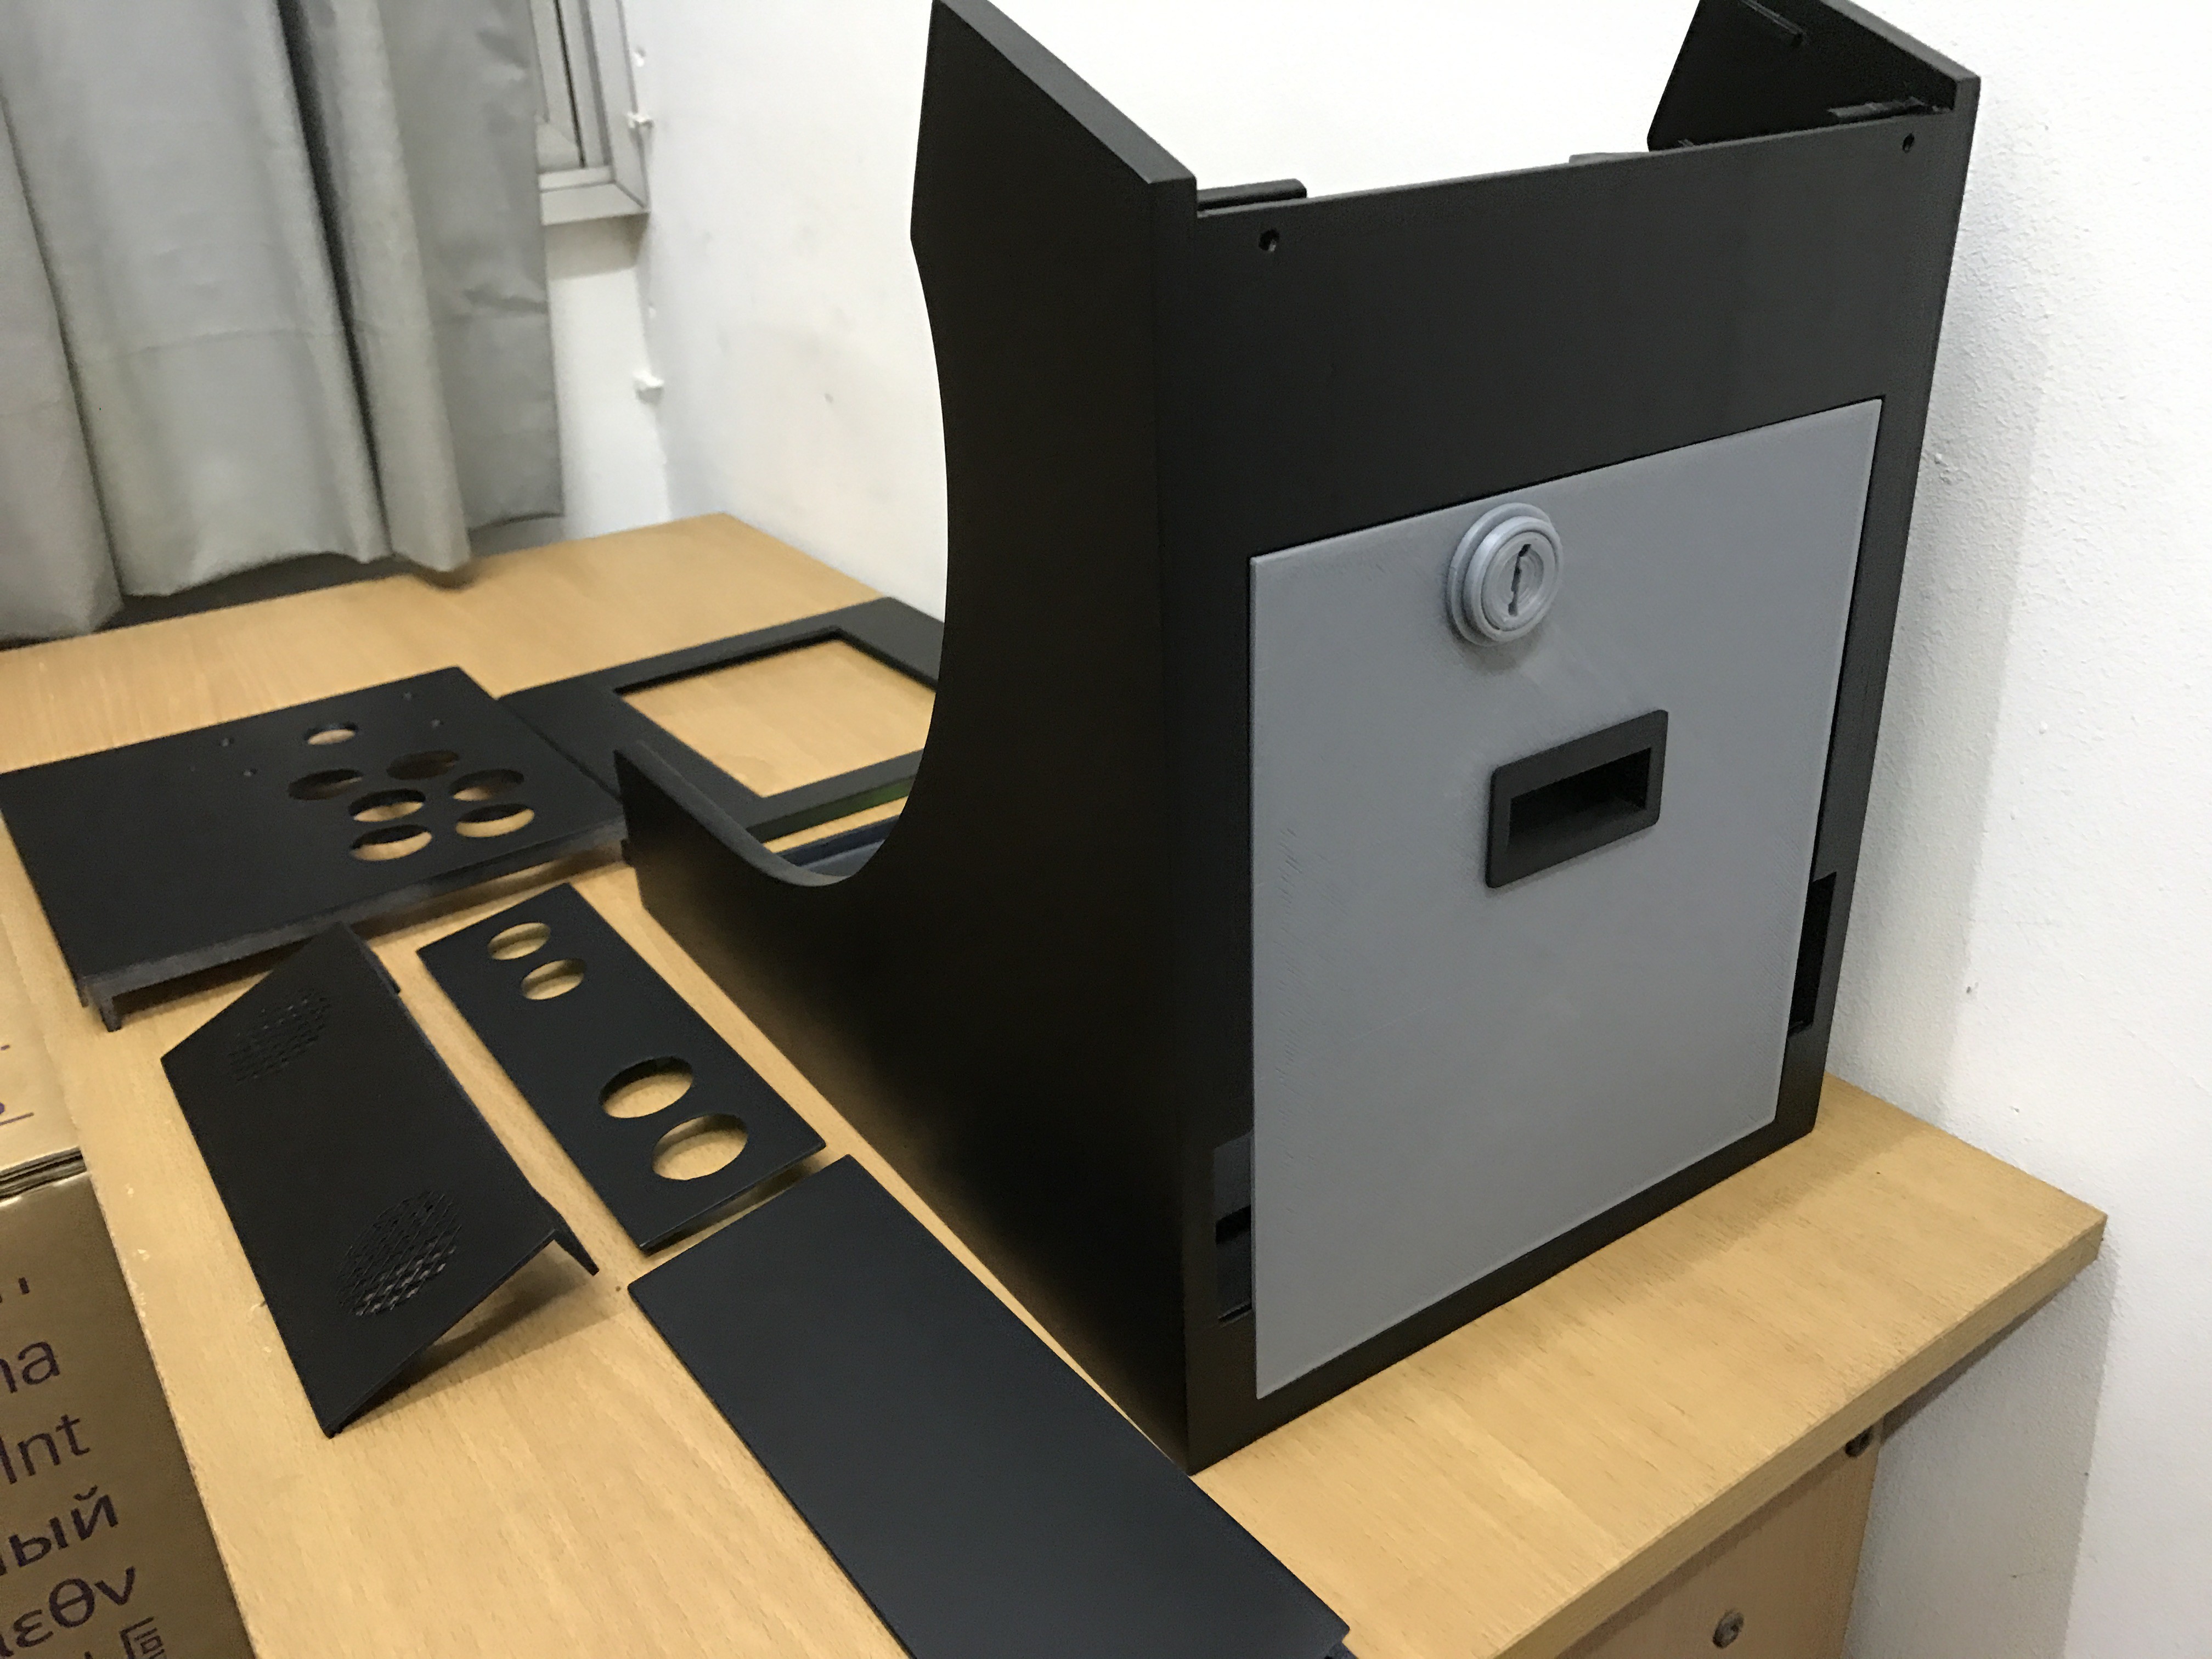
And here's the back. The back panel's locking mechanism has been modified.
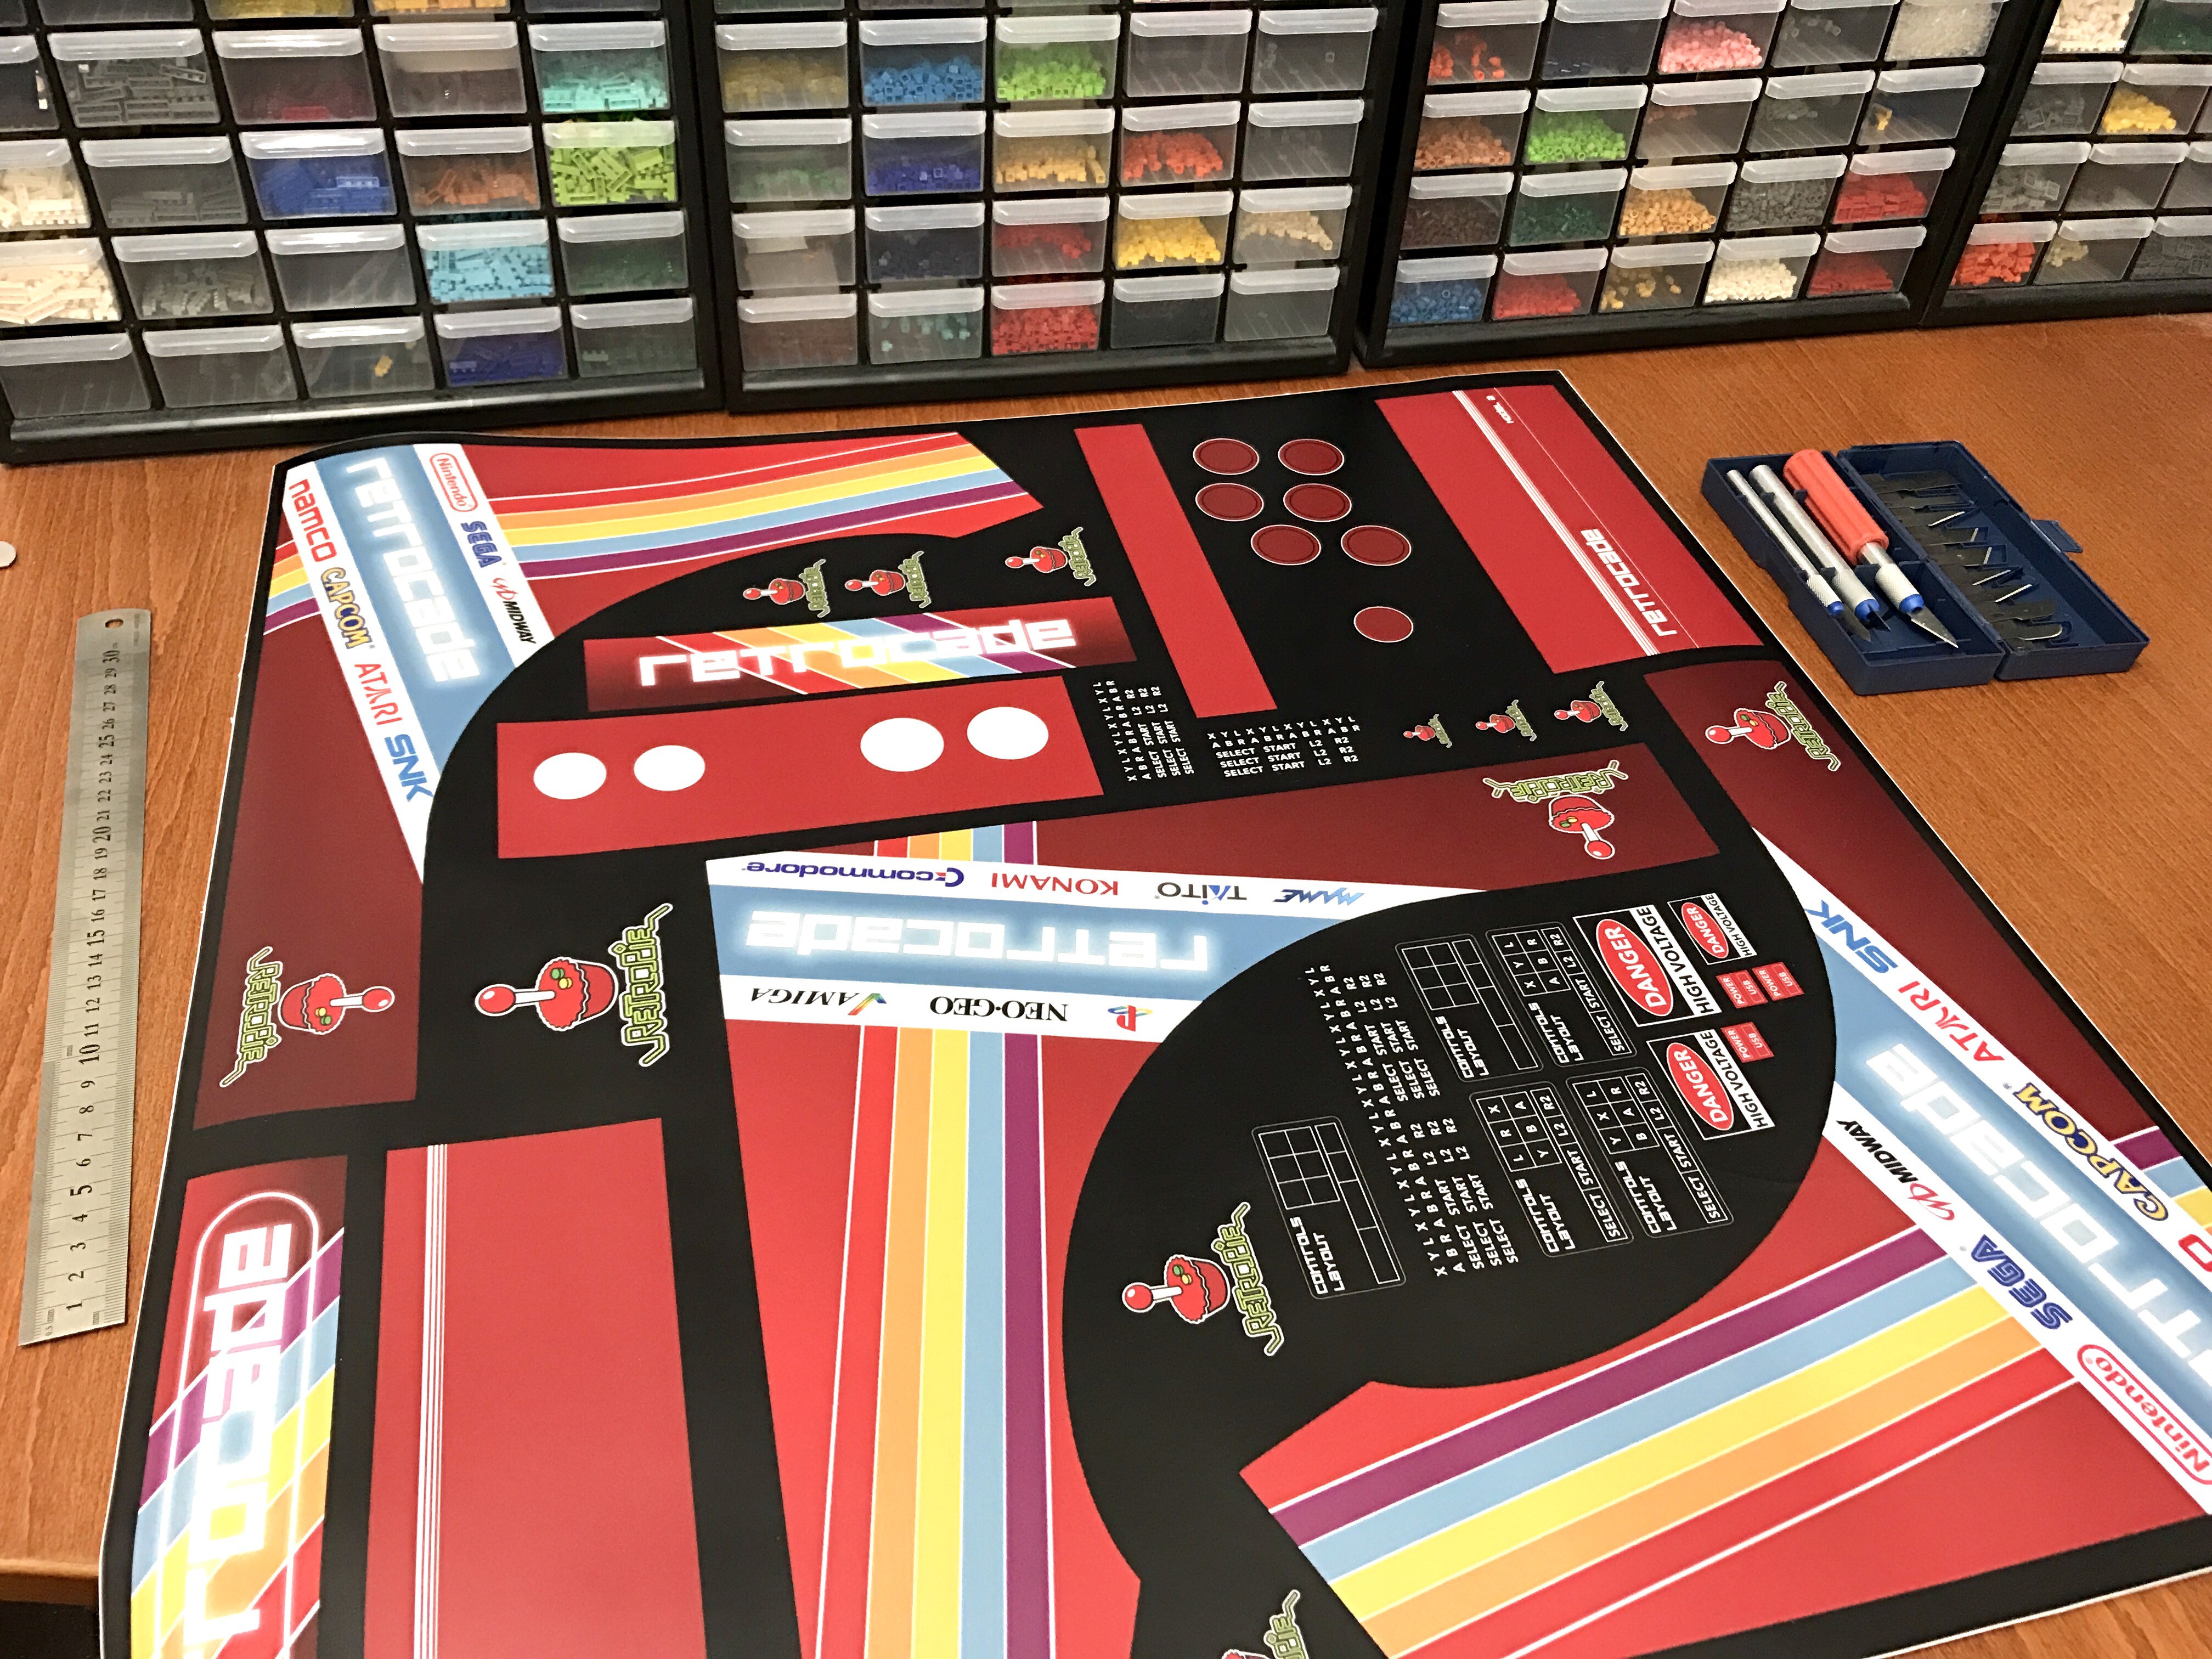
I also designed some artwork for my arcade. Here I printed it out on my inkjet printer first to see if it looks good. Will be sending these to get it professionally printed on vinyl stickers.
Here's a video tour! I did this as a Facebook Live broadcast, so you will hear me answering some questions from friends and such :)
-
Painting
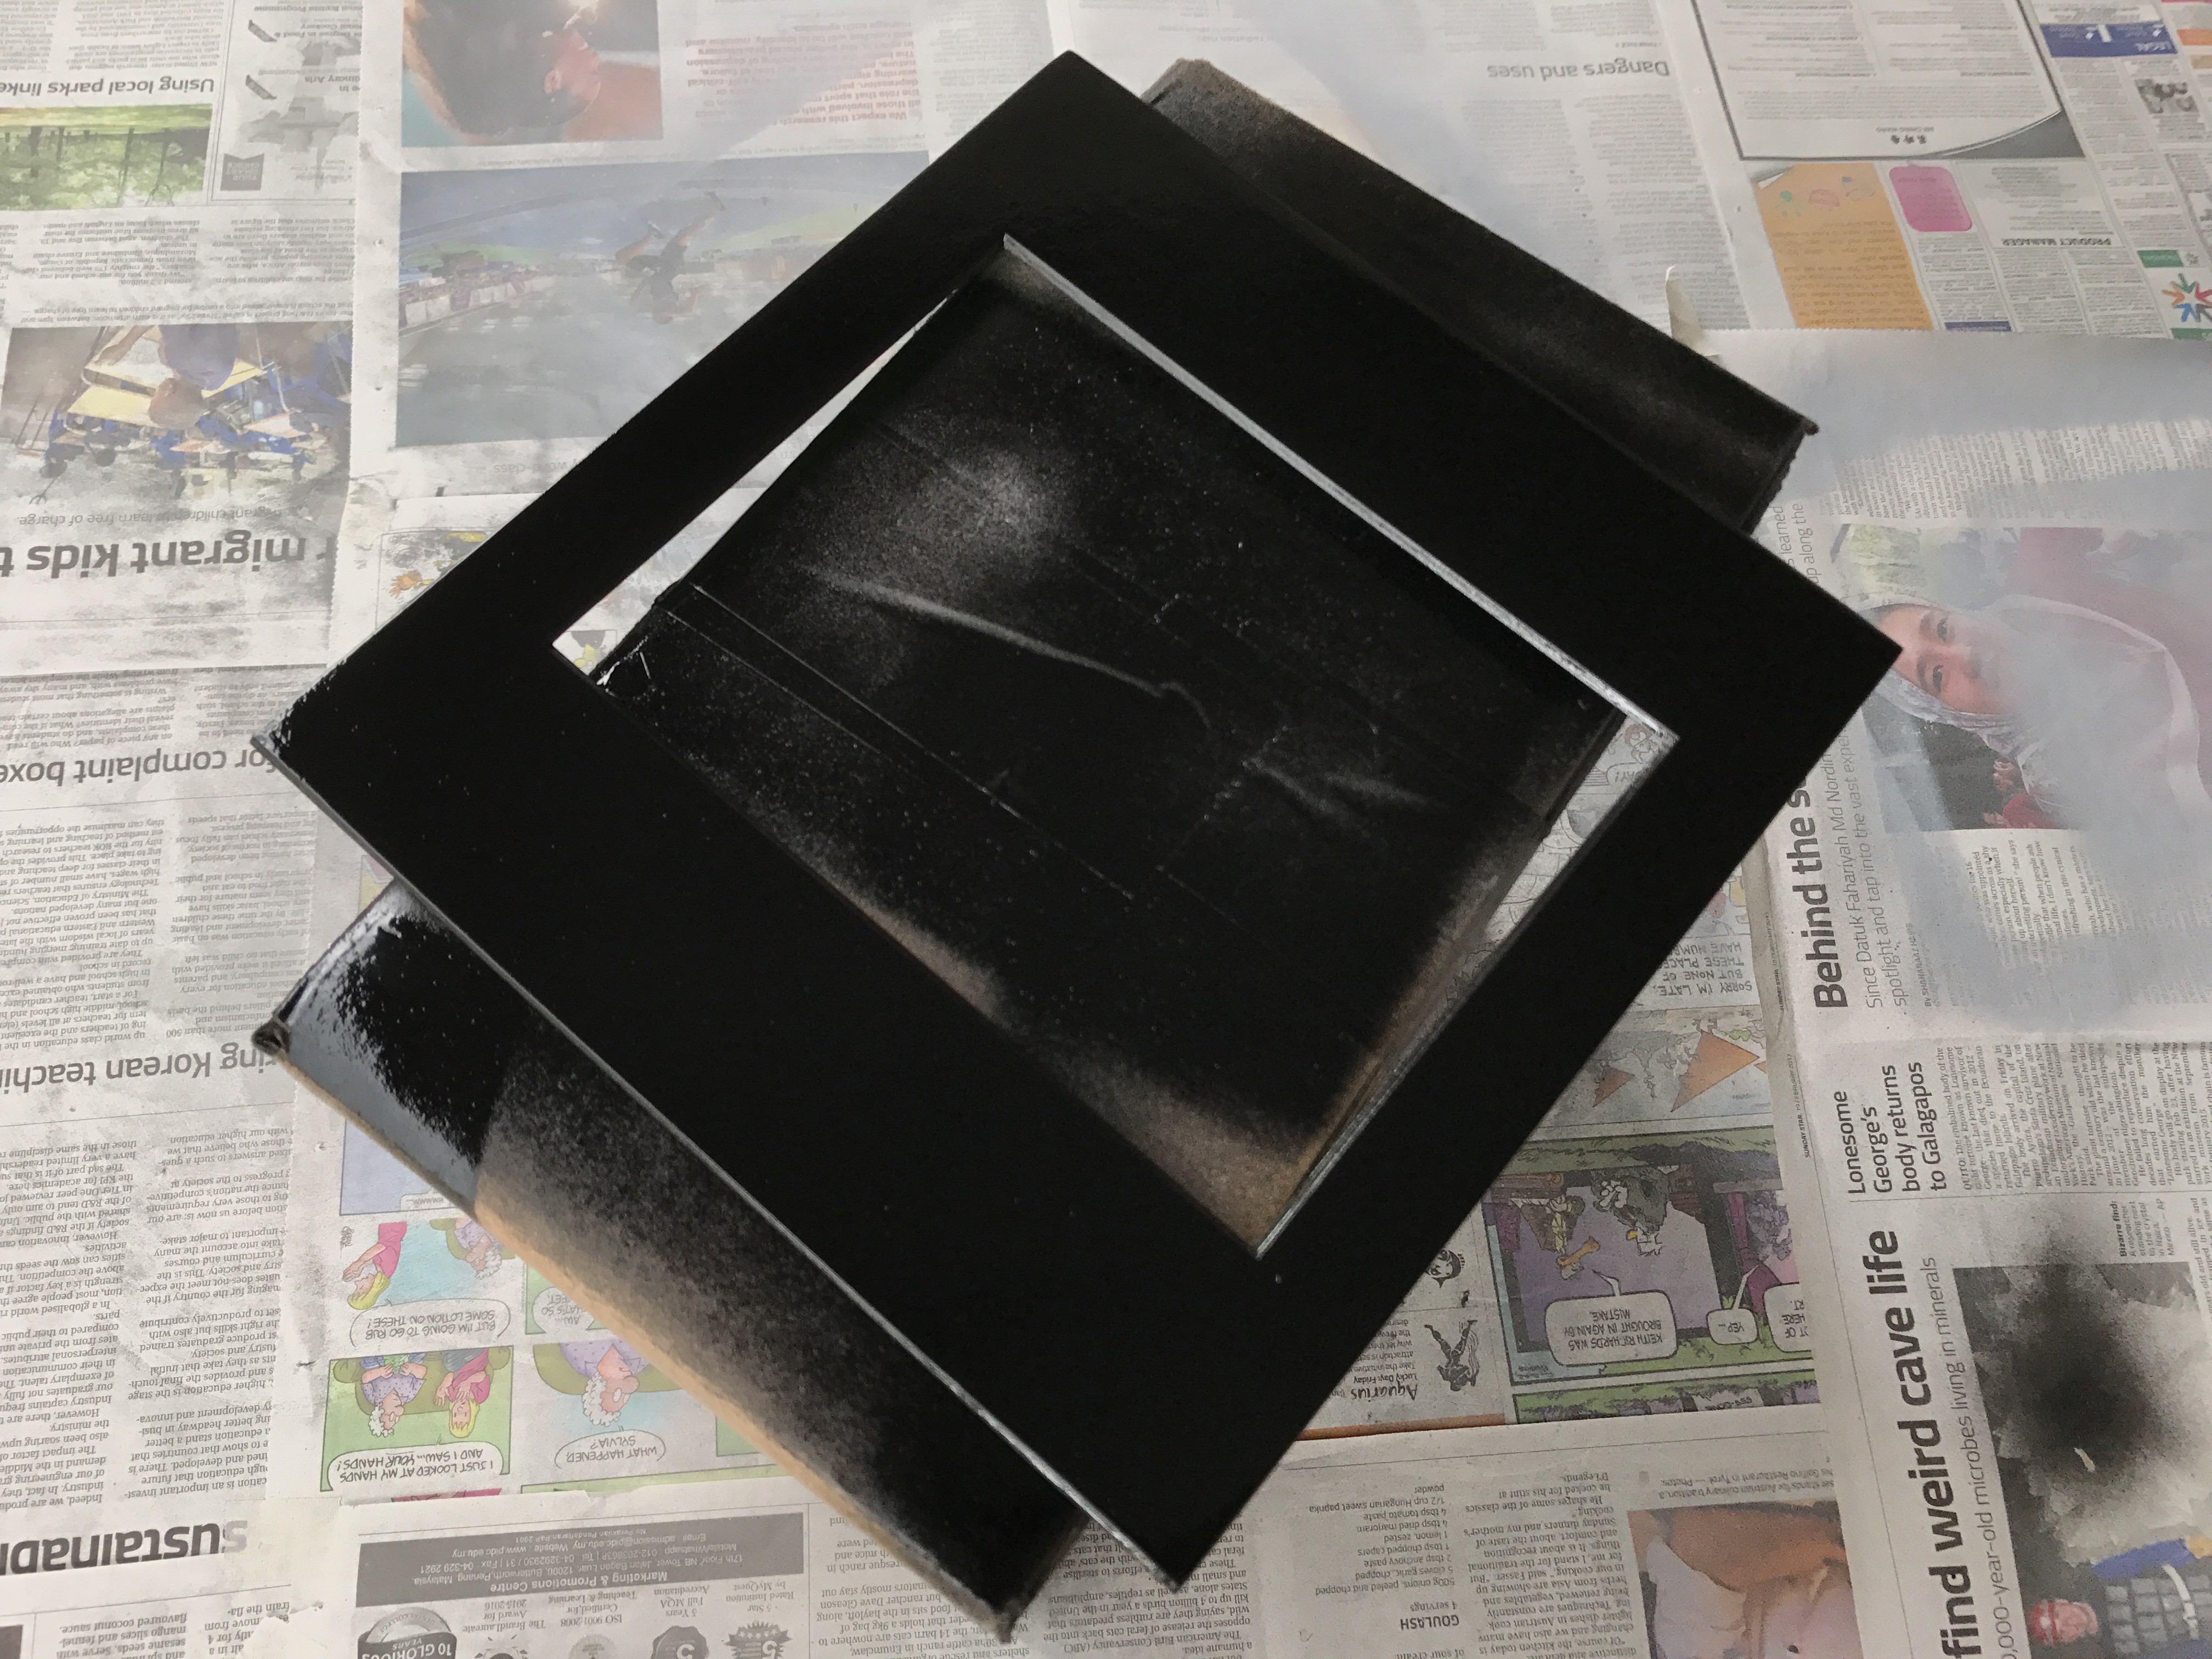
03/08/2017 at 06:08 • 0 commentsAll the parts were sprayed with a putty primer and sanded.
After that, I used matte black paint on all the parts.
Now to really let it dry ... this is taking forever ...
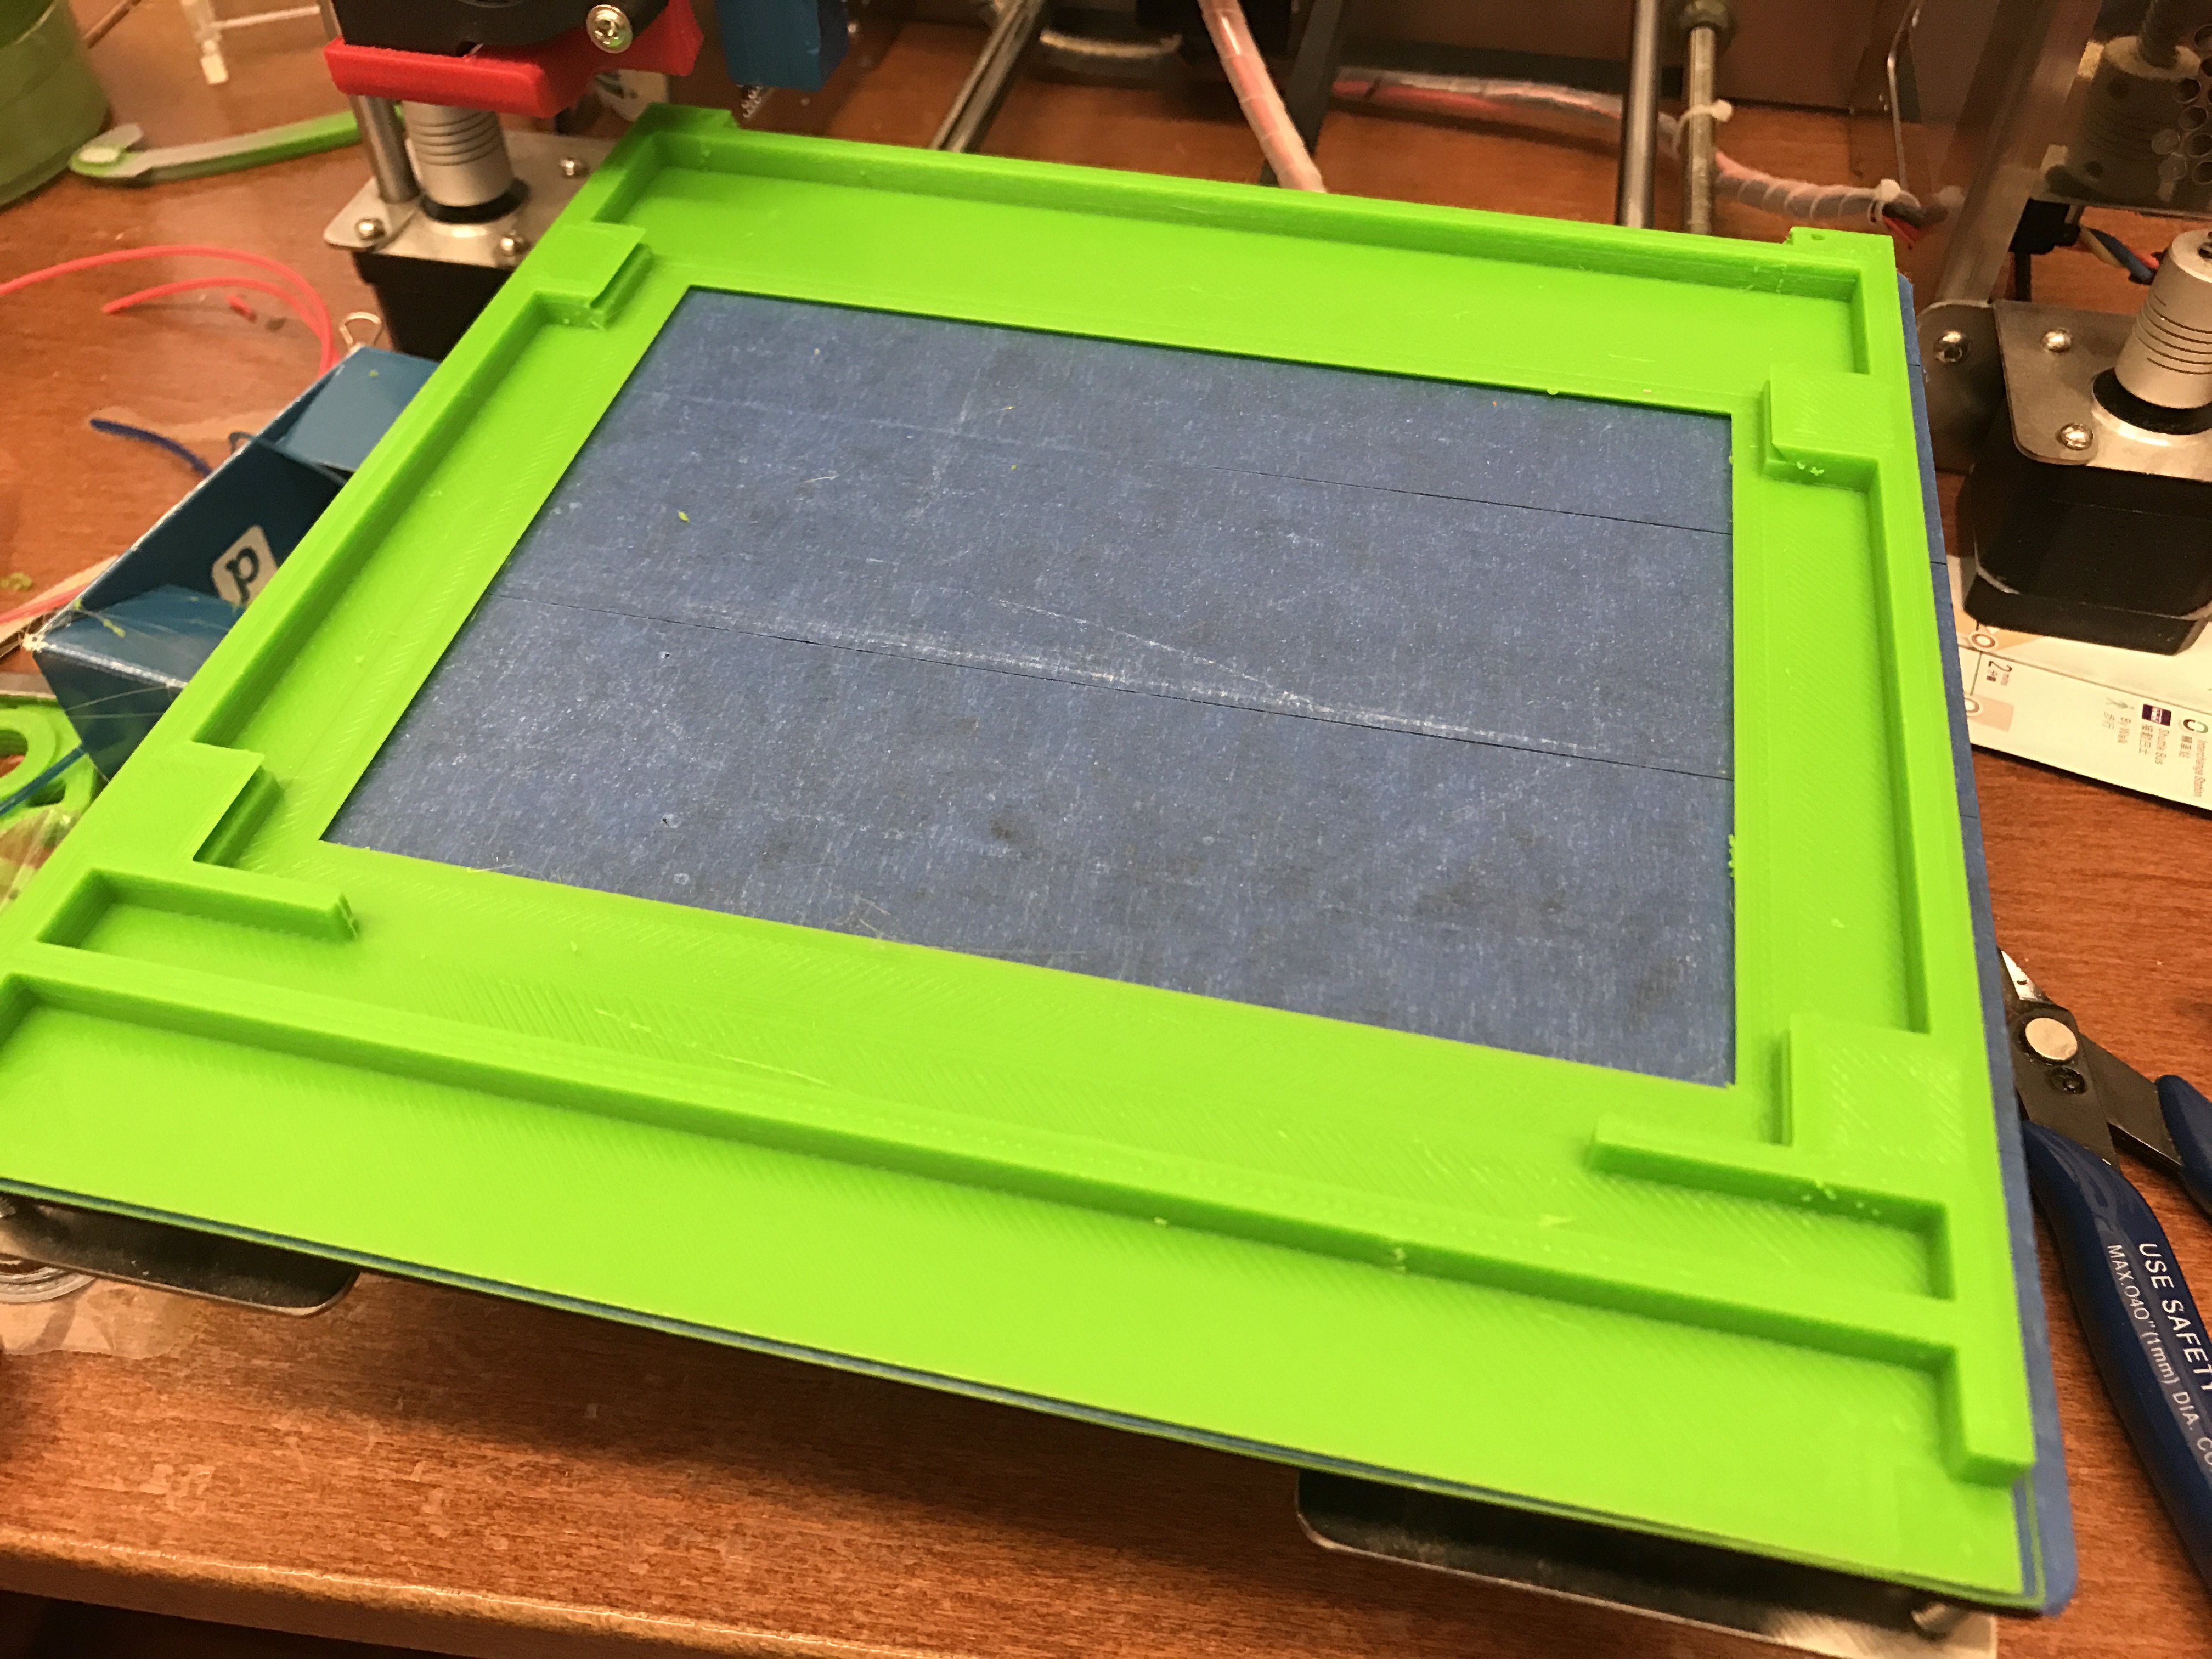
Couldn't resist just fitting in the back panel to see if it fits properly. Yes, fits fine, but there was a tiny design flaw with my locking mechanism, so gotta change that.
-
The Display Assembly and Back Panel
03/08/2017 at 06:01 • 0 commentsHere we move on to the display assembly.
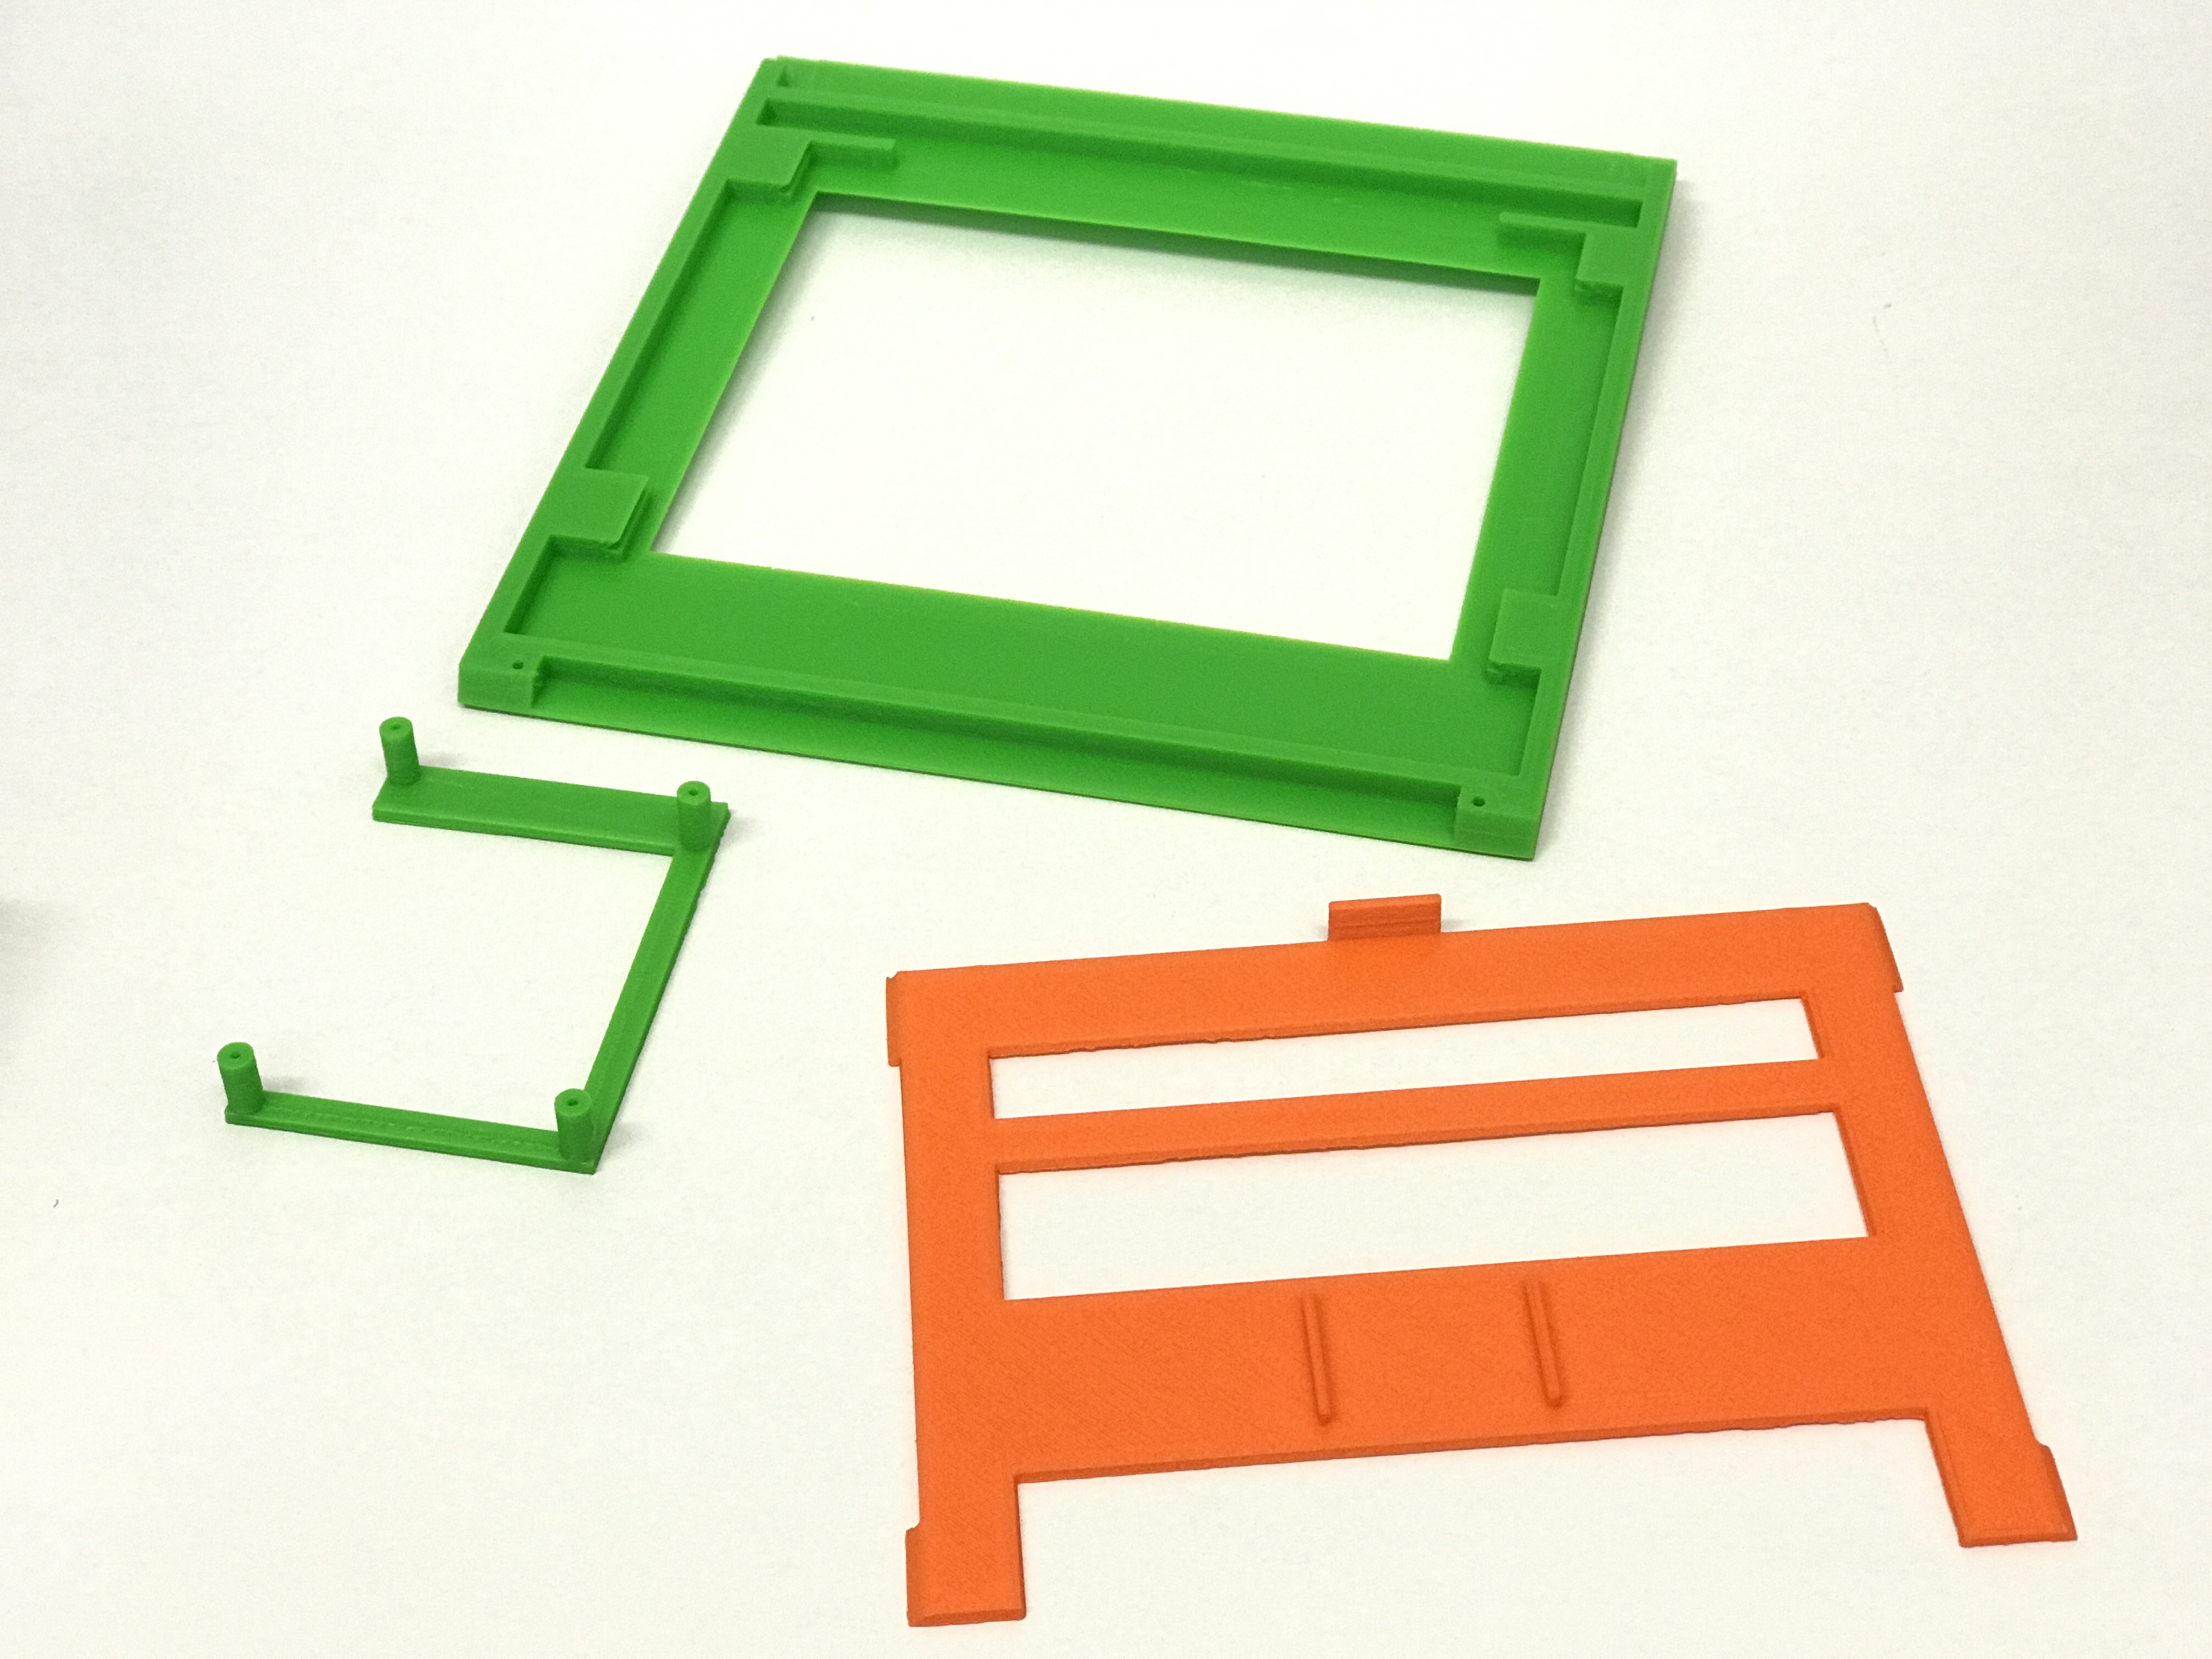
These 3 pieces will hold the LCD screen and video driver board.
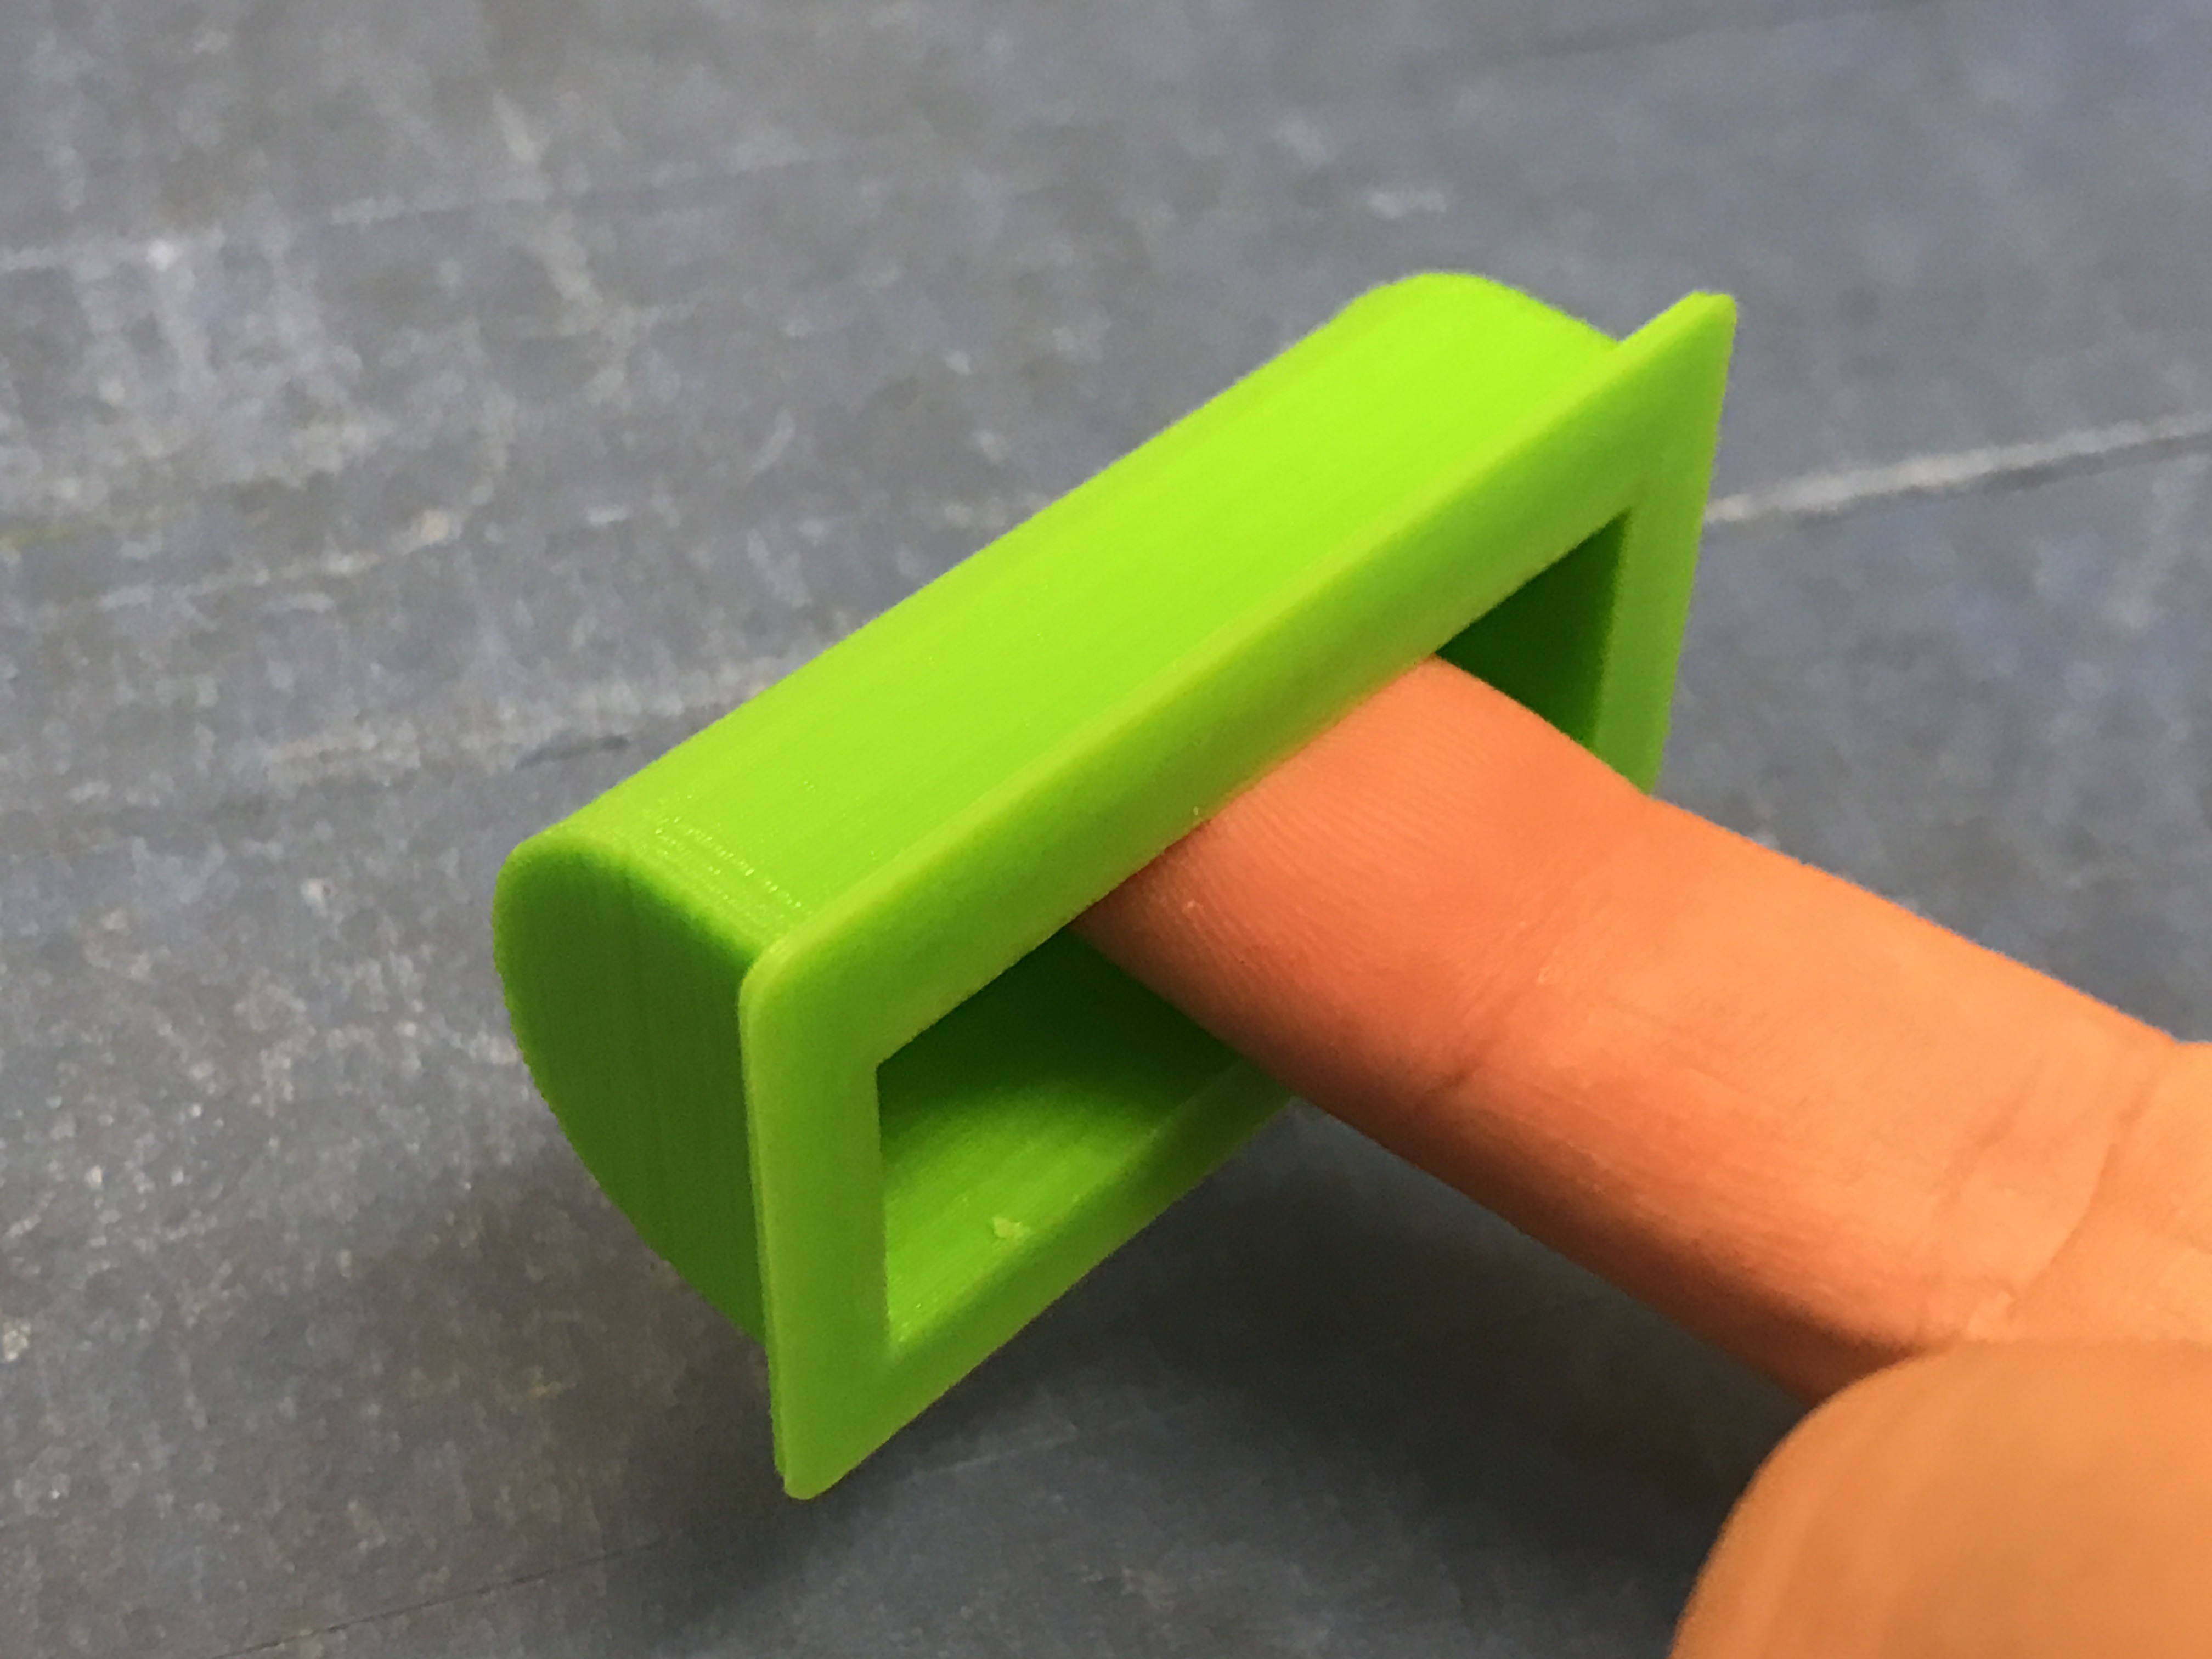
Mini handle for the back panel.
The back panel with the handle inserted. Yes, there were some under extrusion issues here.
So, that's pretty much all the parts printed.
-
The Back of the Machine
03/08/2017 at 05:32 • 0 commentsWith the front portion completed, we move on to the back portion of the machine.
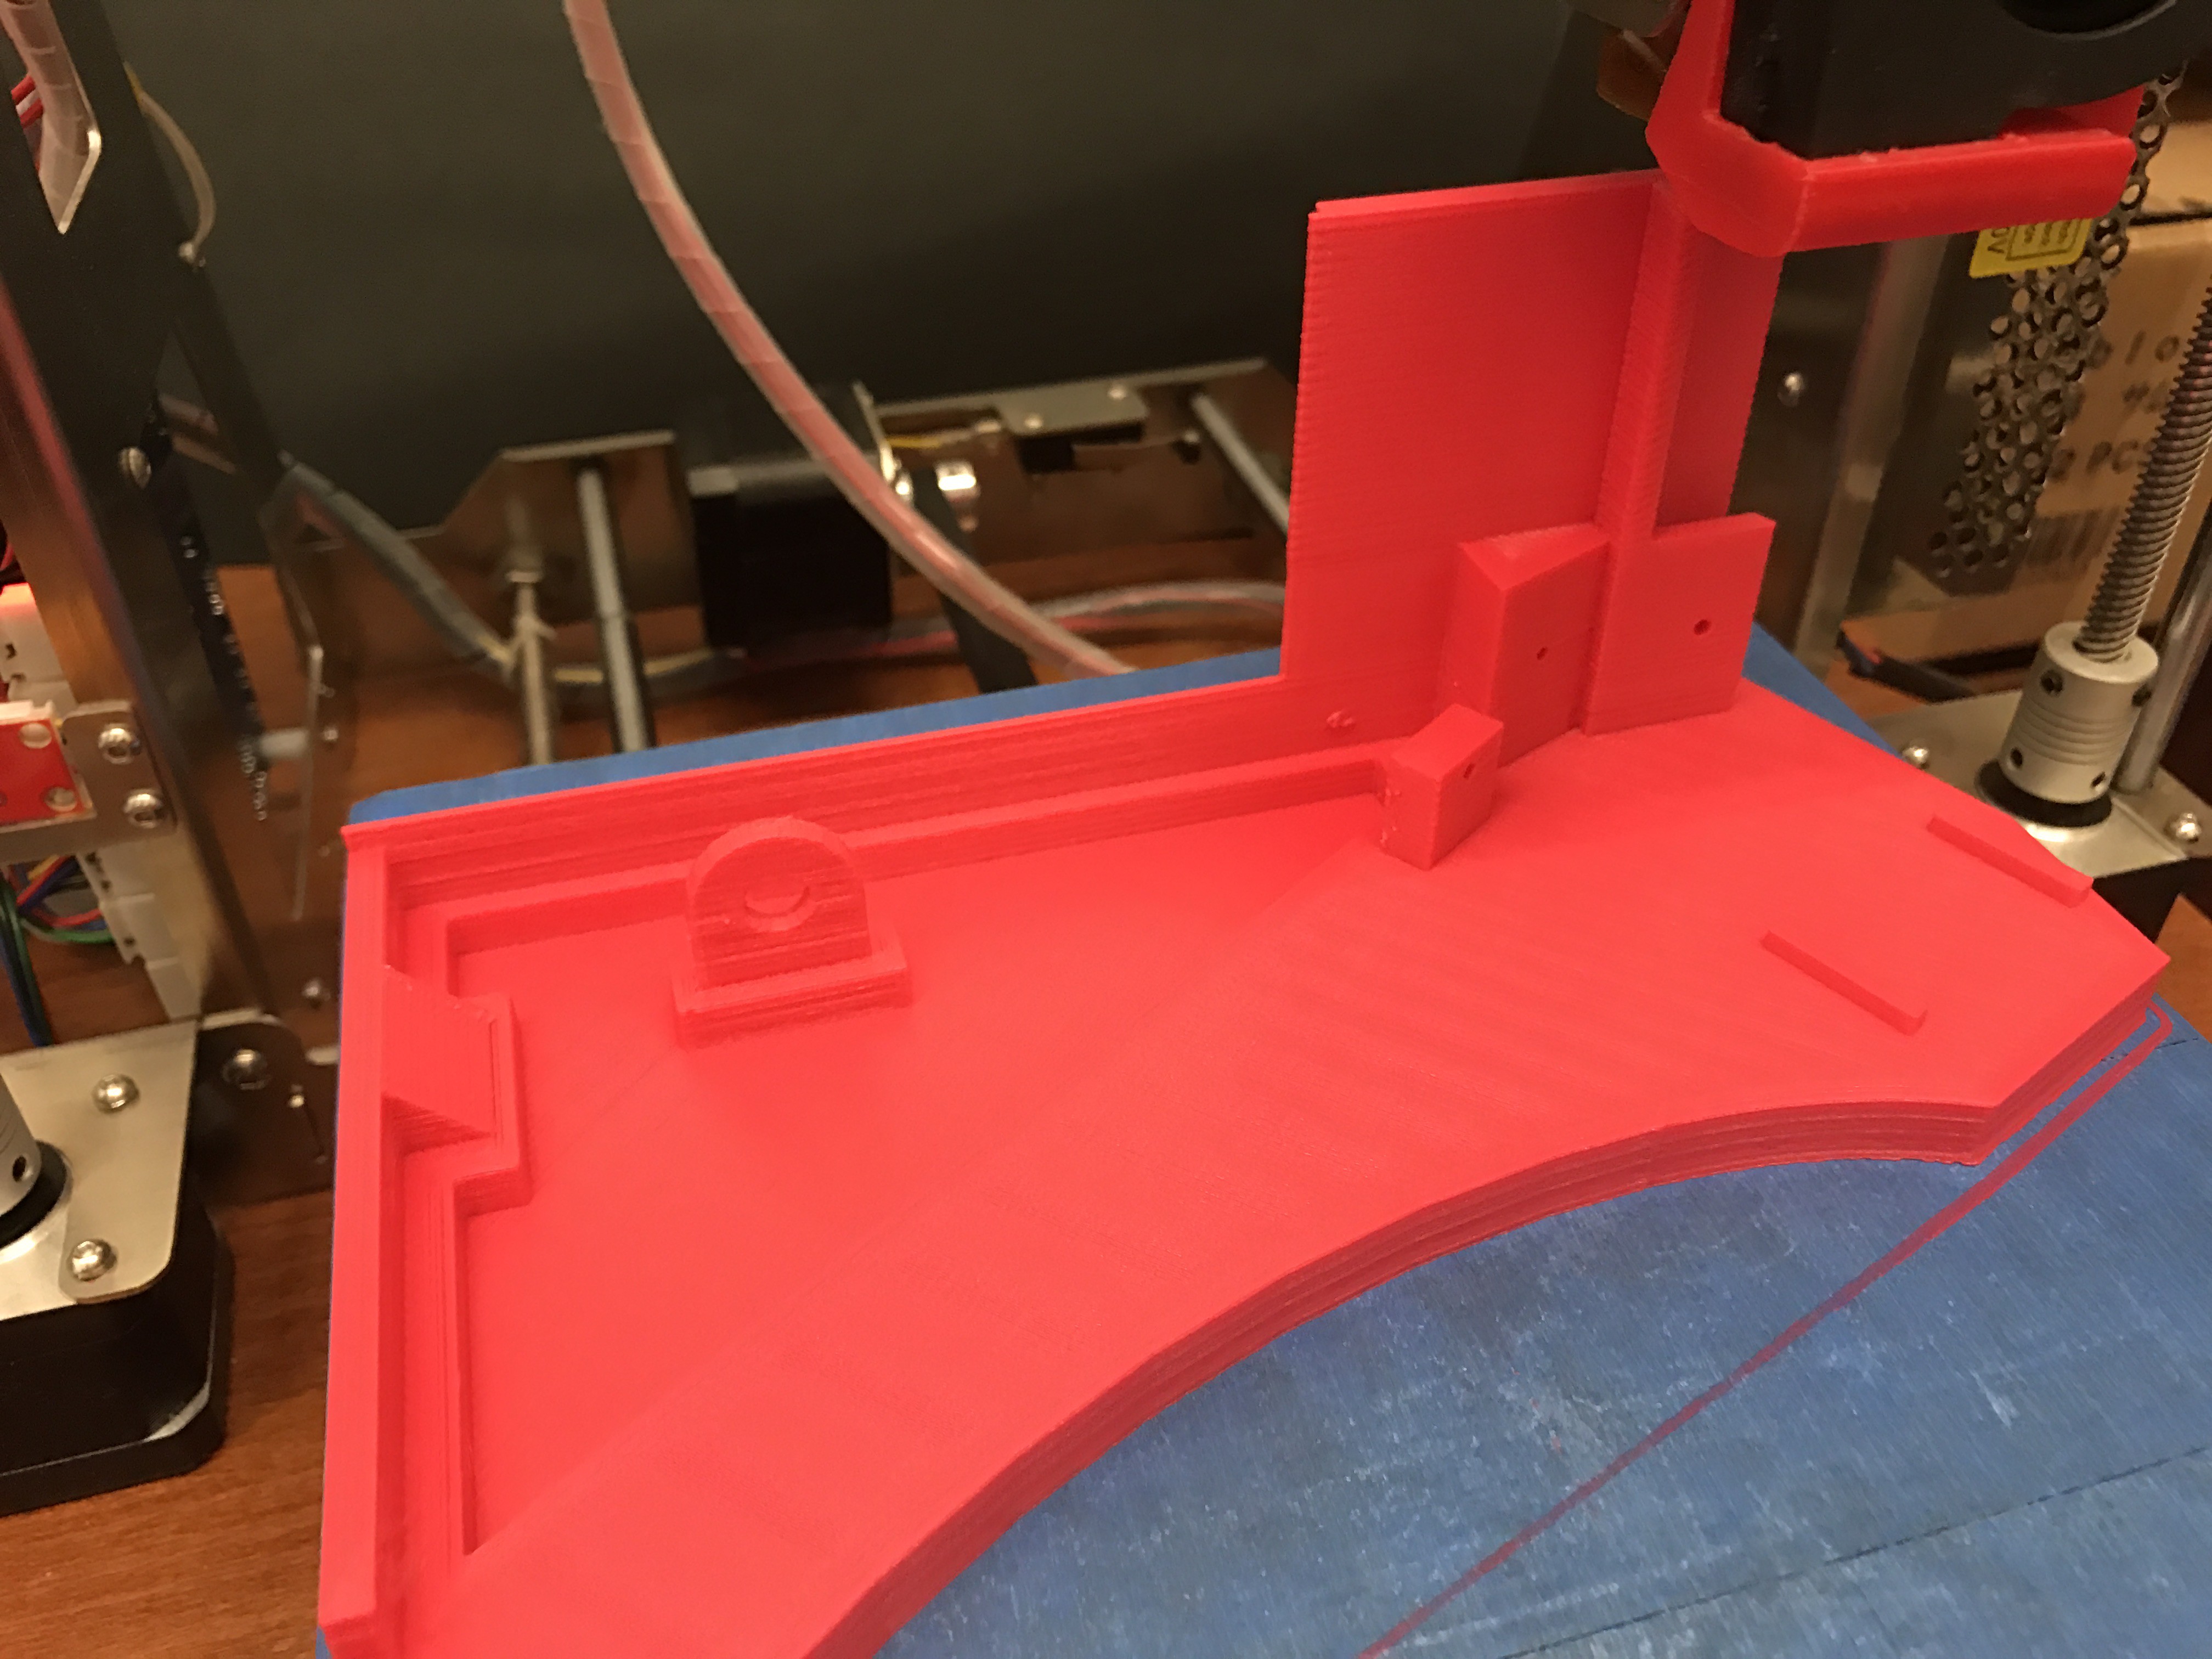
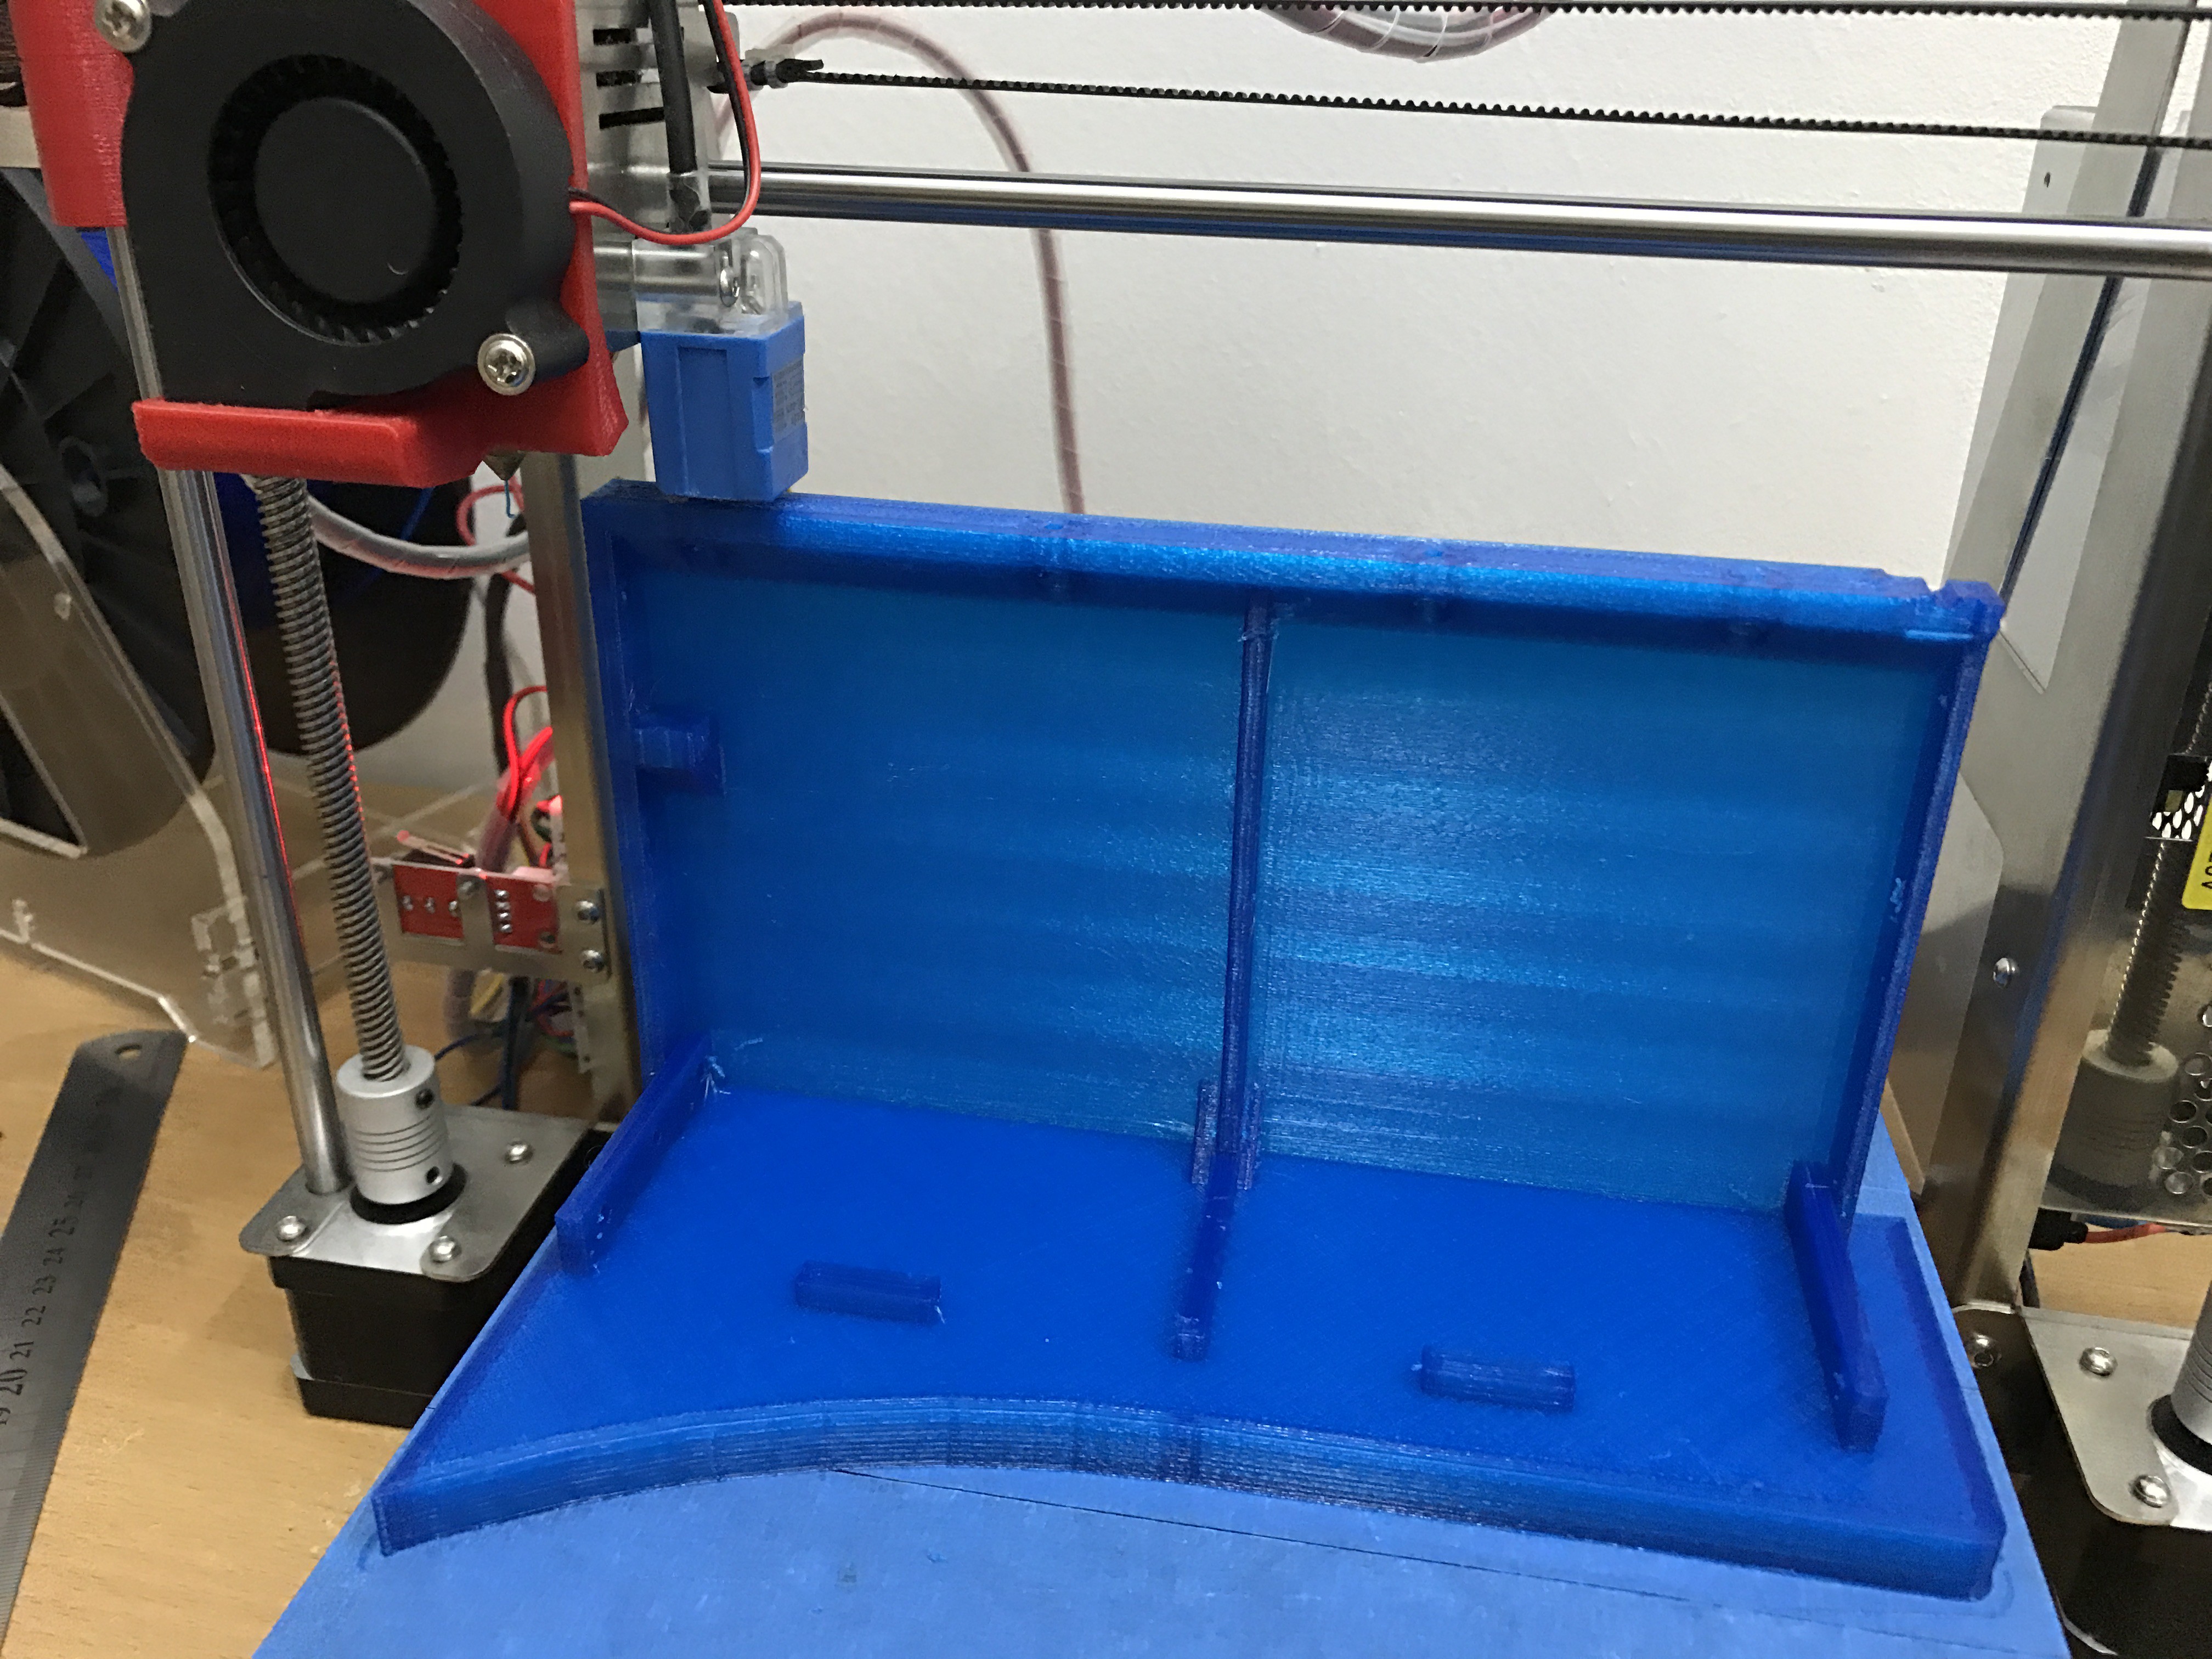
Here it is printing the bottom back part.
And here's what it looks like completed:
Next, we move on to the top of the back portion.
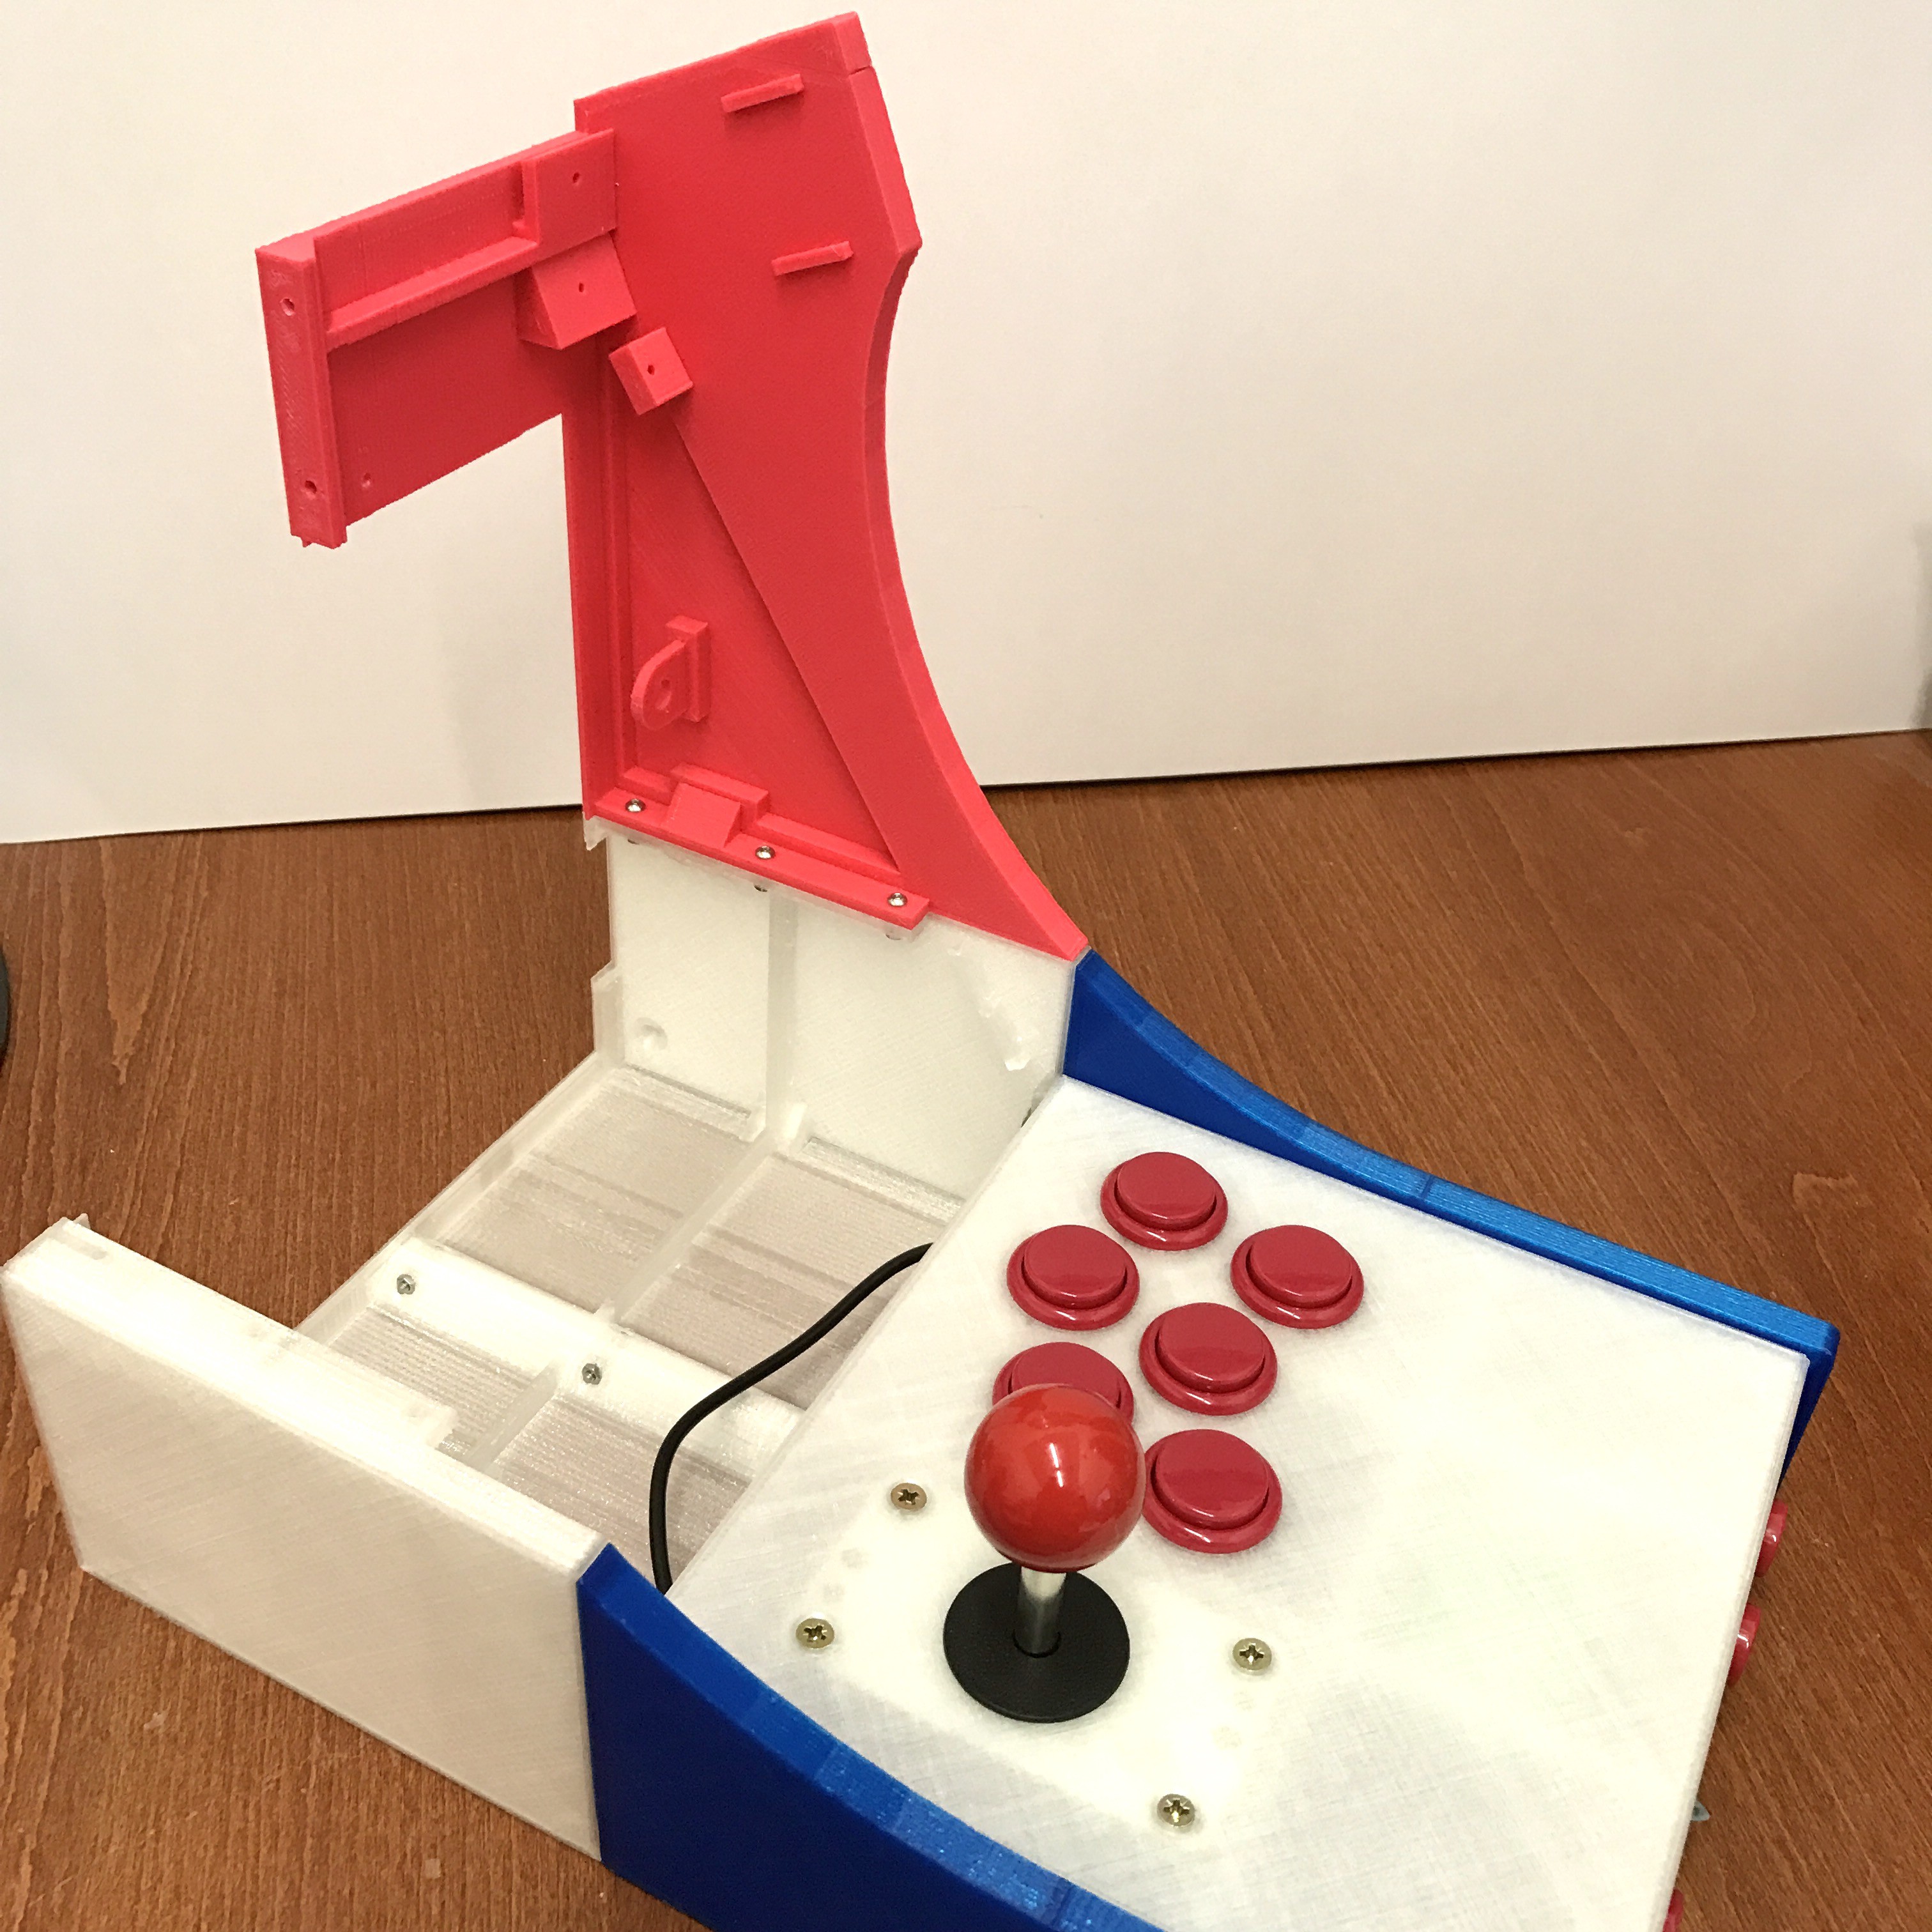
This is what it looks like attached.
The part below the marquee that will hold two 4cm speakers and LEDs.
The part above the marquee has been printed as well.
Now it's starting to look like an arcade machine. Please ignore all the different coloured parts, I was just trying to use up all the filaments I currently have.
-
The Controller
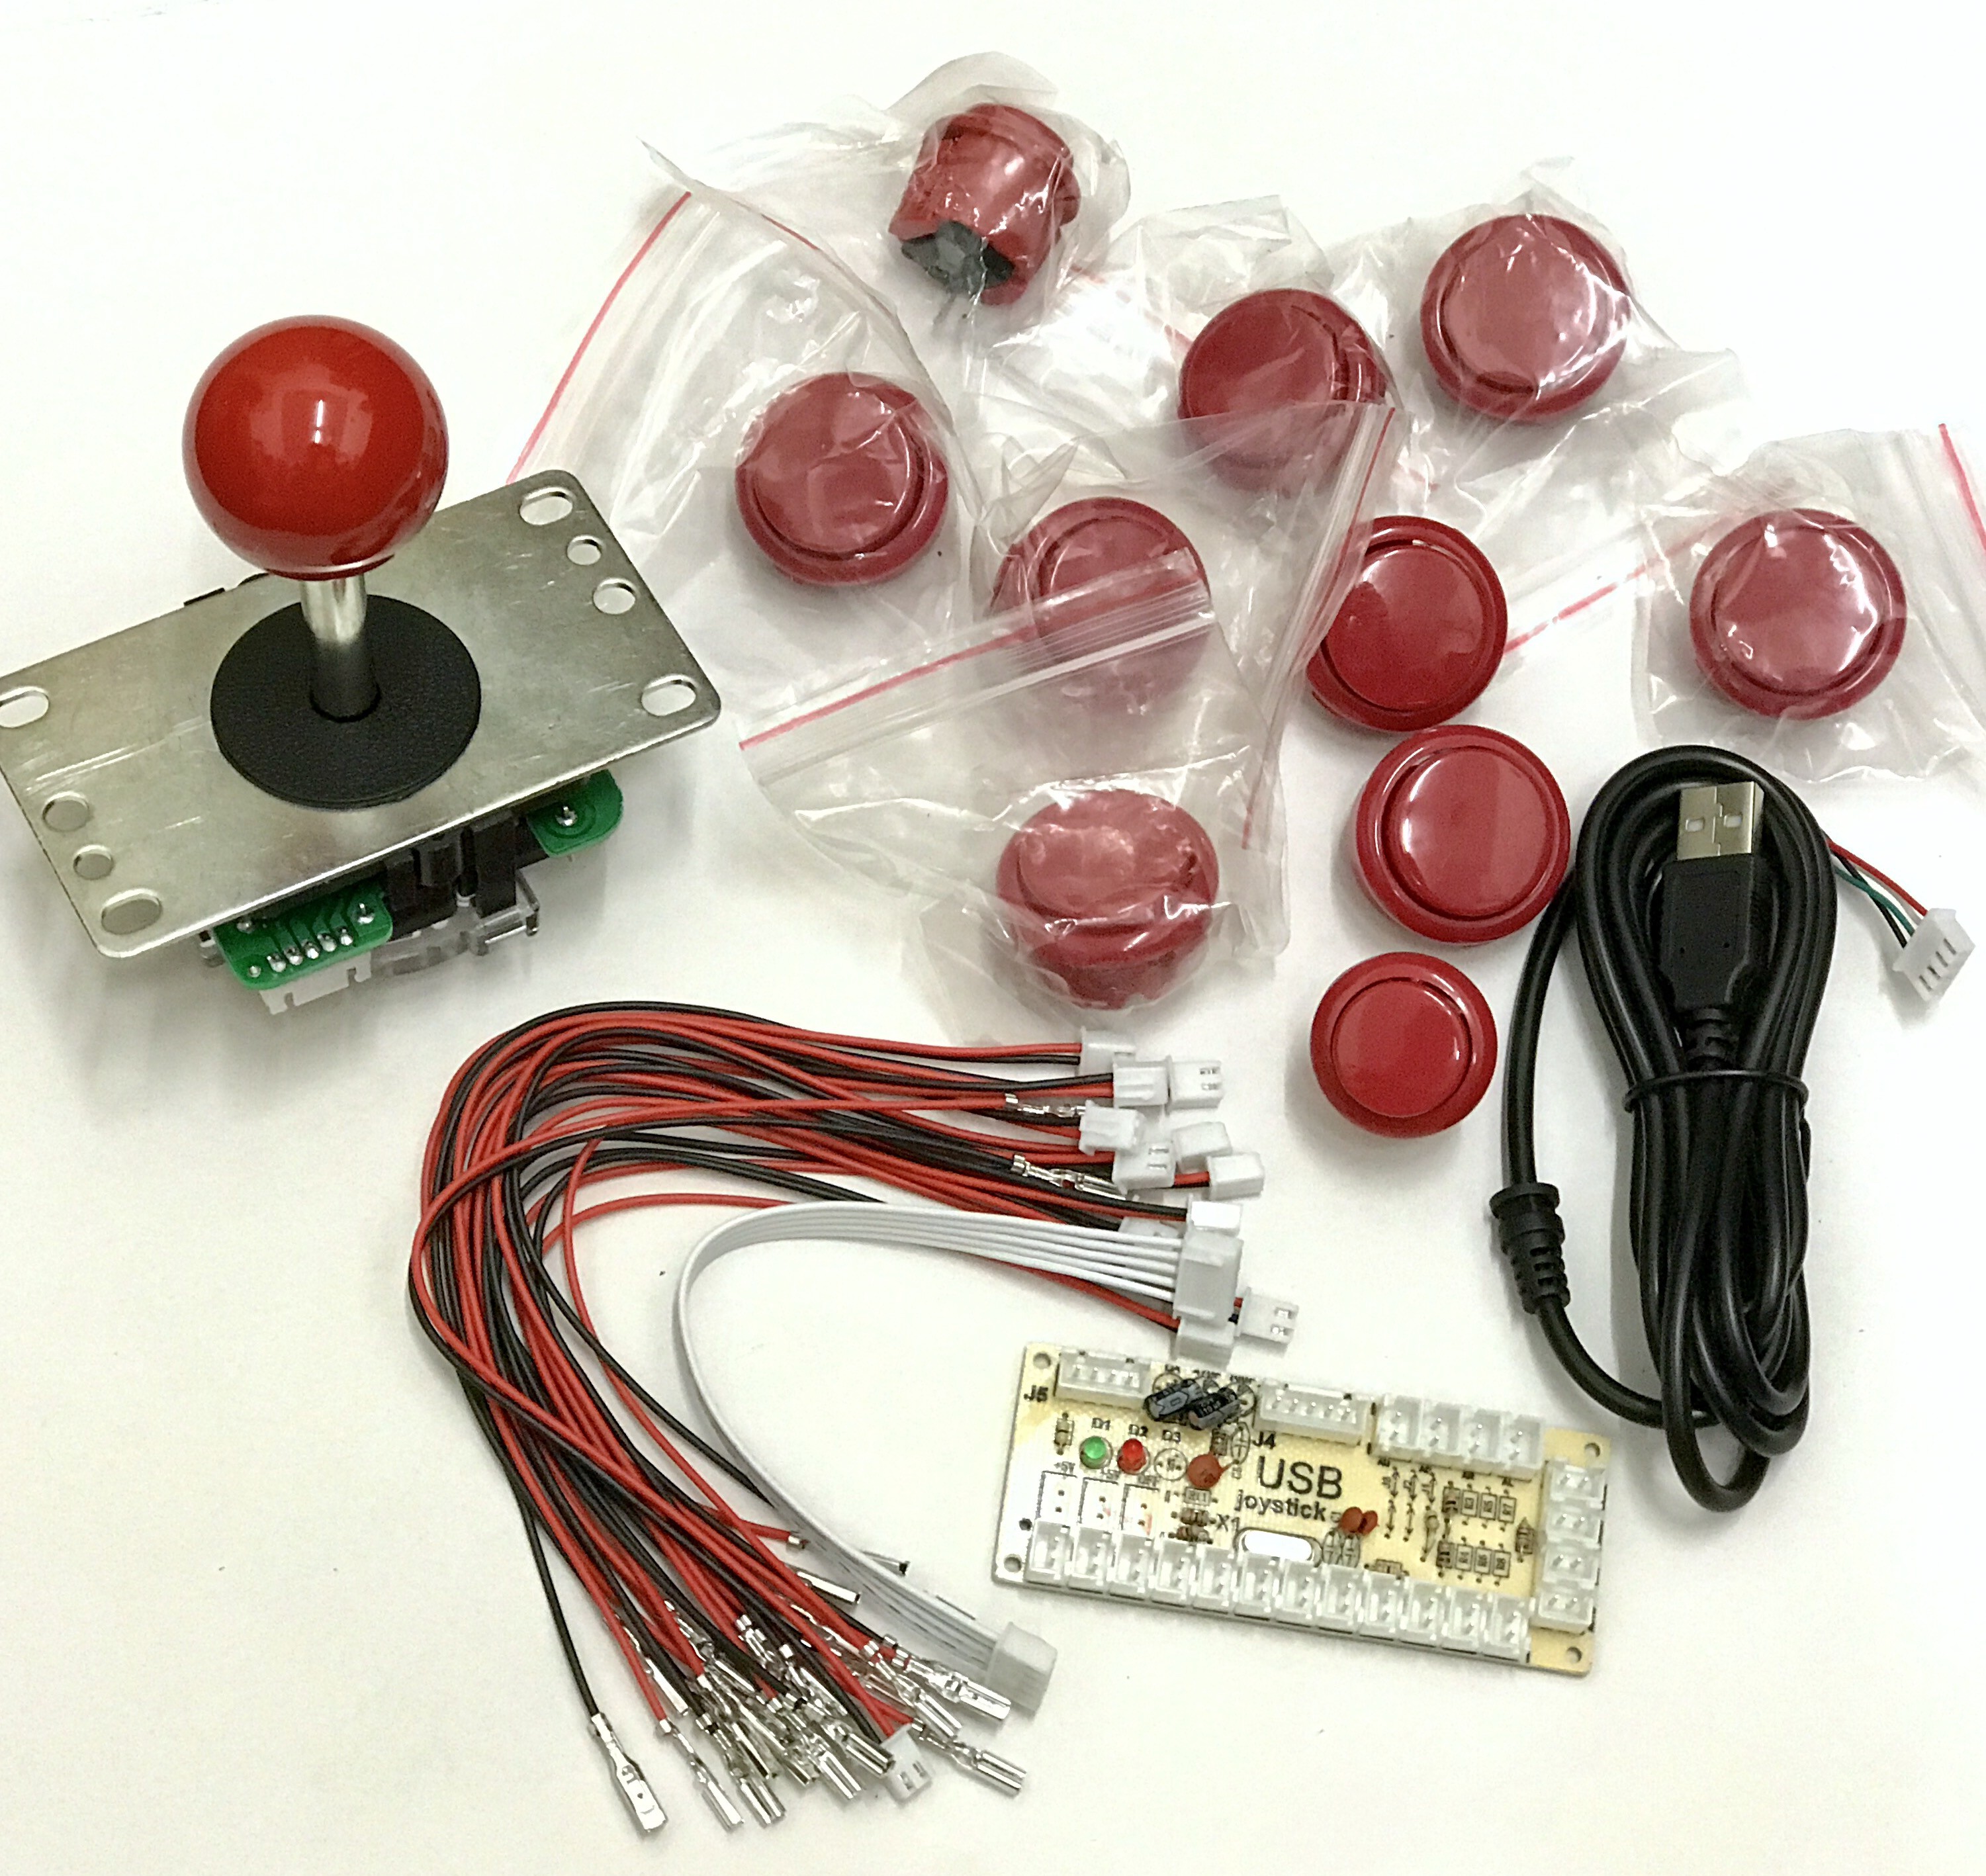
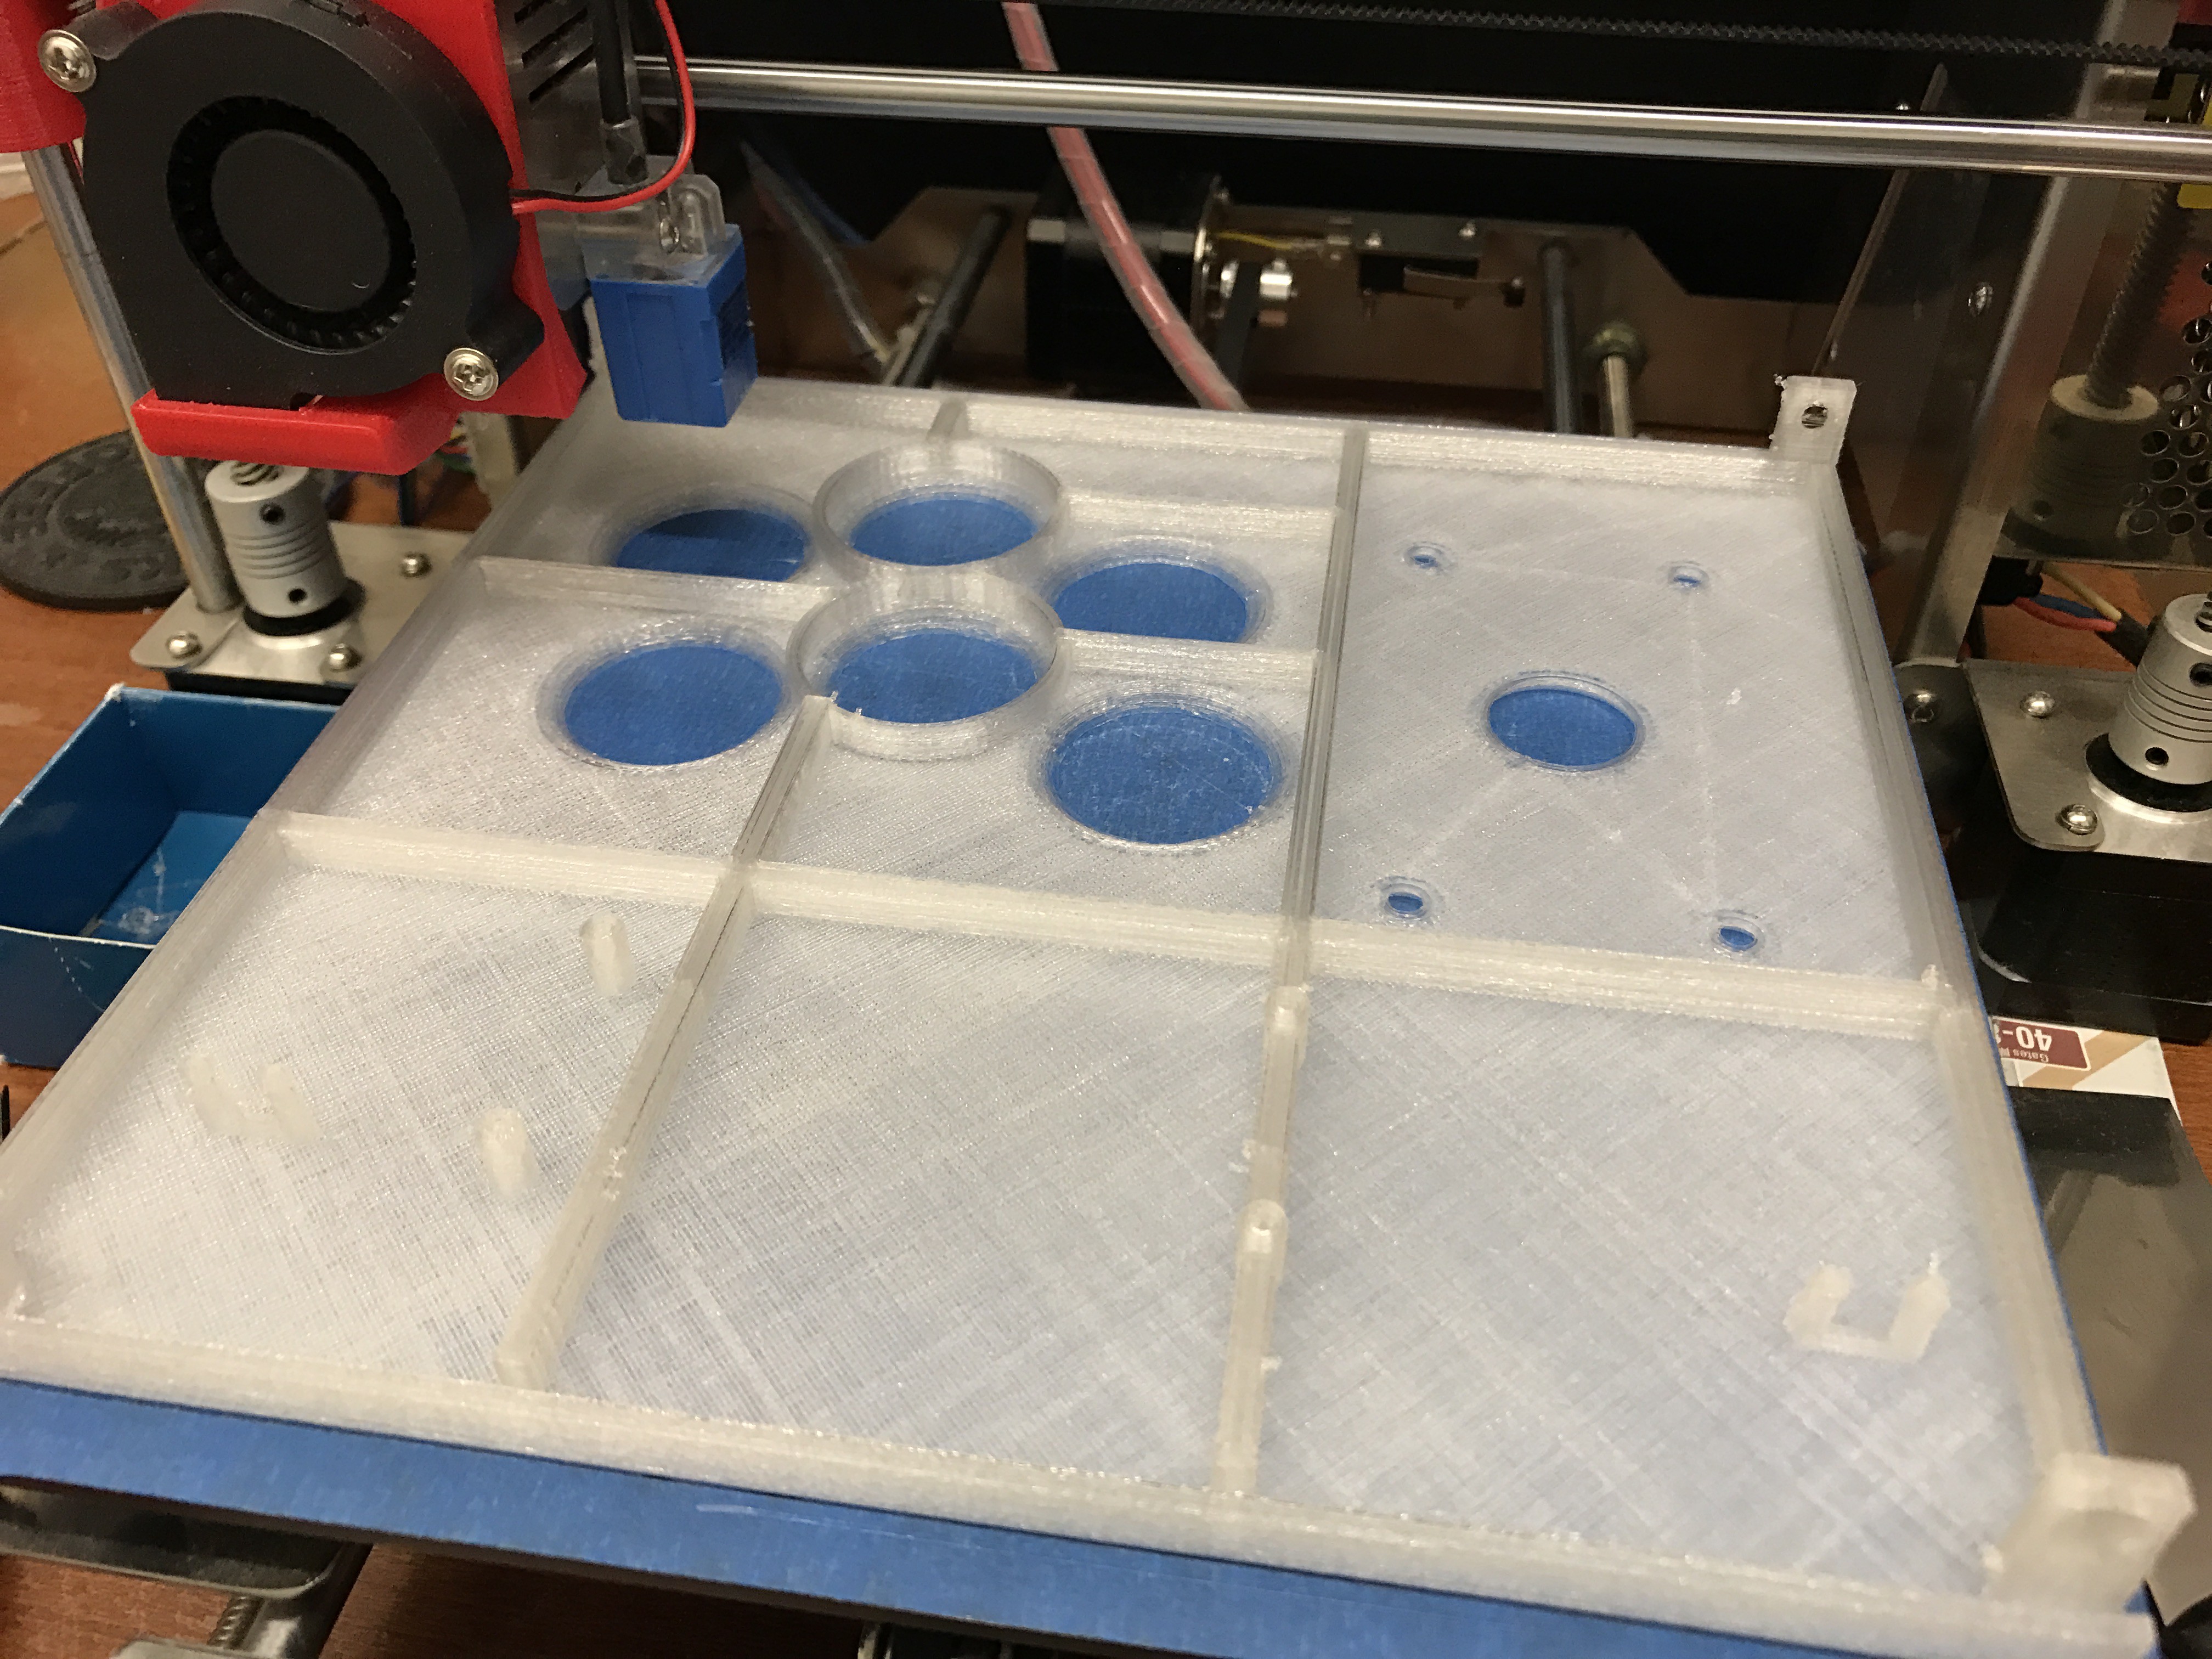
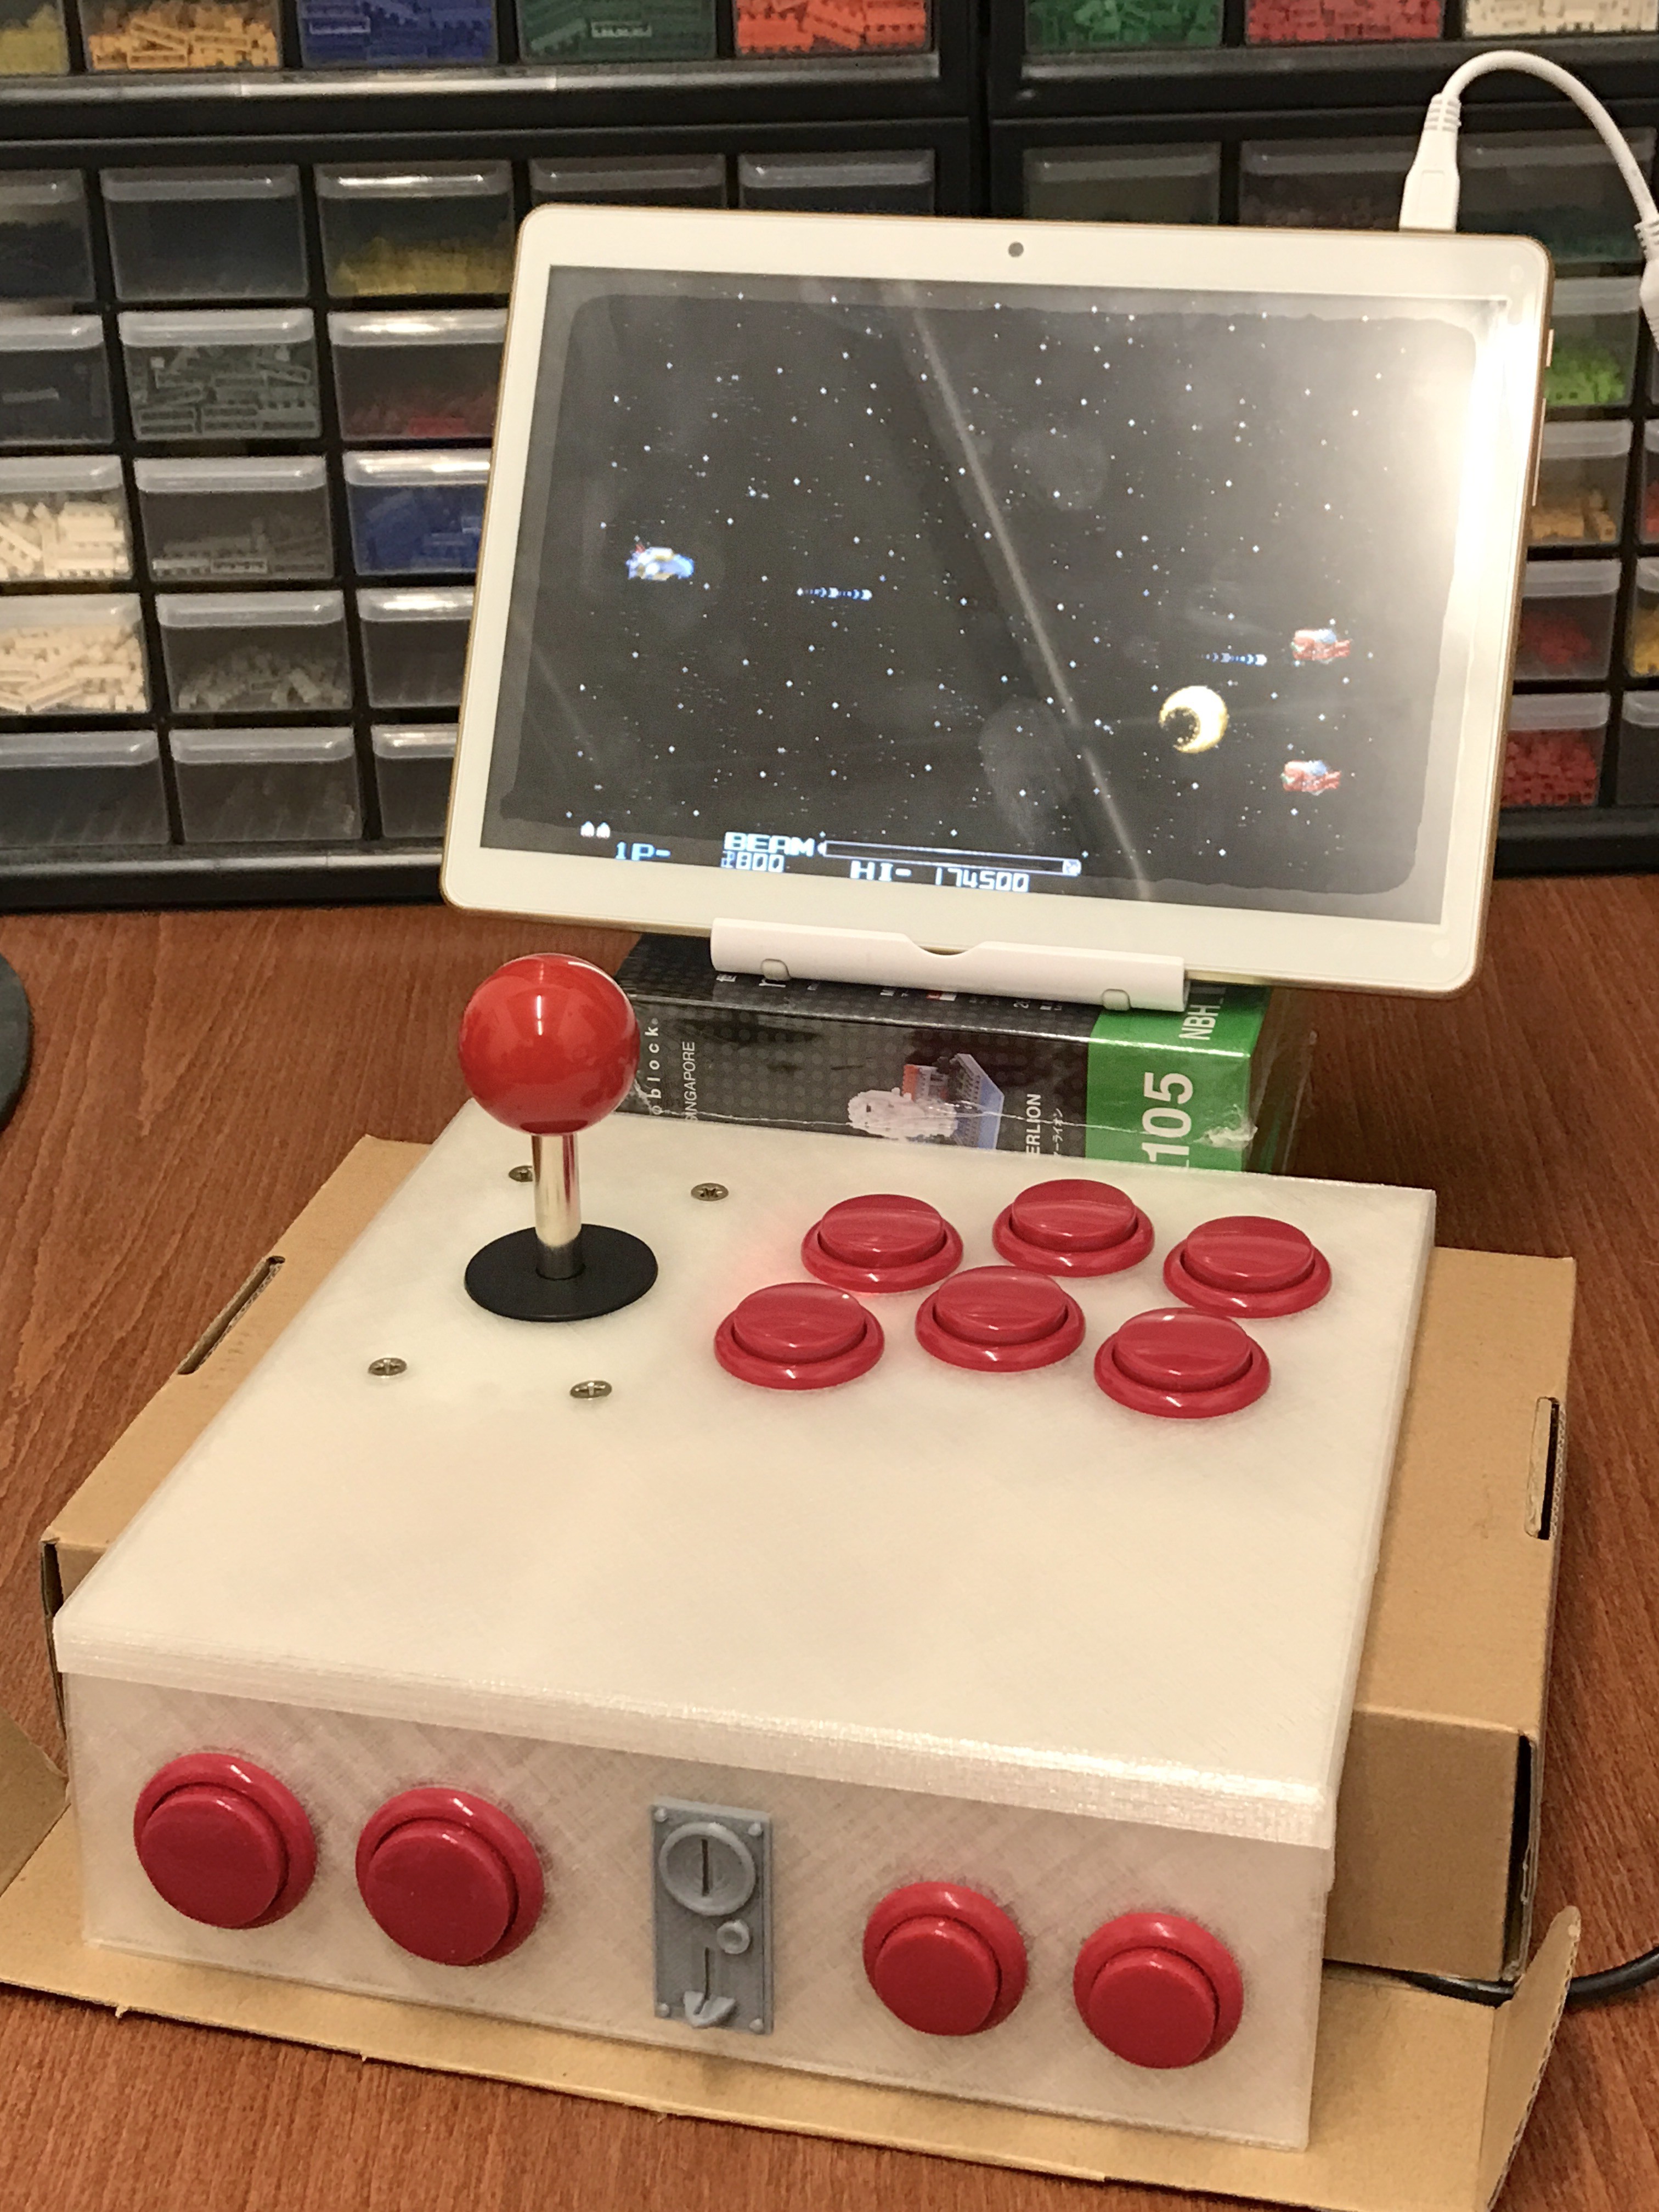
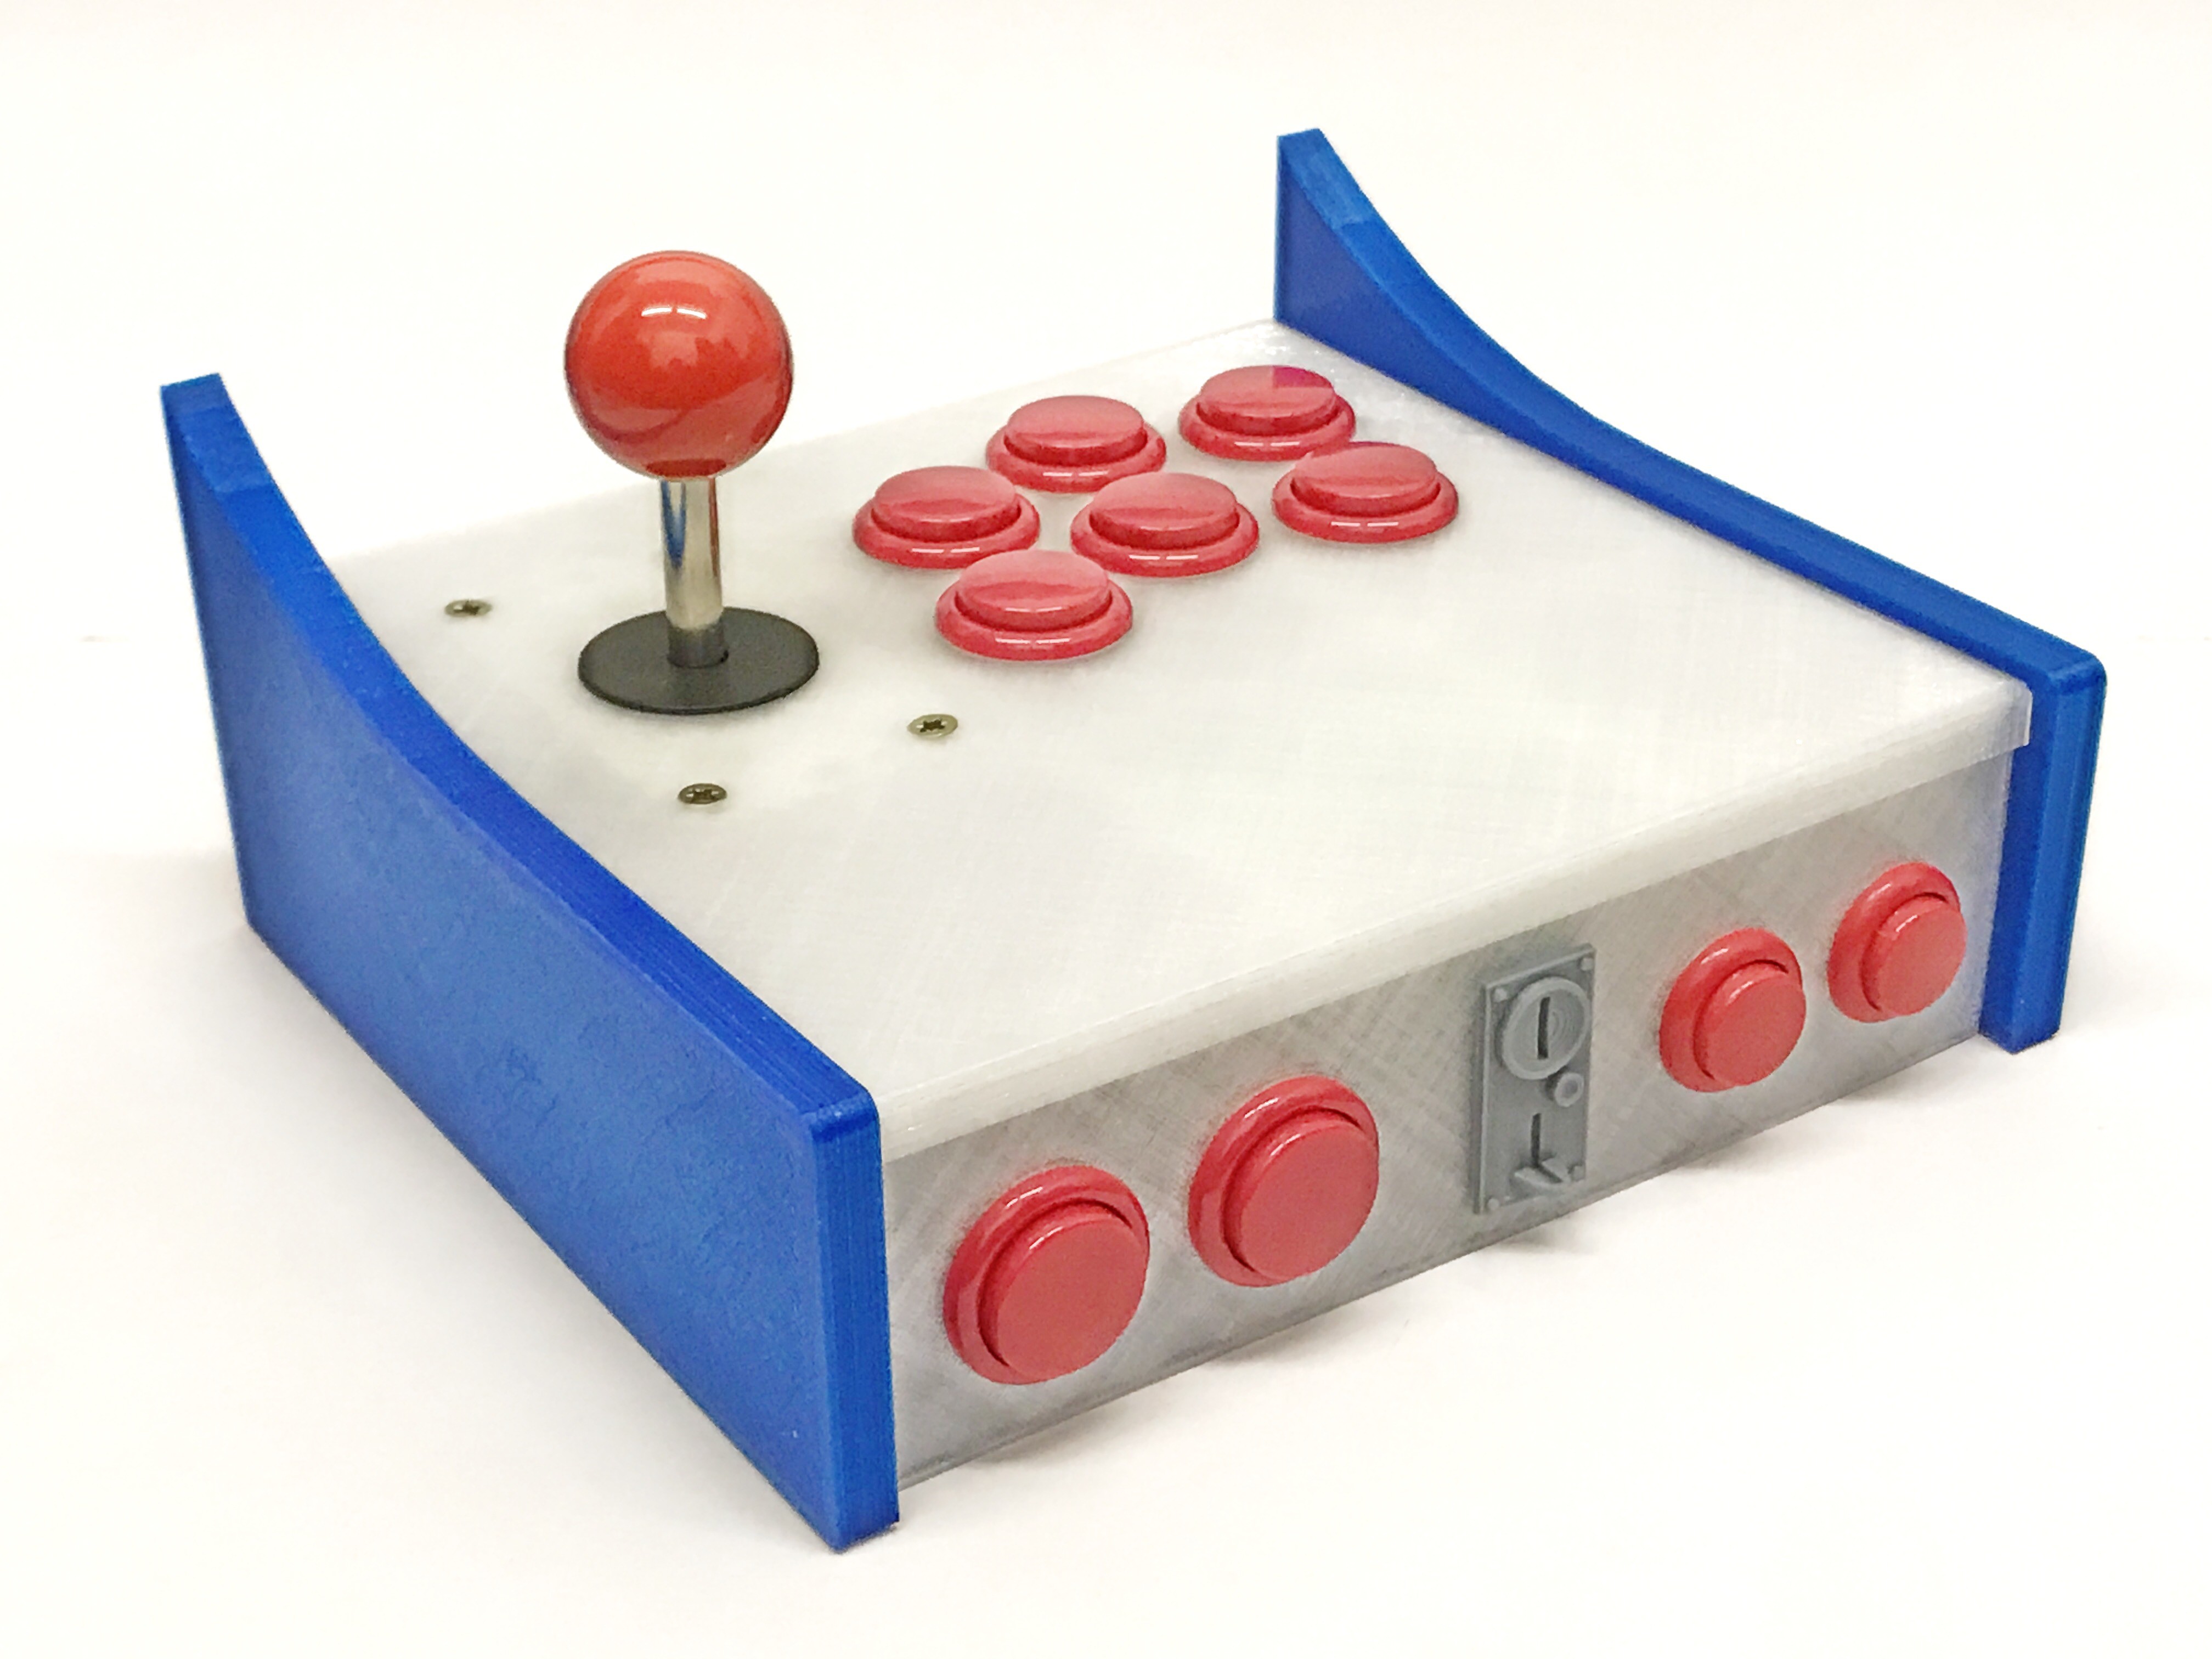
03/01/2017 at 11:57 • 0 commentsI wanted a real arcade joystick + buttons, so I ordered these online and they do feel really good.
Here's where it fits into. I made sure to add more support structures in the design to ensure it would be rigid and not flex when in use.
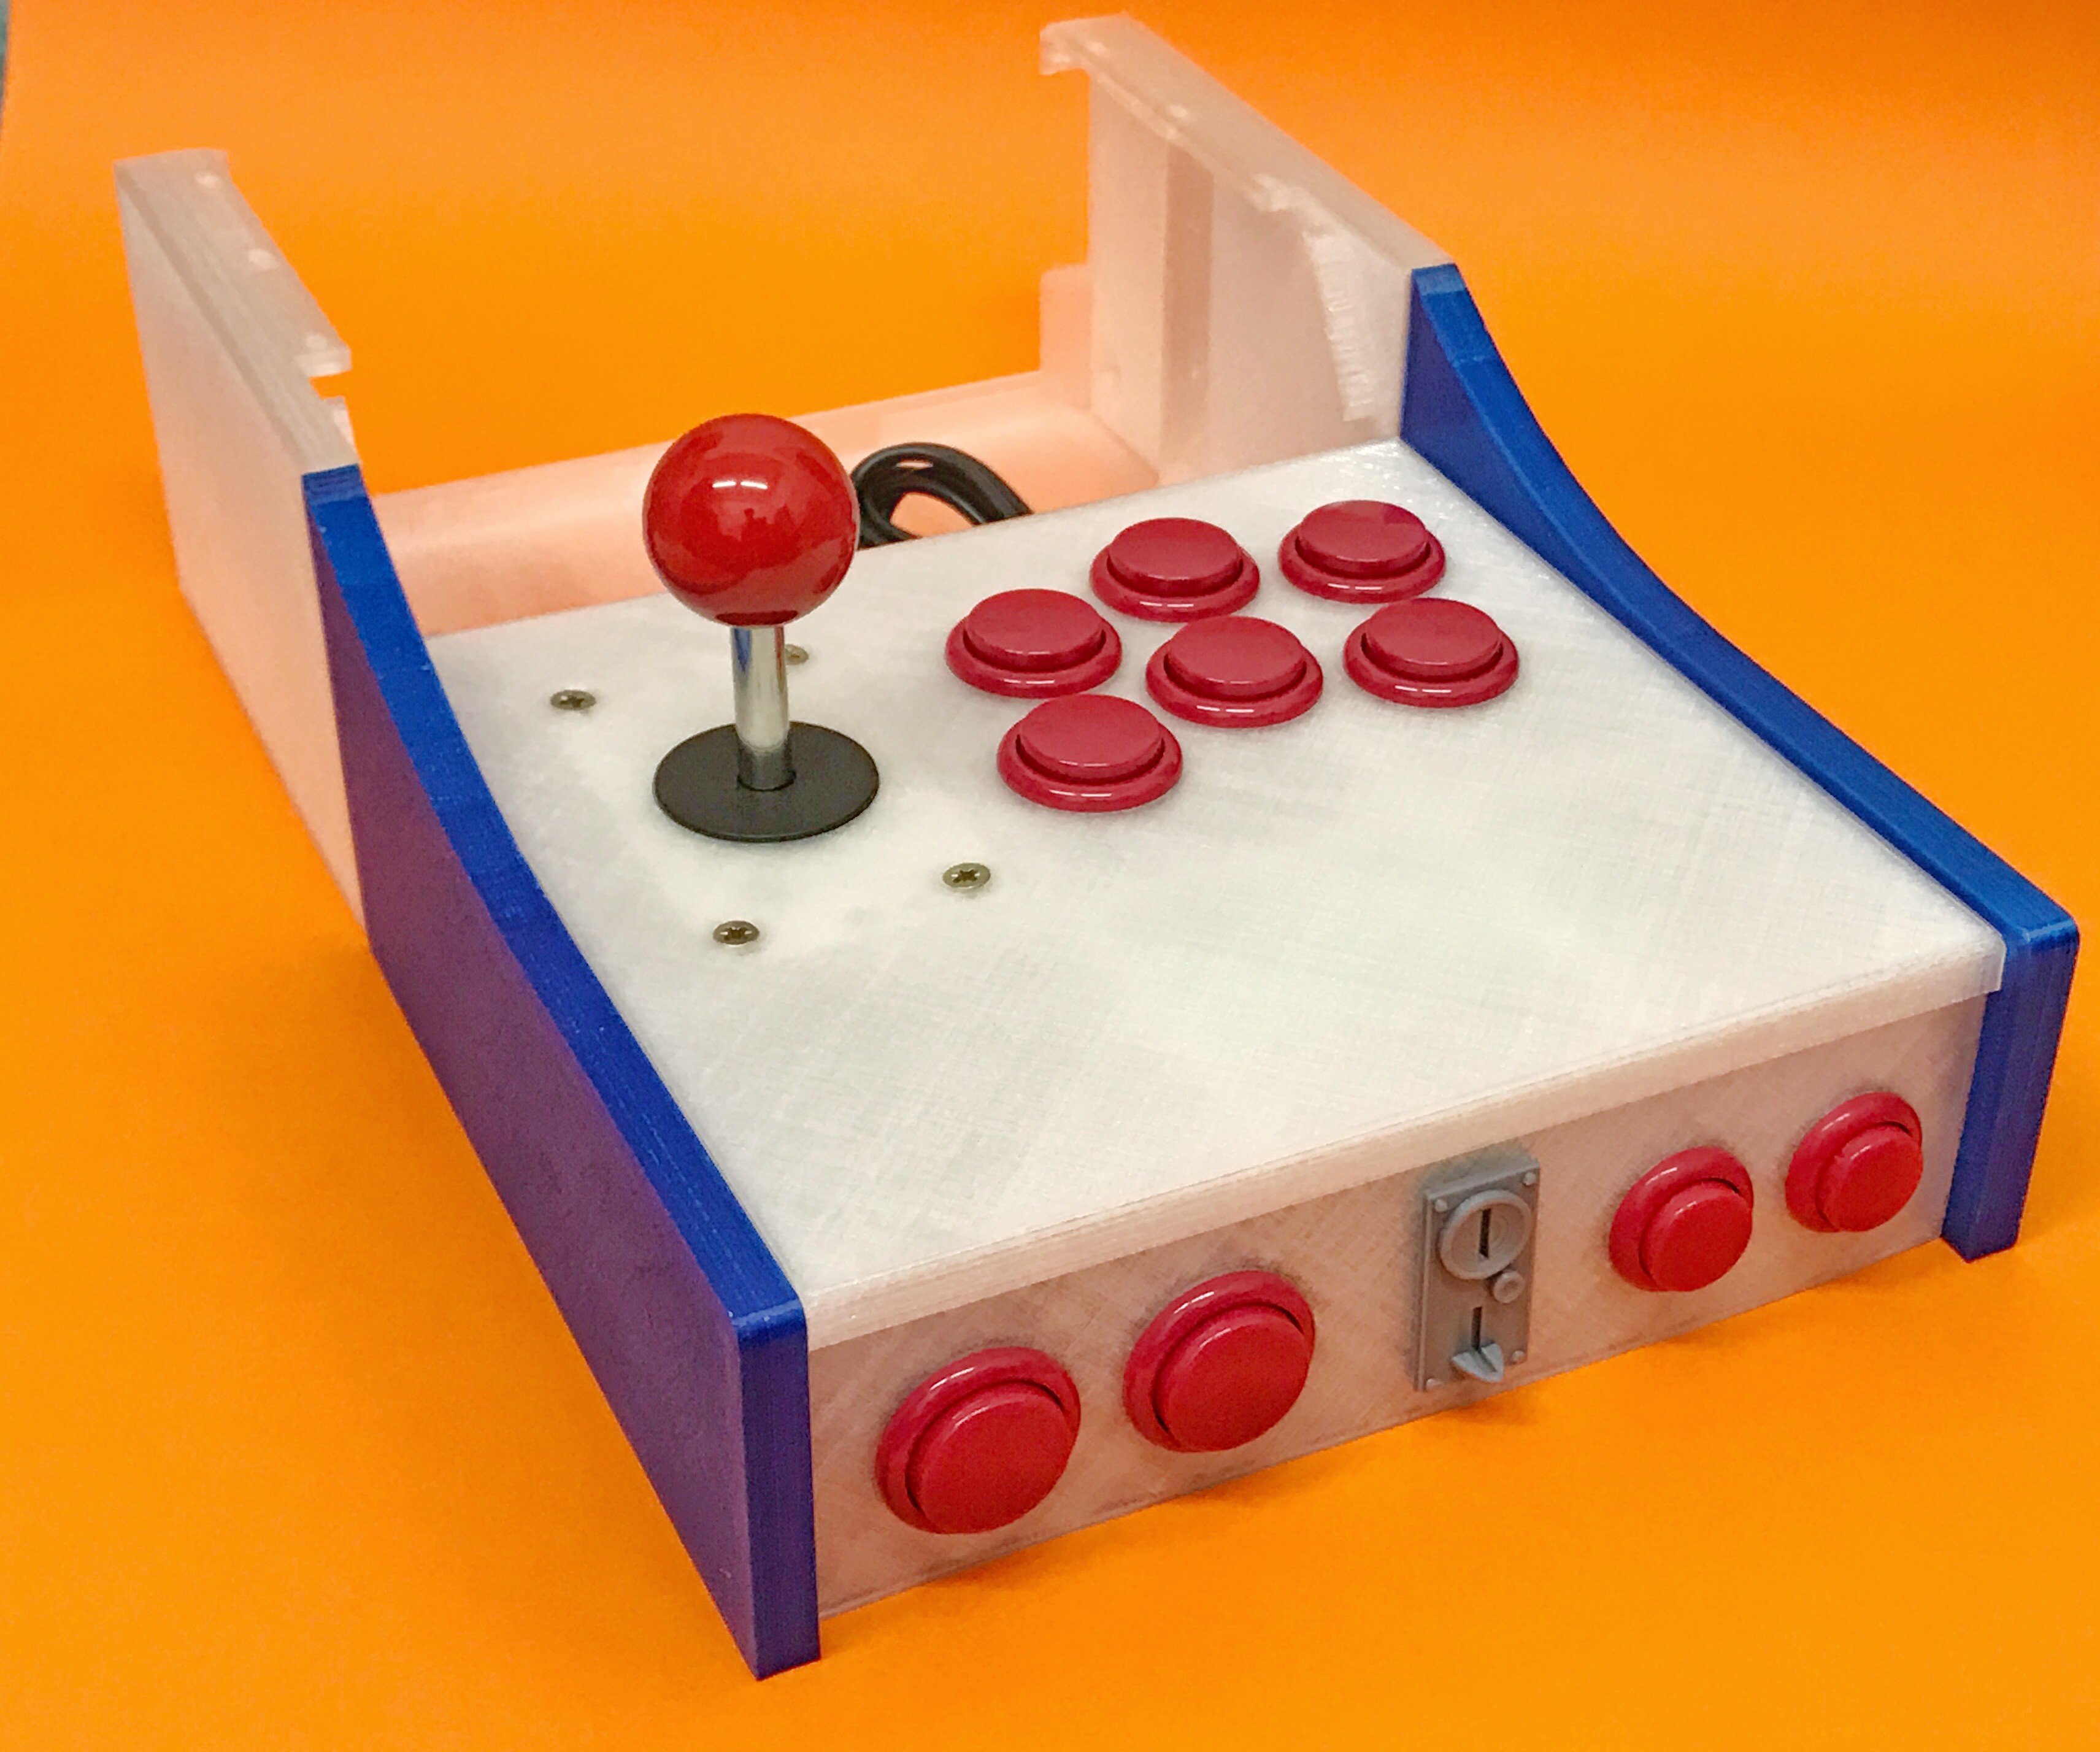
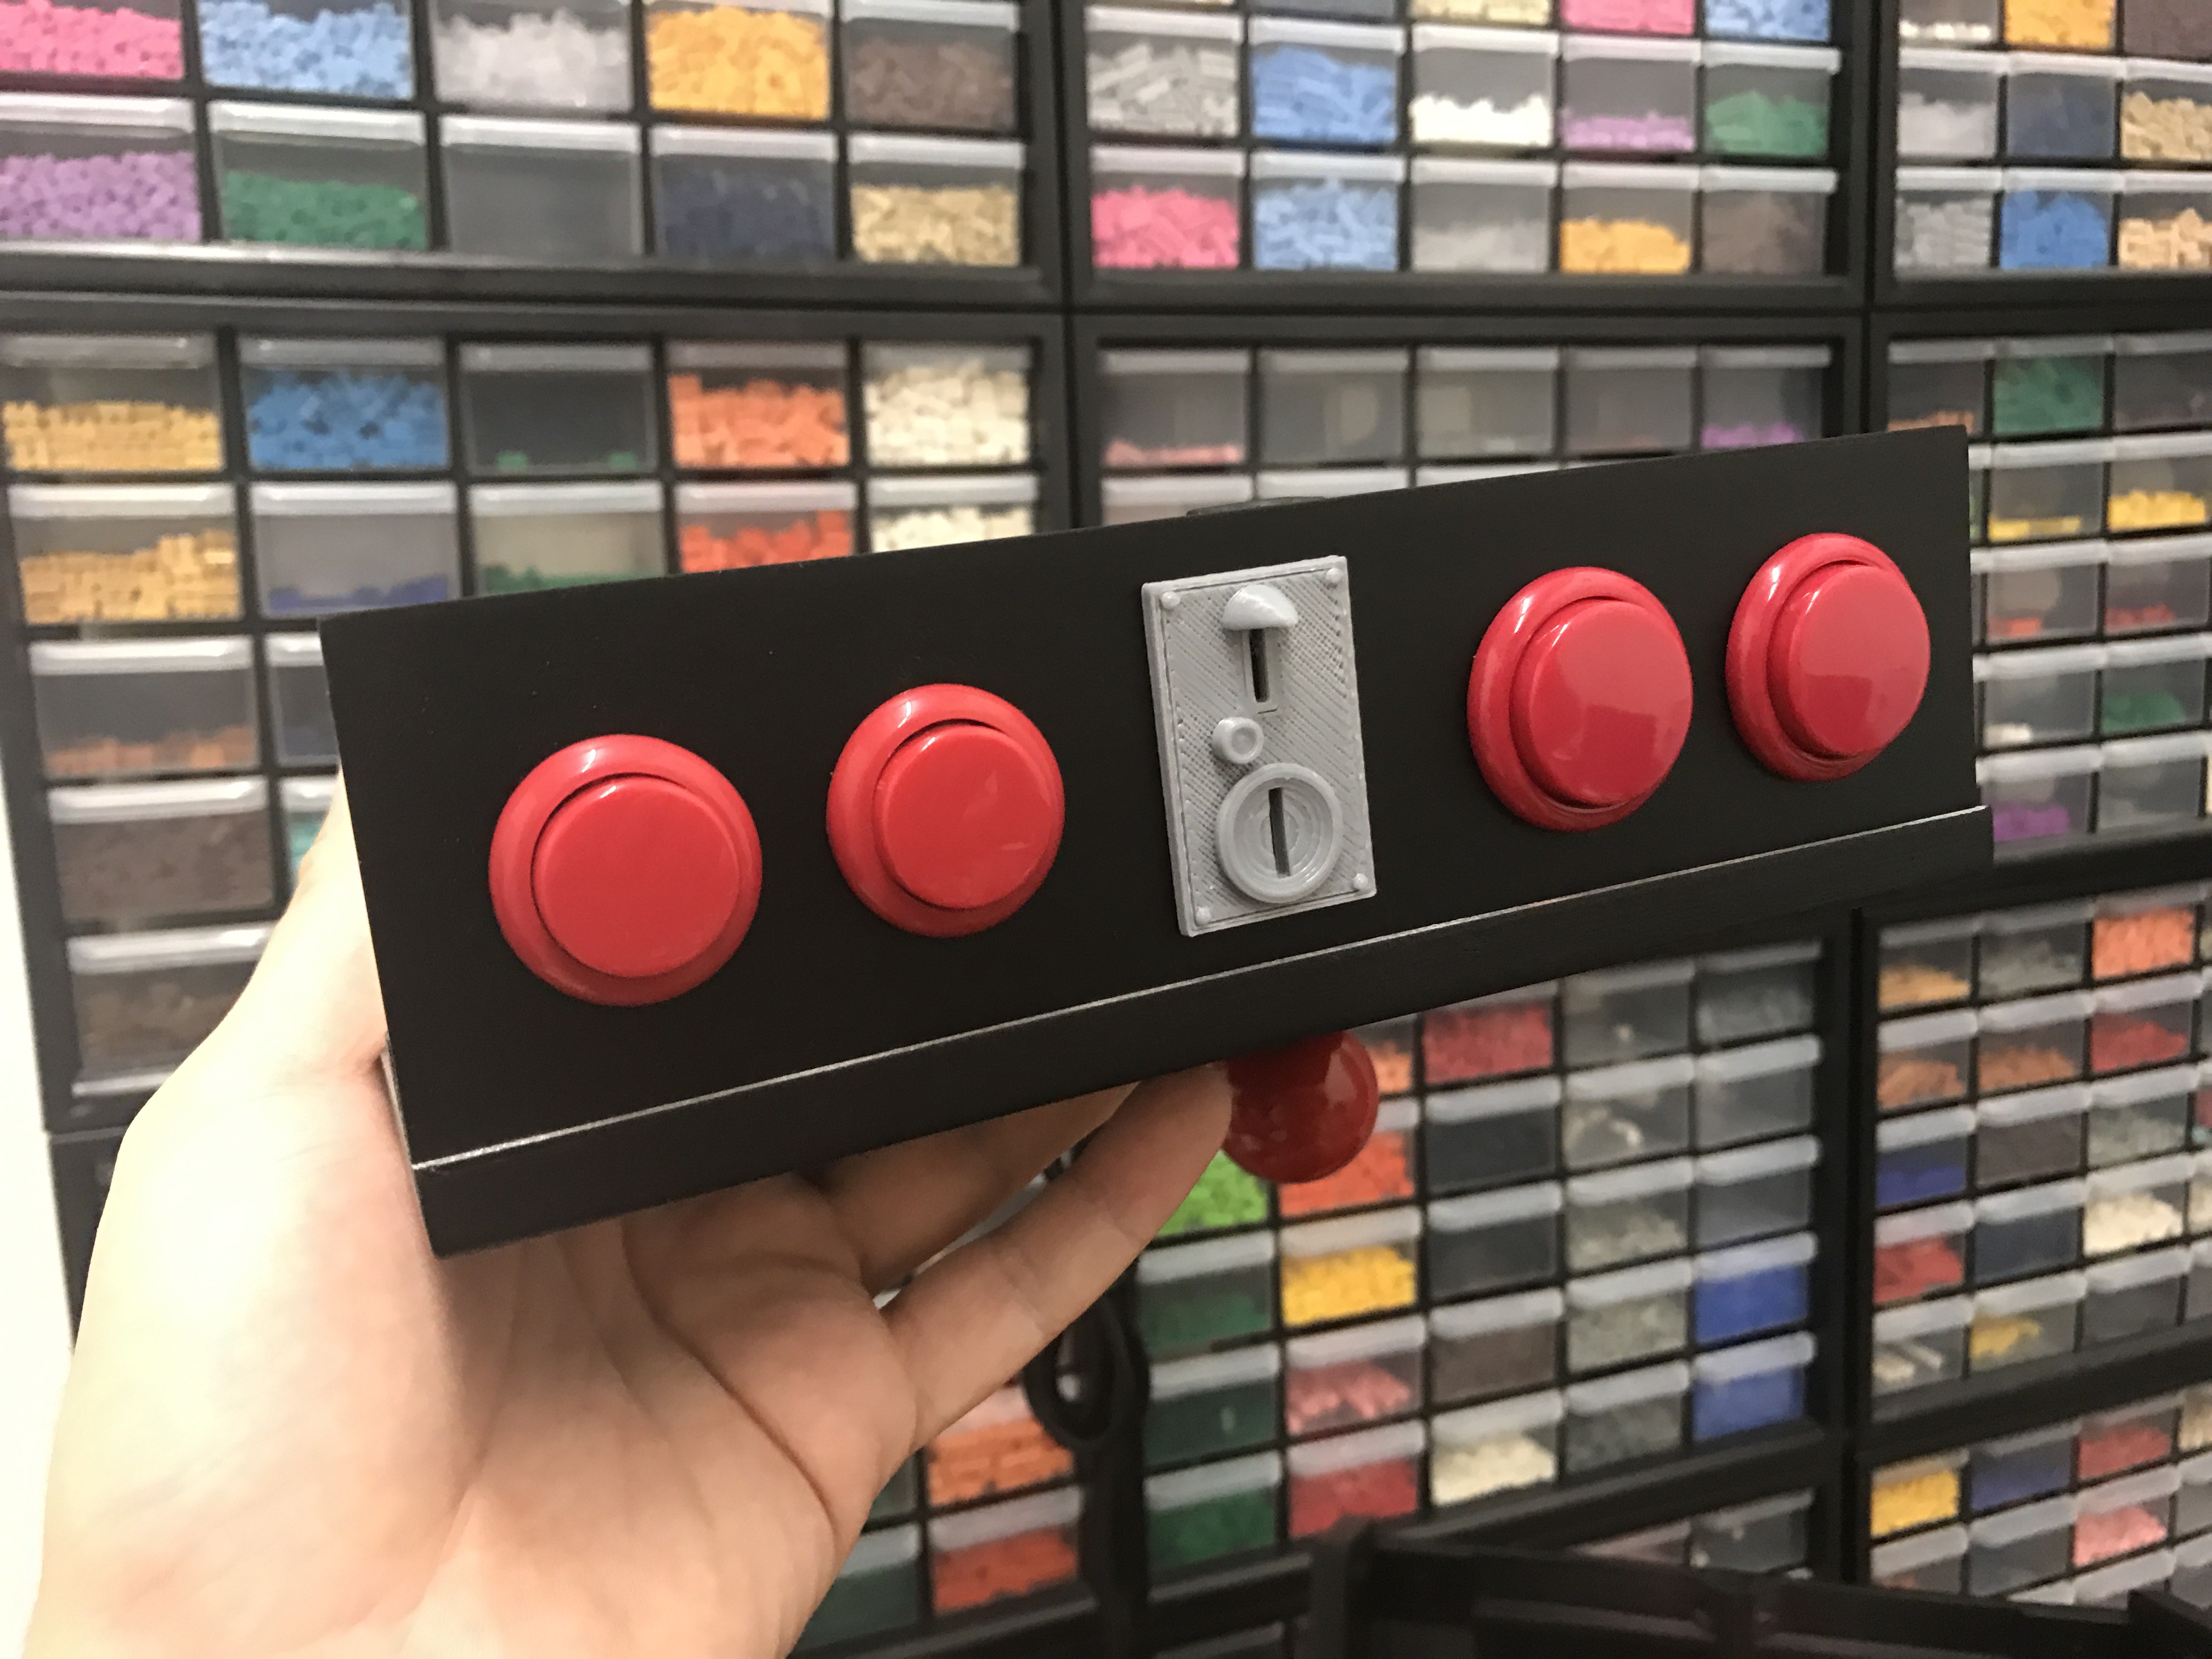
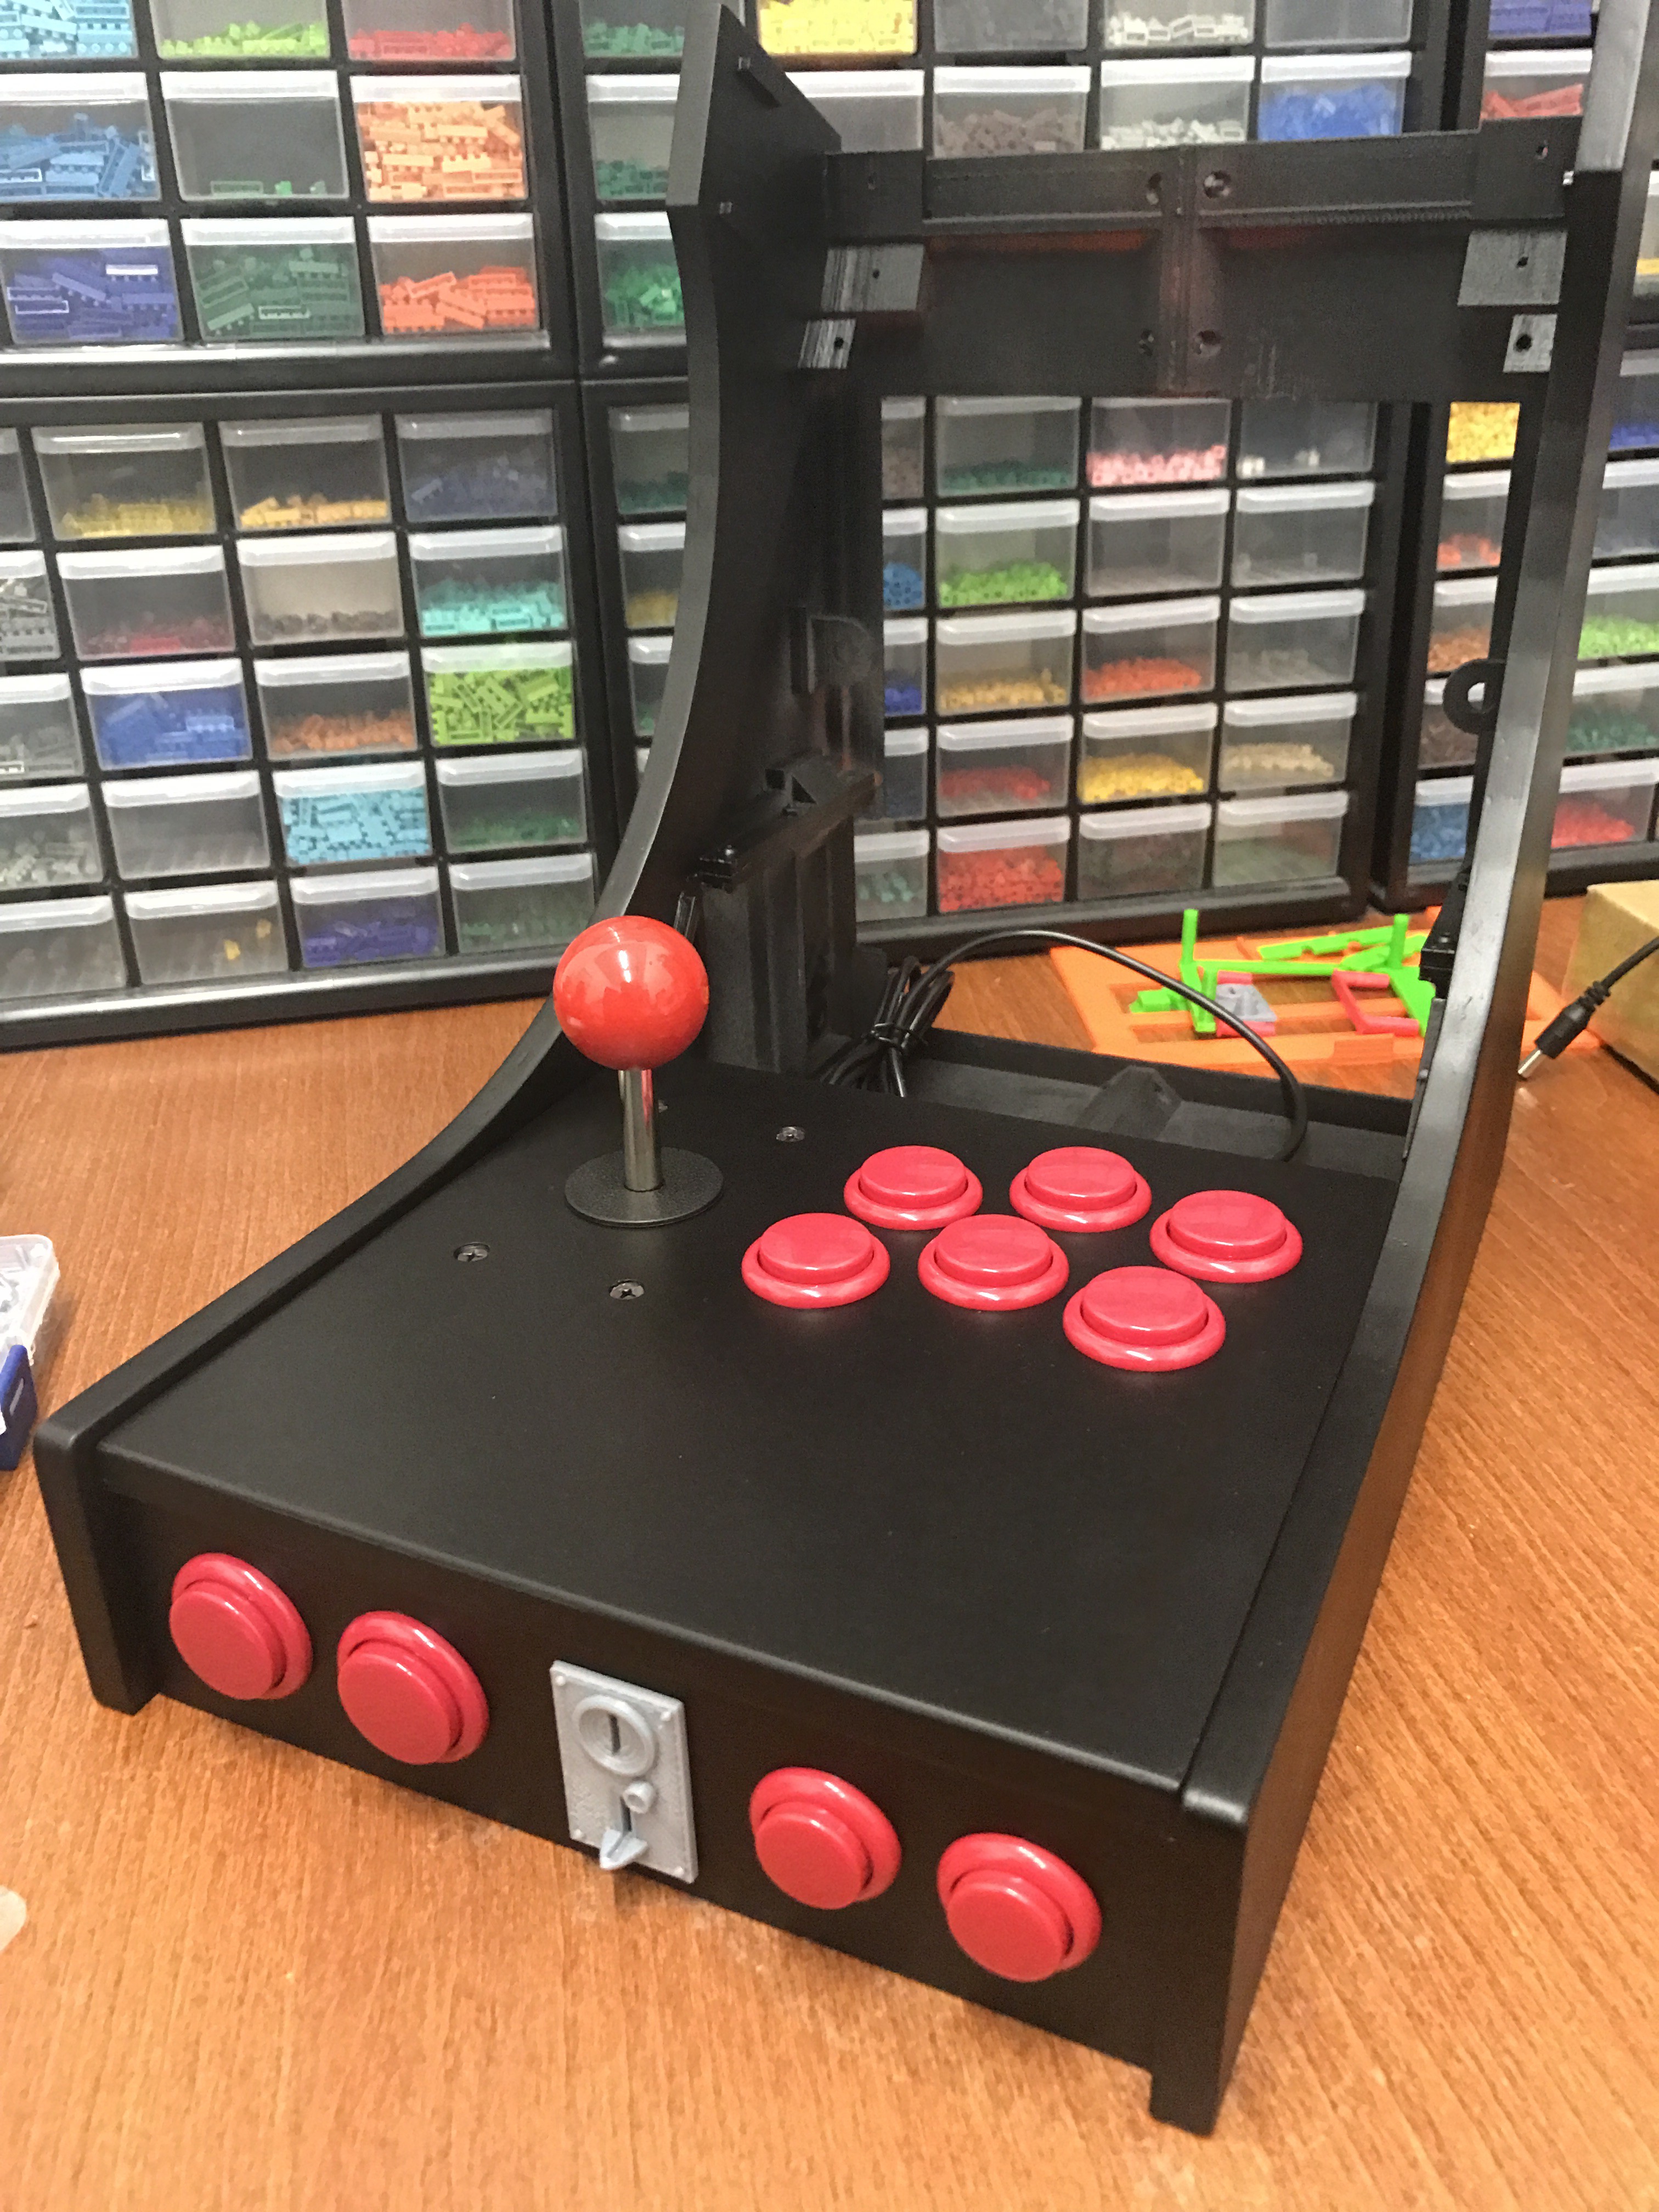
This is what it looks like, complete with the coin slot and front button panel. Here, I am just testing the controller on my Android tablet first.
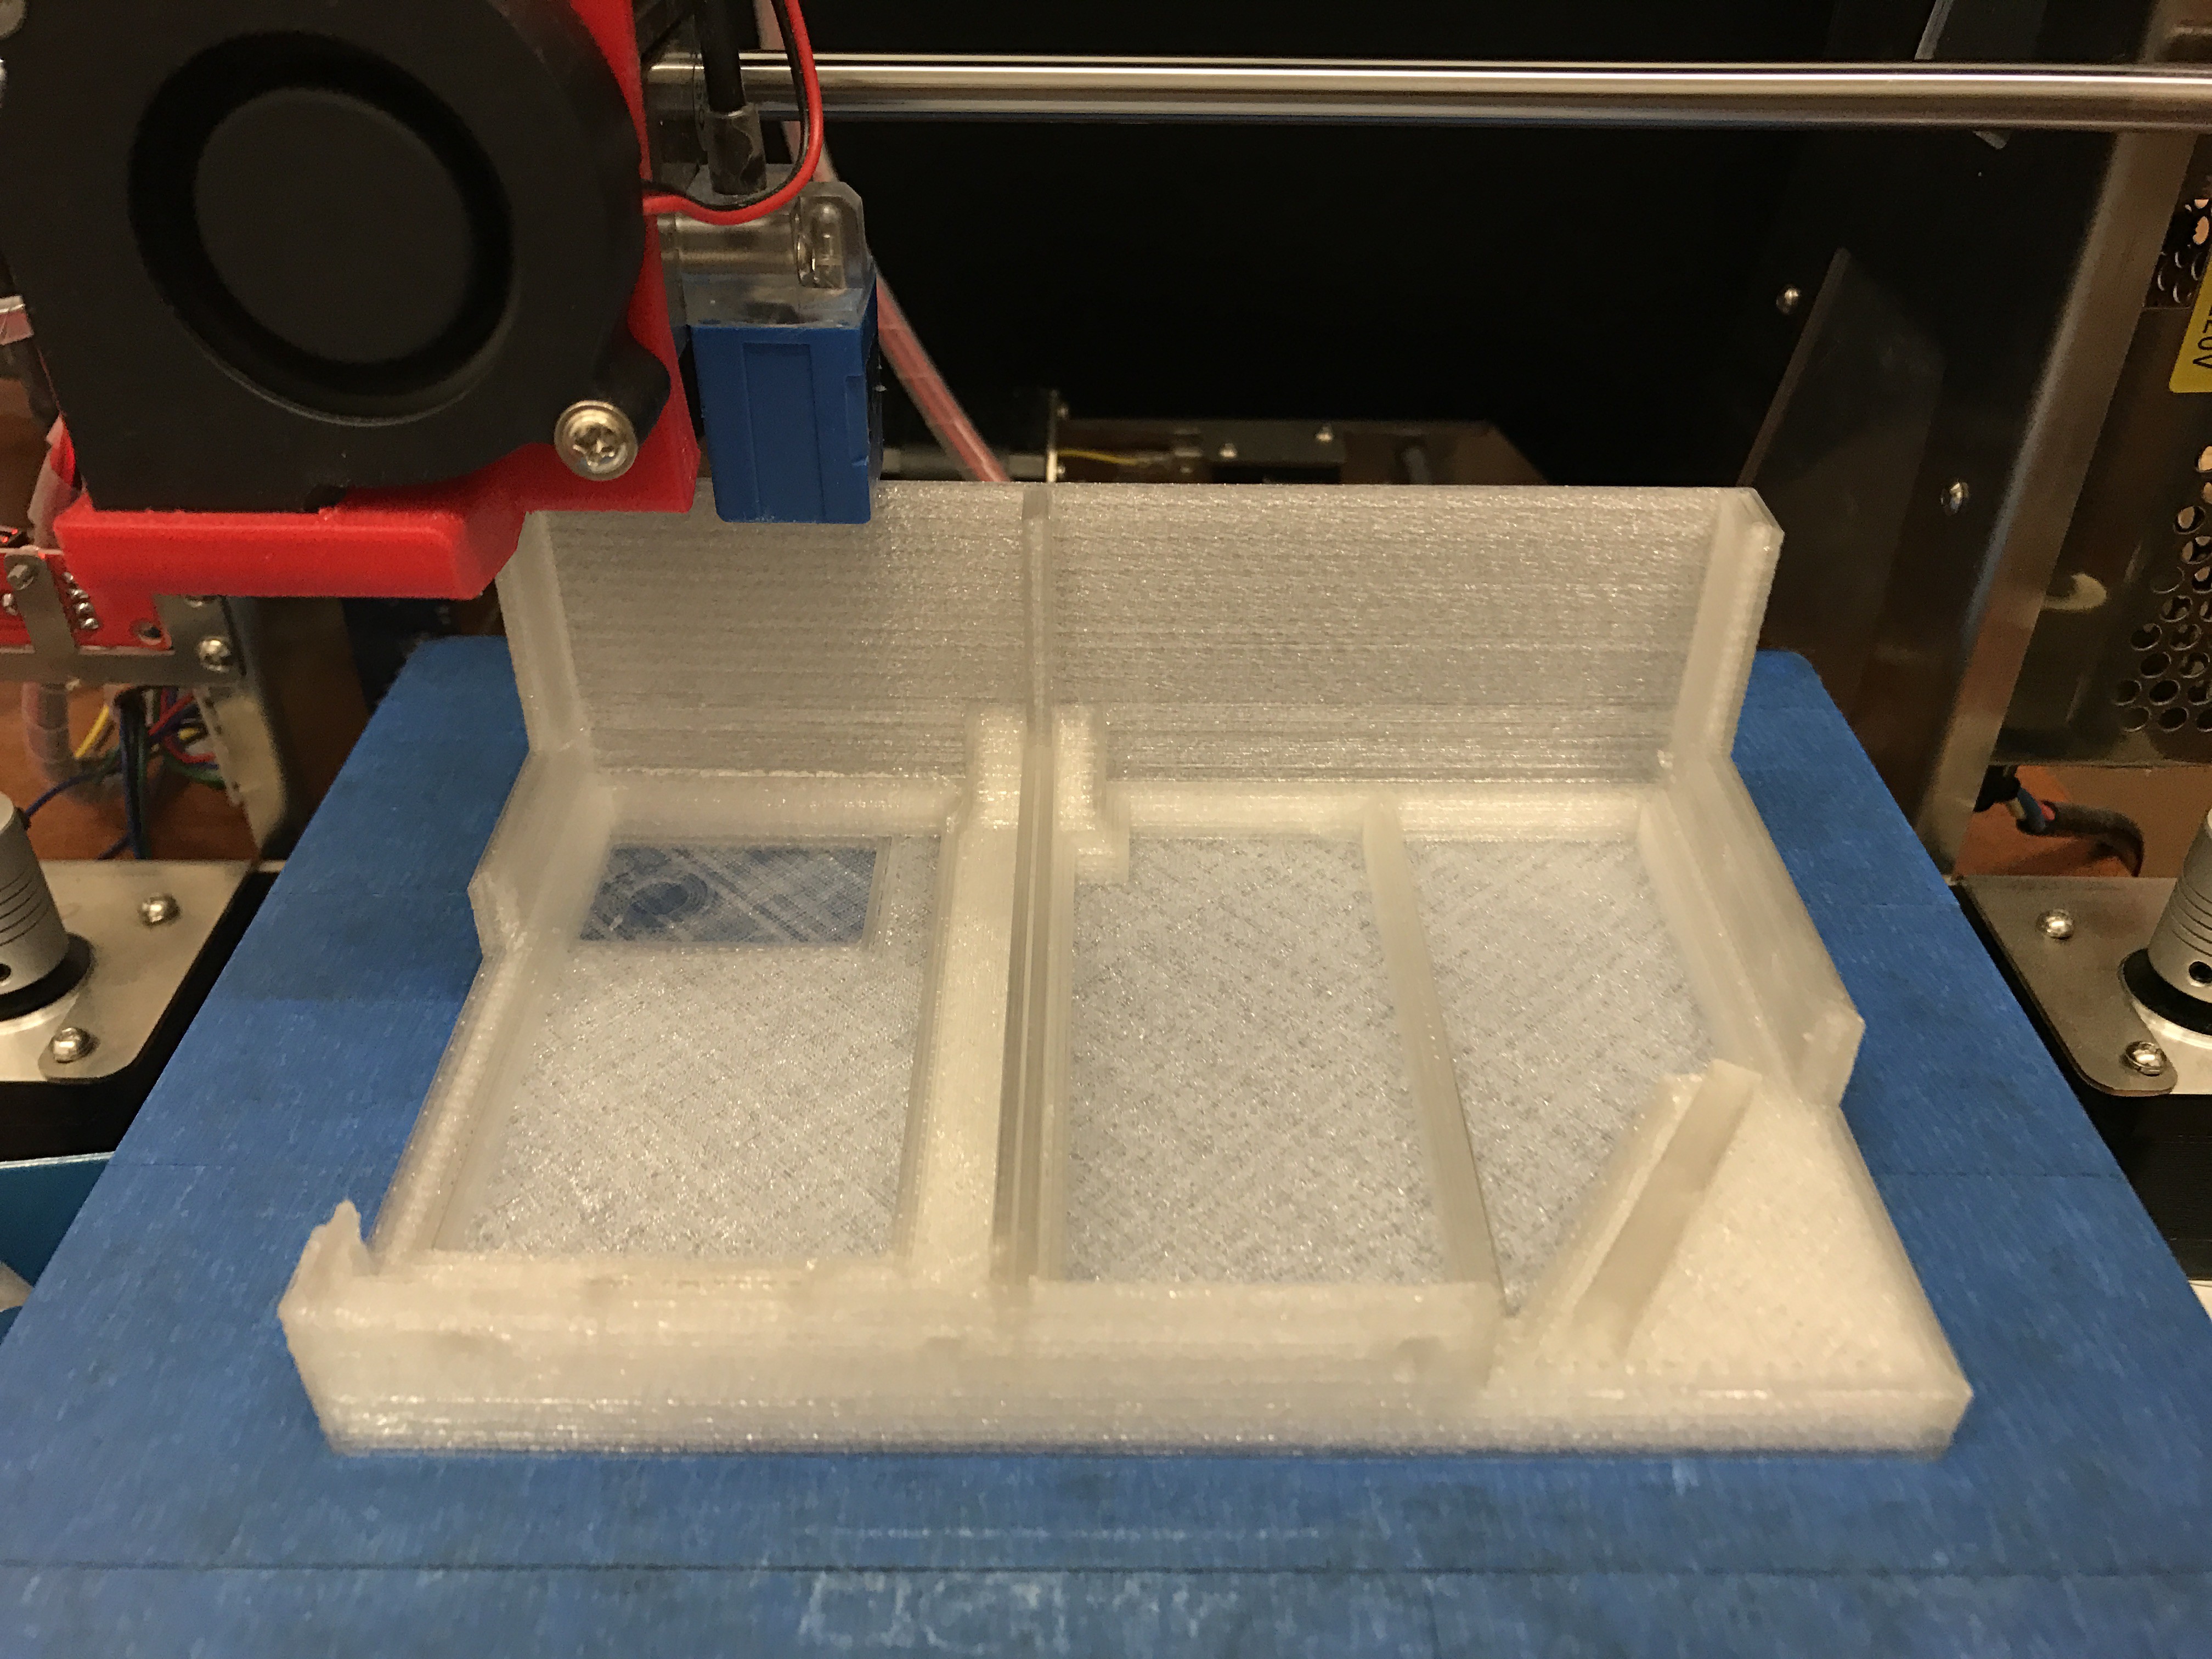
Now to print the bottom parts under the controller.
Here's the front half of my arcade machine completed!
Desktop Arcade Machine : 3D Printed + RetroPie
My attempt to build a desktop arcade machine by 3D printing the cabinet and using Raspberry Pi 3 running RetroPie.
 Christopher Tan
 And here's the back. The back panel's locking mechanism has been modified.
 So, that's pretty much all the parts printed.