 MangèleGOUNOUN
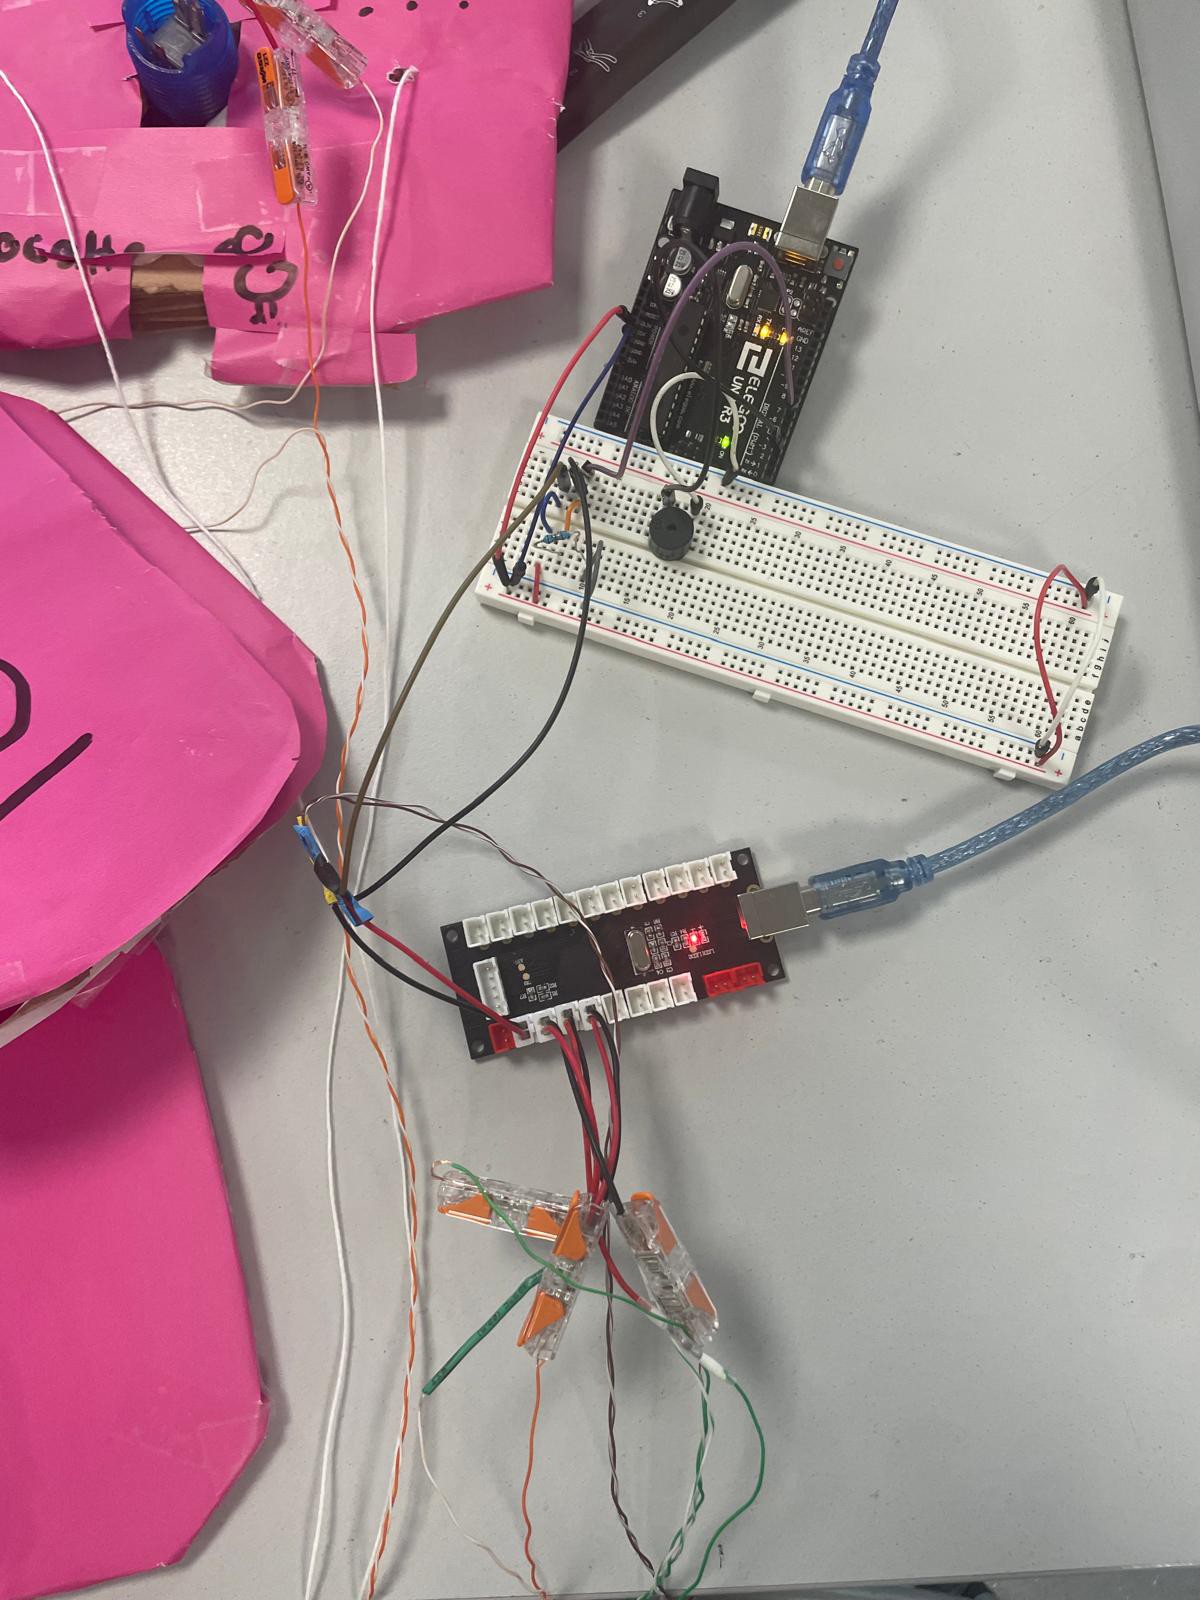
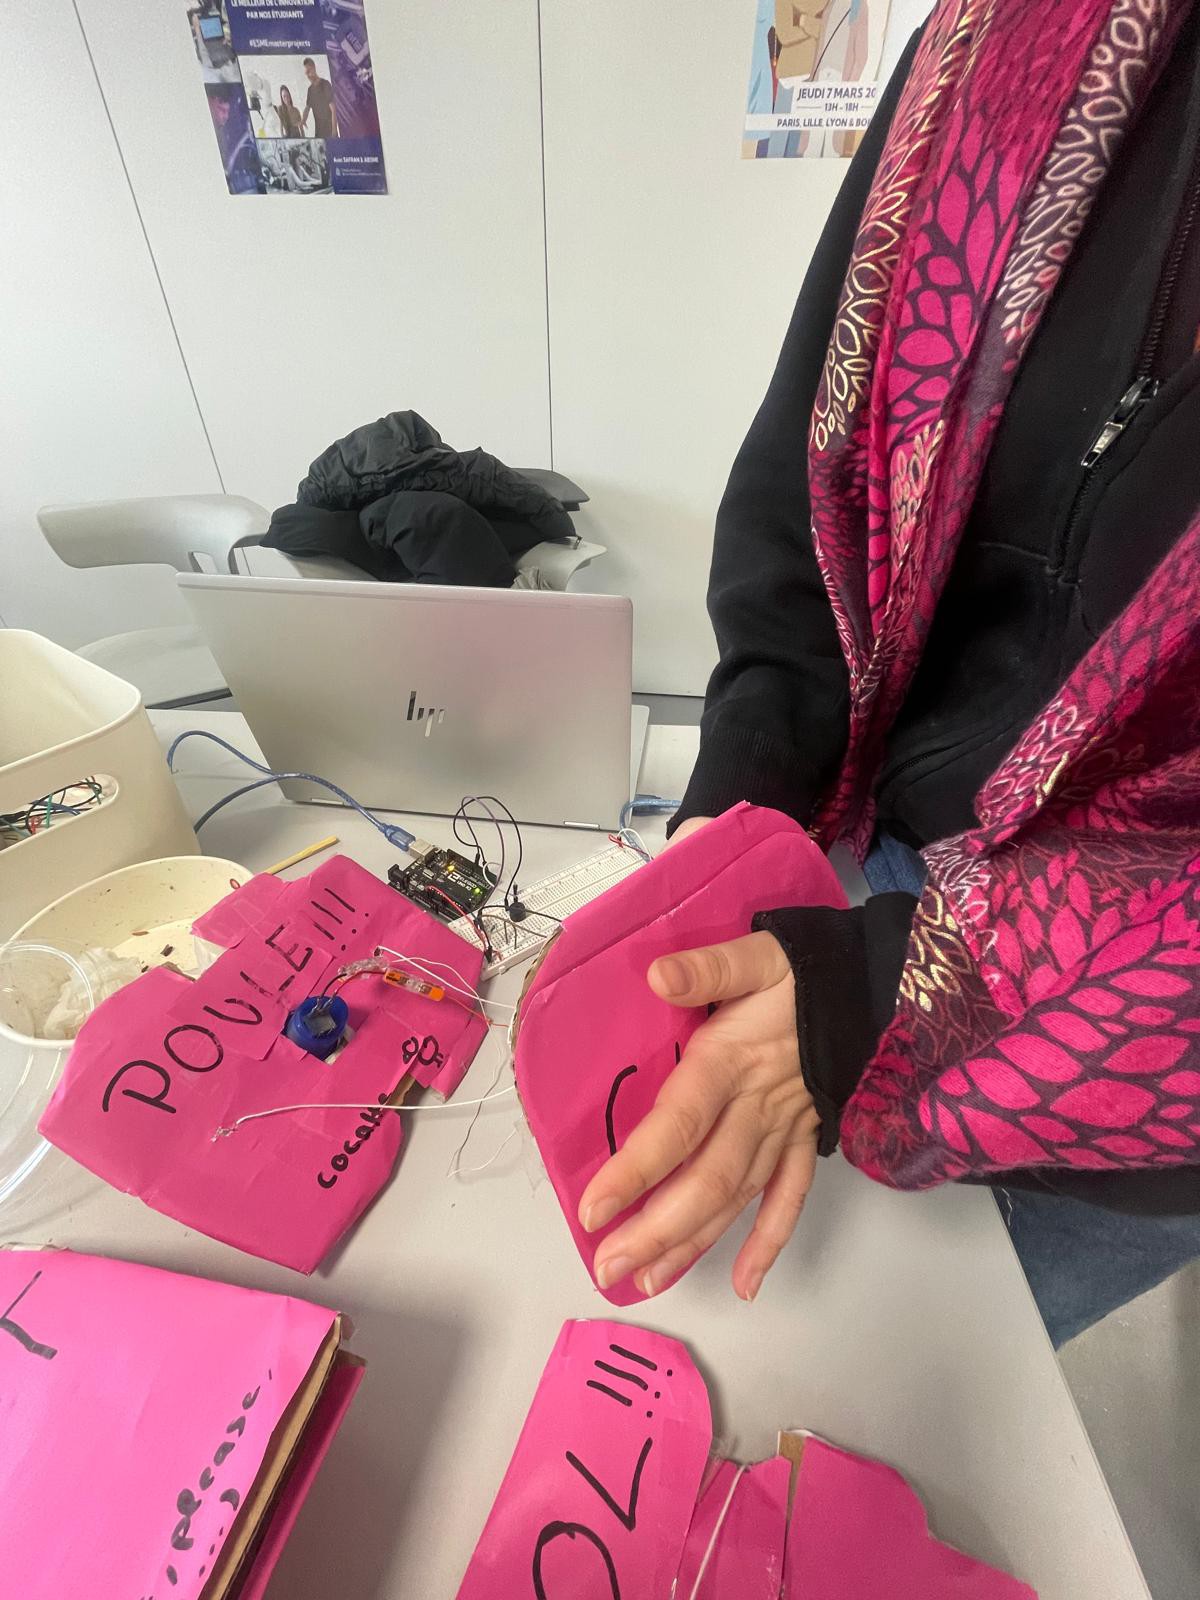
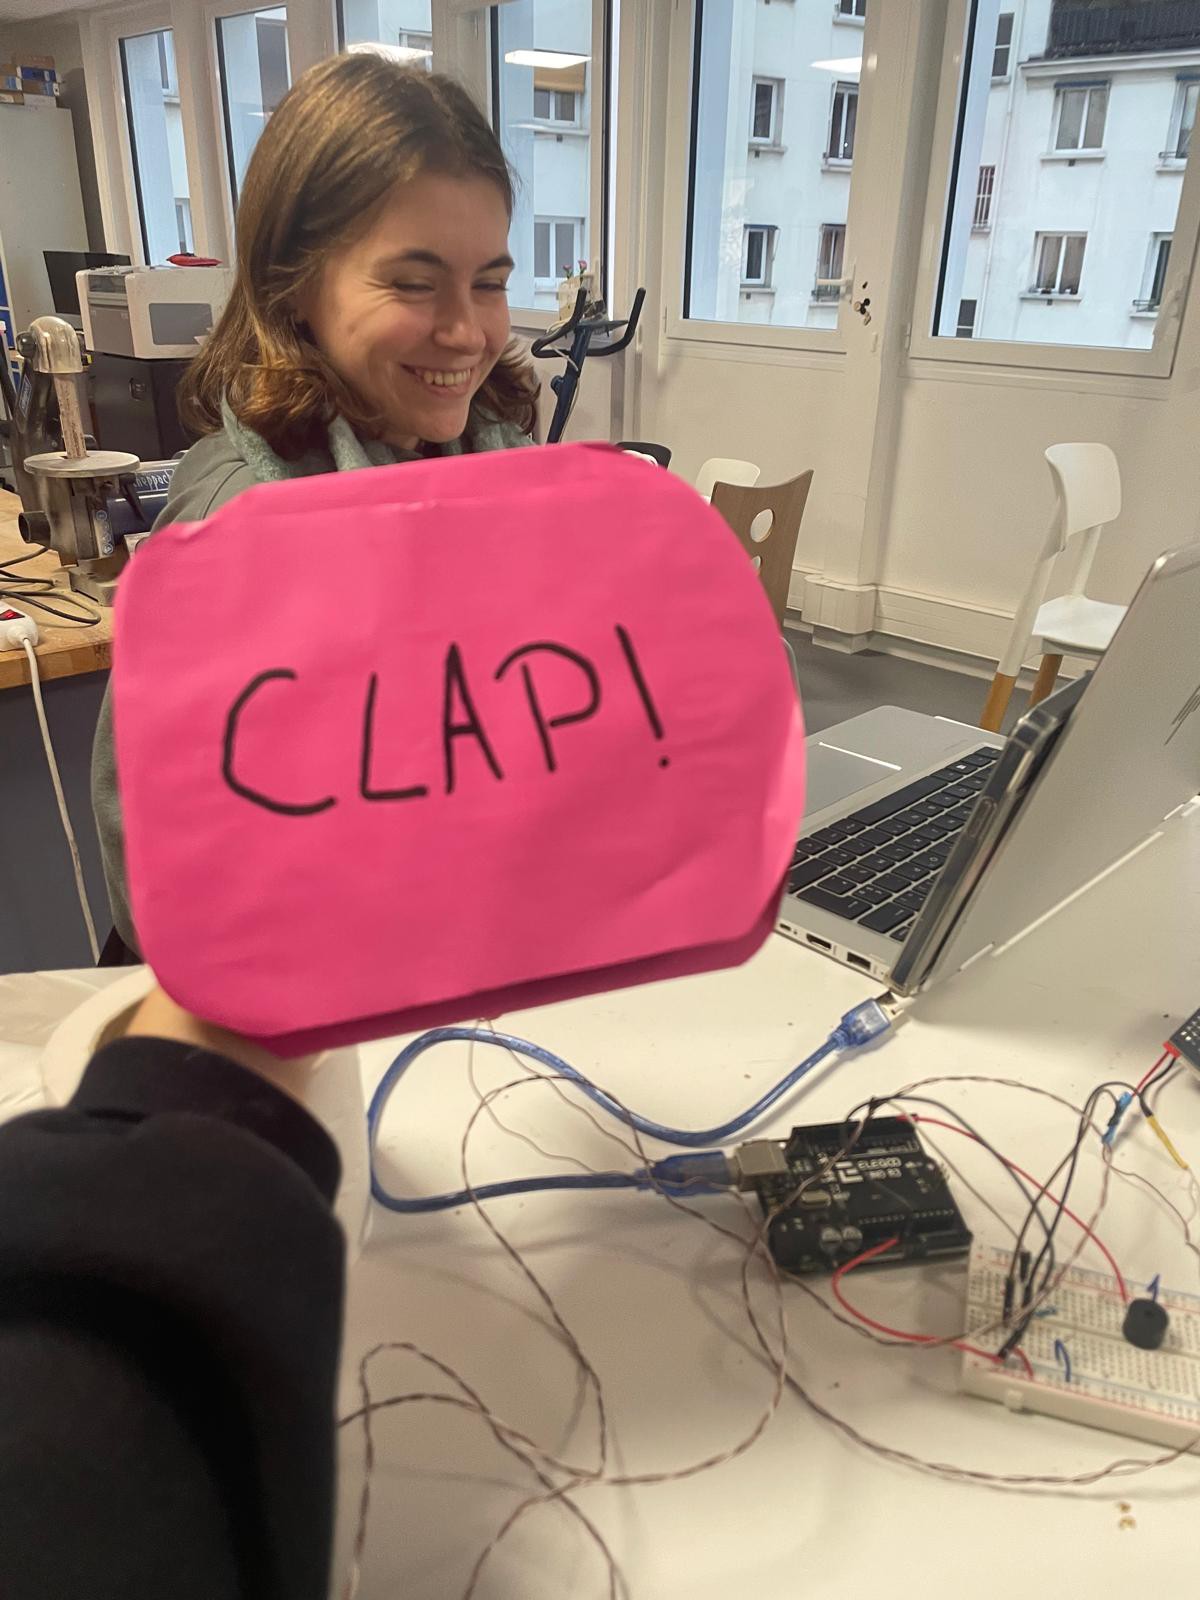
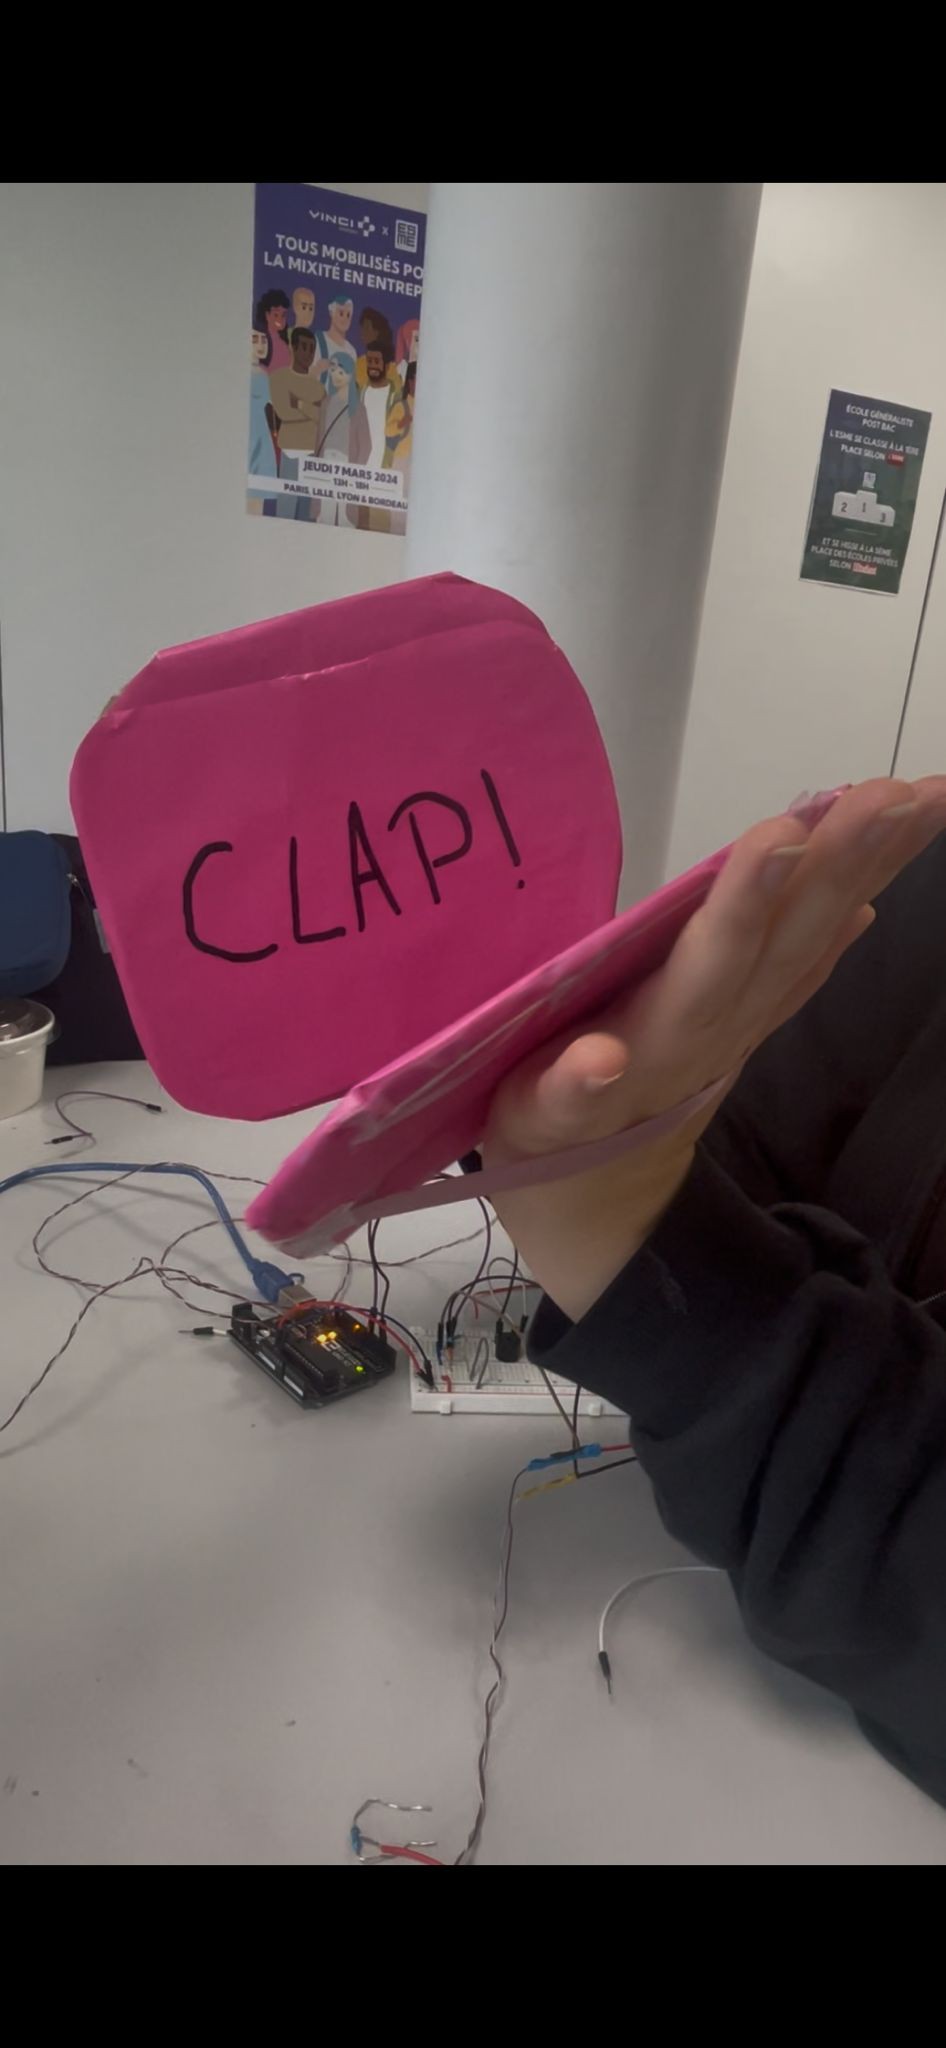
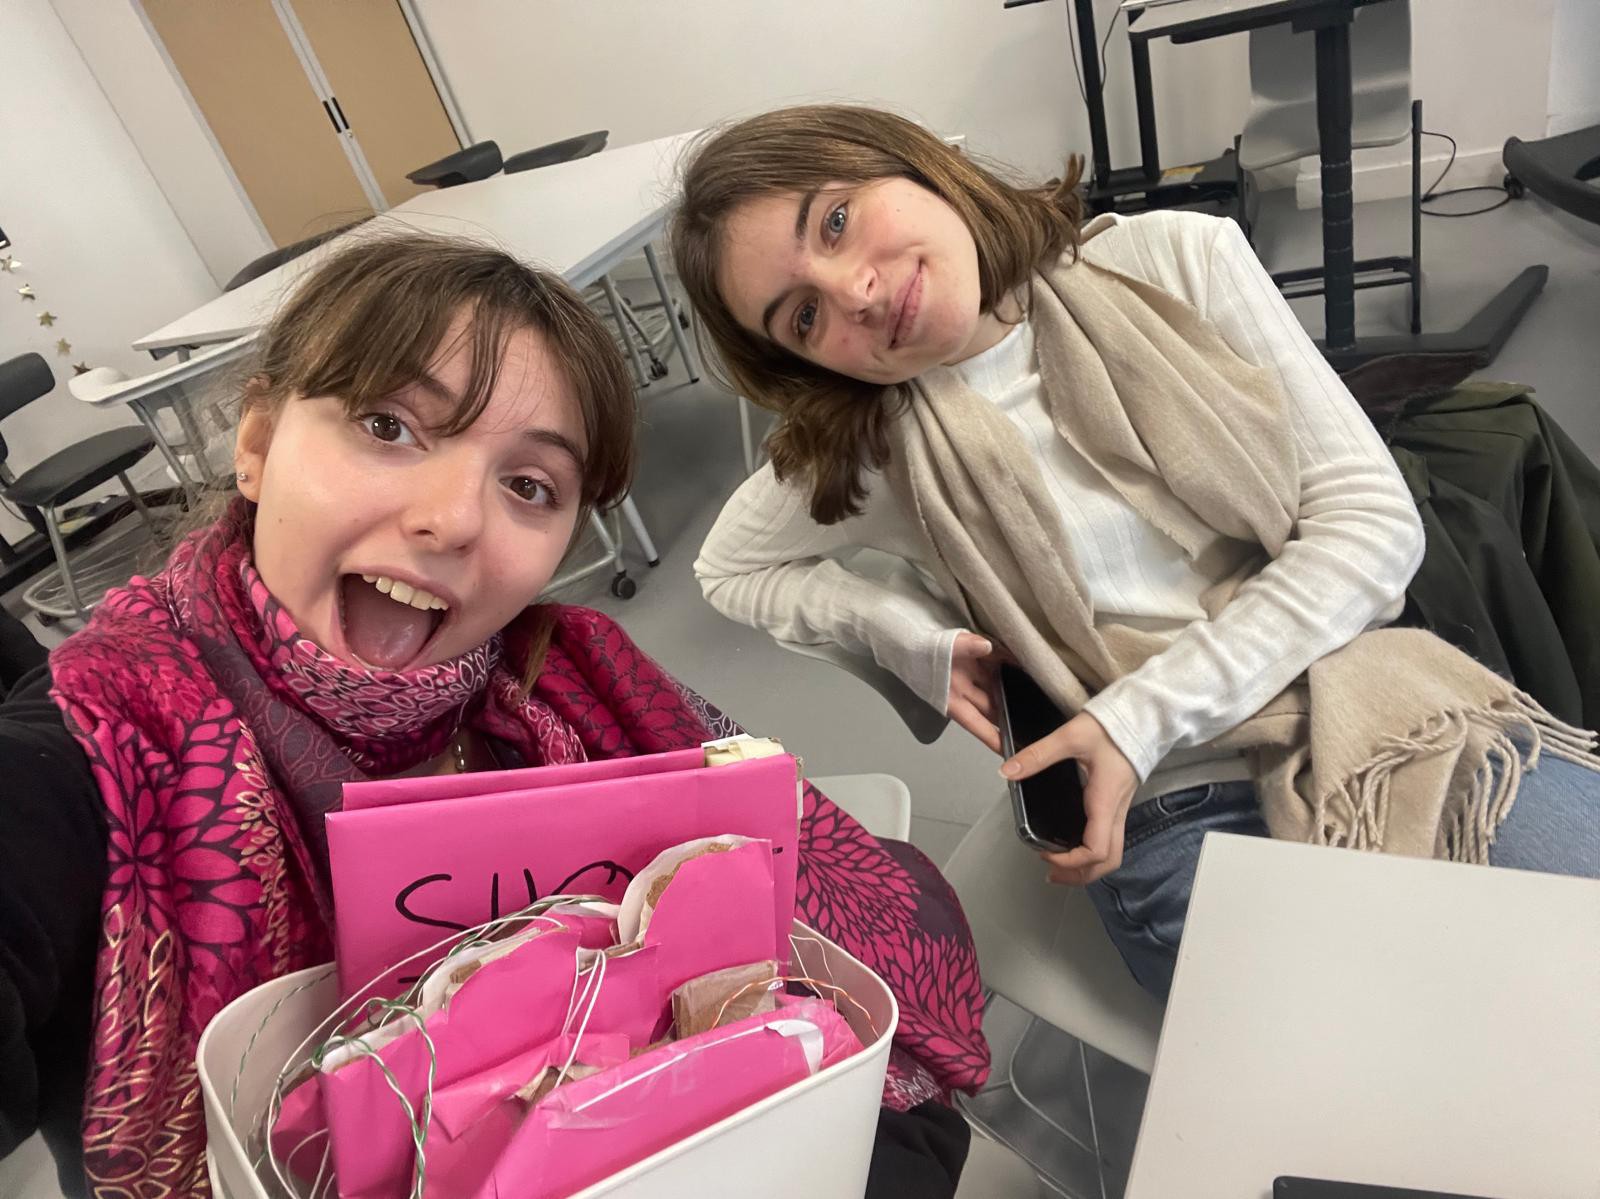
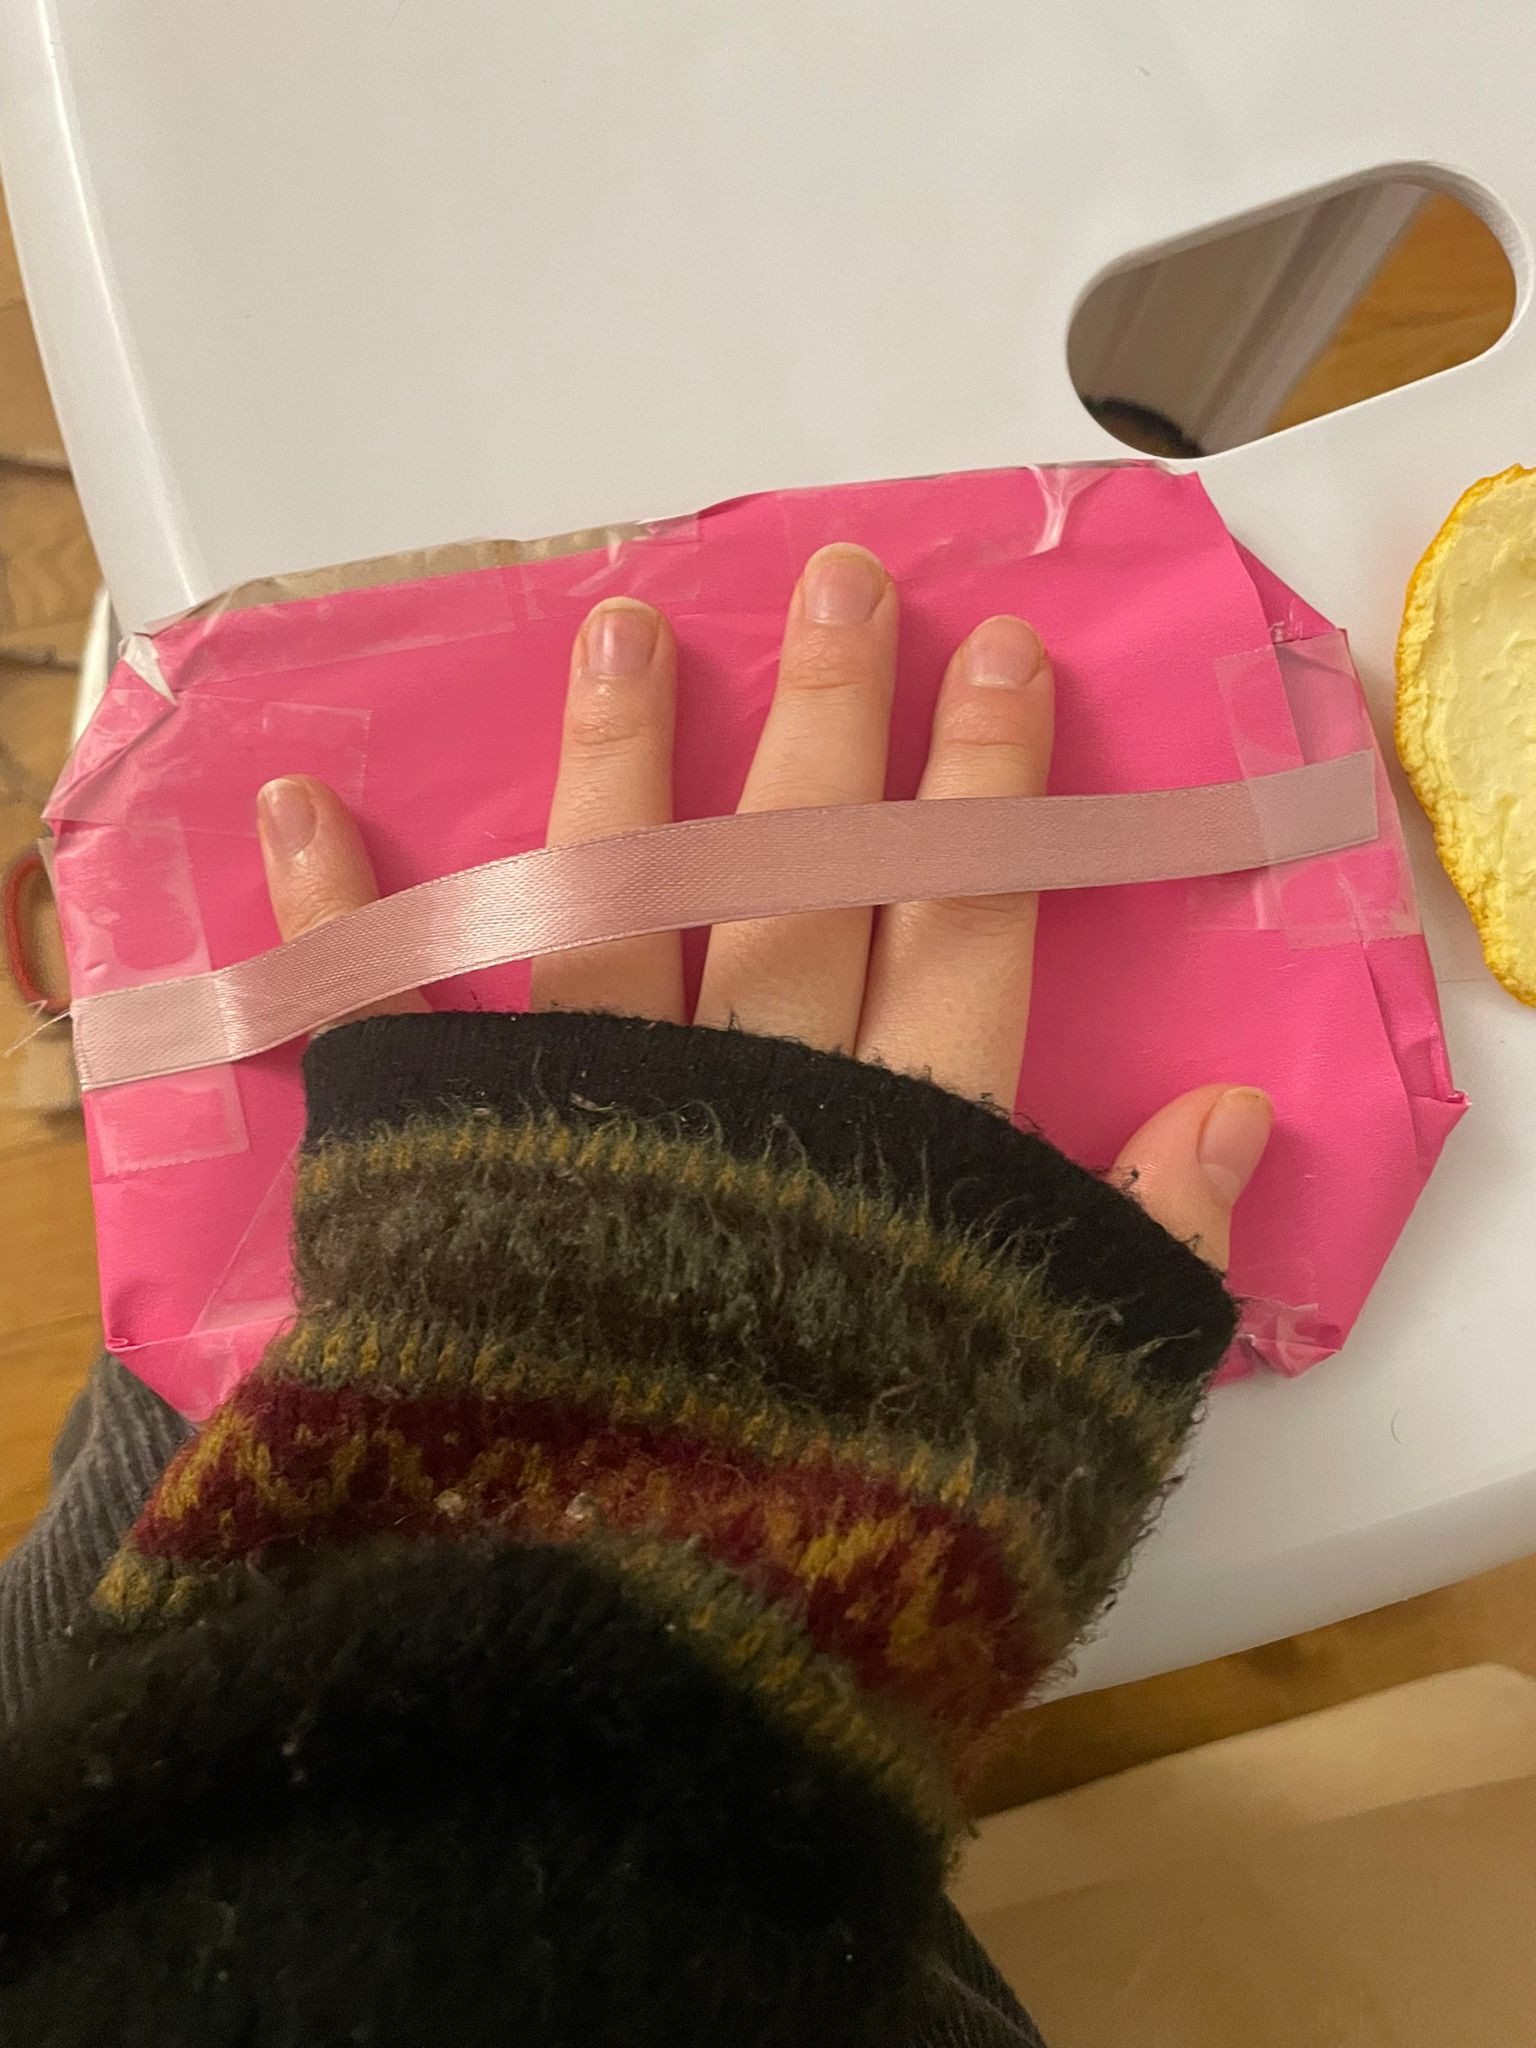
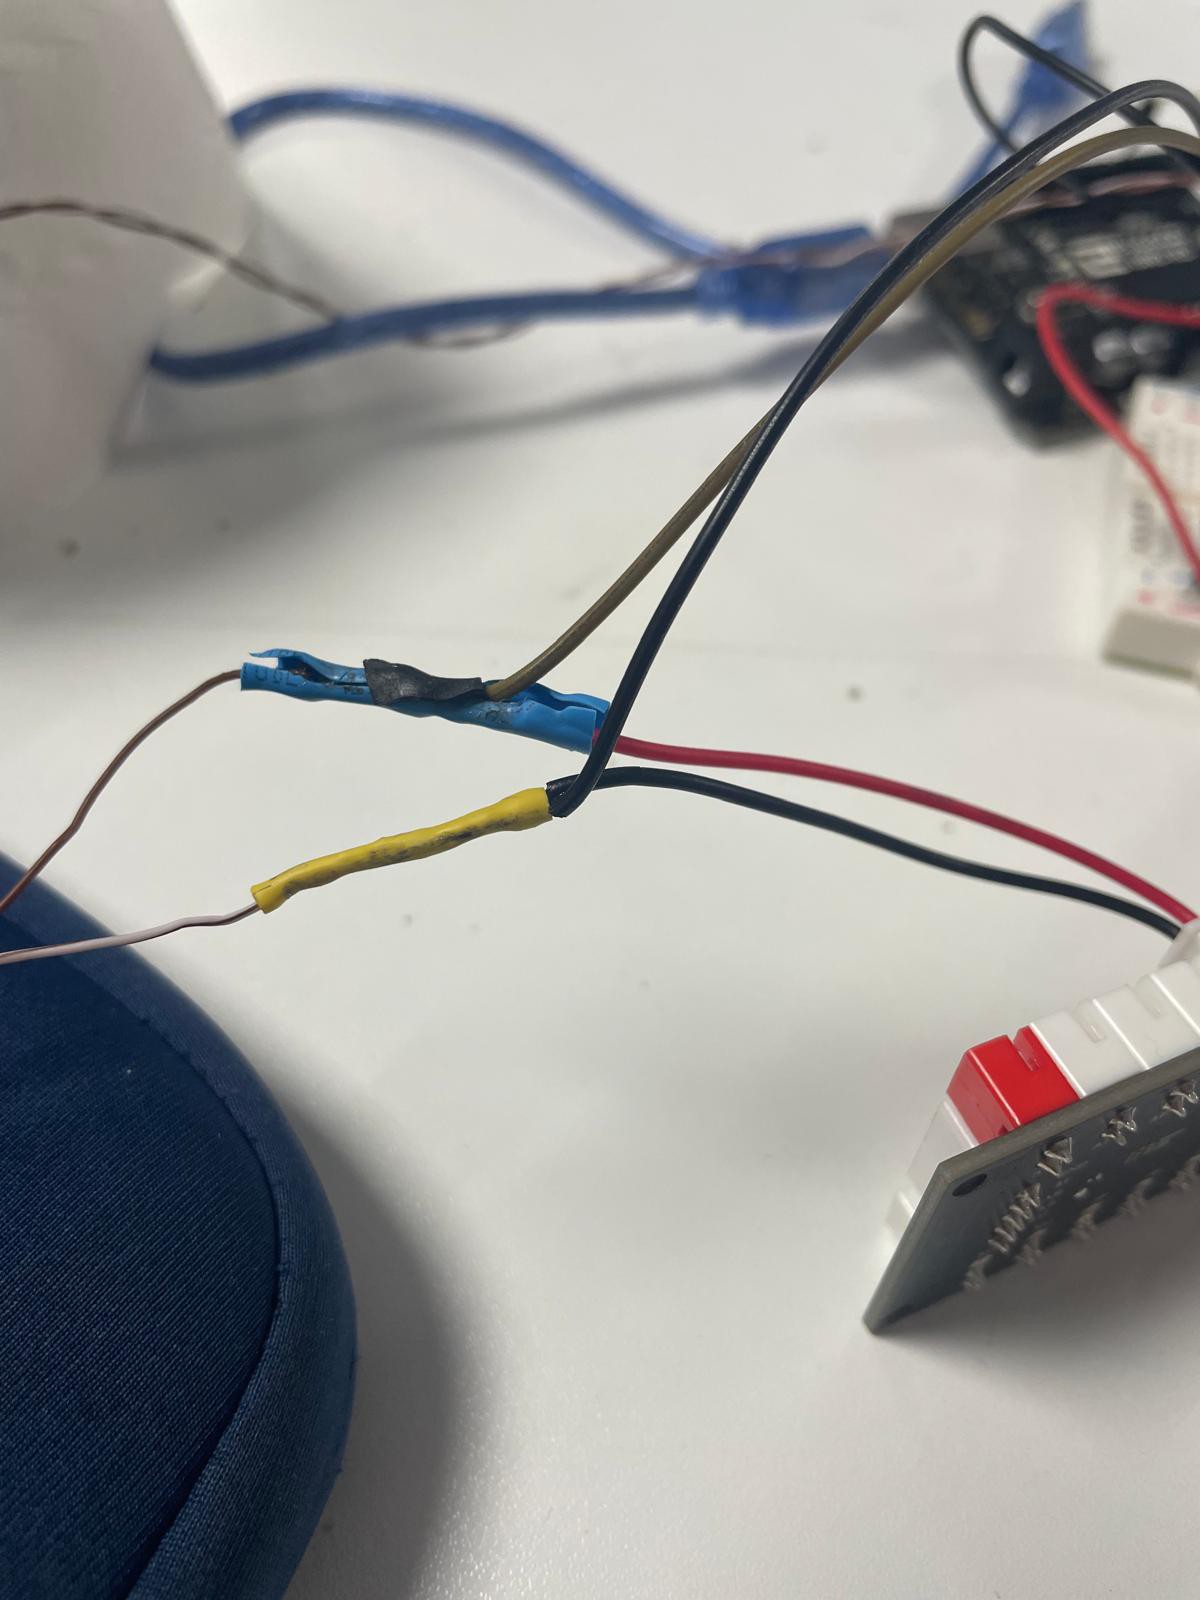
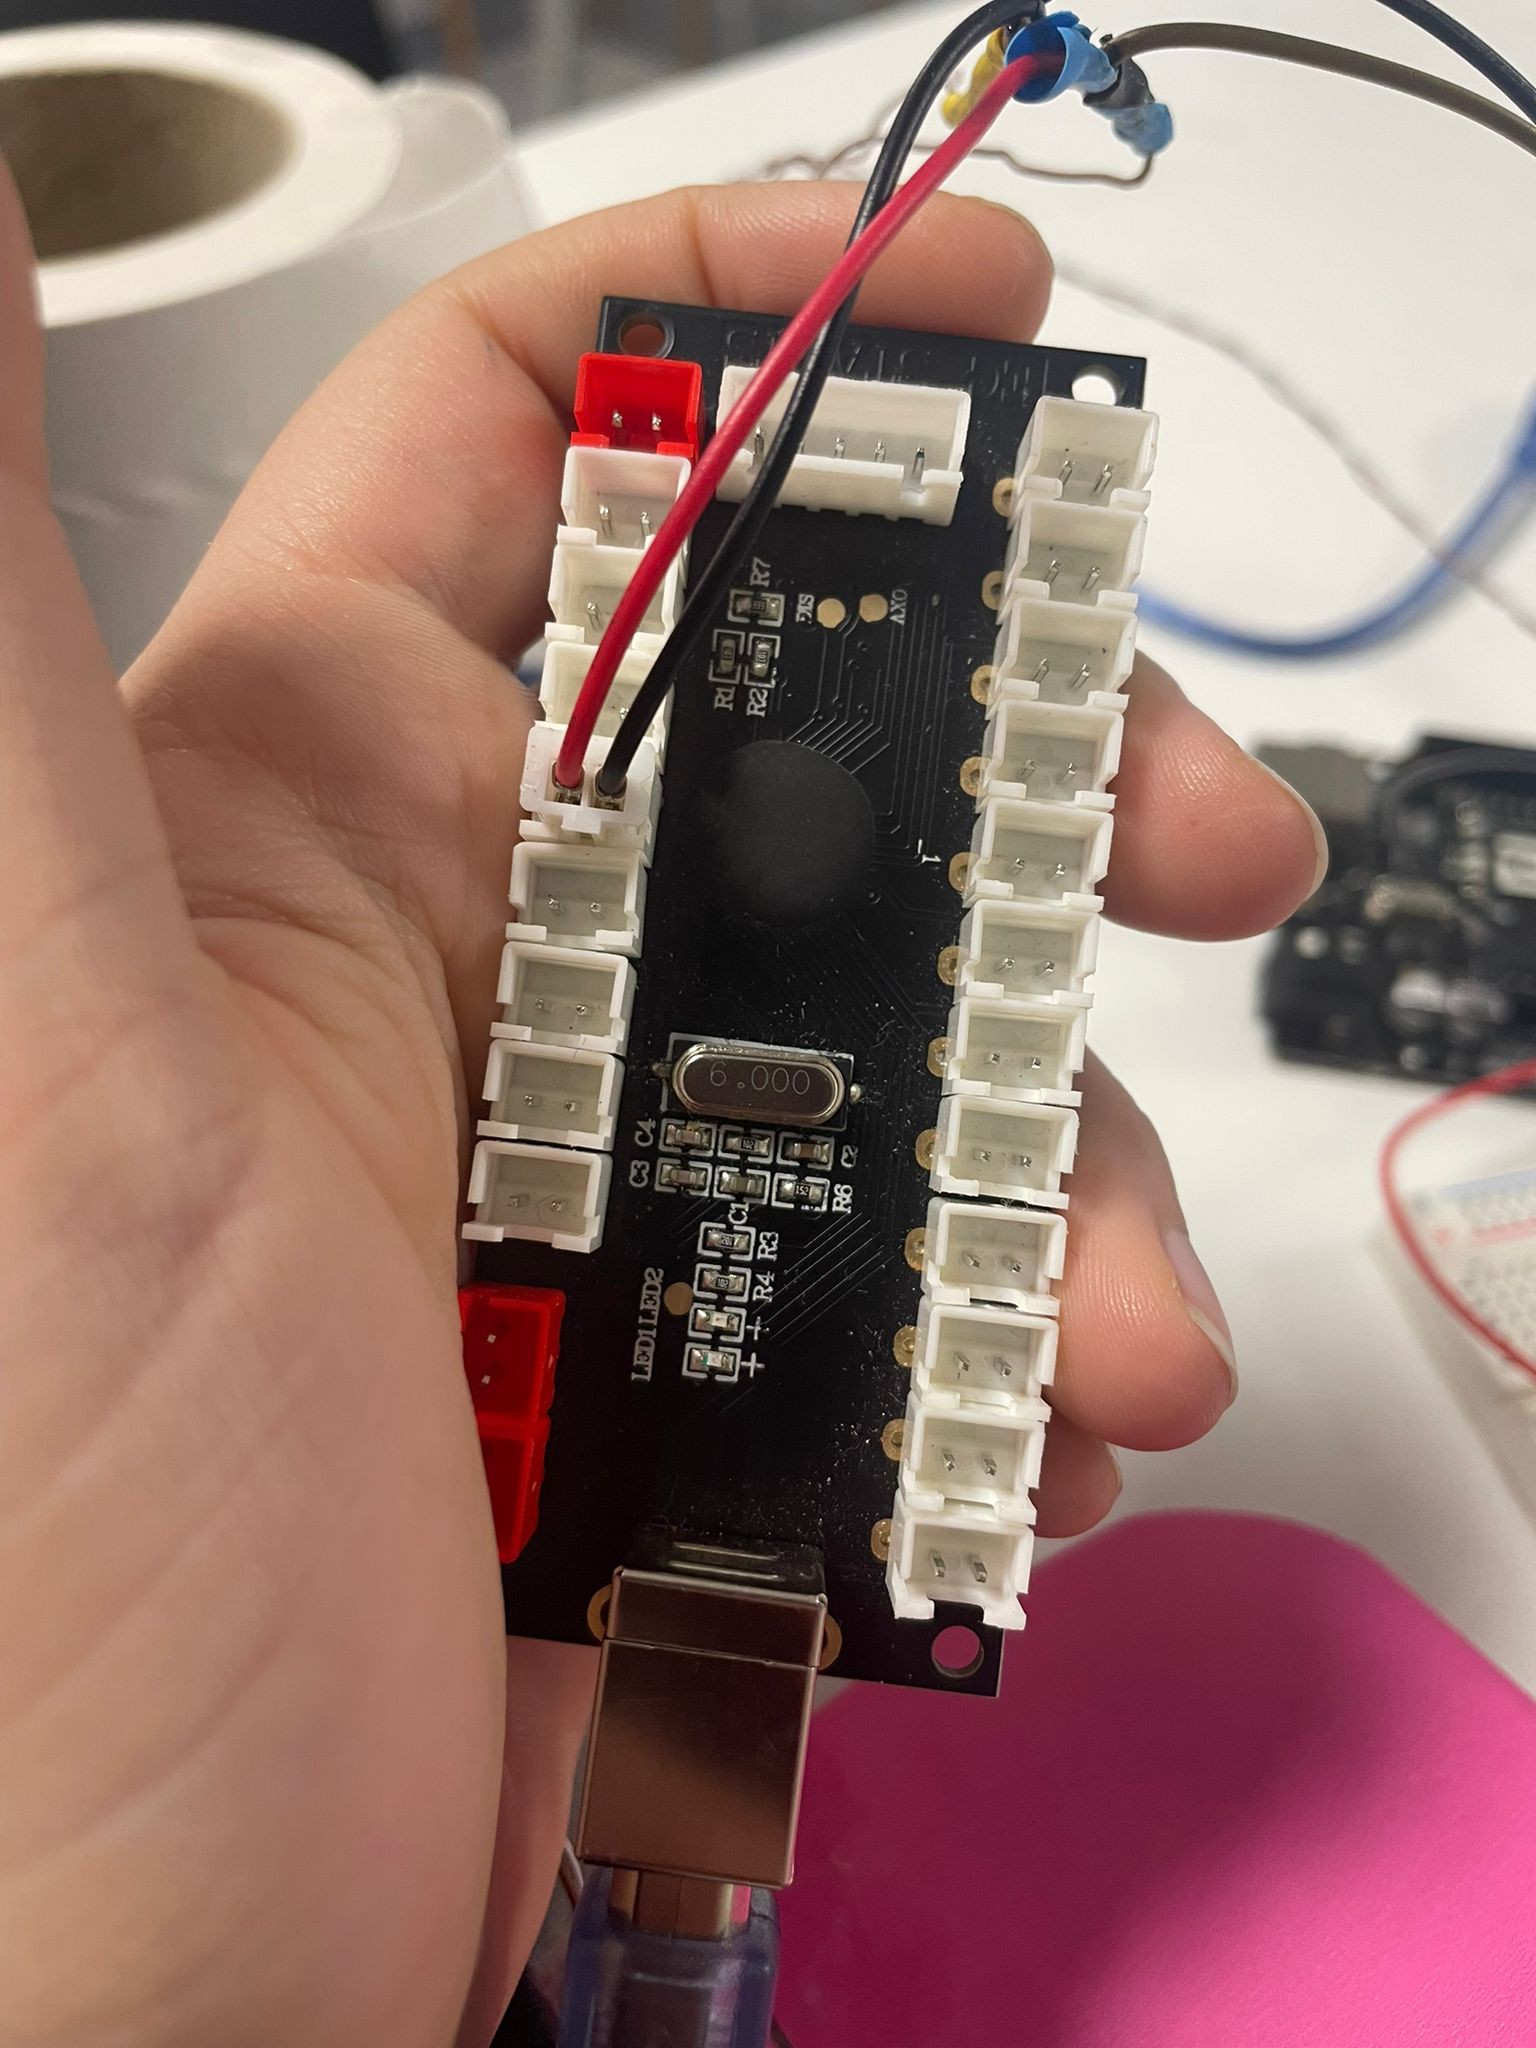
The Dance Dance Revolution project was part of the international program at ESME engineering school, guided by Mr. Vladimir HERMAND and Mr. Vincent ROGER. The objective of the course was to inspire innovation and creativity while applying our knowledge of Arduino or similar technologies.
This semester’s challenge was to design a game controller for a selected video game. Through this project, we explored inventive solutions, collaborated as a team, and bridged theoretical knowledge with hands-on application, enhancing both our technical abilities and problem-solving skills.


 Astu
Astu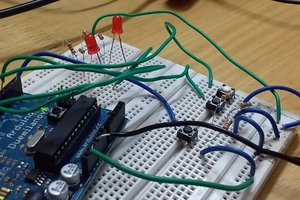
 Jayraj Desai
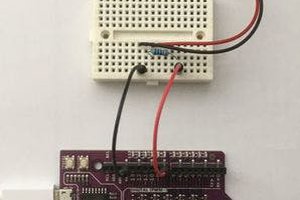
 Jeroen van der Velden