MangèleGOUNOUN
-
~monday 16th december~
12/16/2024 at 12:50 • 0 comments~monday 16th december~ ~Ovation~
Today is the day, we finally finish !!!
So the code of yesterday is working with the cymaballs, is not totally what we think it will sound but yeah it still does work and we are so happy.
here it is :
const int BUTTON_PIN = 7;   // Pin du bouton
const int BUZZER_PIN = 3;   // Pin du buzzer

void setup() {
  Serial.begin(9600);               // Initialisation de la communication série
  pinMode(BUTTON_PIN, INPUT_PULLUP); // Pin du bouton en mode entrée avec résistance interne
  pinMode(BUZZER_PIN, OUTPUT);      // Pin du buzzer en mode sortie
}

void loop() {
  int buttonState = digitalRead(BUTTON_PIN); // Lecture de l'état du bouton

  if (buttonState == LOW) { // Si le bouton est pressé (état LOW)
    Serial.println("Le bouton est pressé");
    playCymbals();  // Jouer le son des cymbales
  } else { // Si le bouton n'est pas pressé (état HIGH)
    Serial.println("Le bouton n'est pas pressé");
    noTone(BUZZER_PIN); // Arrêter le son du buzzer
  }
}

// Fonction pour simuler le son des cymbales
void playCymbals() {
  unsigned long totalDuration = 200; // Durée totale du son des cymbales en millisecondes
  unsigned long startTime = millis(); // Temps de début du son

  // Génération de fréquences aléatoires pour simuler le son des cymbales
  while (millis() - startTime < totalDuration) {
    int freq = random(3000, 8000);       // Fréquences aiguës entre 3 kHz et 8 kHz
    int noteDuration = random(10, 50);   // Durées courtes des notes entre 10 et 50 ms
    tone(BUZZER_PIN, freq, noteDuration); // Jouer la note
    delay(noteDuration); // Attente avant de jouer la prochaine note
  }

  noTone(BUZZER_PIN); // Arrêter le son une fois la durée écoulée
}
Then we also finished the instructions, we hope it will help you if you want to do the same haha.
So here are some pictures of our project:
![]()
![]()
![]()
![]()
![]()
we are really thankfull on your investement in our project thankk yooouuuu <3
-
~sunday 15th december~
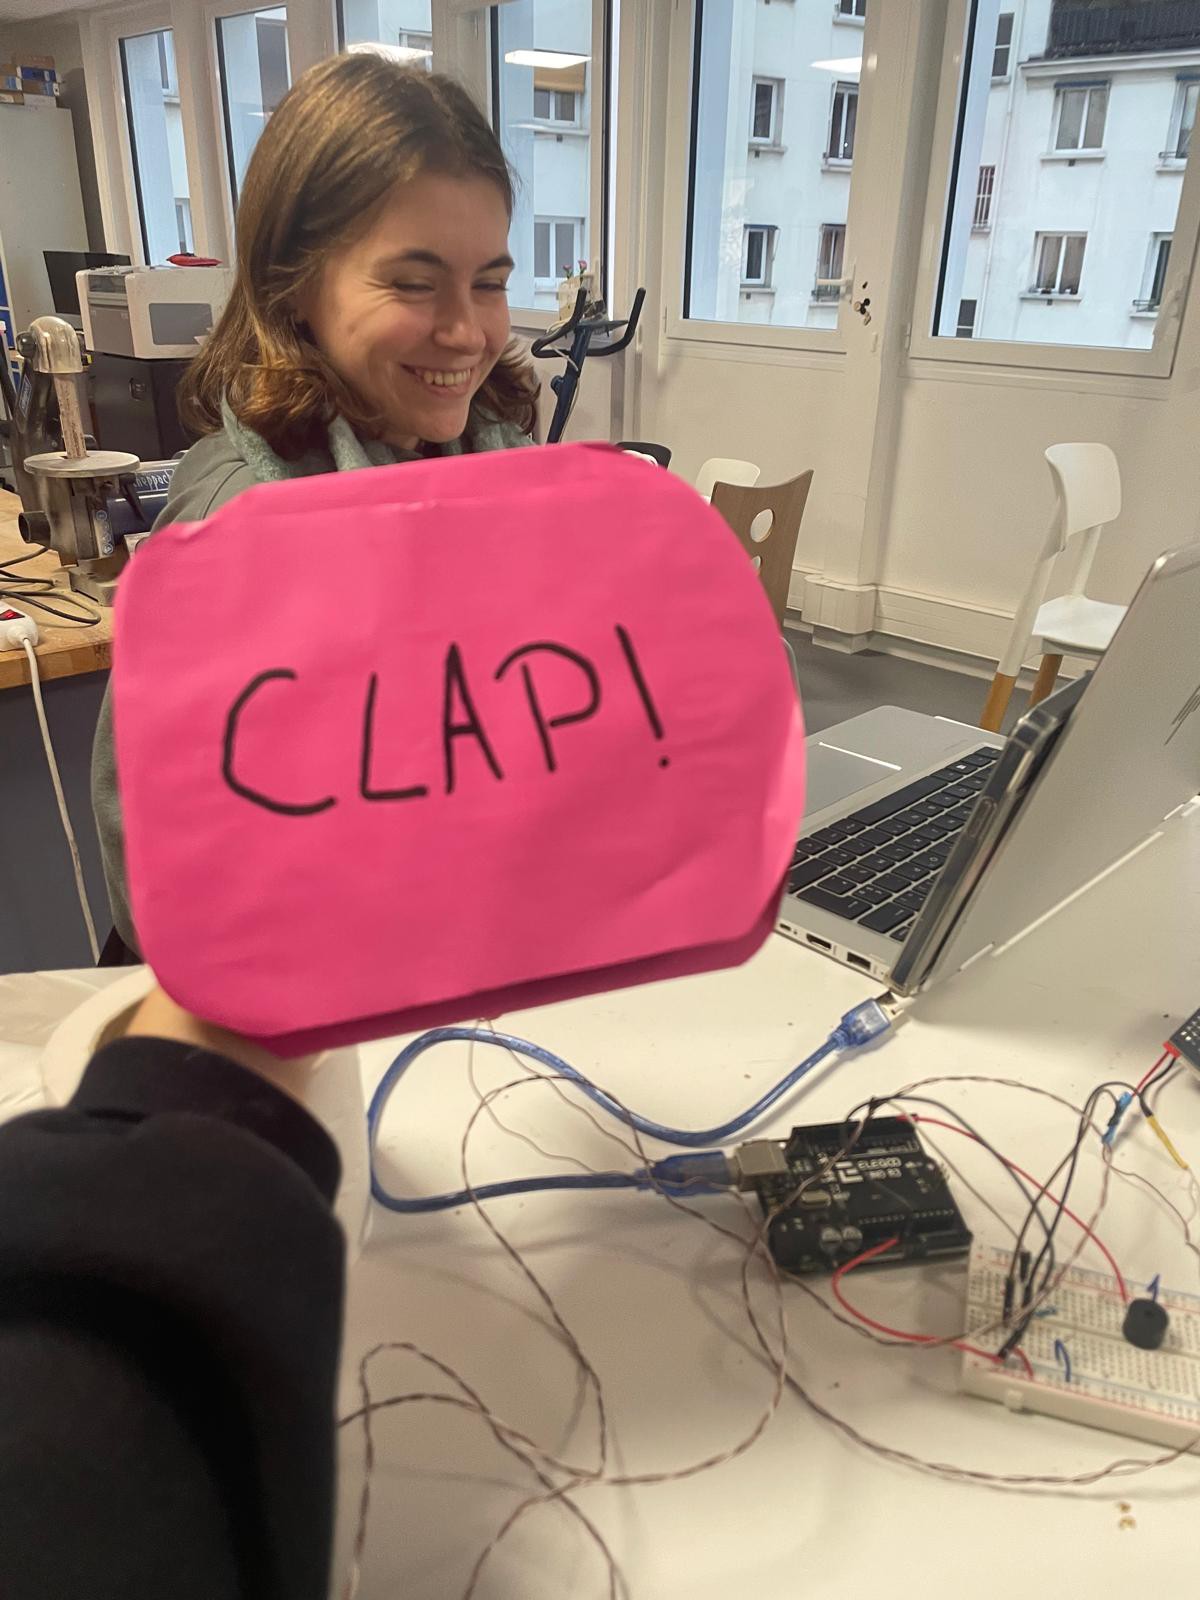
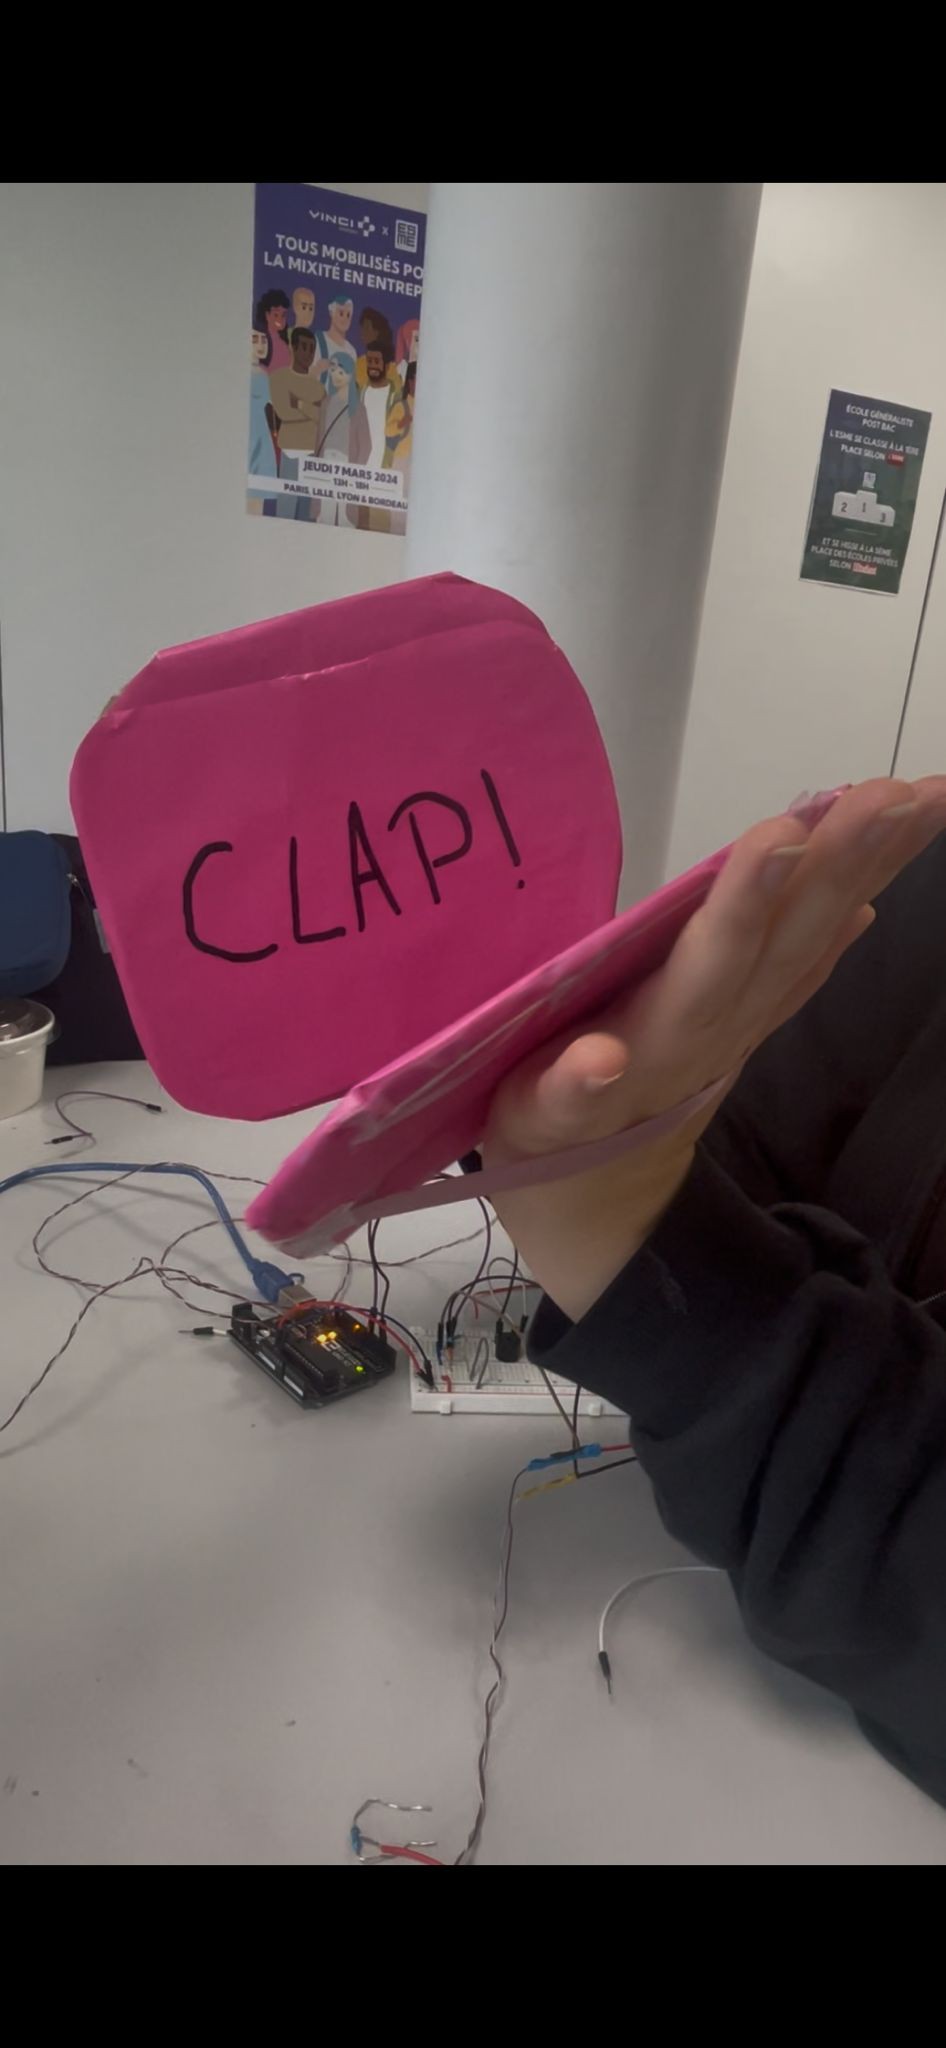
12/15/2024 at 22:23 • 0 comments~sunday 15th december~ ~Cymballs Claps~
Today I did finalise the researchs about how to reproduce the cymballs noise on Arduino, I did found it without using an MP3 Arduino's reader however it is not perfect, cymables noise is specifc and very large at the same time.
I did conclude on this code:
const int buzzerPin = 9; // Pin du buzzer

void setup() {
  pinMode(buzzerPin, OUTPUT);
}

void loop() {
  playCymbals();
  delay(2000); // Pause entre les sons
}

void playCymbals() {
  // Durée totale du son des cymbales
  unsigned long totalDuration = 200; // en millisecondes
  unsigned long startTime = millis();

  // Génération de fréquences aléatoires pour simuler le son des cymbales
  while (millis() - startTime < totalDuration) {
    int freq = random(3000, 8000);       // Fréquences aiguës (3 kHz à 8 kHz)
    int noteDuration = random(10, 50);  // Durées courtes (10 à 50 ms)
    tone(buzzerPin, freq, noteDuration);
    delay(noteDuration); // Attente avant le prochain son
  }

  // Stopper le son après la durée totale
  noTone(buzzerPin);
}
It will produces random acute notes of random duration to be as close as the one of cymballs.
Manon finished the instruction about how to recreate our projet, we'll just change some small things.
Moreover I finally did the other cymballs for our project it has been over 3 weeks that we needed to do this last touch and so now id good.
![]()
Tomorrow is the eve of our final presentation, we will upload some photos of our finals project and maybe a video. + maybe we add another small detail as a bonus who knows...
-
~thursday 12th december~
12/12/2024 at 14:48 • 0 comments~thursday 12th december~ ~Last days~
Manon and I met at the FabLab to finalize our project.
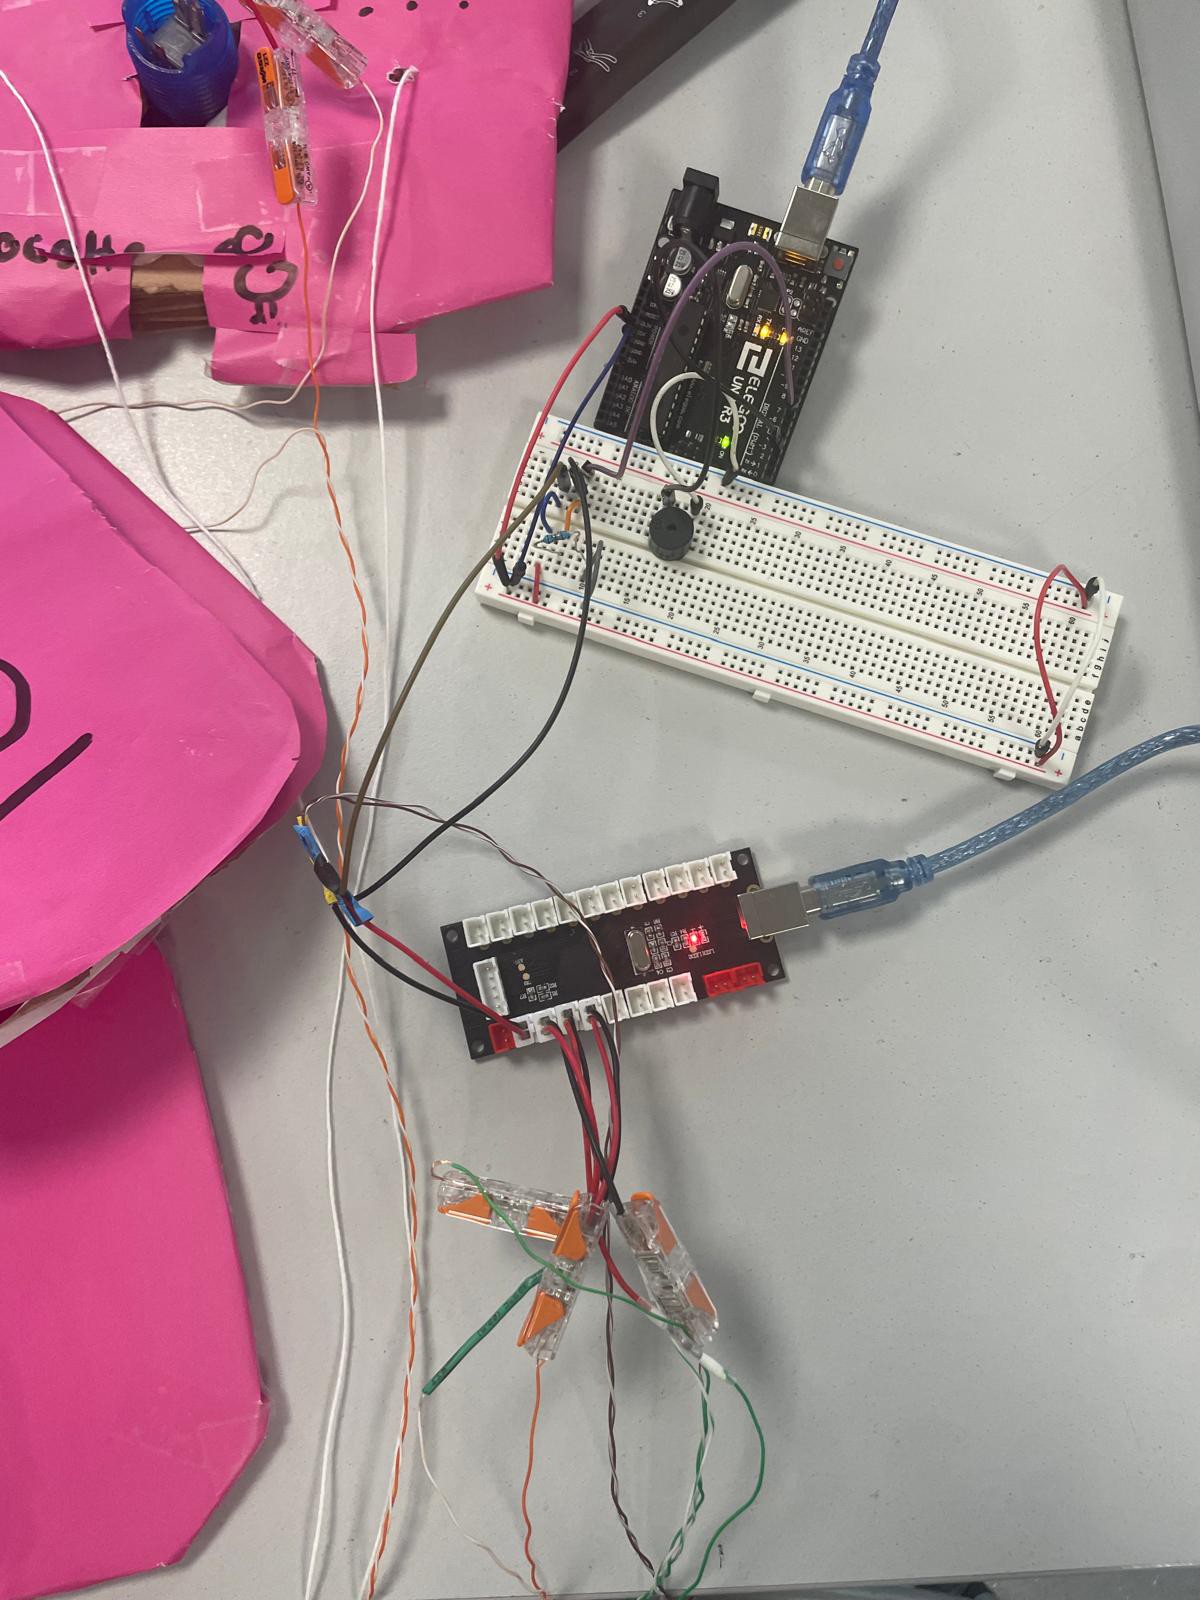
Today the goal was to make the Arduino part work, last time did not went the best so we needed to catch up We did in final sucess to program with our computers and we have so now our new code that when we buzzing our button it is producing a sound.
the code:
// Définir la broche utilisée pour le buzzer
const int pinBuzzer = 8;

void setup() {
  // Initialiser la communication série pour envoyer des messages au PC
  Serial.begin(9600);

  // Configurer la broche du buzzer en sortie
  pinMode(pinBuzzer, OUTPUT);
}

void loop() {
  // Activer le buzzer
  digitalWrite(pinBuzzer, HIGH);
  Serial.println("Le buzzer devrait émettre un son !");
  delay(500); // Jouer le son pendant 500 millisecondes

  // Désactiver le buzzer
  digitalWrite(pinBuzzer, LOW);
  Serial.println("Le buzzer est silencieux.");
  delay(500); // Pause avant le prochain son
}
However the code is working it does produce an horrible noise, like a strident sound. Then we decide to do research about how to change the sound produce on arduino and do it next time.
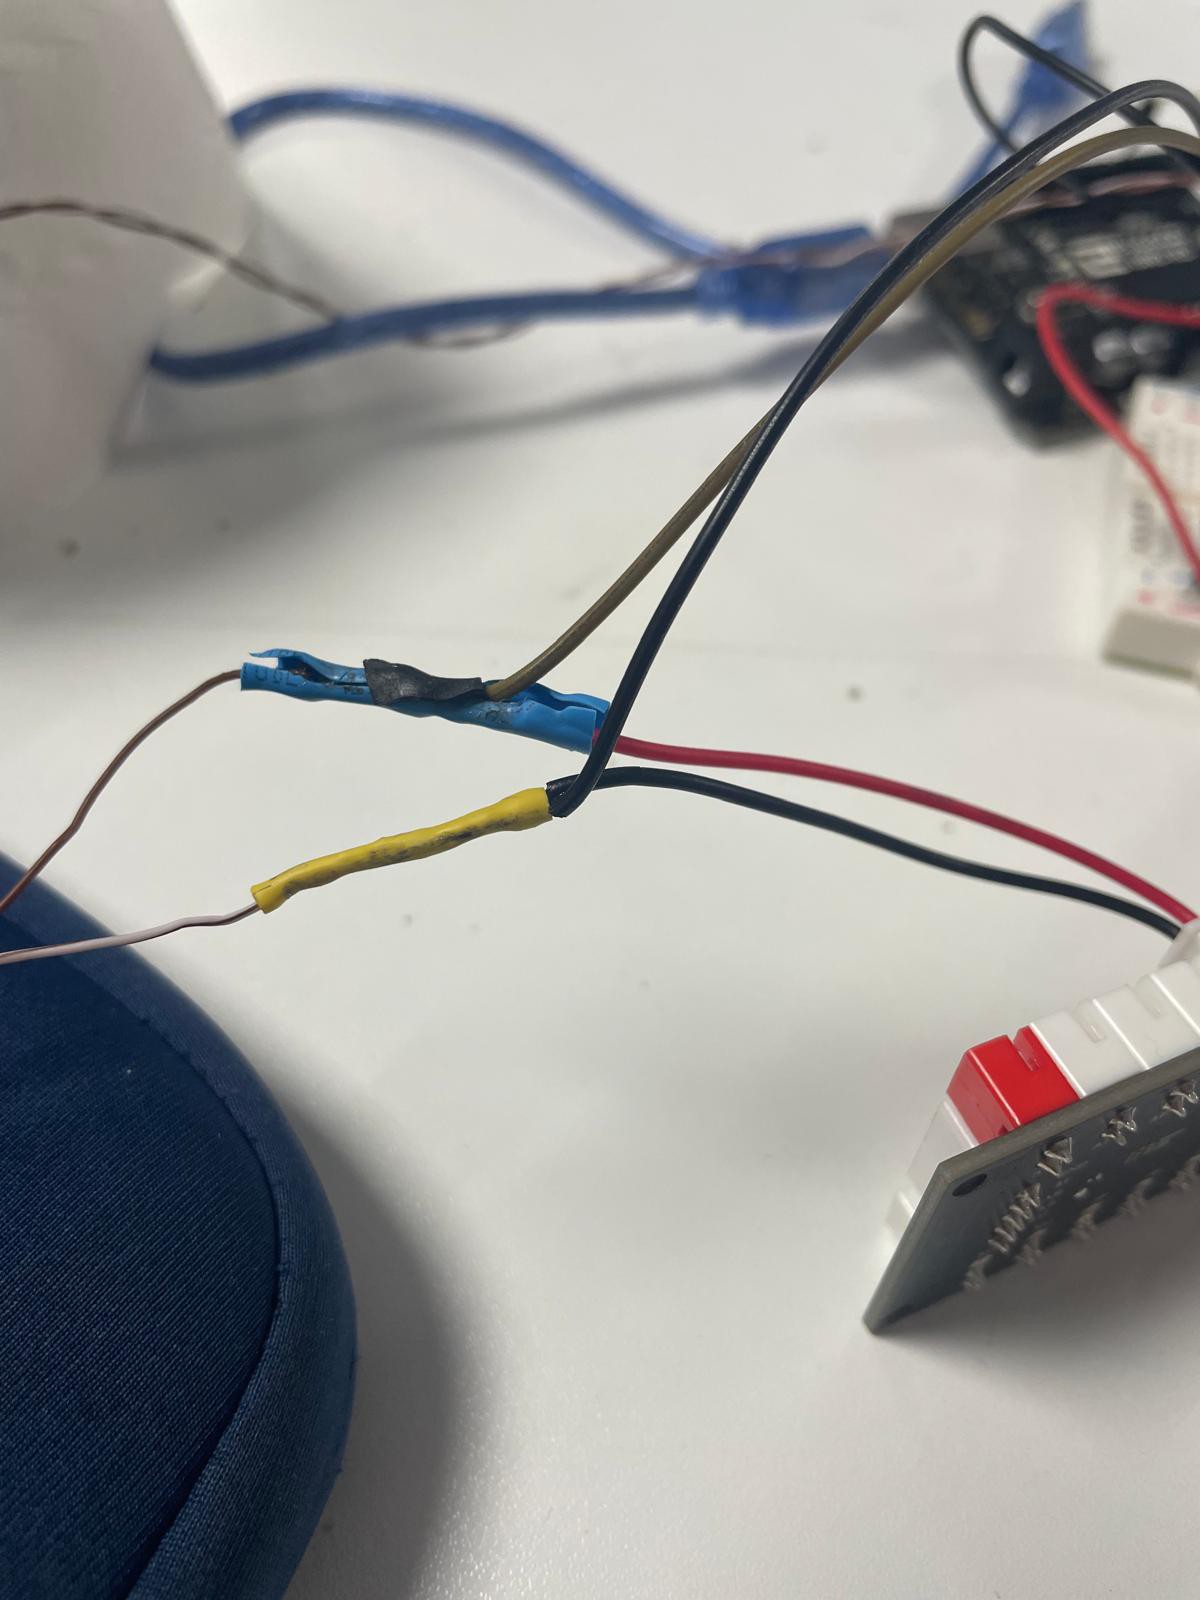
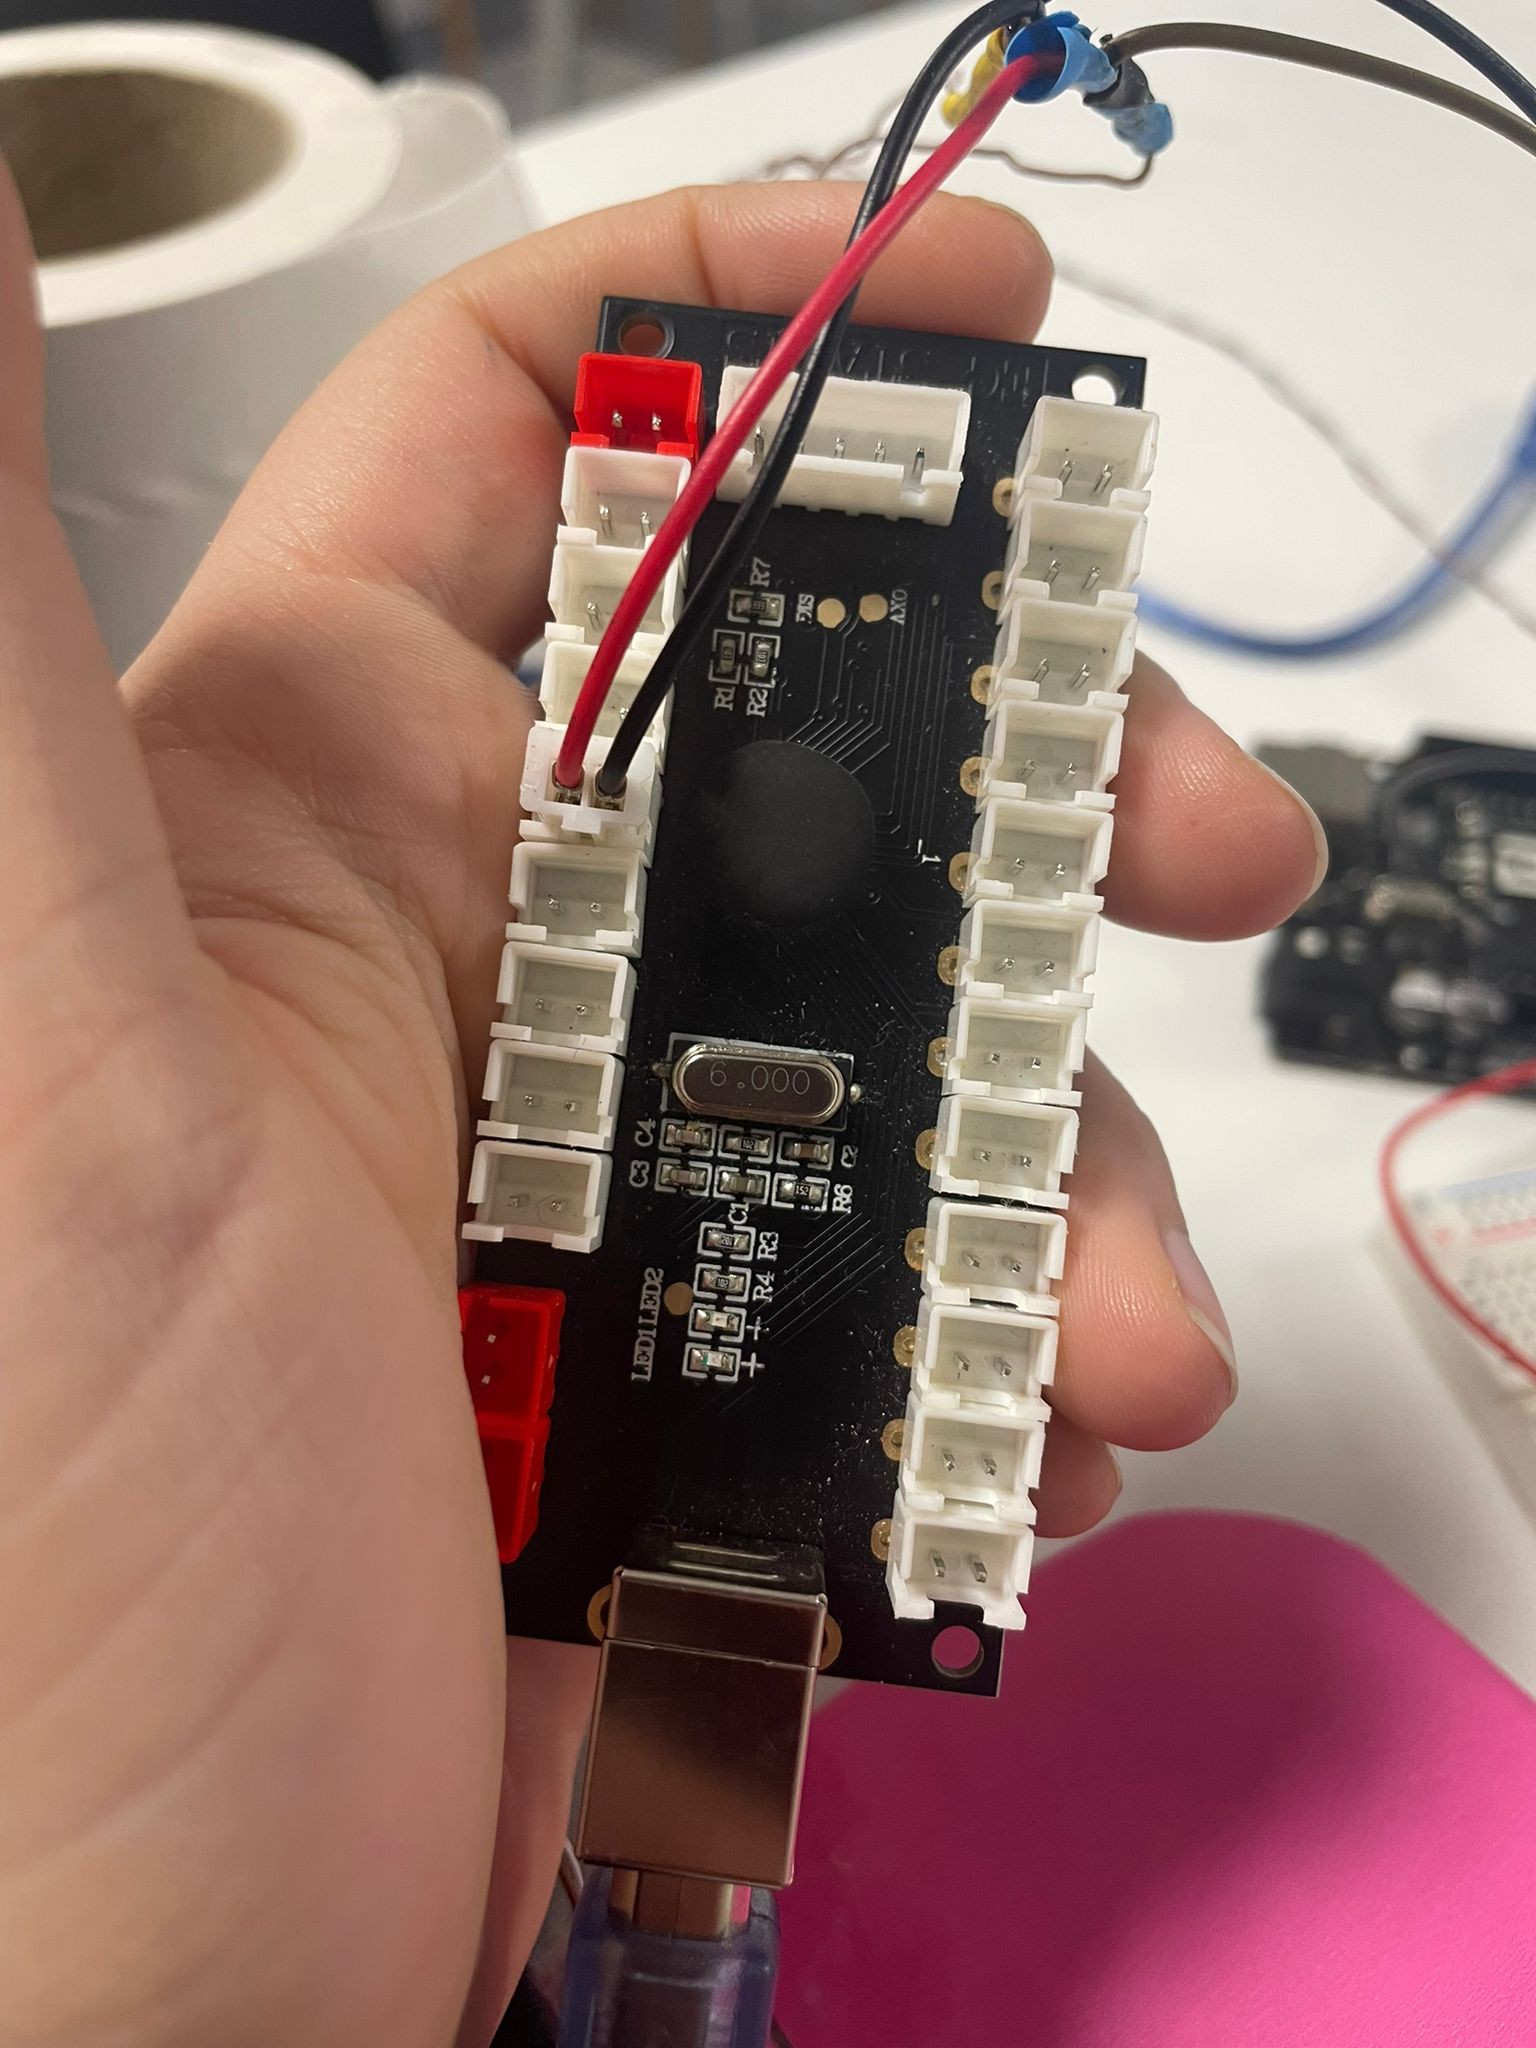
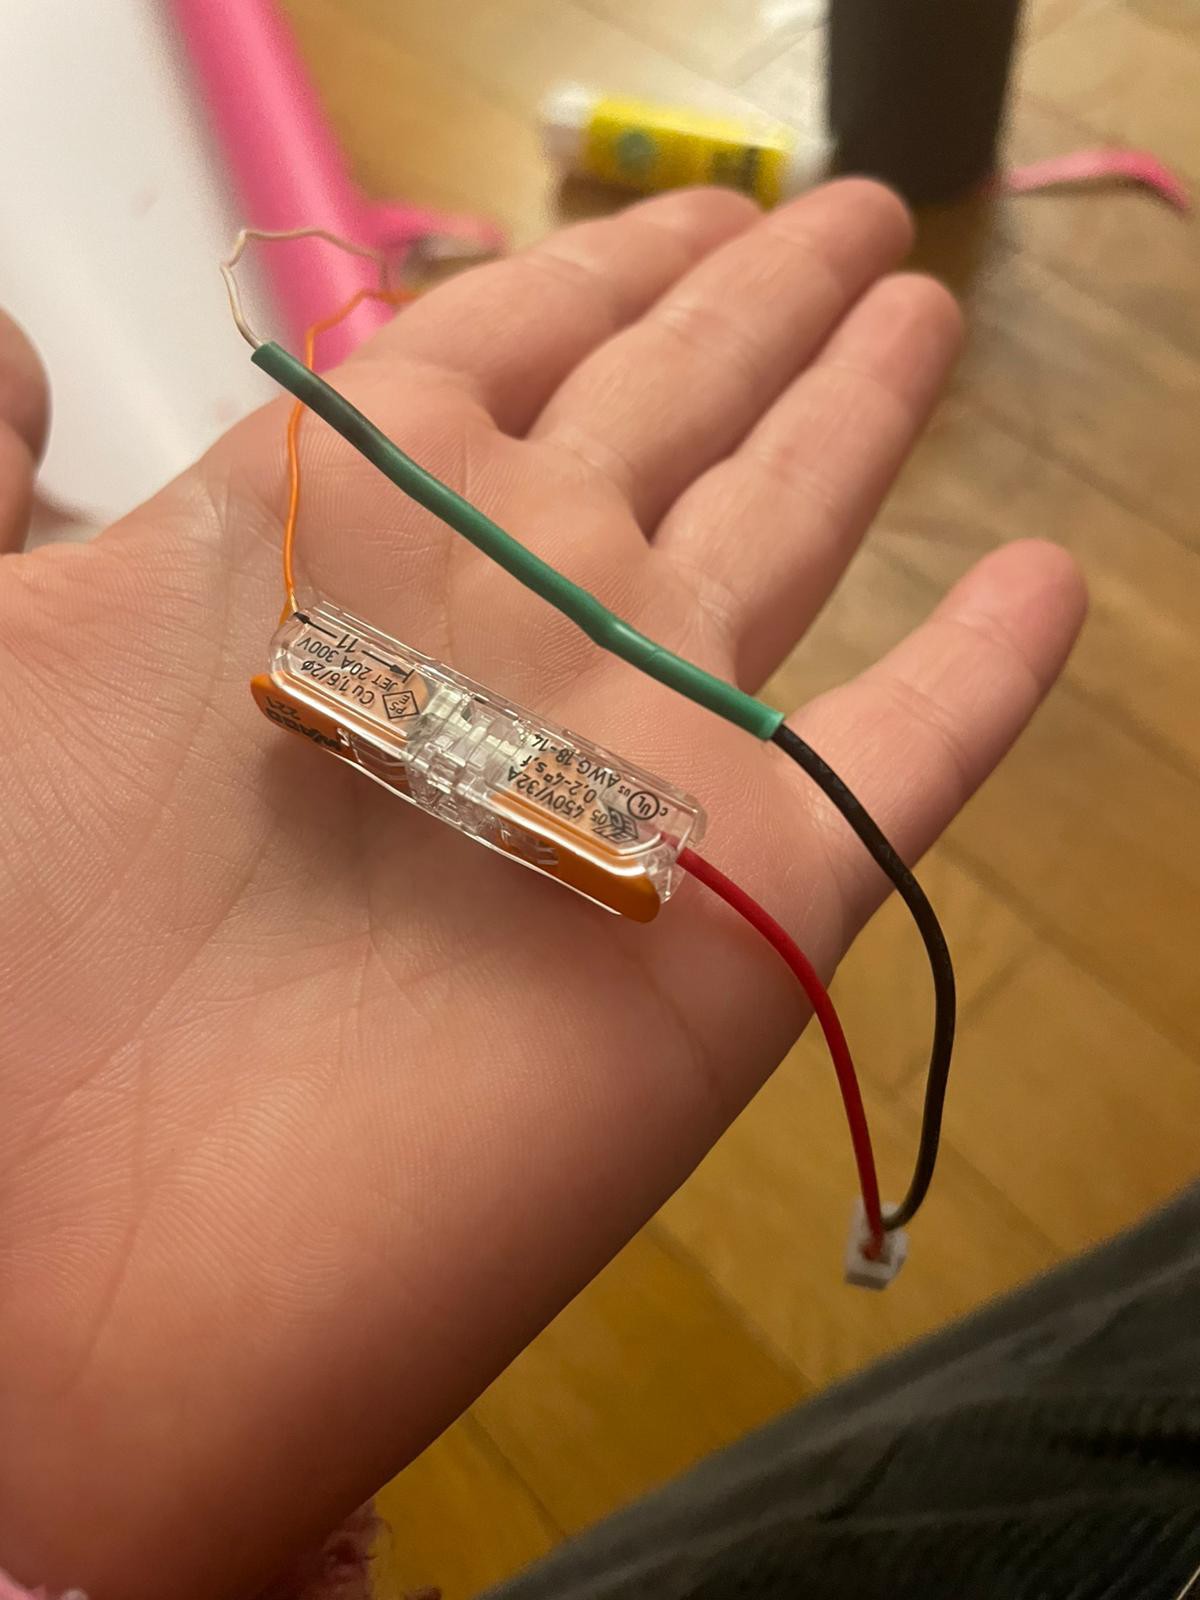
Moreover, we did solder again the wires, needed a parralel circuit so we dedoubled our wires like here:
![]()
Then we faced some trouble using Arduino and JoyToKey at the same time, the buzzer coudl not stopped the sound after we plugged it to JoyToKey too. In fact it was a problem about the type of current we had in JoyToKey. We plugged it in a continuous current and not an analogic current. (the one that was need). But now it is okay our button board had to ype of current so it is perfect.
![]()
Next time we meet we will do the change of sound in arduino !
-
~tuesday 10th december~
12/11/2024 at 09:44 • 0 comments~tuesday 10 december~ ~Fail?~
Our goal for today was finishing arduino however it did not went the way we wanted. We learnt that the suldier for our wires needed to be redone (we need to do a parralels circuit) but we couldn't accessed to it, others groups were using it. Then with Angèle we need to go when we dont have class to the fab lab (the lab where we do our projects) to suldier it.
Moreover we tried in 3 HOURS so many codes for our buzzers to work, it never worked. Because of what ? our computers. We lost so many times thinking it wasn't good but it was just our computers cause when we tried the same code with same materials it did work. Then at an other time we need to meet Angèle and I to finish our code.
We don't have enough hope on that project finally comparing to other it is not nice, but thanks to our first follower beleive in us.
No worries we do not give up just our moral is affect.
is it our code:
// Définir la broche utilisée pour le buzzer

const int pinBuzzer = 8;

void setup() {
  // Initialiser la communication série pour envoyer des messages au PC
  Serial.begin(9600);
  // Configurer la broche du buzzer en sortie
  pinMode(pinBuzzer, OUTPUT);
}

void loop() {
  // Activer le buzzer
  digitalWrite(pinBuzzer, HIGH);
  Serial.println("Le buzzer devrait émettre un son !");
  delay(500); // Jouer le son pendant 500 millisecondes
  // Désactiver le buzzer
  digitalWrite(pinBuzzer, LOW);
  Serial.println("Le buzzer est silencieux.");
  delay(500); // Pause avant le prochain son
}
EDIT: Angèle writting:
I went to the pharmacie this tuesday and the guy was really into our project so it did affect me in a positive way.
-
~saturday 7th decemeber~
12/11/2024 at 09:30 • 0 comments~saturday 7th decemeber~ ~Make up~
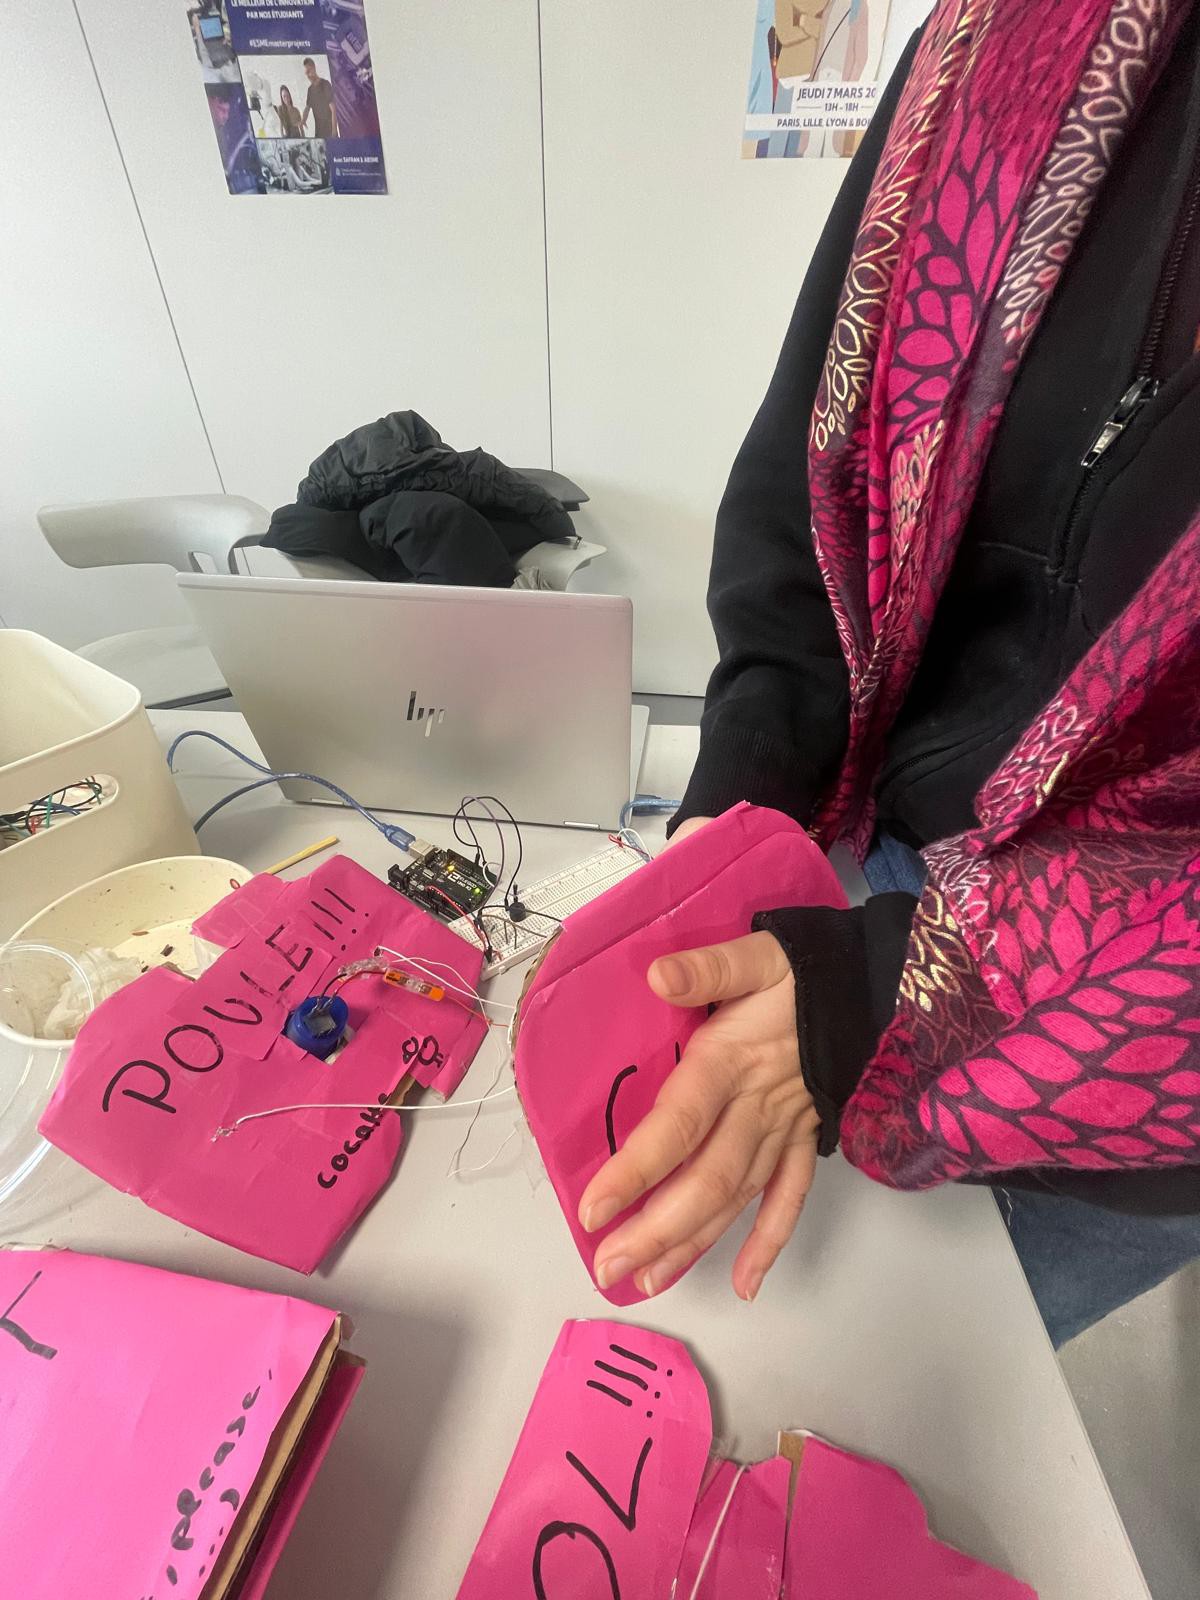
So today manon came at my house and we were supposed to decorate and code our project so that next tuesday it is only the detail.
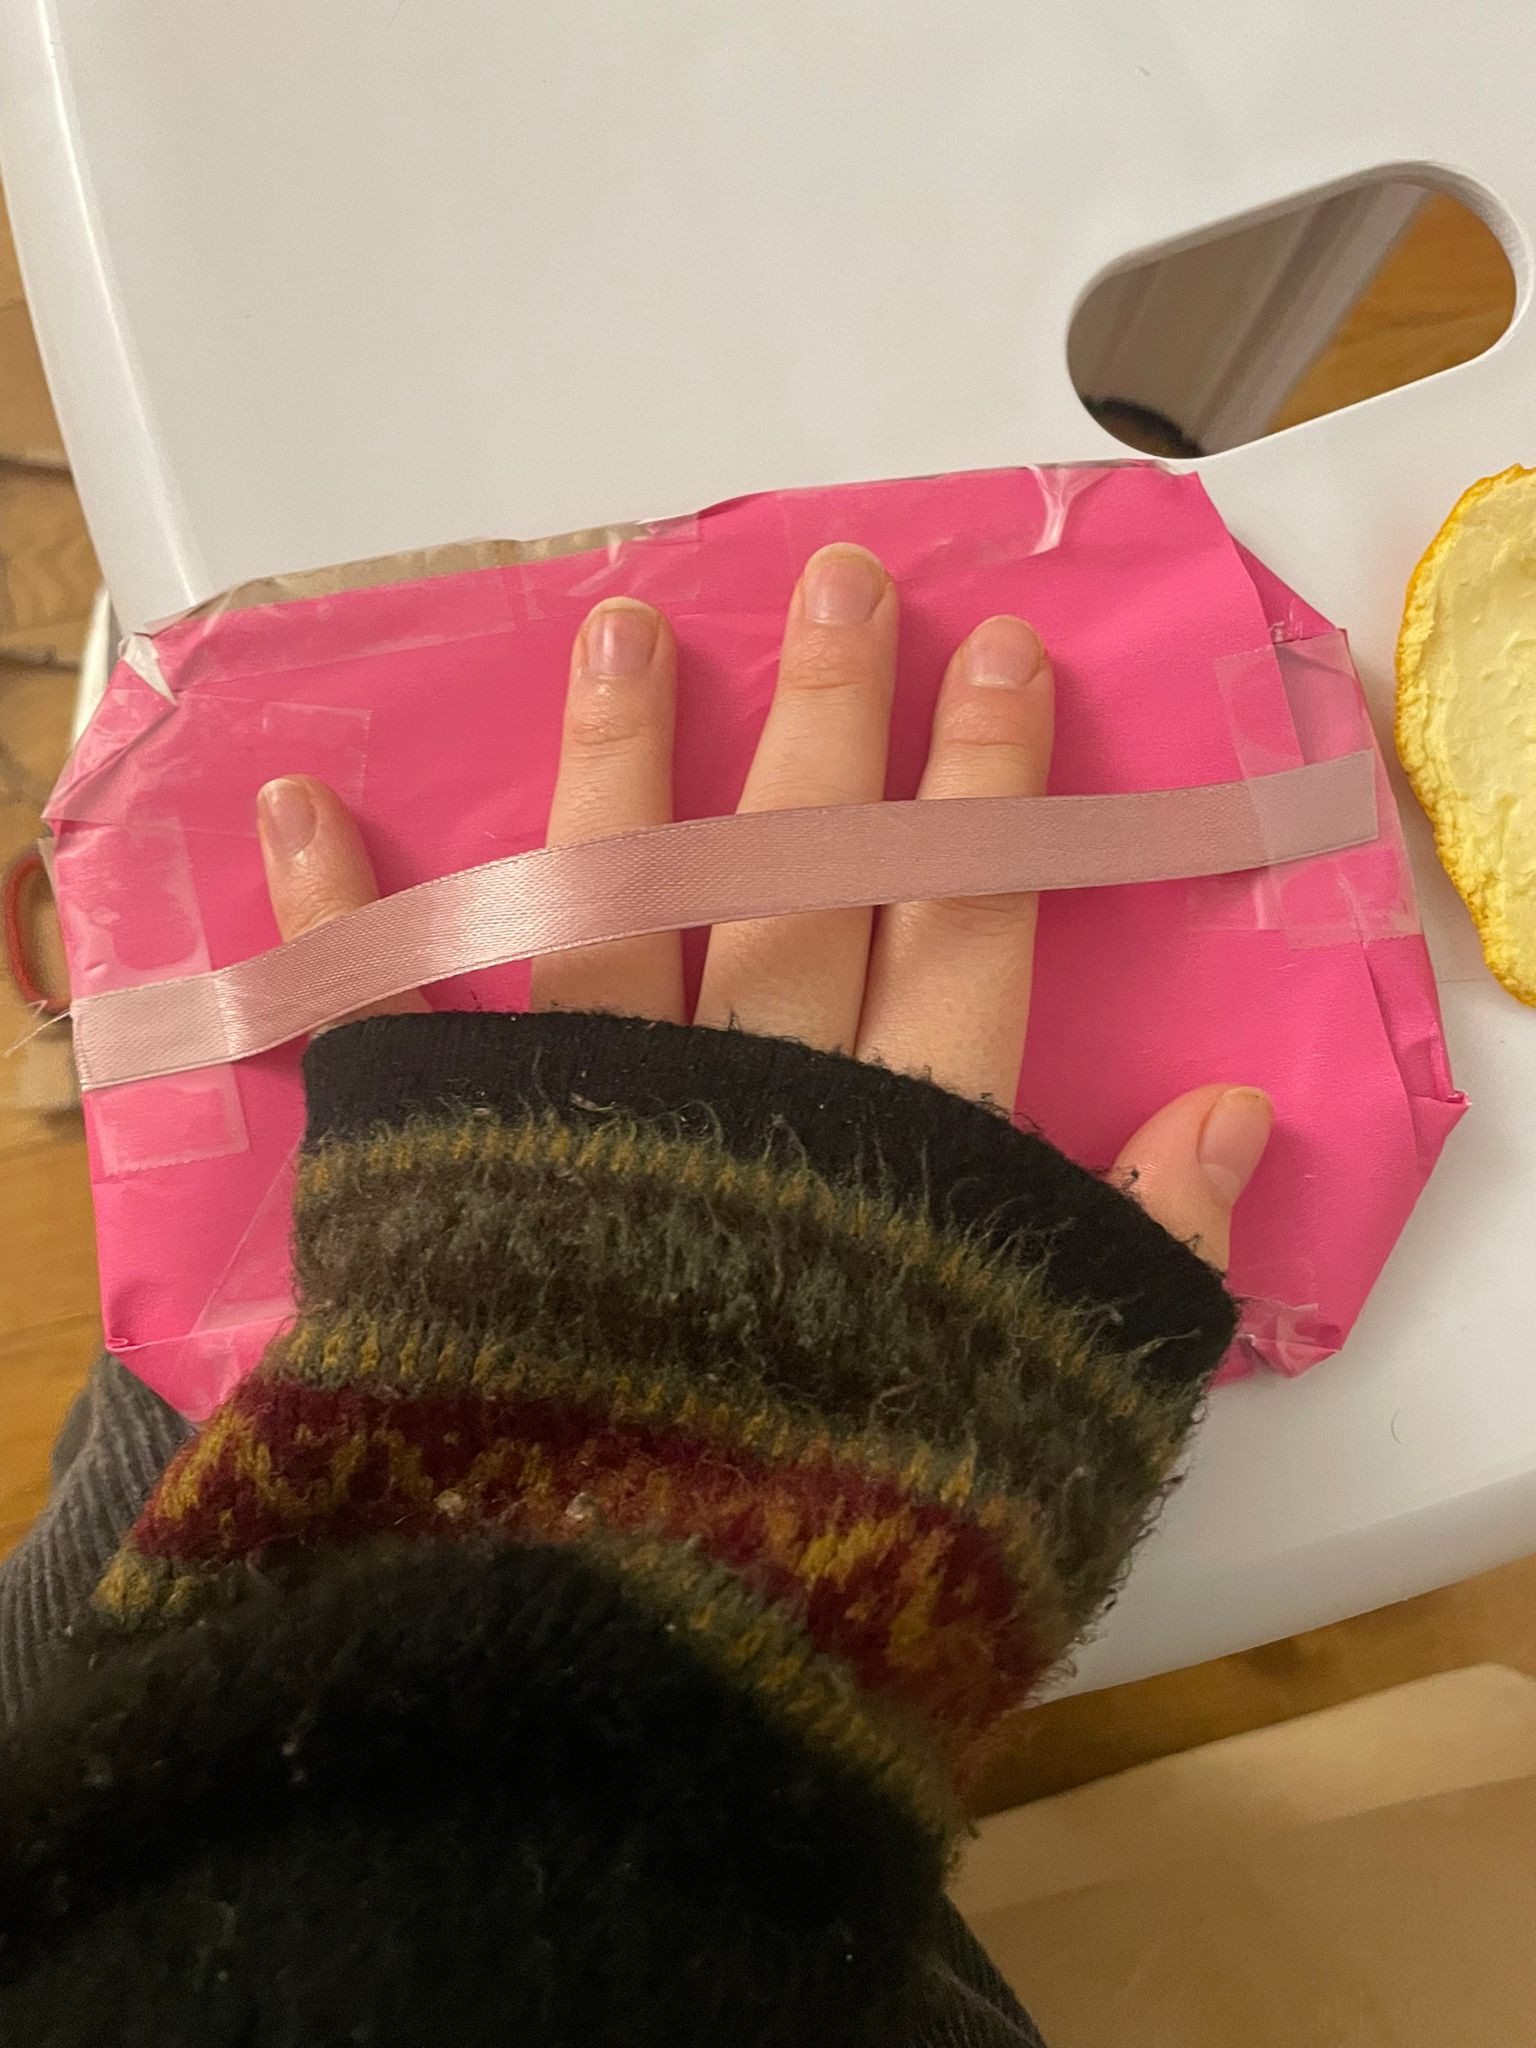
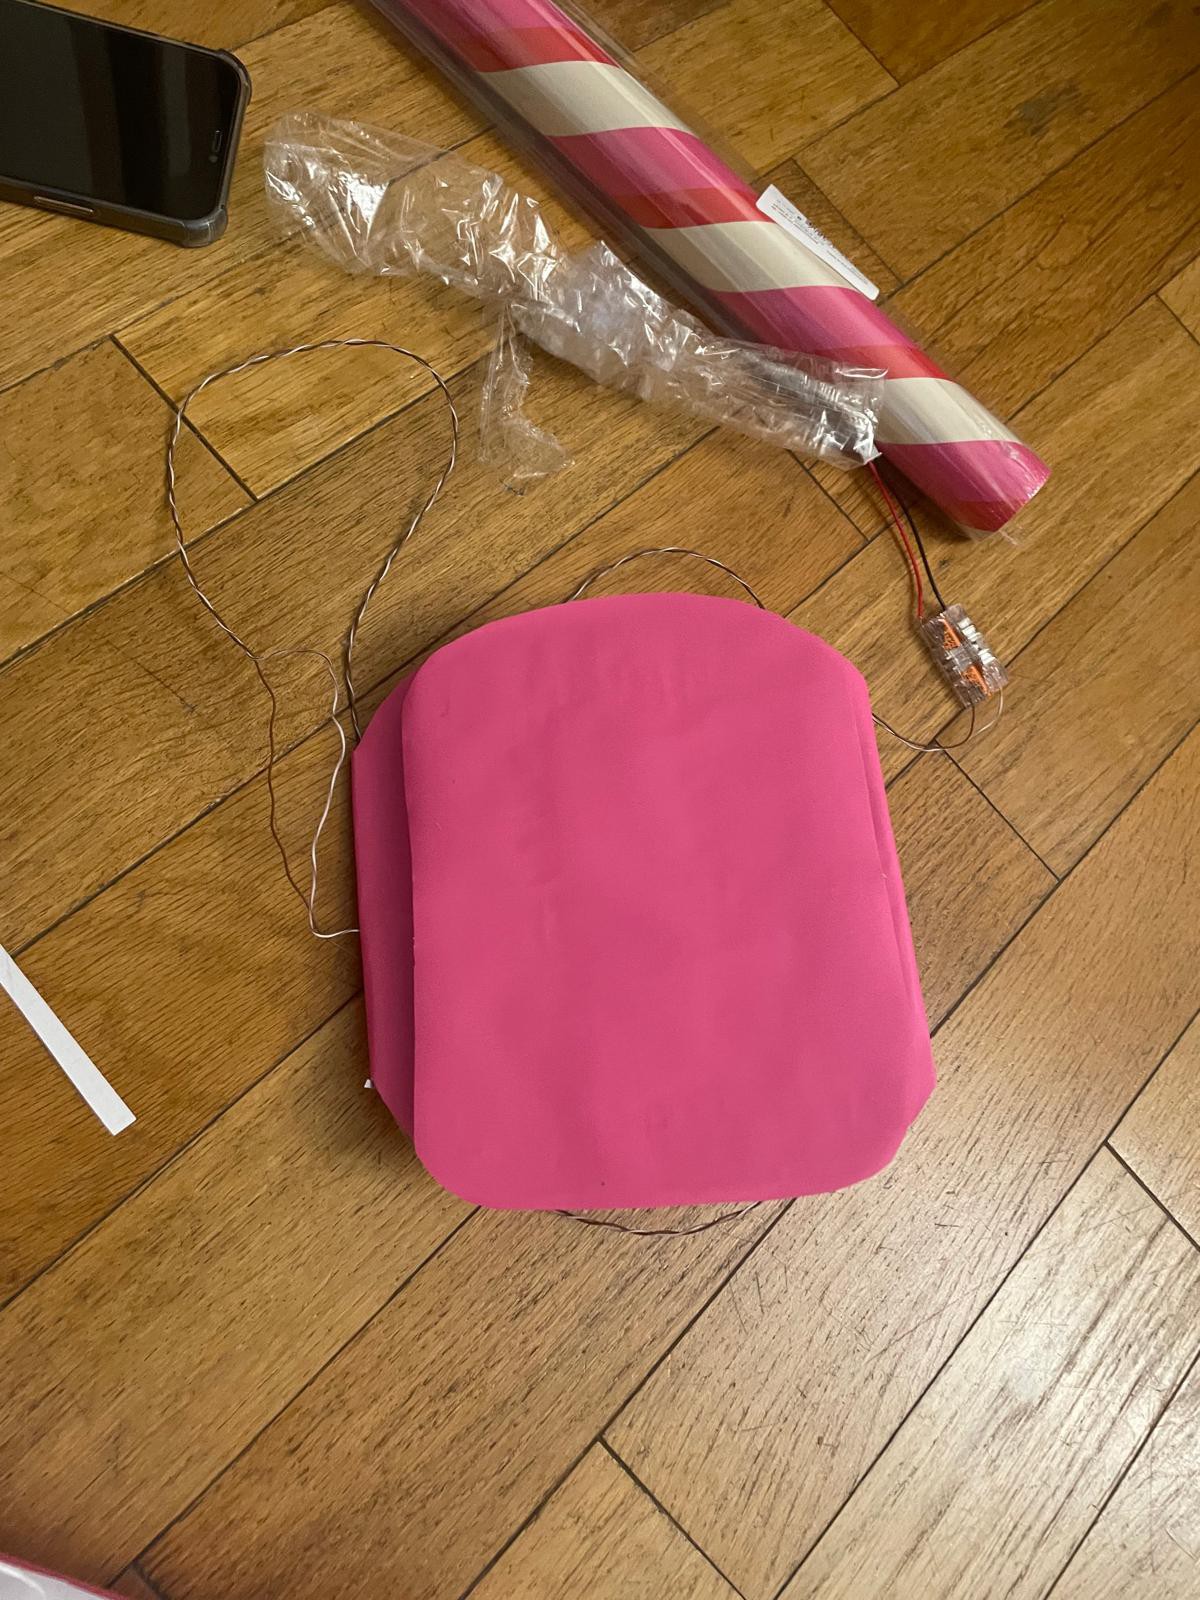
However she did forget her computer so we could not do the coding part but we did pimped our project with pink wrapping paper.
More over we tested our project on joy to key to make sure thta it is working, hopefully it does so that is a relief.
Next time Arduino produce a sound (i did some research it is not goingg to be easy)
![]()
-
~tuesday 3rd december~
12/07/2024 at 18:29 • 0 commentsTuesday 3rd december ~ big clap~
We tapped rope so that the buttons would not move.
We did a global test with everything except the Arduino part. We are very happy because everything works!
Now we need to make it good looking because it is a little ugly for now. We will meet at Angèle's place to make it decorate it and do arduino too (arduino is an urgence)
-
~tuesday 26th november~
12/07/2024 at 18:21 • 0 commentsTuesday 26th november ~Manon's Gone~
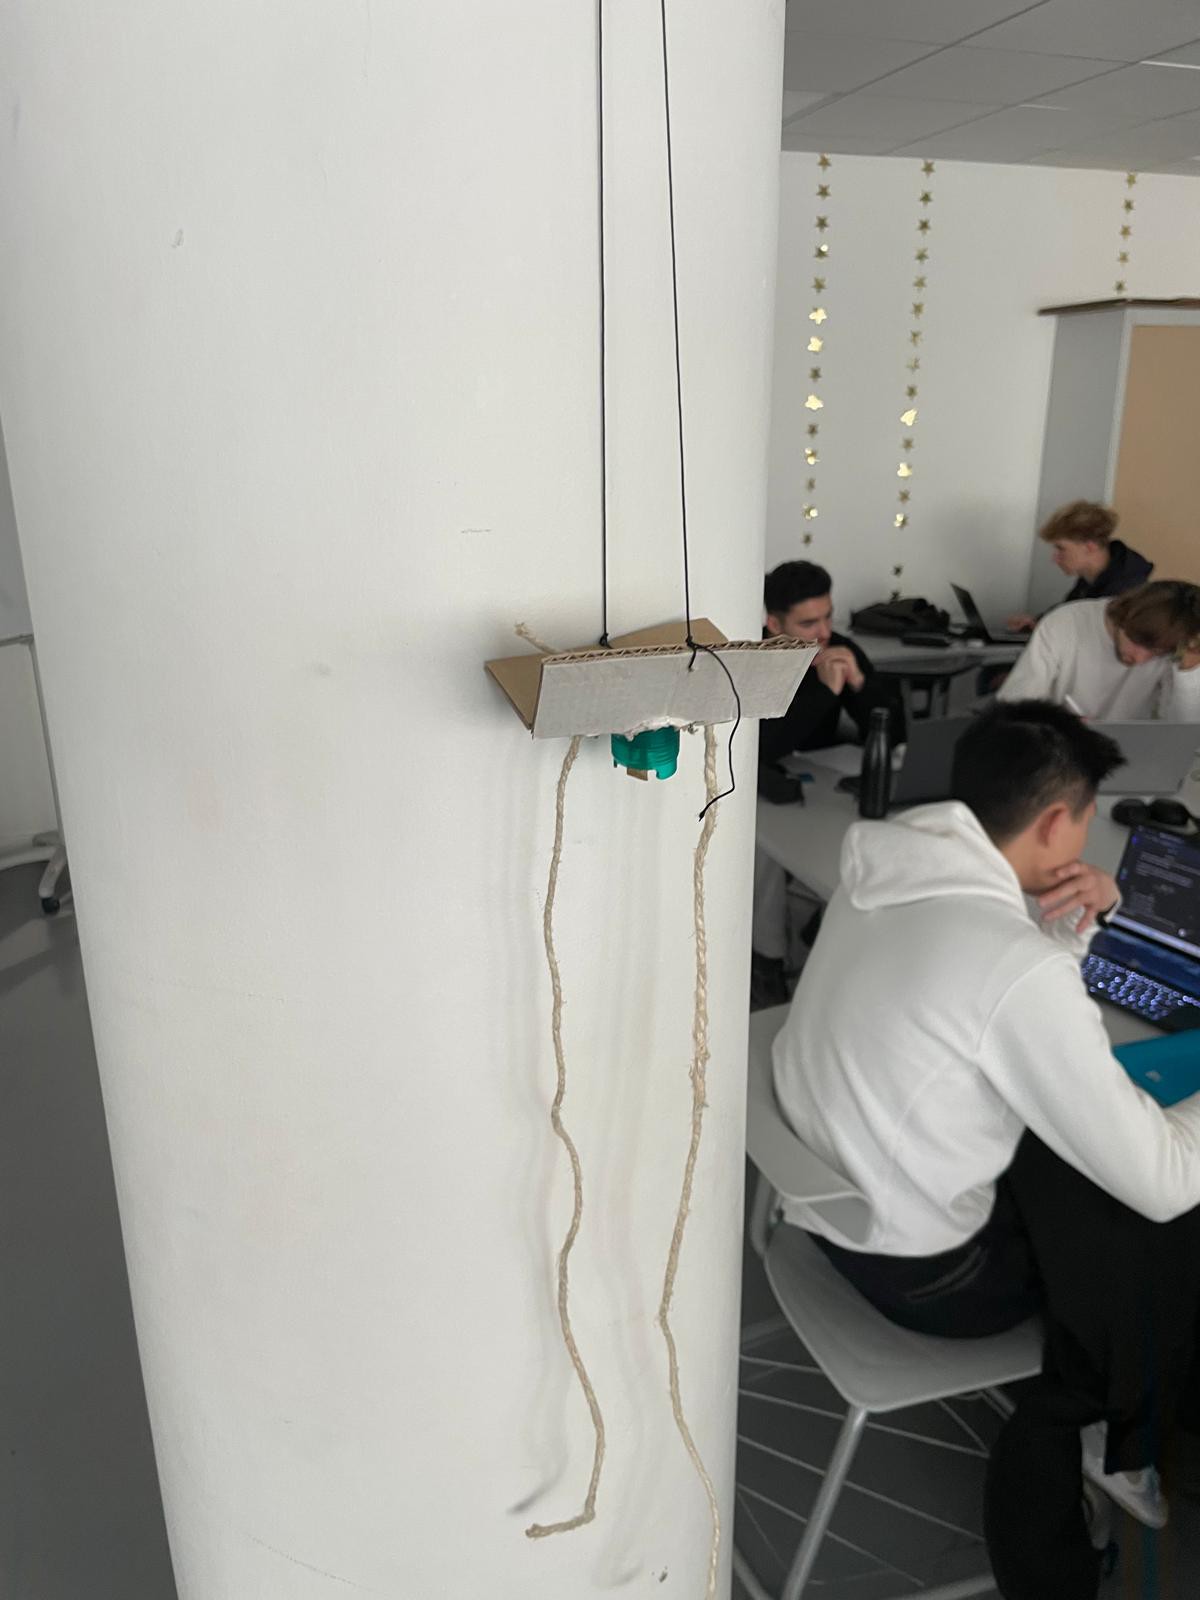
I am alone this time Manon is not there due to personnal reasons. I did finish all of our prototypes of every thing we have the POULE (pulling sting towardx us), the POOL (pulling string downwards), the CLAP (Cymbals taht you take from the groud that will produce a sound (if we suceed with arduino)) and the SHOOT (Step tht you will shoot a by pressing a button will send the information).
The hard part was finishing to elongate the wires (too little in originals). Previosu session we used soldier but Vincent our teacher showed me an easiest way we wago connecting claws.
![]()
-
~tuesday 19th november~
12/07/2024 at 18:10 • 0 commentsanTuesday 19th october ~Motivation~
DAMM les gens, as a famous youtuber says,
Today, our teachers approved our idea, Angèle had a good time! We searched for new ideas and found that we could pull some strings to press the buttons (one fowards us and an other downwards.
![]()
-
~tuesday 5th november~
12/07/2024 at 17:50 • 0 commentsTuesday 5th november ~Fatigue~
We were not really into the class today, our exams are approching, however we test some other version of DDR and we opted to pull a string on a button.
It is just a prototype but i have faith in it (just need to convice manon about that haha)
![]()
-
~tuesday 22th october~
12/07/2024 at 17:42 • 0 commentsTuesday 22th october ~Desillution~
When the time to try our pedal with the conductors came we learned by our profesor (Vincent) that did not have the right components class (Angèle had a hard time). We had to find a new way to make it work! We though about the buttons but in a different way. *
PouleShootClapPool
A new different version of the well-know game, Dance Dance Revolution (DDR)