Mood Signal : Help You to Not Get Distracted by Others

ai generated images
Have you ever been distracted by your coworkers or family members while working? It can be particularly challenging during a company call, especially when working from home. Sometimes, they come to share news or “ chit-chat ” without considering your mood or the interruption it may cause. These interruptions can hurt your focus and productivity. So how do you let them know you are working on something by telling them? . that i why built this Mood signal
A tiny IOT LED device that lets every know how you are doing using the colour of the LED.
How the LED colours will indicate your mood
- Red:Busy (It's a situation where you shouldn't even consider trying to interrupt.)
- Yellow:Working (I’m busy, but feel free to talk if it's necessary.)
- Green: Free (Yes! I have time for a little small talk.)
Users can remotely switch between colours via a web page. The device is controlled through a Wi-Fi network. They can also adjust the brightness of the LED and create custom colours. The device is battery-powered, making it easy to place anywhere, such as on your laptop or in front of your door using Velcro. This project might look silly but it might be useful for someone (I hope it dose)
The control page is user-friendly and features three mood buttons along with a brightness control slider for the LED. Users also have the option to select custom colors. You can switch between the different moods by pressing the corresponding button. The current mood of the LED is displayed on the web page for users to see.
Now, let's change my MOOD SIGNAL to Red and I'll show you how it’s made!
Supplies
Parts
- Seeed Studio XIAO ESP32C3
- BMS + 5v booster module
- Push Button Switch 6*6*7mm
- WS2812B 4*4 16-Bit LED PCB
- 30 AWG wires
- B-7000 Multi-Purpose Glue
- Kapton Tape
- 600mah 3.7v battery
- Velcro Sticker
Tools
- Soldering Kit
- Wire Cutter
- Tweezer
- Glue Gun
- Precision Knife
- Matt Black Spray Paint
Used 3D Printer
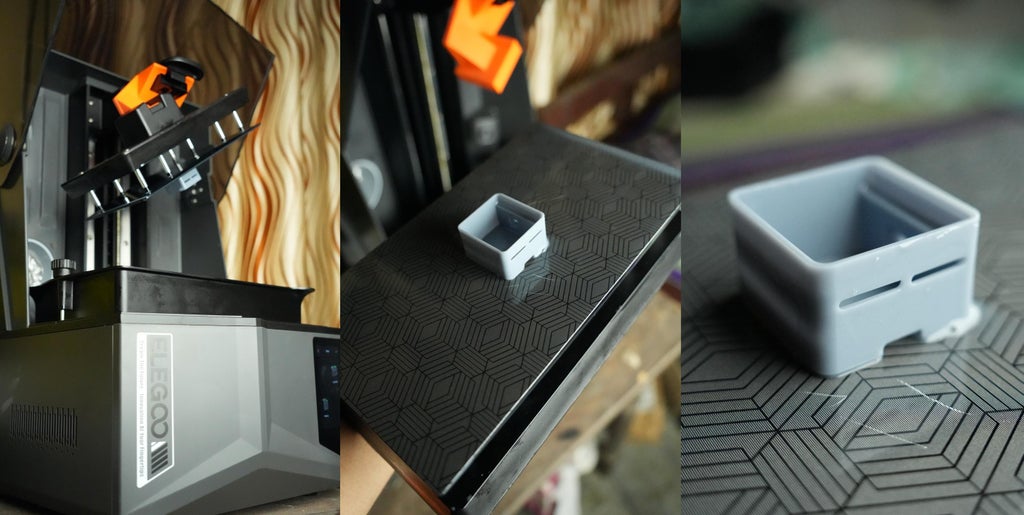
- Elegoo Saturn 4 Ultra ( for SLA parts )
- Anycubic Kobra 2 neo ( for FDM parts )
Step 1: Modeling in Autodesk Fusion 360
I utilized Fusion 360 to plan and design my project, which required careful space optimization. I needed to fit all the parts into the smallest form factor possible while ensuring practicality, including sufficient space for wiring and easy assembly. First, I imported all the 3D models of the parts and tried different configurations by placing the parts in various positions. Once I found the optimal configurations, I built the enclosure around them. design files are provided below.
Attachments
![download {{ file.name }}]() mood signal v13.stepDownloadView in 3D
mood signal v13.stepDownloadView in 3D
Step 2: 3D Printing
After exploring the model's STL file. I 3D printed each model. The main body is printed using a resin printer with standard resin . Then I spray painted matt black. This project can be also printed using FDM printers but the letter might not be visible in it. The resin printer allows me to produce my model with great accuracy , you can find both .STL file down below
after printing the main body i spay painted in in matte black
also i printed the diffuser in white PLA using FDM printer
Attachments
![download {{ file.name }}]() diffuser.stlDownloadView in 3D
diffuser.stlDownloadView in 3D
![download {{ file.name }}]() main body.stlDownloadView in 3D
main body.stlDownloadView in 3D
Step 3: Uploading Code to XIAO and Finding the IP
I always like to upload the code to the microcontroller before assembly. I am using the Arduino IDE for flashing the code. Before flashing the code make sure you installed the required liberty for this sketch in the IDE
- AsyncTCP Library
- ESPAsyncWebServer Library
- Adafruit_NeoPixel Library
You can search and install all of the Libraries using the library manager of the Arduino IDE
Also, edit this line of the code with your wifi SSID and Password and flash the code to XIAO ESP32C3
Full code
#include <WiFi.h>
#include <AsyncTCP.h>
#include...
Read more »
 gokux
gokux




 Hulk
Hulk
 kmatch98

 Albert Gonzalez
just checked on the chargering circuit and it is stated as charing with 2.4A (that fits to 18650 cells) into a small 600mAh battery here. That would be a 4C charging rate and that would result in a decreased lifetime of the little Li-ion battery (4C is really high - possibly a fire hazard as well so be carefull!).