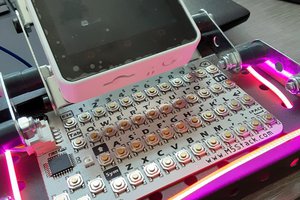
This device is actually quite simple. A Pi Pico W soldered directly to the PCB, 12 buttons, TP4056 IC and smd components, 14 pin female header for utilizing devices GPIO, and a 0.96" OLED display. As well as a slide switch for cutting the power.
I added some space on the back of the case for a small solar panel, but then I realized that I didn't design the PCB to allow that. If the voltage were high enough from PV, it would power on the Pico W through VBUS ( I need to double check if that is correct). So my solution was to print a snap fit cover for the back.
I think programming on this thing would be tedious, but much less tedious than programming on the Tiny Bit Machine... The programming language and interpreter I am writing for it has 3 key things in mind.
- How do we use the minimal amount of characters in our programs? When using an awkward keypad and programming on a tiny screen that is 8 rows of text 16 characters wide, we don't want to write long variable names or have to put in lots of punctuation or indentation. Ideally with how the GRK family of languages are written, they can be coded with almost no whitespace at all.
- It's easy to use. Why write a more complicated programming language than Python? Especially if I am writing it IN Python? PGRK will be simpler than Python, therefore it will be lacking many features that Python or C have. But it will steal from both, as it is written in Python, which is written in C.
- It's portable. I intend to create a web interface or implement an FTP server on the device where files can be transferred easily to and from the device. Or be sent directly from one of these devices to another.
Below is the code for the current keymap, I will probably switch it around as time goes on. The idea is to have the most used keys on consecutive layers.
key_map = (('_esc','_caps','_esc',
                            '_space','_pgup','_pgdown',
                            '_del','_up','_enter',
                            '_left','_down','_right'),
                           ('0','1','2',
                            '3','4','5',
                            '6','7','_x',
                            '8','9','_mod'),
                           ('+','-','_x',
                            '*','/','_x',
                            '%','^','_mod',
                            '~','_x','_x'),
                           ('<','>','_x',
                            '!','=','_mod',
                            '&','|','_x',
                            '(',')','_x',
                            ),
                           ('[',']','_mod',
                            '{','}','_x',
                            '`','_','_x',
                            '\\','_x','_x',
                            ),
                           ('G','R','K',
                            'O','I','L',
                            '_x','.',',',
                            '_mod','@','$',
                            ),
                           ('C','P','E',
                            '_x','S','D',
                            '_mod','M','U',
                            '_x','A','B',
                            ),
                           ('_x','V','N',
                            '_mod','X','W',
                            '_x','Y','Z',
                            'J','F','W',
                            ),
                           ('_mod','Q','T',
                            '_x','#','?',
                            '_x','\'','"',
                            'H',':',';',
                            ))
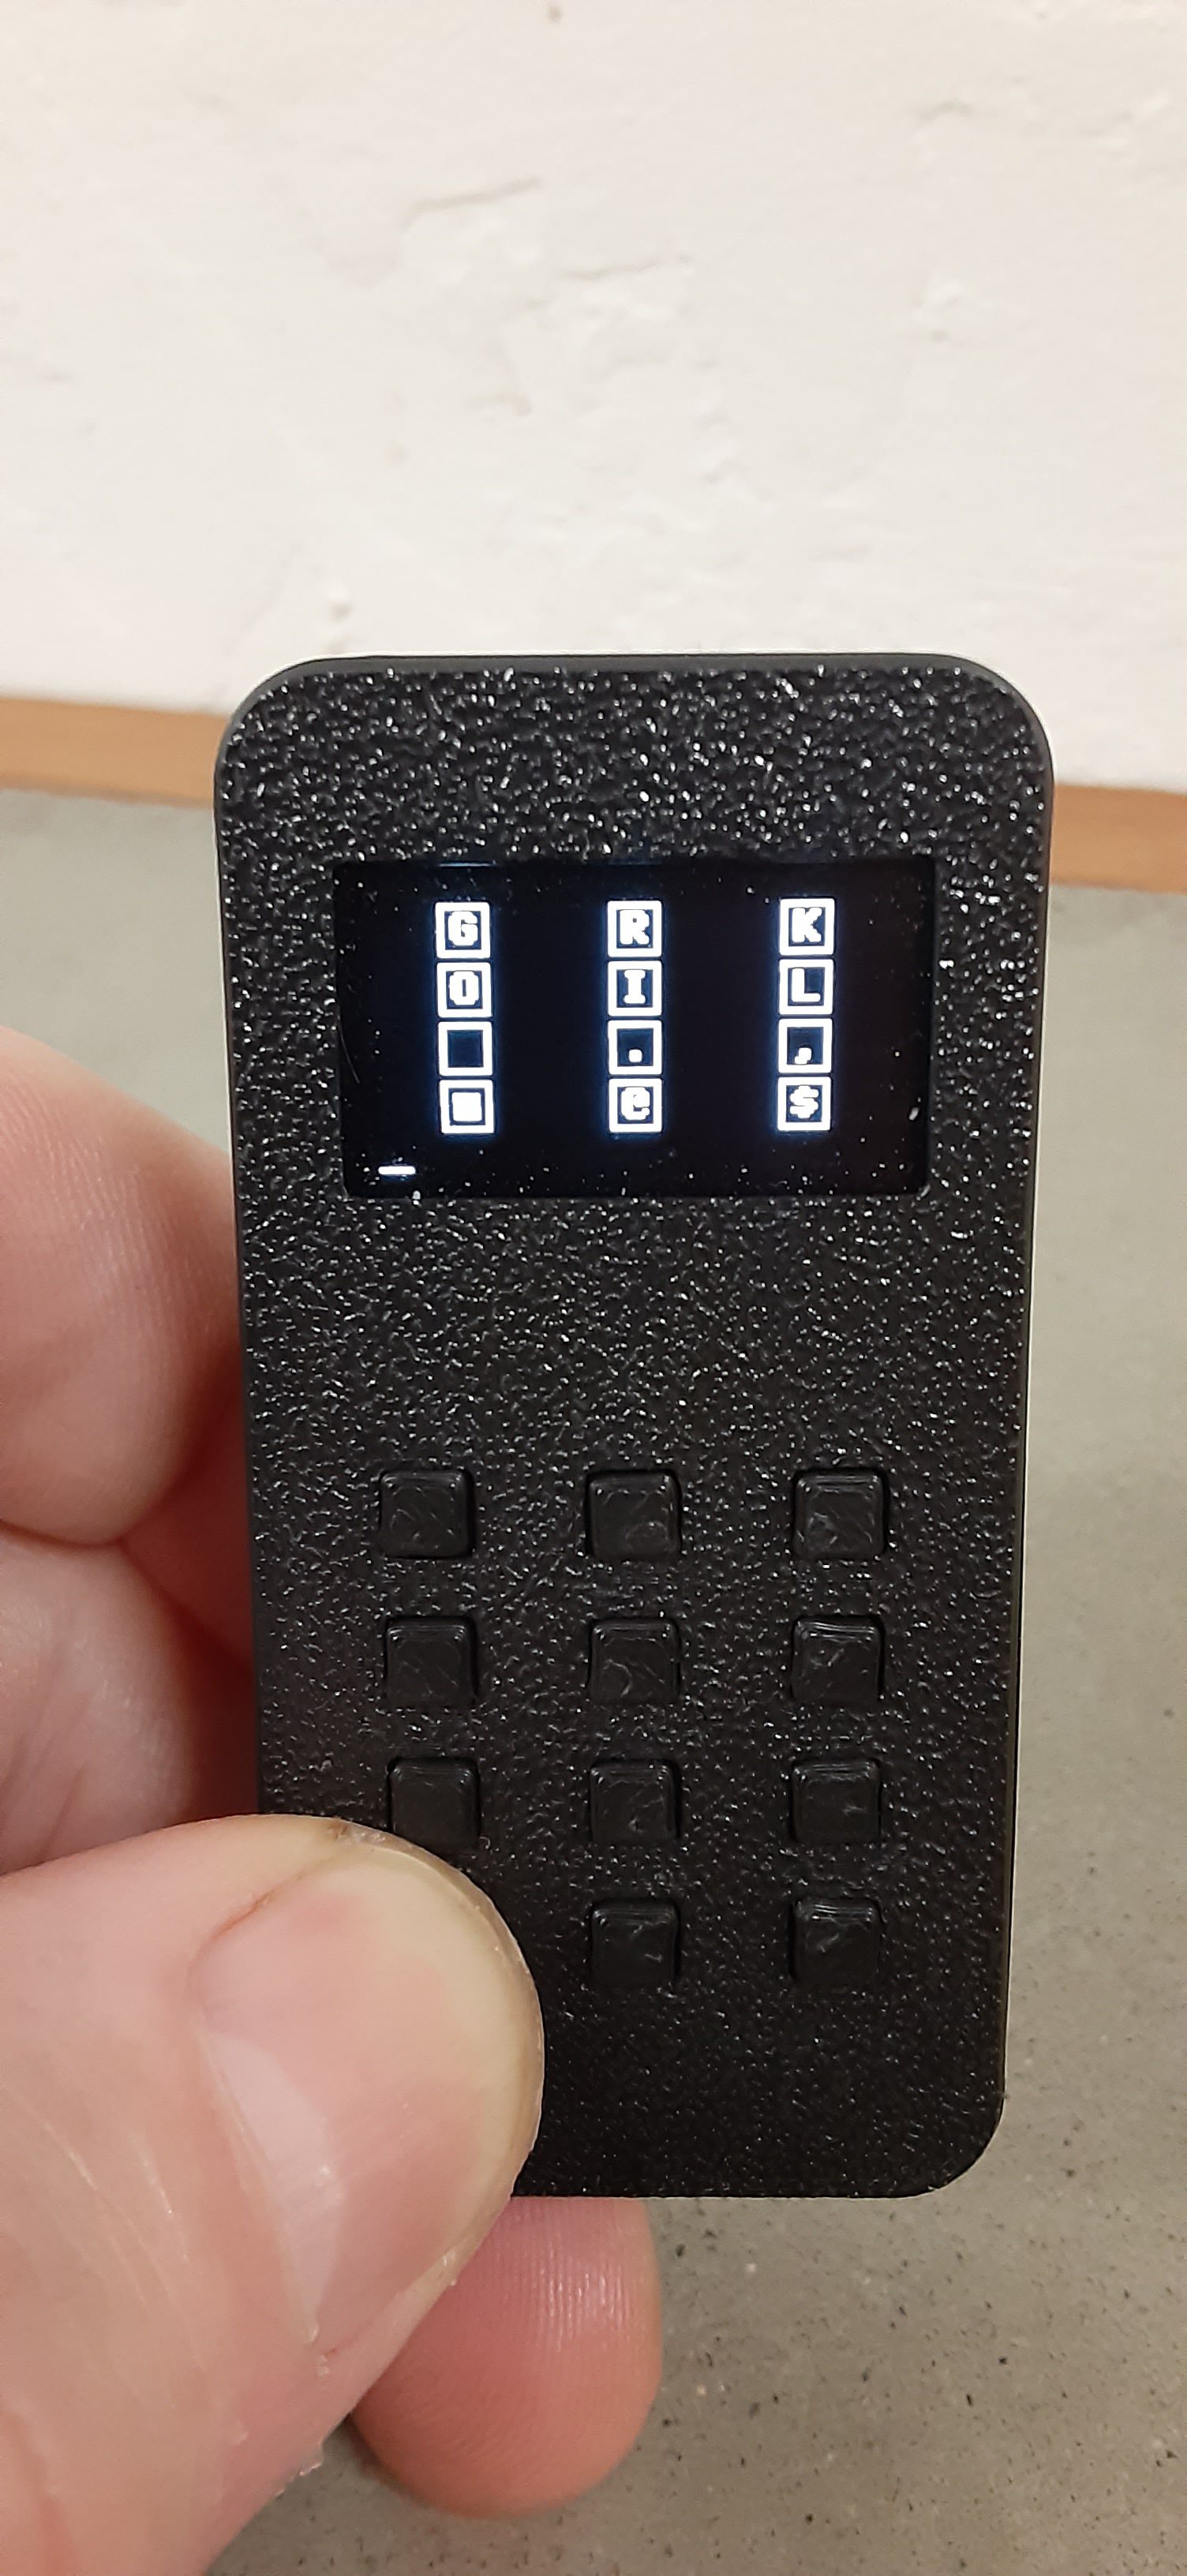
The four buttons on left side of device and four buttons on right side of device are mod keys. If they are pressed and released quickly, they will function as the top layer key. If they are held down, they will activate that mod key's layer, and a tooltip showing the layer will popup on the screen as long as it is held. Here is an example:
/>
 Gordon
 mateusz.kolanski
 jaromir.sukuba
 Melissa Matos