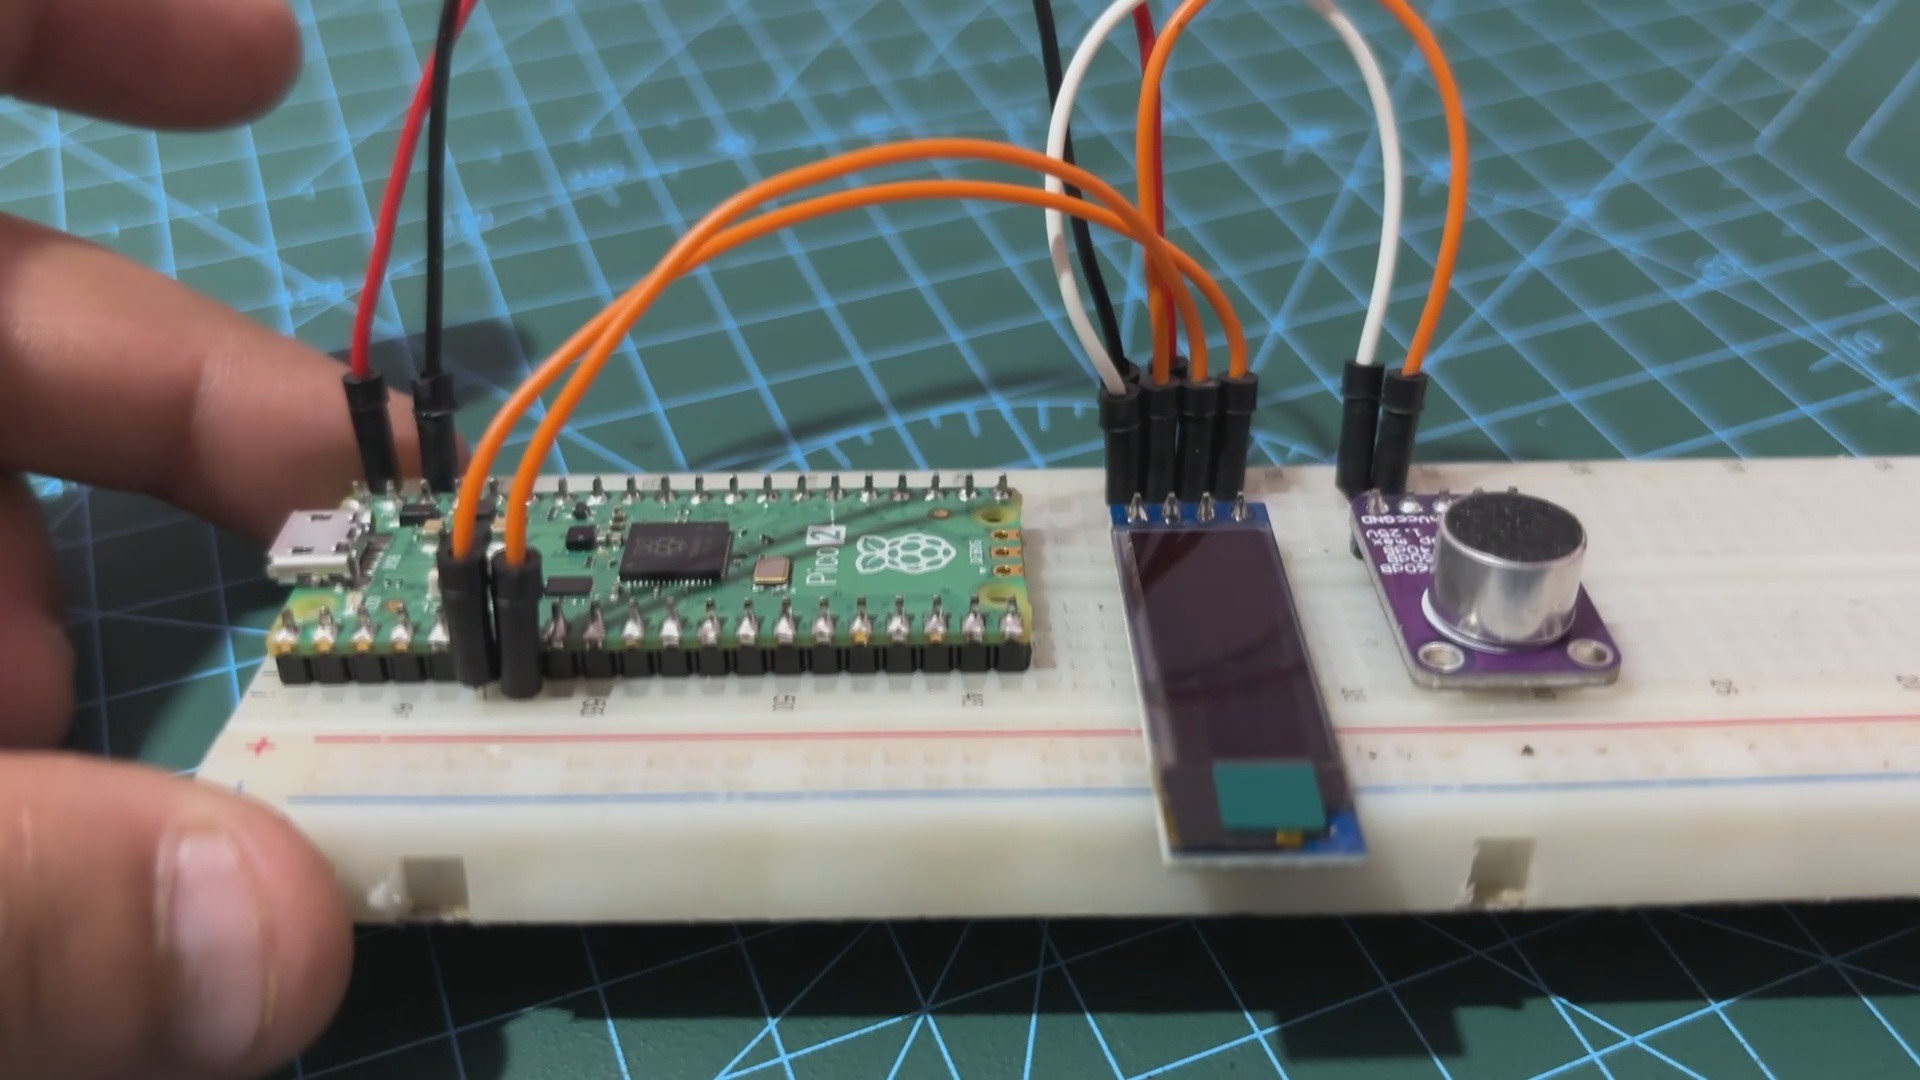
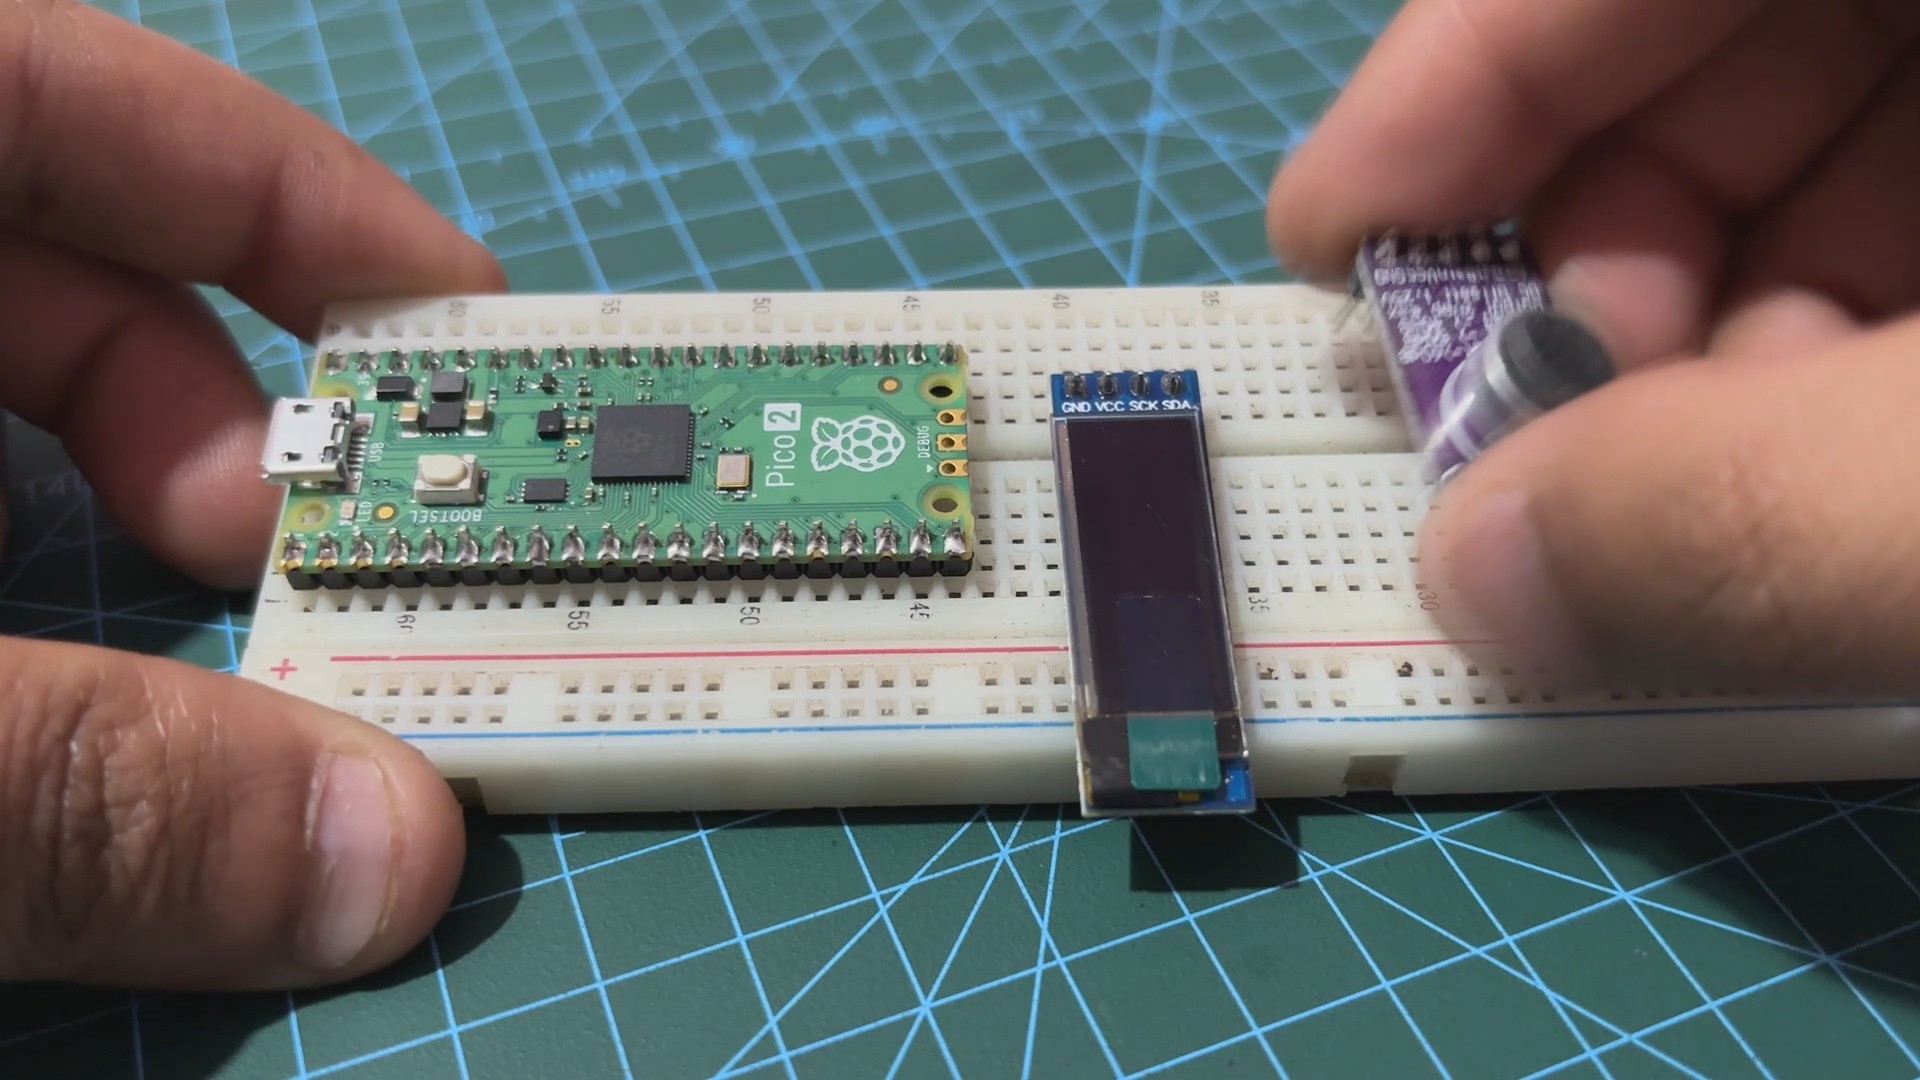
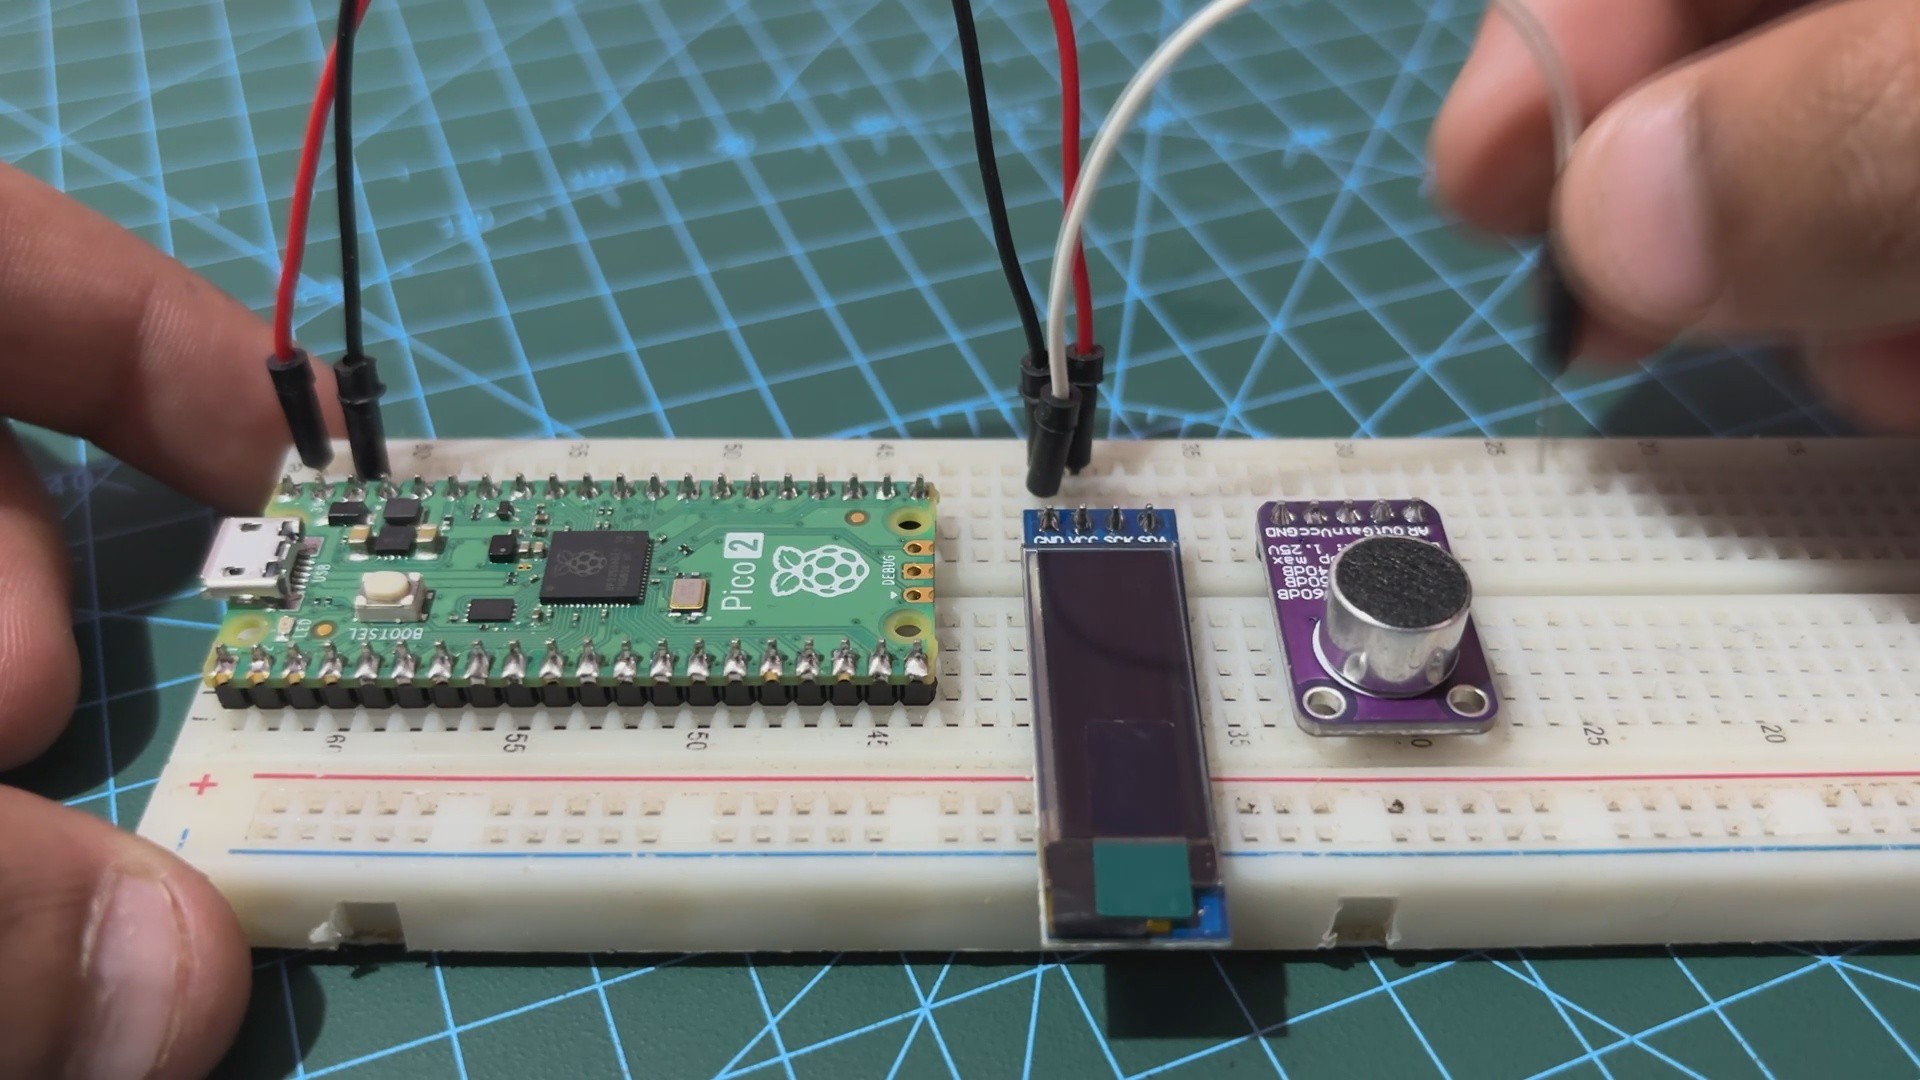
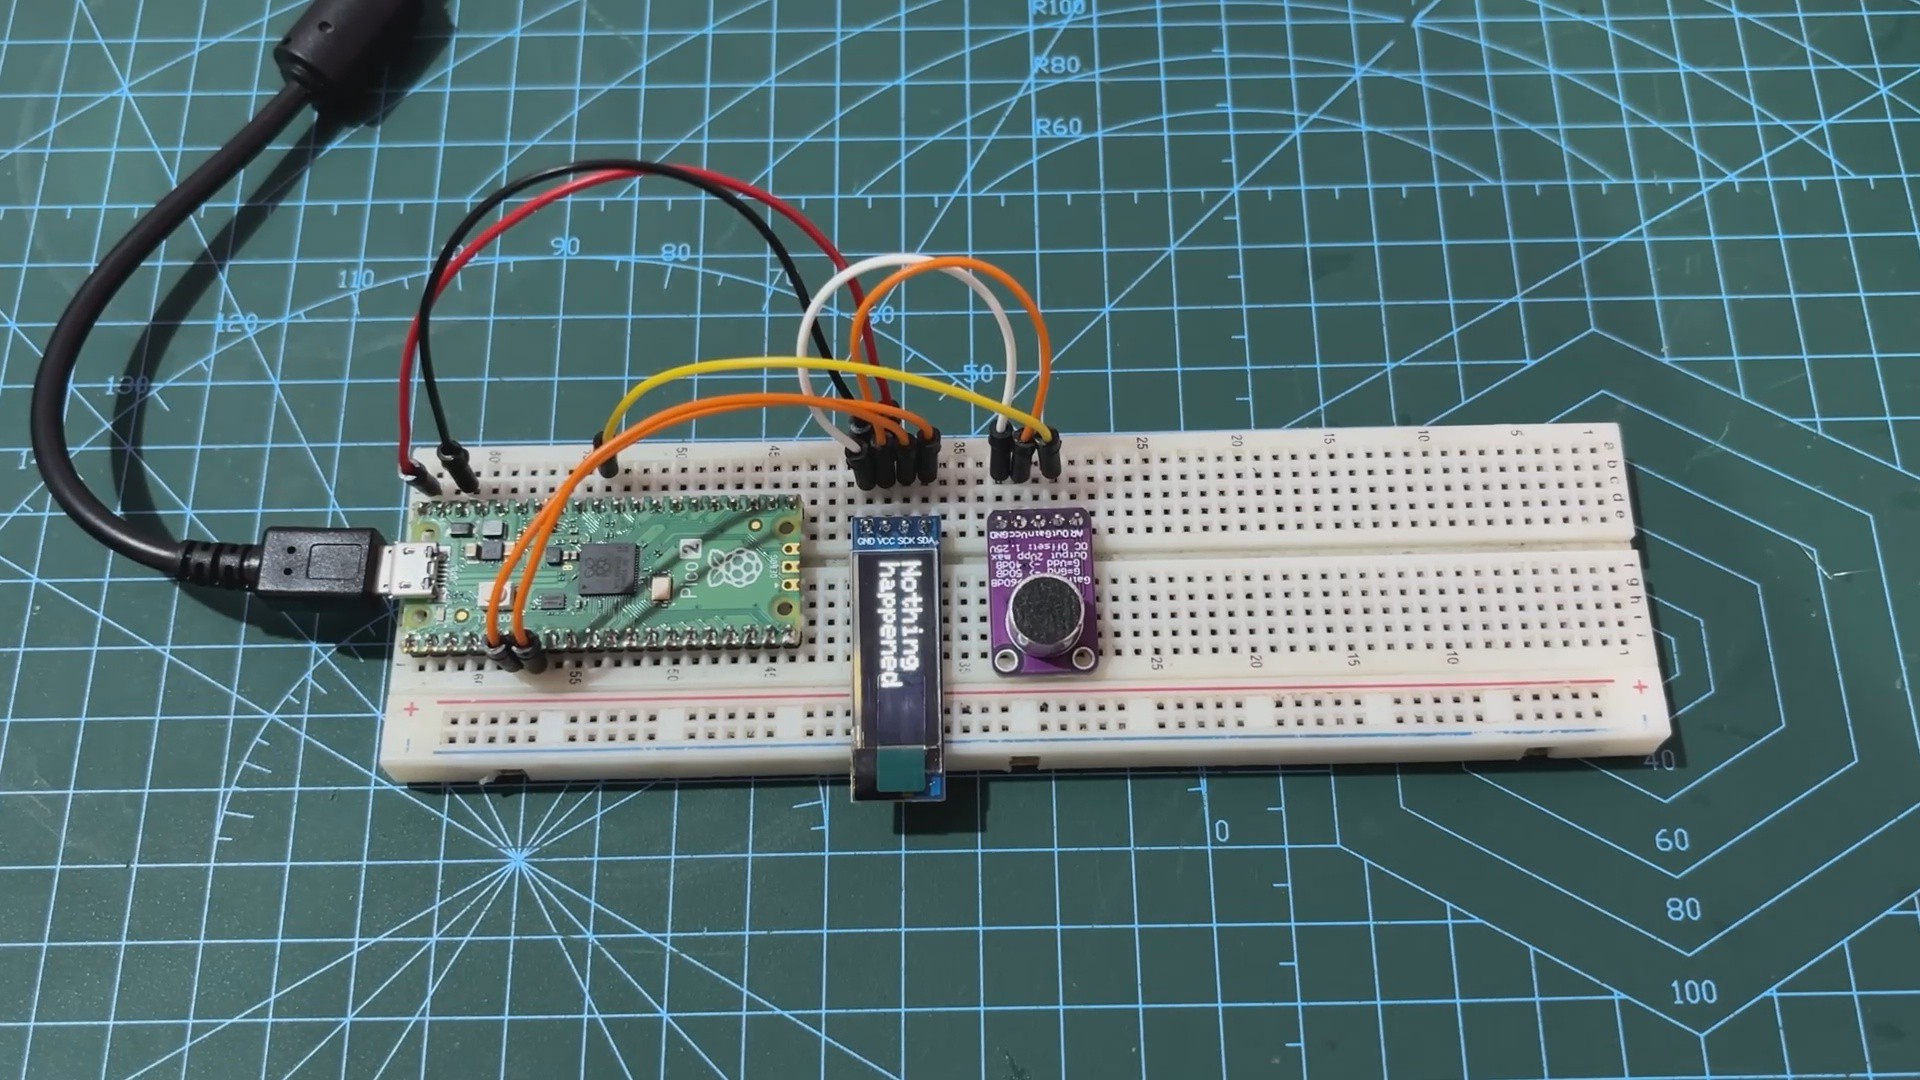
We start the assembly process by placing all three components, which are the PICO 2, the SSD1306 OLED screen and the MAX9814 MIC Module, on the breadboard.
Next, we first connected the VBUS of PICO 2 with the OLED's VCC and MAX Module's VCC, all three in parallel. GND of all three are also connected in parallel.
We now connect the SDA and SCL of OLED with the GPIO4 and GPIO5 of the PICO.
At last we connected the OUT pin of the MAX9814 module with GPIO26 of the PICO 2.
The wiring process has been completed.
2
CODE
We next uploaded the below sketch into the PICO 2.
#define SCREEN_WIDTH 128 // OLED display width, in pixels#define SCREEN_HEIGHT 32 // OLED display height, in pixels#define OLED_RESET -1 // Reset pin # (or -1 if sharing Arduino reset pin)#define OLED_ADDRESS 0x3C // I2C address for the SSD1306 OLED displayAdafruit_SSD1306 display(SCREEN_WIDTH, SCREEN_HEIGHT, &Wire, OLED_RESET);
#define MIC_PIN 26#define CLAP_THRESHOLD 500 // Adjust based on your sensor's range#define CLAP_DELAY 200 // Minimum delay between claps in milliseconds#define CLAP_WINDOW 1000 // Time window for detecting second clap in milliseconds#define DISPLAY_DURATION 5000 // Time to display "Clap Detected" messageunsignedlong last_clap_time = 0;
unsignedlong message_display_time = 0;
bool display_clap_message = false;
voidsetup(){
// Initialize the serial communication for debugging
Serial.begin(9600);
// Initialize the OLED displayif (!display.begin(SSD1306_SWITCHCAPVCC, OLED_ADDRESS)) {
Serial.println(F("SSD1306 allocation failed"));
for (;;);
}
display.clearDisplay();
display.setTextSize(2);
display.setTextColor(SSD1306_WHITE);
display.setCursor(0, 0);
display.display();
}
voidloop(){
int analog_val = analogRead(MIC_PIN); // Read microphone valueunsignedlong current_time = millis();
// Debugging information
Serial.print("Analog Value: ");
Serial.println(analog_val);
// Detect clapif (analog_val > CLAP_THRESHOLD) {
if (current_time - last_clap_time > CLAP_DELAY) {
Serial.println("Clap detected");
display_clap_message = true;
message_display_time = current_time;
last_clap_time = current_time;
}
}
// Update the OLED display
display.clearDisplay();
if (display_clap_message) {
display.setCursor(0, 0);
display.println("Clap");
display.setCursor(0, 16); // Move to the second line
display.println("Detected");
if (current_time - message_display_time > DISPLAY_DURATION) {
display_clap_message = false;
}
} else {
display.setCursor(0, 0);
display.println("Nothing");
display.setCursor(0, 16); // Move to the second line
display.println("happened");
}
display.display();
// Short delay for stability
delay(100);
}
Our Code Set up the OLED display and a microphone to detect claps and display corresponding messages.
The OLED is initialized with specific dimensions and an I2C address, and the microphone is connected to pin 26, with a clap detection threshold set at 500. When the microphone detects a sound above this threshold, it registers a clap, considering a minimum delay between claps and a defined window for detecting the second clap.
If a clap is detected, the OLED displays "Clap Detected" for five seconds; otherwise, it displays "Nothing happened." The code includes serial output for debugging, allowing for monitoring of analog values and confirming clap detection. This setup ensures effective and reliable clap detection with the appropriate message displayed on the OLED screen.
Make sure to install the OLED Library before using this sketch-
This is the end result of this straightforward but crucial build: a CLAP SENSOR configuration that uses the MAX9814 microphone module alongside with the PICO 2 and an OLED screen for displaying output. In order to turn on or off AC appliances—a room light with a clap—we will be developing a real CLAP switch, thus this setup is crucial.
Setting up the breadboard version of the project was crucial and informative because it helped us understand exactly how to prepare it.
Overall, this project was a success, and i will be back with the CLAP Switch project shortly.
 Arnov Sharma
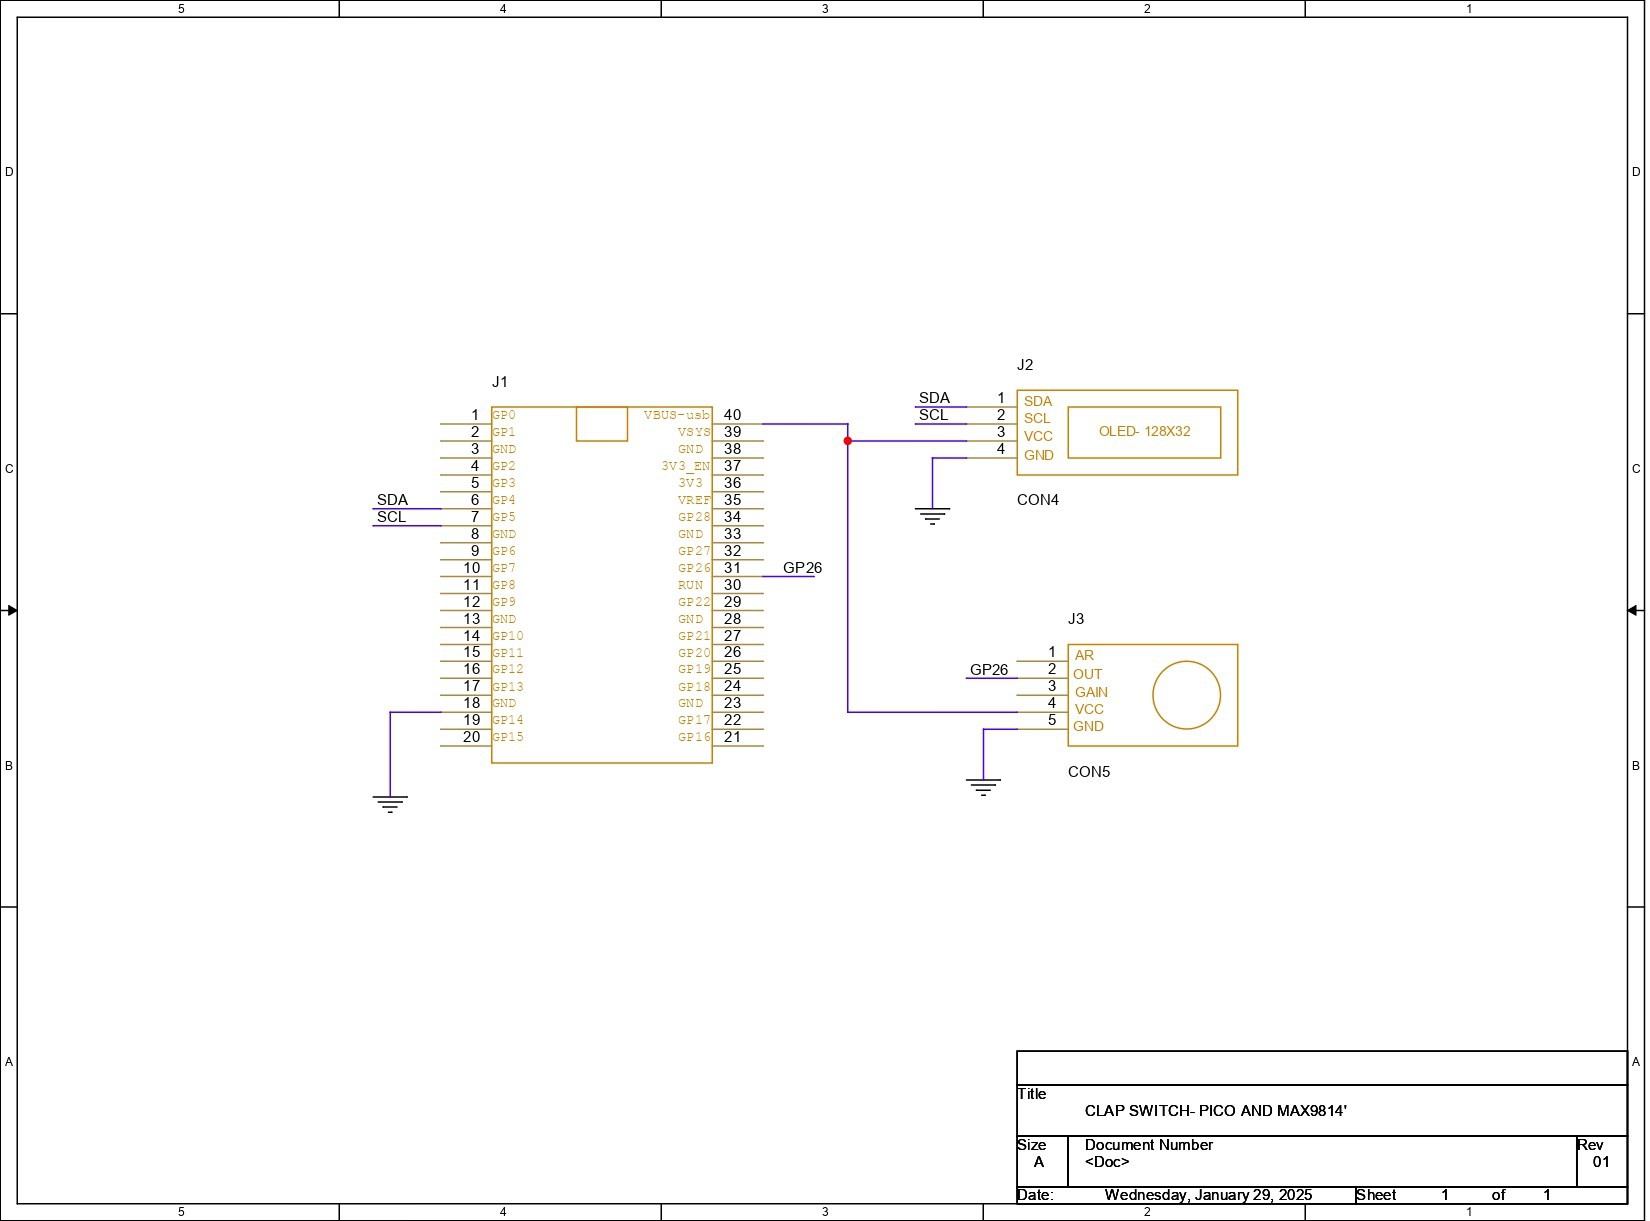


Discussions
Become a Hackaday.io Member
Create an account to leave a comment. Already have an account? Log In.