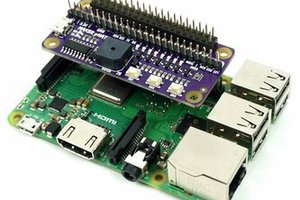
In today’s fast-paced world, staying productive while maintaining focus can be challenging. Meet the Pomodoro Bot, a desktop companion designed to revolutionize the way you work. Built using Viam's versatile robotics platform and powered by the Raspberry Pi, this innovative tool goes beyond the traditional Pomodoro timer by integrating modern sensors and smart alerts to create a seamless productivity experience.
Features include:
1. Pomodoro Timer: Master the Pomodoro Technique to enhance focus and efficiency.
2. Air Quality Monitoring: Ensure your workspace is optimal for productivity by tracking CO₂, VOCs, and AQI.
3. Light Quality Alerts: Optimize lighting conditions for reduced eye strain and better concentration.
4. Meeting Reminders: Stay on your schedule with proactive alerts for upcoming meetings.
With a sleek design and a focus on intelligent functionality, the Pomodoro Bot is more than just a timer; it’s your dedicated partner at work.
The Raspberry Pi boots from a USB flash drive (or microSD card). You need to install Raspberry Pi OS on a USB flash drive that you will use with your Pi. For more details about alternative methods of setting up your Raspberry Pi, refer to the Viam docs.
Install Raspberry Pi OS
Connect the USB flash drive (or microSD card) to your computer.
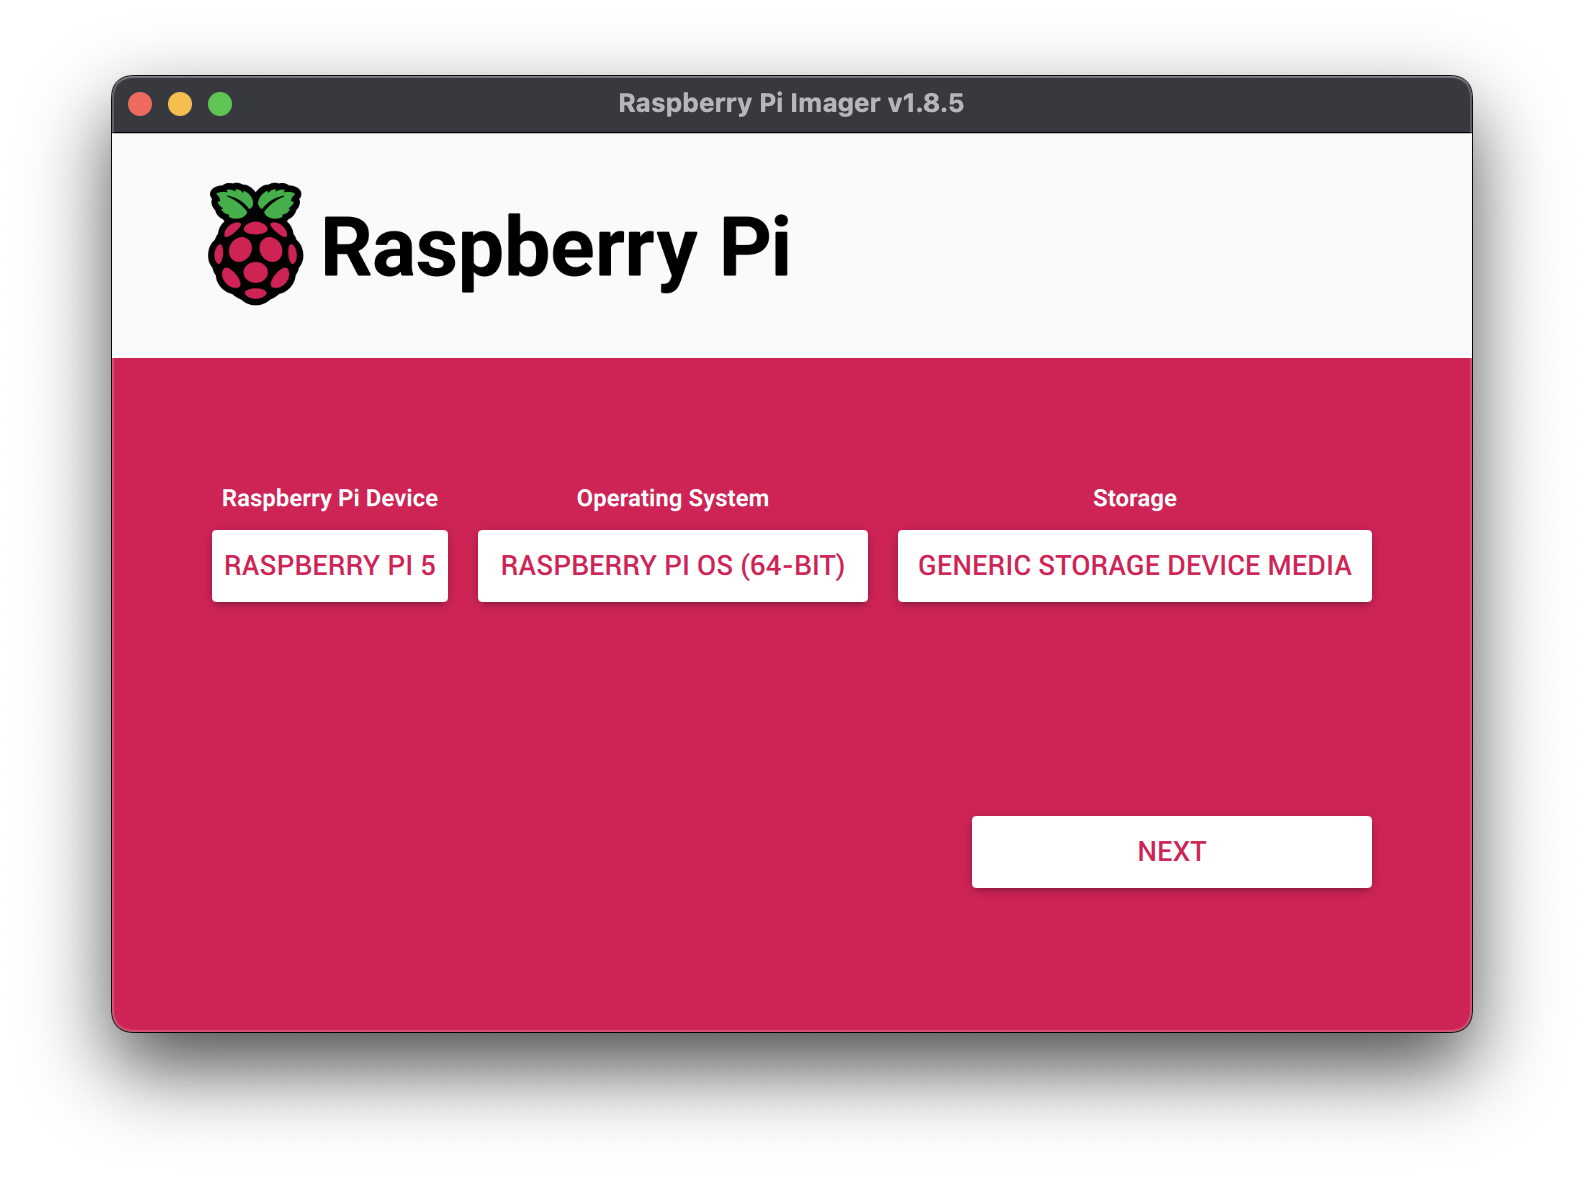
Click CHOOSE DEVICE. Select your model of Pi, which is Raspberry Pi 5.
Click CHOOSE OS. Select Raspberry Pi OS (64-bit) from the menu.
Click CHOOSE STORAGE. From the list of devices, select the USB flash drive you intend to use in your Raspberry Pi.
Configure your Raspberry Pi for remote access. Click Next. When prompted to apply OS customization settings, select EDIT SETTINGS.
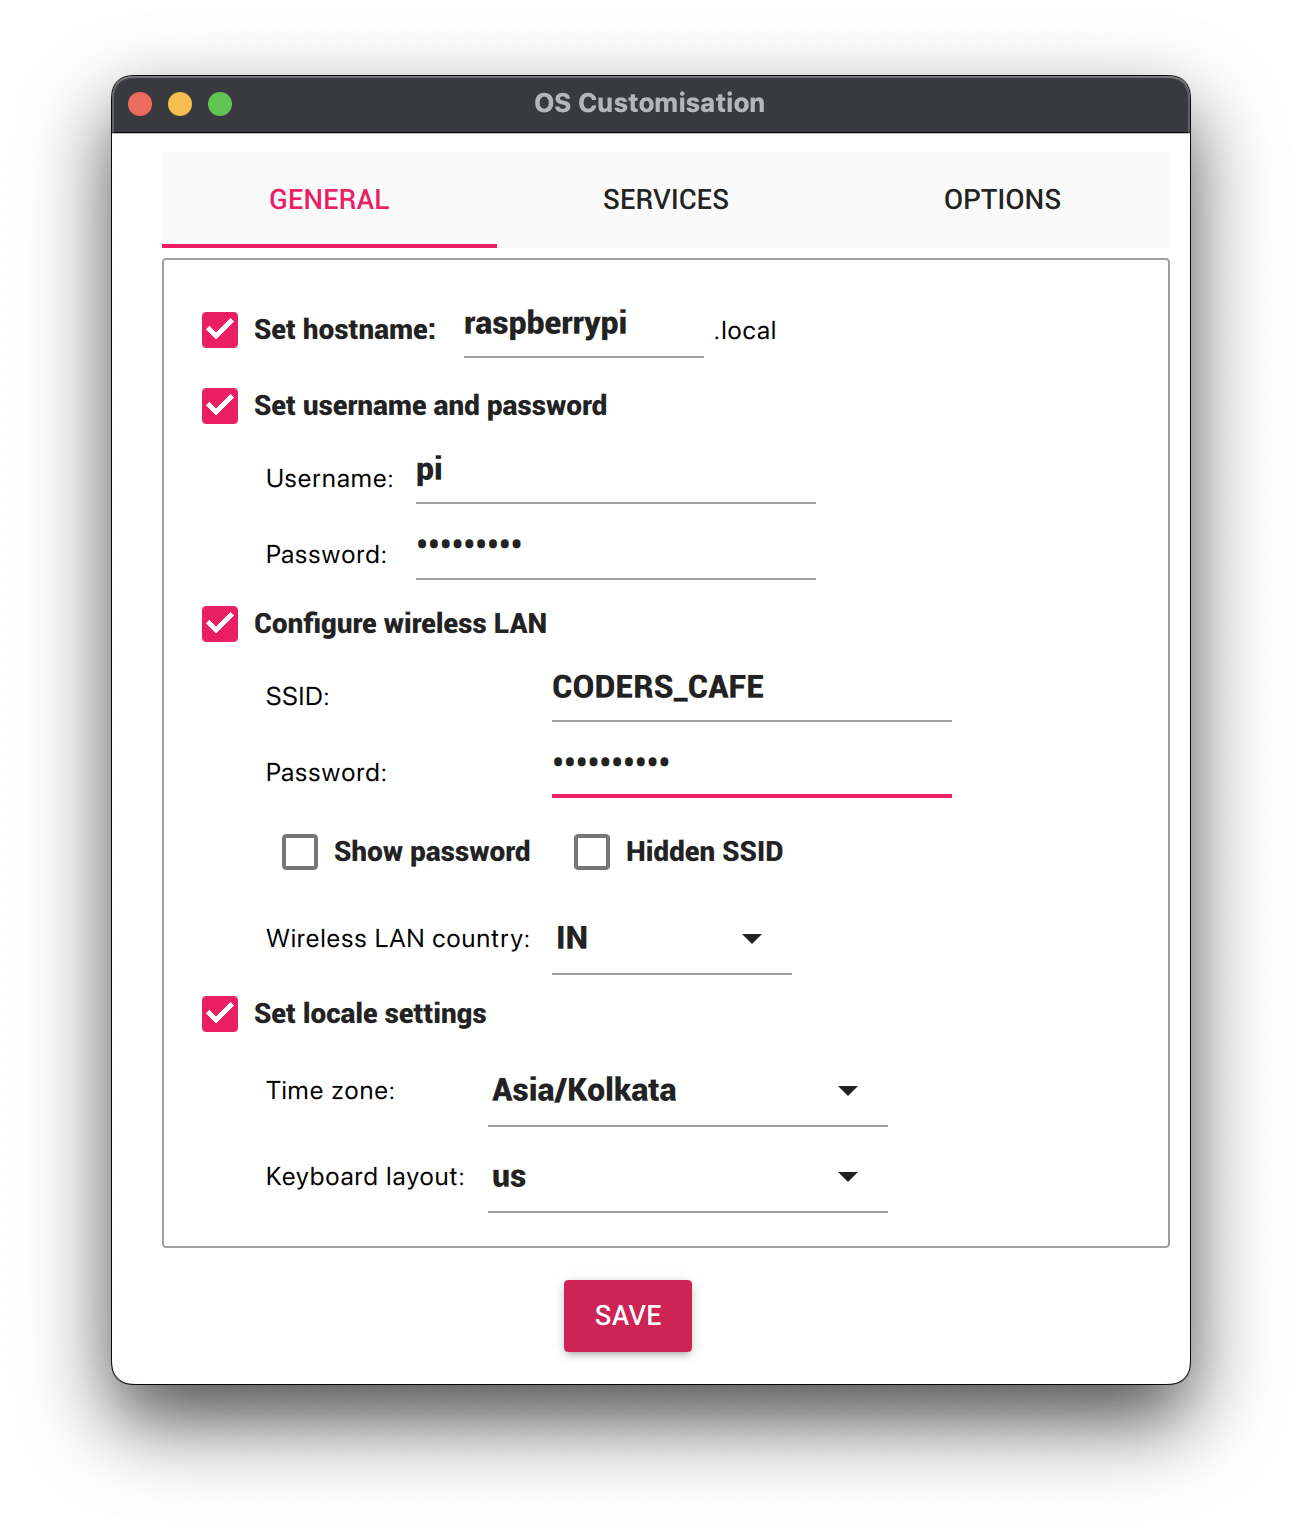
Check Set hostname and enter the name you would like to access the Pi by in that field, for example, raspberrypi.
Select the checkbox for Set username and password and set a username (for example, your first name) that you will use to log into the Pi. If you skip this step, the default username will be pi (not recommended for security reasons). And specify a password.
Connect your Pi to Wi-Fi so that you can run viam-server wirelessly. Check Configure wireless LAN and enter your wireless network credentials. SSID is your Wi-Fi network name, and password is the network password. Change the section Wireless LAN country to where your router is currently being operated.
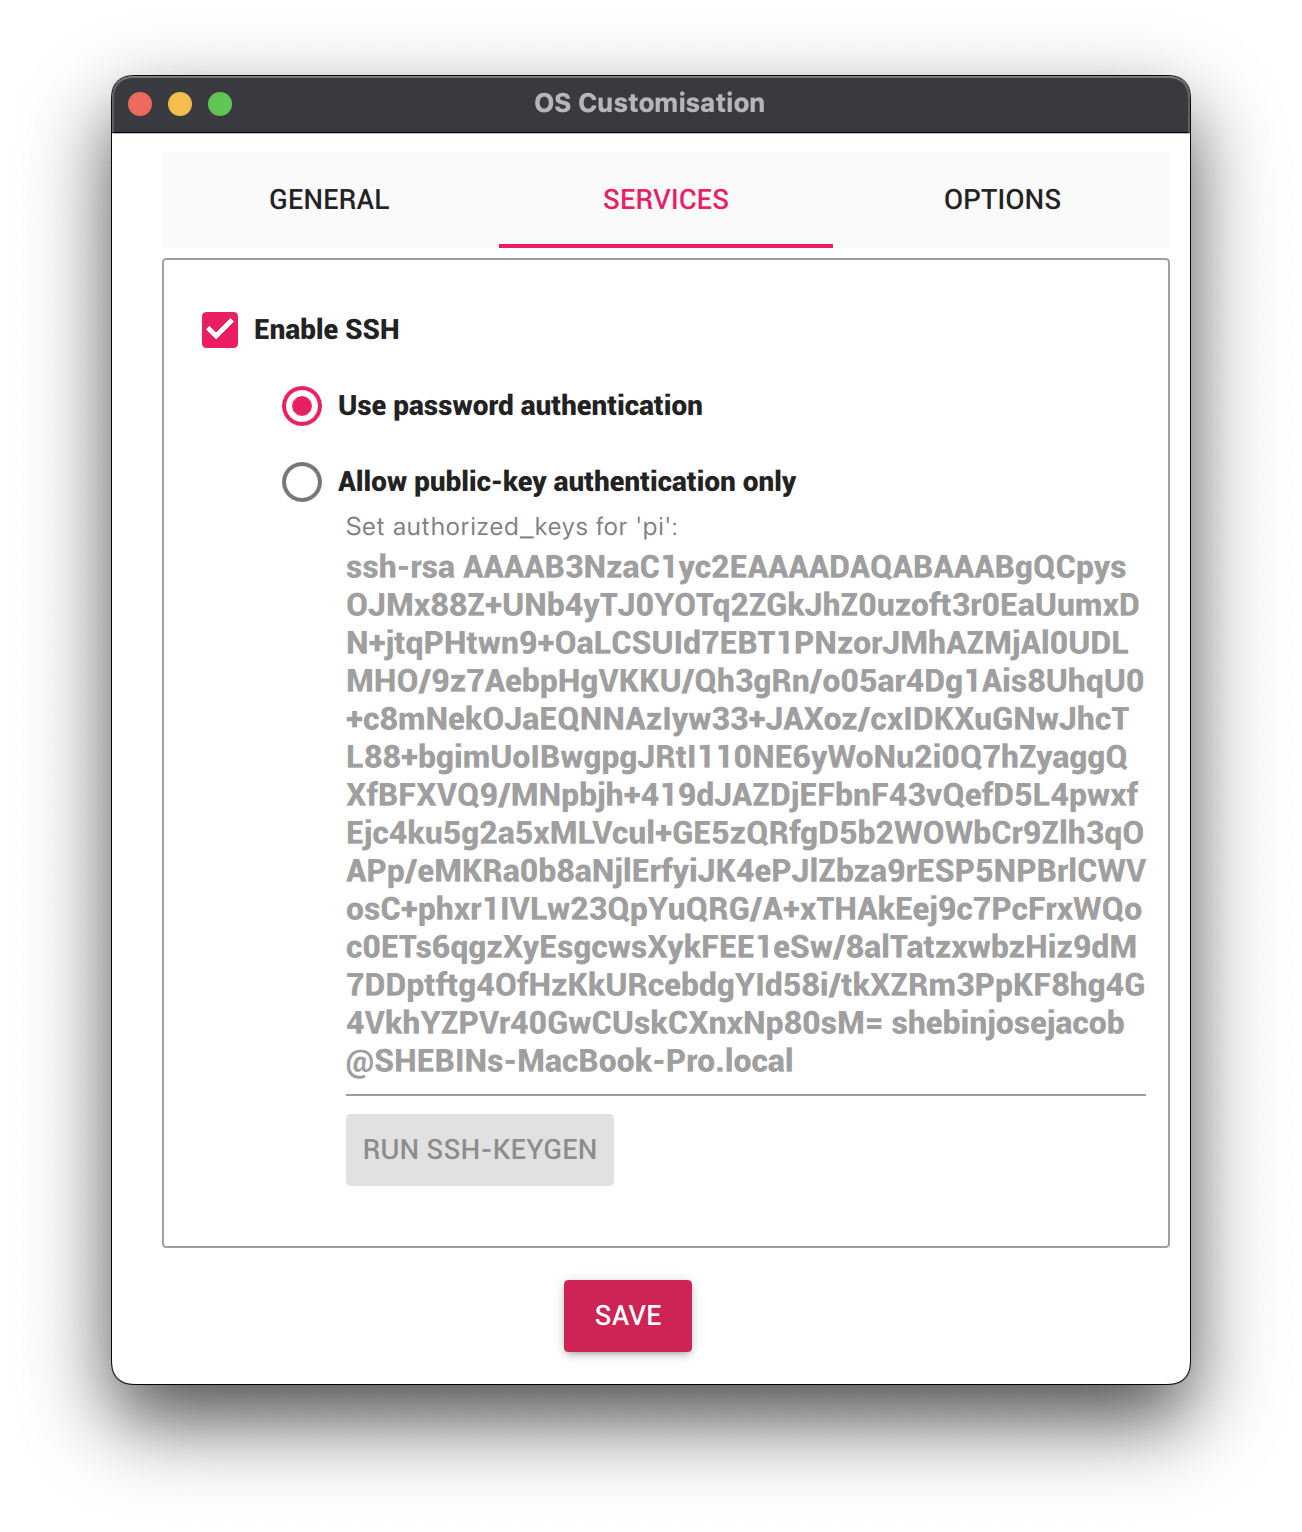
Select the SERVICES tab, check Enable SSH, and select Use password authentication. Be sure that you remember the hostname and username you set, as you will need this when you SSH into your Pi.
Save your updates, and confirm YES to apply OS customization settings. Confirm YES to erase data on the USB flash drive. You may also be prompted by your operating system to enter an administrator password. After granting permissions to the Imager, it will begin writing and then verifying the Linux installation to the USB flash drive.
Remove the USB flash drive from your computer when the installation is complete.
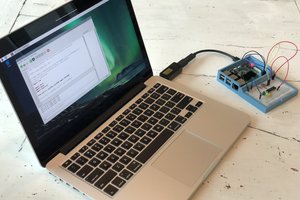
Connect with SSH
Place the USB flash drive into your Raspberry Pi and boot the Pi by plugging it in to an outlet. A red LED will turn on to indicate that the Pi is connected to power. Make sure you are using a 5V 5A (25W) power supply. USB boot is disabled by default when connected to a 3A power supply, so adequate amperage is required for the optimal performance of your Raspberry Pi 5.
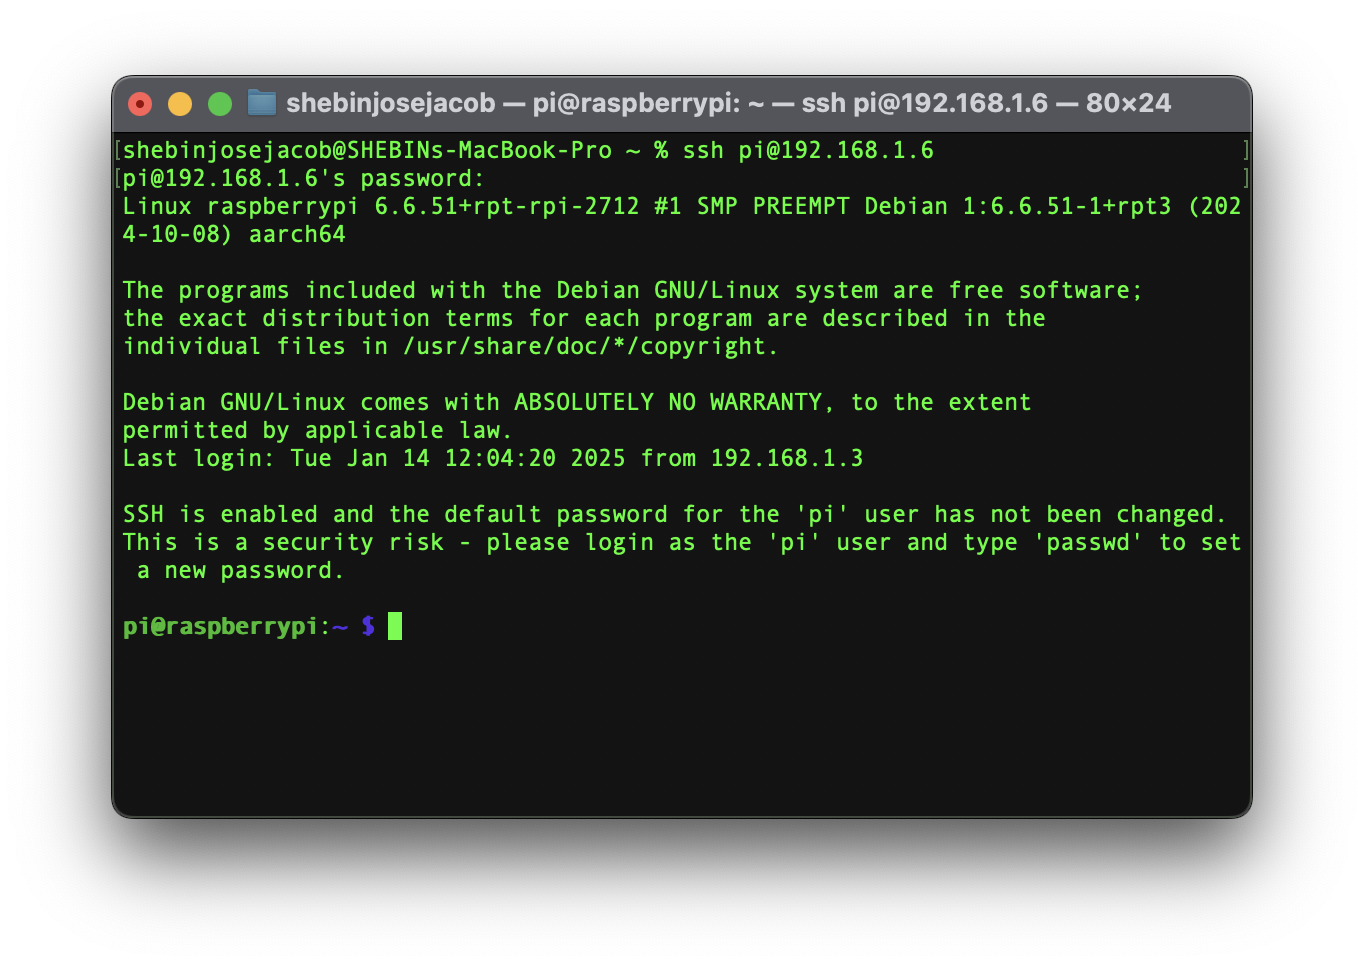
Once the Pi is started, connect to it with SSH. From a command line terminal window, enter the following command. The text in <> should be replaced (including the < and > symbols themselves) with the user and hostname you configured when you set up your Pi.
ssh <USERNAME>@<HOSTNAME>.local
If you are prompted “Are you sure you want to continue connecting?”, type “yes” and hit enter. Then, enter the password for your username. You should be greeted by a login message and a command prompt.
Update your Raspberry Pi to ensure all the latest packages are installed
sudo apt update
sudo apt upgrade
Enable communication protocols
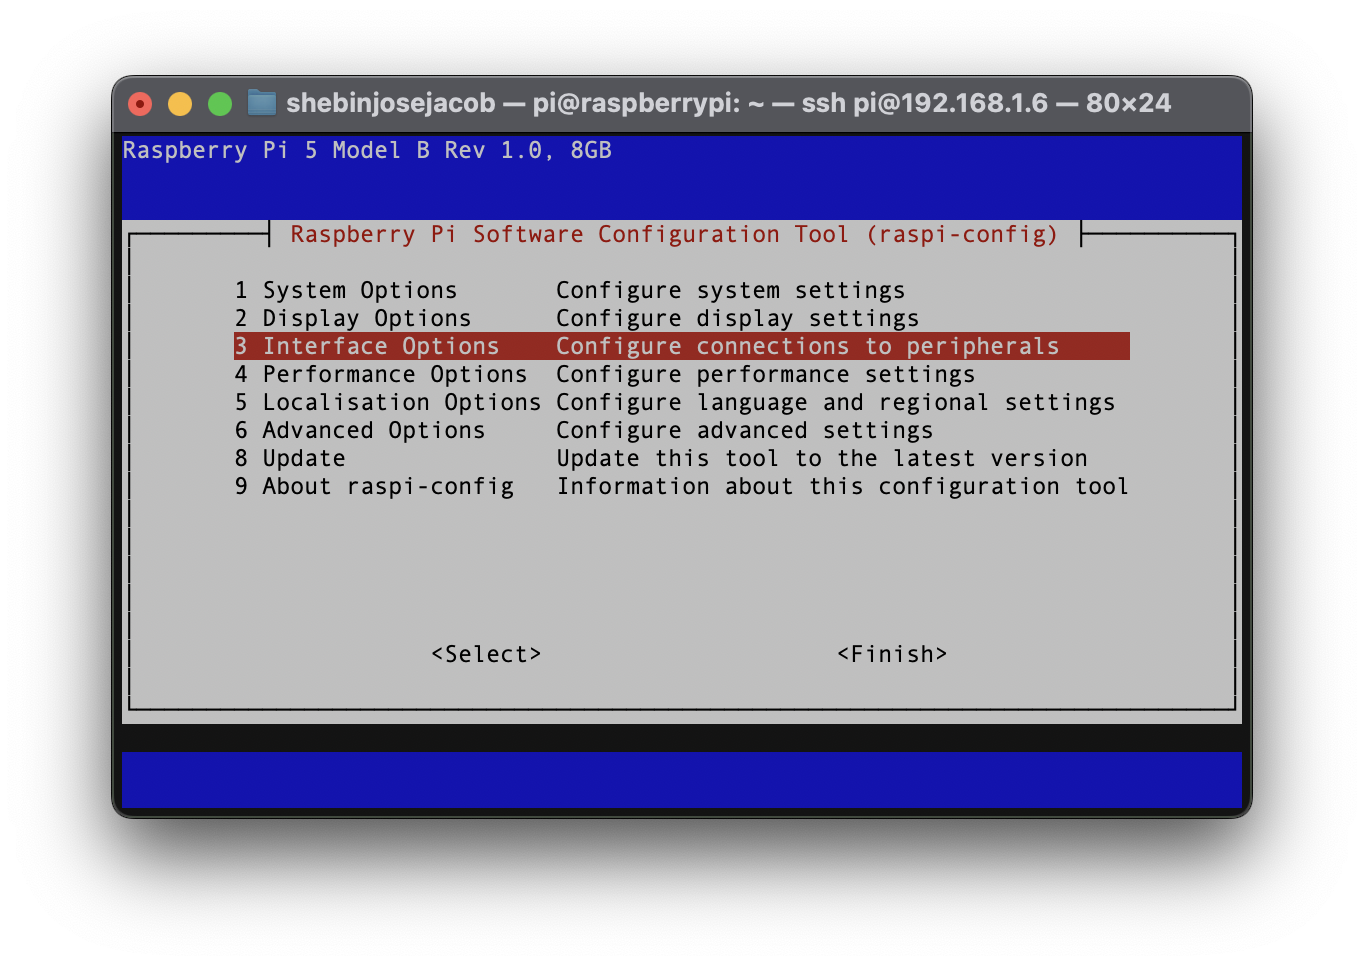
Launch the Pi configuration tool by running the following command
sudo raspi-config
Use your keyboard to select Interface Options, and press return.
 Coders Cafe
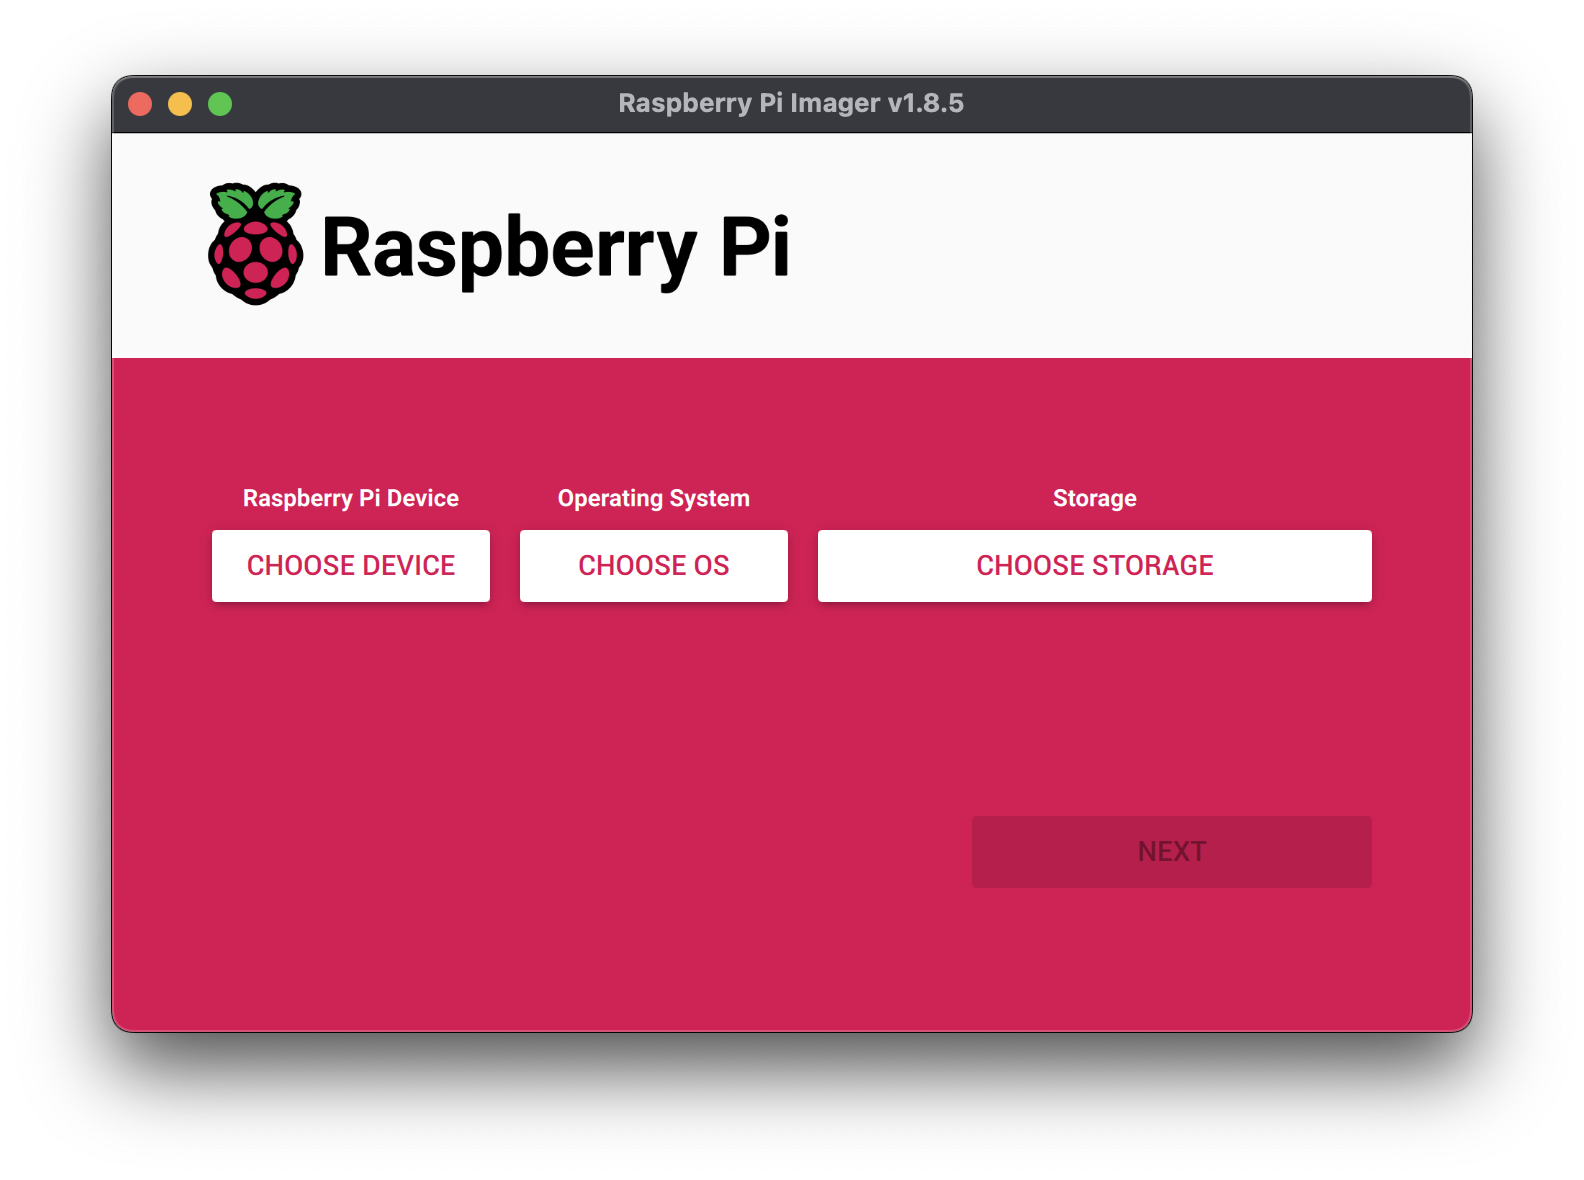
 Anton
Anton