 agoel3
-
SmartFan Project Update - Week 8
6 days ago • 0 commentsFinal Progress
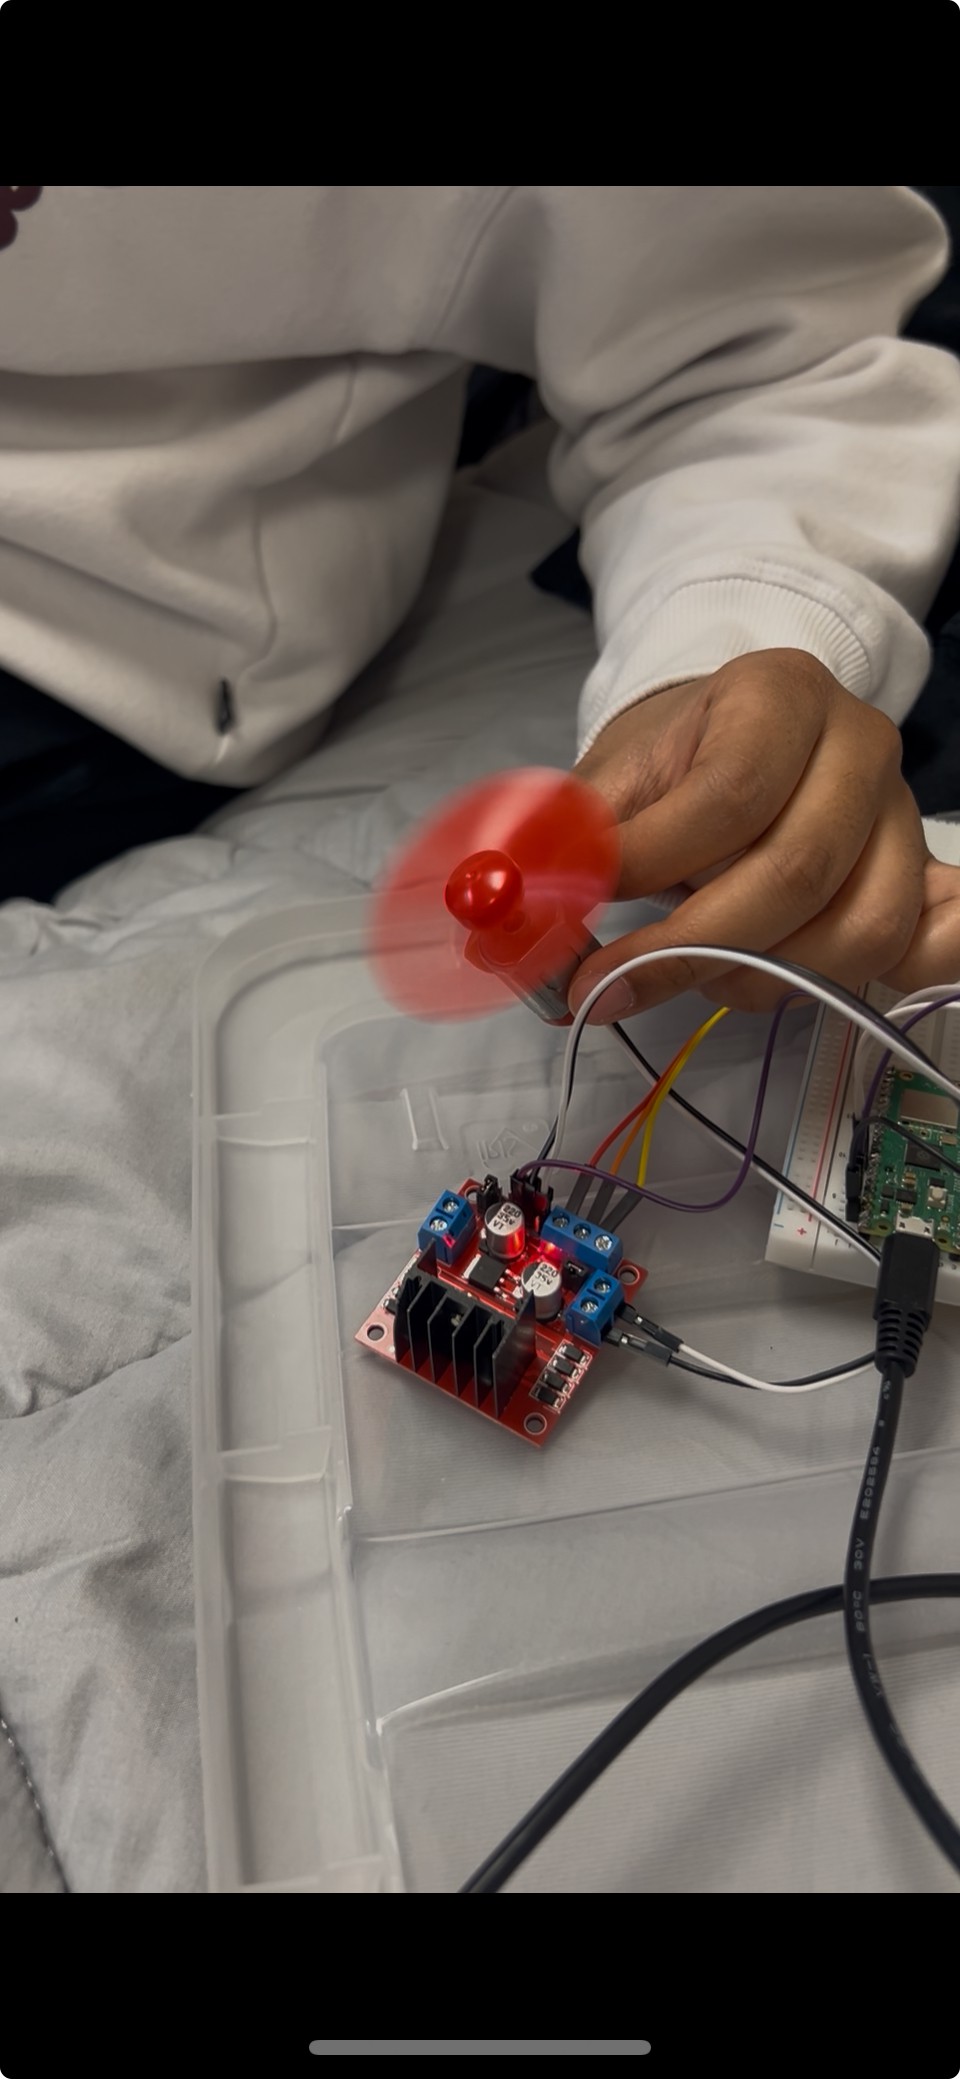
This week, we successfully accomplished the following things.
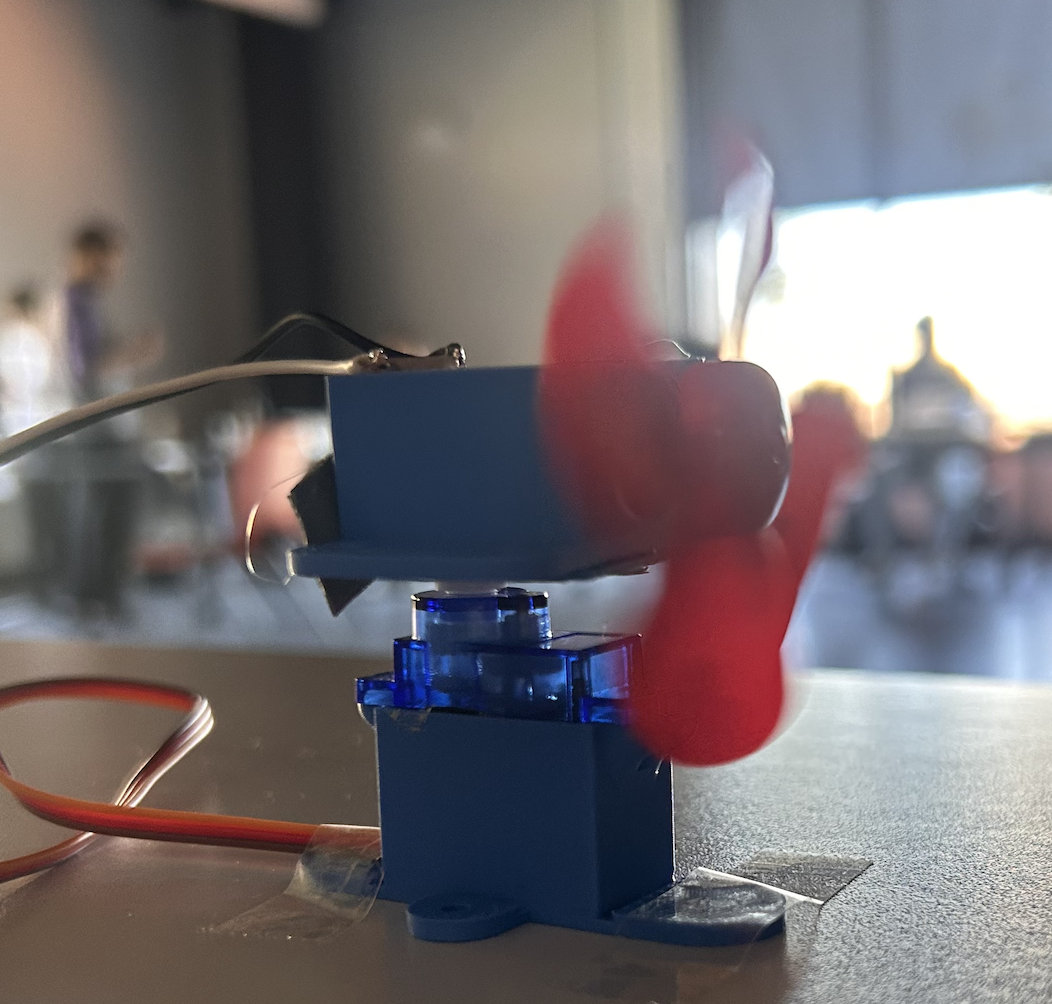
we successfully attached the 3D-printed holder to both the DC motor and micro servo.- Attached 3D-printed holder to both the DC motor and micro servo
- Translated project to an Arduino Nano-every for better compatability
- Integrated micro servo
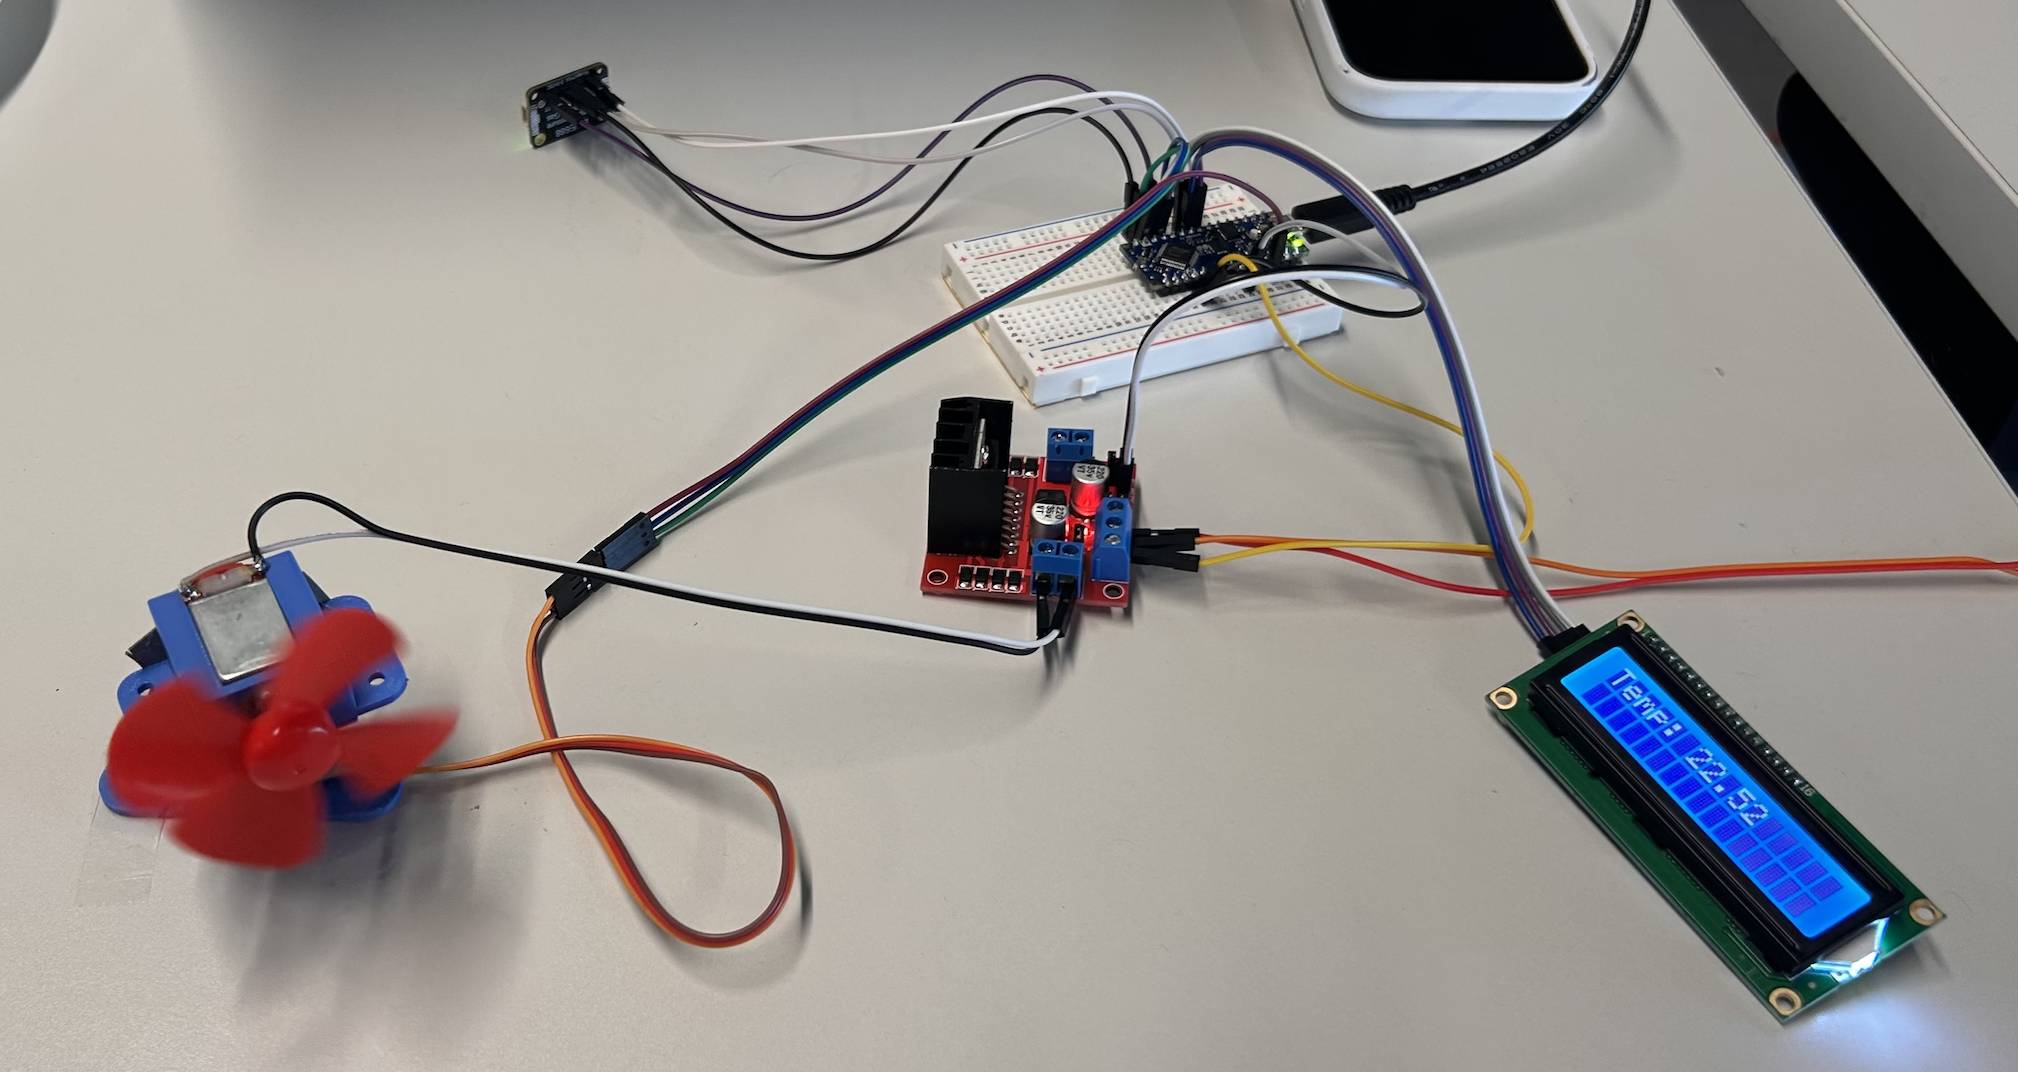
- Integrated display
![]()
![]()
Challenges
Initially, we struggled to get the display working with the Raspberry Pi, so we ended up needing to switch the entire system to an Arduino. While this required rewriting some of the code, it ultimately made integration much smoother.
Final Thoughts & Potential Improvements
While SmartFan is now fully functional, there are a few areas where the project could be improved:
More Efficient Motor Control – The DC motor still requires a kickstart due to mechanical friction. Future iterations could explore a different motor or a more refined power management system.
Better Power Optimization – Implementing low-power modes or exploring a battery/solar-powered version could make SmartFan more energy-efficient. -
SmartFan Project Update - Week 7
03/07/2025 at 07:25 • 0 commentsProgress this week:
This week, we focused on the hardware side of SmartFan by designing and 3D printing custom holders for key components:
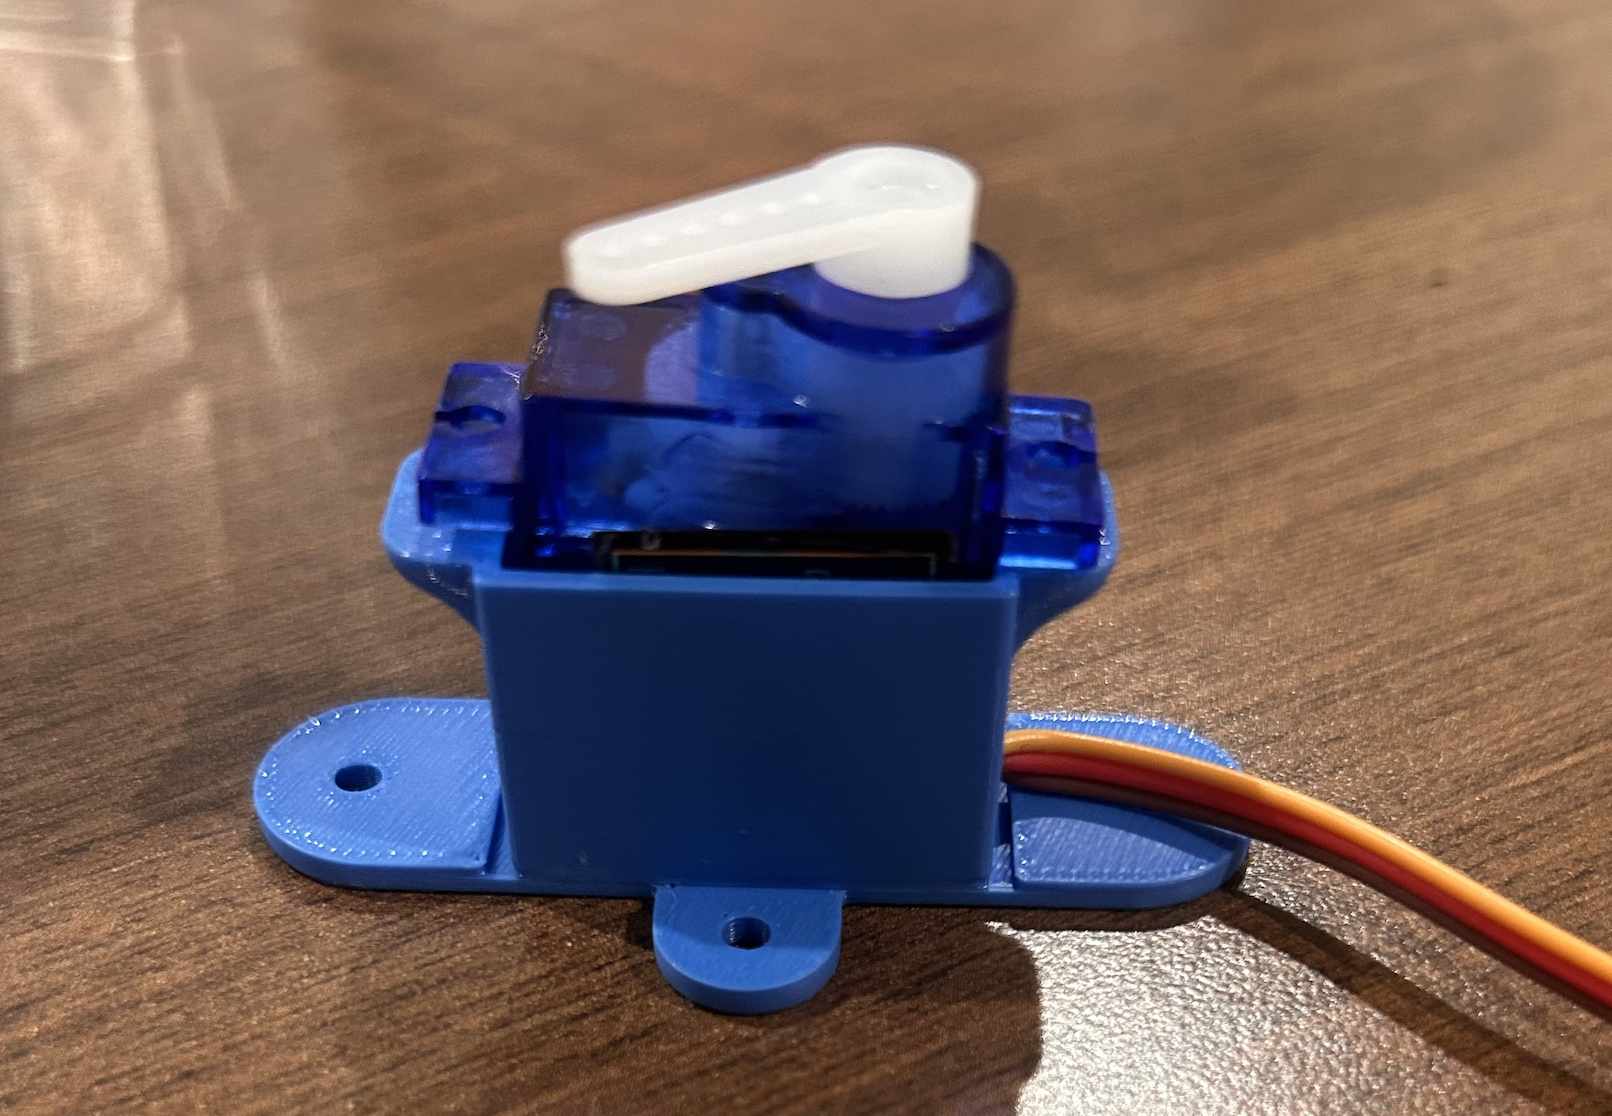
Micro Servo Holder – A secure box-like mount to keep the servo motor in place.
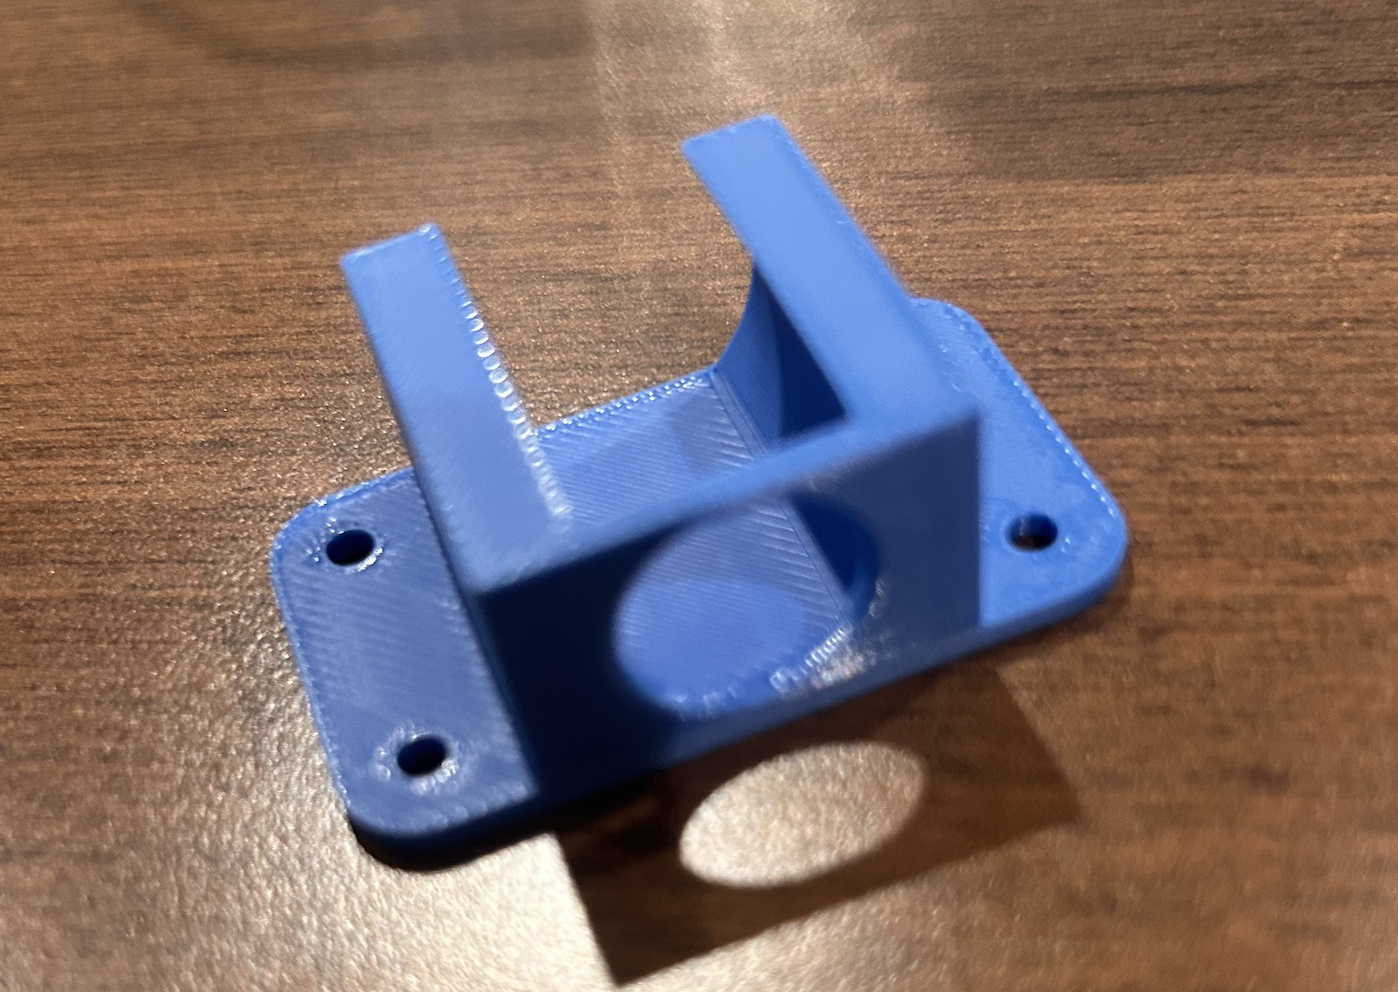
DC Motor Mount – A piece that allows the DC motor to attach to the micro servo, enabling future oscillation control.![]()
![]()
Challenges:
Fit & Tolerance Adjustments – Some minor tweaks were needed to ensure a snug fit for the motors without restricting movement.
Plans for Next Week:
Attach and Test the Servo Mechanism – Start programming and testing the servo to control the fan’s direction.
Add a Display – Incorporate a small screen to show the real-time temperature
Integrate the Micro Servo – Start programming and testing the Micro Servo to help the fan rotate.
-
Smart Fan Project Update - Week 6
02/27/2025 at 09:55 • 0 commentsProgress:
This week, we made a big step forward by modifying our code to allow temperature-based fan speed control! Now, the fan dynamically adjusts its speed depending on changes in room temperature, bringing us closer to a fully adaptive cooling system.
Challenges
Kickstart Issue Persists – The DC motor still struggles with mechanical friction, requiring an initial push to start spinning. We may need to fine-tune the power input further or consider alternative motor solutions.
Slow Sensor Response – The temperature sensor takes time to register changes, making it harder to see real-time adjustments in fan speed. We might explore ways to smooth or predict sensor readings for better responsiveness.
Next Steps
- Implement the Servo Motor – Integrate the servo to control the fan’s oscillation for directed airflow.
- Refine Fan Speed Adjustments – Optimize the response time and reliability of temperature-based speed changes.
![]()
-
Smart Fan Project Update - Week 5
02/27/2025 at 09:50 • 0 commentsProgress
This week we made the following progress!
- We successfully set up the BME688 temperature sensor, wiring everything up and ensuring it communicates correctly with the Raspberry Pi Pico.
We used the following tutorial to guide us through the process: https://learn.adafruit.com/adafruit-bme680-humidity-temperature-barometic-pressure-voc-gas/python-circuitpython
To make it work, we had to switch from MicroPython to CircuitPython, which introduced new challenges.
Challenges
CircuitPython Compatibility Issues: Migrating to CircuitPython caused our DC motor code to break, requiring us to rewrite the motor control logic to work within the new environment. After troubleshooting and rewriting the code, we managed to restore full functionality.
Next Steps
- Implement temperature-based fan speed control – Adjust the fan speed dynamically based on sensor readings.
- CAD a motor holder – Design and 3D-print a mount to attach the fan’s DC motor to the servo motor, which will enable controlled movement in the future.
-
Project Update: Getting Smart Fan Up and Running
02/27/2025 at 09:44 • 0 commentsProgress
We made solid progress this week (Week 4 of term).
- Gathered all necessary materials and wiring
- Set up the Raspberry Pi Pico and DC Motor and fan
- Connected all the wiring and successfully tested the fan.
We followed the following tutorial to help us set up: https://randomnerdtutorials.com/raspberry-pi-pico-dc-motor-micropython/
Challenges
One unexpected issue was the mechanical friction in the DC motor, which prevented it from starting smoothly. It needed an extra push (literally) to get going. To solve this, we experimented with increasing the initial power input to help the motor overcome this resistance.
Next Steps
1. Set up the BME688 temperature sensor and integrate it with the system.
Smart Fan
A smart and compact desk fan that changes fan speed based on room temperature for a comfortable environment.
 To make it work, we had to switch from MicroPython to CircuitPython, which introduced new challenges.