WallYofficial
-
To be continued
06/01/2017 at 07:17 • 0 commentsWith our precedent failure we didn't had the time to fix it. We just made evrything fit in the box. It work, it really does but not the way we wanted it to be. It's up to anyone who has seen our project to make it better.

-
The cicuit
06/01/2017 at 07:15 • 0 commentsWe had an all session were we tried to make the cicuit with the led work the way it was supposed to be. The only thing we achieve to do was to break my computer ... The only way to have something valable was to let it be the way we did it the first time. Even if we lose energy which is very weird.
-
The led 2
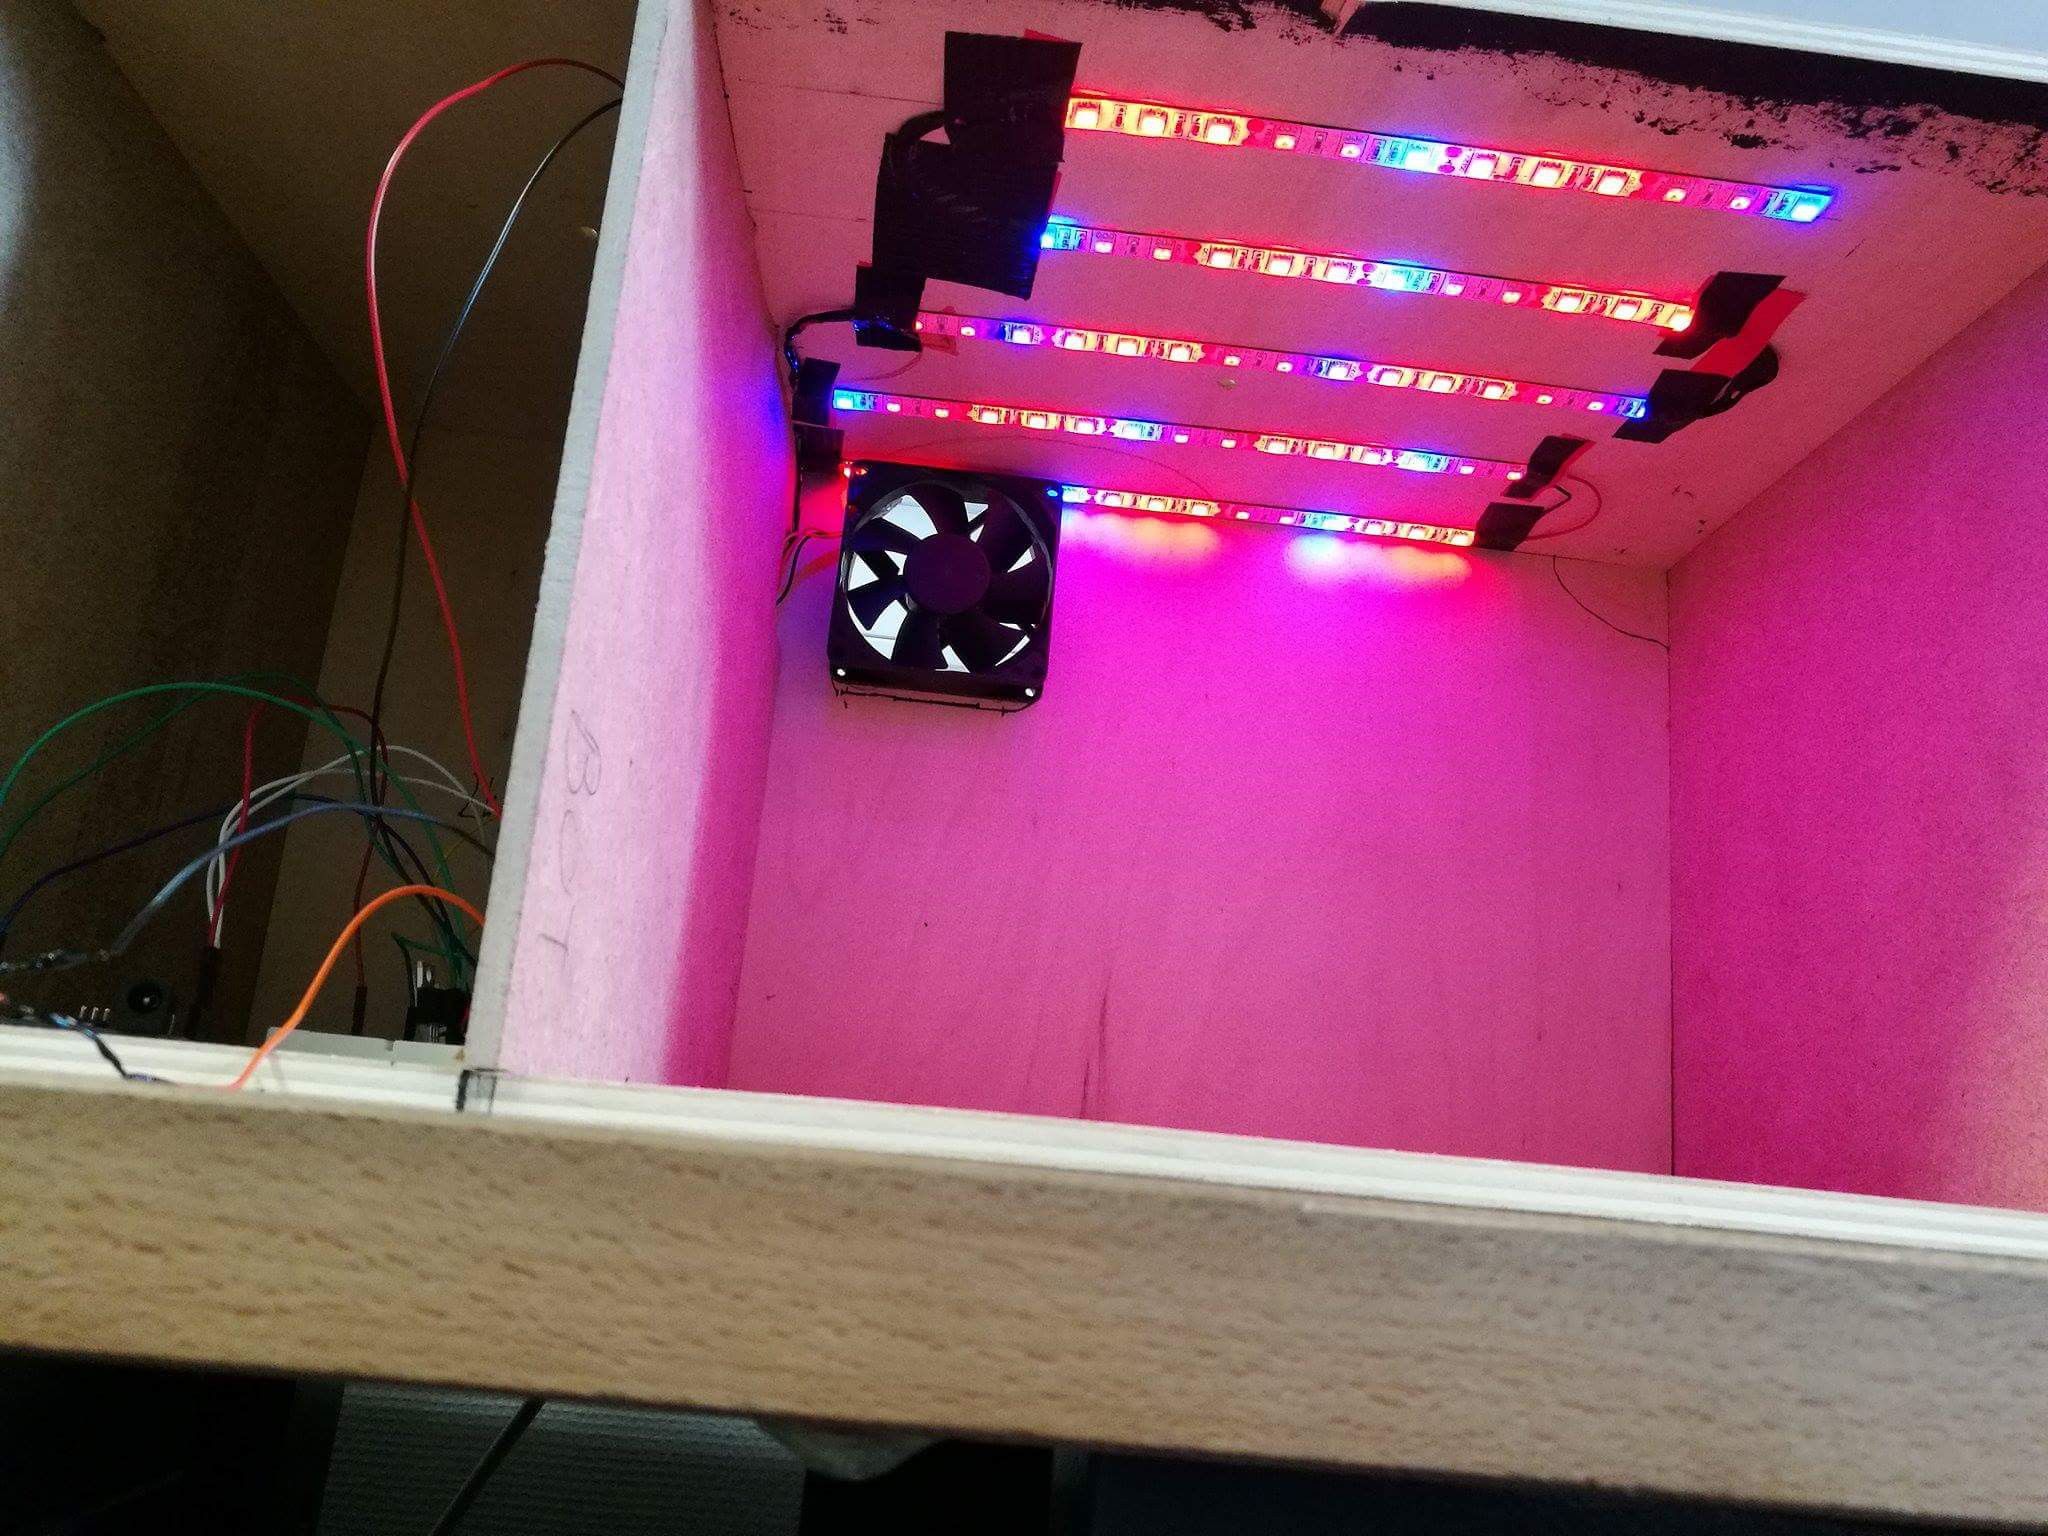
06/01/2017 at 07:12 • 0 commentswe had our led that were connected to one another. But we had to make sure of were exactly to put them in the box. We did some mesure and we putted them like this :
We used some ducktape on the side because we had wrong connexions
-
The led
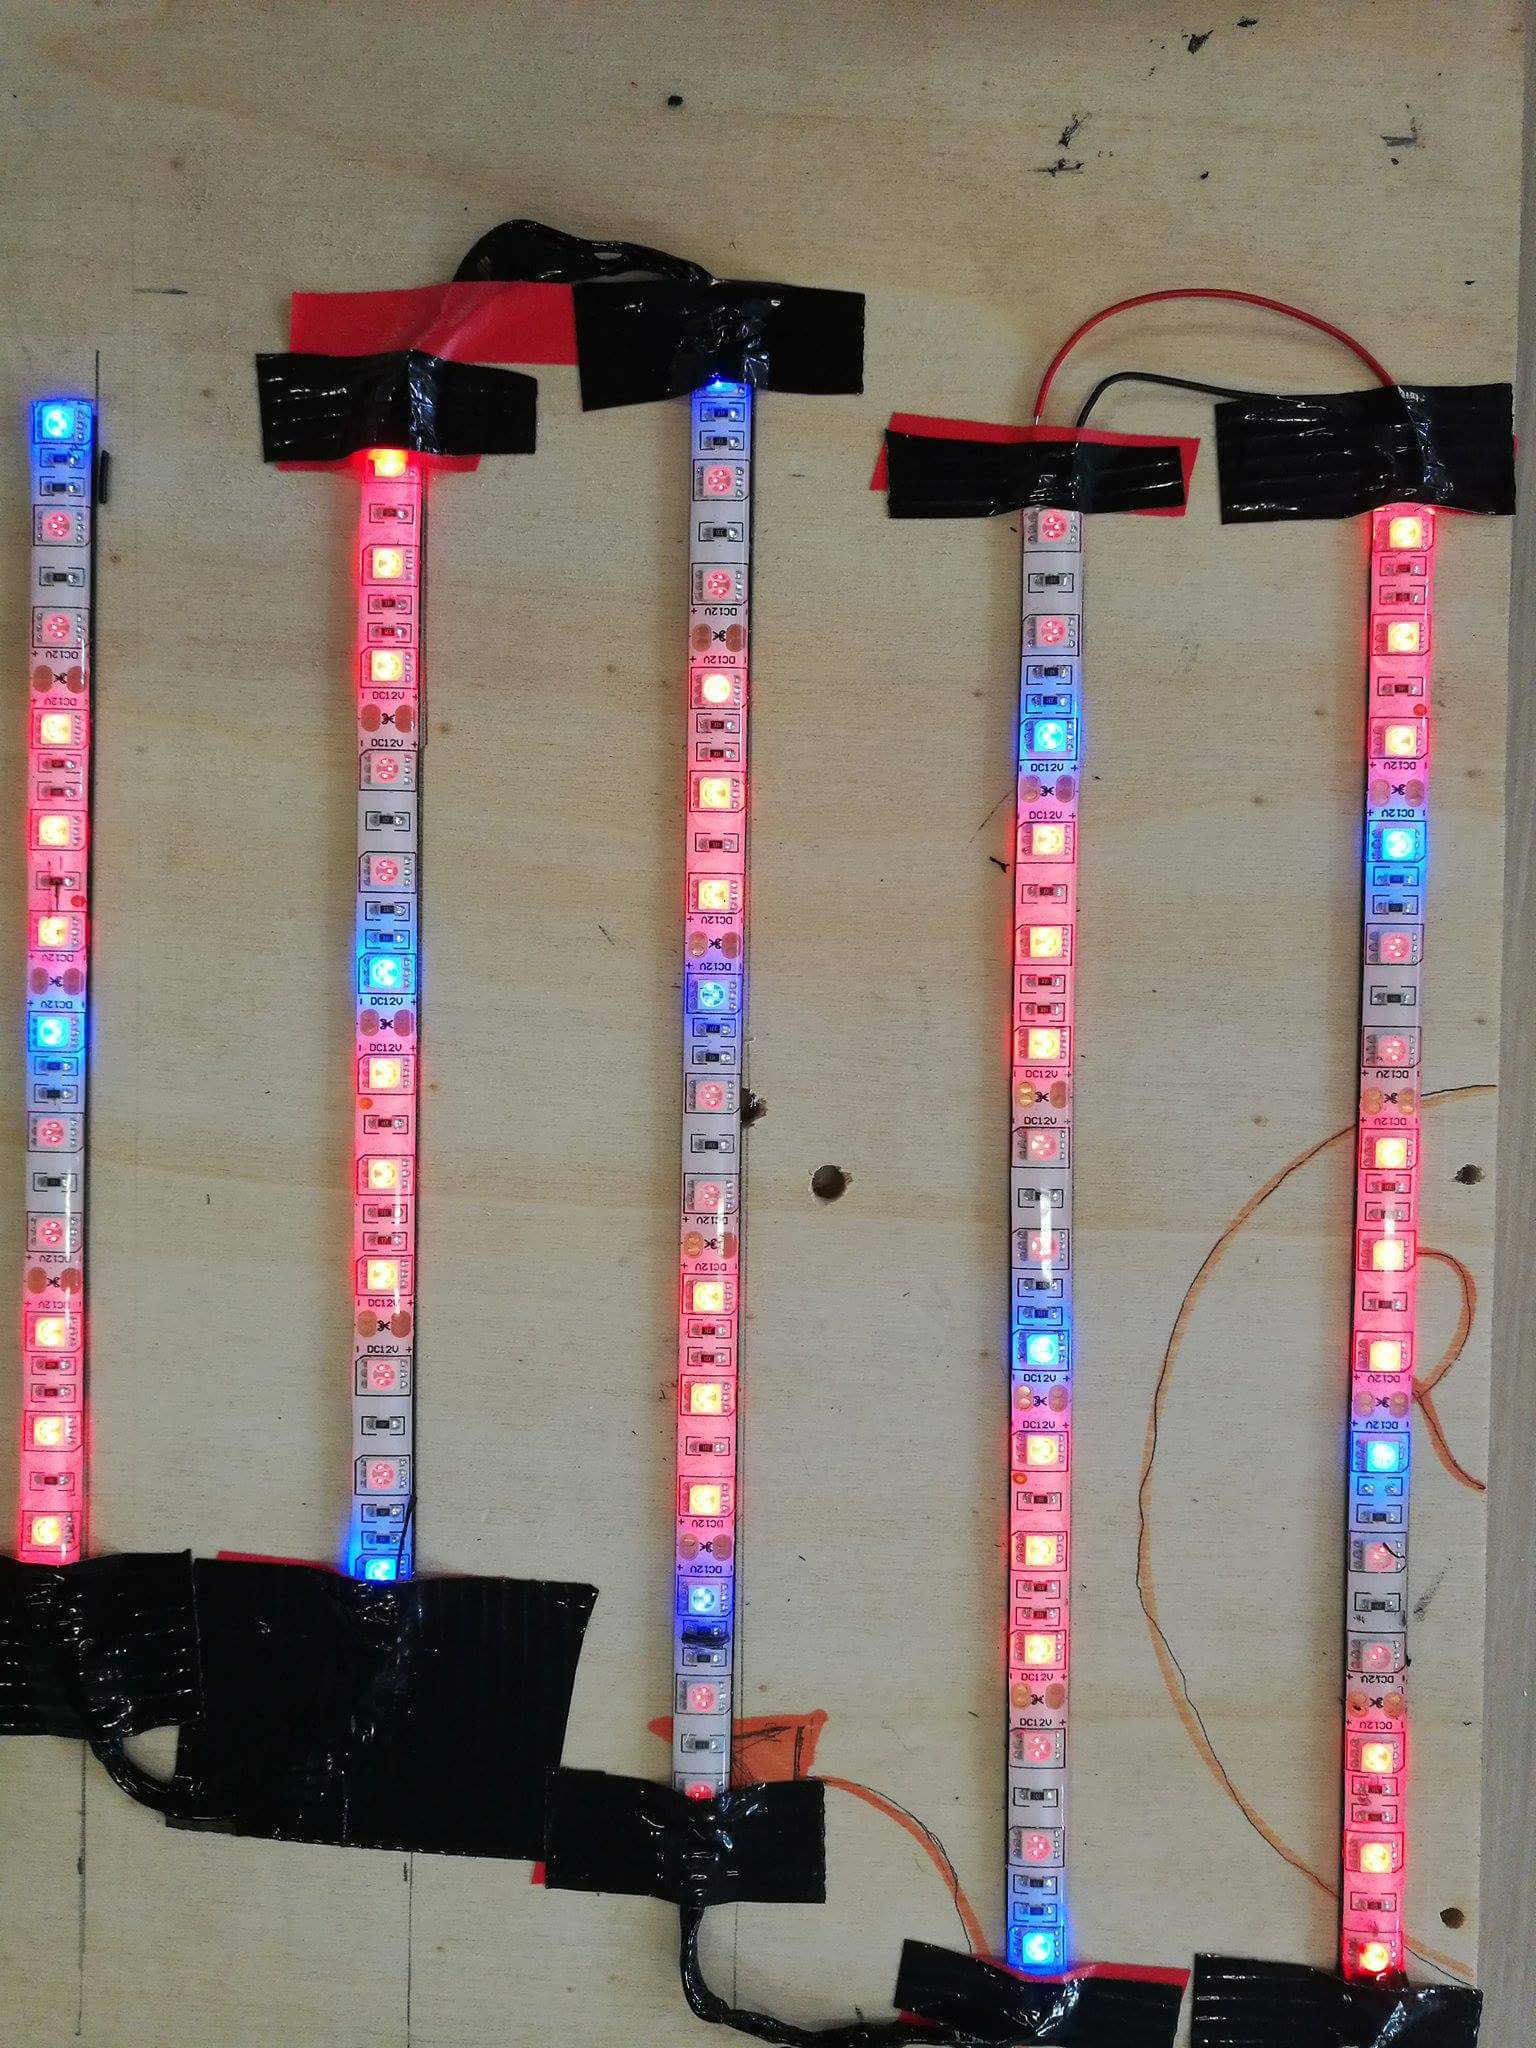
06/01/2017 at 07:09 • 0 commentsBecause we have 3 led, we connected them together with weld. Than we used so kind of glue that is supposed to make it waterproof. It didn't work very well, because it's hard to put.
-
Box 2
06/01/2017 at 07:05 • 0 commentsThat it ! The box is now finished. We made a circuit with led. To see if they were working and they are. We tried to make it work with the humidity sensor, but it's how we were stuck. We have a major problem of voltage that is always there even if in the code we said to the led to shut down.
-
The box
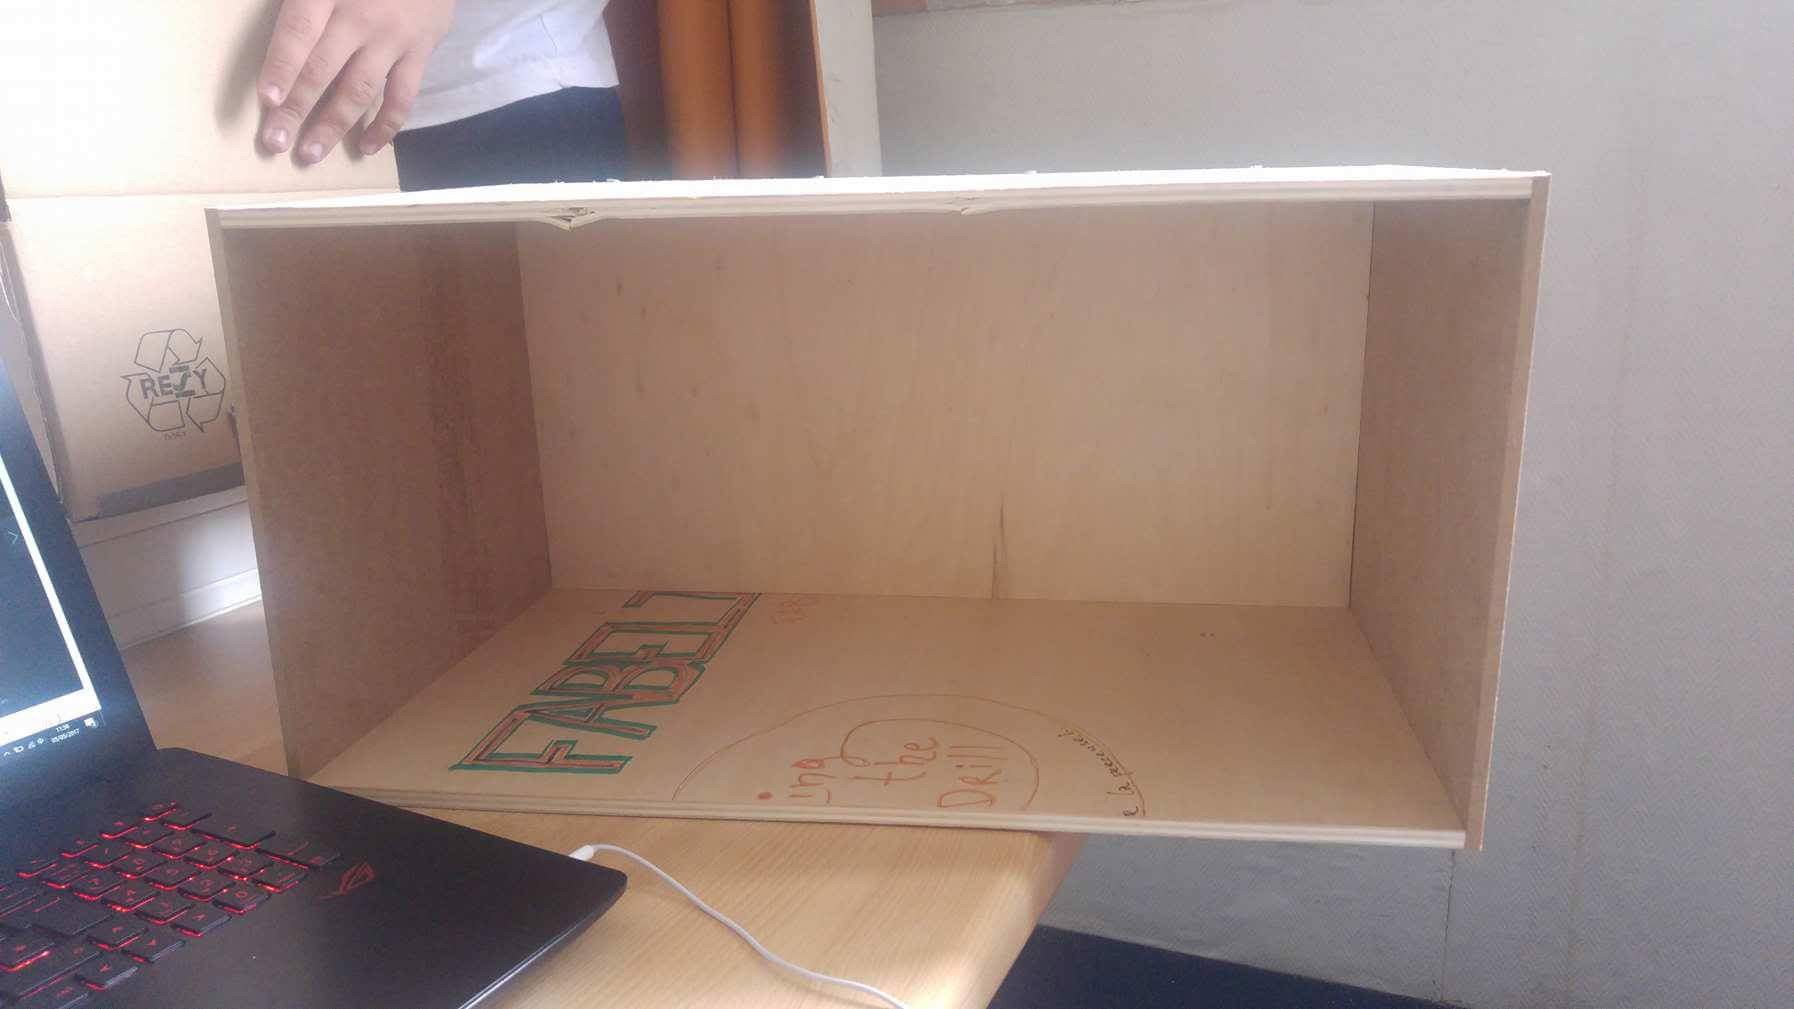
06/01/2017 at 06:59 • 0 commentsSo we decided that we were going to make the box. Thanks to the 3D design we know the dimension we wanted to use.
However we had to make it at of wood board. We actually are kind of new in the maker lab departement that's why we got a little help.
So the box is 50cm of lenght, 30 cm of height and 25 of depth. We didn't make the partition wet because we didn't know exactly where to put it.
-
Testing time
06/01/2017 at 01:13 • 0 commentsToday we tried to make some of the components work together. There was the step motor that we made turn on one direction when the DHT sensor was above a certain amont of humidity. Some of the drawing we found on internet were not so accurante (we all know the one and only wire that make everything go wrong).
Thanks to that manipulation, we notice that if the wireing was good it was quit simple to code. We only had to take the value of the sensor, put it in a variable and that use an if to make a condition on the other component. So at the end we did 3 different test. DHT with step moter. Photoresistor with a LED and Photoresistor with step motor.
-
Components
06/01/2017 at 01:00 • 0 commentsThey finaly arrived ! The components ! We decided to test them, see if averything work. That's how our first real challenge was set up. We had never code in C so we had no idea how to do it. Thanks again to the internet, we found sketches for connecting the wires to the arduino and also part of codes.
However, because we don't live in a perfect world, some of the components like the DTH were not valiable. The code we used did not work. Many hours were spent on finding out what went wrong. Most of the time it was silly things like the pin of the sensor that was not the same as the one on the code. We begun to learn how arduino really works.
-
Shopping list ajustement
06/01/2017 at 00:40 • 0 commentsSome of our components have been order, however the grow led that we were supposed to have were not accepted because of the high voltage they had. We ordered an other kind of grow led that had 2 color, bleu and red and were only 12 volt.
-
The shopping list
06/01/2017 at 00:23 • 0 comments"What kind of component do we need to take ? " was the question of the day. Amazon and internet in general became our best friends ! We decided to buy grow led thar could match the exact type of radiation the plants needed. Of course an arduino, and a lot of wires ! We also ordered humidity, temperature and light sensor ( they could be usefull ! ). For the water, we didn't exactly knew what to take so we just left it for an another day or 2 of reflexion.
WallY, completely automatic wall garden
A self-sustaining ecosystem build to solve the problem of growing vegetebals in a flat or in an unsuitable medium