-
Final Product
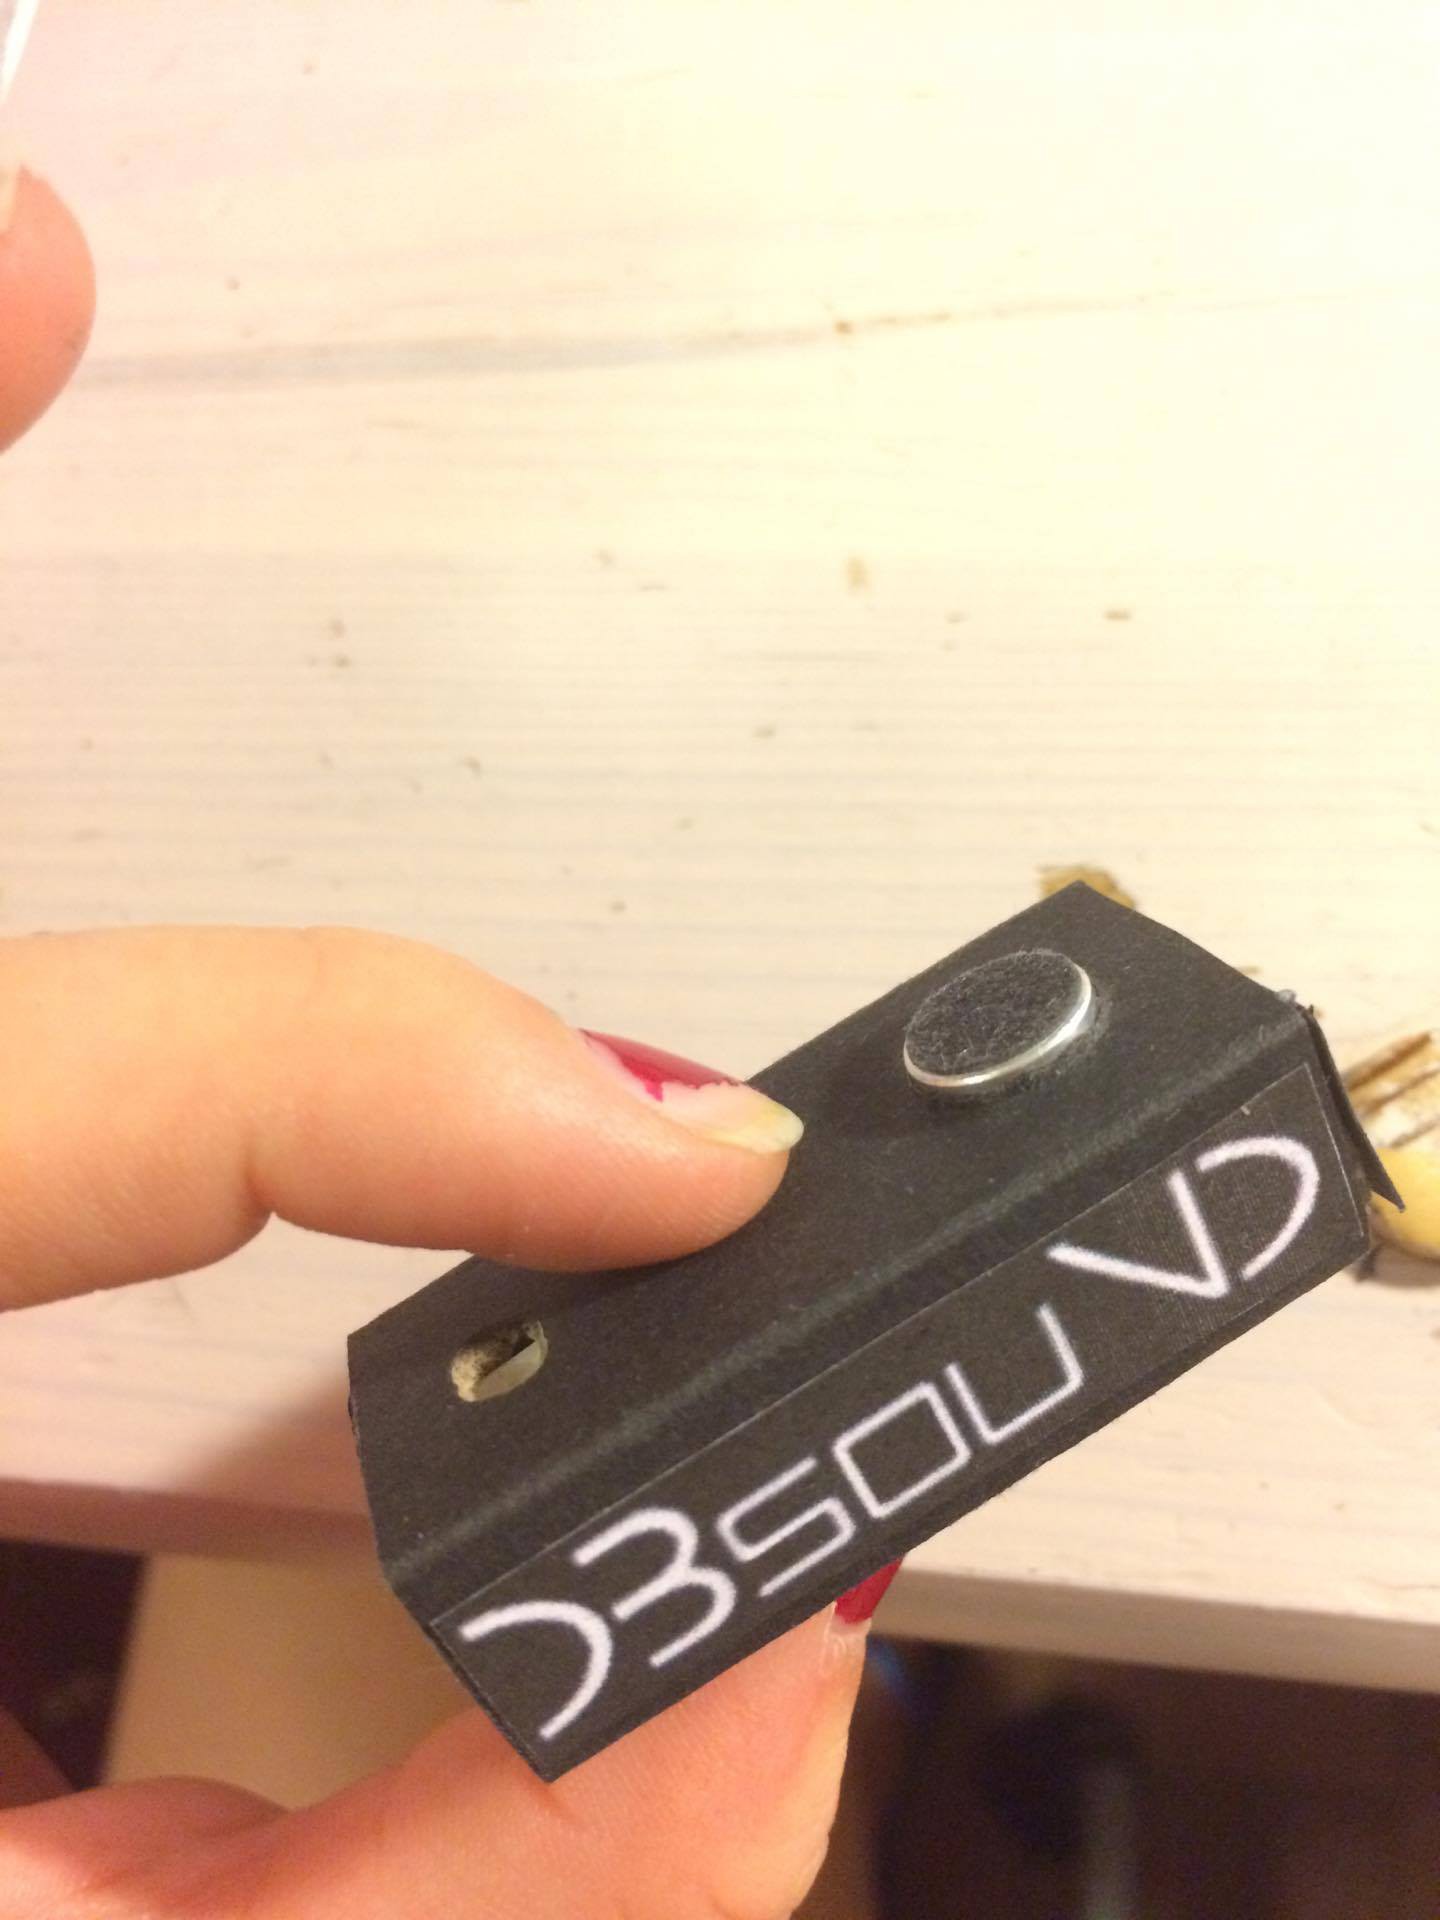
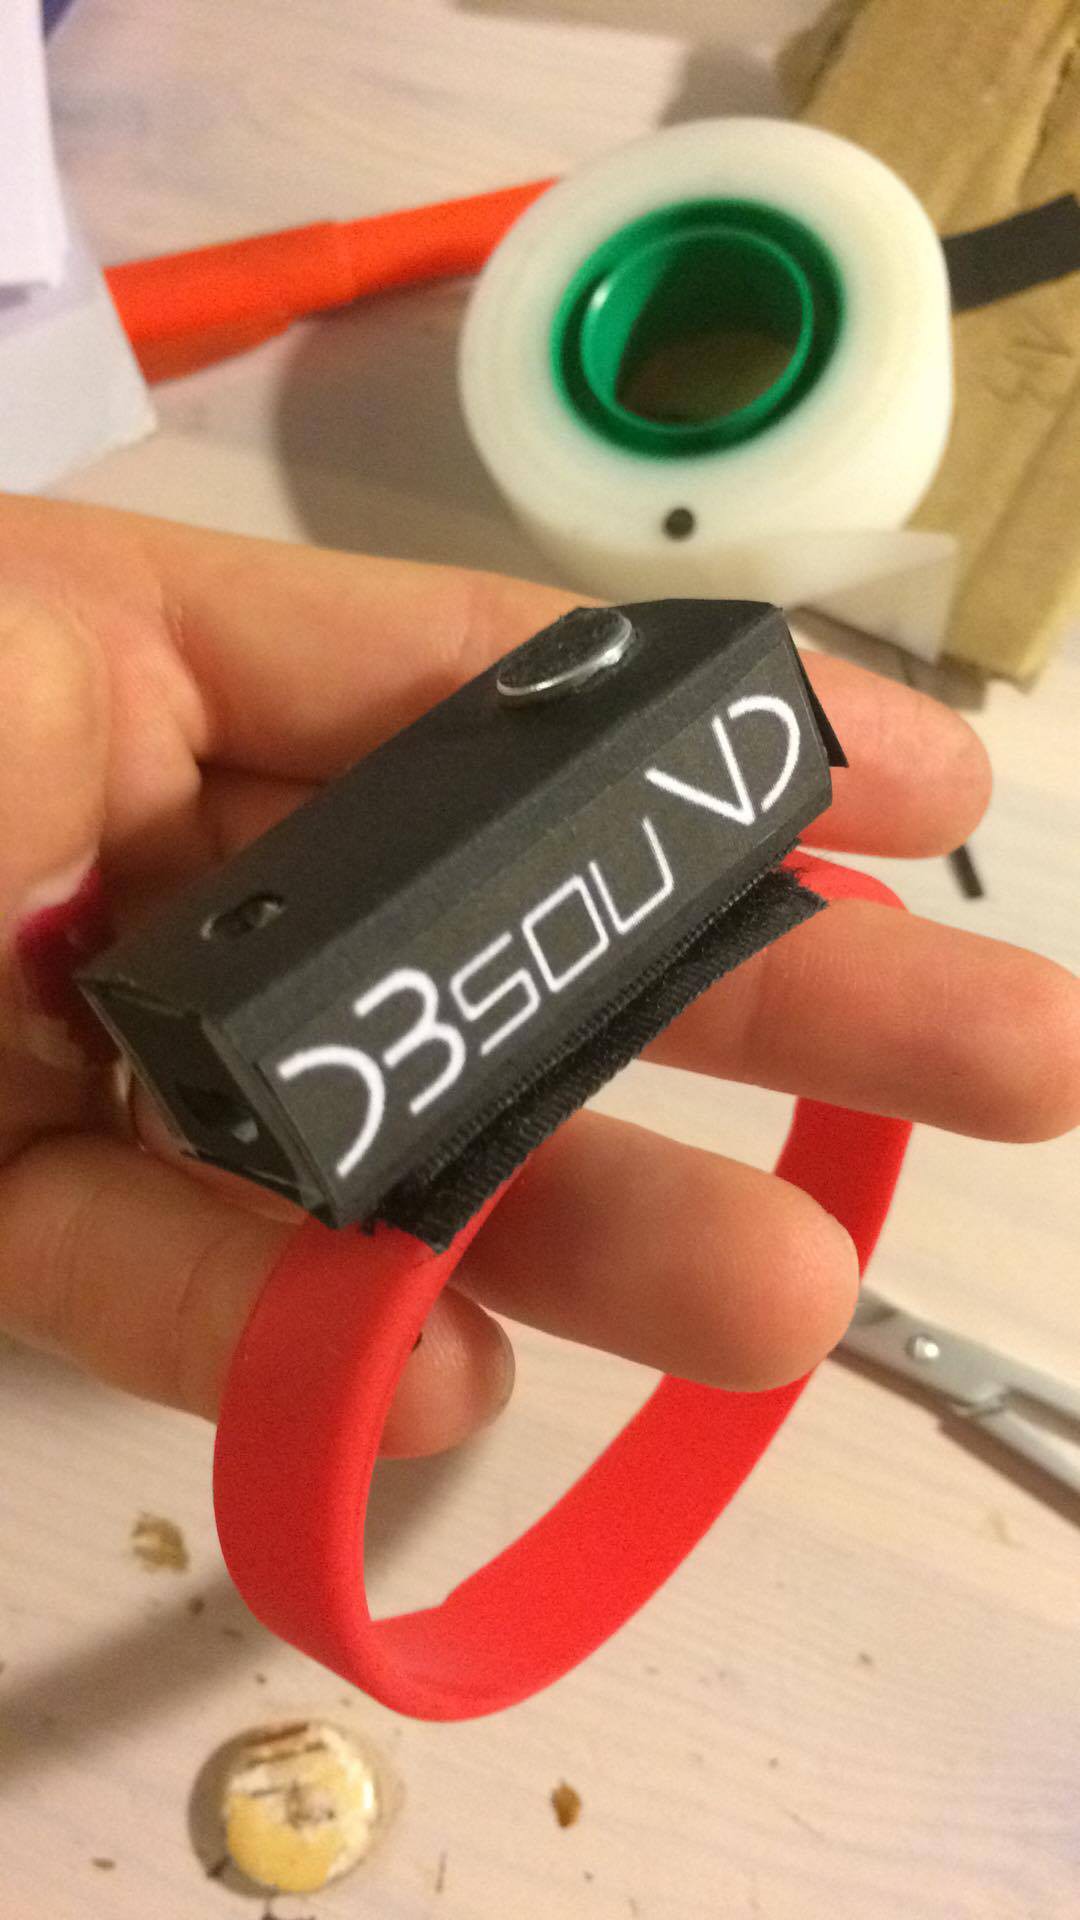
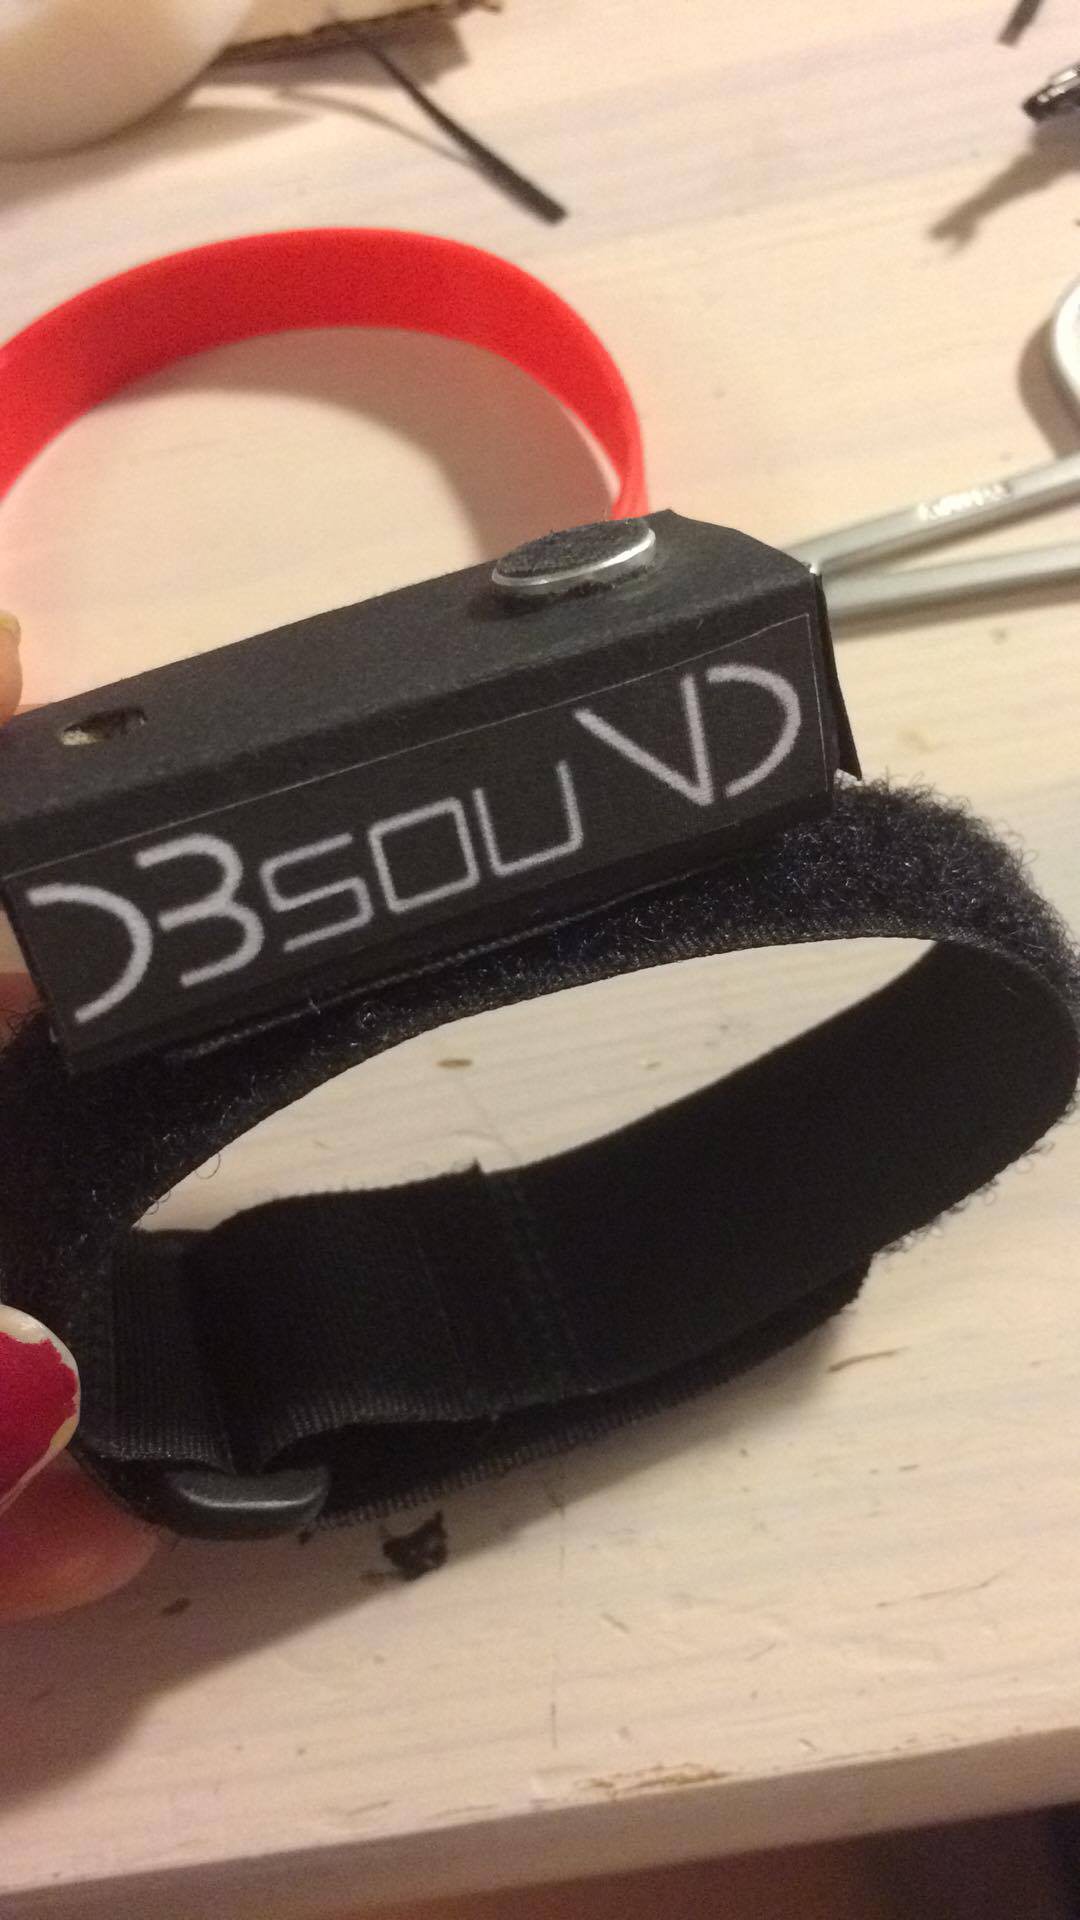
05/29/2017 at 14:31 • 0 commentsOur final product is here. I'm happy to present you .... The dBsound Bracelet :
![]()
Amazing design...
![]()
![]()
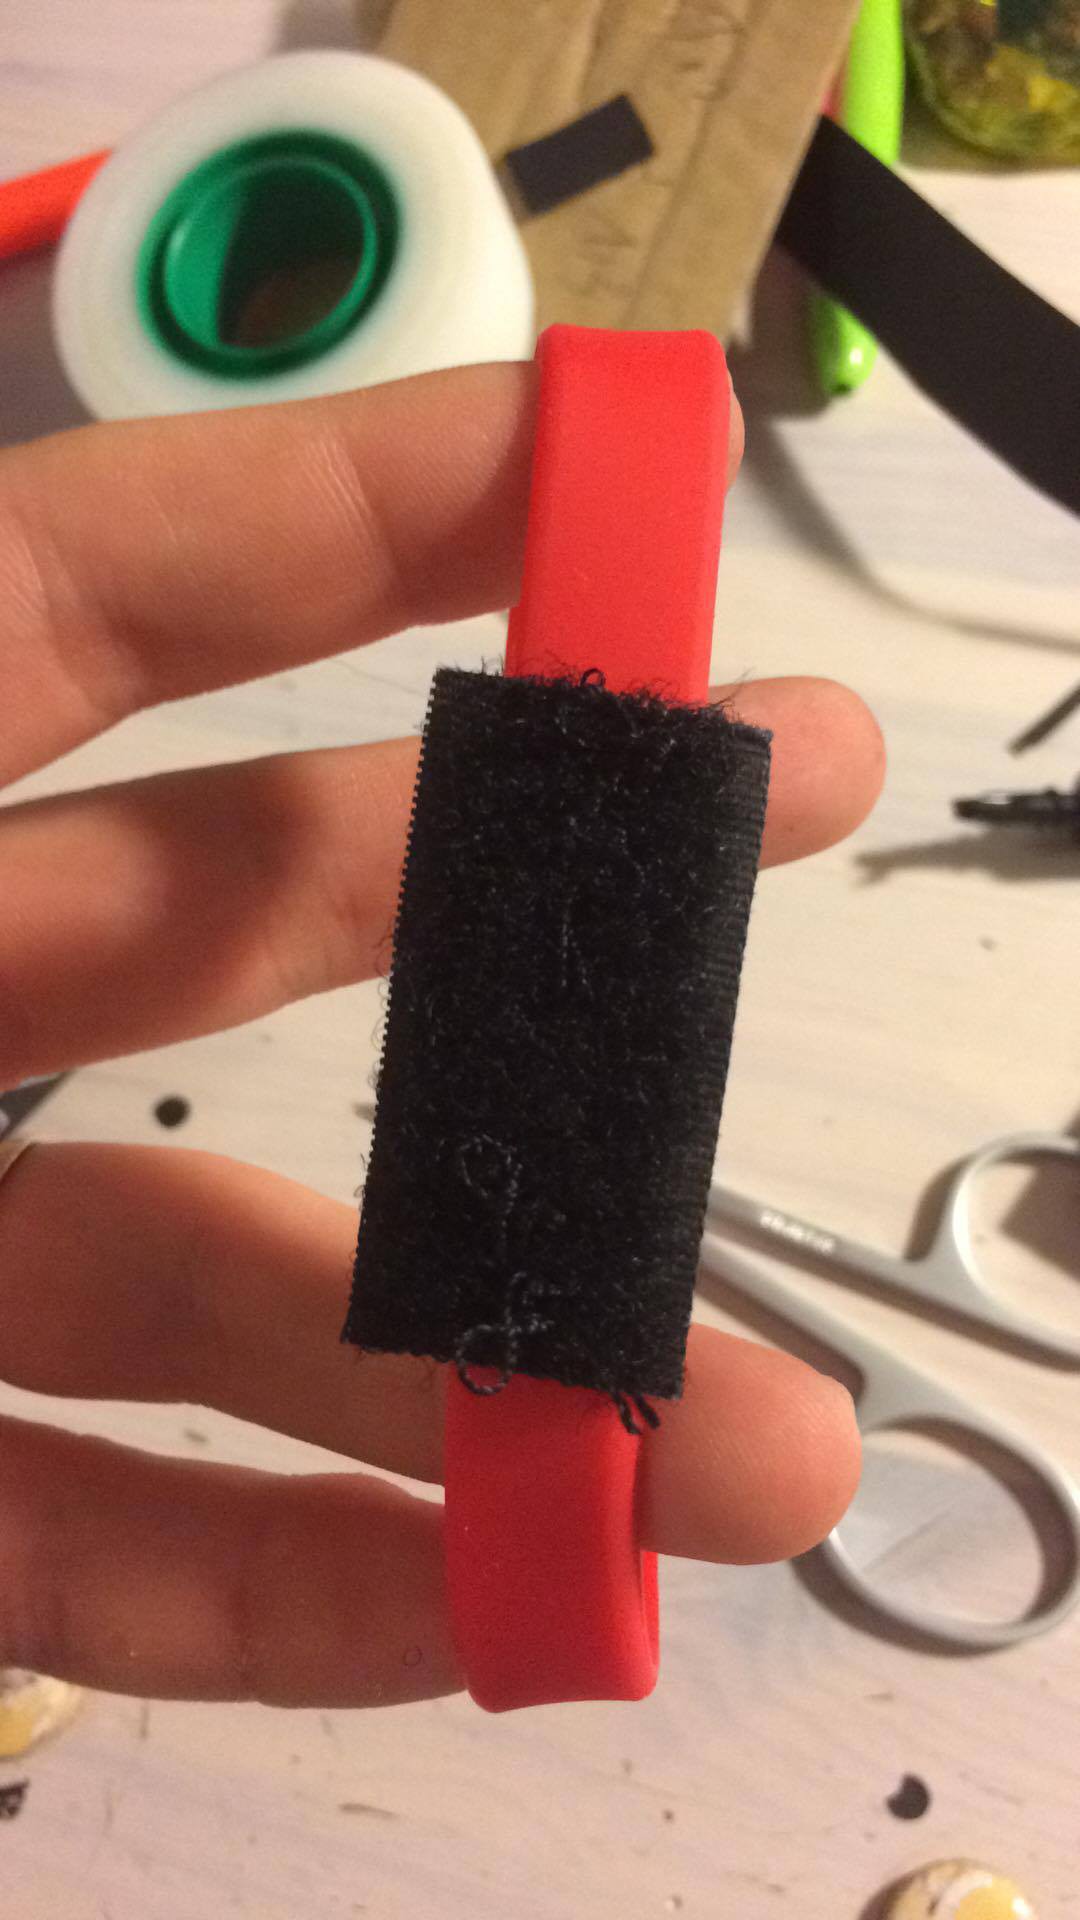
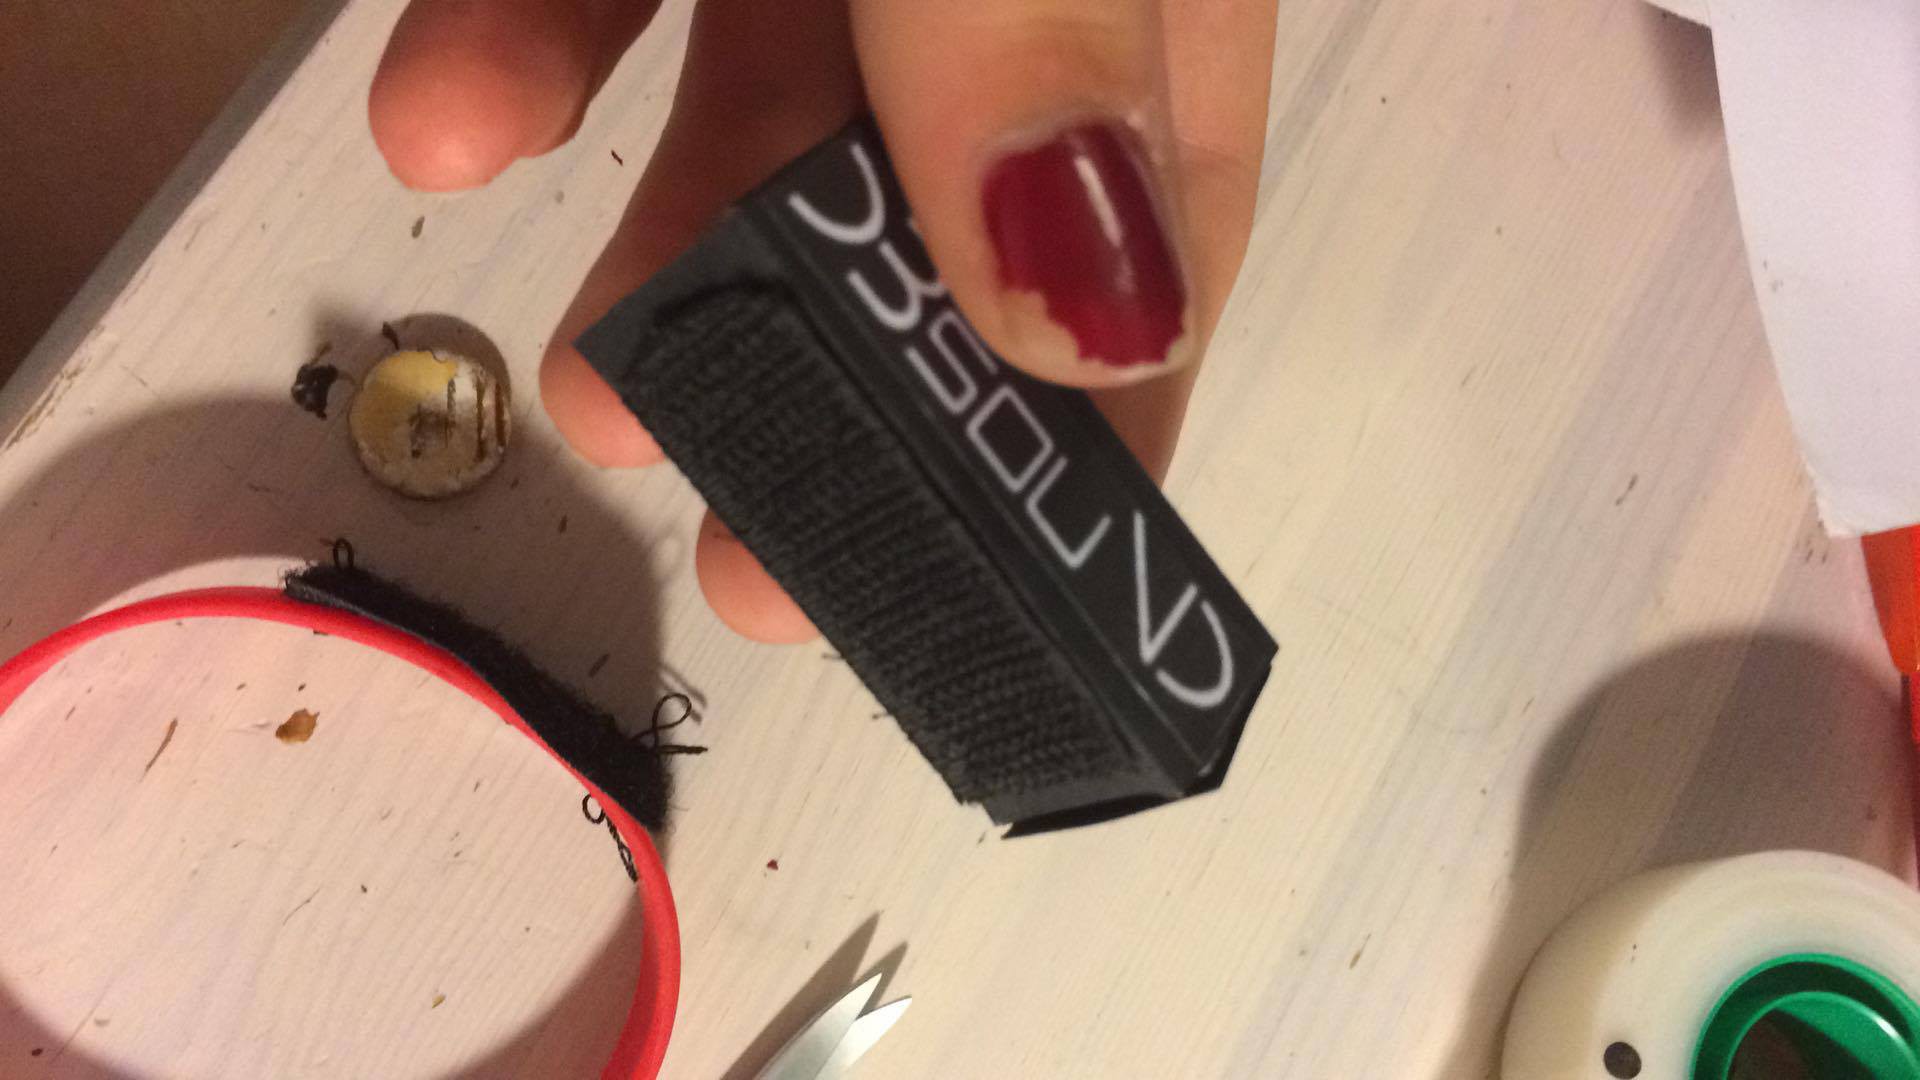
Modular...
![]()
![]()
available in different colors.
-
Close to the finish line
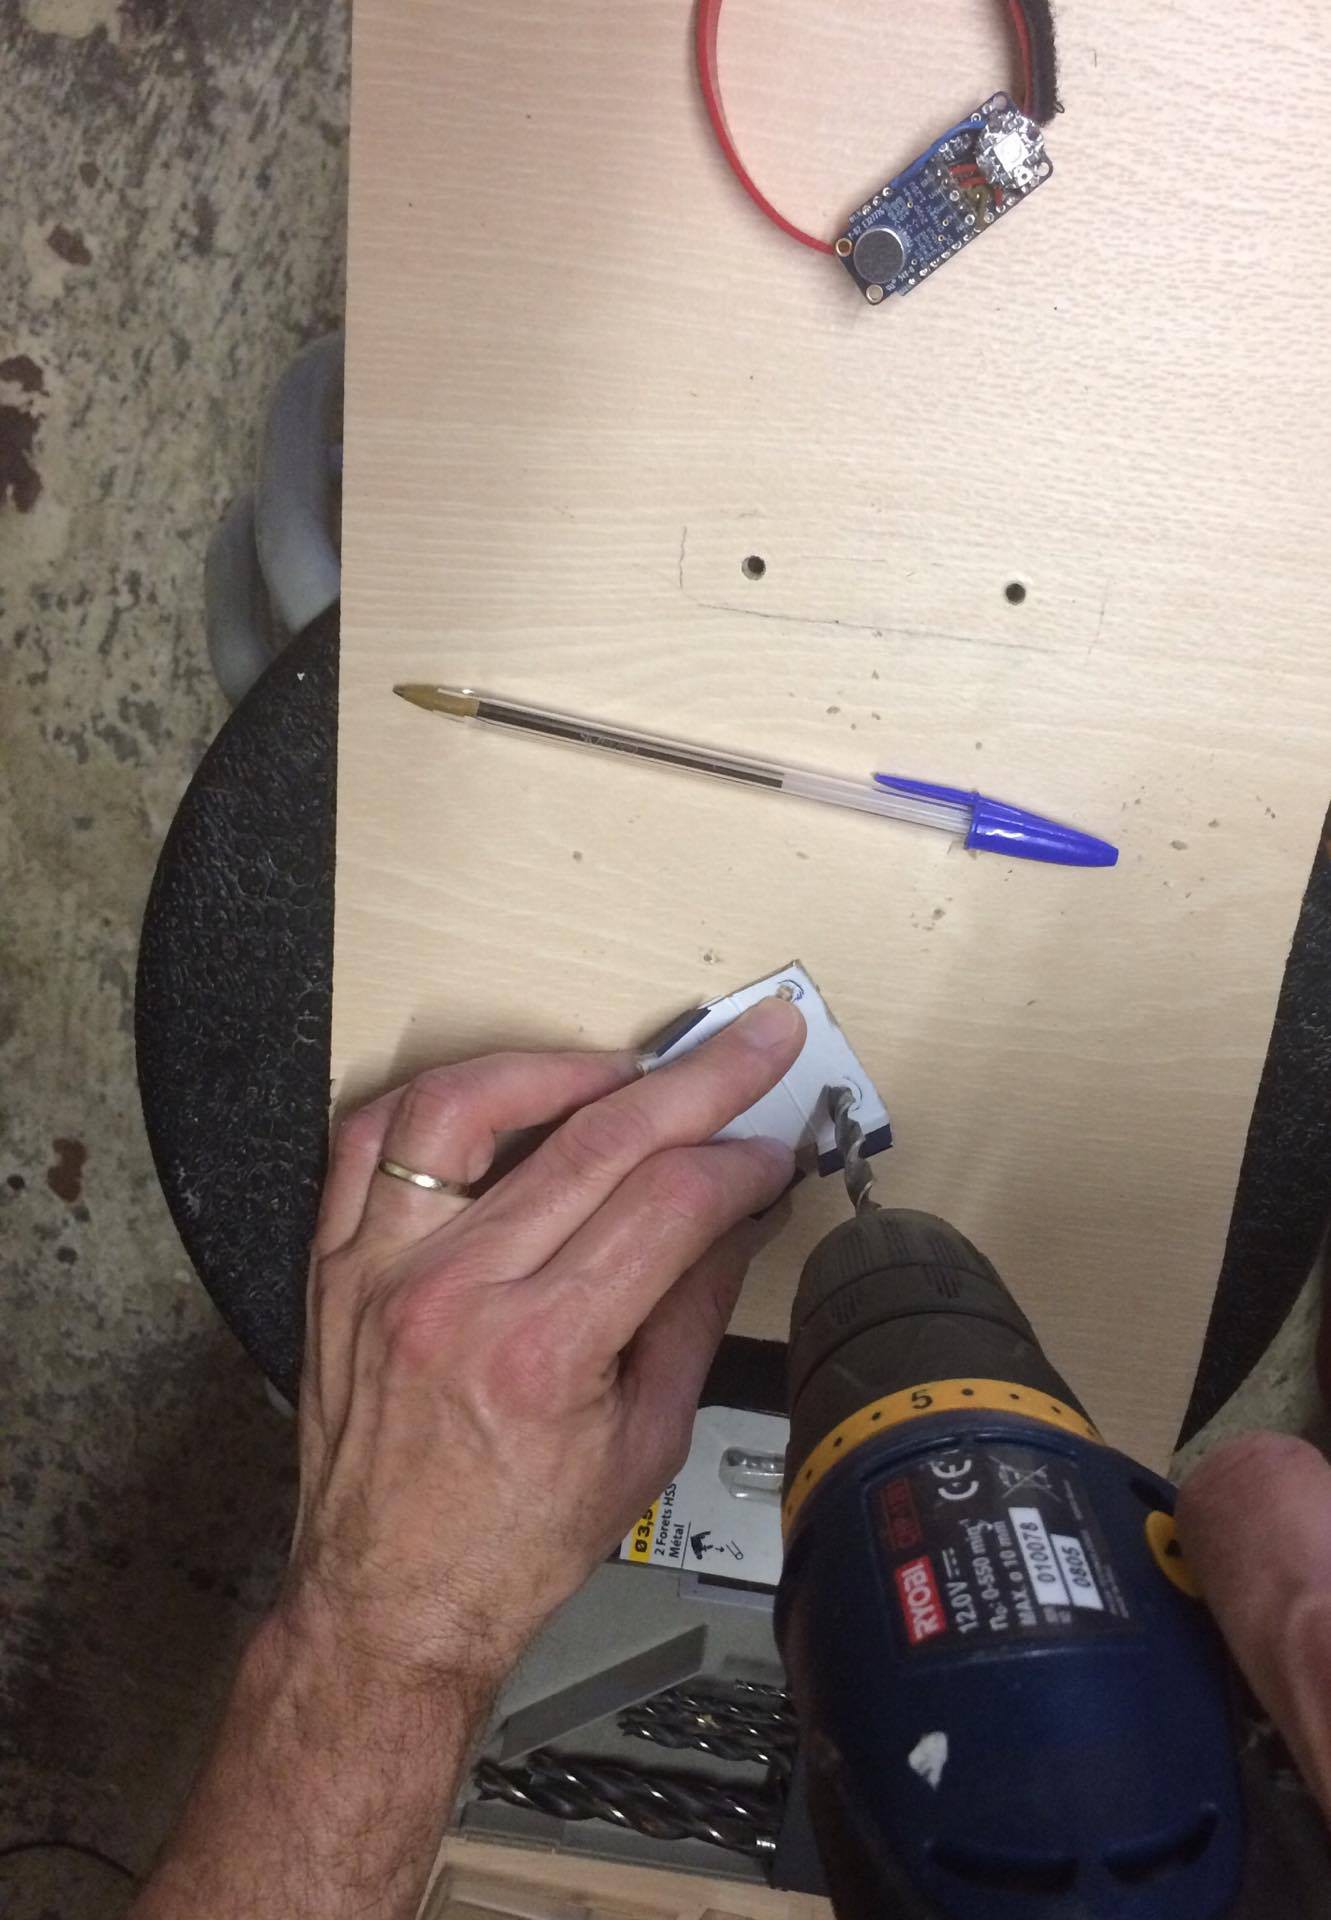
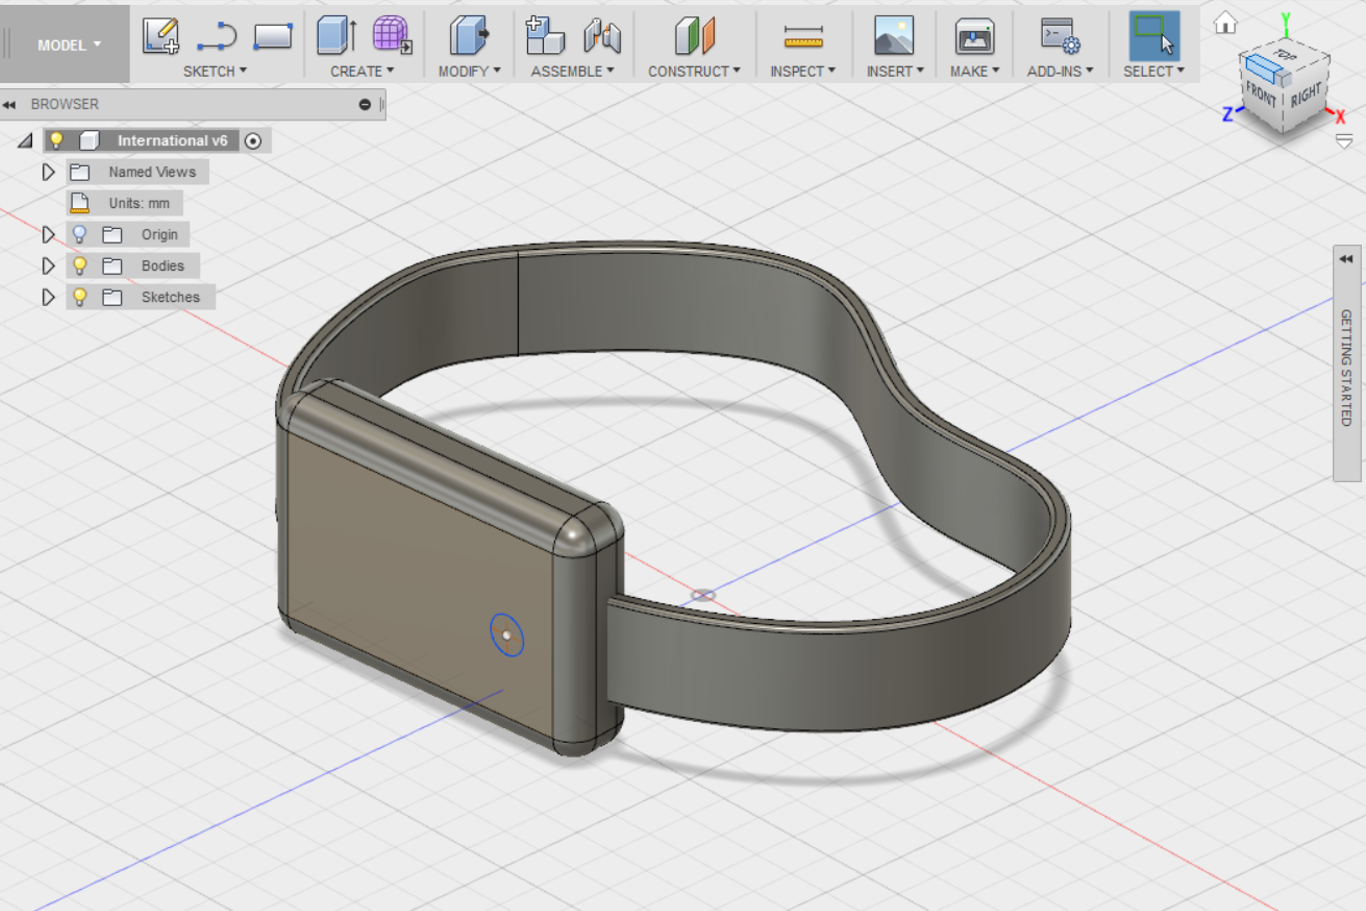
05/28/2017 at 17:34 • 0 commentsWe have decided to go for a cardboard box after having some issue designing it in 3D on a software.
![]()
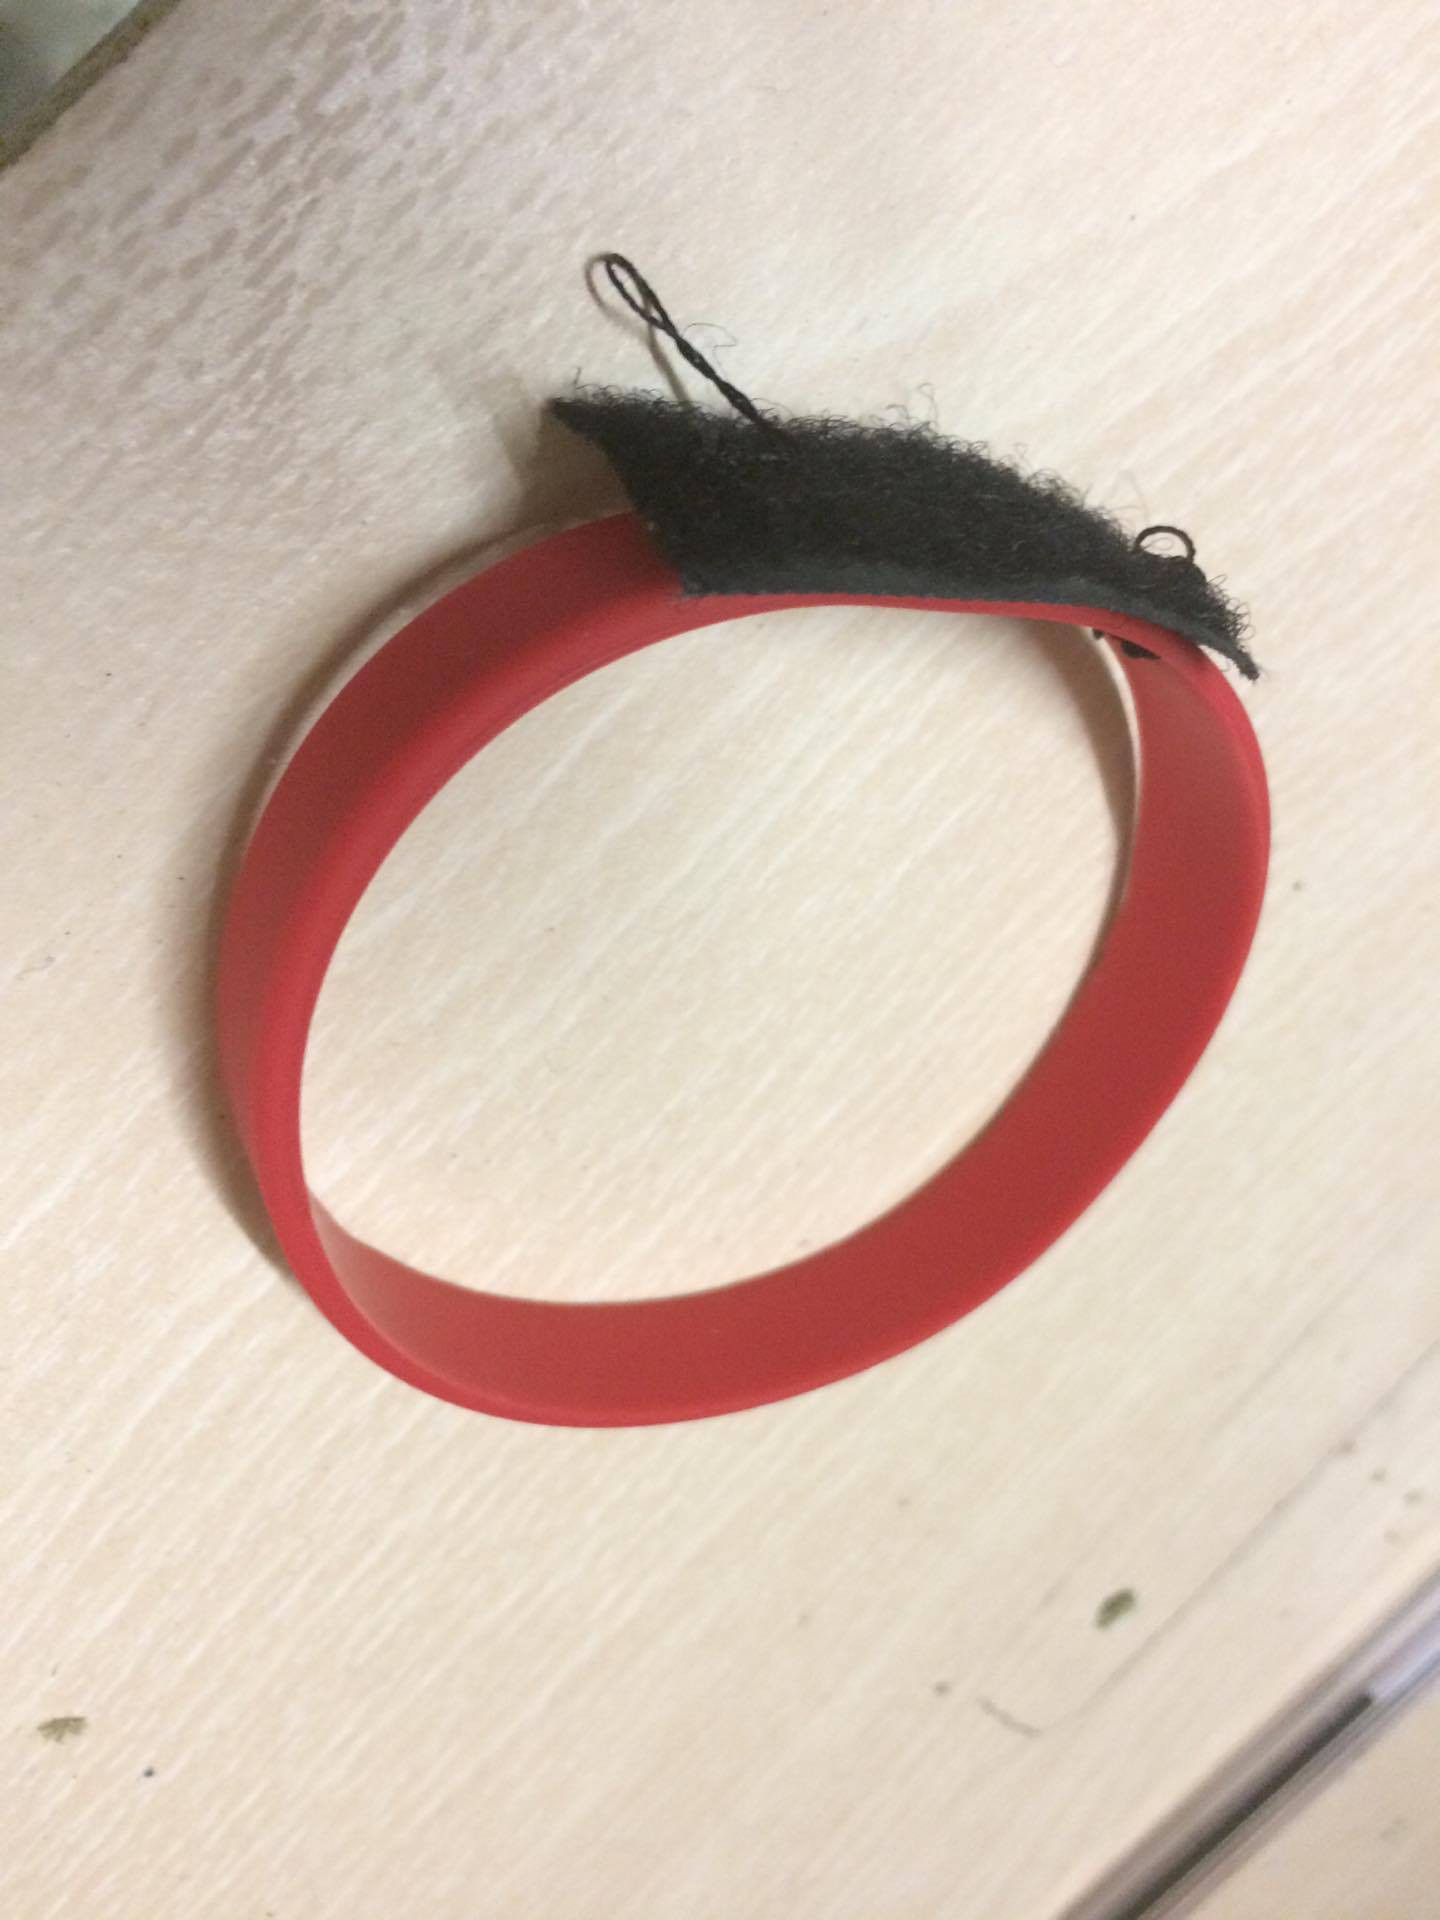
Here is how we planned to connect our box to the bracelet, with some velcro stitched to it so that the system is modulable and that the customer can choose his design
![]()
-
3D Bracelet overview
05/19/2017 at 10:03 • 0 comments![]()
-
Calibration Sunday
05/12/2017 at 09:14 • 0 commentsHowdy folks,
Yup we just uploaded a log yesterday but it's time for another one. Calibration was did few day ago in order to make the led blink when it should
Password for the videos : dbsound
Here is the system when the sound was loud, probably between a 100 and 120dB.
And here it is with a slighly lower volume.
You probably can't tell the difference with the iphone mic obviously but the system parameters were the same, only the volume was changed between those 2 shots.
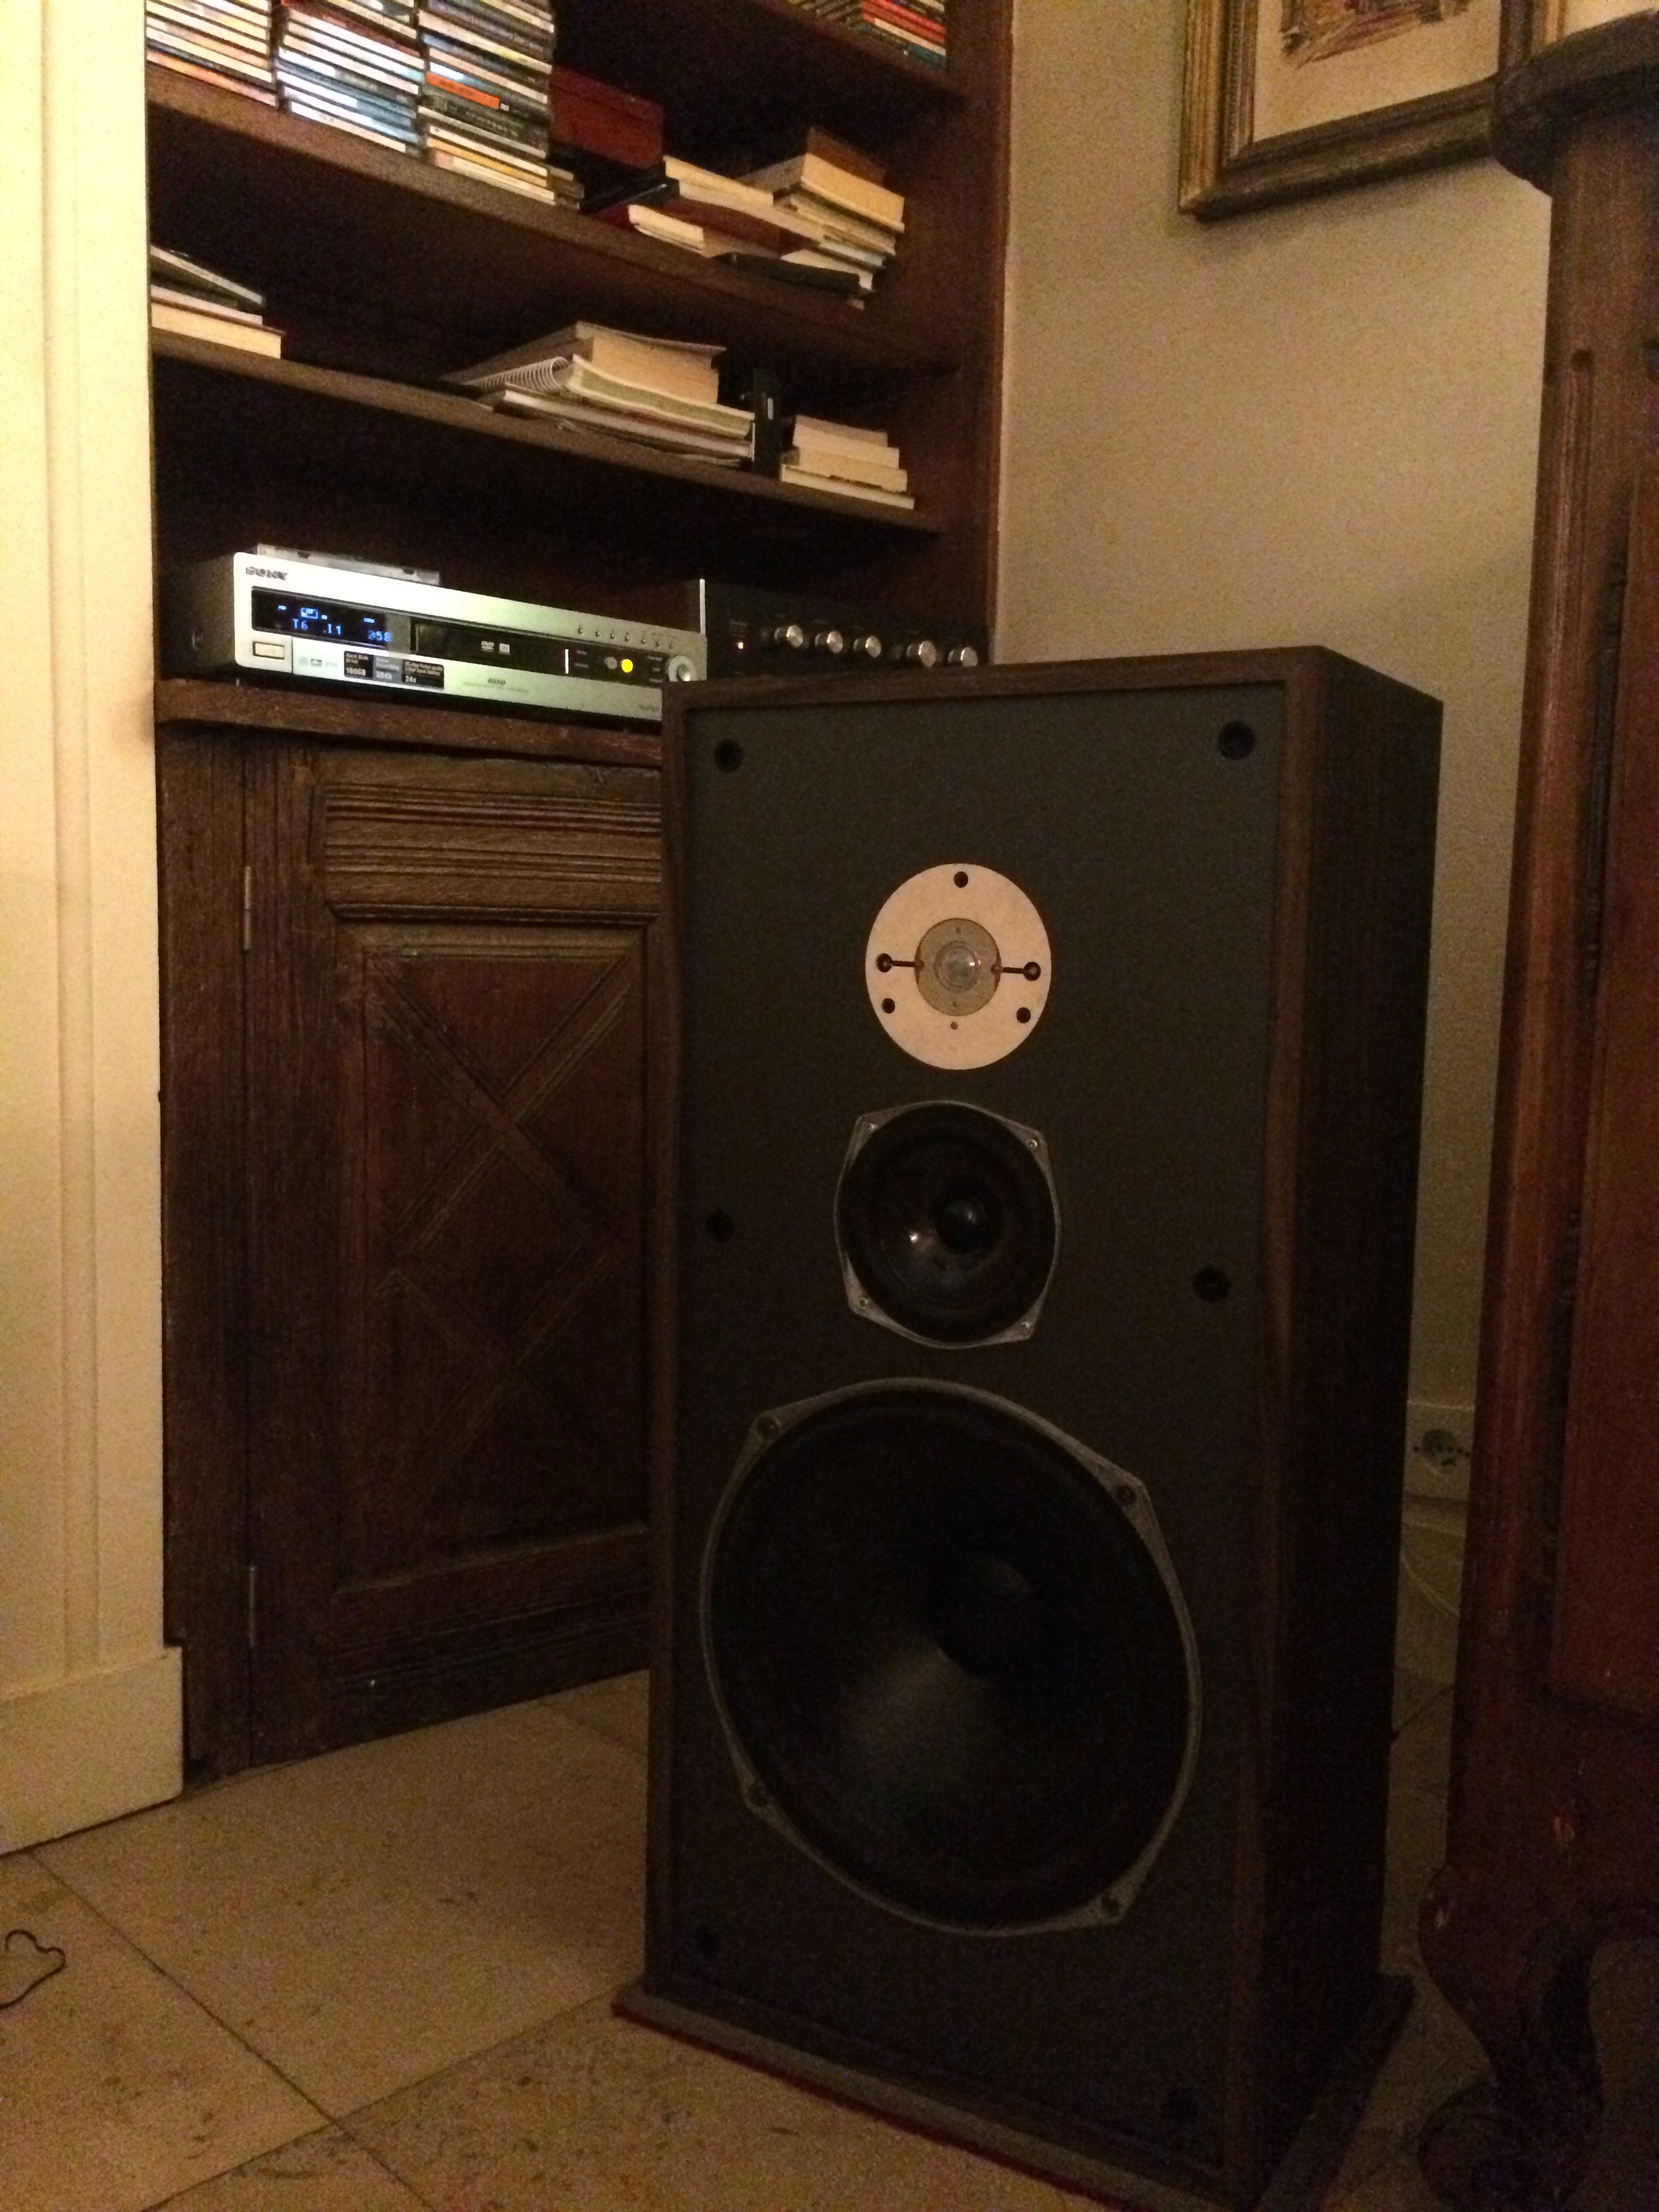
For those who are HI-FI enthusiast here is the setup :
Celestion CS7
Sansui AU-555U
the CD is jazzmatazz vol. 1 by Guru.
-
Harambe ain't dead
05/11/2017 at 12:01 • 0 commentsHello, everyone we thought it was time for a complete log since the two previous ones were quite small. Please, take note that that you can now find the Source Code in the shared files and that the components list has been updated too.
Let’s look at the code, I want to make sure that everyone understands it. So, I hope that it could be improved in the future.
#include <Adafruit_NeoPixel.h>
#define PIN 6
#define NUM_LEDS 1
#define BRIGHTNESS 50

Adafruit_NeoPixel strip = Adafruit_NeoPixel(NUM_LEDS, PIN, NEO_GRBW + NEO_KHZ800);

byte neopix_gamma[] = {
    0,  0,  0,  0,  0,  0,  0,  0,  0,  0,  0,  0,  0,  0,  0,  0,
    0,  0,  0,  0,  0,  0,  0,  0,  0,  0,  0,  0,  1,  1,  1,  1,
    1,  1,  1,  1,  1,  1,  1,  1,  1,  2,  2,  2,  2,  2,  2,  2,
    2,  3,  3,  3,  3,  3,  3,  3,  4,  4,  4,  4,  4,  5,  5,  5,
    5,  6,  6,  6,  6,  7,  7,  7,  7,  8,  8,  8,  9,  9,  9, 10,
   10, 10, 11, 11, 11, 12, 12, 13, 13, 13, 14, 14, 15, 15, 16, 16,
   17, 17, 18, 18, 19, 19, 20, 20, 21, 21, 22, 22, 23, 24, 24, 25,
   25, 26, 27, 27, 28, 29, 29, 30, 31, 32, 32, 33, 34, 35, 35, 36,
   37, 38, 39, 39, 40, 41, 42, 43, 44, 45, 46, 47, 48, 49, 50, 50,
   51, 52, 54, 55, 56, 57, 58, 59, 60, 61, 62, 63, 64, 66, 67, 68,
   69, 70, 72, 73, 74, 75, 77, 78, 79, 81, 82, 83, 85, 86, 87, 89,
   90, 92, 93, 95, 96, 98, 99,101,102,104,105,107,109,110,112,114,
  115,117,119,120,122,124,126,127,129,131,133,135,137,138,140,142,
  144,146,148,150,152,154,156,158,160,162,164,167,169,171,173,175,
  177,180,182,184,186,189,191,193,196,198,200,203,205,208,210,213,
  215,218,220,223,225,228,231,233,236,239,241,244,247,249,252,255 };


const int analogPin = A1; // Mic pin
int delta = 0;


void setup()
{
//Serial.begin(300);
strip.setBrightness(BRIGHTNESS);
strip.begin();
strip.show();
rainbowFade2White(3,3,1);
}

void loop()
{

int mn = 1024;
int mx = 0;


for (int i = 0; i < 500; ++i) {
int val = analogRead(analogPin);
mn = min(mn, val);
mx = max(mx, val);
}

//This is mostly used for calibration, the values don't really have to be displayed
//Serial.print("Min=");
//Serial.print(mn);
//Serial.print(" Max=");
//Serial.print(mx);
//Serial.print(" D=");
//Serial.print(mx-mn);
//Serial.println();

delta = map(mx-mn, 0, 1024, 0, 255);
//Serial.println(delta);

if(delta > 150)
  {
  colorWipe(strip.Color(255, 0, 0), 50); // Red
  colorWipe(strip.Color(0, 0, 0, 0), 50); // White
  }
else{
  colorWipe(strip.Color(0, 255, 0), 50); // Red
  }
}


void colorWipe(uint32_t c, uint8_t wait) {
  for(uint16_t i=0; i<strip.numPixels(); i++) {
    strip.setPixelColor(i, c);
    strip.show();
    delay(wait);
  }
}

void rainbowFade2White(uint8_t wait, int rainbowLoops, int whiteLoops) {
  float fadeMax = 100.0;
  int fadeVal = 0;
  uint32_t wheelVal;
  int redVal, greenVal, blueVal;

  for(int k = 0 ; k < rainbowLoops ; k ++){

    for(int j=0; j<256; j++) { // 5 cycles of all colors on wheel

      for(int i=0; i< strip.numPixels(); i++) {

        wheelVal = Wheel(((i * 256 / strip.numPixels()) + j) & 255);

        redVal = red(wheelVal) * float(fadeVal/fadeMax);
        greenVal = green(wheelVal) * float(fadeVal/fadeMax);
        blueVal = blue(wheelVal) * float(fadeVal/fadeMax);

        strip.setPixelColor( i, strip.Color( redVal, greenVal, blueVal ) );

      }

      if(k == 0 && fadeVal < fadeMax-1) {
          fadeVal++;
      }

      else if(k == rainbowLoops - 1 && j > 255 - fadeMax ){
          fadeVal--;
      }

        strip.show();
        delay(wait);
    }
  }
  delay(500);
  for(int k = 0 ; k < whiteLoops ; k ++){
    for(int j = 0; j < 256 ; j++){
        for(uint16_t i=0; i < strip.numPixels(); i++) {
            strip.setPixelColor(i, strip.Color(0,0,0, neopix_gamma[j] ) );
          }
          strip.show();
        }
        delay(2000);
    for(int j = 255; j >= 0 ; j--){
        for(uint16_t i=0; i < strip.numPixels(); i++) {
            strip.setPixelColor(i, strip.Color(0,0,0, neopix_gamma[j] ) );
          }
          strip.show();
        }
  }
  delay(500);
}


uint32_t Wheel(byte WheelPos) {
  WheelPos = 255 - WheelPos;
  if(WheelPos < 85) {
    return strip.Color(255 - WheelPos * 3, 0, WheelPos * 3,0);
  }
  if(WheelPos < 170) {
    WheelPos -= 85;
    return strip.Color(0, WheelPos * 3, 255 - WheelPos * 3,0);
  }
  WheelPos -= 170;
  return strip.Color(WheelPos * 3, 255 - WheelPos * 3, 0,0);
}

uint8_t red(uint32_t c) {
  return (c >> 16);
}
uint8_t green(uint32_t c) {
  return (c >> 8);
}
uint8_t blue(uint32_t c) {
  return (c);
}
Here are some usefull ressources :
I suggest you to study the NeoPixels examples included on the Arduino Patch. They'll allow you to understand those two functions.
rainbowFade2White(x,x,x);
colorWipe(strip.Color(x, x, x), 50);
-
Christmas #2
04/21/2017 at 10:31 • 0 commentsYay !
We had the pleasure to meet our new test-subjects this morning. They all looks ready to do some hard work, wich is great (ofc it is). Let's soulder a bit and improve the code, it should be finished soon tho - a log we'll be posted to keep you in track.
![]()
Here is an idea of design for the integration of the component on the bracelet that came today. Not sure what we'll do next, but an idea is idea. It should be considered and not thrown away, even if it looks like abstract art.
![]()
See you soon fellas !
-
Getting some results
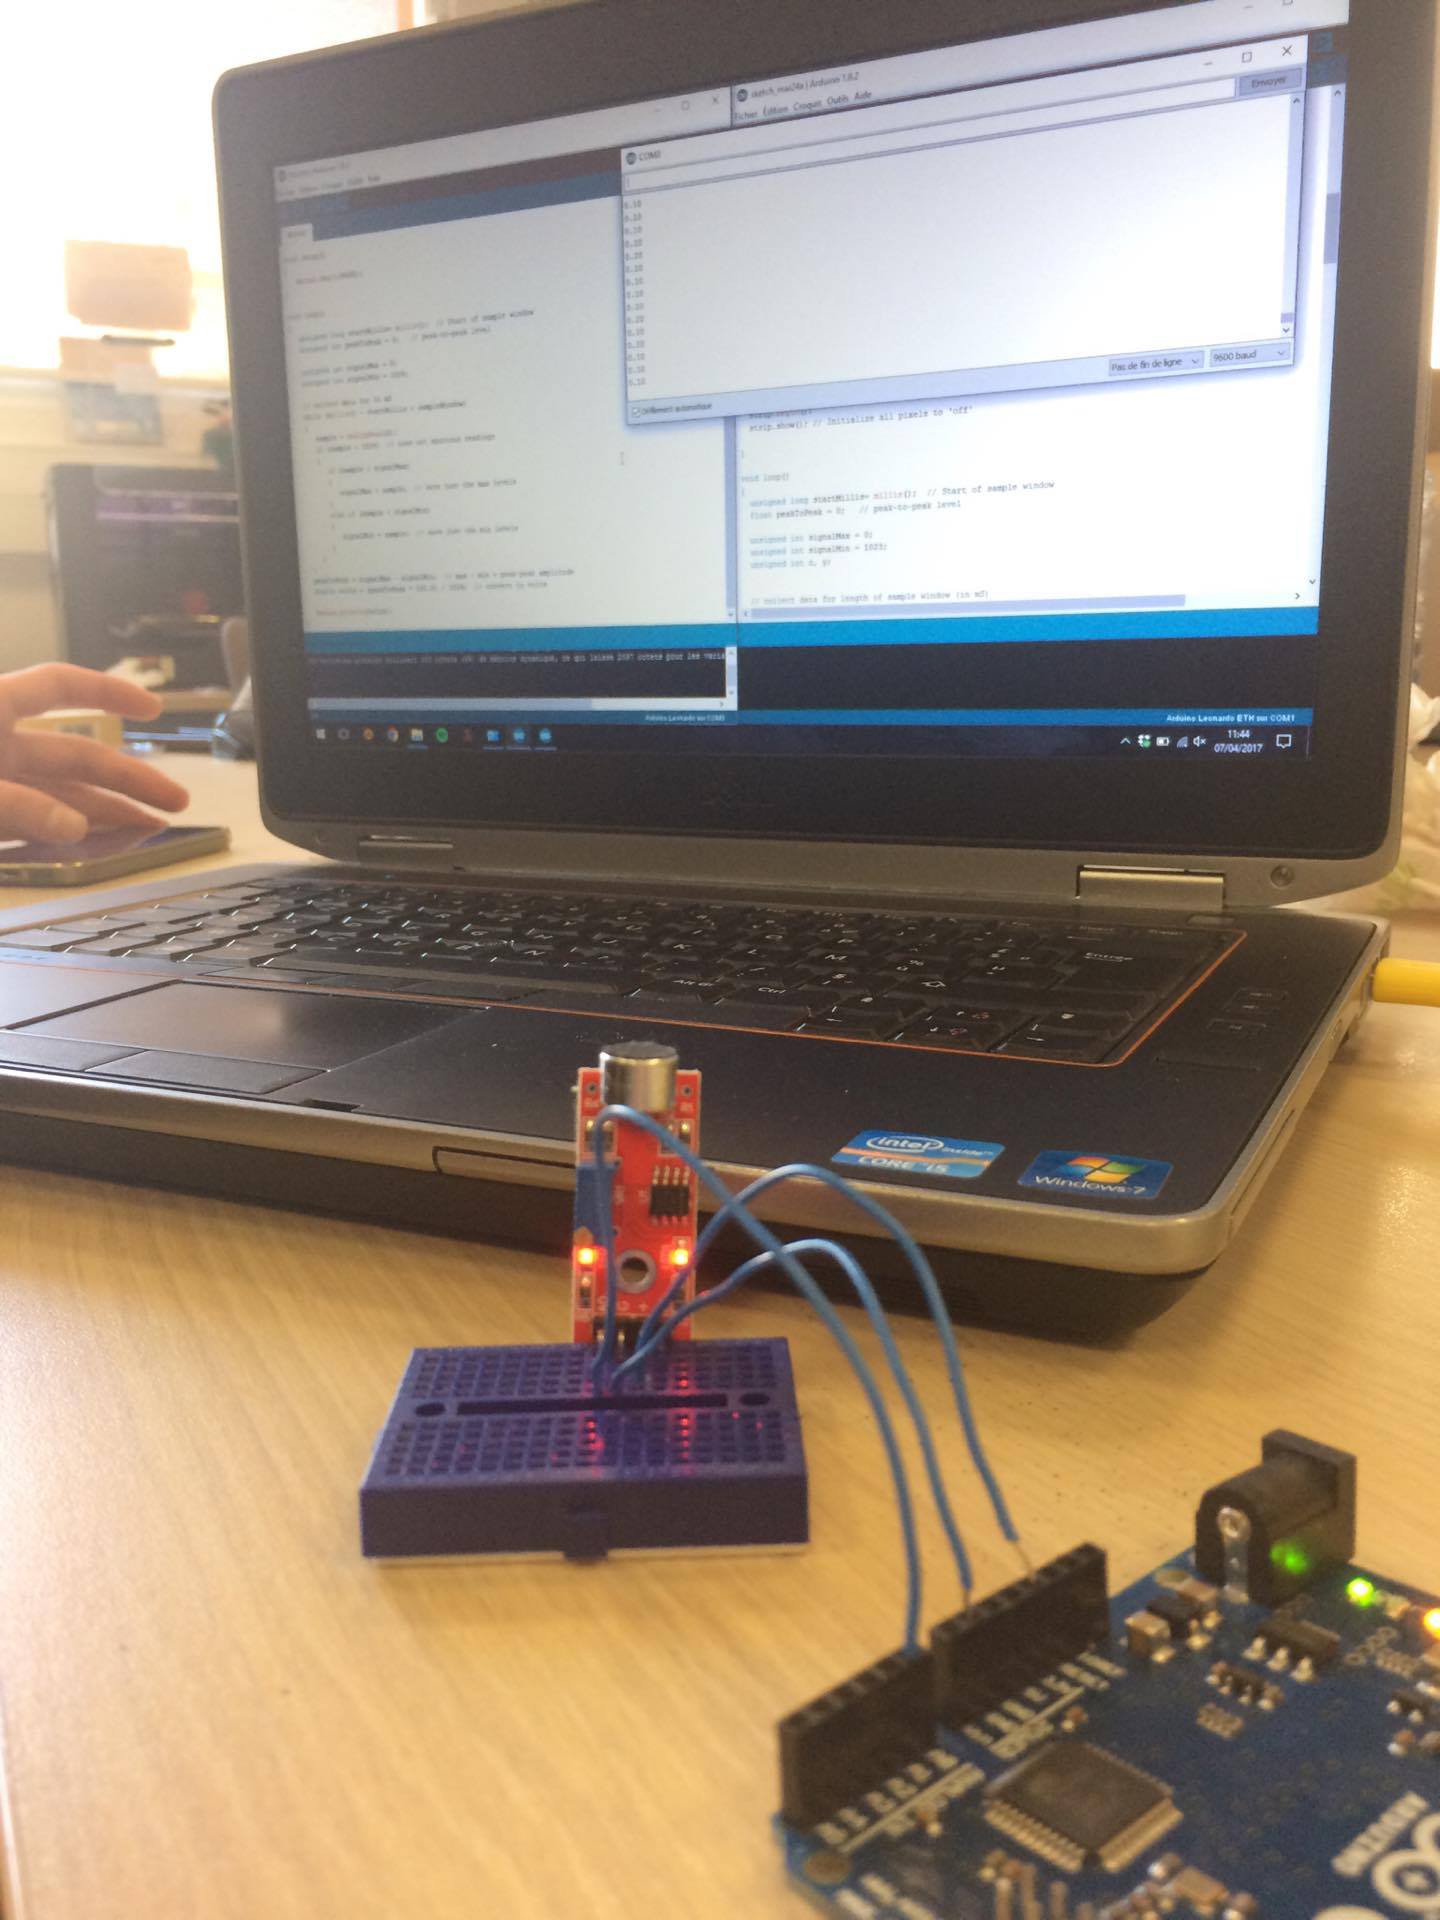
04/07/2017 at 10:07 • 0 commentsWe tried some stuff today, didn't really worked as expected. However, we found a way to mesure a sound level in a "decent" way.
![]() Our components haven't been received by the CRI yet, so we were just working on some spare components.
Our components haven't been received by the CRI yet, so we were just working on some spare components.In the meantime Claire & Nicolas are working on the deseign. The objective is clearly to make it as attractive as possible. It should be a pleasure to wear it.
-
A New Hope
03/31/2017 at 08:32 • 0 commentsHey everyone,
We've made a bunch of things today, let's take a look.
Component List
The component list was updated today (03/24/2017) here are some explanations about what you need to create this project at home. Please note that all the components are still on a test phase and won't all be used. This list will obviously be updated so stay tuned folks !
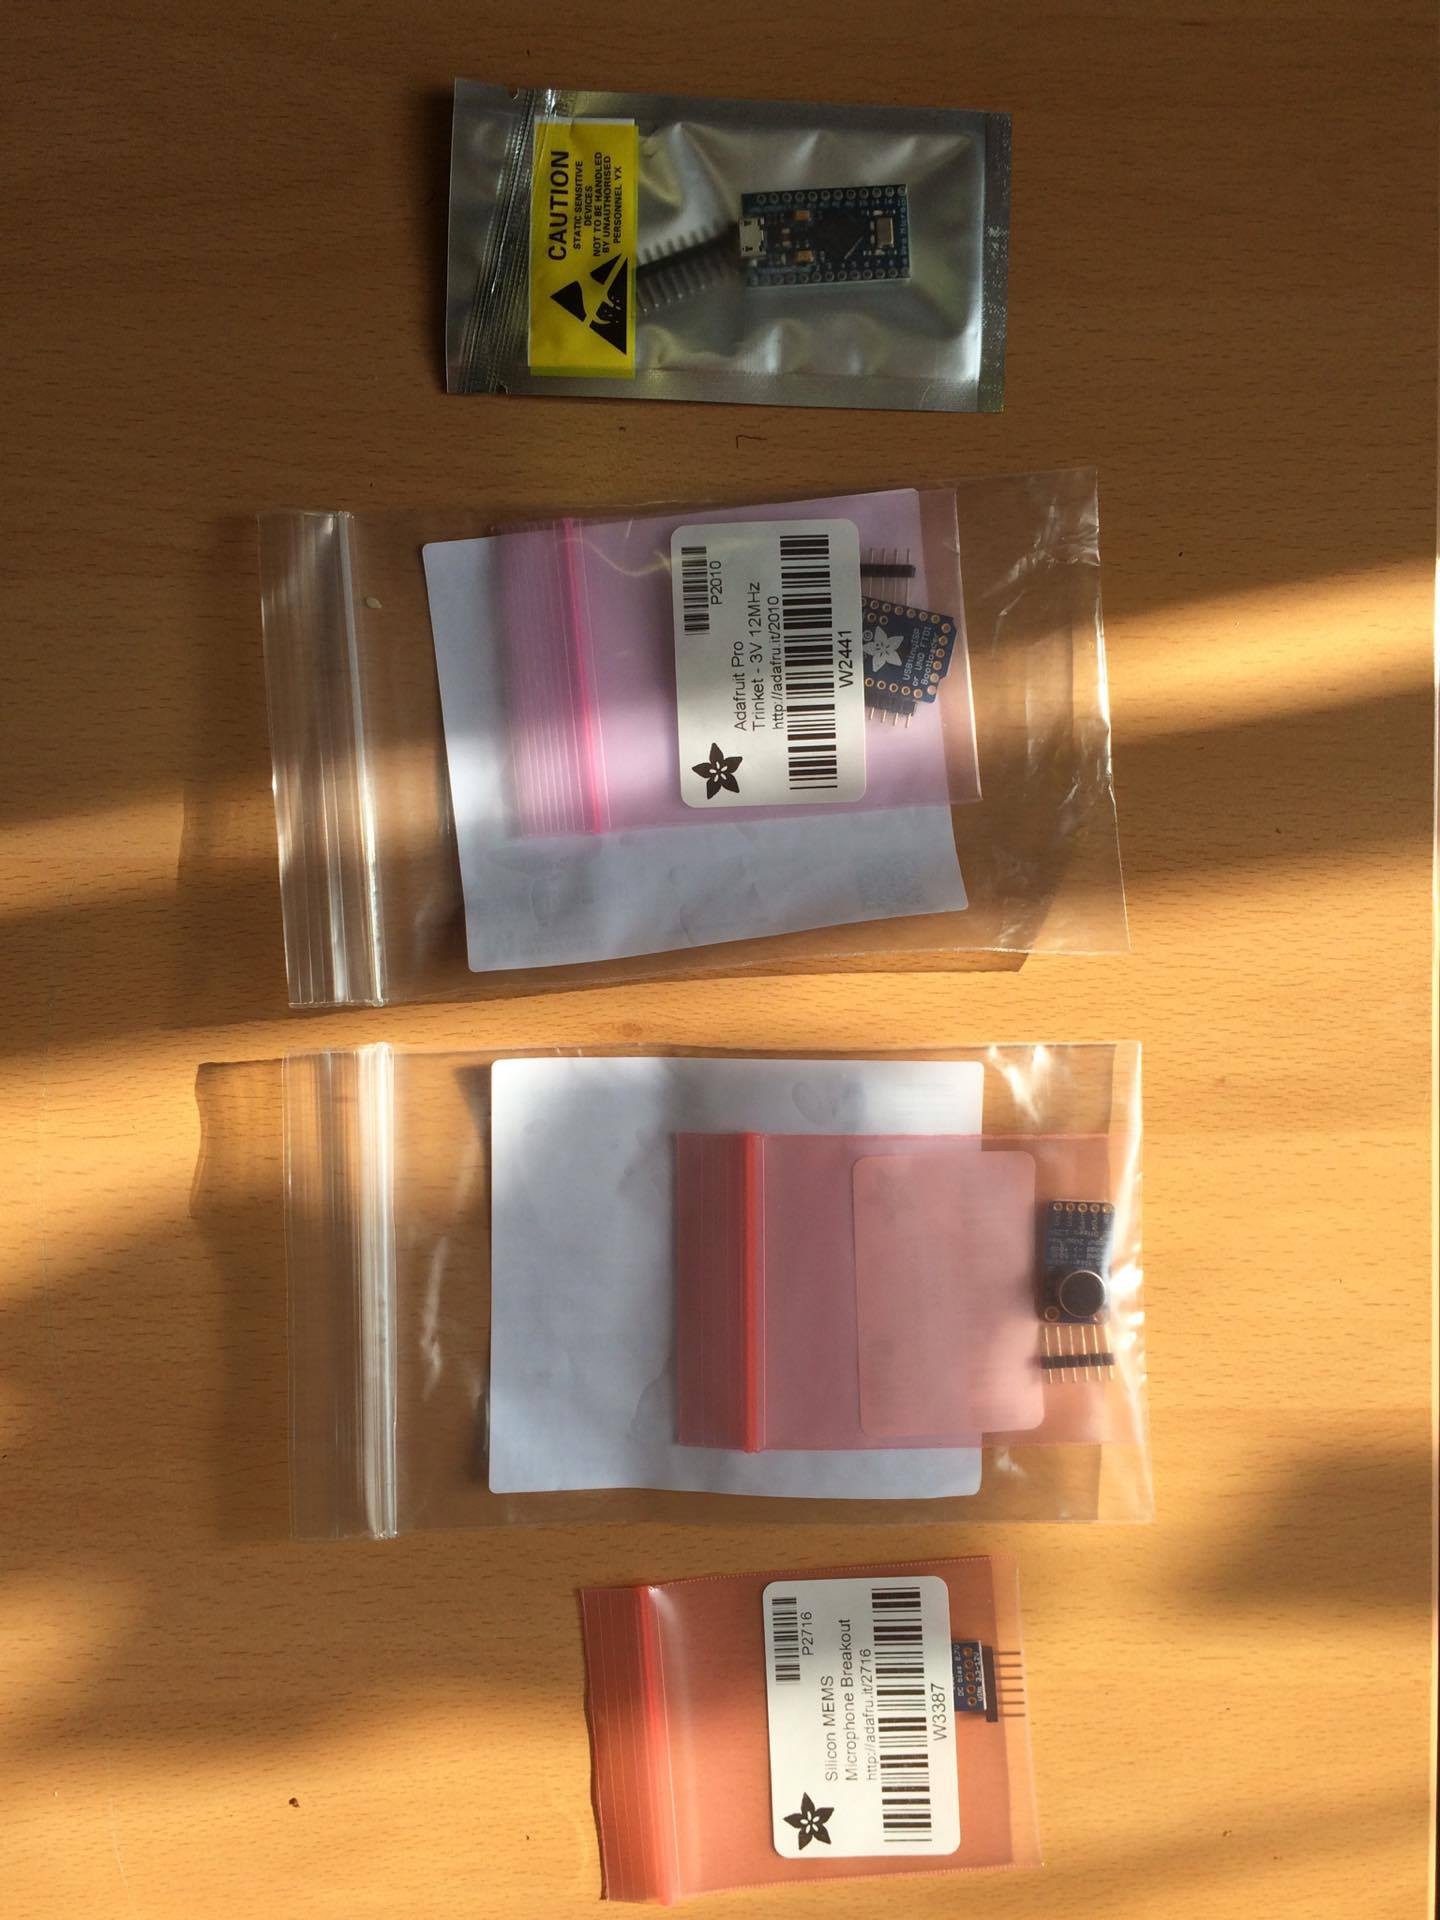
Micro controller : Adafruit Pro Trinket - 3V 12MHz or Adafruit Trinket - Mini Microcontroller - 3.3V Logic
Both were chosen because of their size, they'll make easier the final integration on the bracelet. However they are still very powerful and can be almost coded like a classic arduino. The main difference between the Pro Trinket and the Trinket Mini is the size, and so the CPU attached on those. Maybe the mini specs (ATtiny85, 8K of flash, 512 byte of SRAM, 512 bytes of EEPROM) will be a bit low, but we will see in a few weeks !
Electret Microphones : Adafruit MAX4466 or MAX9814 or SPW2430
Several ones were chosen, because we are afraid of saturation and resolution. We don't want the mic to be saturated at 100dB for example. It would be a shame because we want to detect the sound up to 130dB at least. The MAX4466 is quite classical and has an integrated op-AMP and gain can change from 25x to 125x while the MAX9814 has an automatic gain control. However "max gain" can obviously me modified. Finally the SPW2430 is the smaller one and probably the best for audio detection while the two previous ones can be used for recording/sampling - but "the output peak-to-peak voltage has a 0.67V DC bias and about 100mVpp" - so it's the more likly to clip/sature on high-level sounds. So at this point we don't have any favorites !
LEDs
First of all we wanted super tiny and basic leds but then we moved to adafruit's Neopixels. They are way much bigger than what we looked at the beginning but they are also way much cooler because you can change color and use a Bus to control them, it means less wiring and we love that !
Managment
Feel free to take a look at our schedule, so you won't miss any updates. They'll be mostly posted every wednesday, when we are at the CRI Paris, France.
![]()
Code
Bertrand started working on the code, he'll use or at least fin inspiration on the following one wich was created by adafruit (them, again). It's quite close from what we're trying to do, but in a different way and with different objectives (however this is a rad tie).
Adafruit related project : https://learn.adafruit.com/led-ampli-tie/overview
Here is the raw code (our's will be a lot easier)
/* LED VU meter for Arduino and Adafruit NeoPixel LEDs. Hardware requirements: - Most Arduino or Arduino-compatible boards (ATmega 328P or better). - Adafruit Electret Microphone Amplifier (ID: 1063) - Adafruit Flora RGB Smart Pixels (ID: 1260) OR - Adafruit NeoPixel Digital LED strip (ID: 1138) - Optional: battery for portable use (else power through USB or adapter) Software requirements: - Adafruit NeoPixel library Connections: - 3.3V to mic amp + - GND to mic amp - - Analog pin to microphone output (configurable below) - Digital pin to LED data input (configurable below) See notes in setup() regarding 5V vs. 3.3V boards - there may be an extra connection to make and one line of code to enable or disable. Written by Adafruit Industries. Distributed under the BSD license. This paragraph must be included in any redistribution. fscale function: Floating Point Autoscale Function V0.1 Written by Paul Badger 2007 Modified from code by Greg Shakar */ #include <Adafruit_NeoPixel.h> #include <math.h> #define N_PIXELS 16 // Number of pixels in strand #define MIC_PIN A9 // Microphone is attached to this analog pin #define LED_PIN 6 // NeoPixel LED strand is connected to this pin #define SAMPLE_WINDOW 10 // Sample window for average level #define PEAK_HANG 24 //Time of pause before peak dot falls #define PEAK_FALL 4 //Rate of falling peak dot #define INPUT_FLOOR 10 //Lower range of analogRead input #define INPUT_CEILING 300 //Max range of analogRead input, the lower the value the more sensitive (1023 = max) byte peak = 16; // Peak level of column; used for falling dots unsigned int sample; byte dotCount = 0; //Frame counter for peak dot byte dotHangCount = 0; //Frame counter for holding peak dot Adafruit_NeoPixel strip = Adafruit_NeoPixel(N_PIXELS, LED_PIN, NEO_GRB + NEO_KHZ800); void setup() { // This is only needed on 5V Arduinos (Uno, Leonardo, etc.). // Connect 3.3V to mic AND TO AREF ON ARDUINO and enable this // line. Audio samples are 'cleaner' at 3.3V. // COMMENT OUT THIS LINE FOR 3.3V ARDUINOS (FLORA, ETC.): // analogReference(EXTERNAL); // Serial.begin(9600); strip.begin(); strip.show(); // Initialize all pixels to 'off' } void loop() { unsigned long startMillis= millis(); // Start of sample window float peakToPeak = 0; // peak-to-peak level unsigned int signalMax = 0; unsigned int signalMin = 1023; unsigned int c, y; // collect data for length of sample window (in mS) while (millis() - startMillis < SAMPLE_WINDOW) { sample = analogRead(MIC_PIN); if (sample < 1024) // toss out spurious readings { if (sample > signalMax) { signalMax = sample; // save just the max levels } else if (sample < signalMin) { signalMin = sample; // save just the min levels } } } peakToPeak = signalMax - signalMin; // max - min = peak-peak amplitude // Serial.println(peakToPeak); //Fill the strip with rainbow gradient for (int i=0;i<=strip.numPixels()-1;i++){ strip.setPixelColor(i,Wheel(map(i,0,strip.numPixels()-1,30,150))); } //Scale the input logarithmically instead of linearly c = fscale(INPUT_FLOOR, INPUT_CEILING, strip.numPixels(), 0, peakToPeak, 2); if(c < peak) { peak = c; // Keep dot on top dotHangCount = 0; // make the dot hang before falling } if (c <= strip.numPixels()) { // Fill partial column with off pixels drawLine(strip.numPixels(), strip.numPixels()-c, strip.Color(0, 0, 0)); } // Set the peak dot to match the rainbow gradient y = strip.numPixels() - peak; strip.setPixelColor(y-1,Wheel(map(y,0,strip.numPixels()-1,30,150))); strip.show(); // Frame based peak dot animation if(dotHangCount > PEAK_HANG) { //Peak pause length if(++dotCount >= PEAK_FALL) { //Fall rate peak++; dotCount = 0; } } else { dotHangCount++; } } //Used to draw a line between two points of a given color void drawLine(uint8_t from, uint8_t to, uint32_t c) { uint8_t fromTemp; if (from > to) { fromTemp = from; from = to; to = fromTemp; } for(int i=from; i<=to; i++){ strip.setPixelColor(i, c); } } float fscale( float originalMin, float originalMax, float newBegin, float newEnd, float inputValue, float curve){ float OriginalRange = 0; float NewRange = 0; float zeroRefCurVal = 0; float normalizedCurVal = 0; float rangedValue = 0; boolean invFlag = 0; // condition curve parameter // limit range if (curve > 10) curve = 10; if (curve < -10) curve = -10; curve = (curve * -.1) ; // - invert and scale - this seems more intuitive - postive numbers give more weight to high end on output curve = pow(10, curve); // convert linear scale into lograthimic exponent for other pow function /* Serial.println(curve * 100, DEC); // multply by 100 to preserve resolution Serial.println(); */ // Check for out of range inputValues if (inputValue < originalMin) { inputValue = originalMin; } if (inputValue > originalMax) { inputValue = originalMax; } // Zero Refference the values OriginalRange = originalMax - originalMin; if (newEnd > newBegin){ NewRange = newEnd - newBegin; } else { NewRange = newBegin - newEnd; invFlag = 1; } zeroRefCurVal = inputValue - originalMin; normalizedCurVal = zeroRefCurVal / OriginalRange; // normalize to 0 - 1 float // Check for originalMin > originalMax - the math for all other cases i.e. negative numbers seems to work out fine if (originalMin > originalMax ) { return 0; } if (invFlag == 0){ rangedValue = (pow(normalizedCurVal, curve) * NewRange) + newBegin; } else // invert the ranges { rangedValue = newBegin - (pow(normalizedCurVal, curve) * NewRange); } return rangedValue; } // Input a value 0 to 255 to get a color value. // The colours are a transition r - g - b - back to r. uint32_t Wheel(byte WheelPos) { if(WheelPos < 85) { return strip.Color(WheelPos * 3, 255 - WheelPos * 3, 0); } else if(WheelPos < 170) { WheelPos -= 85; return strip.Color(255 - WheelPos * 3, 0, WheelPos * 3); } else { WheelPos -= 170; return strip.Color(0, WheelPos * 3, 255 - WheelPos * 3); } }--------- more ---------- -
D-day
03/10/2017 at 13:16 • 0 commentsHello everyone and welcome !
Make yourself home and take some times to discover our project. So far we don't have a lot of things to tell you. At least no more that you could find in the description of the project. Or maybe one little thing : we're searching for components (interesting uh). It's indeed a little bit boring, but it's a proof that the project is really starting - and yes, this is exciting !
See you soon !
![]()
dBSound Bracelet
This project aims at protecting people's hear when they are under exposure of loud noises such as a live music concert or nightclubs.
 dBSound Bracelet

 Our components haven't been received by the CRI yet, so we were just working on some spare components.
