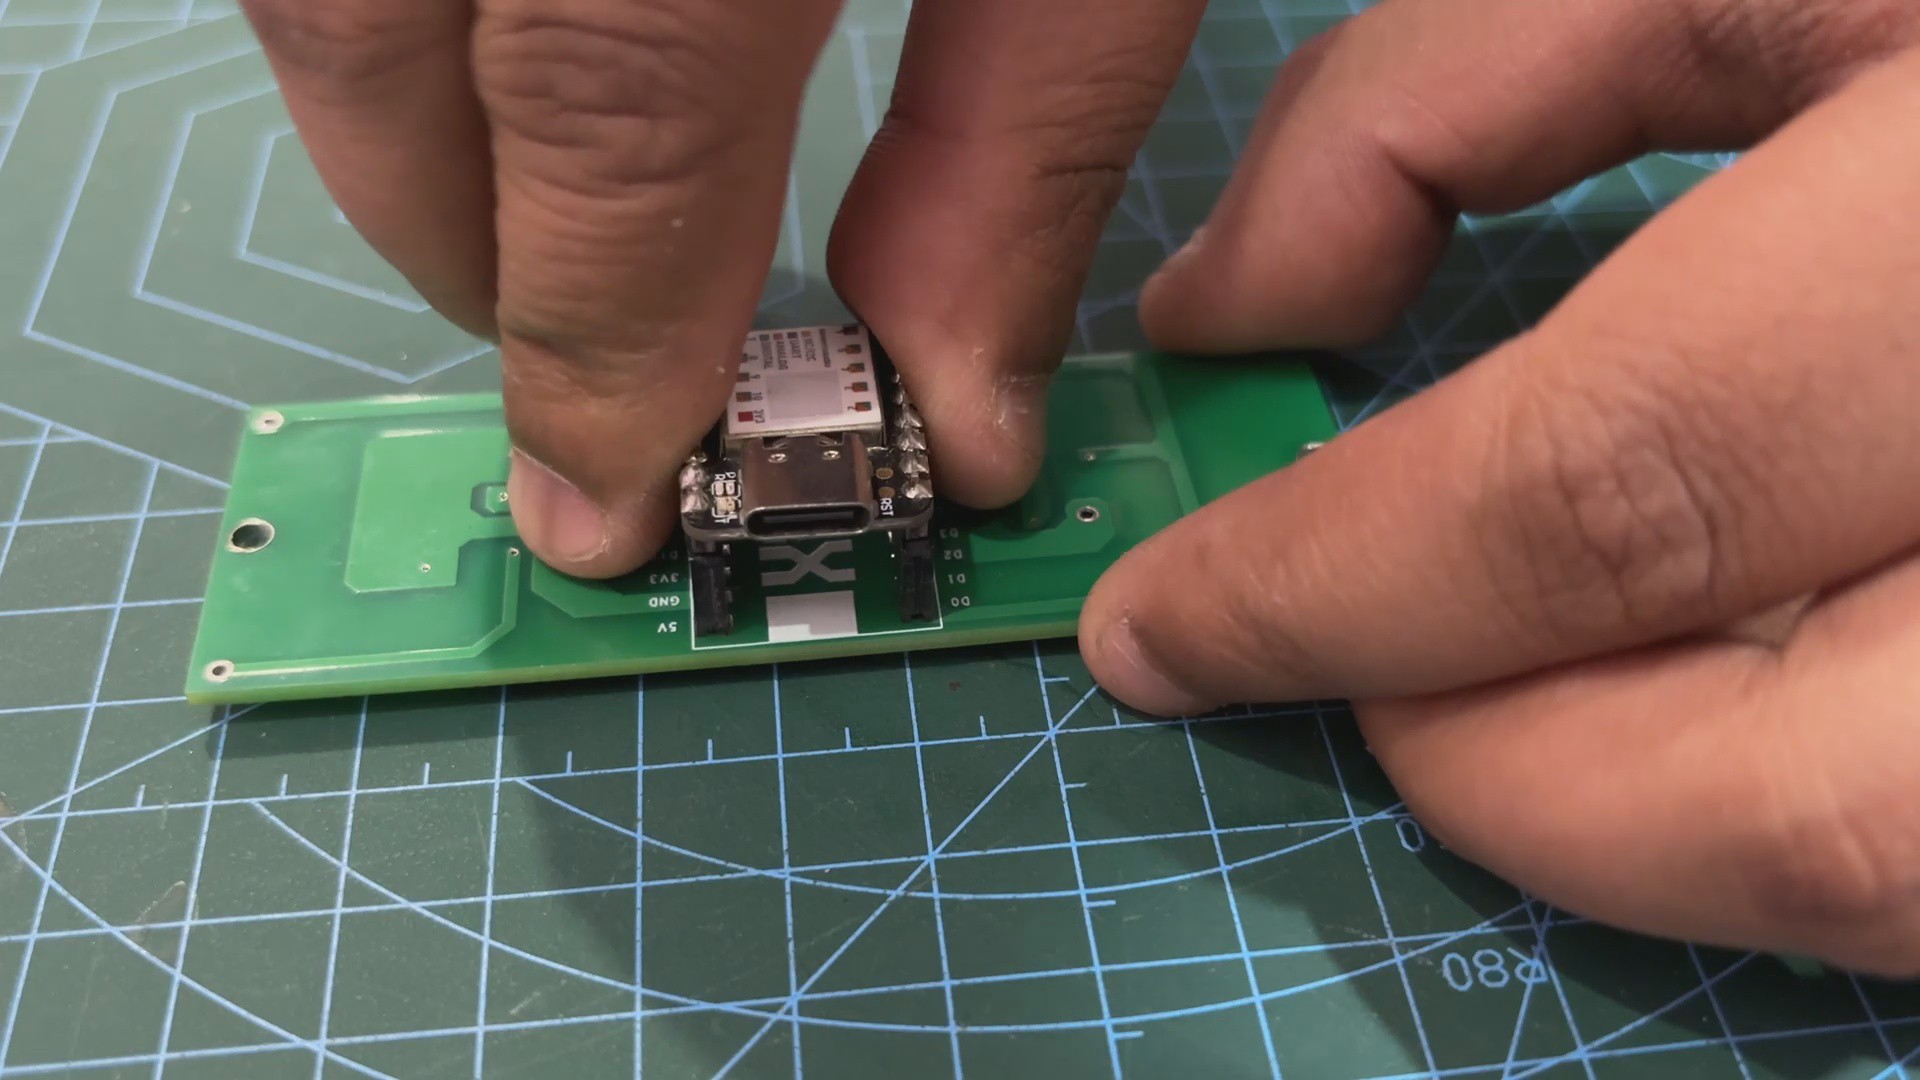
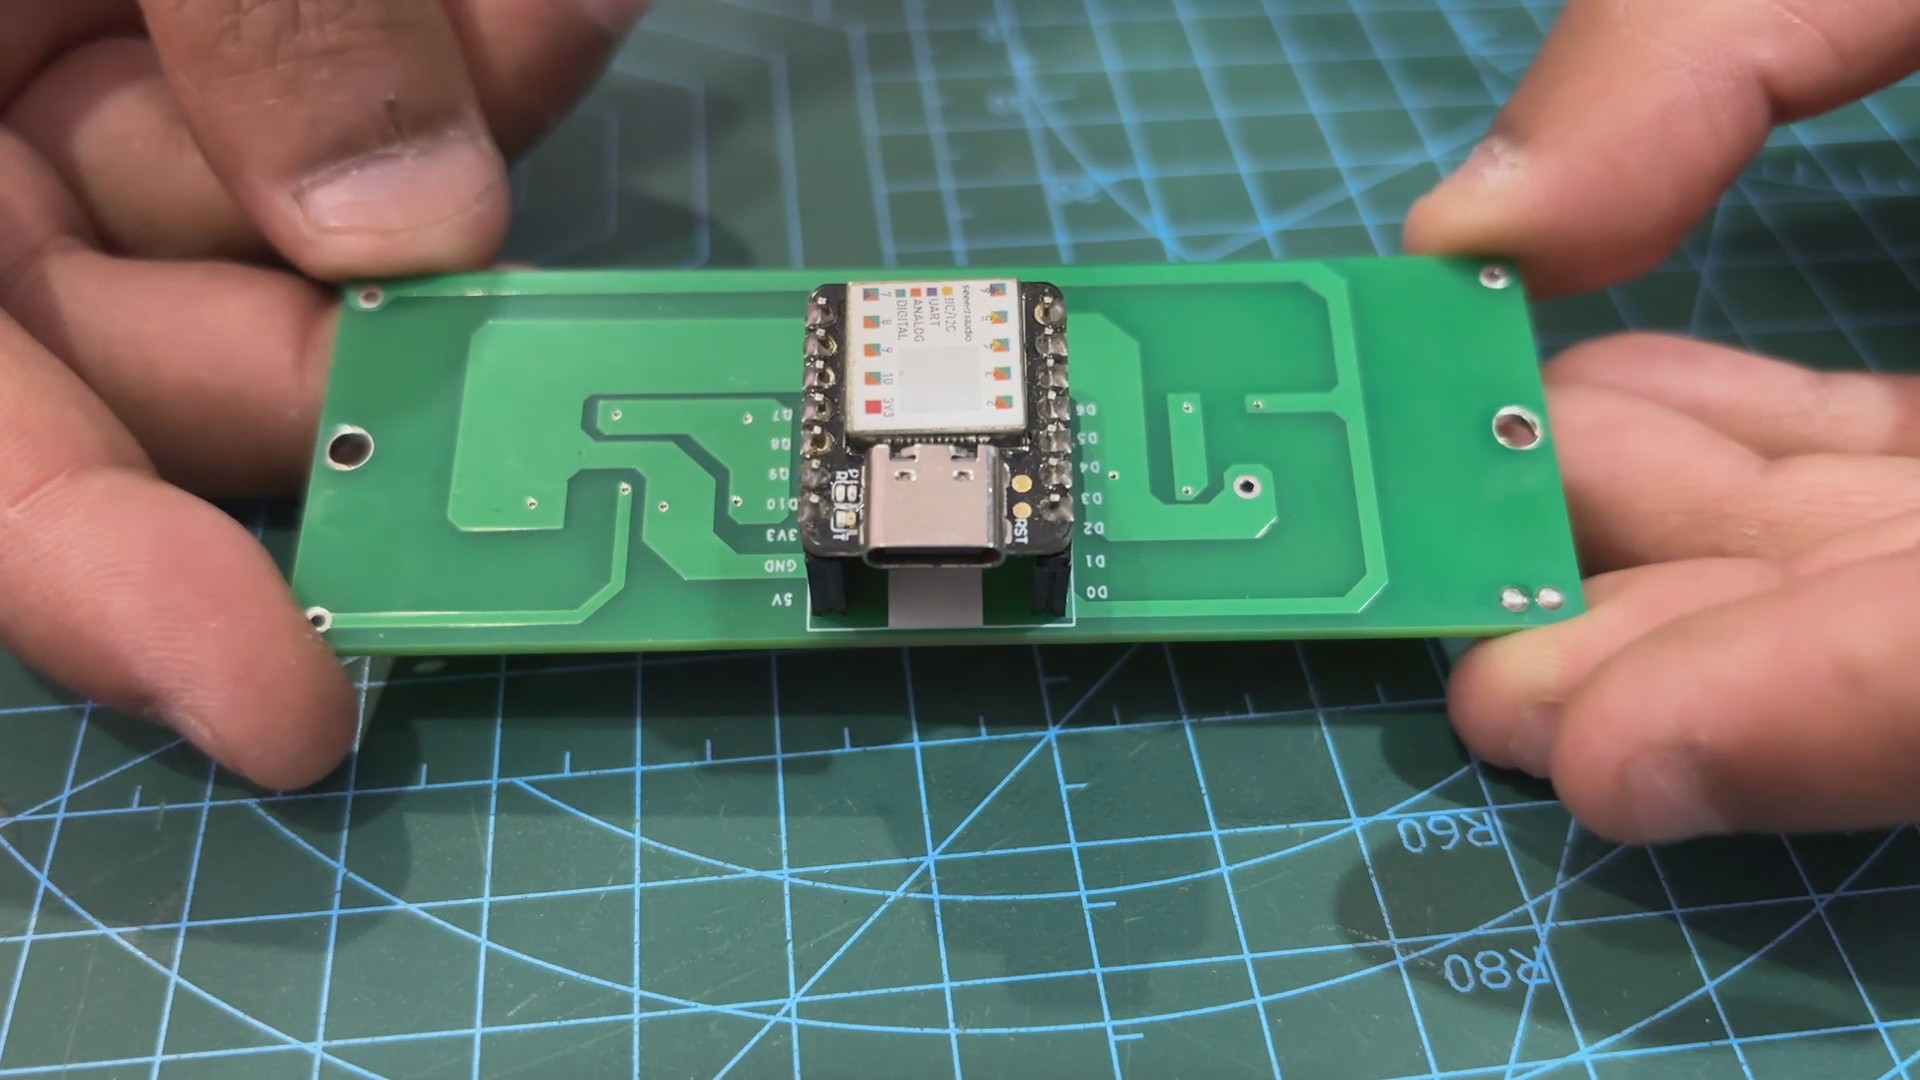
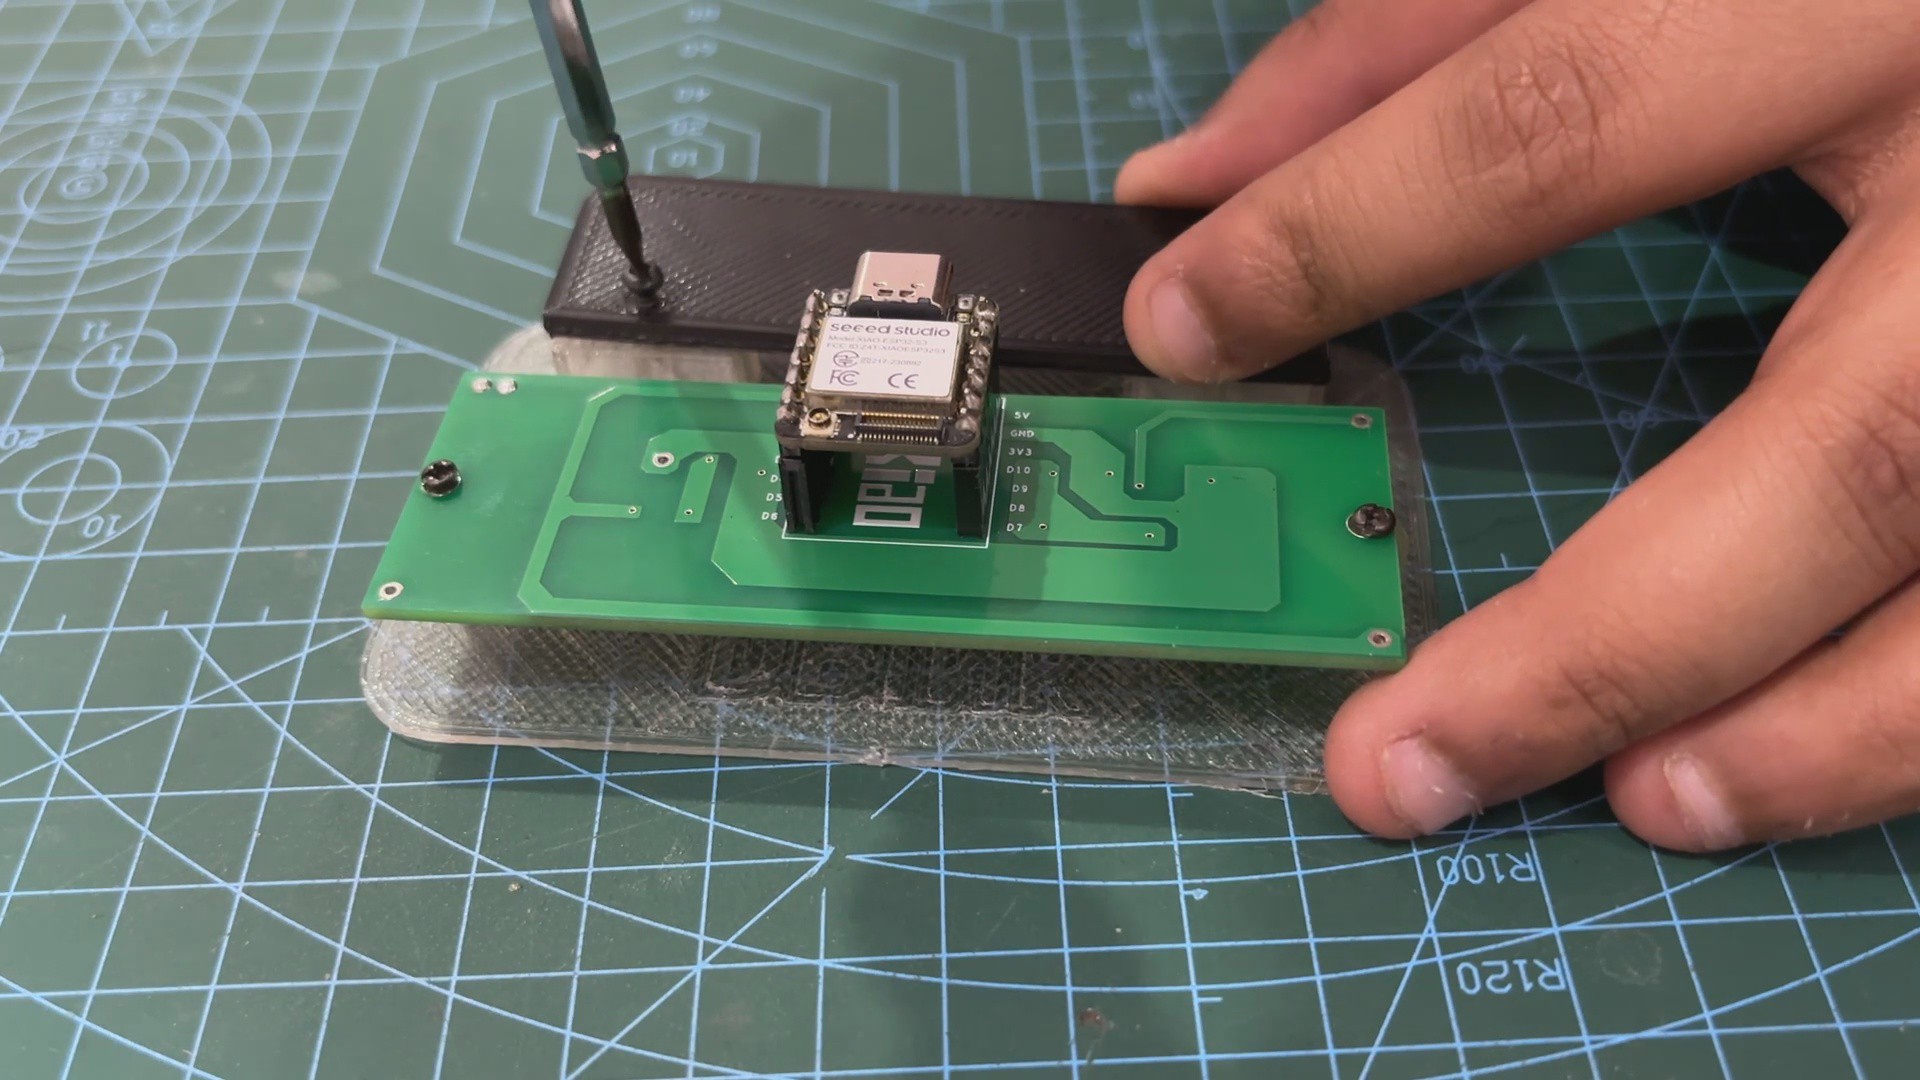
Assembly priocess of this projects begins by pairing XIAO Dev board on the WS2812B RGB LED circuit.
We take our circuit and place it over the mounting screw bosses given on the diffuser part using two M2 screws.
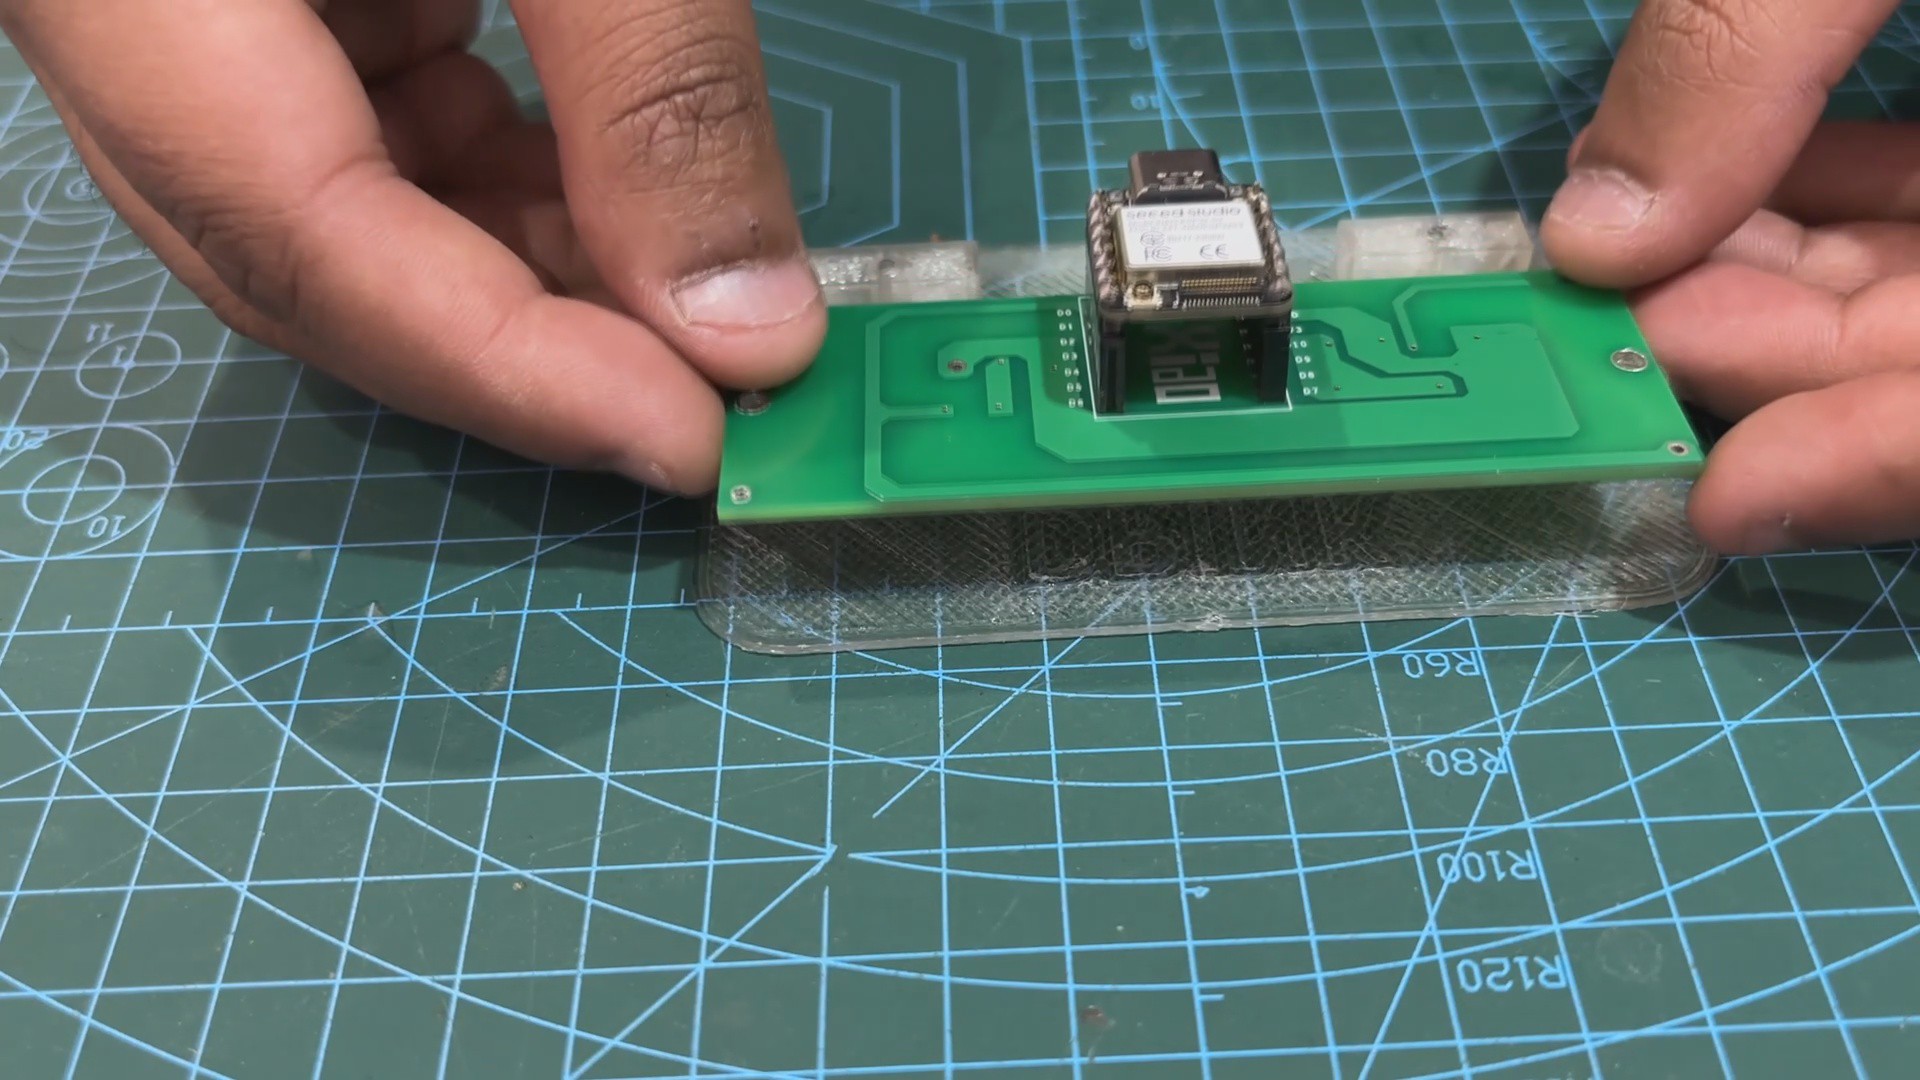
Next we place the holder part in its place and use two M2 screws to secure it with the diffuser part.
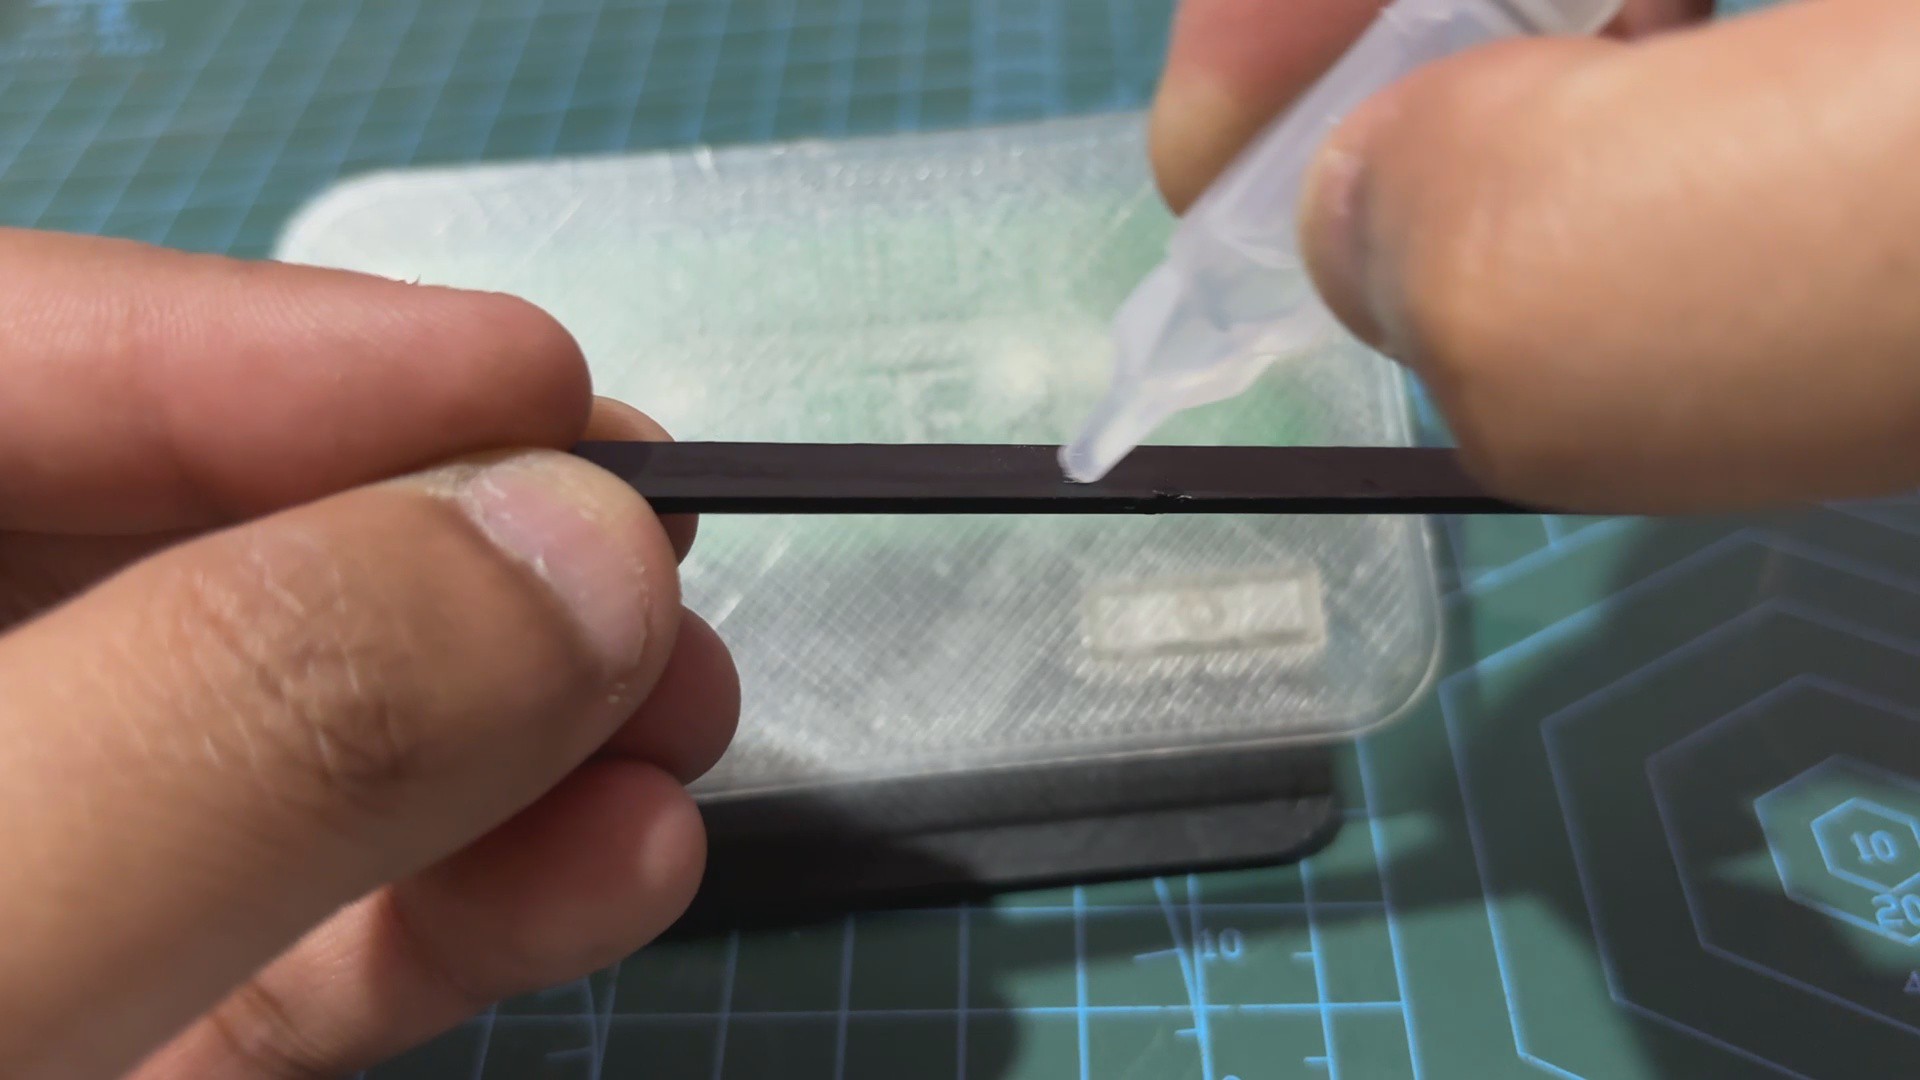
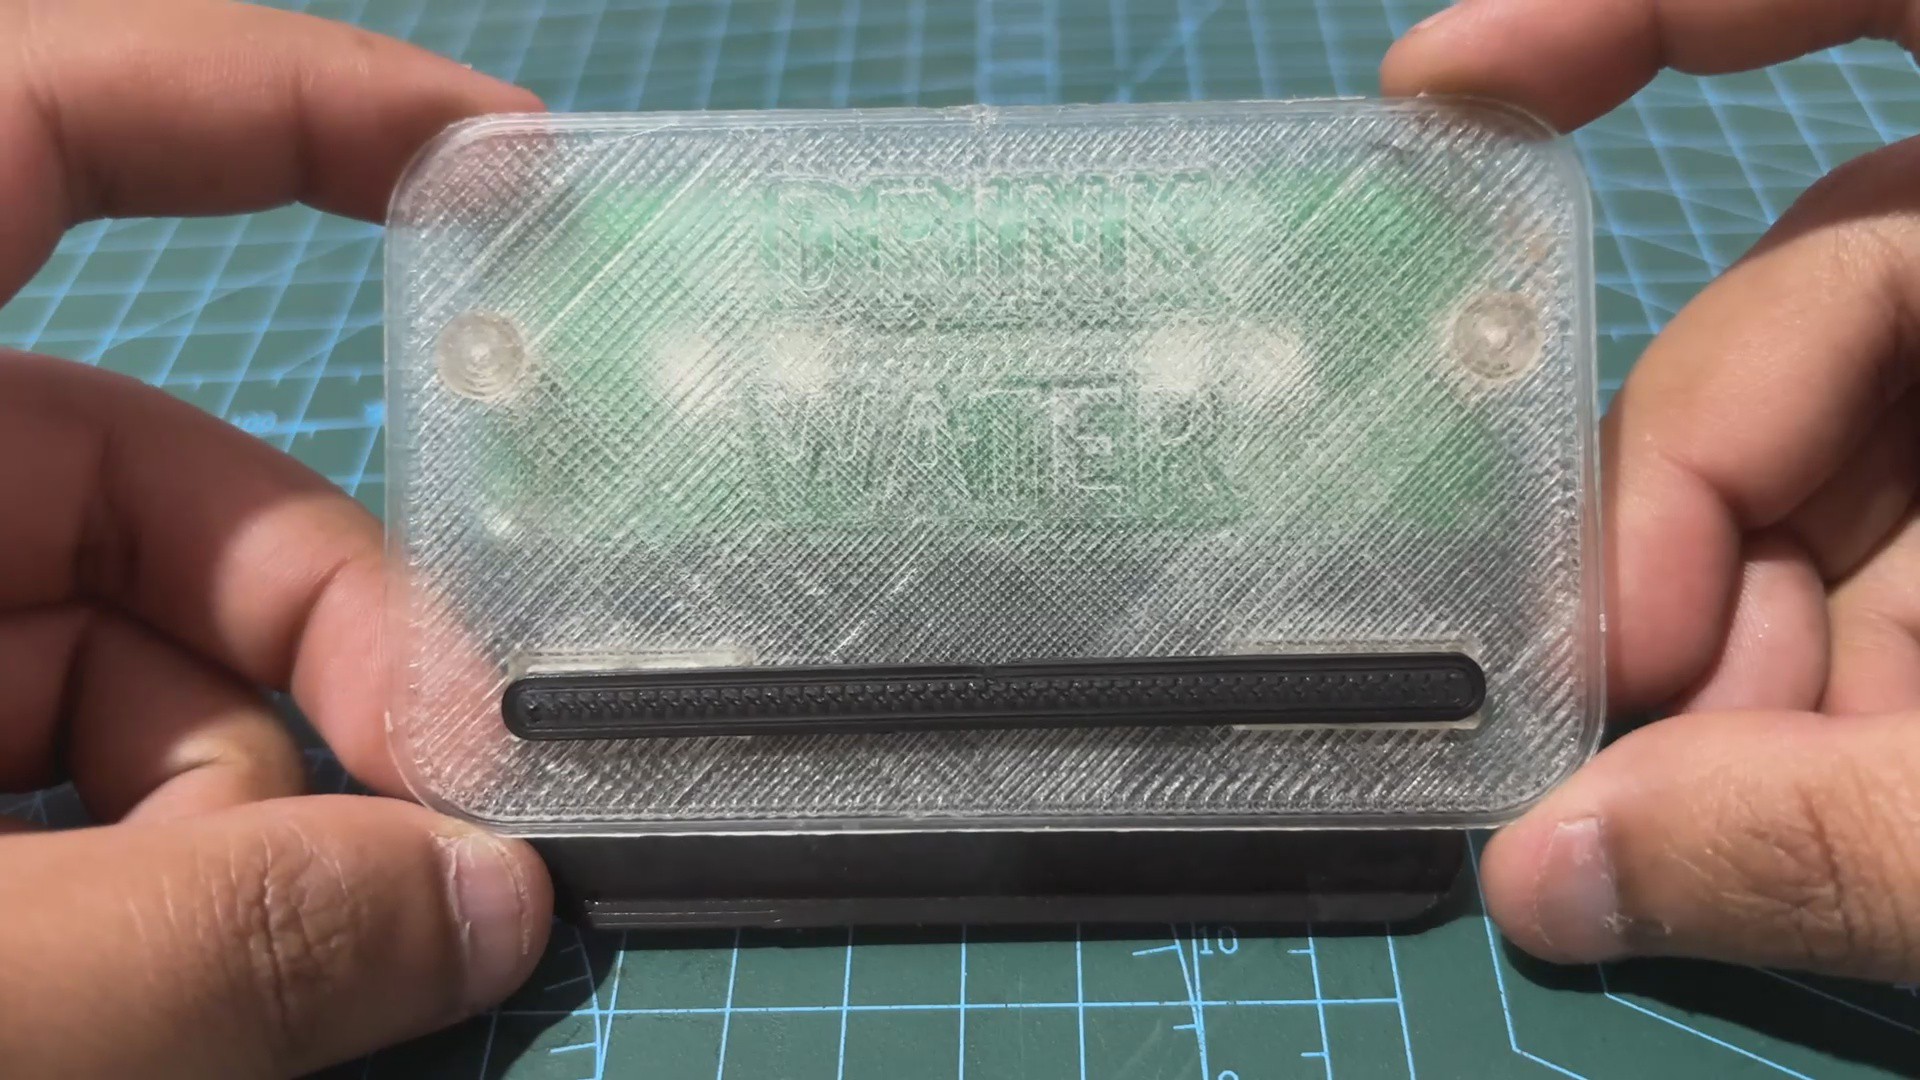
At last, we use super glue to attach the Accent line part on the front side of the diffuser.
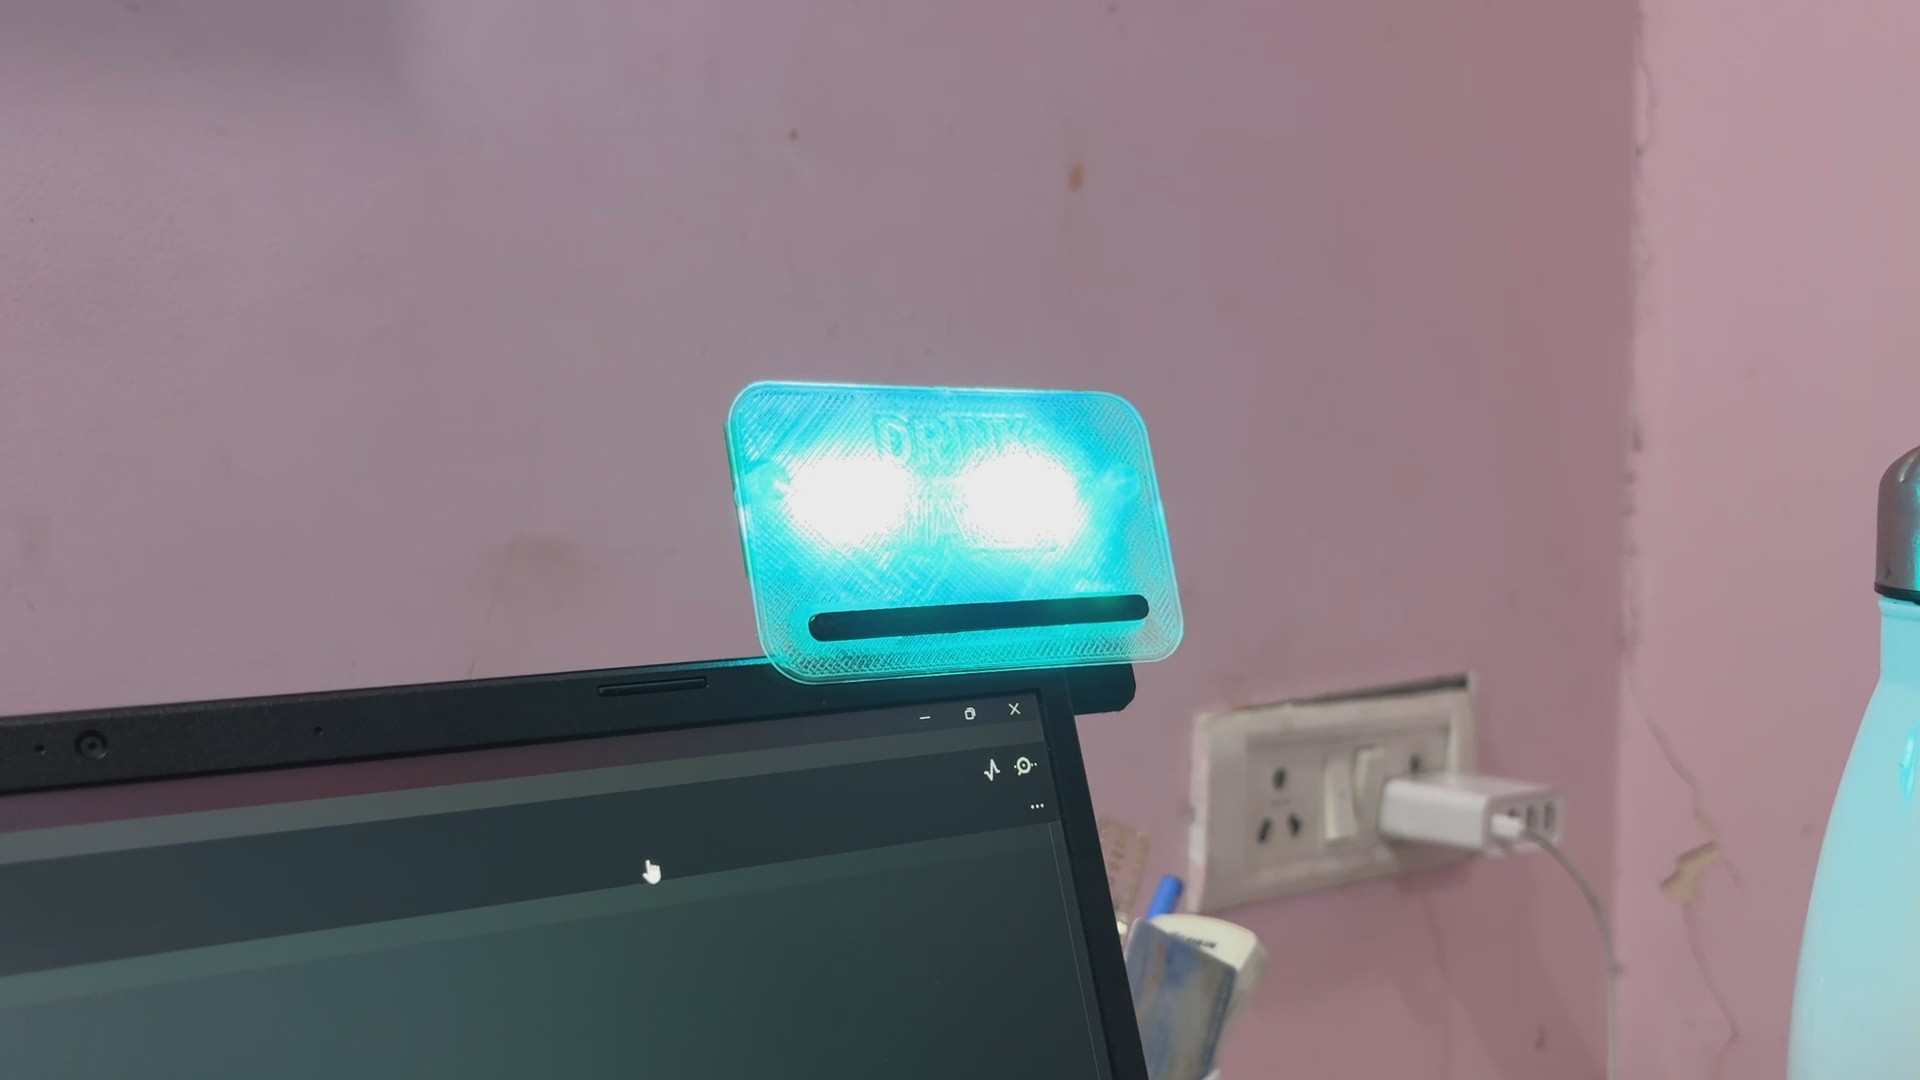
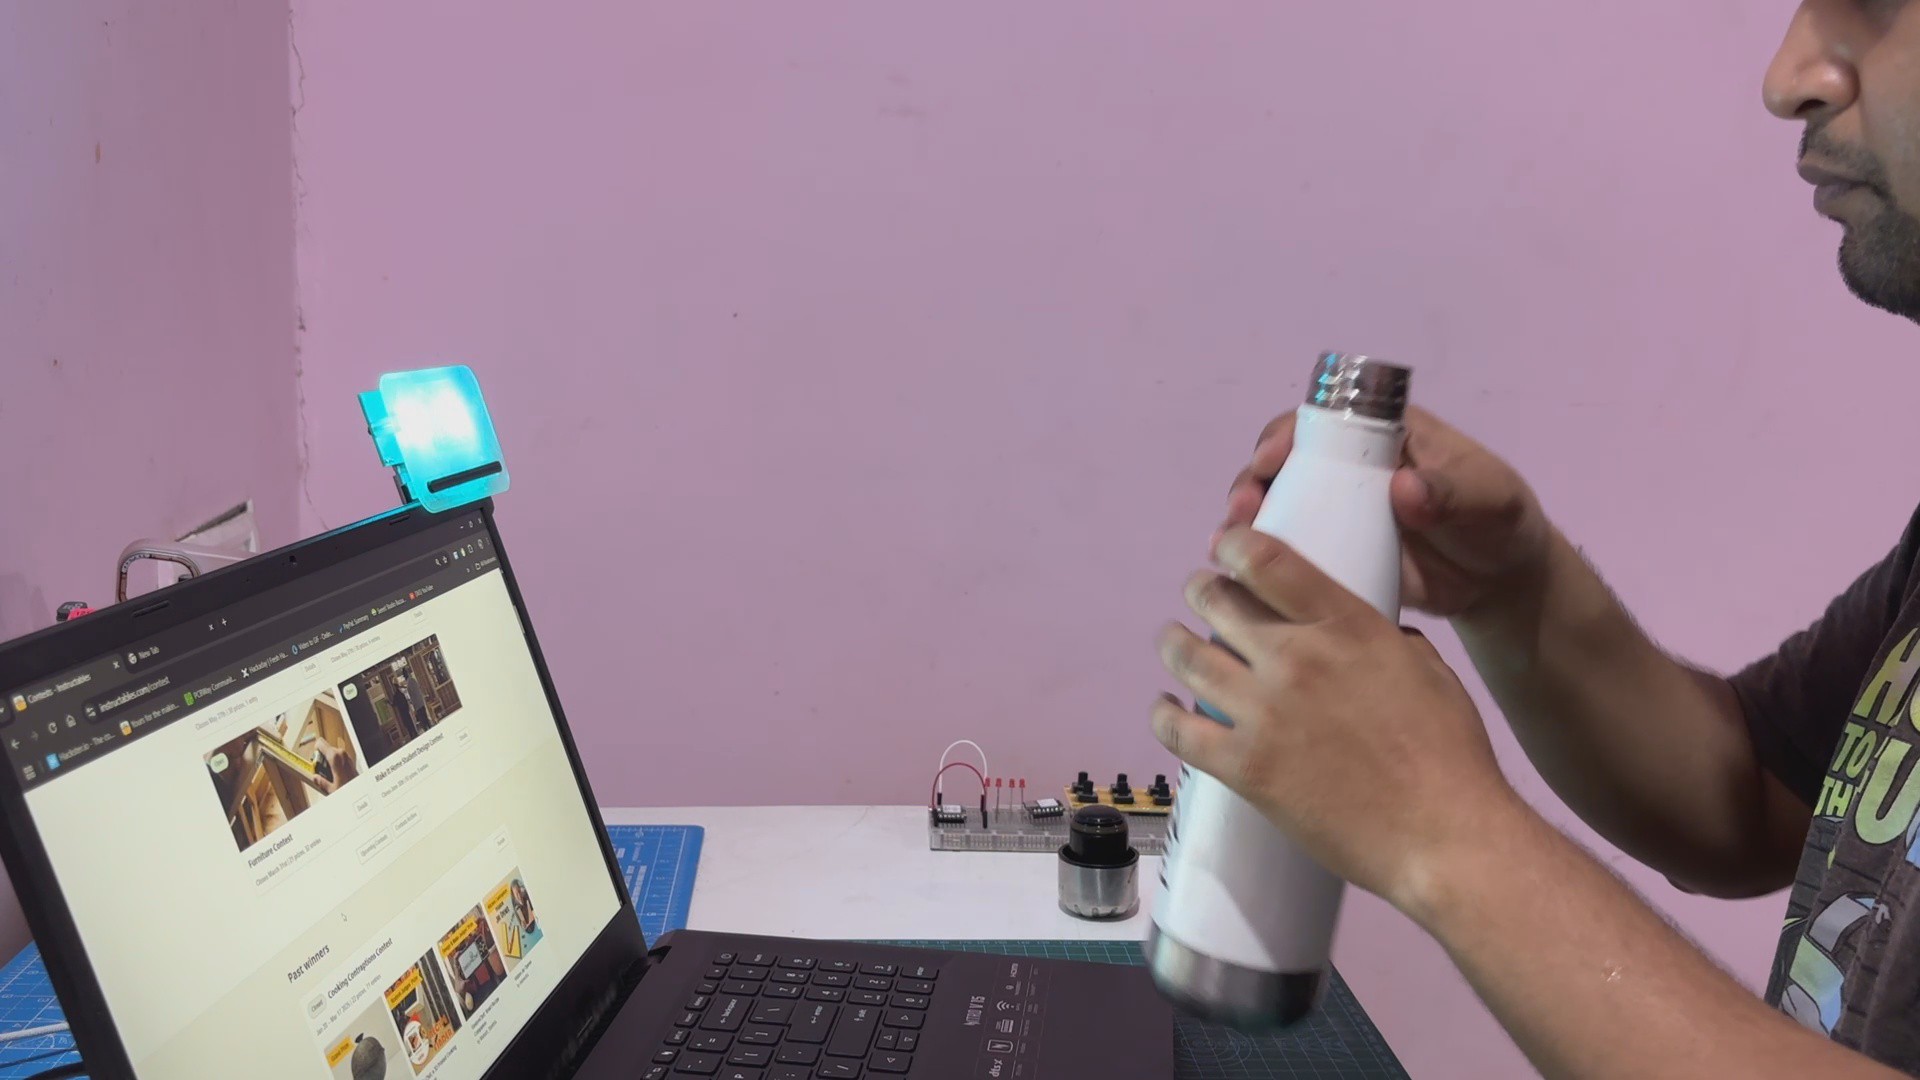
We now place the device on our laptop monitor and power it using a USB Type-C cable connected between our laptop and the XIAO dev board.
2
CODE
Here's the code that we prepared and its a simple one. It is designed to control a set of WS2812B LEDs connected to a XIAO ESP32 microcontroller. it alternates between fading a green LED for a soothing effect and blinking a sky-blue LED to signal hydration reminders.
#include<Adafruit_NeoPixel.h>// Pin connected to WS2812B LED#define LED_PIN 0// Number of LEDs#define NUM_LEDS 4Adafruit_NeoPixel strip(NUM_LEDS, LED_PIN, NEO_GRB + NEO_KHZ800);
// Timing variablesunsignedlong previousMillis = 0;
constlong twoHours = 7200000; // Two hours in millisecondsconstlong blinkDuration = 30000; // 30 seconds for blinkingconstlong fadeInterval = 20; // Interval for updating fade (in ms)constlong blinkInterval = 500; // Blinking interval in msbool isBlinking = false;
bool isFading = true;
int fadeBrightness = 0; // Brightness for fadingint fadeDirection = 1; // 1 for increasing brightness, -1 for decreasing brightnessvoidsetup(){
strip.begin();
strip.show(); // Initialize all LEDs to OFF
setGreenFade(0); // Start with GREEN LED off
previousMillis = millis(); // Start time tracking
}
voidloop(){
unsignedlong currentMillis = millis();
if (!isBlinking && (currentMillis - previousMillis >= twoHours)) {
// Two hours passed, start blinking SKYBLUE LED
isBlinking = true;
isFading = false; // Stop fading during blinking
previousMillis = currentMillis; // Reset timer for blinking duration
}
if (isBlinking) {
// Blinking logic for SKYBLUE LEDif (currentMillis - previousMillis < blinkDuration) {
if ((currentMillis % blinkInterval) < (blinkInterval / 2)) {
setLEDColor(strip.Color(0, 255, 255)); // SKYBLUE ON
} else {
setLEDColor(strip.Color(0, 0, 0)); // OFF
}
} else {
// Blinking finished, reset to GREEN fading and restart the timer
isBlinking = false;
isFading = true;
previousMillis = currentMillis; // Reset timer for the next two-hour interval
}
}
if (isFading) {
// Handle fading effect for GREEN LEDstaticunsignedlong fadeMillis = 0;
if (currentMillis - fadeMillis >= fadeInterval) {
fadeMillis = currentMillis;
fadeBrightness += fadeDirection * 5; // Adjust brightnessif (fadeBrightness <= 0 || fadeBrightness >= 255) {
fadeDirection *= -1; // Reverse direction at min or max brightness
}
setGreenFade(fadeBrightness);
}
}
}
// Function to set a specific color for all LEDsvoidsetLEDColor(uint32_t color){
for (int i = 0; i < NUM_LEDS; i++) {
strip.setPixelColor(i, color);
}
strip.show();
}
// Function to fade GREEN LEDvoidsetGreenFade(int brightness){
uint32_t color = strip.Color(0, brightness, 0); // Set green brightness
setLEDColor(color);
}
The Sketch operates on a cyclical timer, reminding users to drink water every two hours.
Non-blocking logic ensures smooth functionality, with seamless transitions between fading and blinking modes, offering both practicality and aesthetic appeal.
3
RESULT
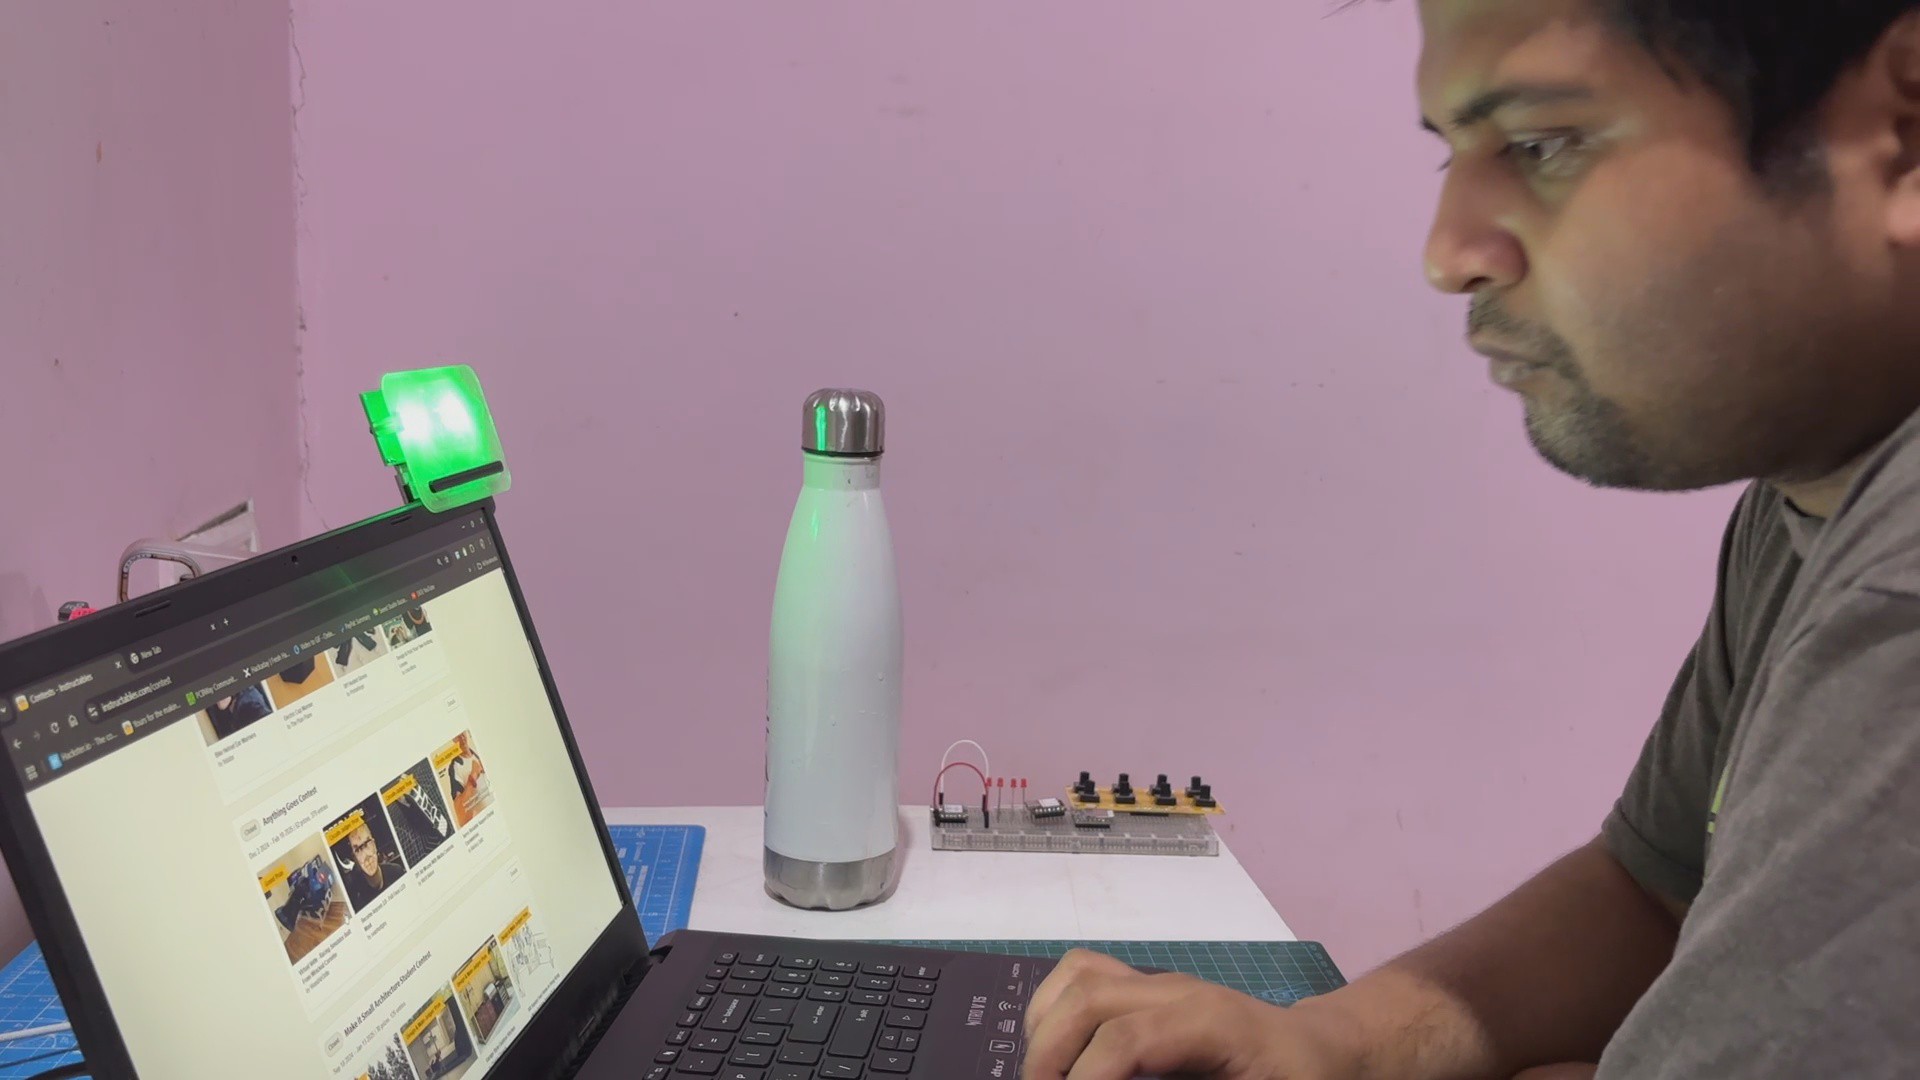
Here's the end result of this simple yet helpful build: a Water Reminder Tool that fosters a healthy habit of staying hydrated, which is vital for overall well-being.
By providing periodic visual reminders with soothing and engaging light effects, it gently prompts users to drink water without being intrusive. This can be particularly beneficial for people with busy lifestyles who often forget to hydrate, as well as for individuals aiming to improve their hydration habits. The fading green light creates a calm environment during idle periods, while the blinking sky-blue LED acts as an effective visual cue, ensuring users don't overlook their hydration needs.
For an updated future version, i would like to make some changes to this device, like for starters, adding an audio feedback, which is better than normal LED signaling and an inbuilt battery that will allow the user to directly power it instead of relying on a USB Port. For now this project is complete and this article provides full build instructions on how you can make this project.
Leave a comment if you need any help regarding this project. This is it for today, folks.
 Arnov Sharma
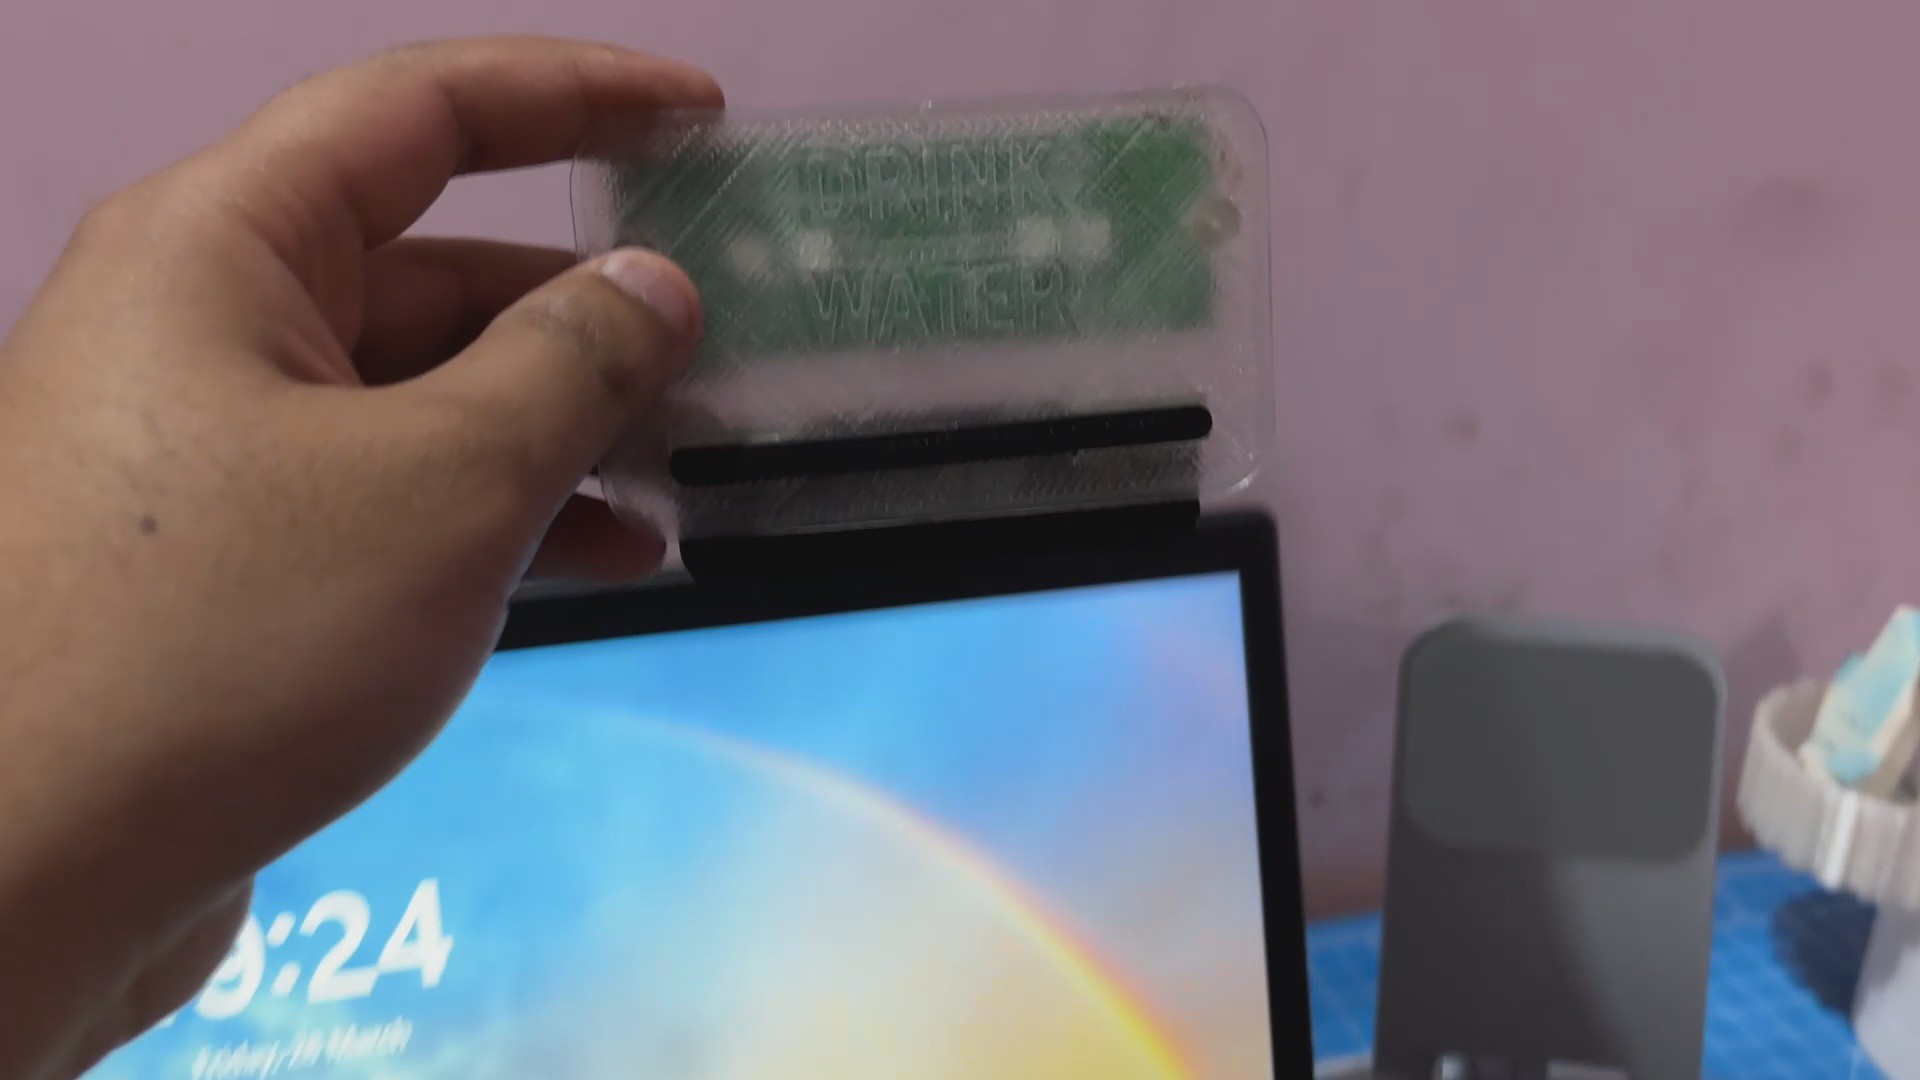


Discussions
Become a Hackaday.io Member
Create an account to leave a comment. Already have an account? Log In.