 Arnov Sharma
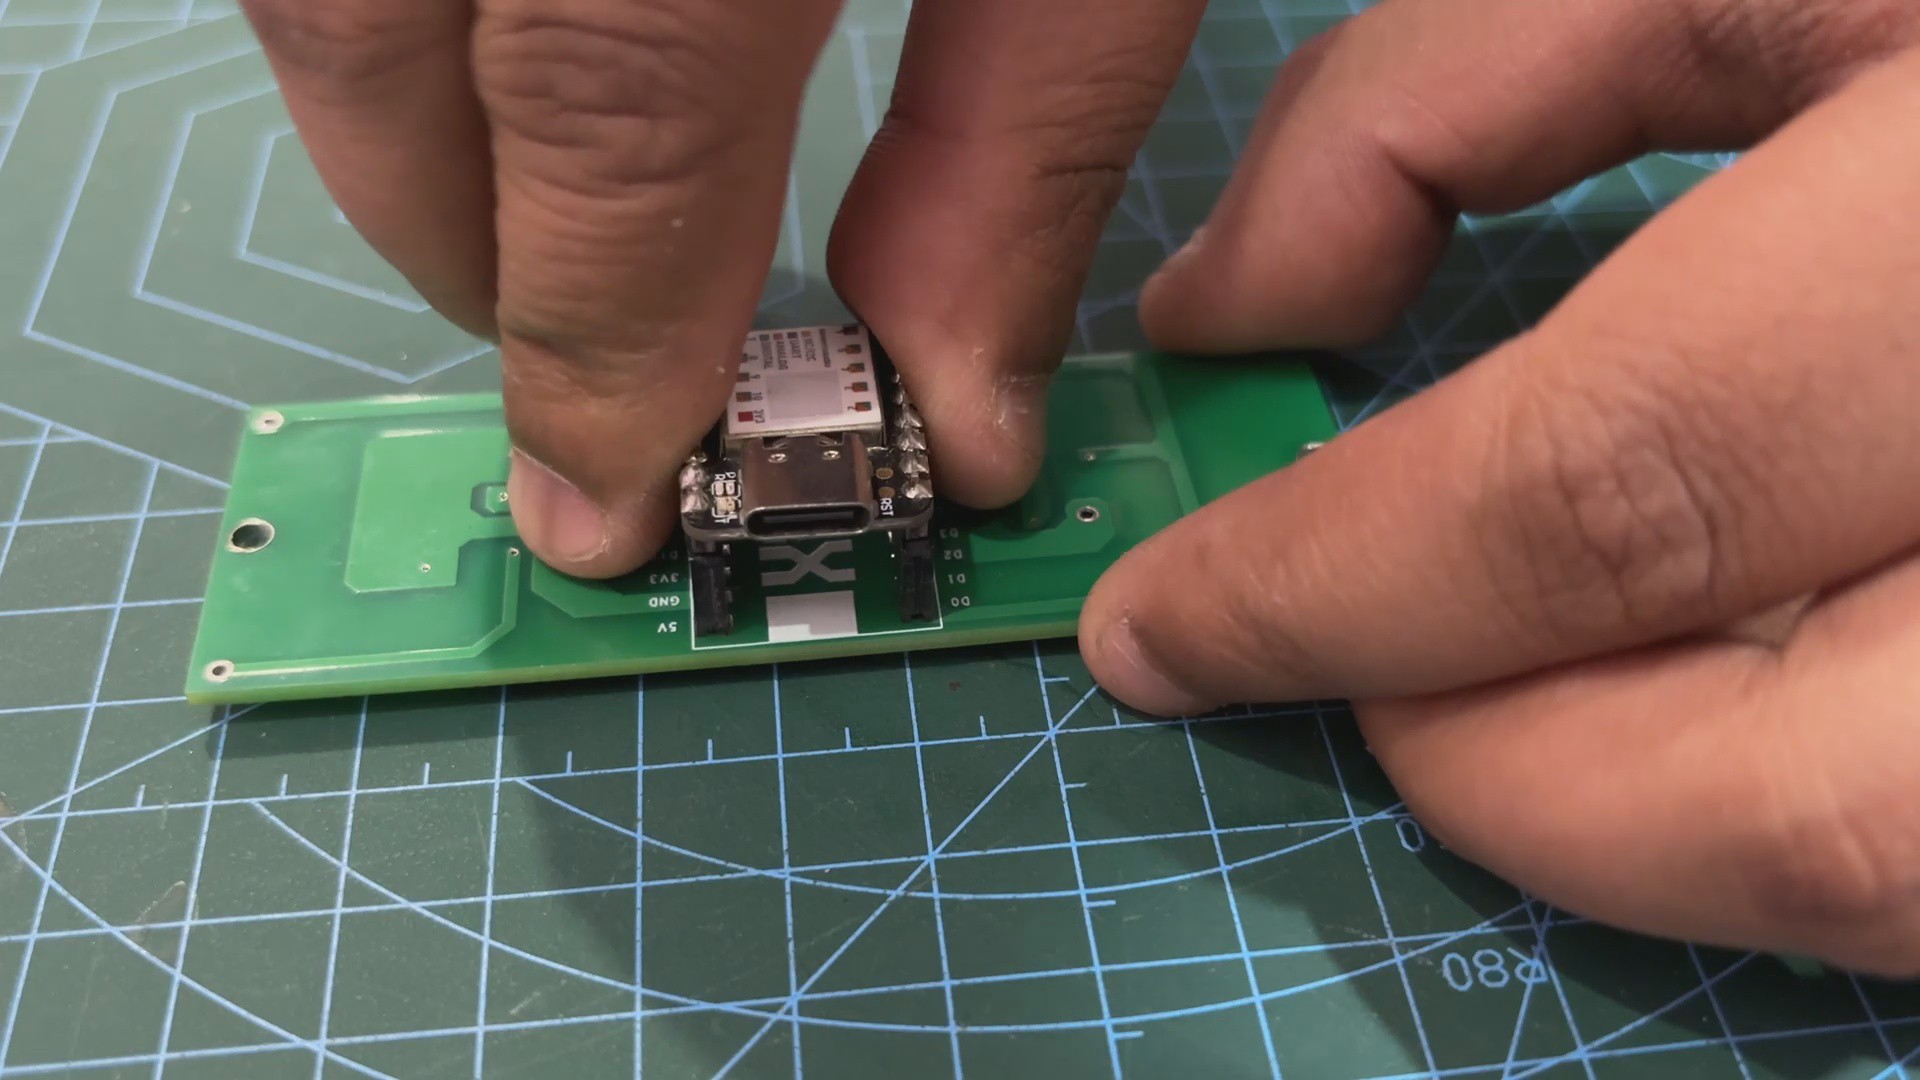
The star of this project is the Seeed Studio's XIAO SAMD21 M0 Development Board, which we are pairing with a custom-made RGB LED Board for controlling the WS2812B LEDs.
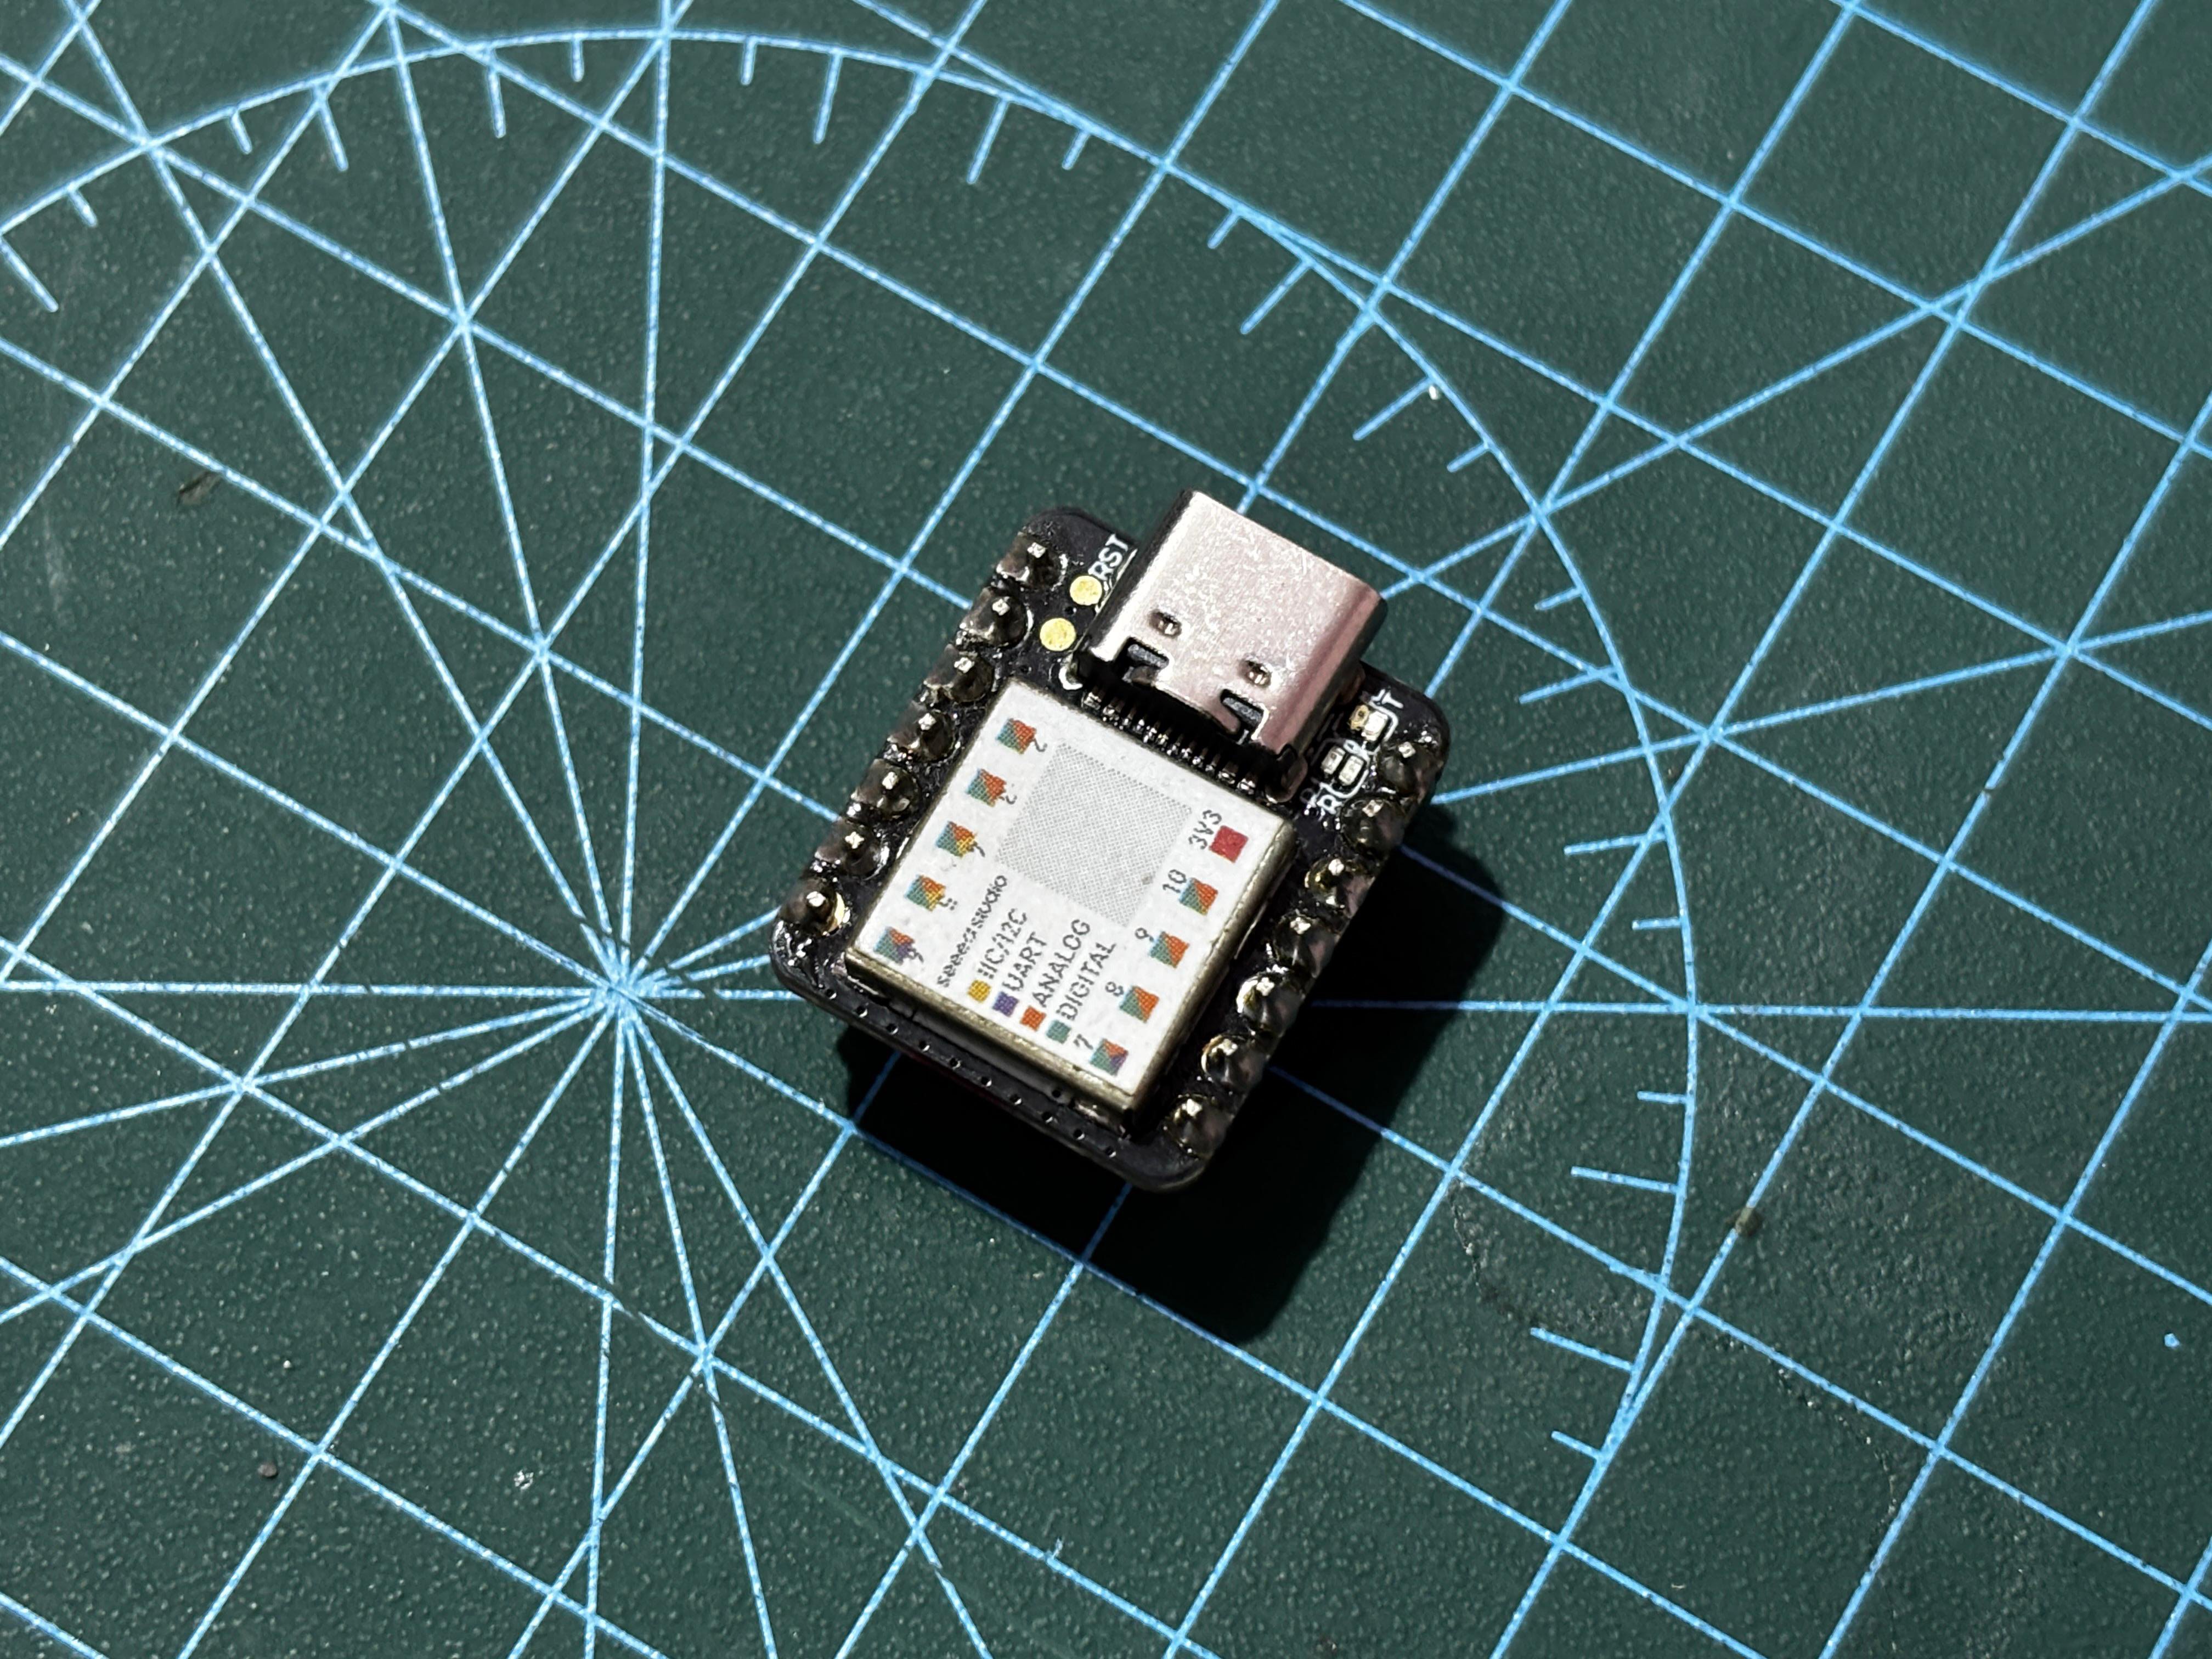
It is powered by the ATSAMD21G18A-MU microcontroller, which has an ARM Cortex-M0+ 32-bit CPU working at up to 48 MHz and a compact form factor of only 21x17.8mm, making it a suitable device for small projects.
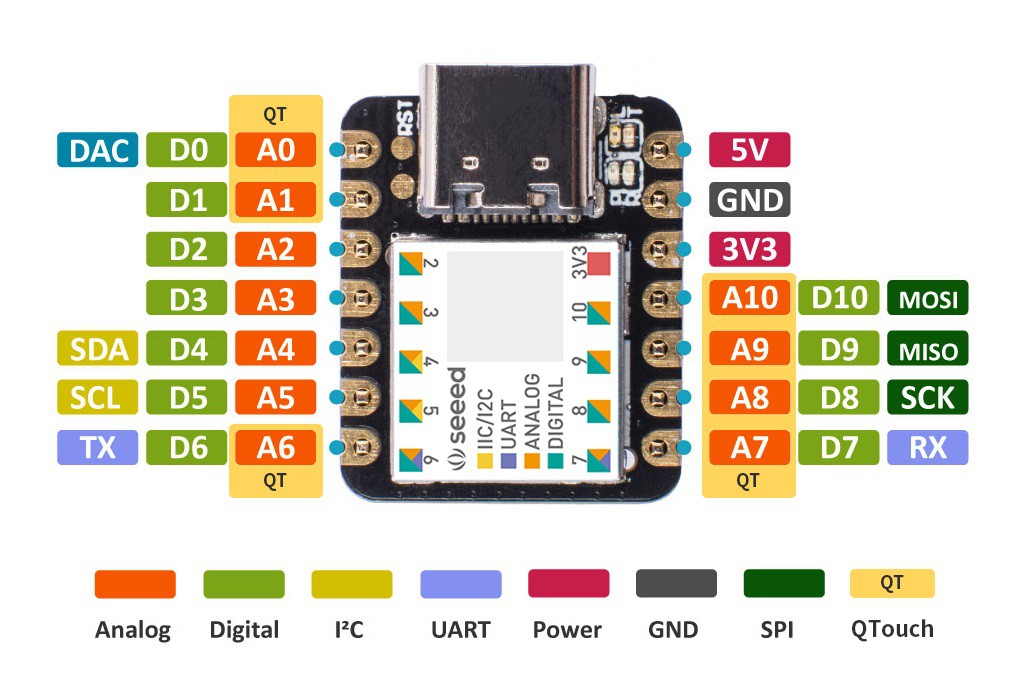
It has 256KB Flash and 32KB SRAM, 11 digital/analog ports, a Type-C interface, and compatibility for the Arduino IDE, making it a perfect Arduino Uno/Nano replacement.
You can check out more details about the XIAO M0 below link:
https://www.seeedstudio.com/Seeeduino-XIAO-Arduino-Microcontroller-SAMD21-Cortex-M0+-p-4426.html
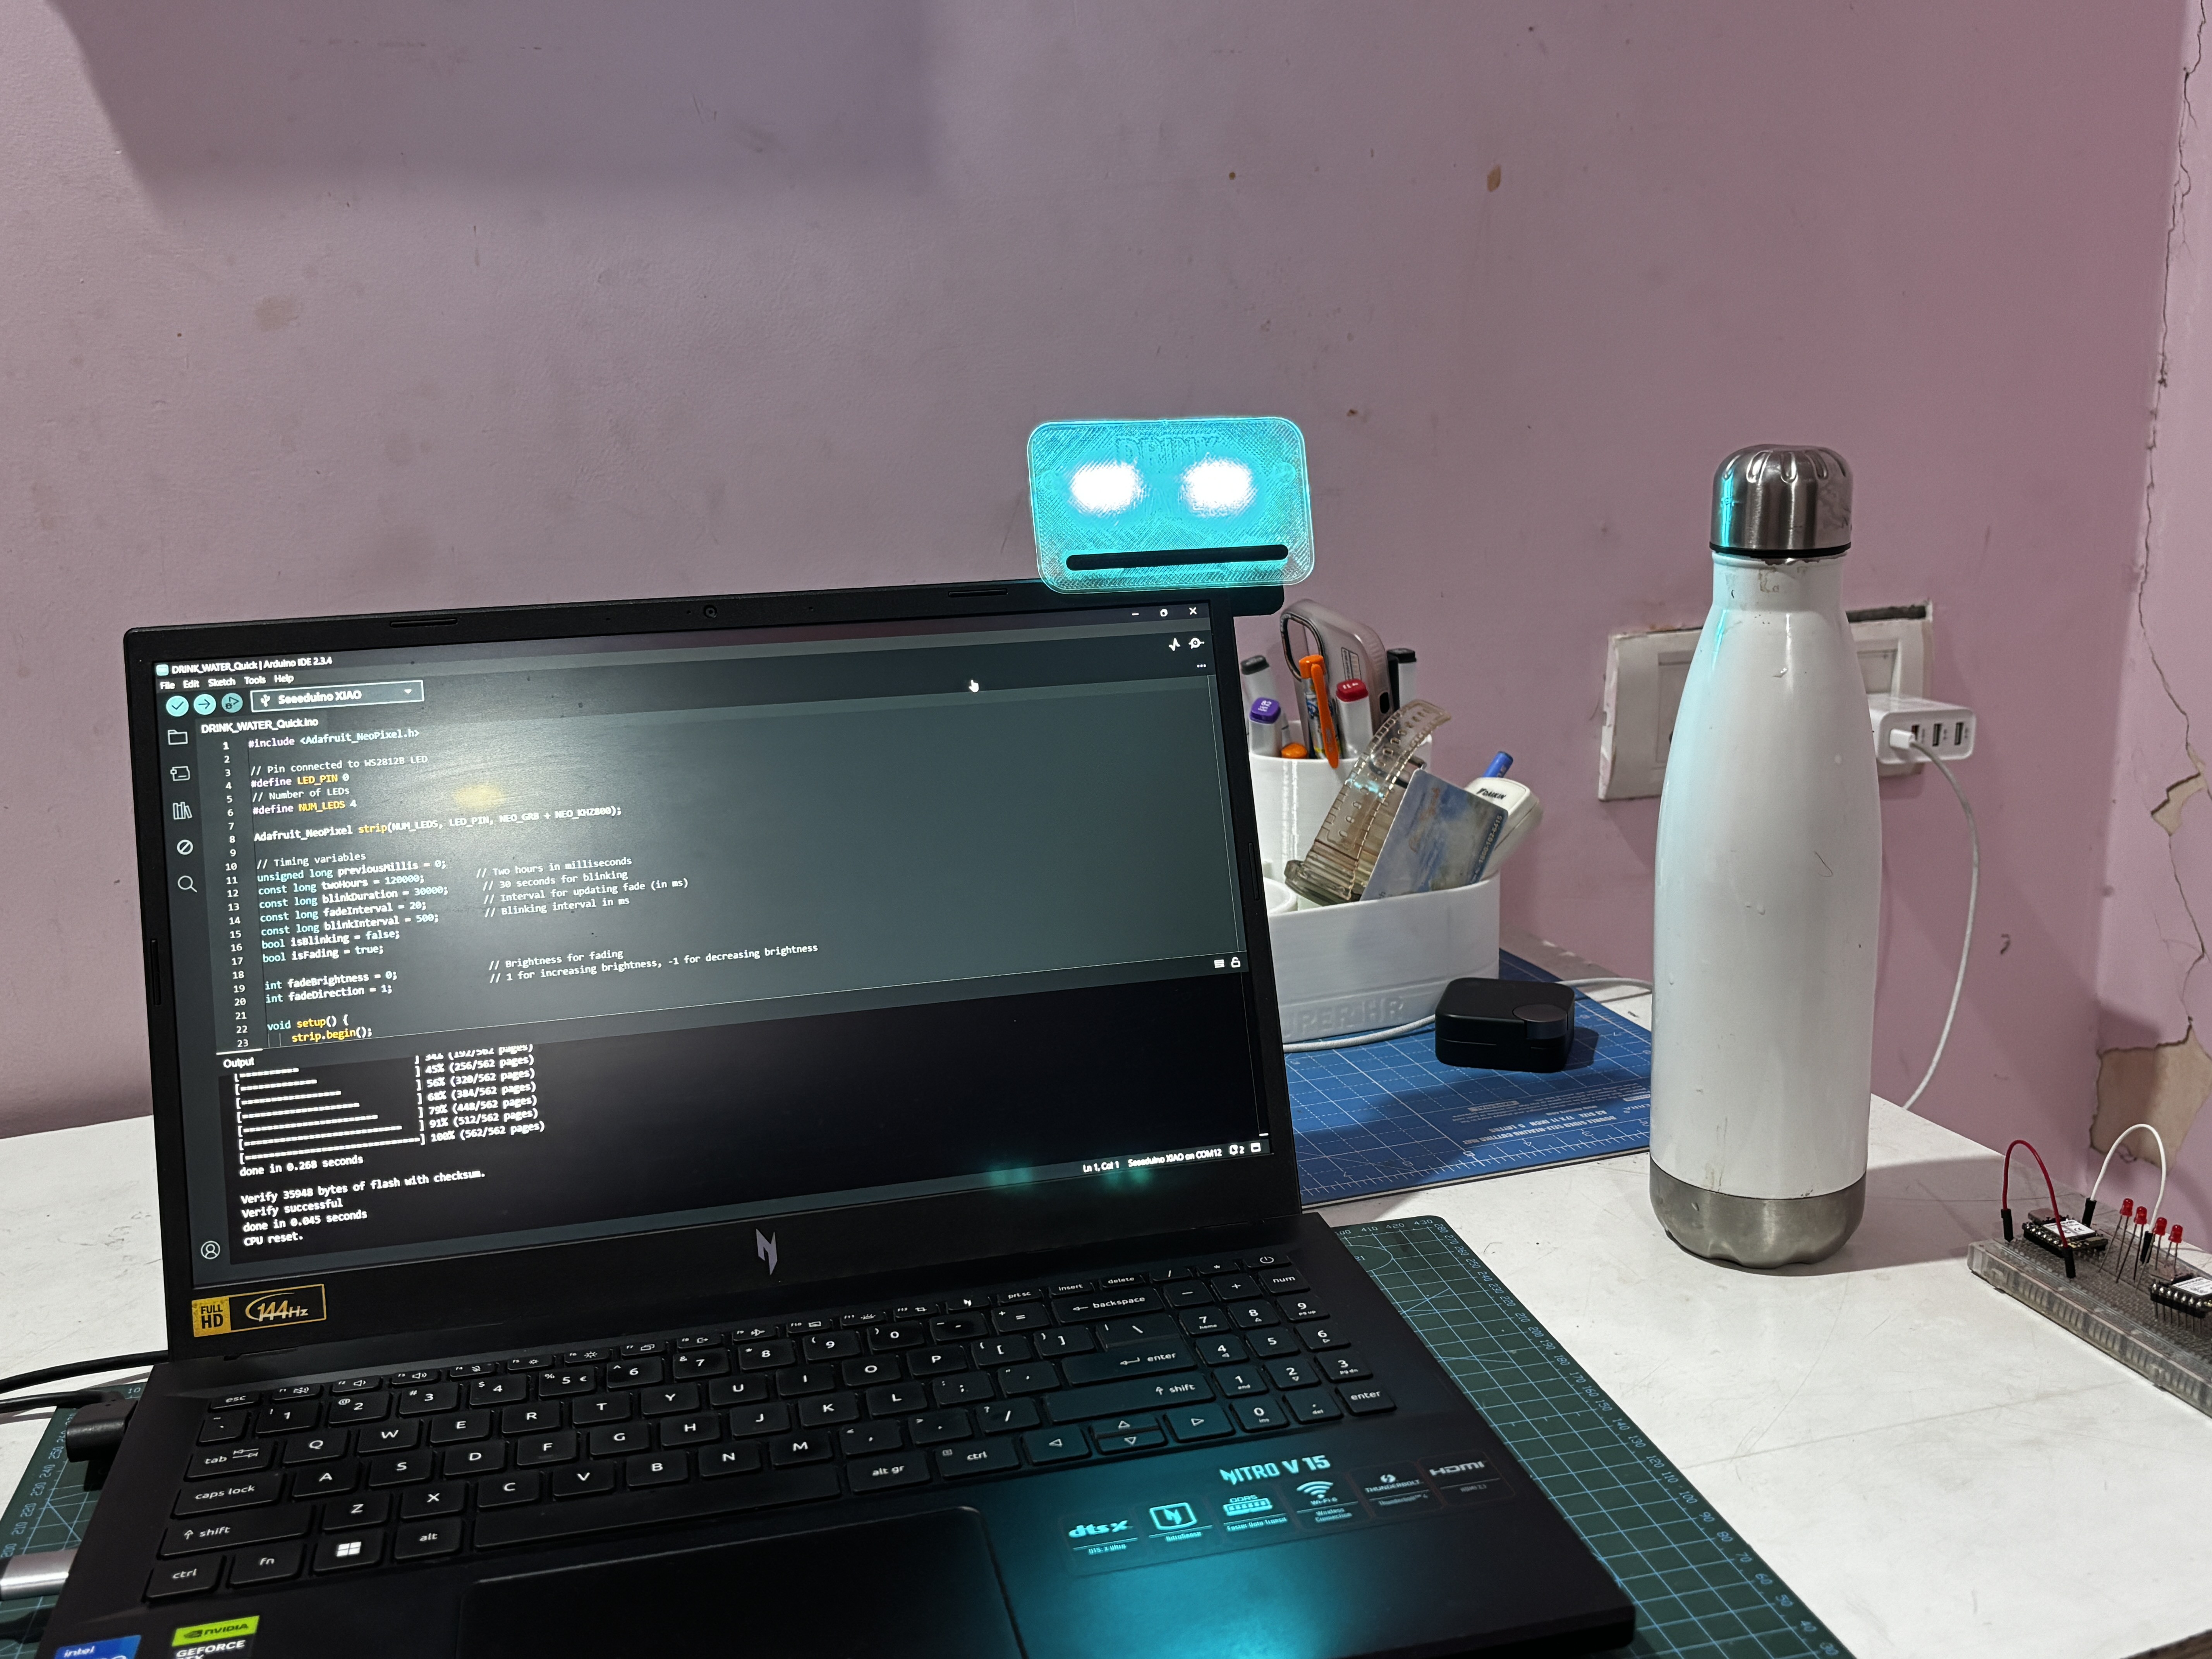
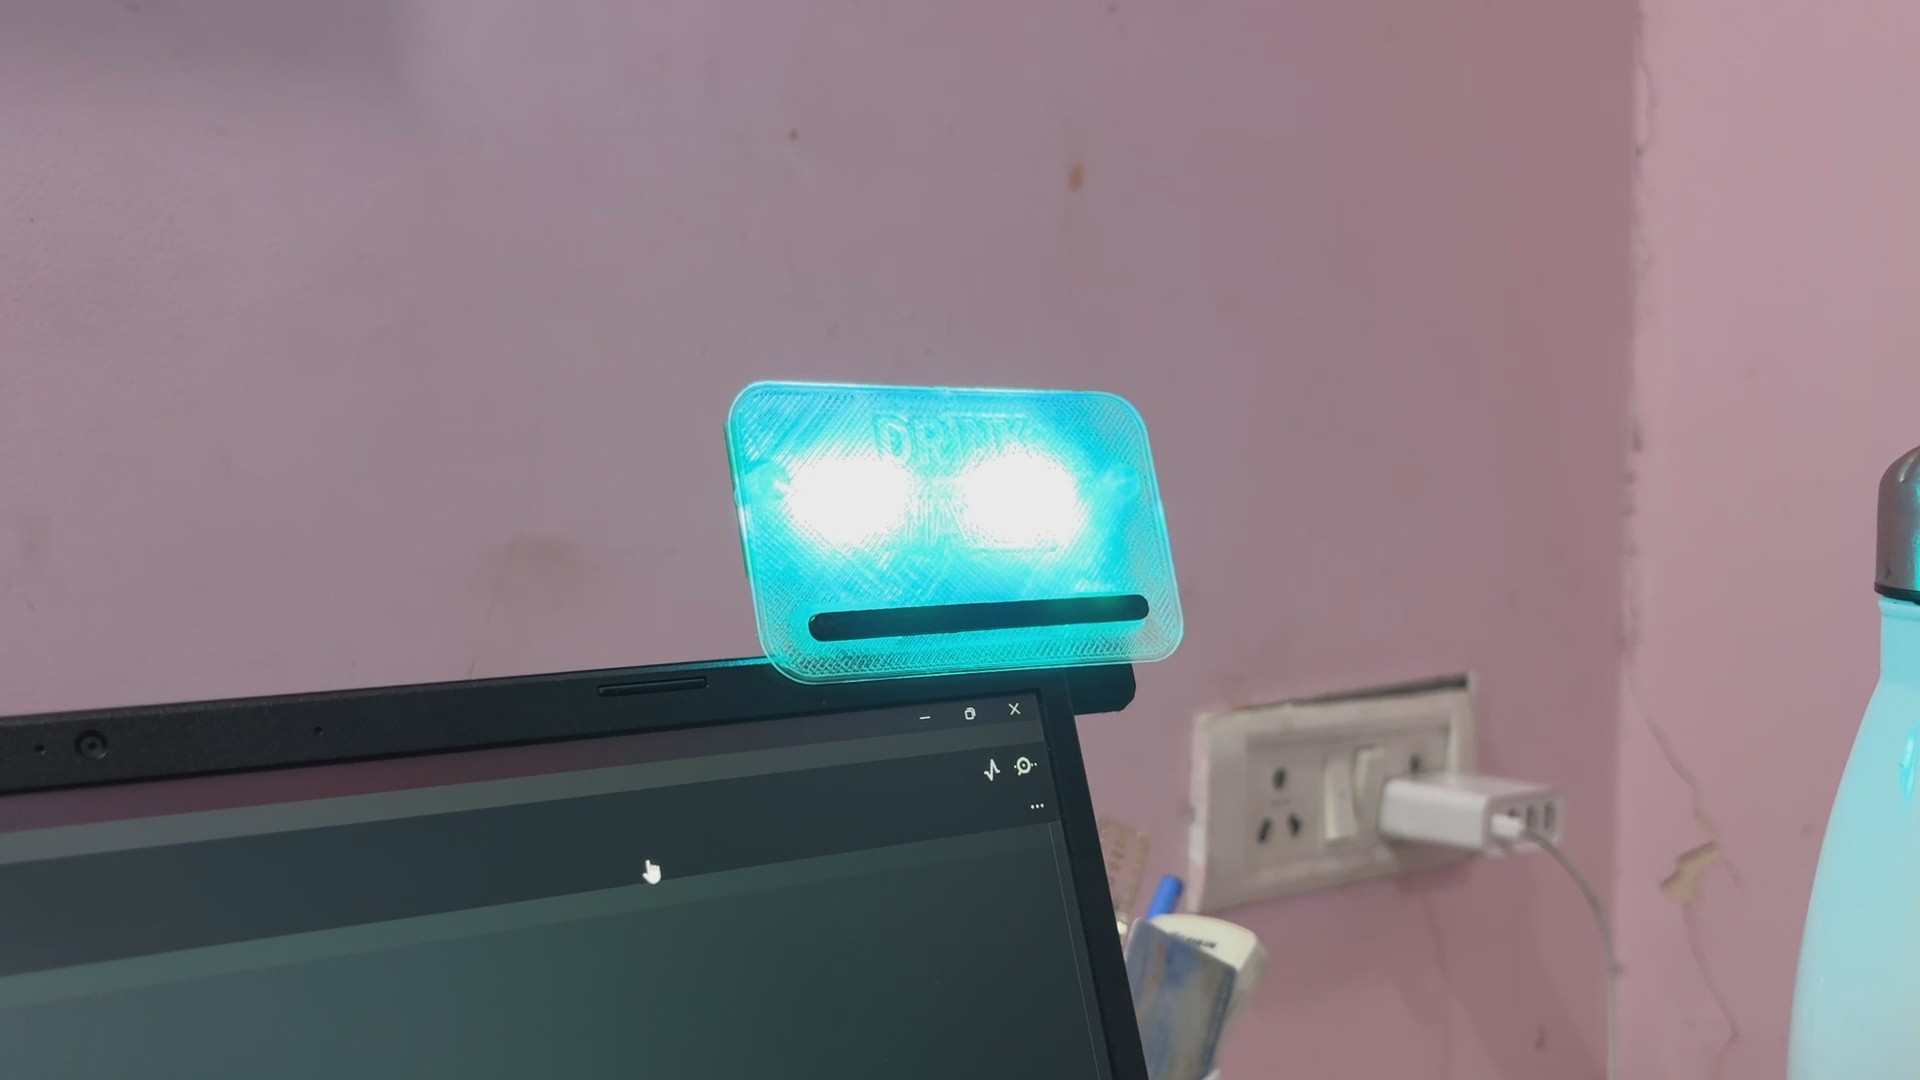
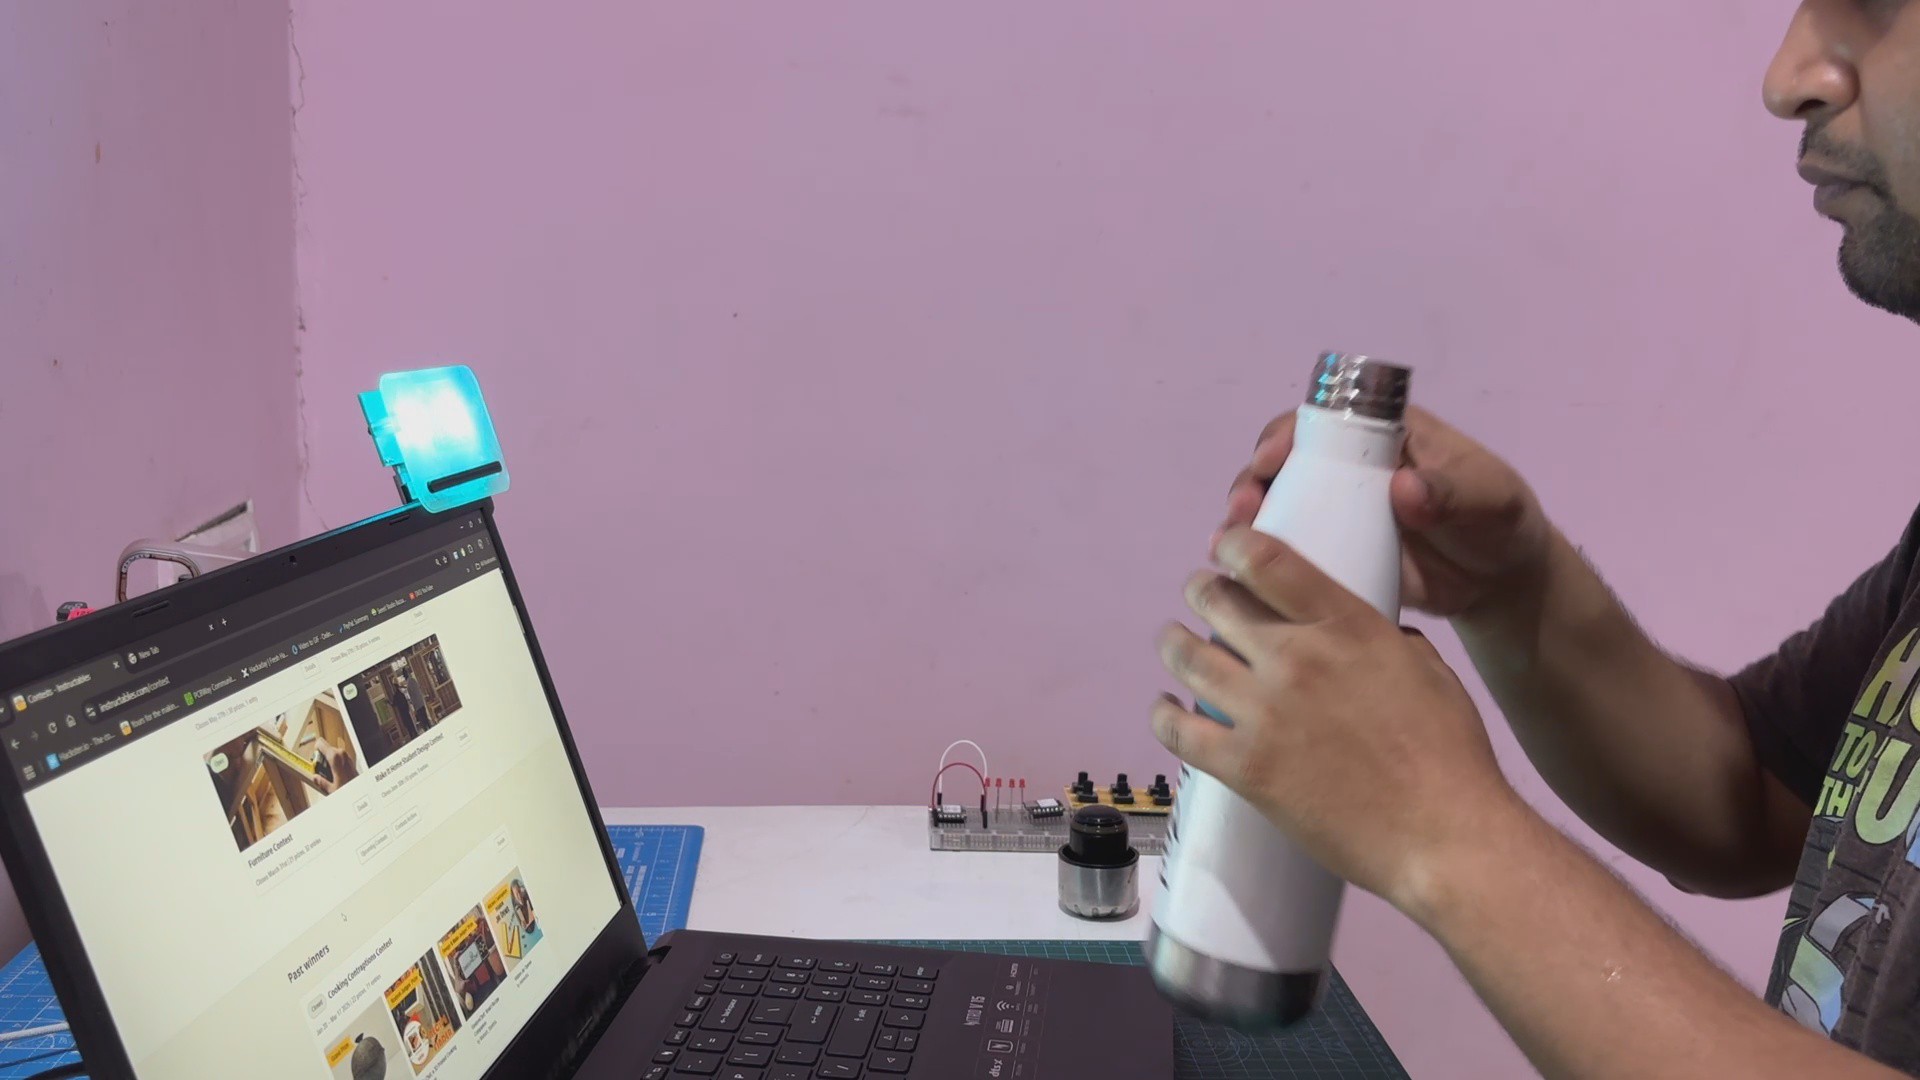
The reason for preparing this project was really serious; I frequently forget to drink water while working. This device ensures that this does not happen because I live in India, where the recorded maximum temperature was around 52°C last year, and summer is fast approaching, meaning that I must take this practice seriously.
Heart of the Project - XIAO Microcontroller
The star of this project is the Seeed Studio's XIAO SAMD21 M0 Development Board, which we are pairing with a custom-made RGB LED Board for controlling the WS2812B LEDs.
It is powered by the ATSAMD21G18A-MU microcontroller, which has an ARM Cortex-M0+ 32-bit CPU working at up to 48 MHz and a compact form factor of only 21x17.8mm, making it a suitable device for small projects.
It has 256KB Flash and 32KB SRAM, 11 digital/analog ports, a Type-C interface, and compatibility for the Arduino IDE, making it a perfect Arduino Uno/Nano replacement.
You can check out more details about the XIAO M0 below link:
https://www.seeedstudio.com/Seeeduino-XIAO-Arduino-Microcontroller-SAMD21-Cortex-M0+-p-4426.html
Seeed Studio Fusion

Seeed Fusion PCB Service offers one-stop prototyping for PCB manufacture and PCB assembly, and as a result, they produce superior-quality PCBs and fast turnkey PCBAs within 7 working days.
Seeed Studio Fusion PCB Assembly Service takes care of the entire fabrication process, from Seeed Studio Fusion Agile manufacturing and hardware customization to parts sourcing, assembly, and testing services, so you can be sure that they are getting a quality product.
After gauging market interest and verifying a working prototype, Seeed Propagate Service can help you bring the product to market with professional guidance and a strong network of connections.
RGB LED Board
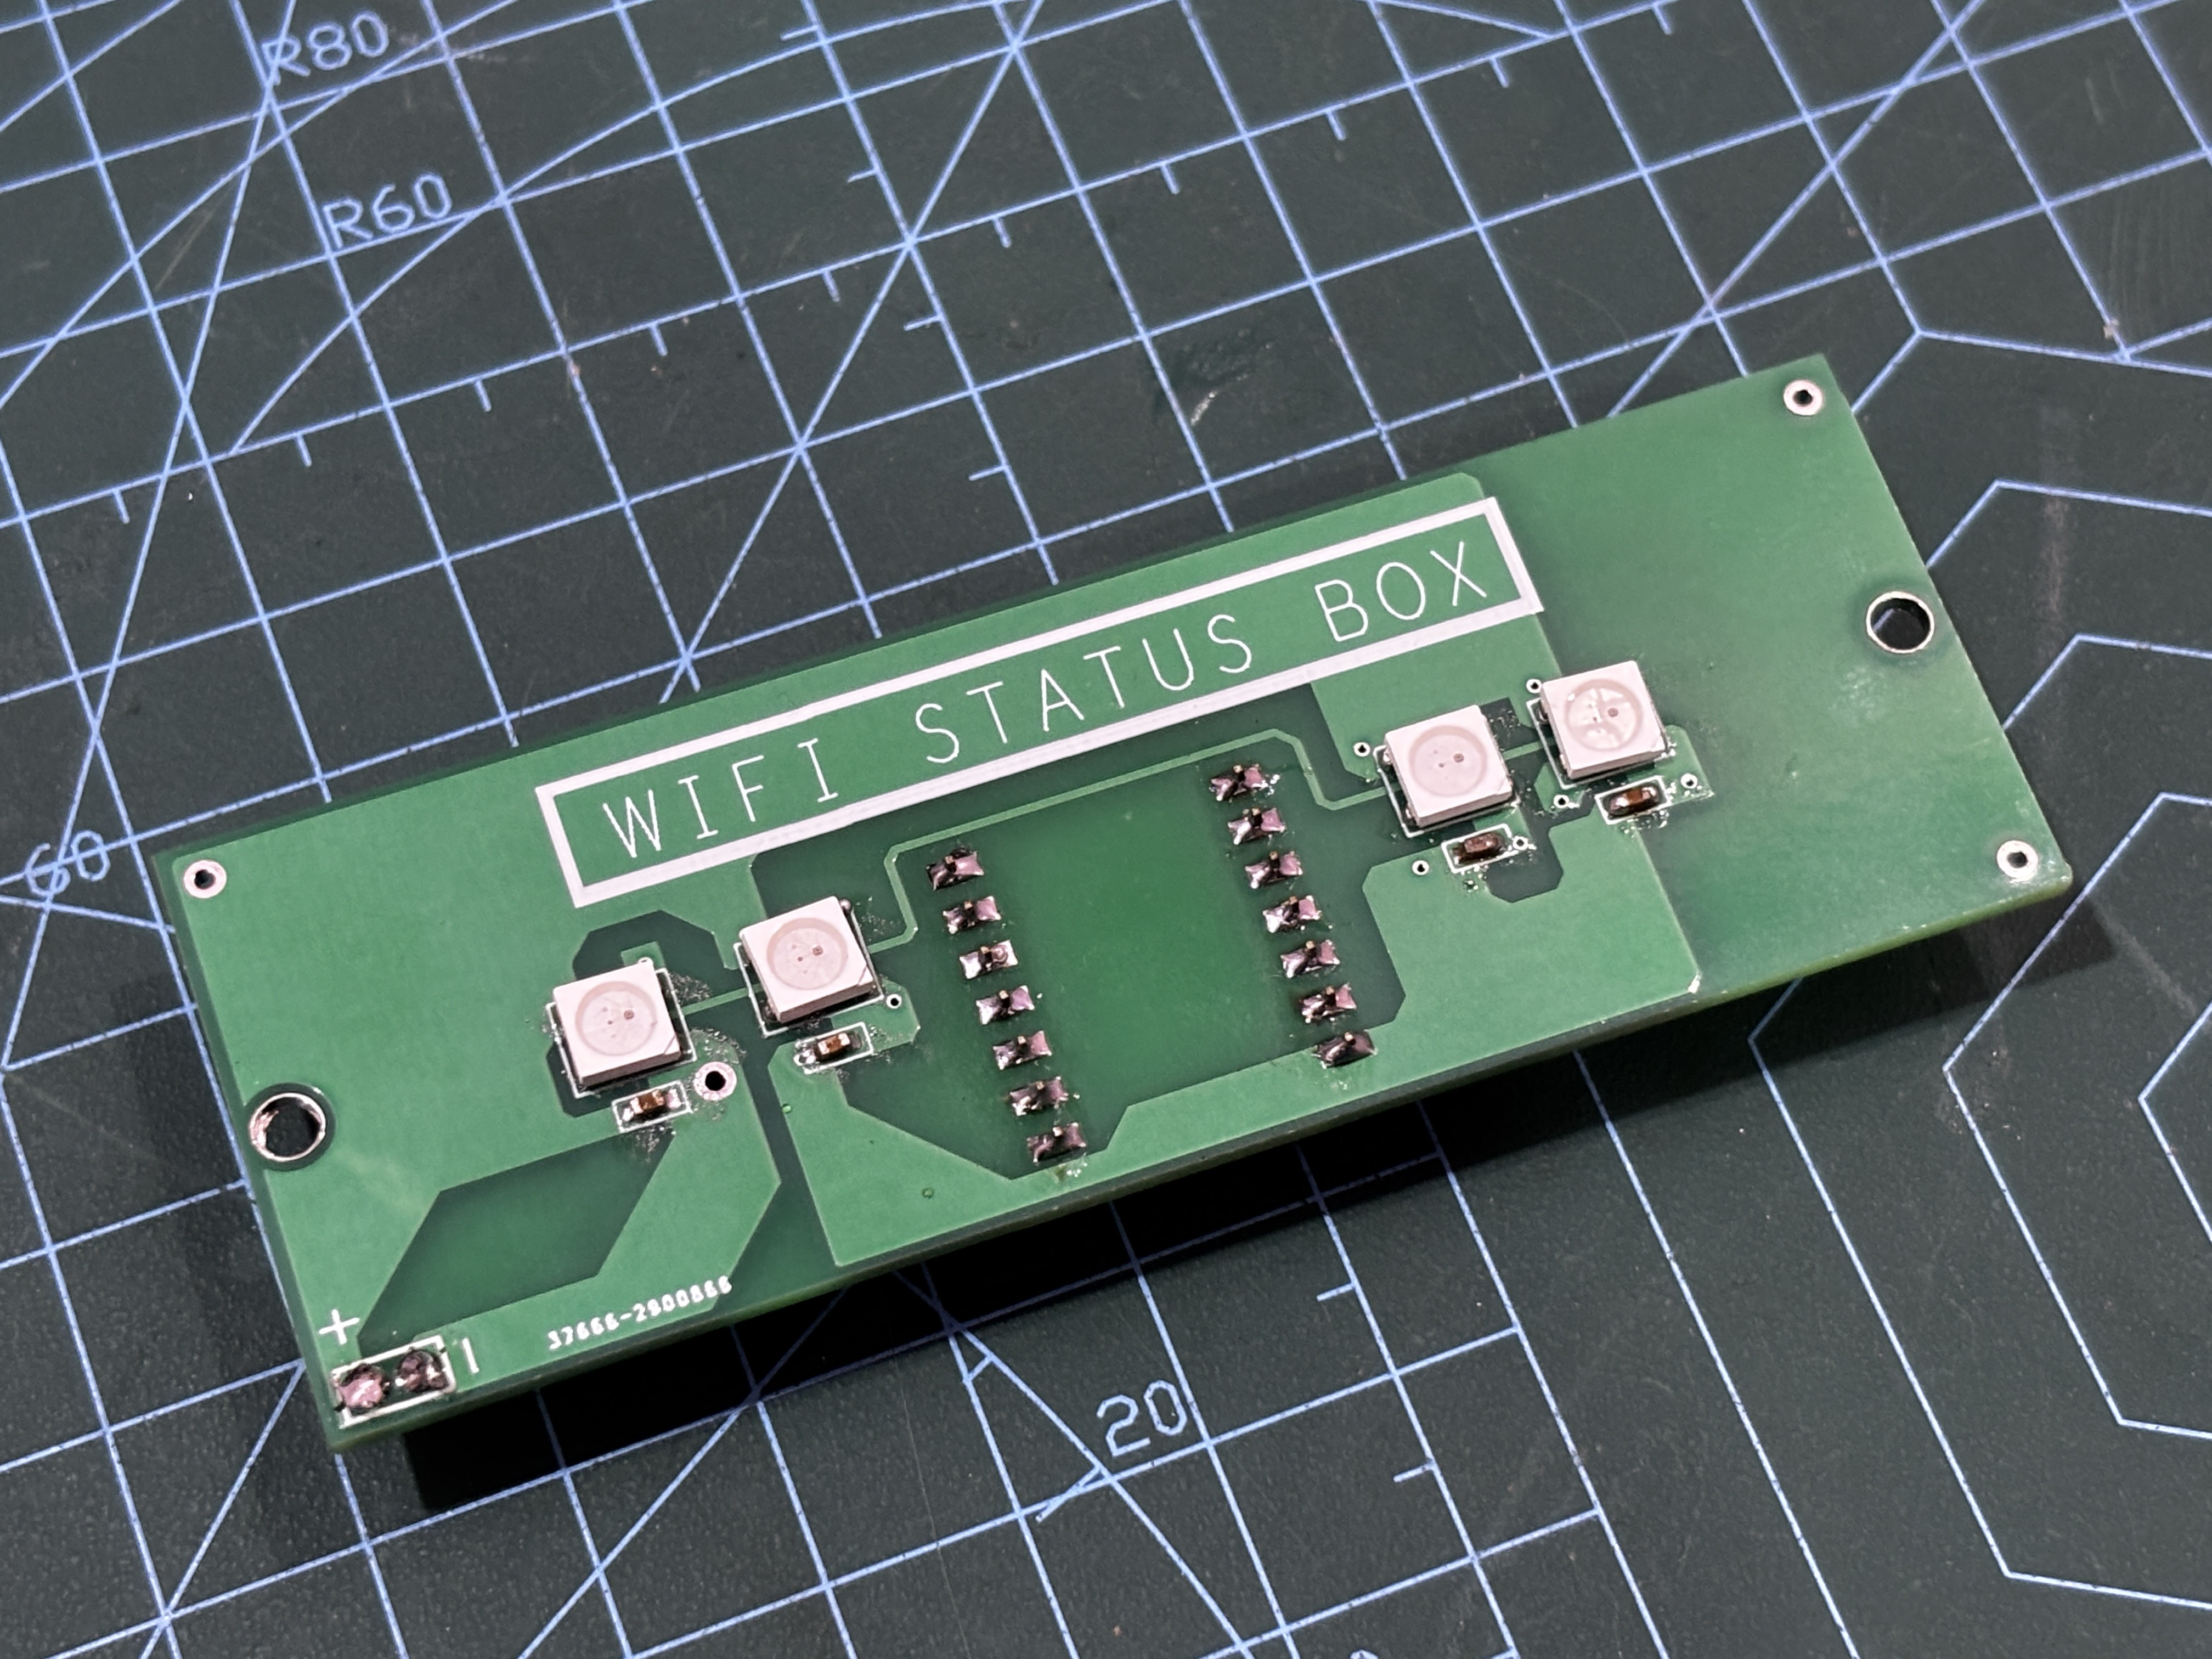
We are repurposing one of our previously Created RGB LED circuits from an old project.
You can check out its article for a more thorough build guide for this circuit.
https://www.hackster.io/Arnov_Sharma_makes/wi-fi-status-box-f3d24f
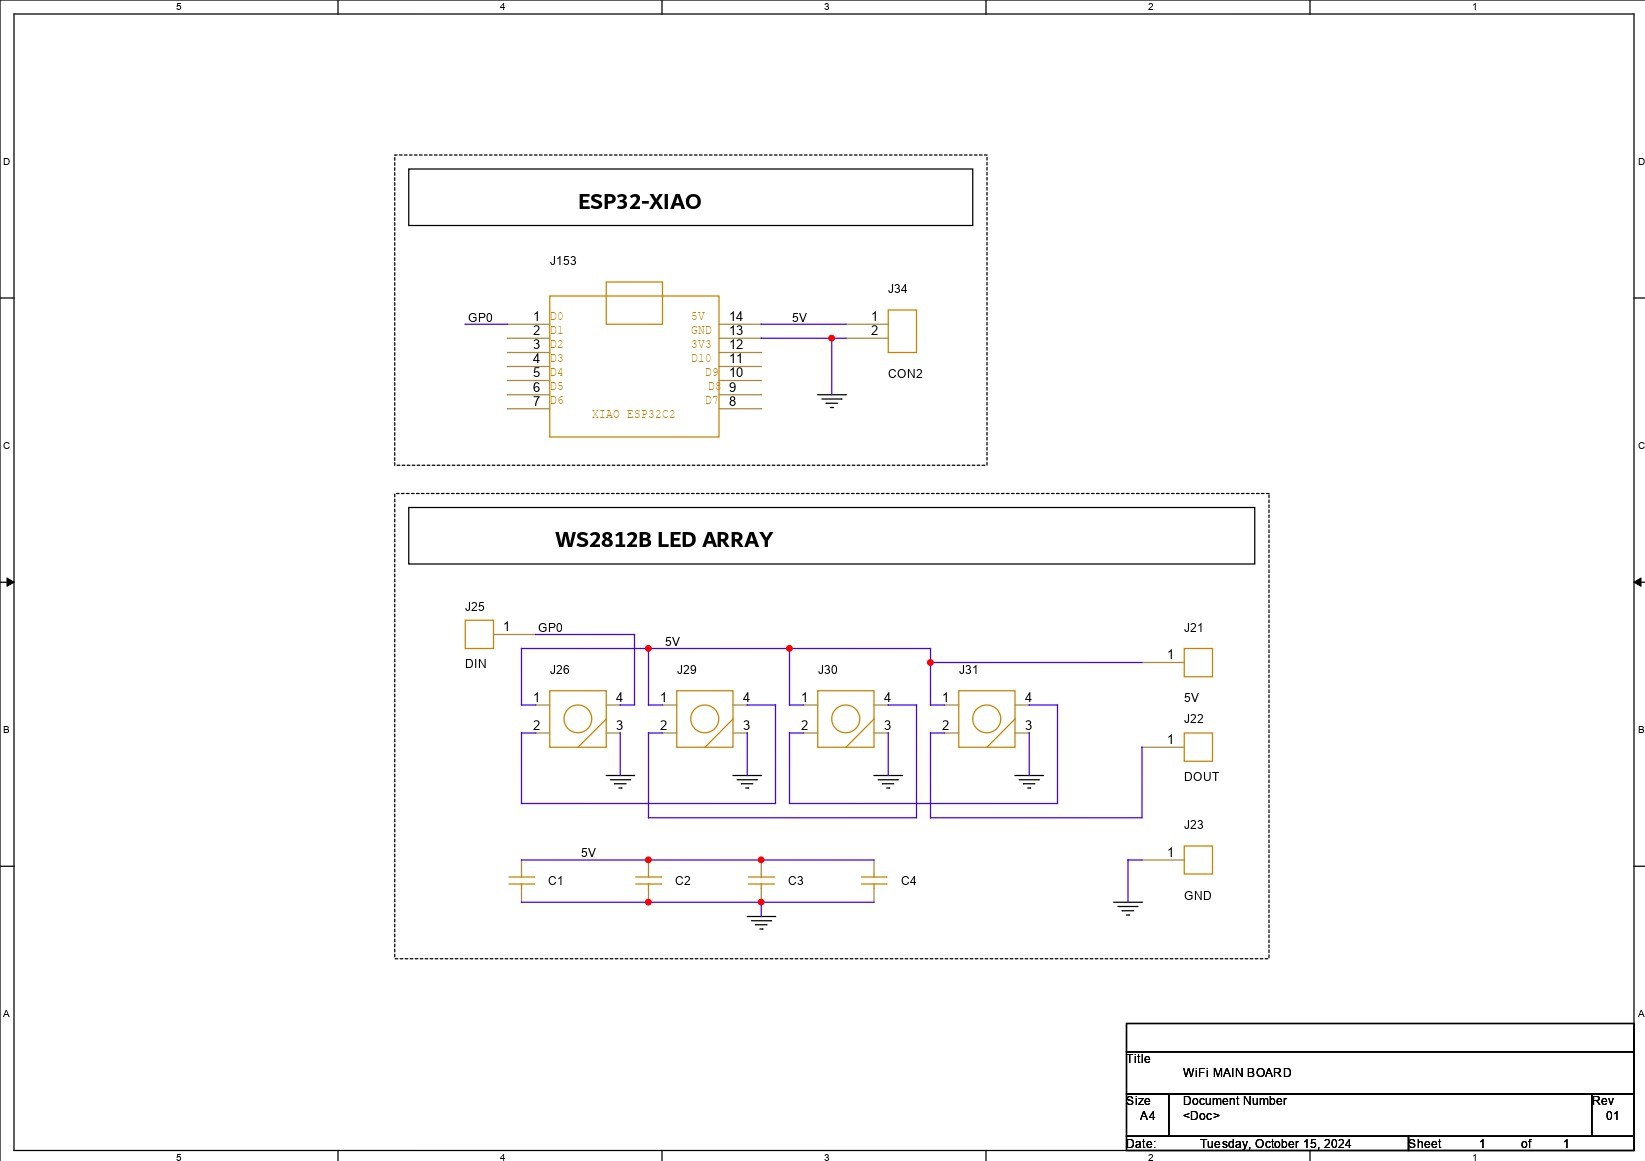
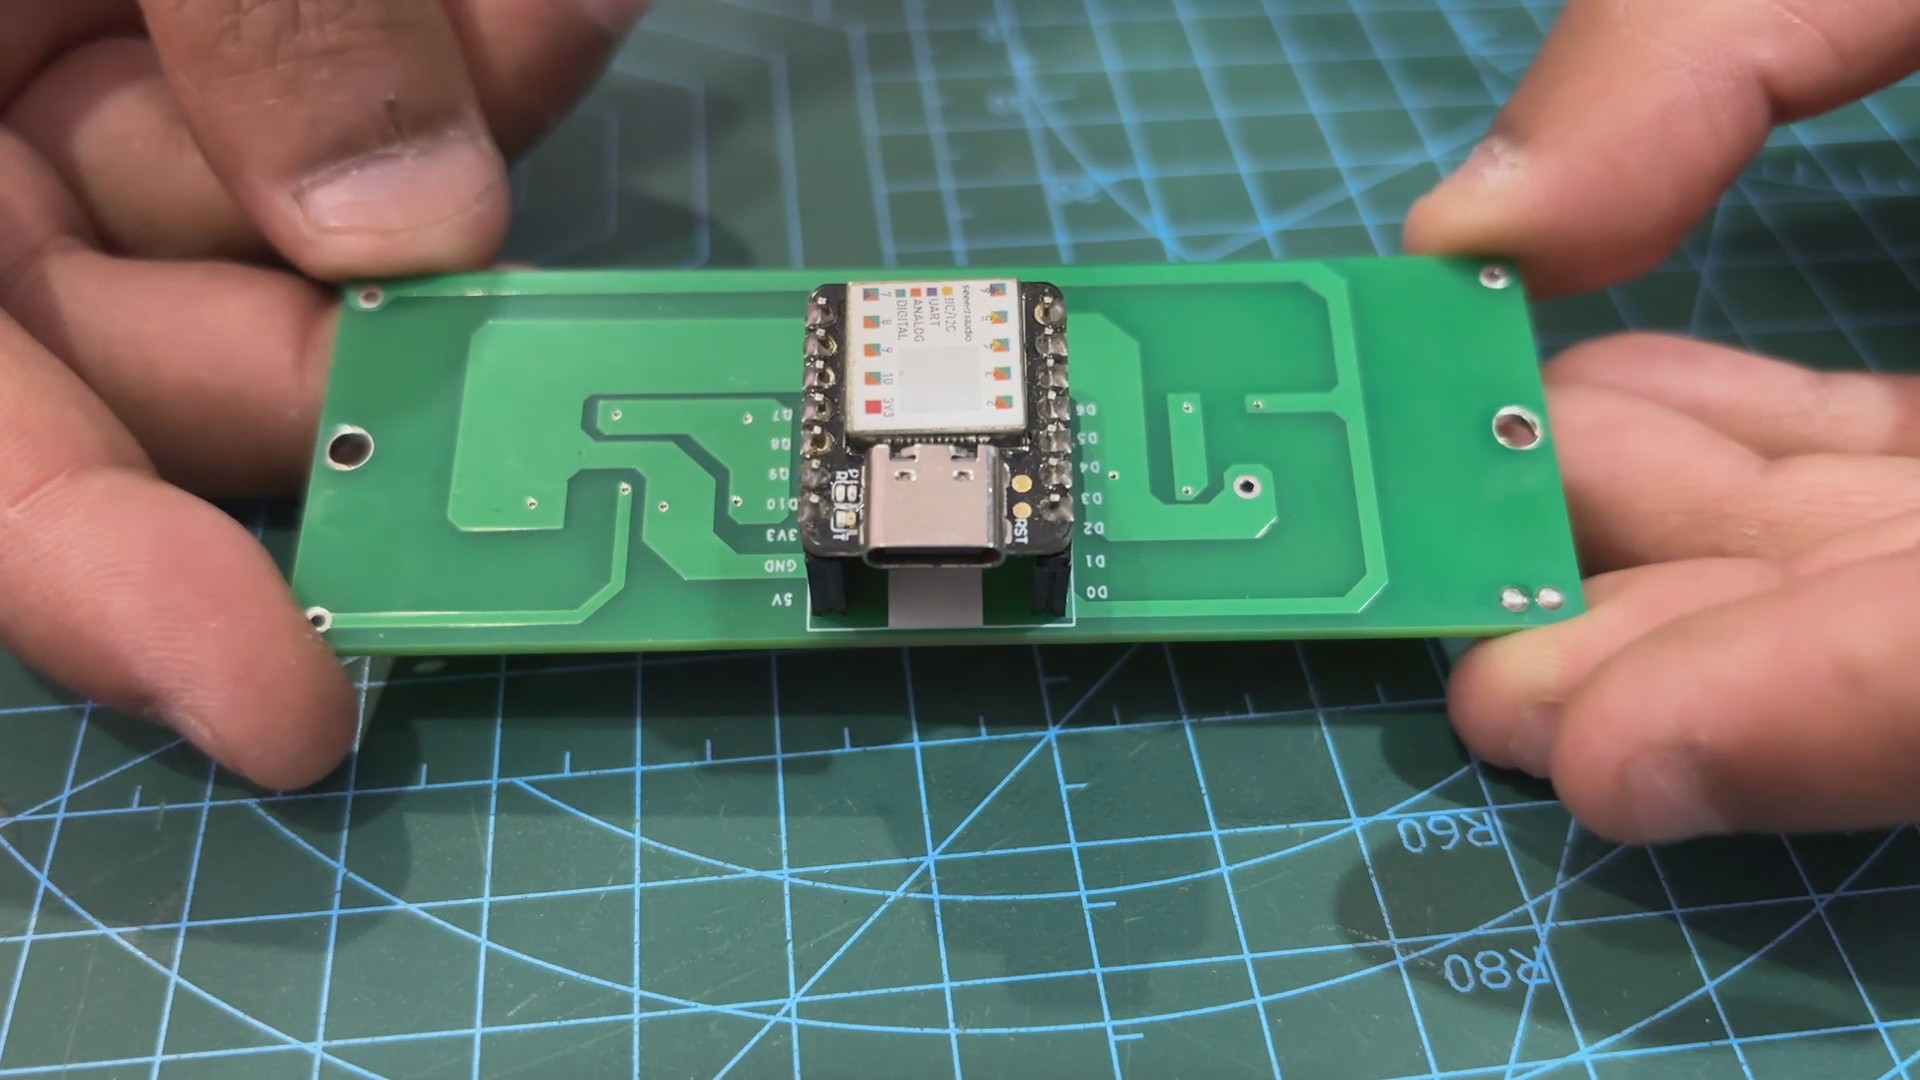
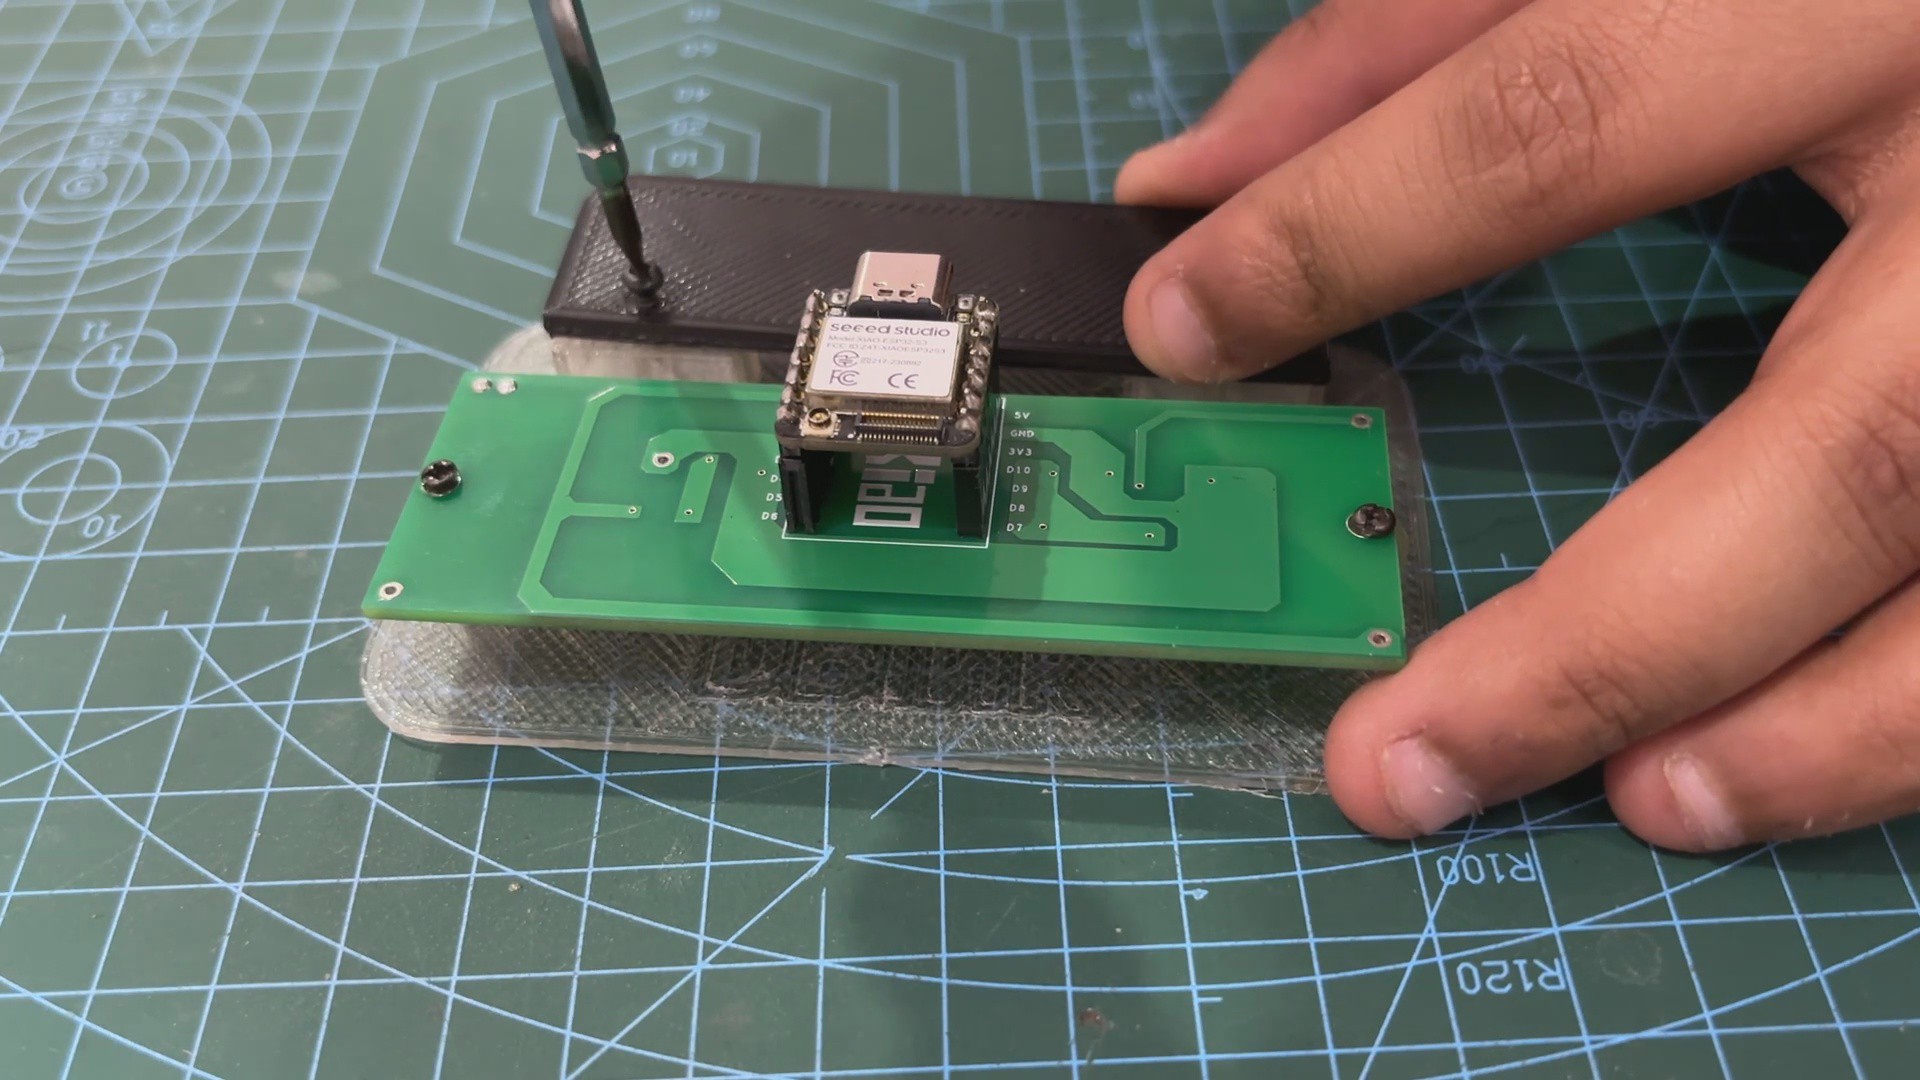
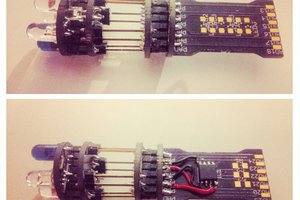
The XIAO is connected to four WS2812B RGB LEDs via GPIO0. The WS2812B LEDs are all linked in parallel, with the first LED Din wired to GPIO0. The first LED Dout is connected to the Din of the second LED; the second LED Dout is connected to the Din of the third LED, and so on till the fourth LED.
Each LED has its own 100nf decoupling capacitor connected to VCC and GND.
3D DESIGN
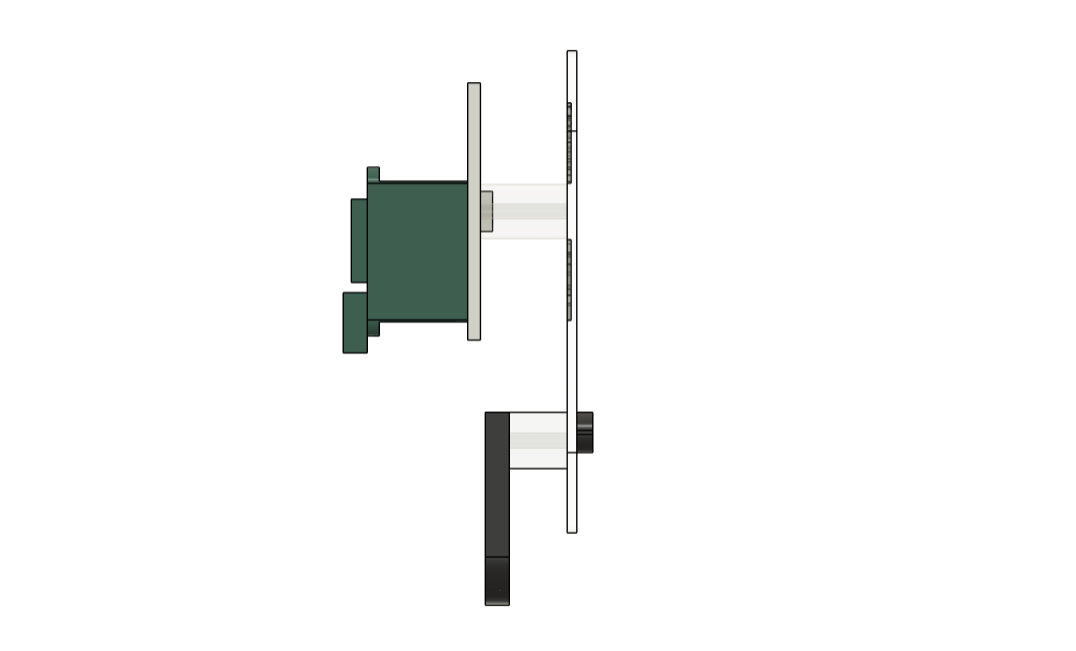
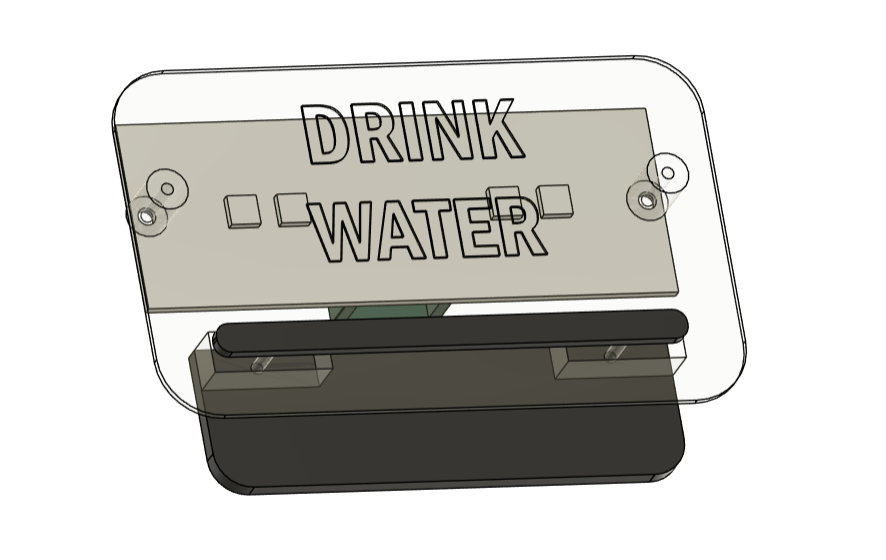
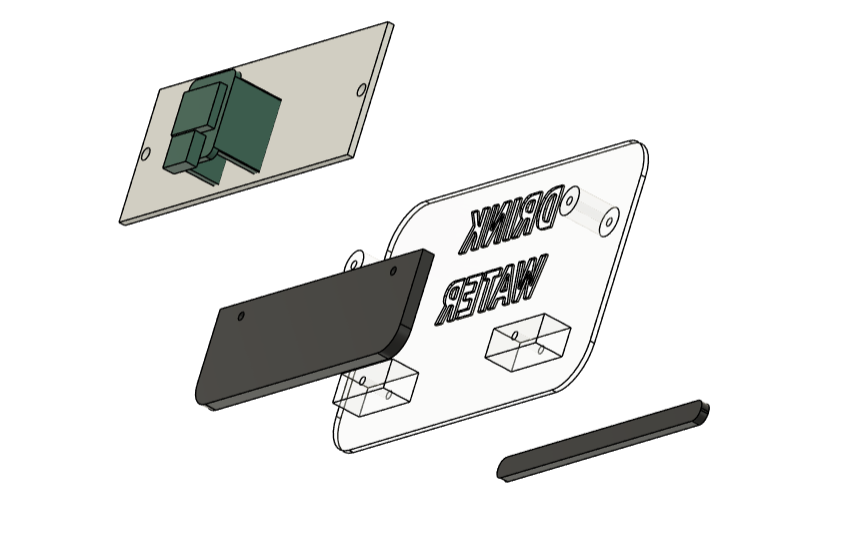
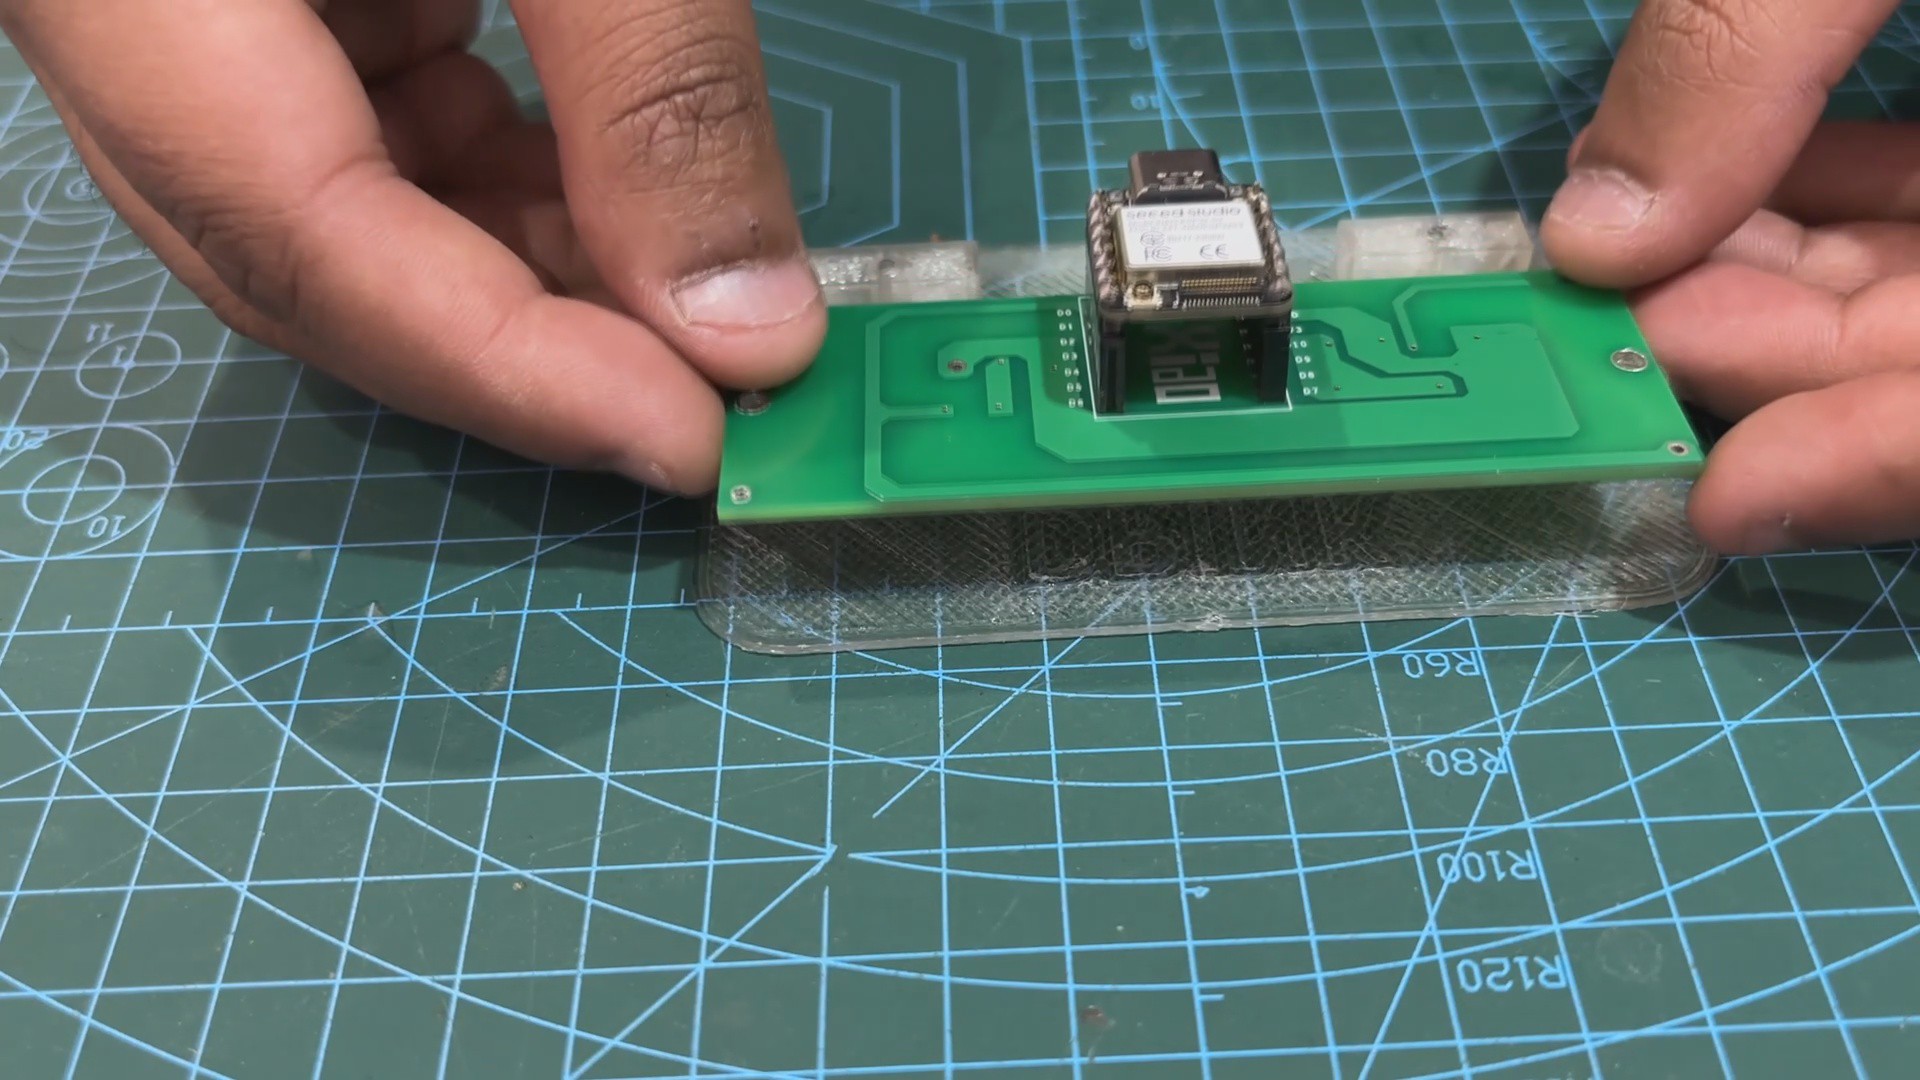
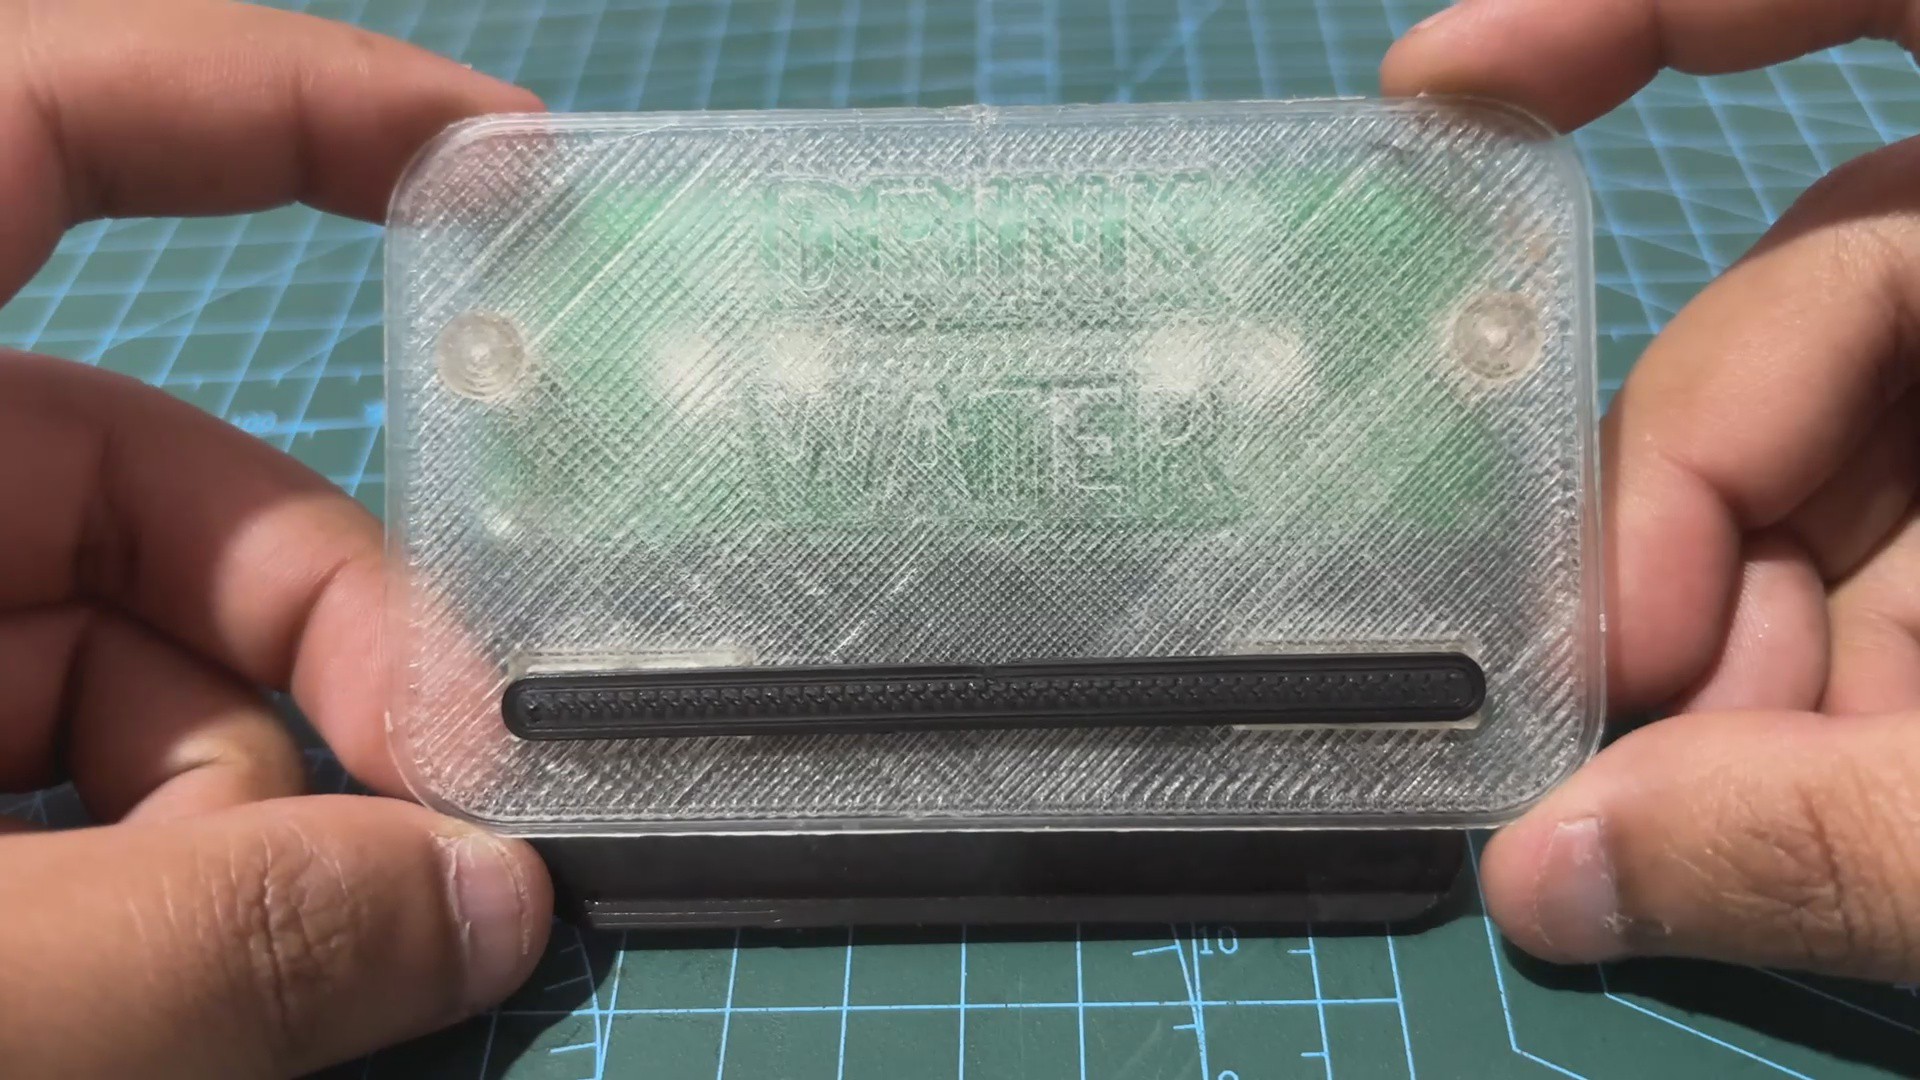
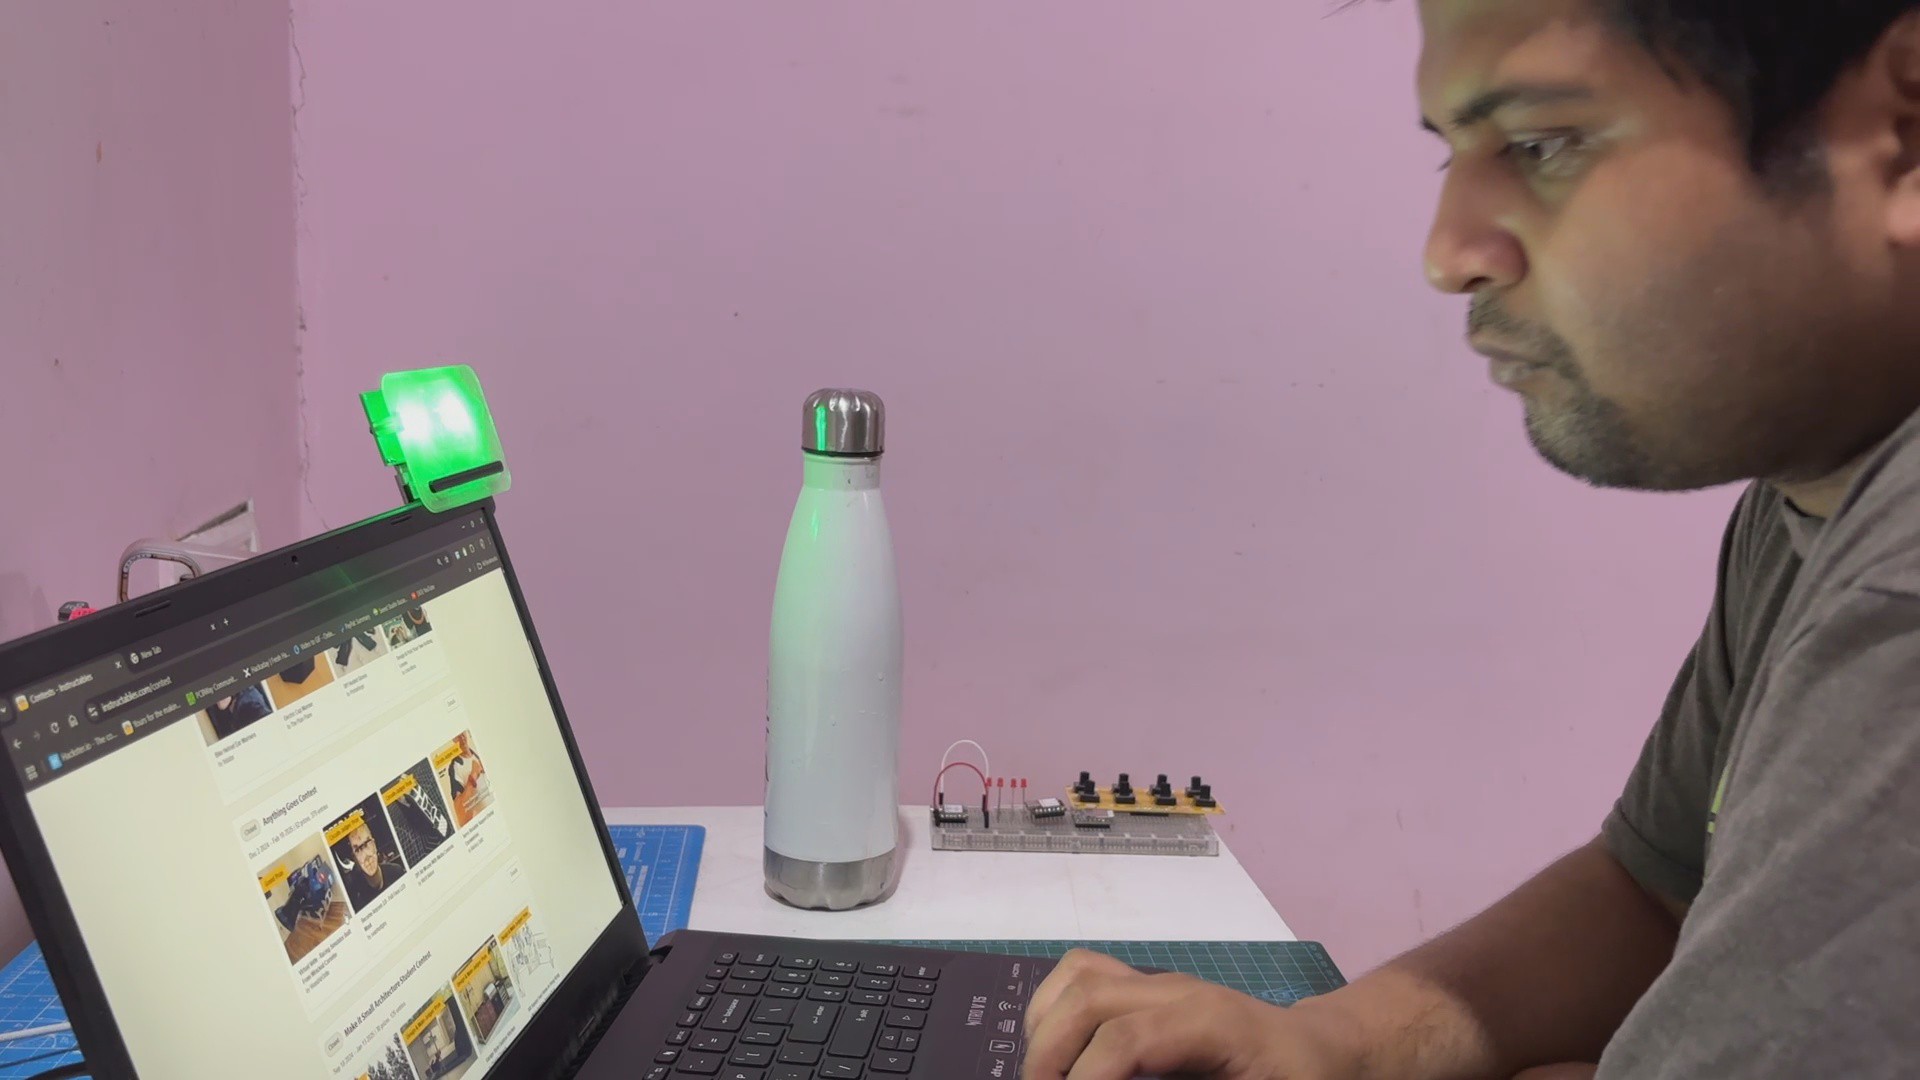
The 3D model for this project was quite straightforward; we began by creating the model for the XIAO and WS2812B LED circuit in Fusion 360 and then created a fixture and diffuser-like part that will allow us to secure the setup on top of a laptop. We accomplished this by first making a diffuser part and then connecting the RGB LED circuit to it; the RGB LED will face the diffuser's inner side. For visual emphasis, we also put the phrase Drink Water inside the Diffuser, which will be visible when the LED lights up.
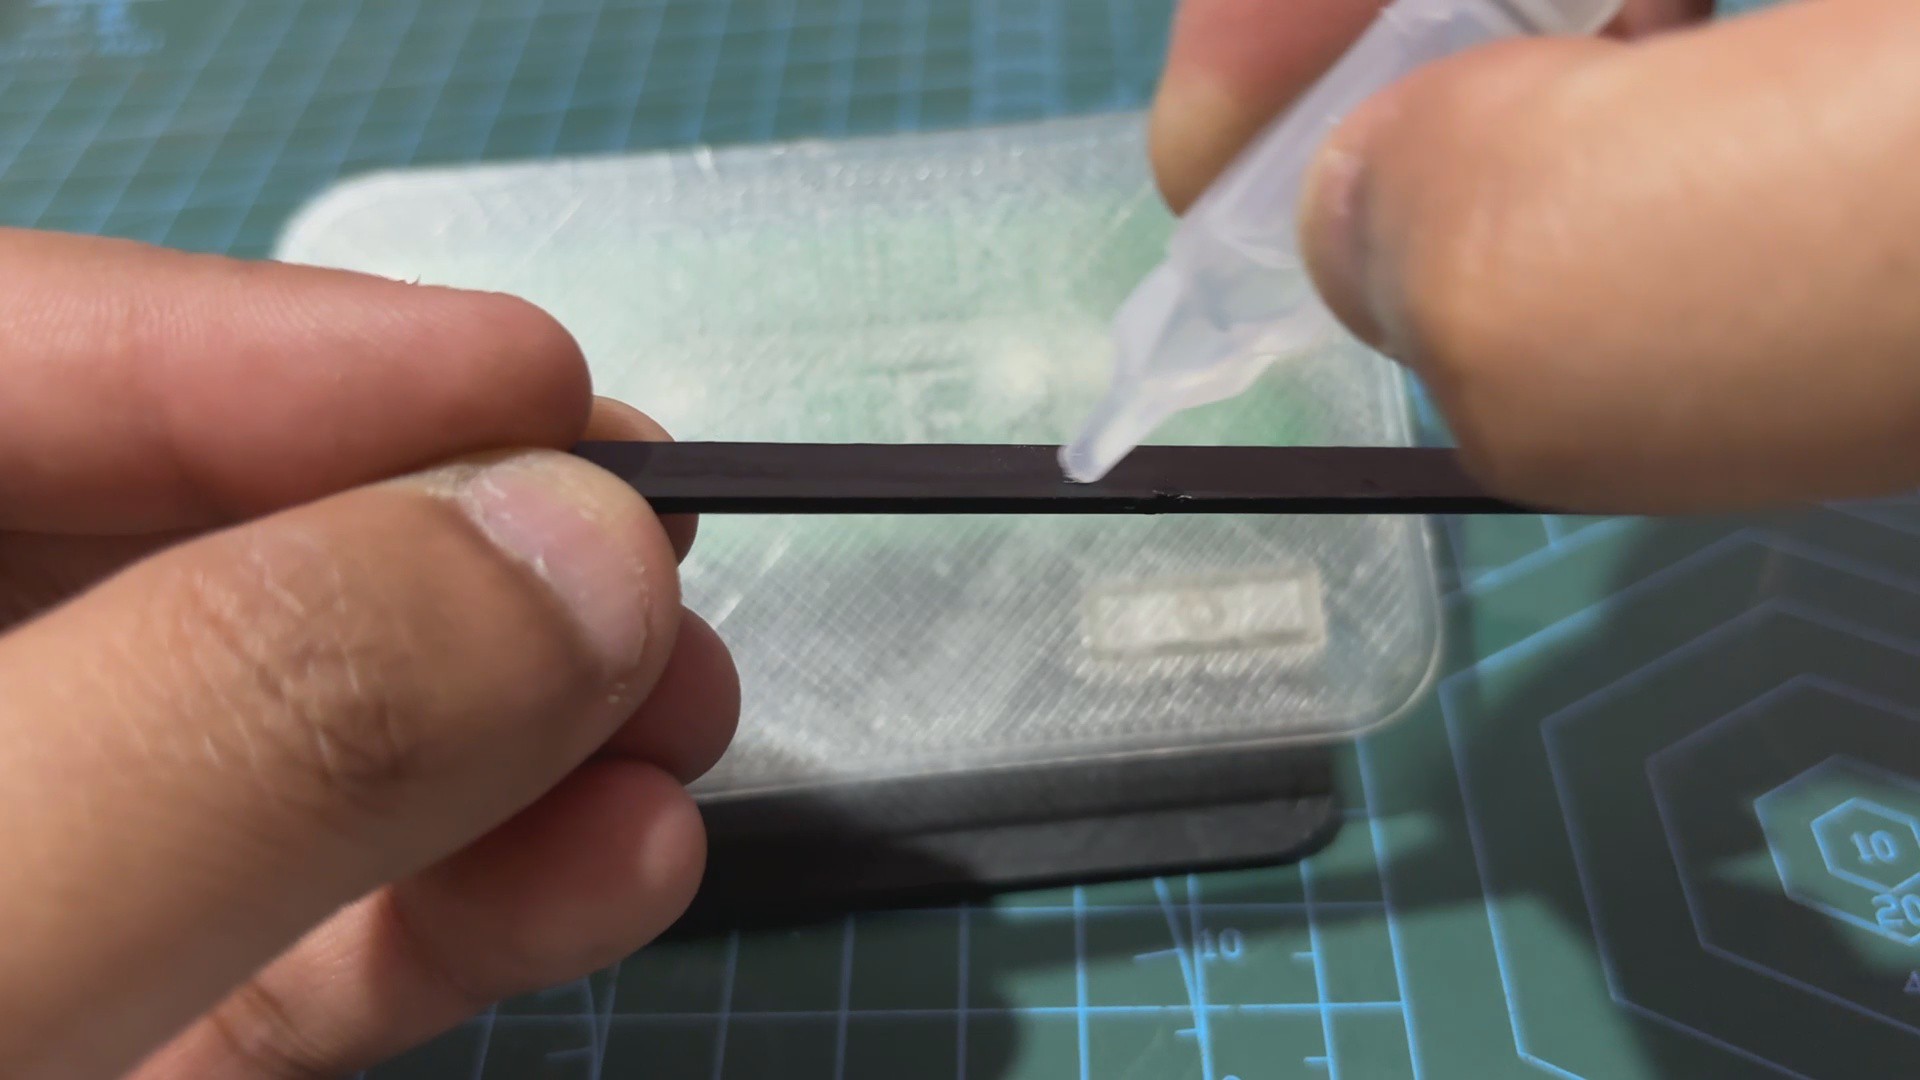
For placing the device on top of the laptop, we created a second holder-like component that will be secured to the rear side of the diffuser with two M2 screws; this component will allow us to position the entire device on the laptop.
Additionally, to add a slight aesthetic...
Read more »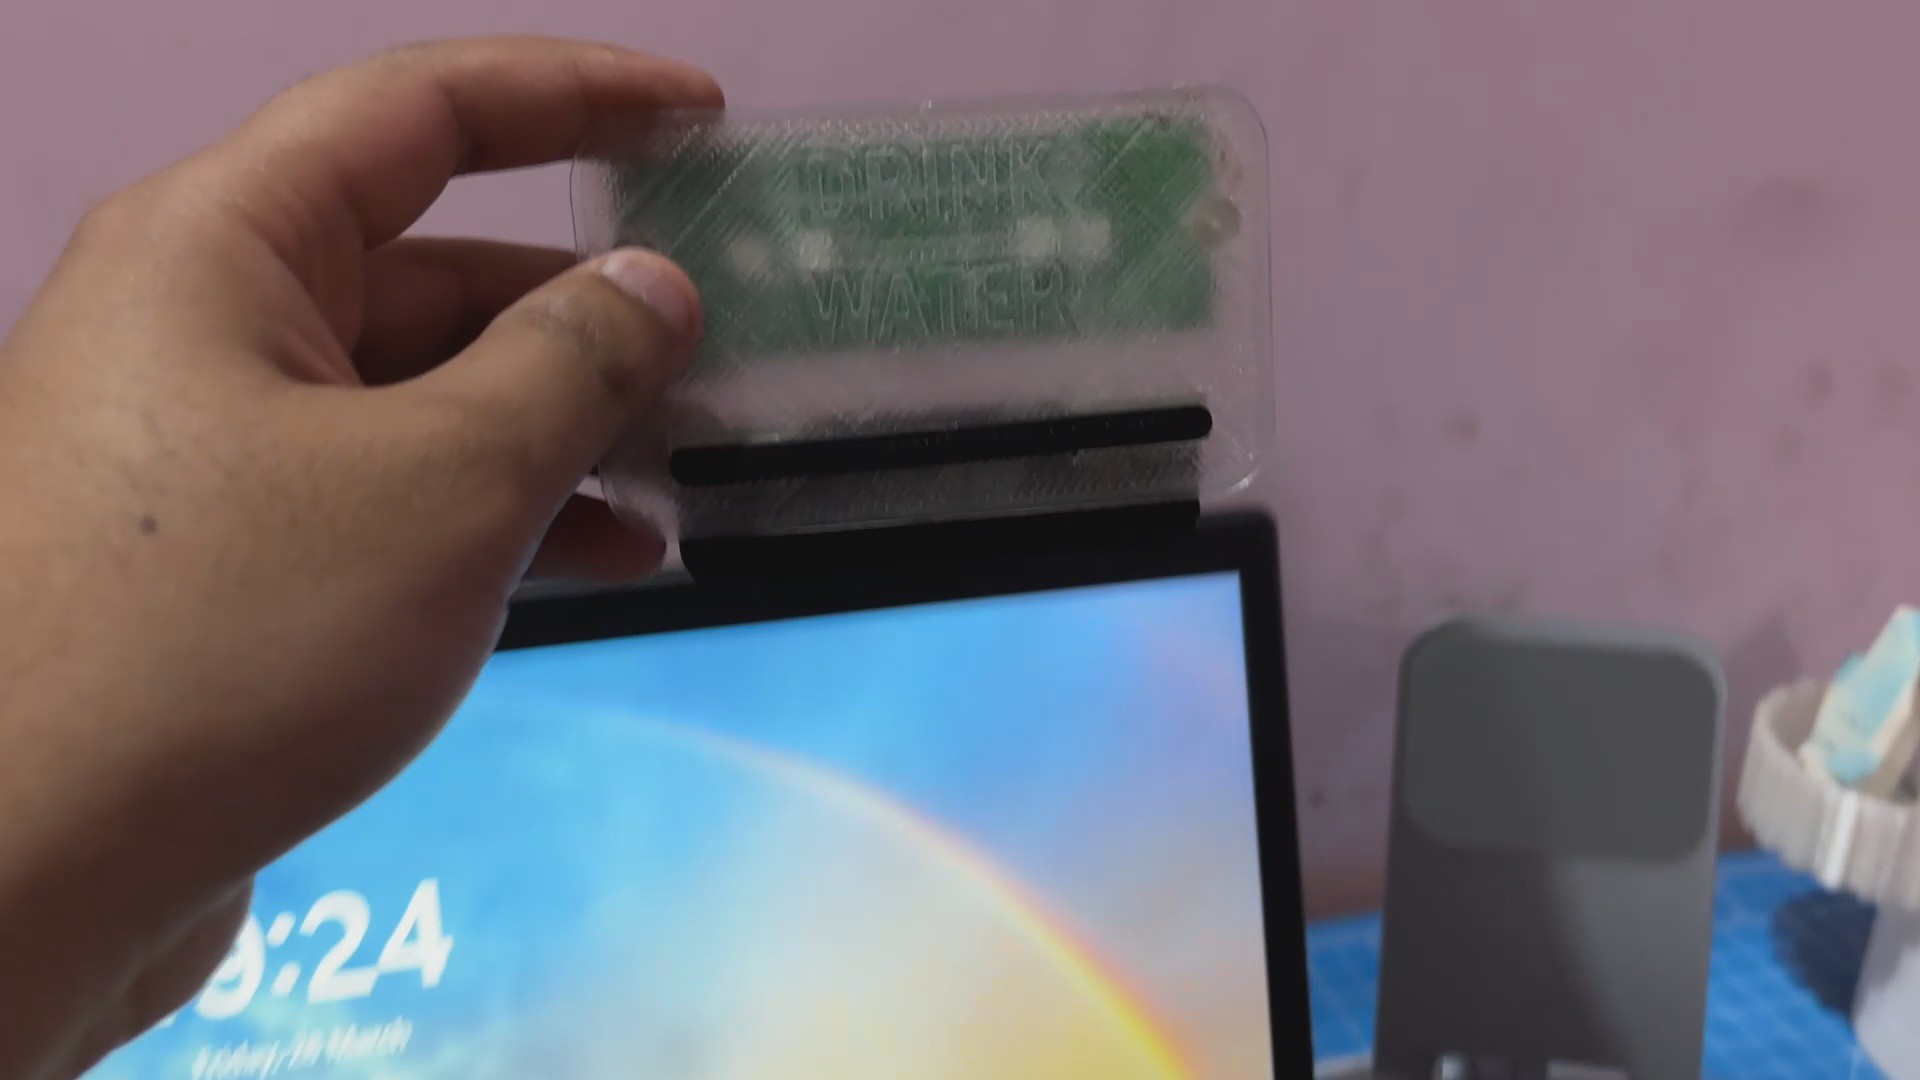


 davedarko
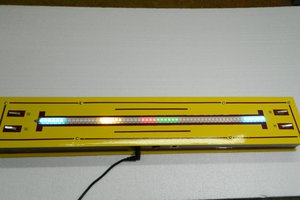
 mircemk
 makeTVee
 Serious Engineering