-
next steps
08/22/2017 at 12:07 • 0 commentsSo, it works, that is the main thing. The next steps to take are:
- Put all components onto a proper circuit board.
- Add velcro to diffuser sheet (mabye add another one on the inside).
- Add a clock.
- Try some 60 LED/metre strips.
- Do something better with the buttons, brightness up/down buttons for example.
- Look at touch sensors again, probably using a dedicated chip.
- Add a mini desklight extension.
- (in the future) Tie it all into a room network using WIFI/Zigbee or something similar. (This will enable such features as 'Sunrise alarm mode' to be in sync accross all the lights in the room.)
-
seeing what it looks like
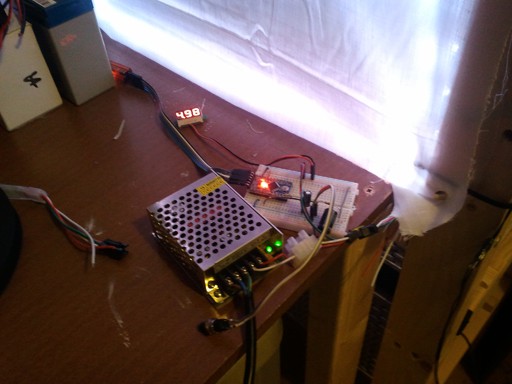
08/21/2017 at 06:49 • 0 commentsIt has worked reasonably well so far. The photos do not show the LED wash very well. The only issue i have so far is that it is just not bright enough. I will try some 60 LED/metre strips sometime.
So, this is what it looks like with the main room light turned on..

..and this is with the light turned off..
 ..cool, that makes it worth it for me.
 -
the testing
08/21/2017 at 06:43 • 0 comments -
first circuit design
03/11/2017 at 00:18 • 0 comments -
the works
03/10/2017 at 23:13 • 0 comments( for the software please browse my Github repository )
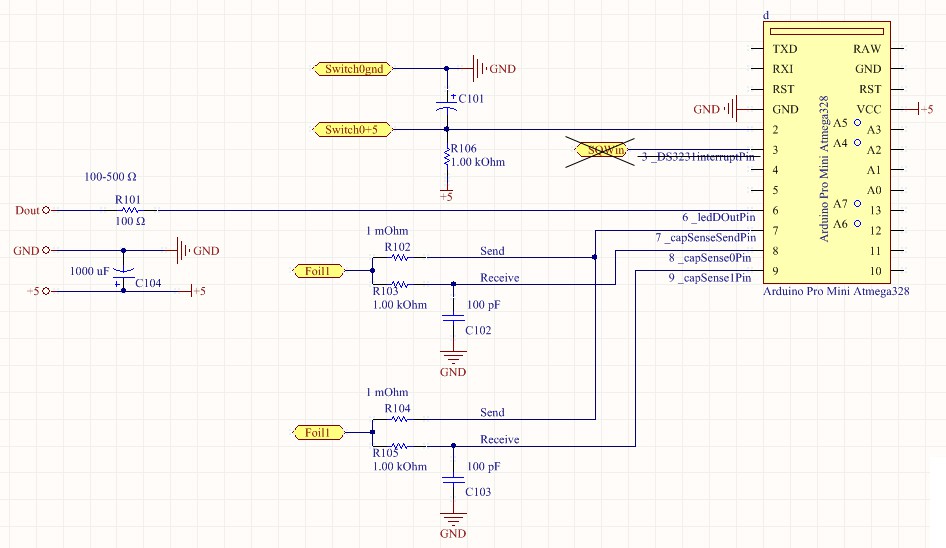
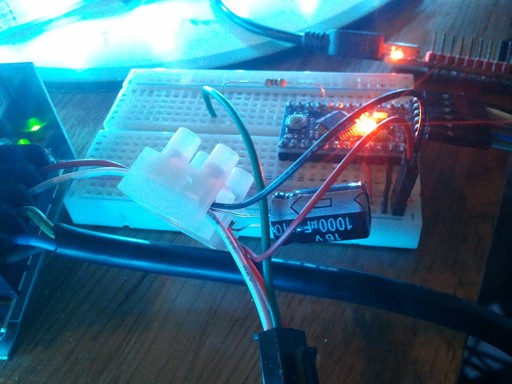
Again for the brain, the Arduino Pro Mini is used. This development board is cheap and has enough juice to do what is needed, which is:
- respond to user input via buttons or capacitive touch
- control some WS2812B LED strips
- connect to a wireless board in the future (or upgrade to an integrated dev board)
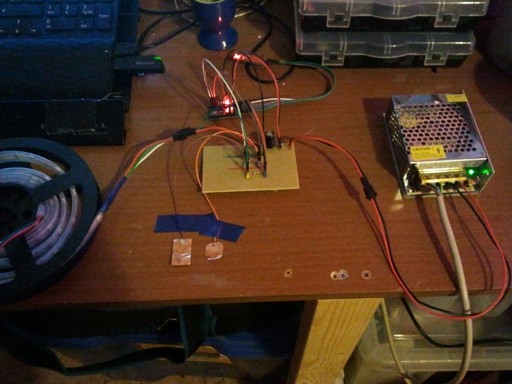
A piece of stripboard will be used for the basis of a small circuit. The Arduino also attached to this board, and is programmed via an external FTDI board with USB.
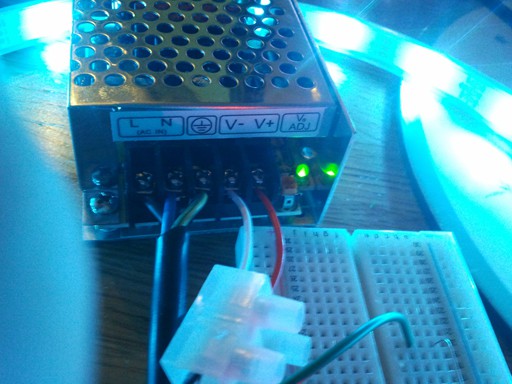
The power supply used is 240v -> 5v regulated (with 2A max draw, more thab enough for the amount of LEDs i will be running). Power from the transformer then is fed to two lines on the board.
It is then tapped straight away to feed the Arduino, which passes on power to switches and sensors. This helps keep the ground lines stable.
After the tap a 1000uF capacitor is placed across the main power lines. This helps absorb any surges at startup and thus protect the LED strips.
..speaking of LED strips.. remember this..
- DO NOT PLUG WS2812B LED STRIPS IN THE WRONG WAY..
they will blow as they have no reverse current protection..!!!
anyway, where was I... ah yes..
After the 1000uF capacitor, power is then taken for the LED strips themselves. Two power cables are joined with a data cable in a JST plug, the adjoining part leading to the LED strips.
-
the desk
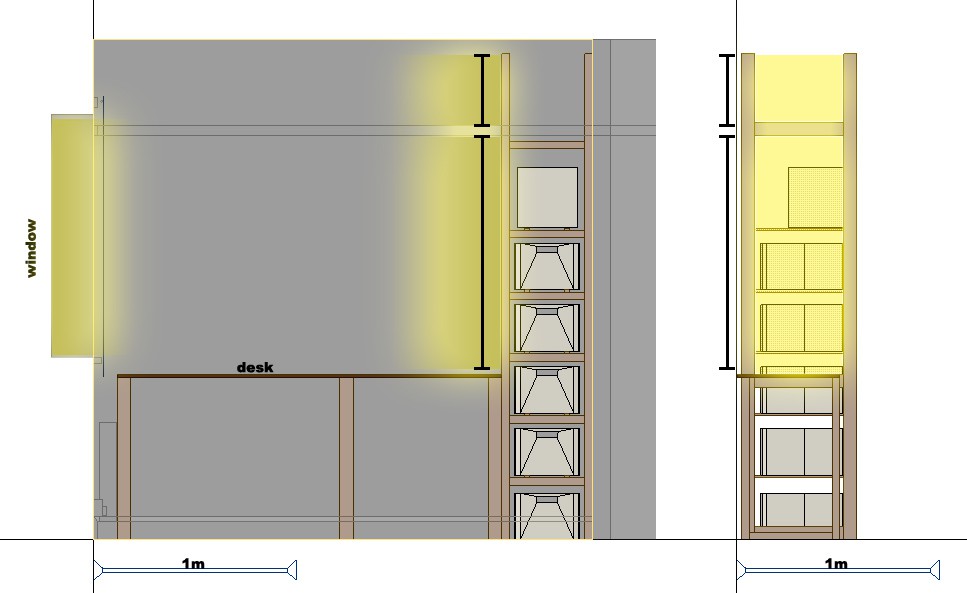
03/10/2017 at 22:40 • 0 commentsThe desk is a quick straight framed knock-up. Cheap timber and the side from a wardrobe gives me a useable long desk in the corner of a room. The desk has a window to the left of it, but only gets a lot of light during the morning (direct only in the summer). The frame to the right of the desk is for storage baskets. LED strips are to be placed around the inside of the nearest parts of the frame, with a cover to diffuse the light. The electrical components will be housed on a shelf underneath the end of the desk.
 matt thurstan

